
History
The Mitsubishi A6M "Zero" was a long-range carrier-based fighter aircraft formerly manufactured by Mitsubishi Aircraft Company, a part of Mitsubishi Heavy Industries, and operated by the Imperial Japanese Navy from 1940 to 1945. The A6M was designated as the Mitsubishi Navy Type 0 carrier fighter (零式艦上戦闘機, rei-shiki-kanjō-sentōki), or the Mitsubishi A6M Rei-sen. The A6M was usually referred to by its pilots as the Reisen (零戦, zero fighter), "0" being the last digit of the imperial year 2600 (1940) when it entered service with the Imperial Navy. The official Allied reporting name was "Zeke", although the name "Zero" (from Type 0) was used colloquially by the Allies as well.
At the time of the attack on Pearl Harbor, 521 Zeros were active in the Pacific, 328 in first-line units. The carrier-borne Model 21 was the type encountered by the Americans. Its tremendous range of over 2,600 kilometres (1,600 mi) allowed it to range farther from its carrier than expected, appearing over distant battlefronts and giving Allied commanders the impression that there were several times as many Zeros as actually existed.
Info from Wikipedia.
In the box
Packed in a top opening box, Eduard's new tool 1/48th A6M2 Zero comes as a Dual Combo kit, meaning you get two Zero's to build, and with 12 marking options that's quite handy.
So inside the box you will find -
8 Grey sprues
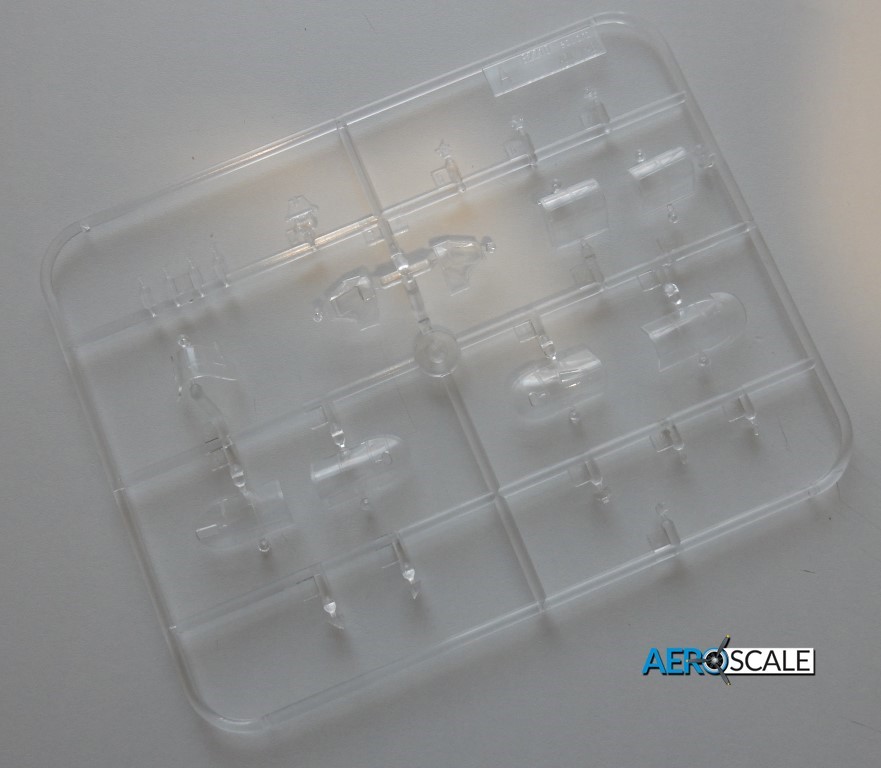
2 clear sprues
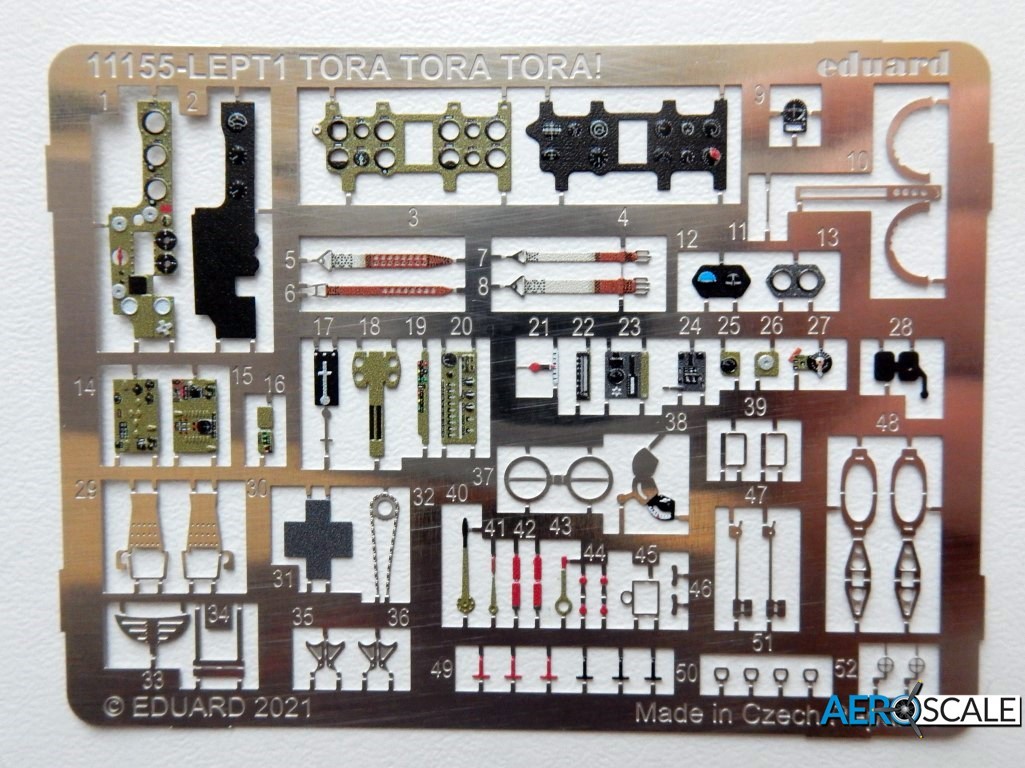
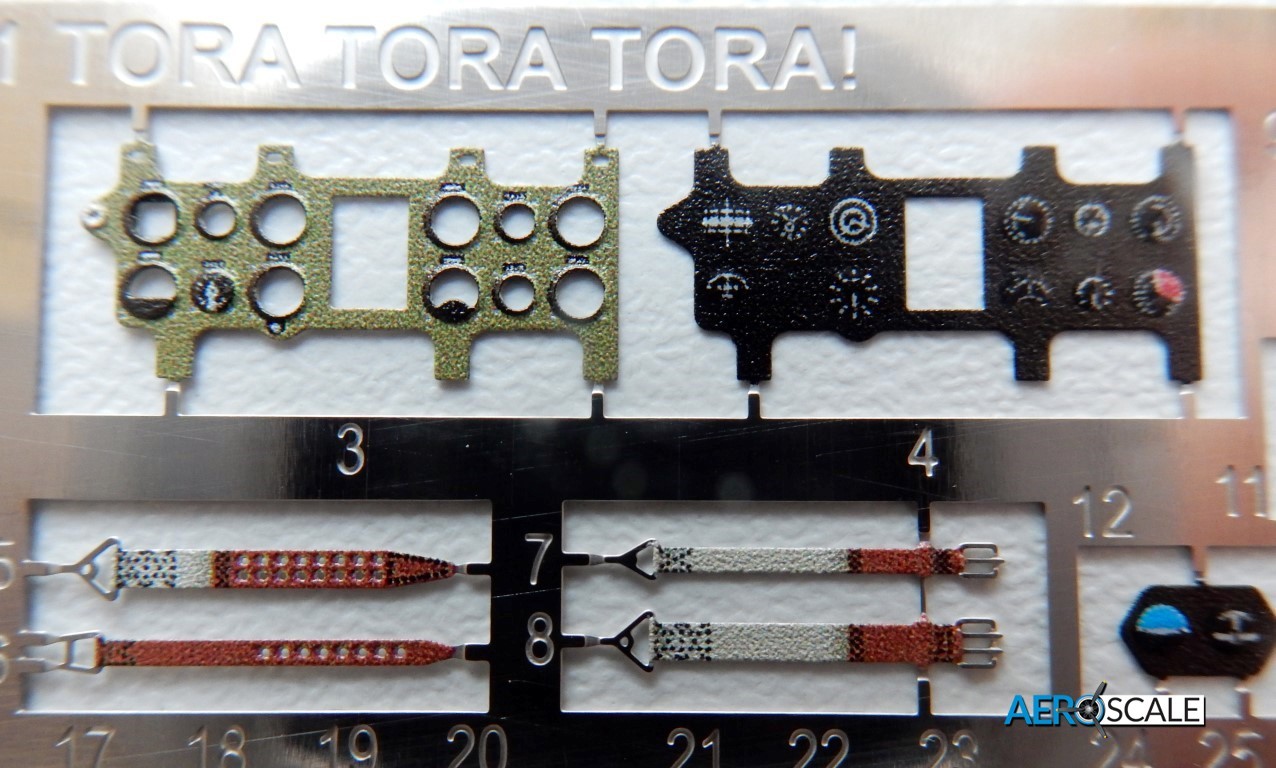
2 sheets of coloured photo etch
1 large decal sheet
2 small decal sheets
1 set of masks (for two aircraft)
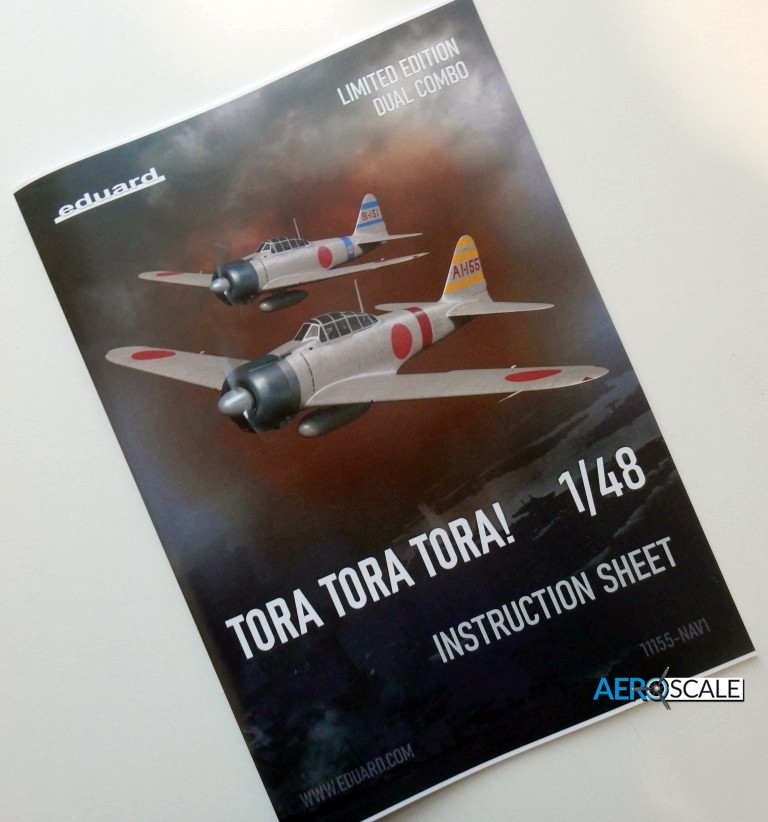
1 instruction booklet
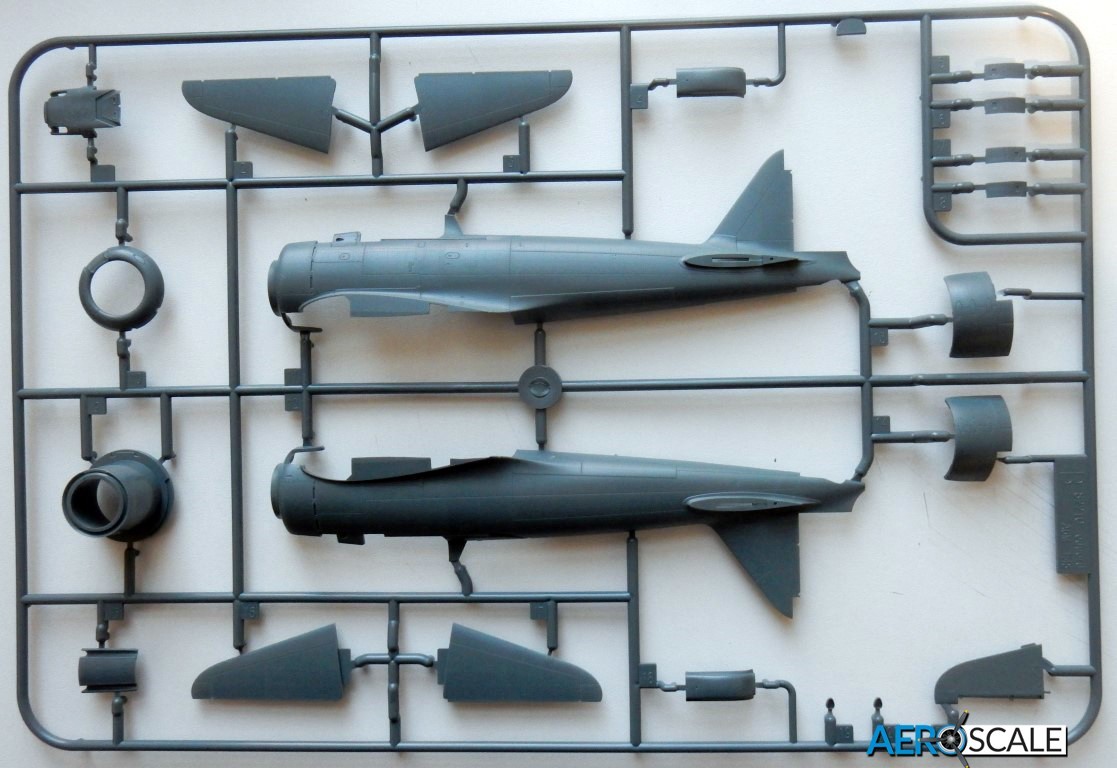
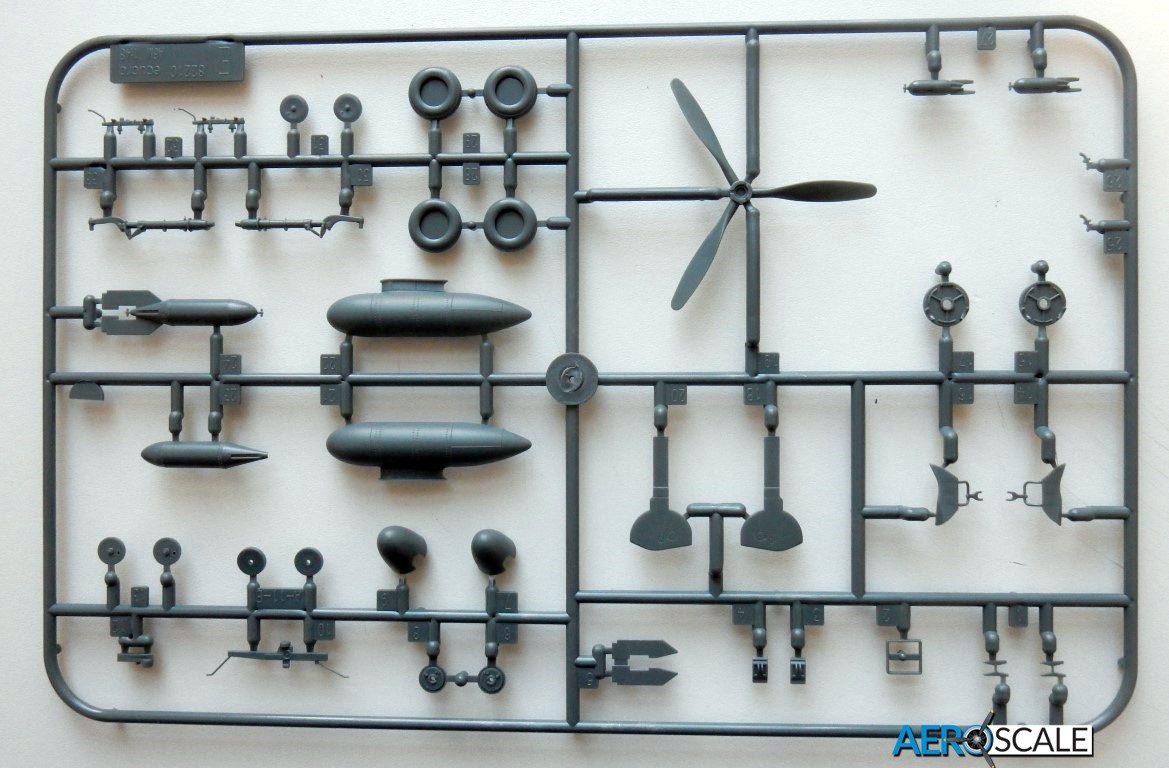
The parts being a new tool kit doesn't have any flash present and pin marks look to be in out of the way places.
Moulding on the whole looks superb, with no noticeable issues within the plastic parts.
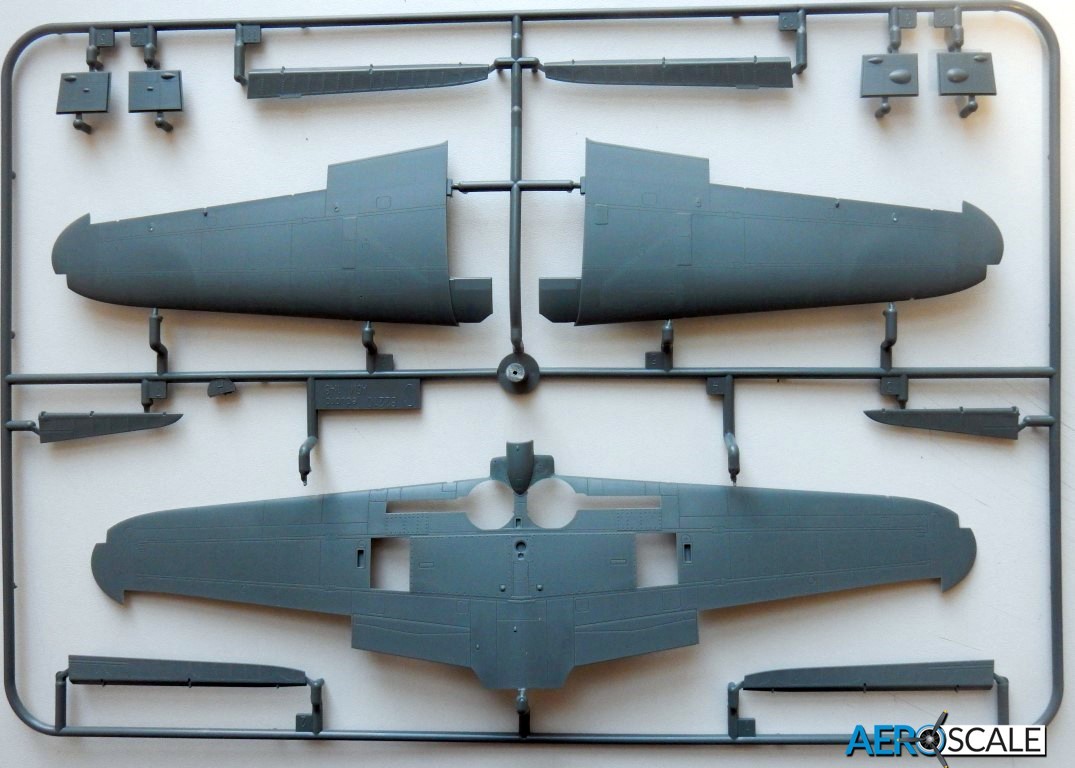
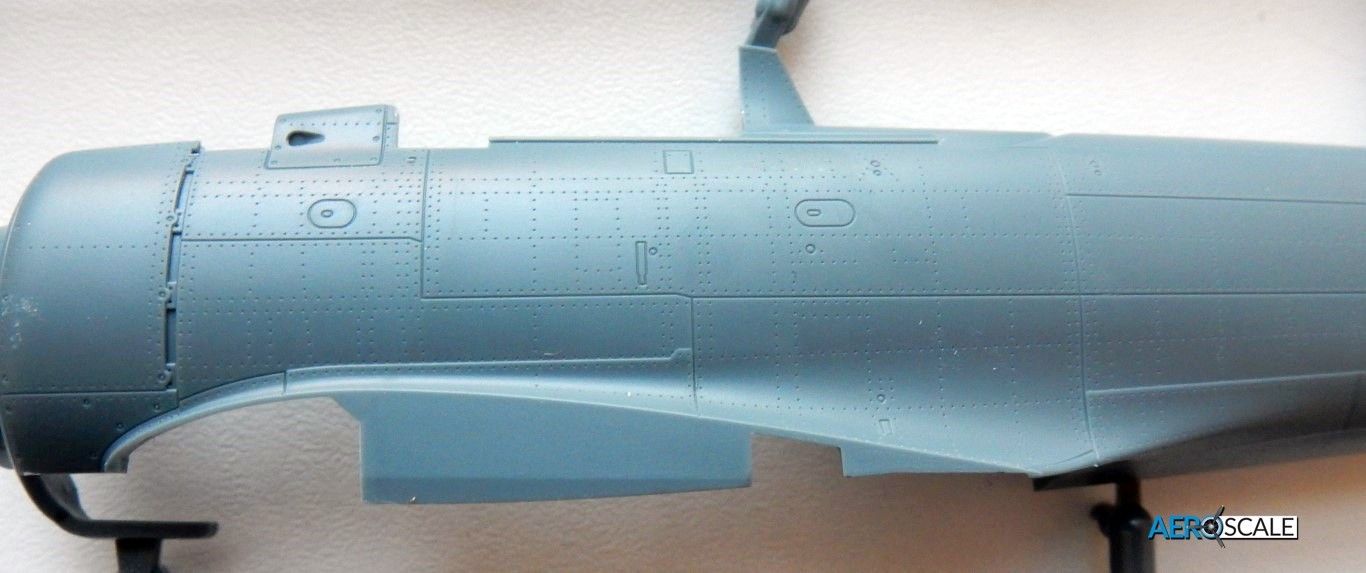
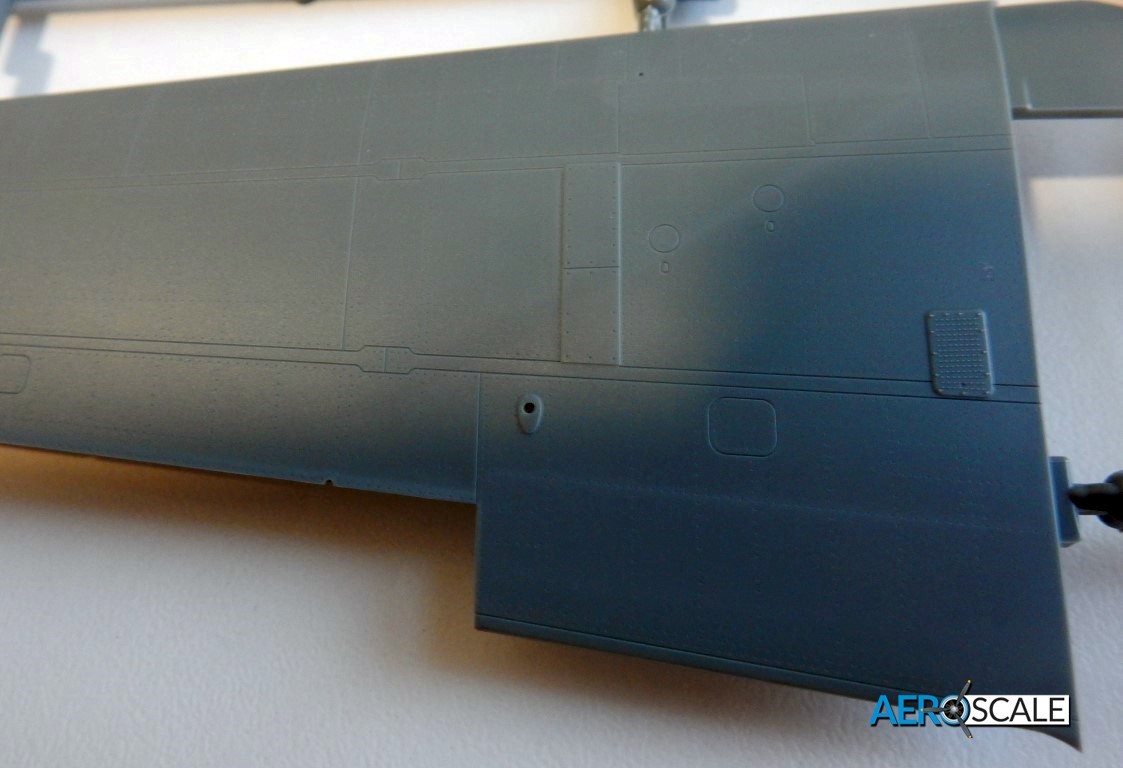
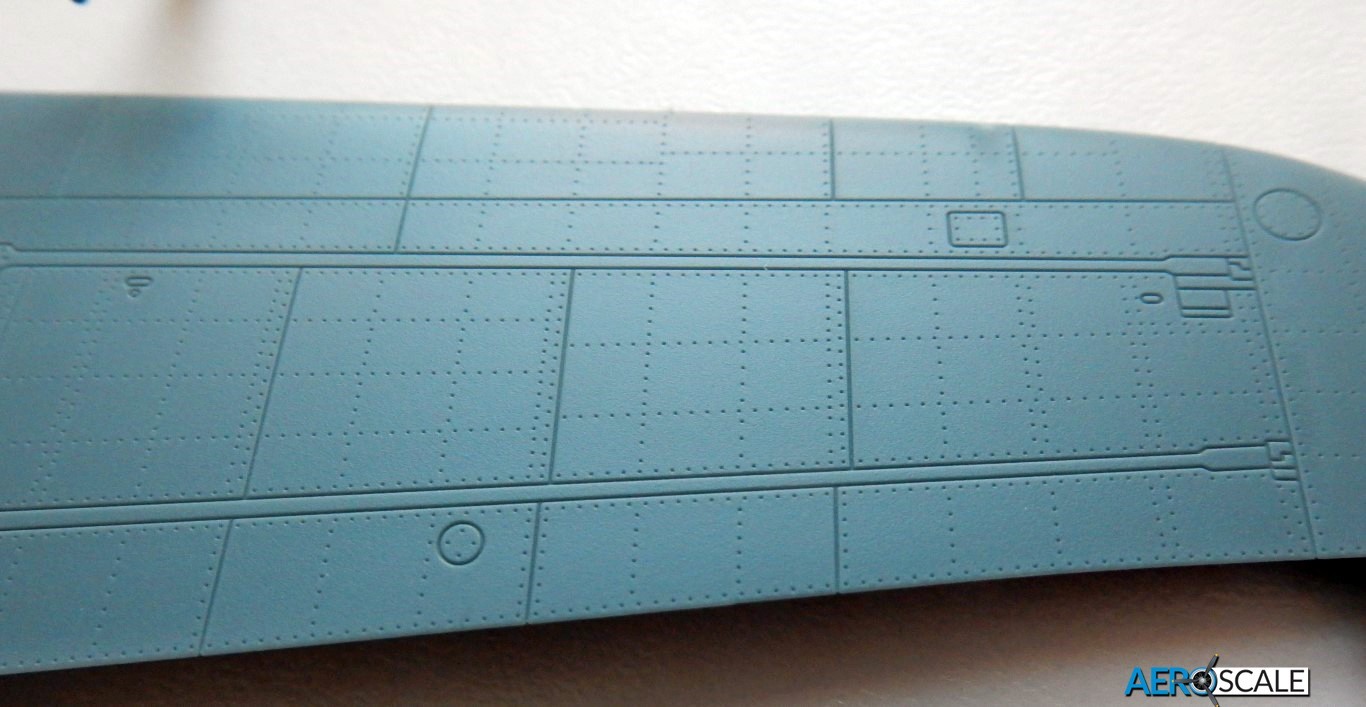
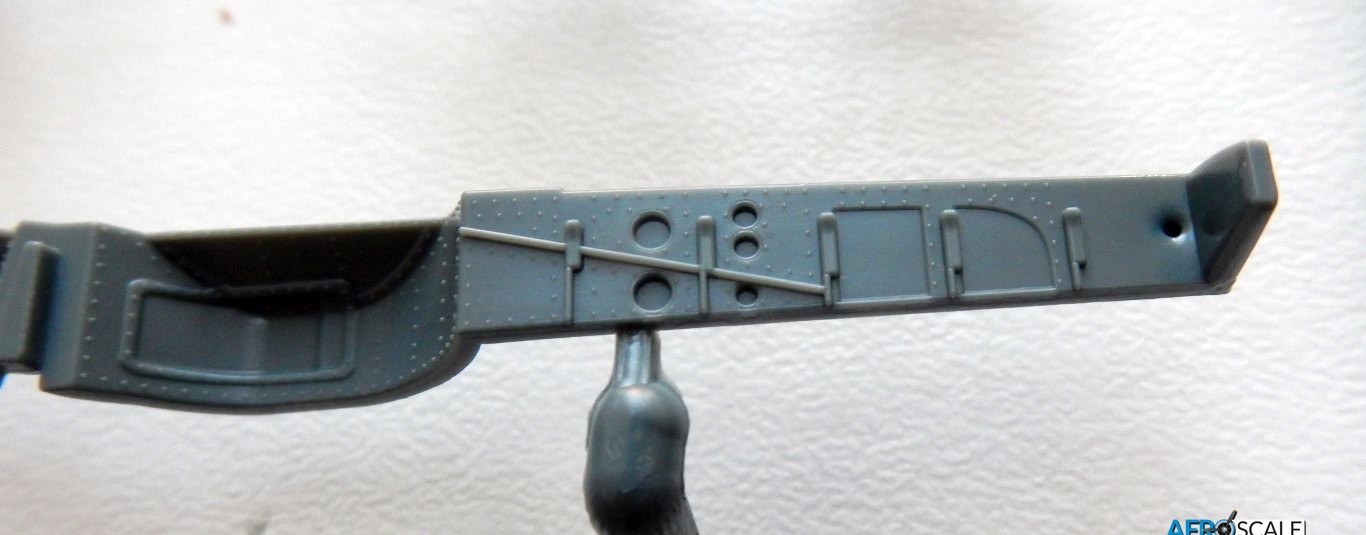
Exterior detail is exquisite with fine panel and rivet detail adorning the fuselage and wings.
Infact the rivets look like they might even disappear under the primer and paint they are that fine.
All the control surfaces are separate parts, so in theory they could be modelled off center, although the instructions don't show this.
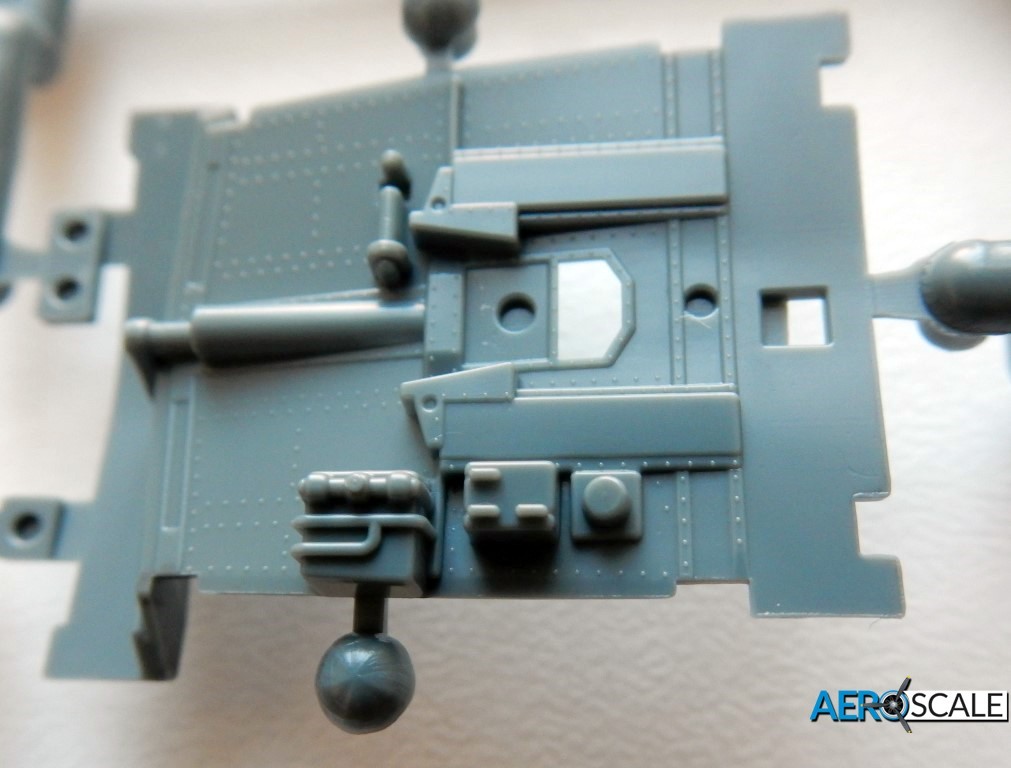
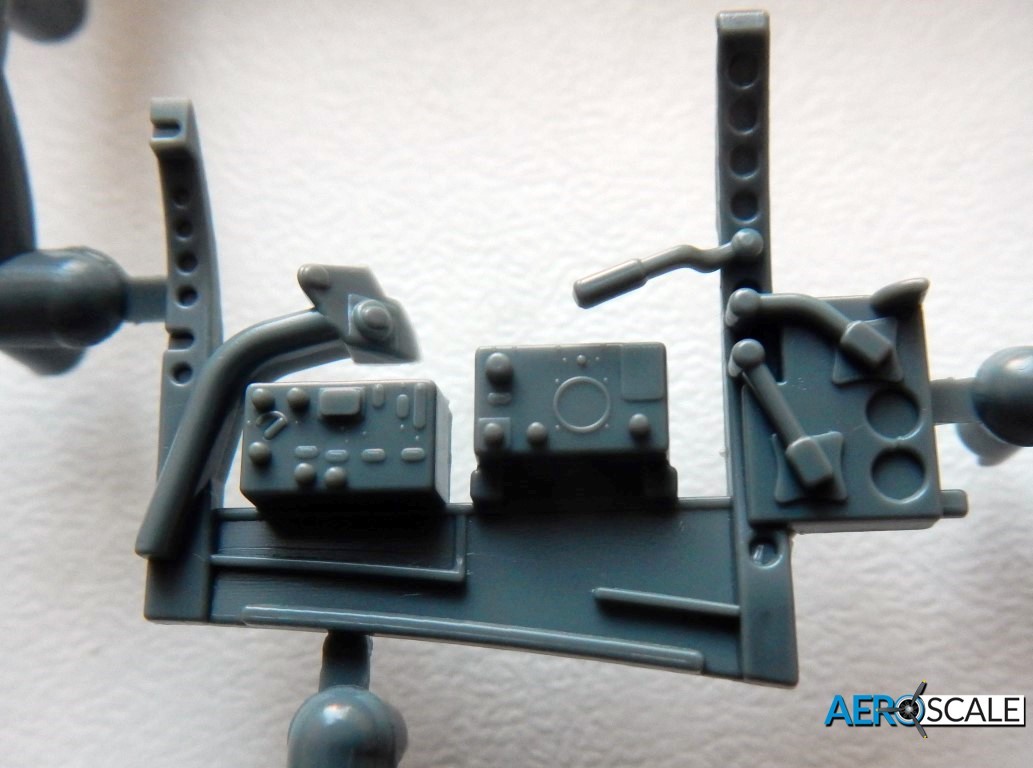
Now the interior detail is something else, and I don't think Eduard have ever produced a cockpit as detailed as this looks.
The cockpit has numerous photo etch parts, which replace or augments the plastic parts. The sidewalls for the cockpit are mix of moulded detail, in the way of spars, and plastic/P.E combo for the various panels, switches and map bins.
The cockpit itself has a so much stuff to go in, that at first glance at the instructions it looks rather daunting, with the sidewall and cockpit build taking place over 3 pages of the instructions.
Photo etch rudder pedals, harness for the seat, and a panels, as well as loads of plastic parts
The side instrument panels can either be swapped out for P.E parts, or left as the plastic parts and painted, or decaled.
The main instrument panel is made up of numerous photo etch parts or can be decaled if you fancy making your life a little easier (but the effect won't be the same).
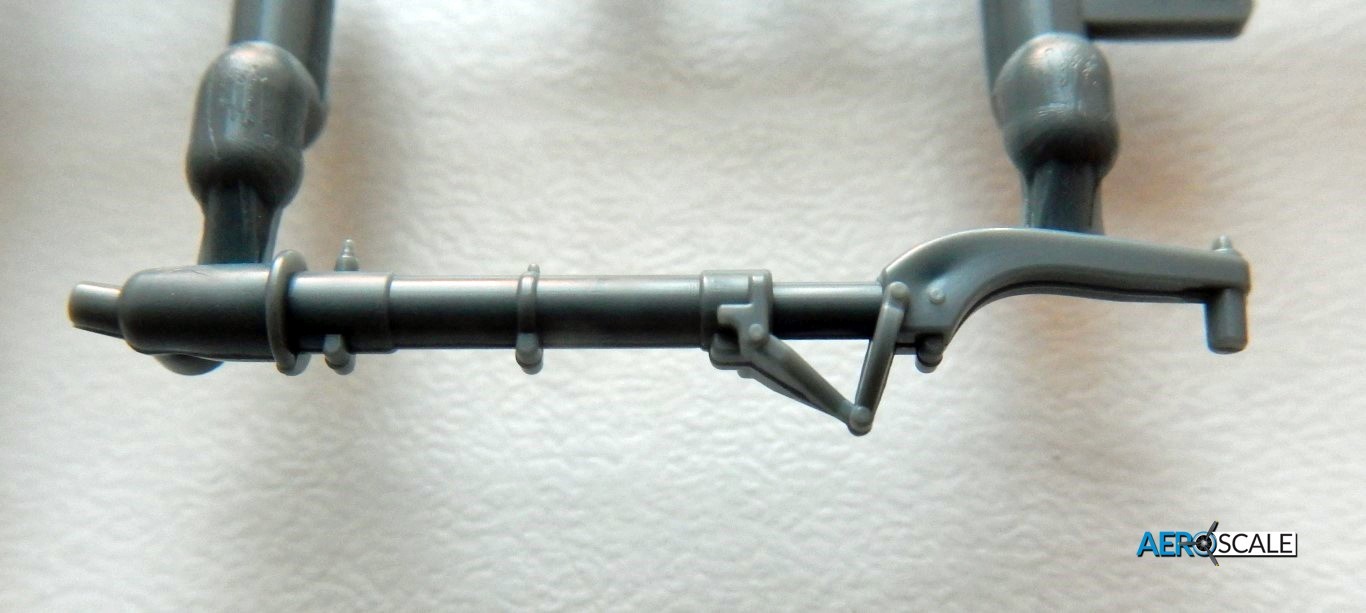
Two 7.7 mm (0.303 in) Type 97 aircraft machine guns are fitted into the cowling section of the nose, and fit onto the firewall at the front of the cockpit.
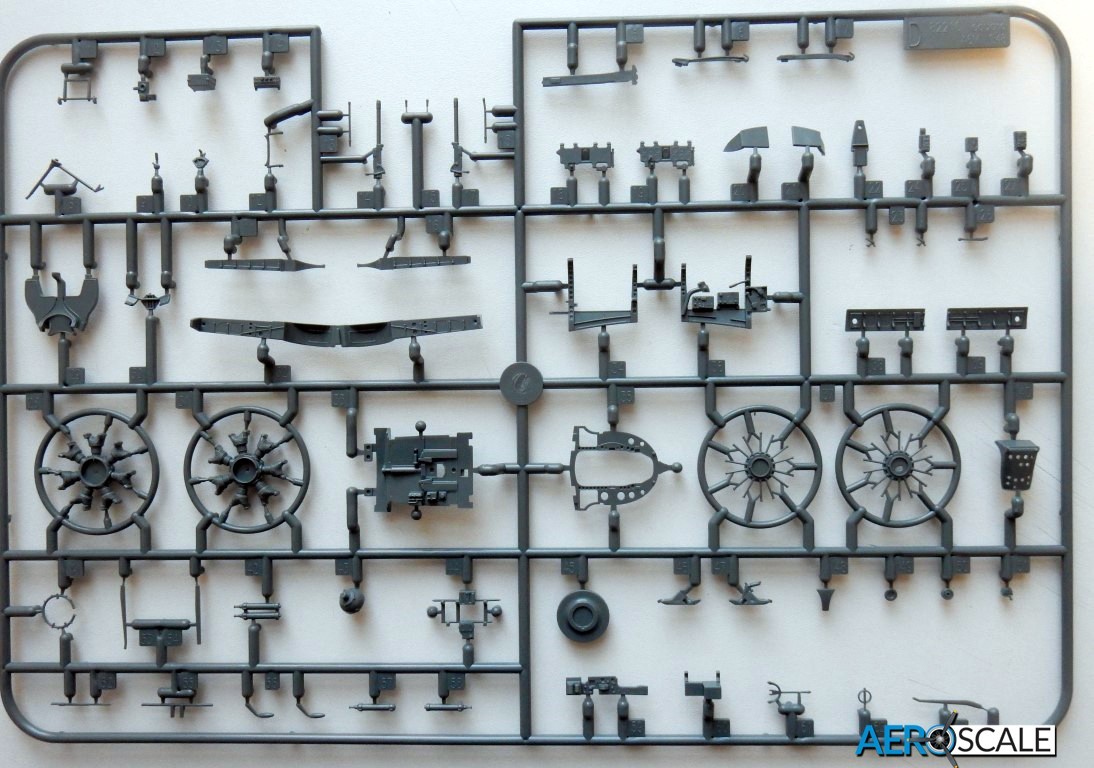
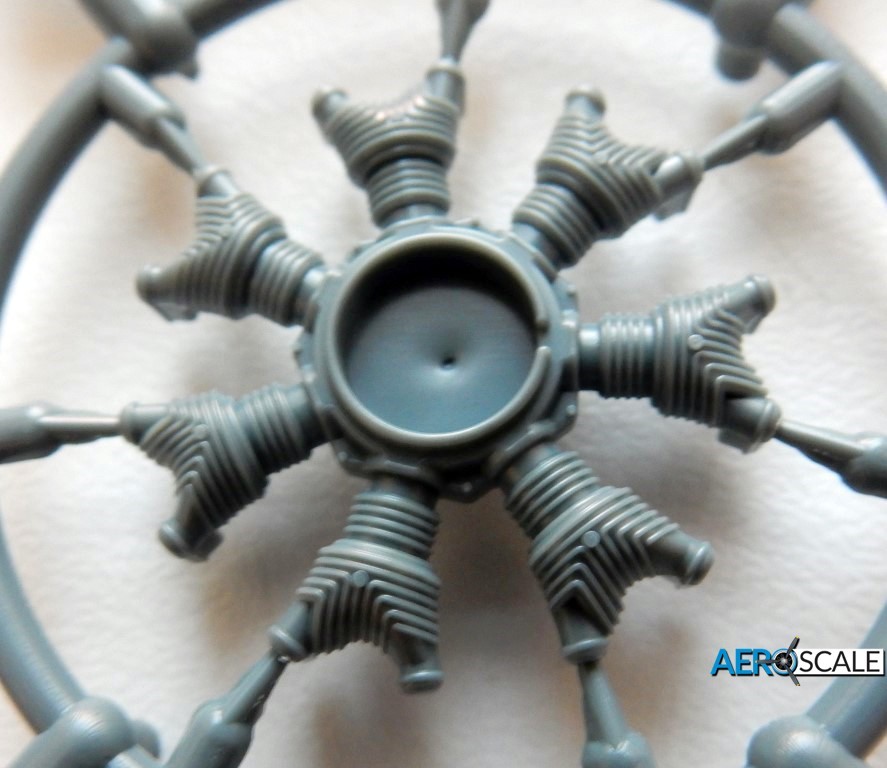
The engine, is made up of two banks of piston heads and have plastic ignition wires fitted. Detail is pretty good, although you will only see the front face through the cowling. A 3D printed engine is being produced by Eduard, so this area can be really shown too its potential.
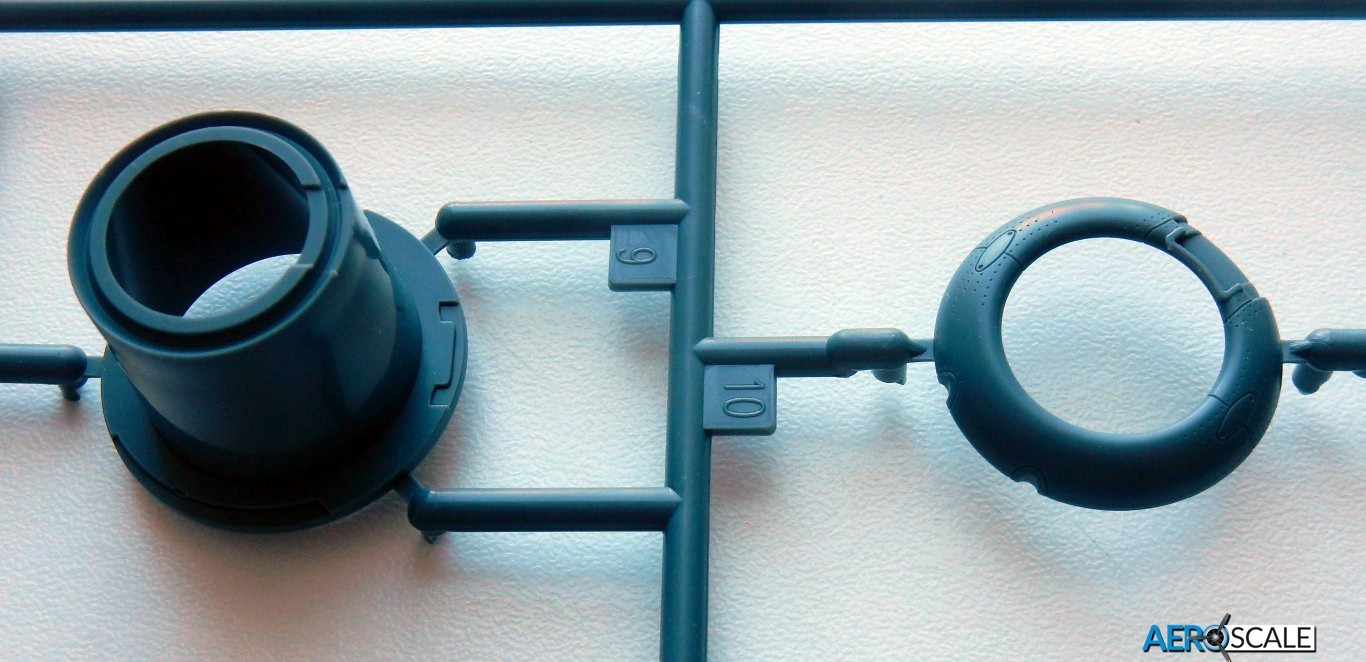
The cowling is made up of nine parts, and Eduard supply a plug that you build the cowling panels around, with big red letters saying "DO NOT GLUE" said panels to the plug.
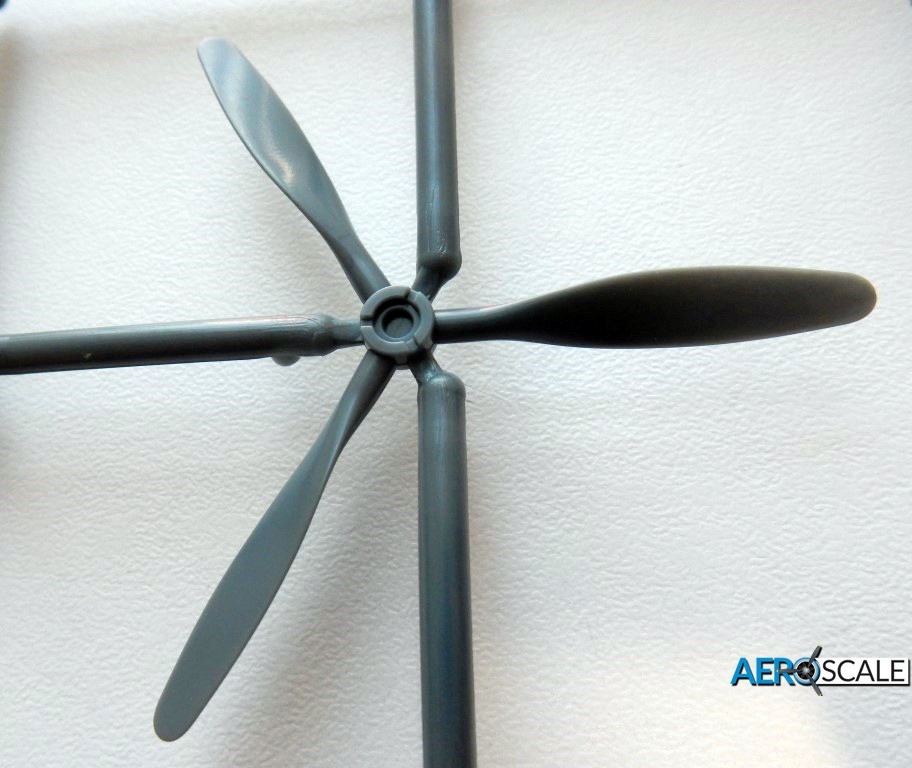
A one piece three blade prop with a separate spinner completes the front end.
The undercarriage bays and legs are fairly well detailed and once built will look pretty decent.
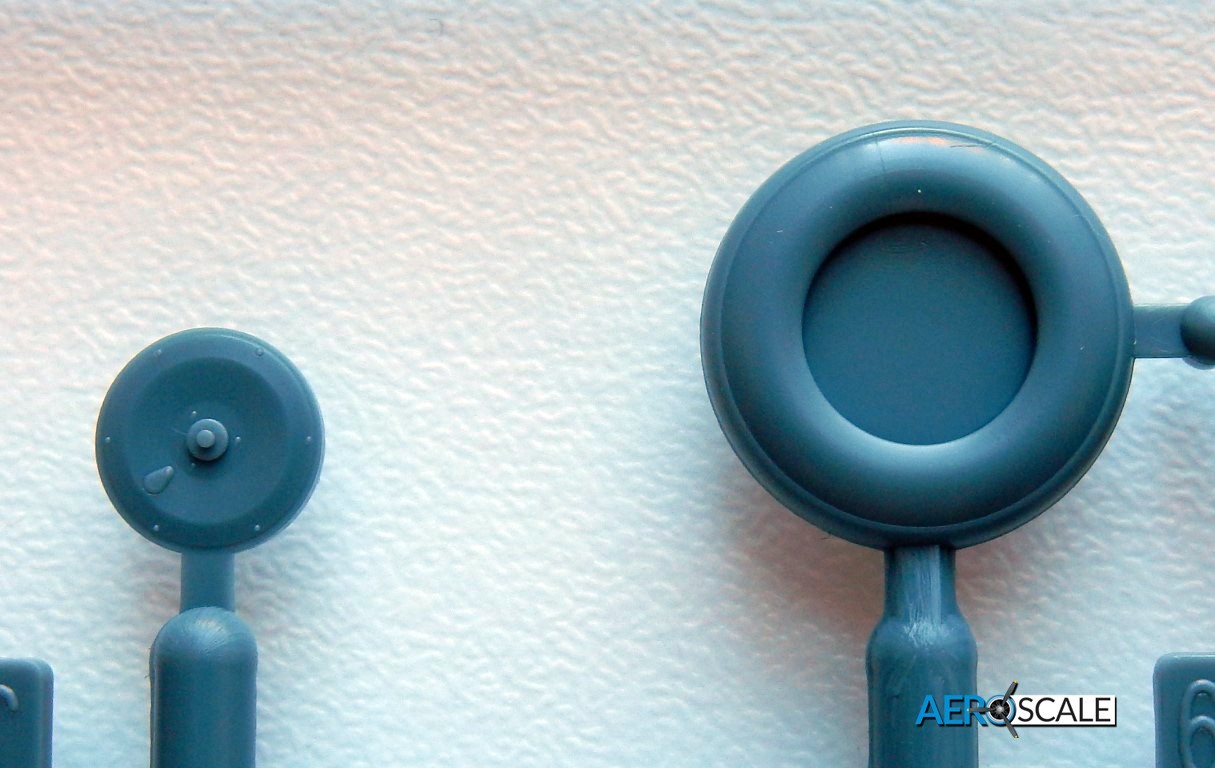
P.E Oleos are supplied and the tyres have separate hubs. The tyres have a little tread pattern on them. A Brassin replacement, which are more detailed can be purchased if you wish to up the level of detail for the wheels.
An arrester hook can be modelled deployed of flush against the fuselage.
A drawing of the undercarriage is supplied to make sure the correct angle for the gear legs is set.
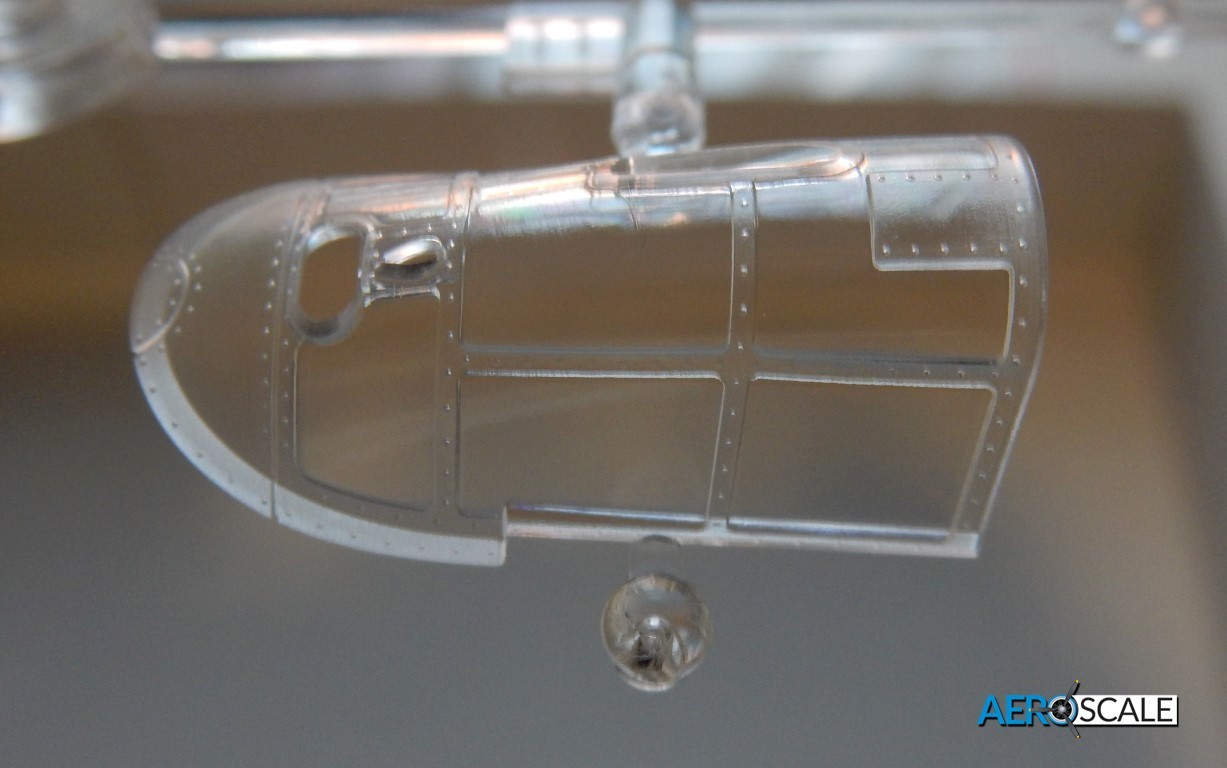
The canopy is crystal clear and can be modelled open or closed. Due too the greenhouse type framework found on the Zero, a handy set of masks are supplied to mask of the glazed portions. The mask set also has masks for the tyres so the hubs can be painted.
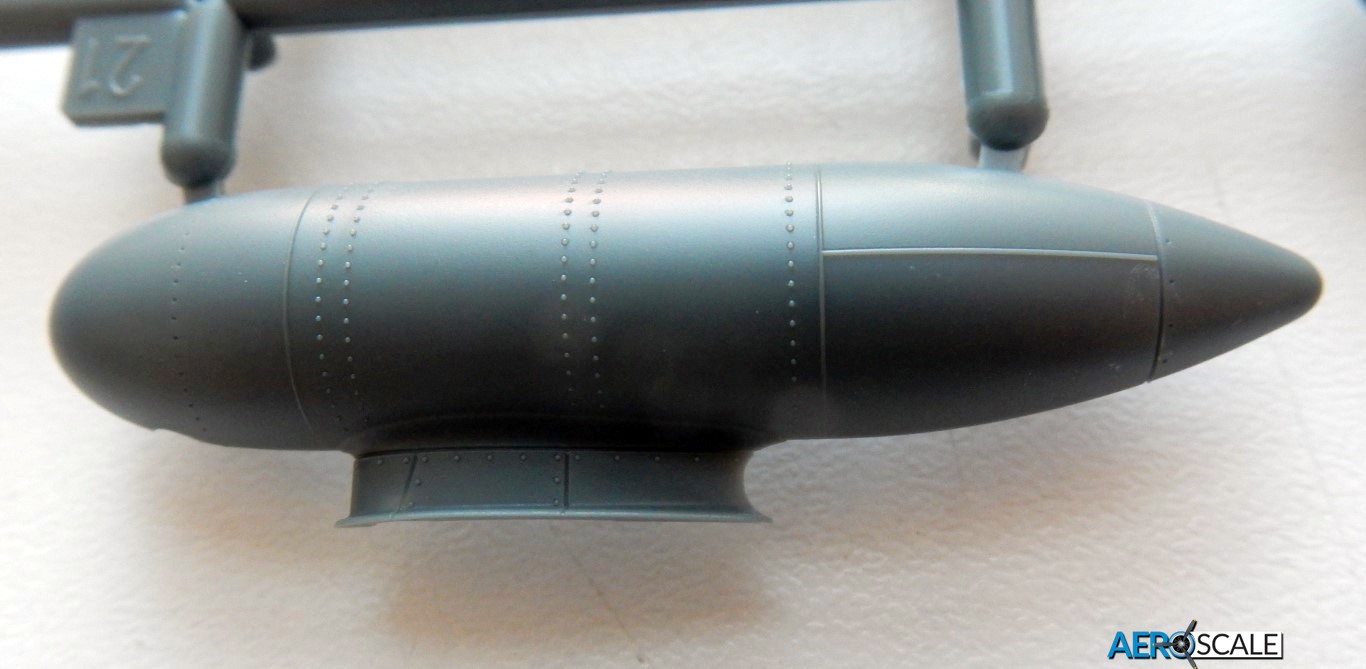
External stores is a centerline drop tank, although three bombs can be found on the sprue, which are not used in this boxing.
Instructions, decals and markings
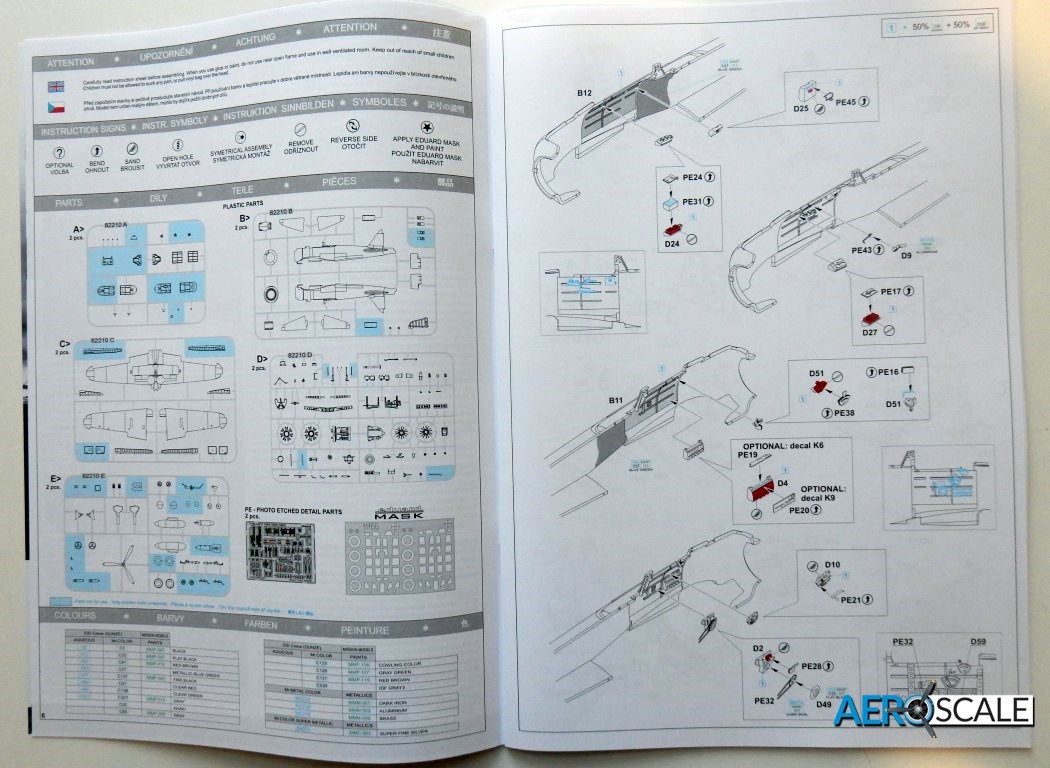
The instruction booklet is the typical Eduard affair with the build taking place over 13 pages, with internal colours given along the way, and any optional parts highlighted.
The build at first glance does look a little frightening, but if you take it one section at a time you should be OK. I wouldn't recommend this kit to a beginner though due to the high parts count and the inclusion of the many photo etch parts.
External and internal colour numbers for MR Color and Mission Models paint are supplied, although a few mixes of different paints are required to get the correct colour.
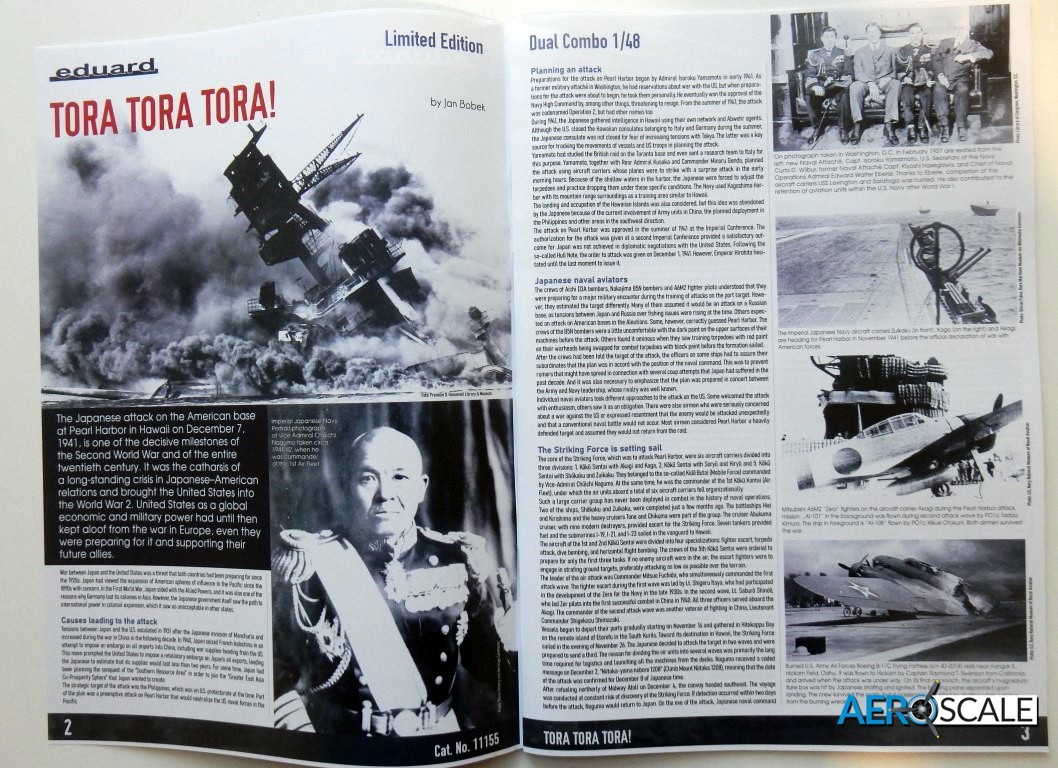
The front of the instruction manual has a short history of the Pearl Harbour attack, including the planning and the aviators involved.
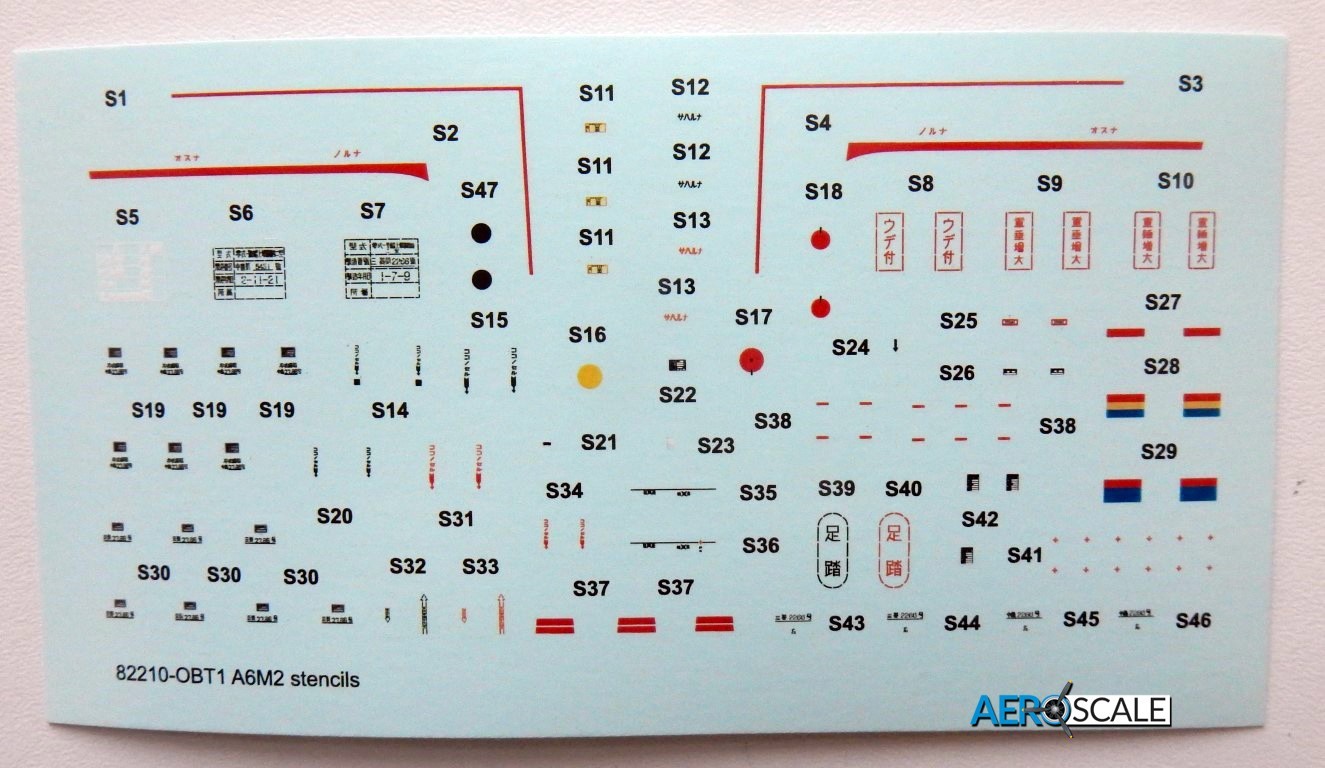
The decals are printed by Eduard, and are on to sheets, with the larger sheet having the unit and insignia markings with the smaller sheet covering the stencils.

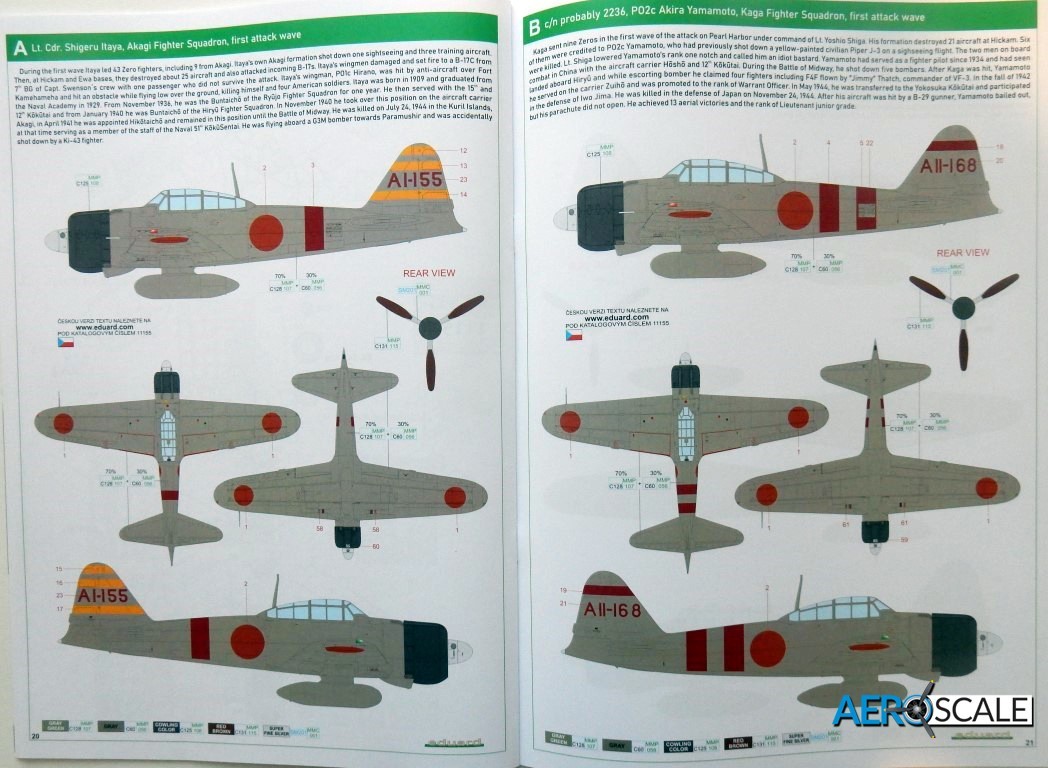
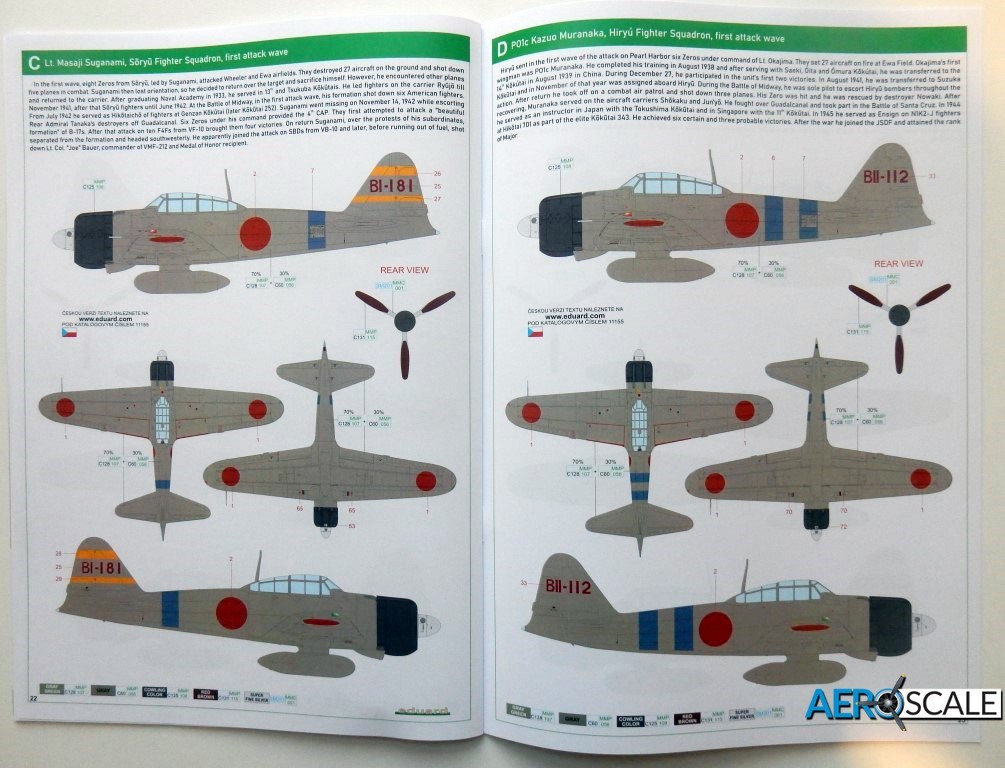
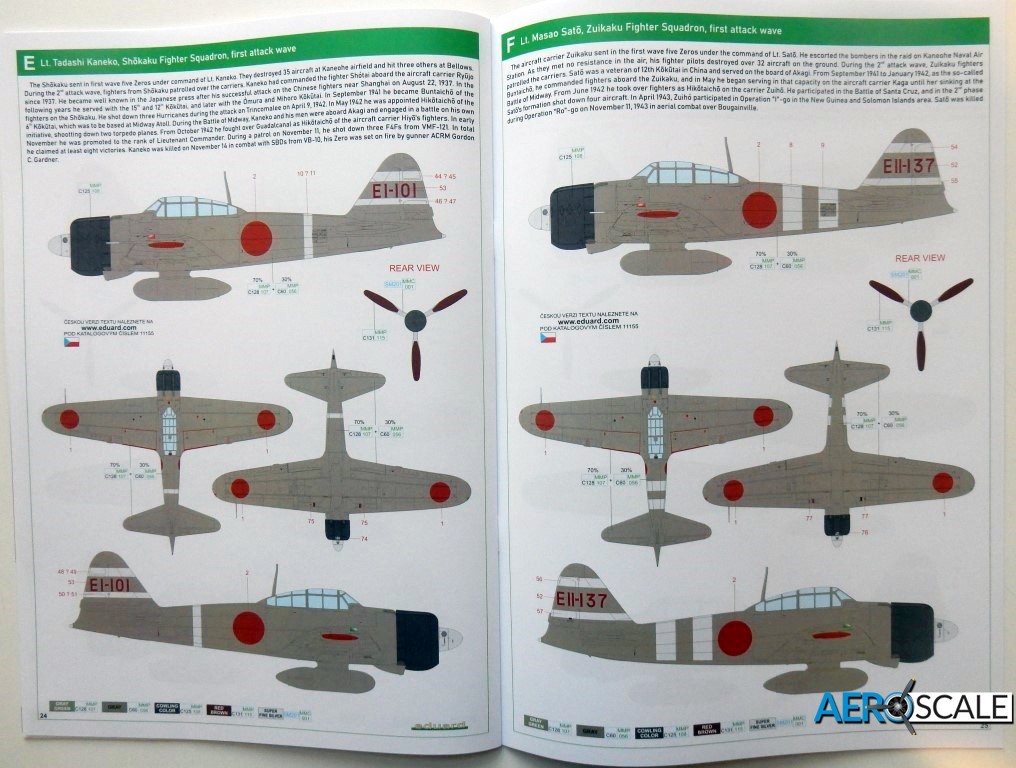
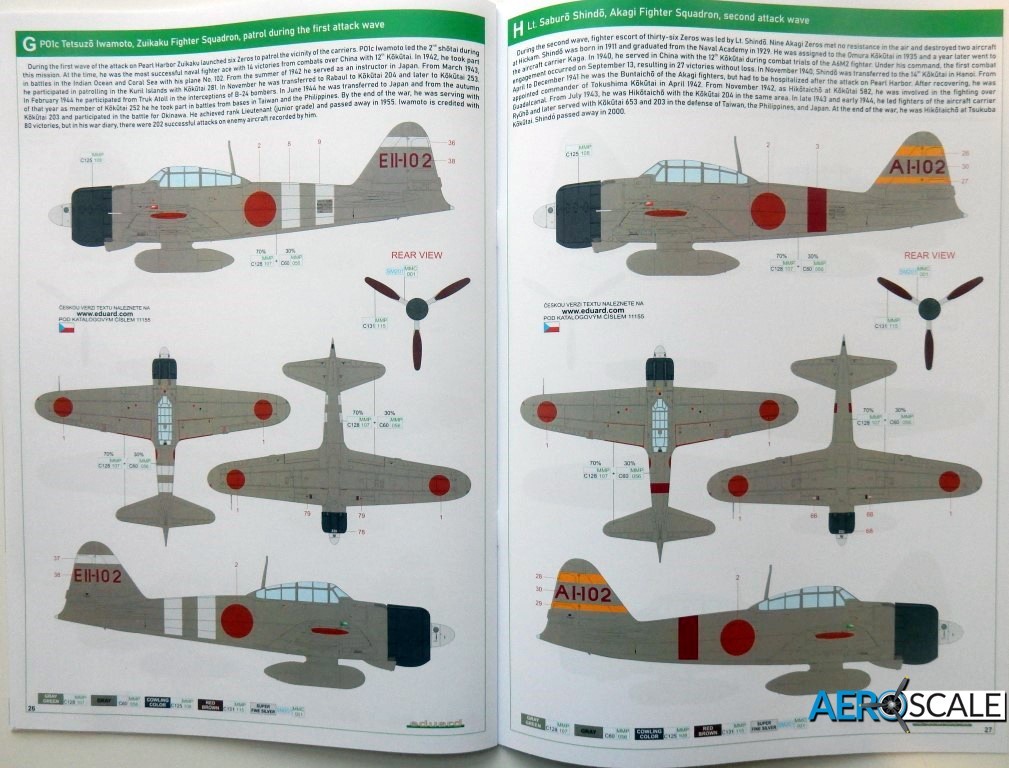
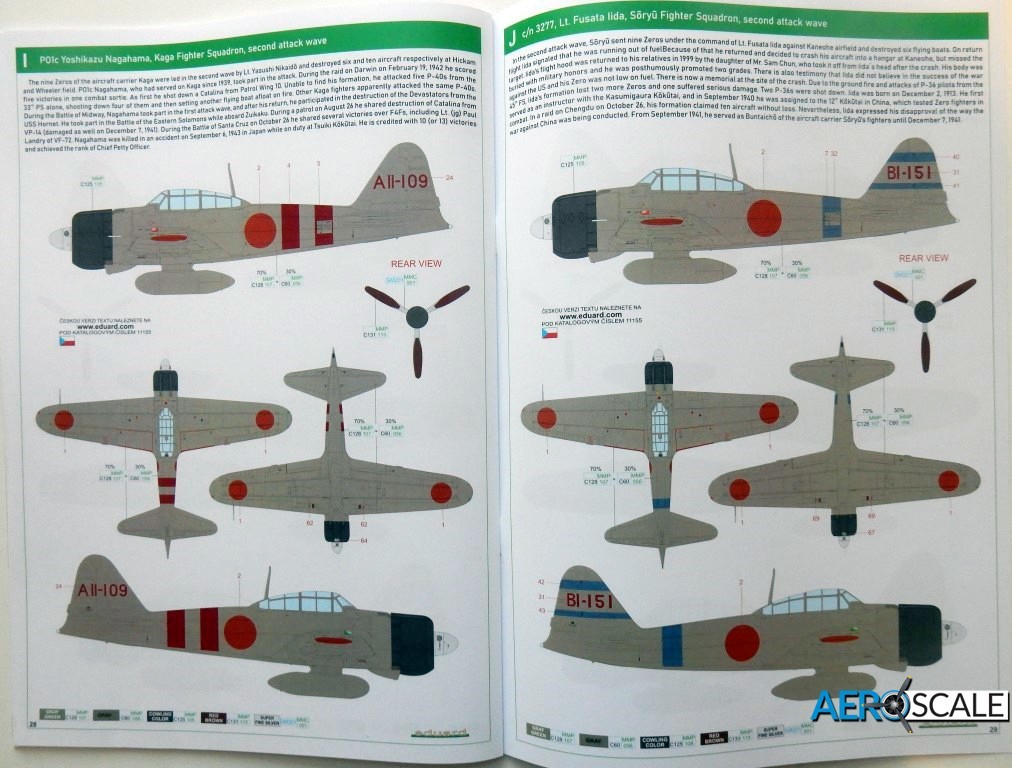
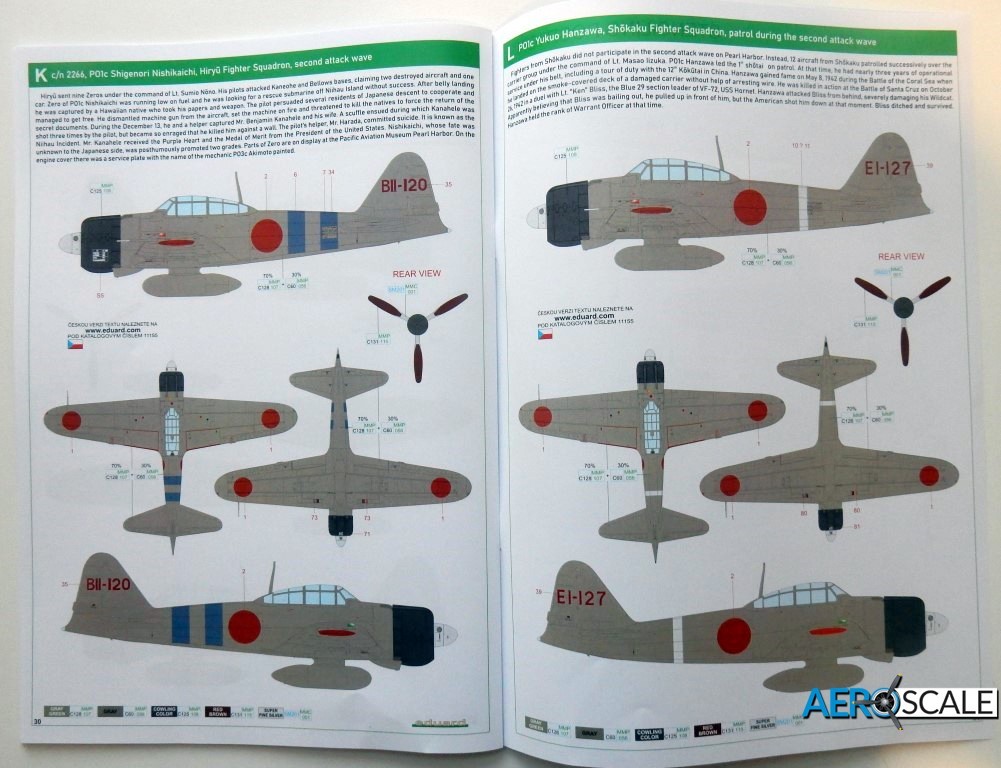
12 marking options are supplied, but all the schemes are the same, with only the unit markings different. Aircraft from all six aircraft carriers are represented in the selection, with two aircraft markings from each ship.
Conclusion
As soon as I saw this was going to be released I instantly wanted one, and thankfully Eduard sent a pre-release sample out to selected reviewers, and boy I am not disappointed.
The kit is highly detailed, beautifully produced and will rival if not better the Tamigawa's kits of this iconic fighter.
This boxing is not really suited to the beginner due to the amount of P. E parts included and the complexity of the build in places.
No doubt Eduard will release WeekEnd boxings of the Zero, which will be easier to build.
Eduard have and will release several Brassin, LooK, SPACE and 3D printed parts for the base kit, which will add even more detail to an already exceptional looking kit.
Lets just hope it builds as well as it looks.
Mfg. ID - 11155
Our Thanks to Eduard!
This item was provided by them for the purpose of having it reviewed on this KitMaker Network site.
Please remember, when contacting retailers or manufacturers, to mention that you saw their products highlighted here - on AEROSCALE.