Background
The British Purchasing Commission approached North American Aviation [NAA] to build Curtiss P-40 under license for the RAF. NAA instead proposed the design for a higher performance fighter. Once the contract was agreed the prototype NA-73X airframe was rolled out 102 days later [09/09/1940] with the first flight on 26th October the same year. The Mustang Mk.1 operated by the RAF was powered by the Alinson V-1710, similar to the engine of the P-40. So, the early P-51’s was affected by the same drop in performance with altitude as its predecessor. The P-51B/C (Mustang Mk III) was fitted with the Rolls-Royce Merlin transforming the aircraft's performance at altitudes. With the introduction of the US in WWII the USAAF's Eighth Air Force operated the Packard Merlin powered P-51Bs and P-51Cs for escort duties while the RAF and the USAAF's Ninth Air Force Mustangs were used in the fighter bomber role.


The majority of F-6C reconnaissance aircraft were constructed at the North American factory in Dallas. Around 230 were built and another 50 P-51C’s were converted into the F-6C. The factory-built F-6C had the camera equipment fitted at either Dallas Love Field or in Kansas City. The reconnaissance Mustangs performed well on both high-altitude missions with a vertical camera and on low-level tactical reconnaissance using an oblique camera. They were used by the USAAF and RAF over European, Mediterranean, and Far East theatres of operations.


The Kit
All the components for the Mustang are contained in single bag inside a side opening box. The photo etched [PE] fret and the kabuki paint masks placed in the same bag. The clear parts are packed separately too. The decal sheet is sandwiched inside the instructions. Taking the sprues out of the bag, it’s difficult not to be impressed with the quality of the recessed detail. Panel lines, rivets, fastners and fuel filler caps are well defined, consistent and quite subtle, perfect for natural metal finishes. There are a couple areas where there are sink marks. The outside of the cockpit and the outer skin of the undercarriage doors. Good news is that they will be easy enough to eradicate. The fuselage moulding isn’t specific to the F-6C so the two camera ports need to be drilled or cut out.


There is an excellent amount of detail in the cockpit. The detail on the plastic is impressive and this is backed up with quite a few decals replicating instruments and switches. The side walls of the cockpit and the tail wheel bay are detailed with raised rib work. Additional detail for the sidewalls includes throttle and electrical boxes There are two types of seats: Warren McArthur or Schick Johnson, depending which marking option you go for. Arma Hobby has included PE [unpainted] or decal seat harnesses. Detail extends to the rear of the pilot with separate parts for the radio equipment and battery. Interestingly Arma Hobby has provided three different layouts for this area. The options without the fuselage fuel tank are packed with electronic equipment.


The kit offers two types of canopies: the hinged flat framed or the blown Malcom hood. There are five clear pieces for both canopy types and both can be modelled open. The open position of the flat framed is moulded in one piece, making life much easier to fit.


The fuselage halves are tailless as you have the choice of fitting a filleted [option 1] or non-filleted tail [option2-6]. There are two styles of vent for the carburettor air intake and there is a blank piece that was used in cold weather. The kit comes with the Hamilton standard cuffed propeller and there is a choice of two styles of exhaust. One has the shielding protecting the pilot from glare which is fitted on three of the marking options. Arma Hobby has supplied a PE template to help scribe a panel just aft of the exhaust pipes. The air duct under the fuselage is also a focus for a number of detailed parts including two PE. This release features the filler cap for the self-sealing fuel tank aft of the pilot's seat that started with P-51B-5-NA or block 5. Only option 1 has the extra fuselage tank fitted, so the rest will need the fuselage filler cap filled. To represent the photo reconnaissance F-6C the two camera ports need to be drilled or cut out. Arma Hobby has marked the areas to drill on the inside of the left fuselage for the oblique camera. The vertical camera port is situated in the ducting on the underside of the fuselage. There are clear plastic windows to glue in place


The wings are in two pieces with a one piece lower and unusually a one piece upper. A really nice touch is the slightly depressed panels on the underside of the wing where the rivet detail is. It’s very subtle [difficult to photograph] but it’s there. The flaps are separate and can be fitted in the dropped position. The detail in the undercarriage [U/C] bay is moulded into the top wing and it looks superb. Normally the cost of such detail are signs of shrinkage on the other side, but there is no sign of it. There is a section of the wing spar to add to the U/C bay too. If you want to attach ordnance under the wing, then holes need to be drilled. There are guide holes to start you off. As mentioned, there is a choice between a filleted or non-filleted tail. Both are attached to the one-piece horizontal tailplane. It’s great to see the canvas covered control surfaces represented accurately by Arma Hobby. No sagging canvas between the ribs, just rib tape on show.


The one-piece main wheels have beautifully detailed hubs and diamond tread. An added bonus is that the tyres are slightly weighted. The rear wheel unit is one piece and superbly moulded. The detail on the inner doors of the main undercarriage is really well executed, replicating the pressed aluminium very well. The only area I can see any shrinkage as a consequence of all the detail is on the outer gear door. There a hint of shrinkage on the exterior surface although this will be easy to put right with a sanding stick as there is no surface detail.


Paper 108 gallon and aluminium 75-gallon fuel tanks are included with the kit. The ribbed construction of the paper tanks looks particularly good. Also included are two 250 lb bombs along with shackles. You may think these are superfluous for the F-6C, but you would be wrong. Major Edward McComas managed to sink a Japanese destroyer with bombs dropped from his reconnaissance Mustang and the markings for his aircraft is option 5.


The photo etched fret contains seat harness and radiator grills as well as a template for a fuselage panel behind the exhaust pipes.
The kabuki paint masks are for the glazed parts and wheels. Oddly the instructions don’t mention their use.

The decals printed by Techmod look superb: glossy, with good colour density and the definition is superb. Option ‘3’ features lightning bolts down the fuselage and on the fin. You will be pleased to know that they are included on the sheet. You might notice that the decal sheet has two lots of stencils, cockpit detail including instrument panel and harnesses. A nice touch is that Arma Hobby include extra decals so that you can use them on a set of ‘Overtrees’ if you fancy.


Although advertised as having four marking option there are a couple of bonus marking options included. The six marking options featuring a 50/50 mix of camouflaged and natural metal subjects. Two of the marking options features Maj. E.O. McComas ‘Barbara’s Miss Revenge’. There is a slight variation in markings and more kill mission markings with option 3.
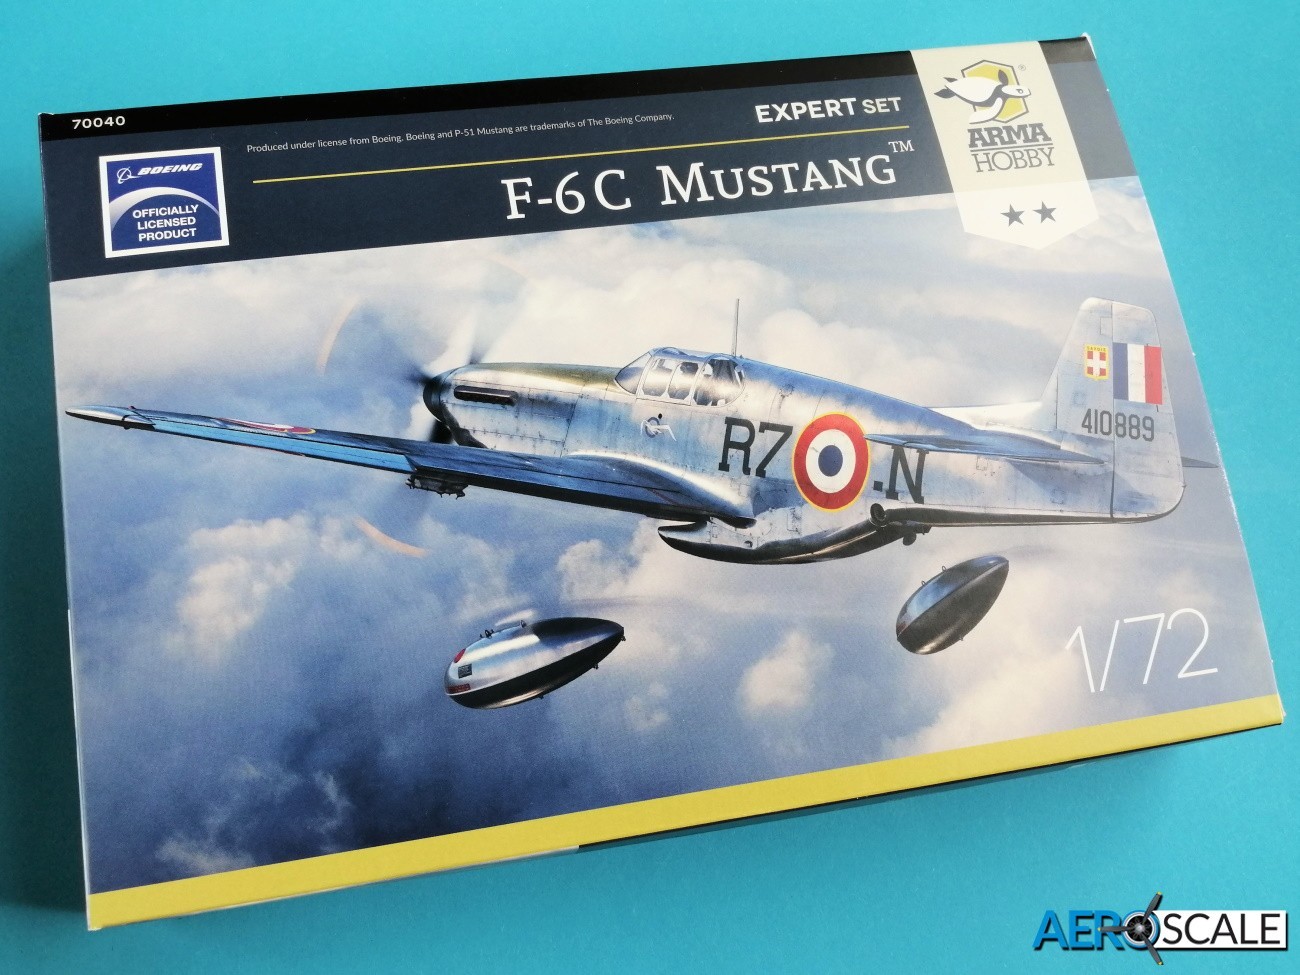
- F-6C-10-NT Mustang, 44-10889/R7-N, GR II.33 Savoie, French Air Forces, April-May 1945.
- F-6C-1-NA Mustang, 43-12400/ZM-O, ‘Maize Me Monk’ pilot: Cpt. E.B. ‘’Blackie’’ Travis, 12th Tactical Reconnaissance Squadron, 67th Tactical Reconnaissance Group, Middle Wallop, England, spring 1944.
- F-6C-5-NT Mustang, 42-103604/600, ‘Barbara’s Miss Revenge’ pilot: Maj. E.O. McComas, 118th Tactical Reconnaissance Squadron, 23rd Fighter Group, Chengkung China, October 1944.
- F-6C-1-NA Mustang, 43-12404/266, 26th Fighter Squadron, 51st Fighter Group, China 1944-45.
Bonus marking options:
- F-6C-5-NT Mustang, 42-103604/600, ‘Barbara’s Miss Revenge’pilot: Maj. E.O. McComas, 118th Tactical Reconnaissance Squadron, 23rd Fighter Group, Chengkung China, October 1944.
- F-6C-1-NA Mustang, 43-12330/263, 26th Fighter Squadron, 51st Fighter Group, China 1944-45


The instructions look pretty straightforward, just be aware of the various different options for the aircraft you select markings wise, particularly in the radio compartment behind the pilot. There is a section showing the placement of the stencils. The four-view painting guide is also a useful guide at a quick glance to the external differences to each F-6C. There are a number of paint manufactures referenced in the instructions including: Hataka, AK RC, Lifecolor, Ammo, Humbrol, Vallejo and Tamiya.


Conclusions
It’s great to see Arma Hobby releasing a specific edition for the photo reconnaissance F-6C Mustang Very impressed with the level of detail and also the level of research on each aircraft. Arma Hobby’s 1:72 scale Mustangs have been out long enough for the build results to filter through model websites and publication as well as social networks. The results are impressive to say the least. Highly recommended.
Many thanks to Arma Hobby for this review sample.
Price: €24.58
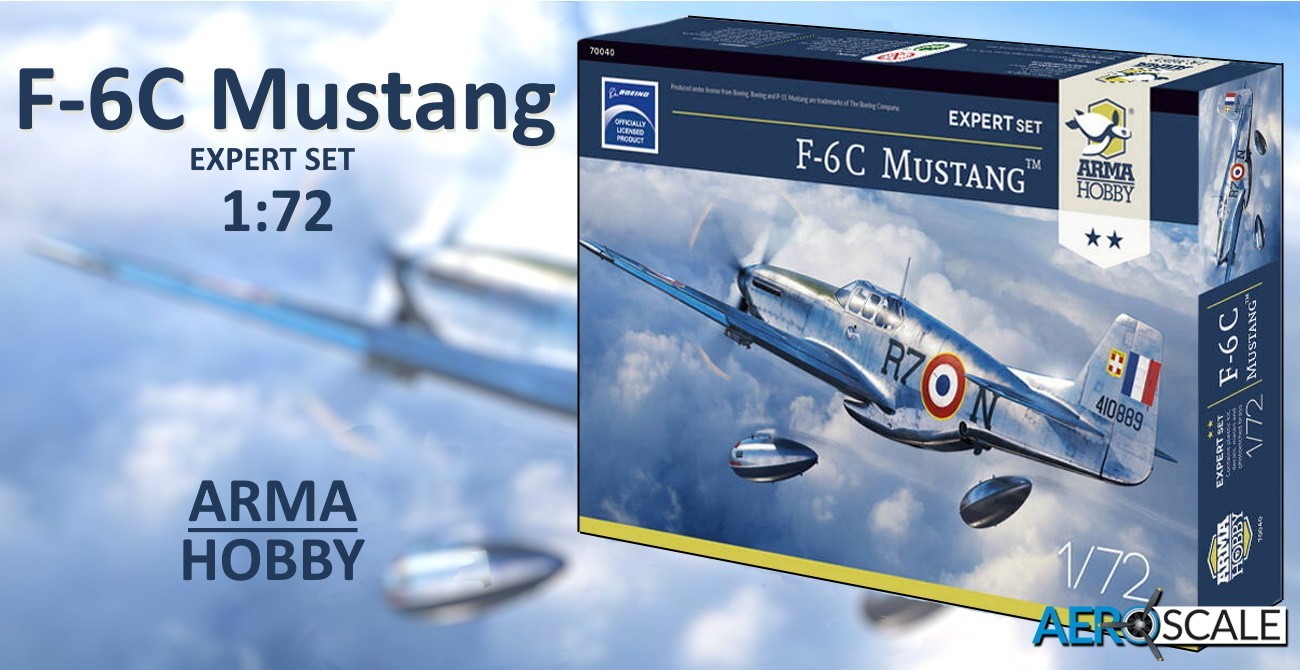
70040 - F-6C Mustang™ Expert Set – 1:72
Please remember, when contacting retailers or manufacturers, to mention that you saw their products highlighted here – on AEROSCALE.


