Introduction
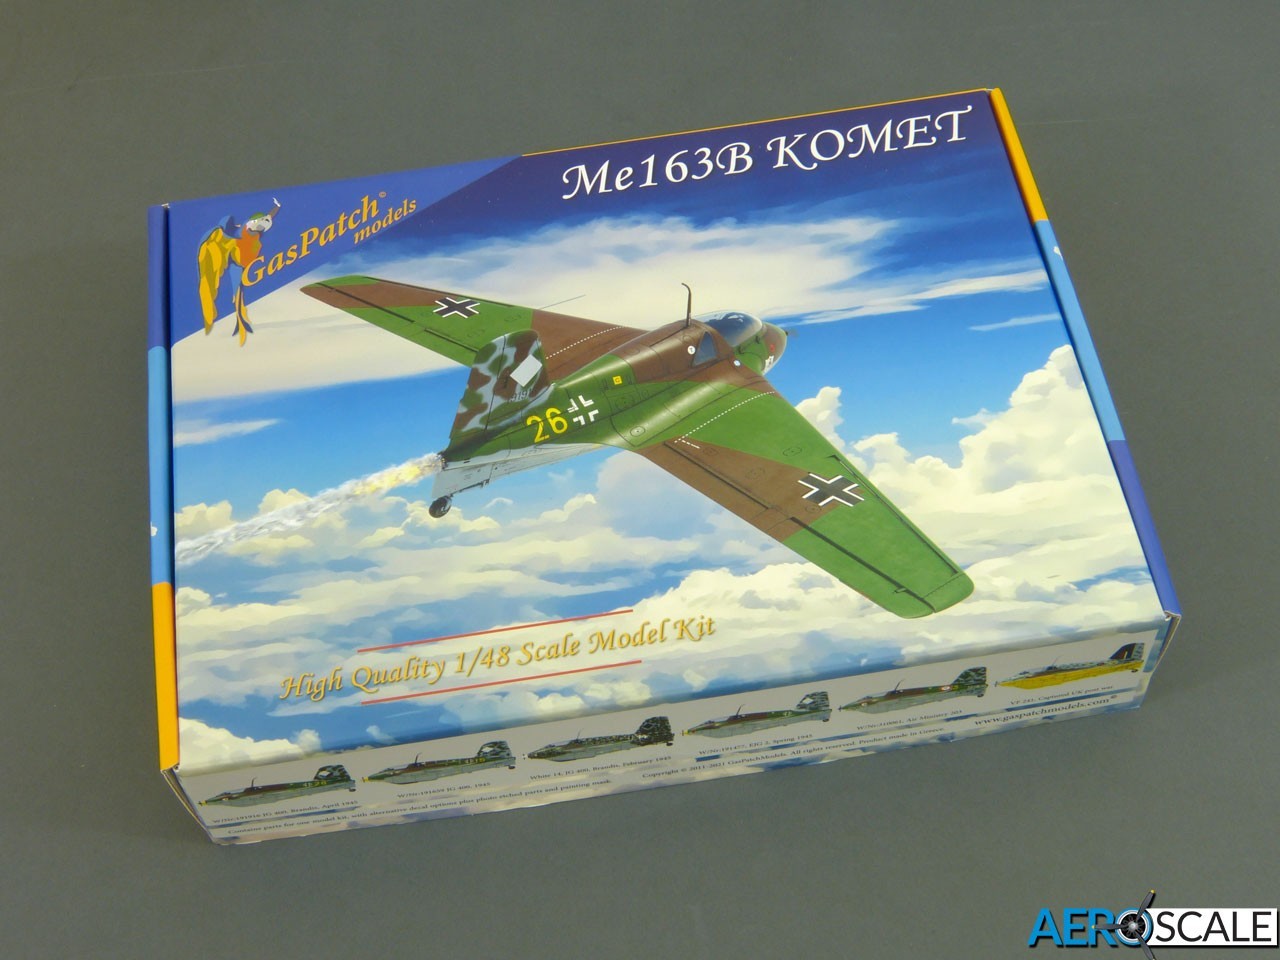
The kit arrives in a very study and attractive flip-top box,that not only protects the parts in transit but will be ideal for keeping everything organised during the build.
So, it’s something of a shock to open the box for the first time and see so much empty space. I guess it makes good sense for Gas Patch to use a standard sized box, but it comes as a bit of an anti-climax, nevertheless. However, this soon fades as you examine the contents and realise the high quality of the kit.
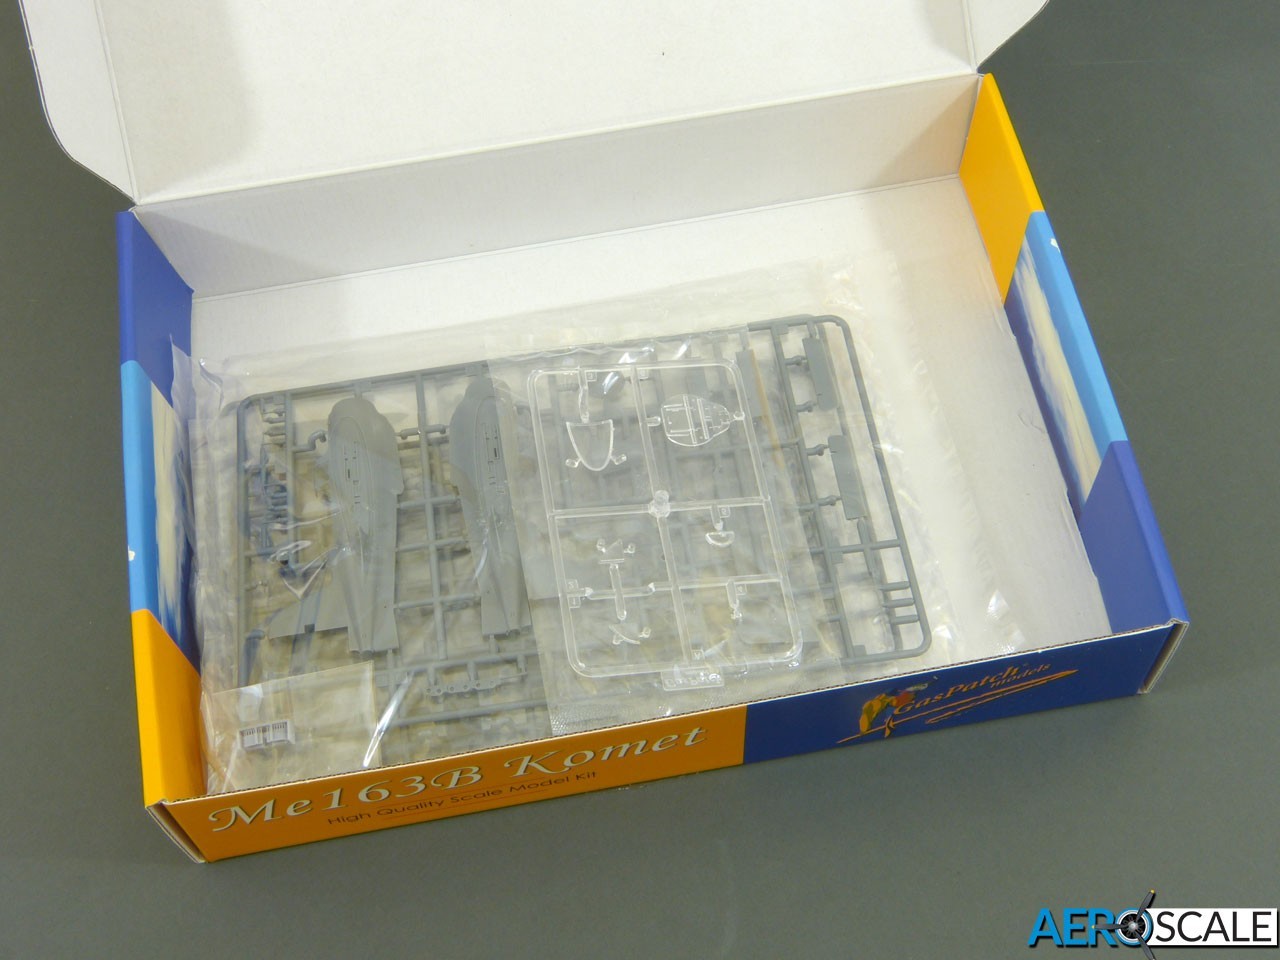
Each runner is bagged separately, while most of the accessories are further sealed together. Gas Patch’s Komet comprises:
130 x grey styrene parts
6 x clear styrene parts
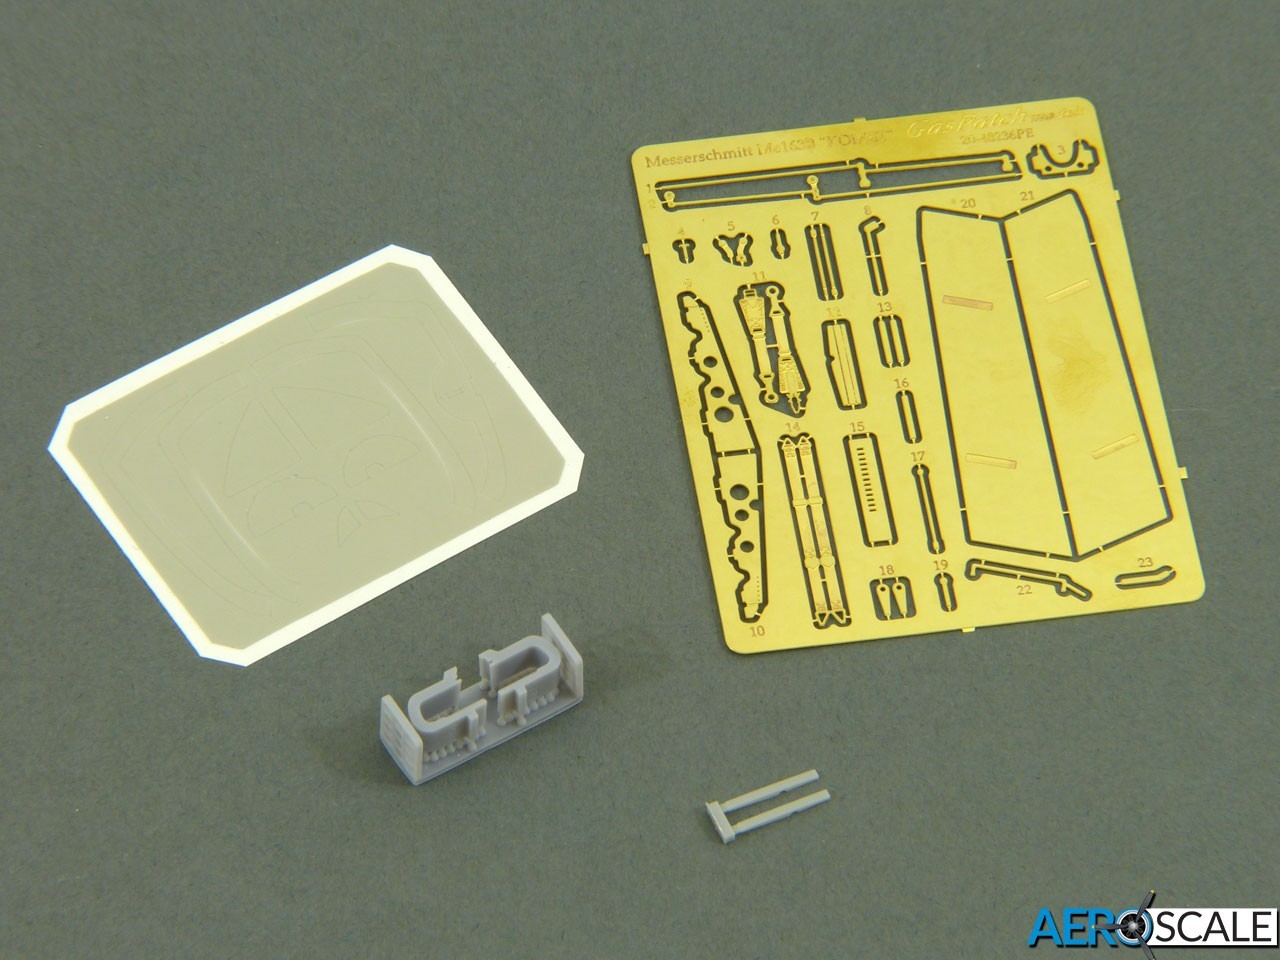
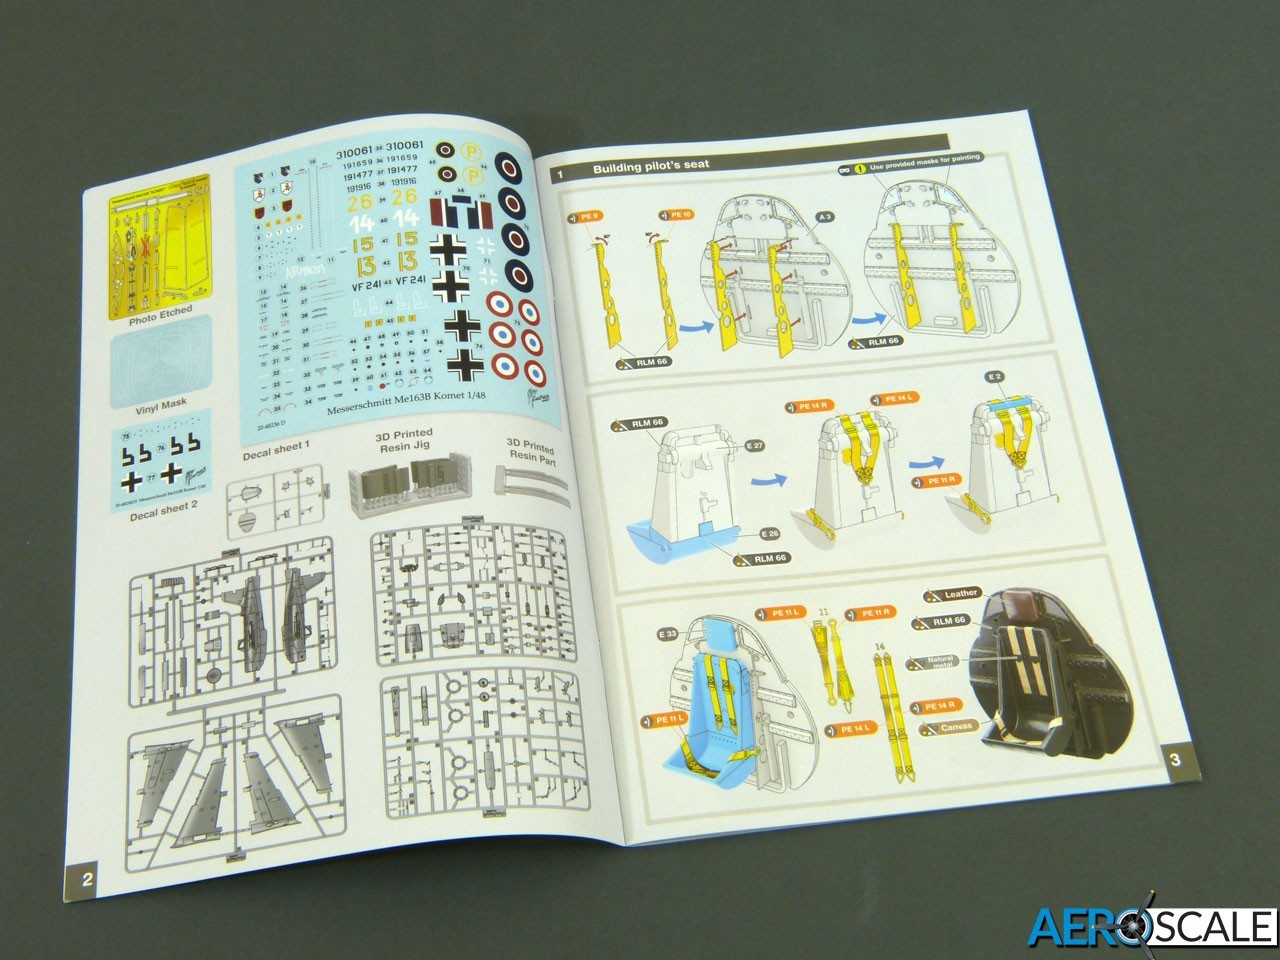
26 x etched brass parts (plus 2 not needed)
4 x resin parts
A sheet of die-cut vinyl painting masks
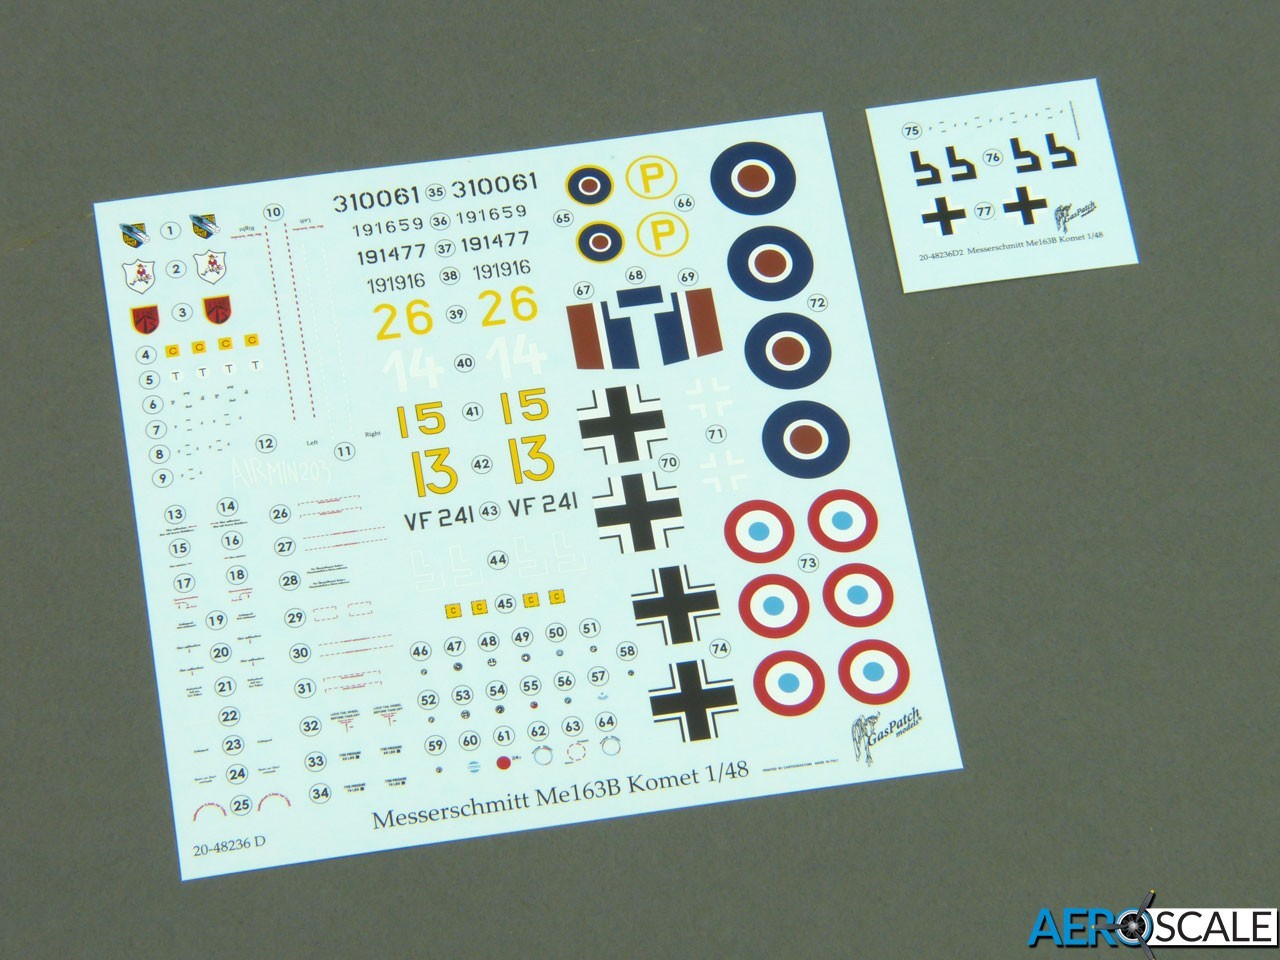
Decals for 6 x colour schemes
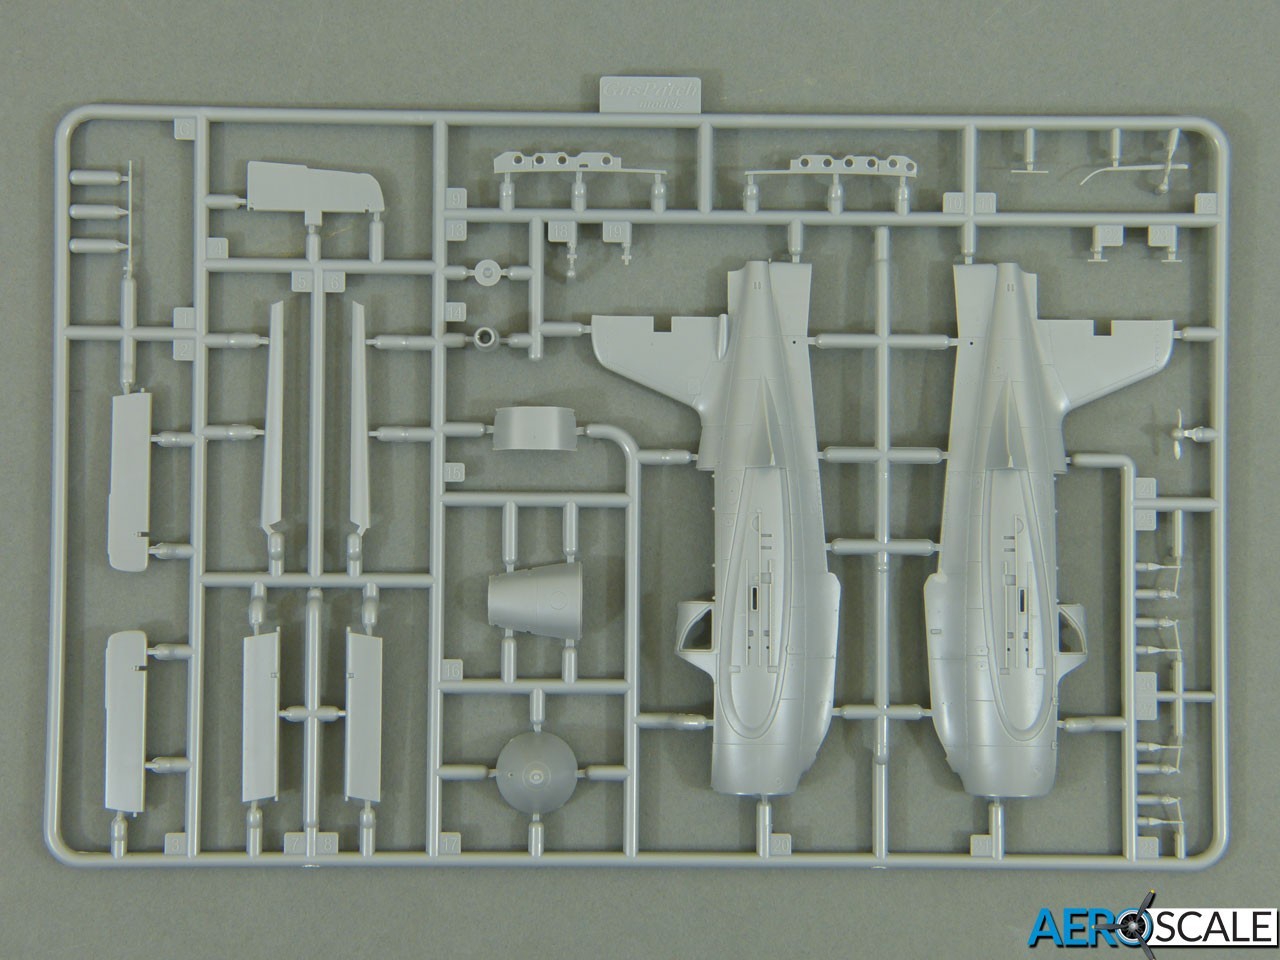
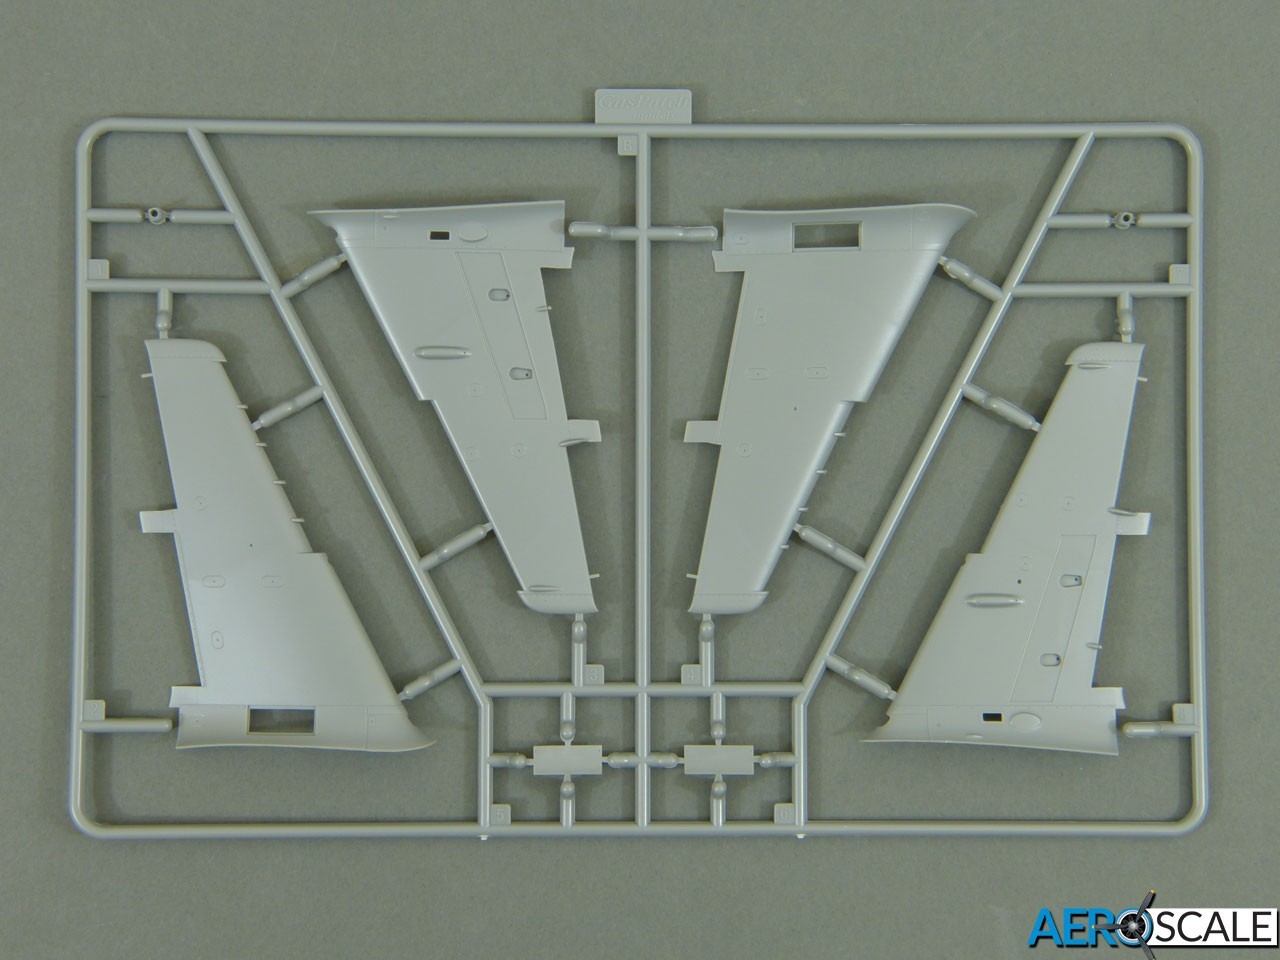


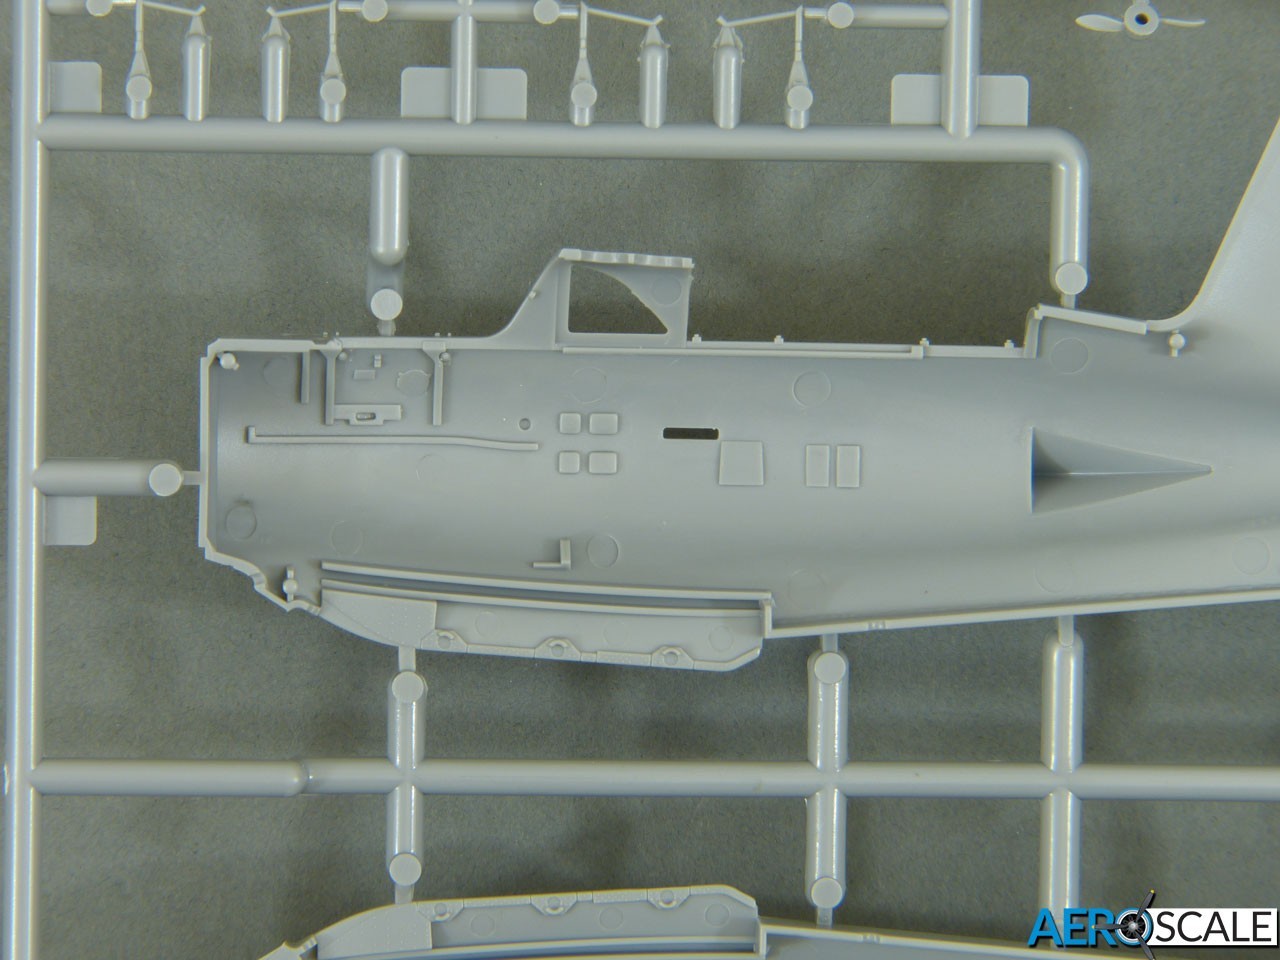
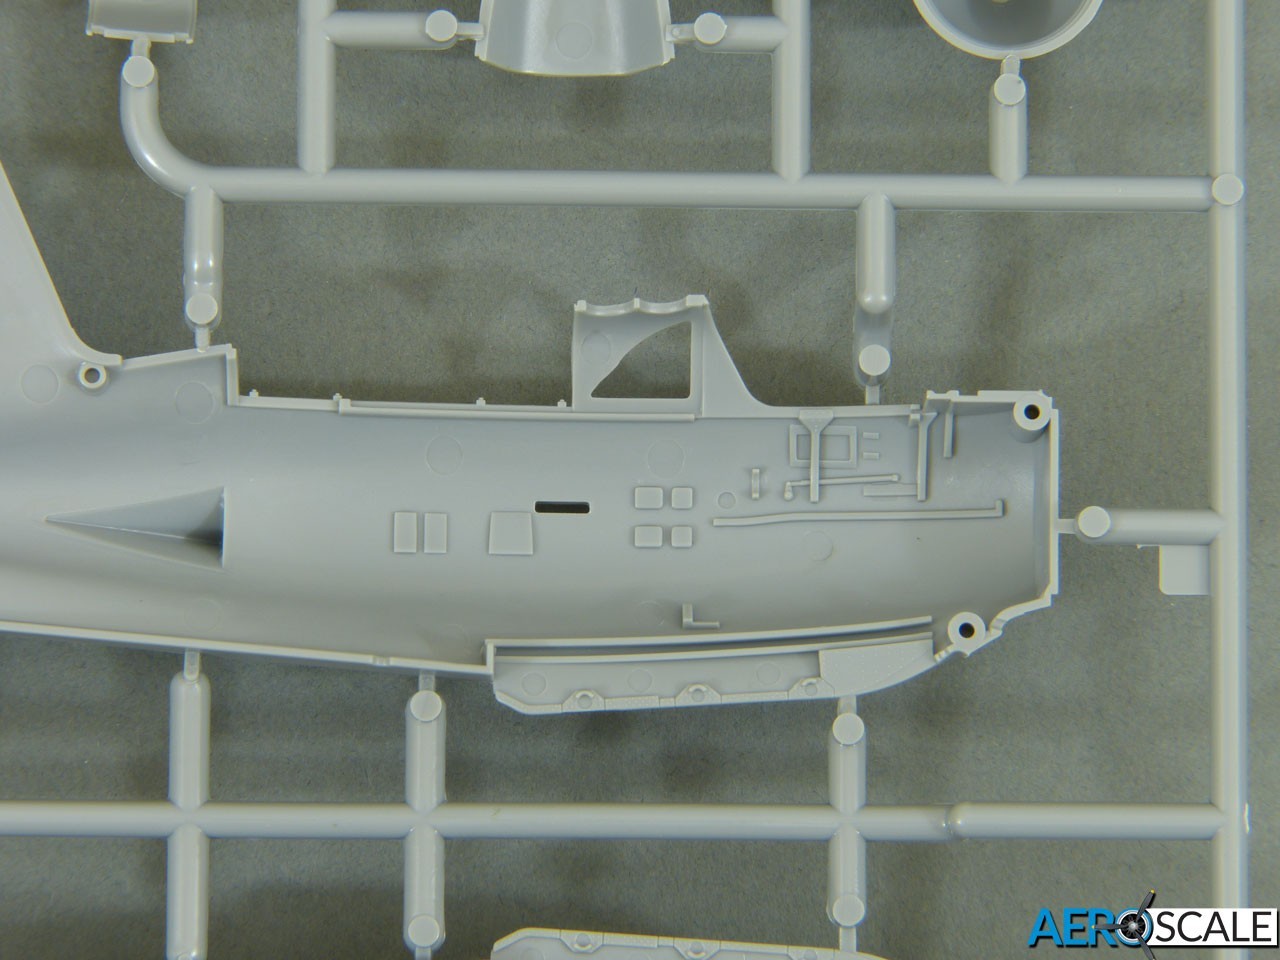
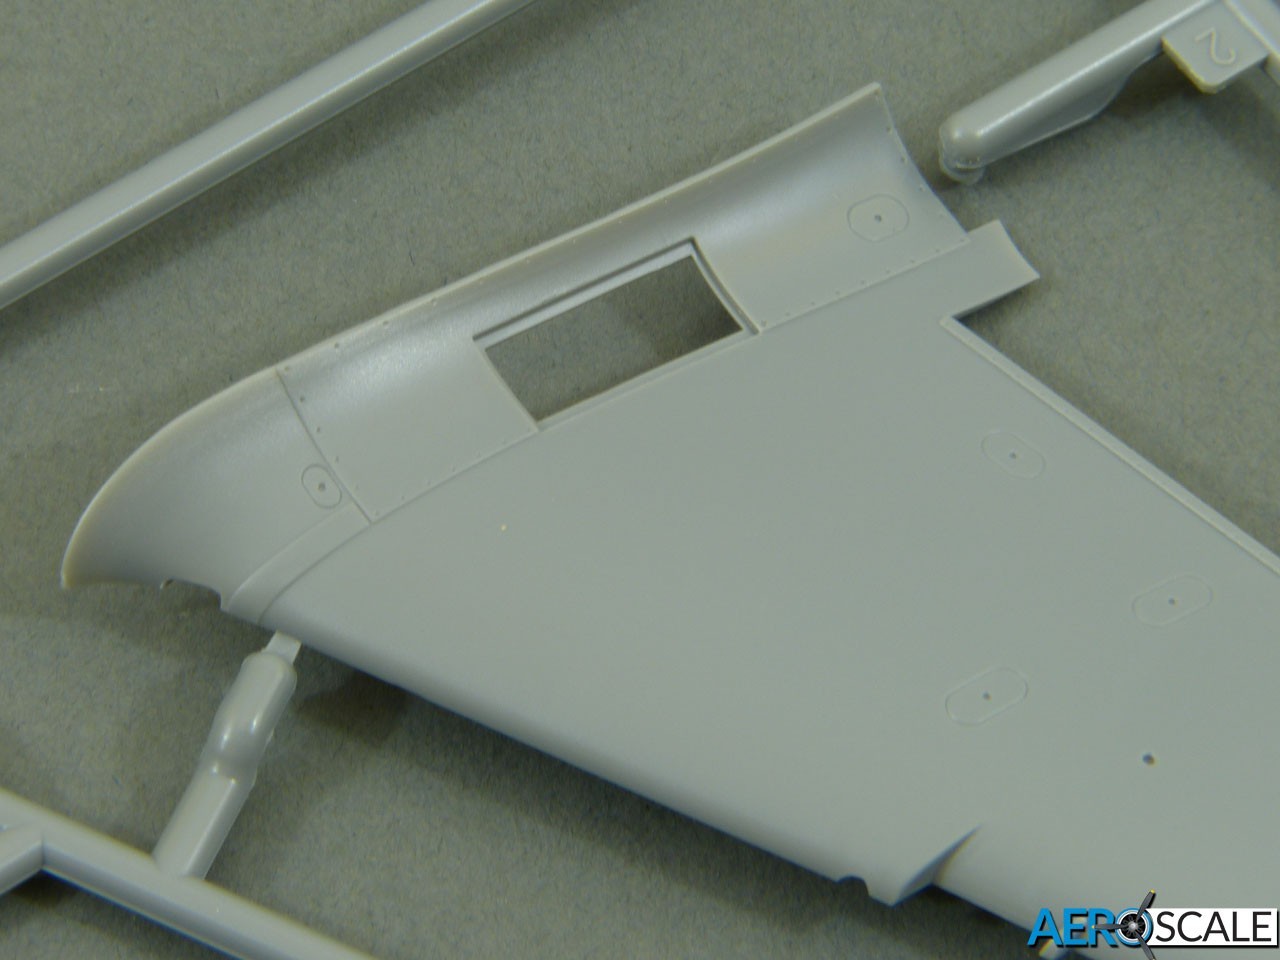
The moulding is very crisp and flash-free, as you’d hope with a new-tool mainstream kit. Ejector pins seem to have been kept out of sight. The exterior is very smooth, with a silky satin finish. Panel lines are neatly engraved, while fasteners are embossed, with a few petite raised rivets in some areas. Fabric surfaces are subtly depicted, with no rib tapes (this is no loss, because they are usually overdone anyway). Overall, the high-quality plastic used, and the style of moulding reminds me of the likes of classic Hasegawa at the top of their game, so I’m impressed.
I haven’t done a full dry assembly of the main parts, but I’ve quickly checked the wings against the fuselage where there are some complex contours at the roots and the fit is very precise. Seams fall along panellines, so you should get away without using any filler here if you take care.
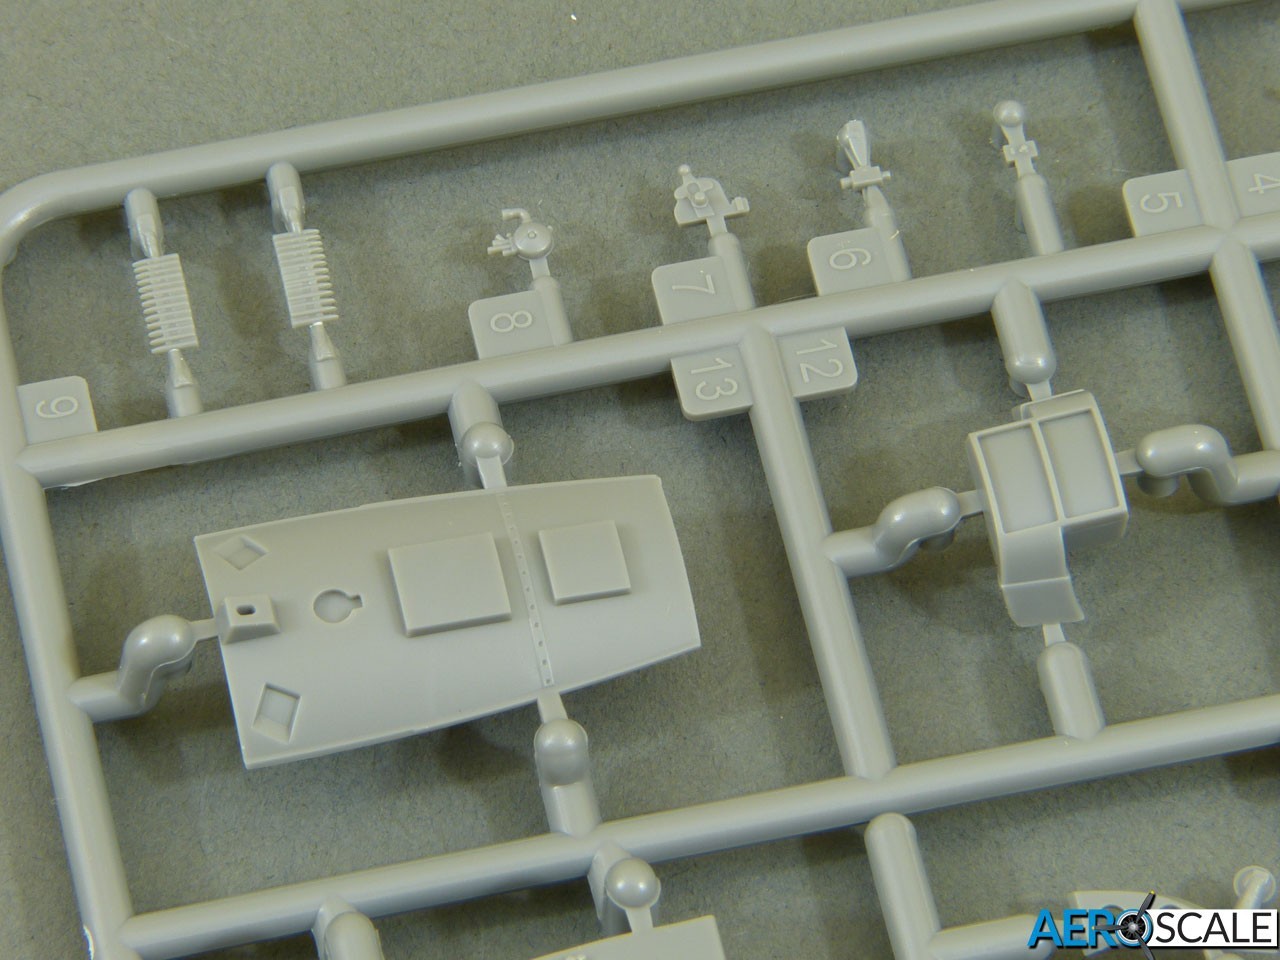
A Few Details - Cockpit
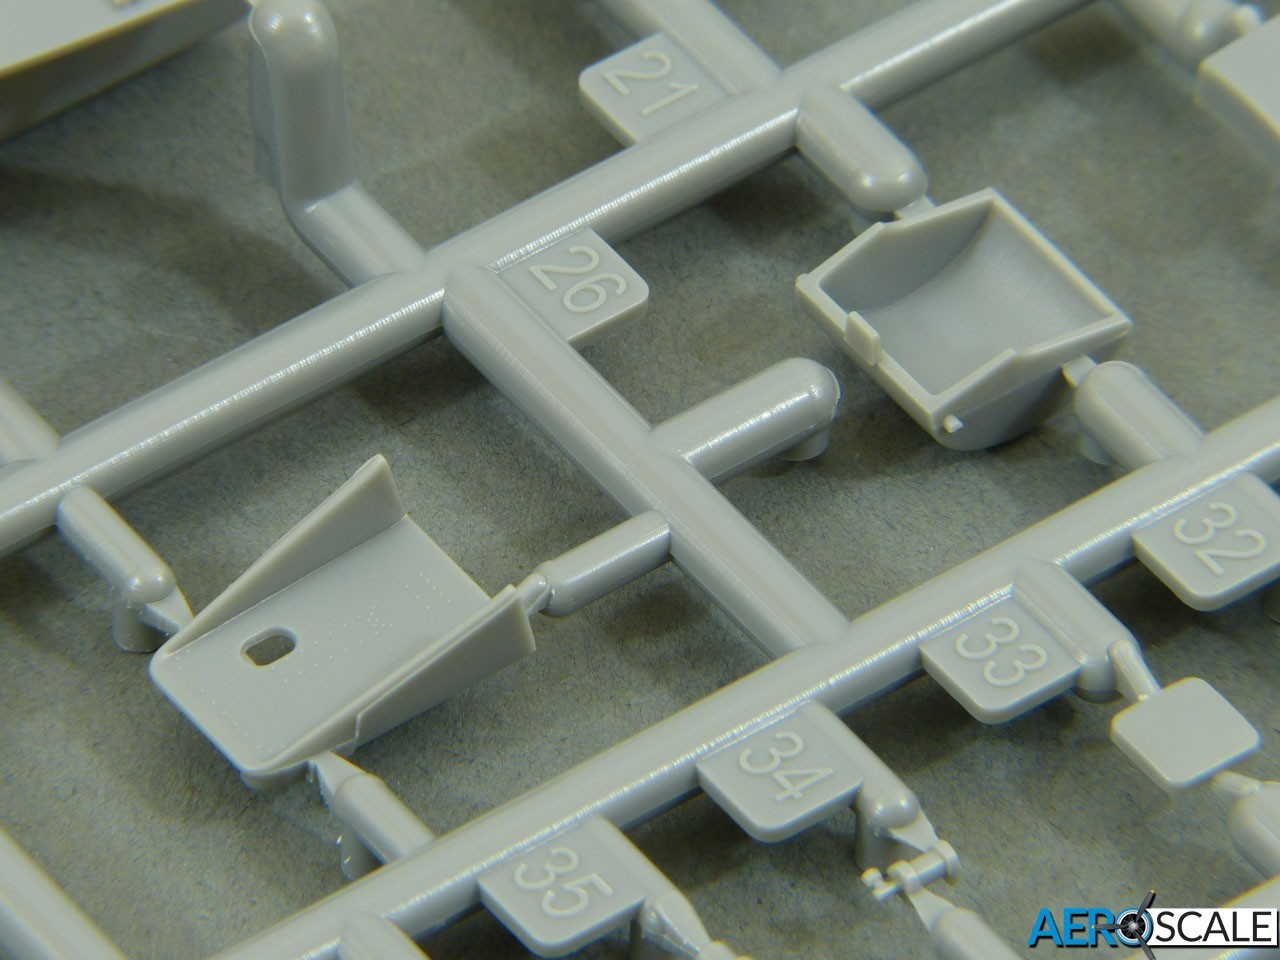
Construction begins as you’d expect with the cockpit, which is very nicely detailed. Overall, the “office” comprises around 40 parts.
The rear bulkhead is moulded clear to allow for the rear-view panels, and is fitted with etched mounting brackets for the 3-part seat. The seat itself comes complete with brass harness straps that should look the part when painted. The rudder pedals similarly have etched toe-straps.
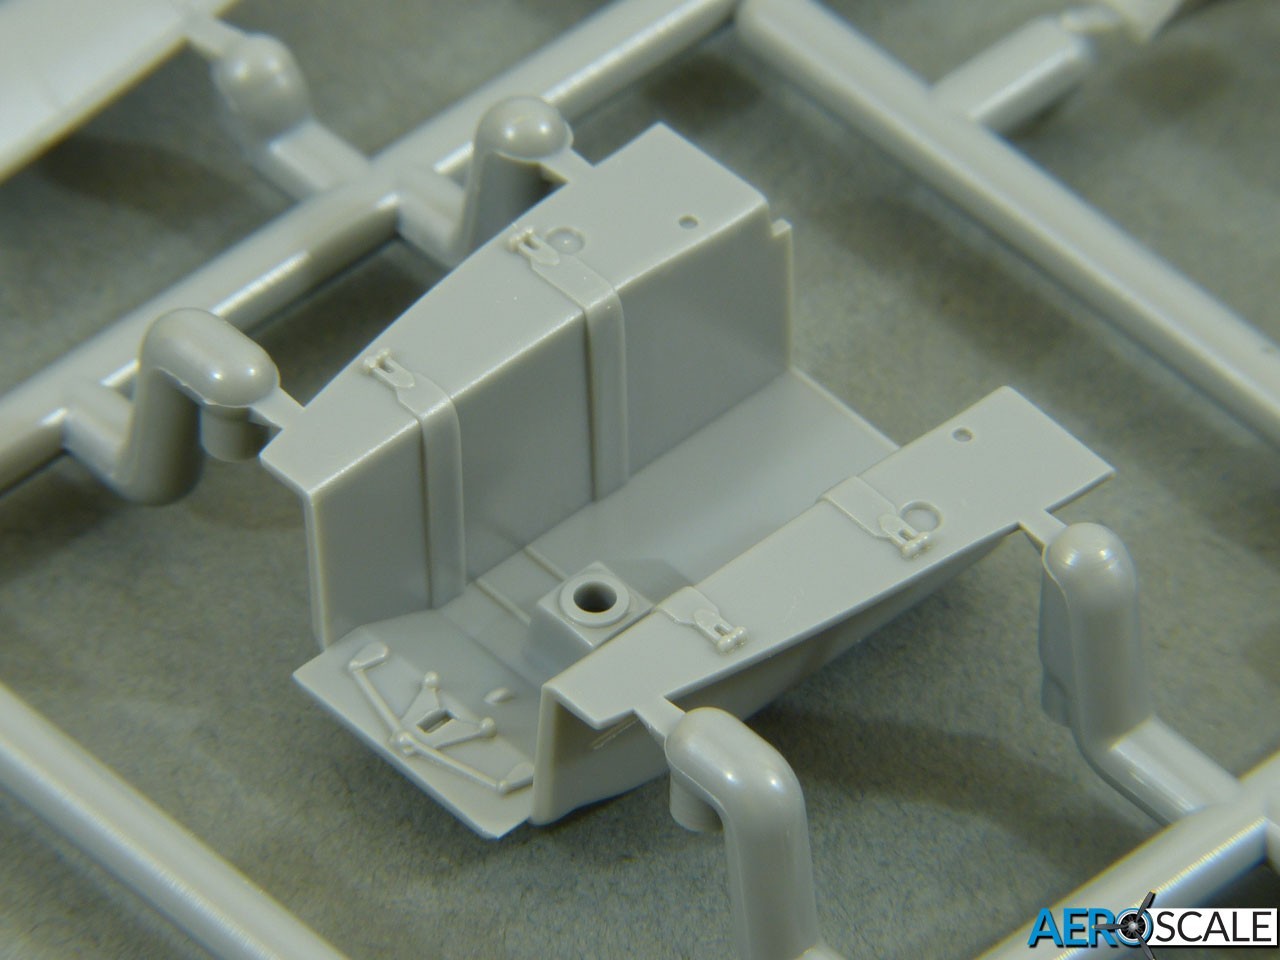
The cockpit “tub” features the retaining straps over the fuel tanks on either side of the pilot, but it lacks the ones which ran along them front-back. This is probably down to moulding considerations, but they won’t be hard to add from tape or thin styrene.
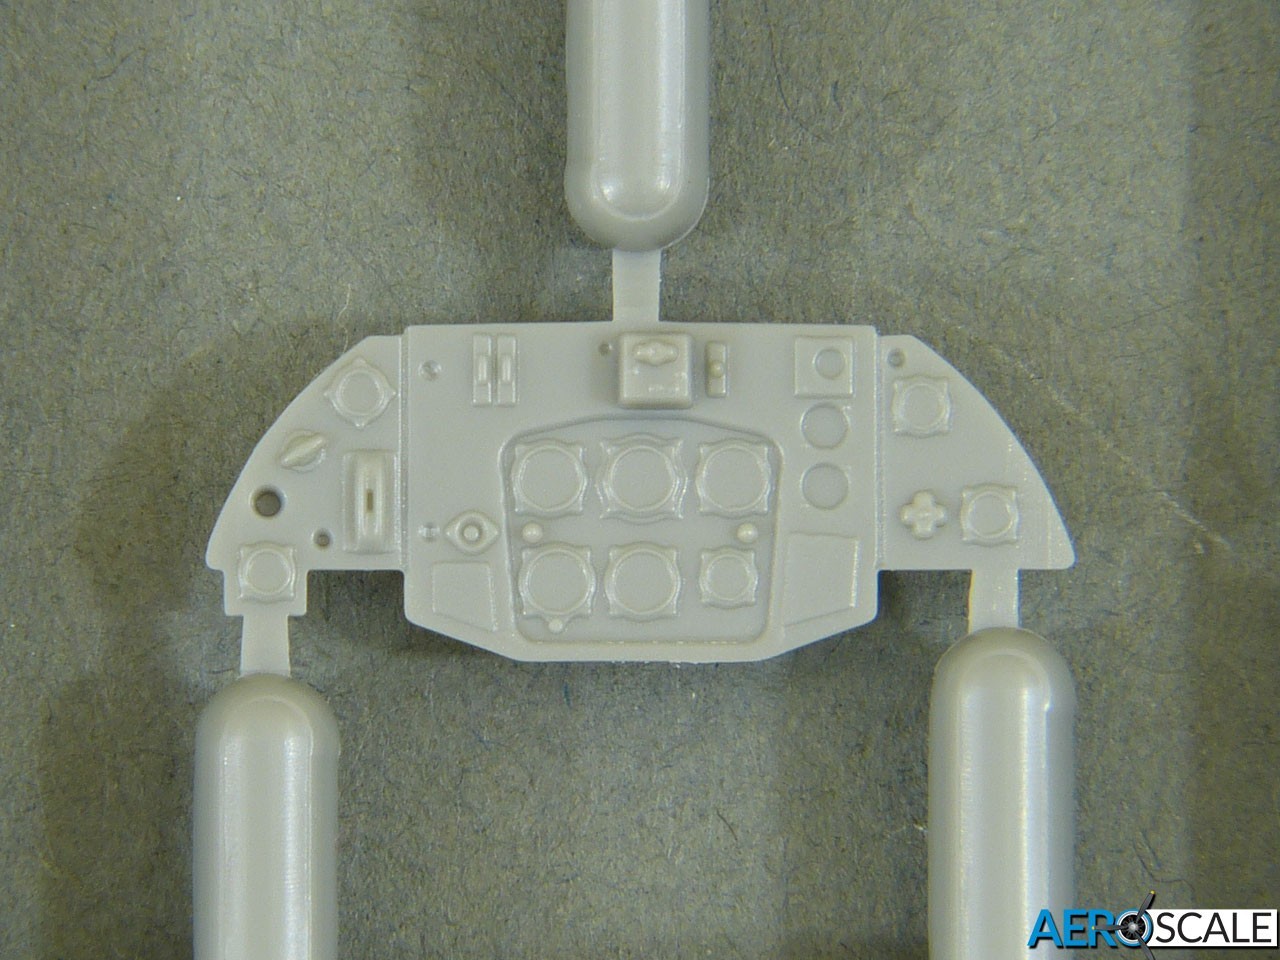
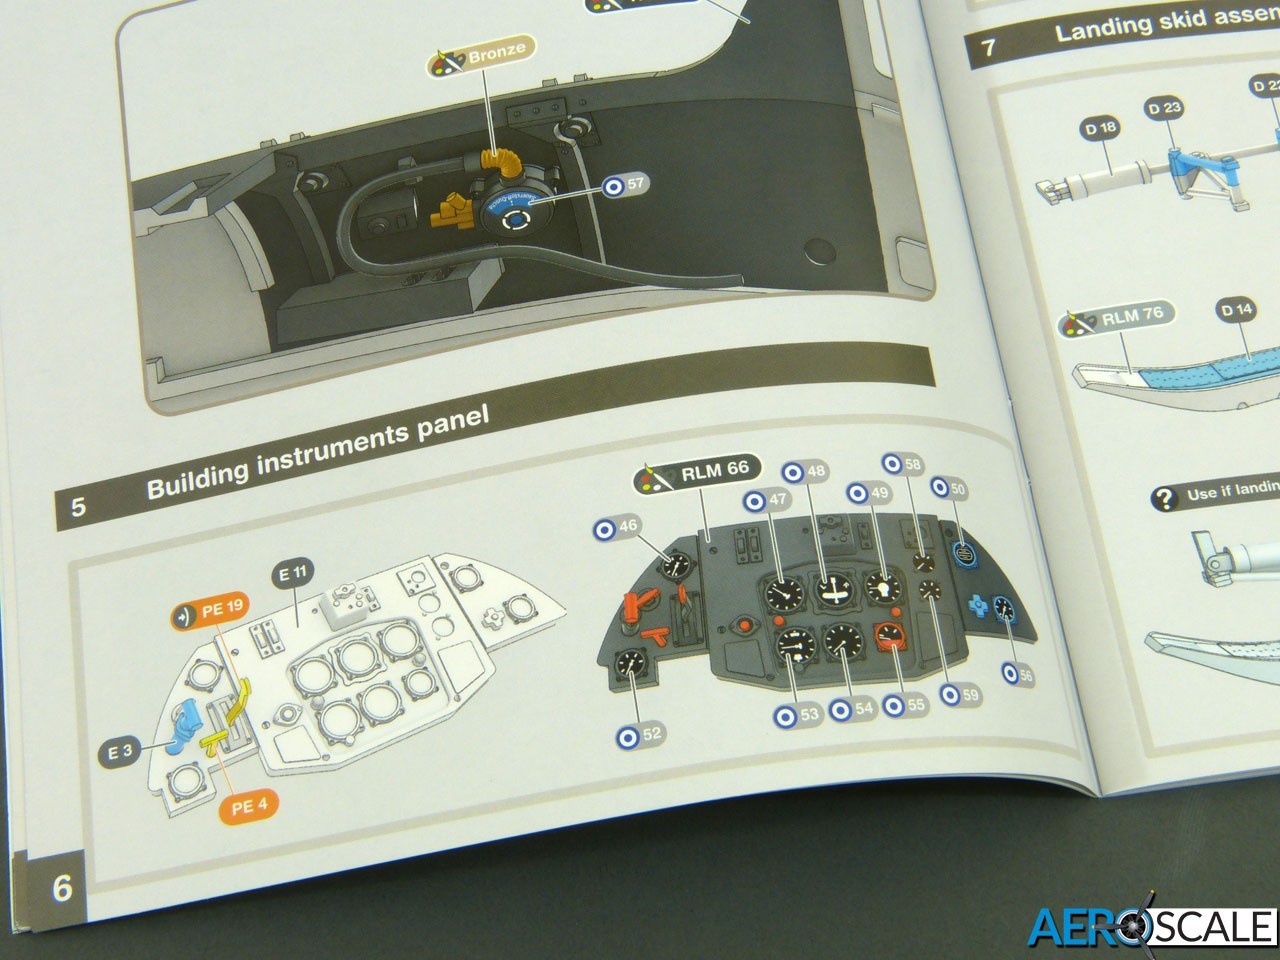
Gas Patch include plenty of pipework and items like the radiobox, oxygen regulator, throttle, trim wheel and the canopy lock and release handles.The instrument panel is nicely moulded and dressed up with brass levers. The instrument bezels are the correct style and individual decals are provided foreach face.
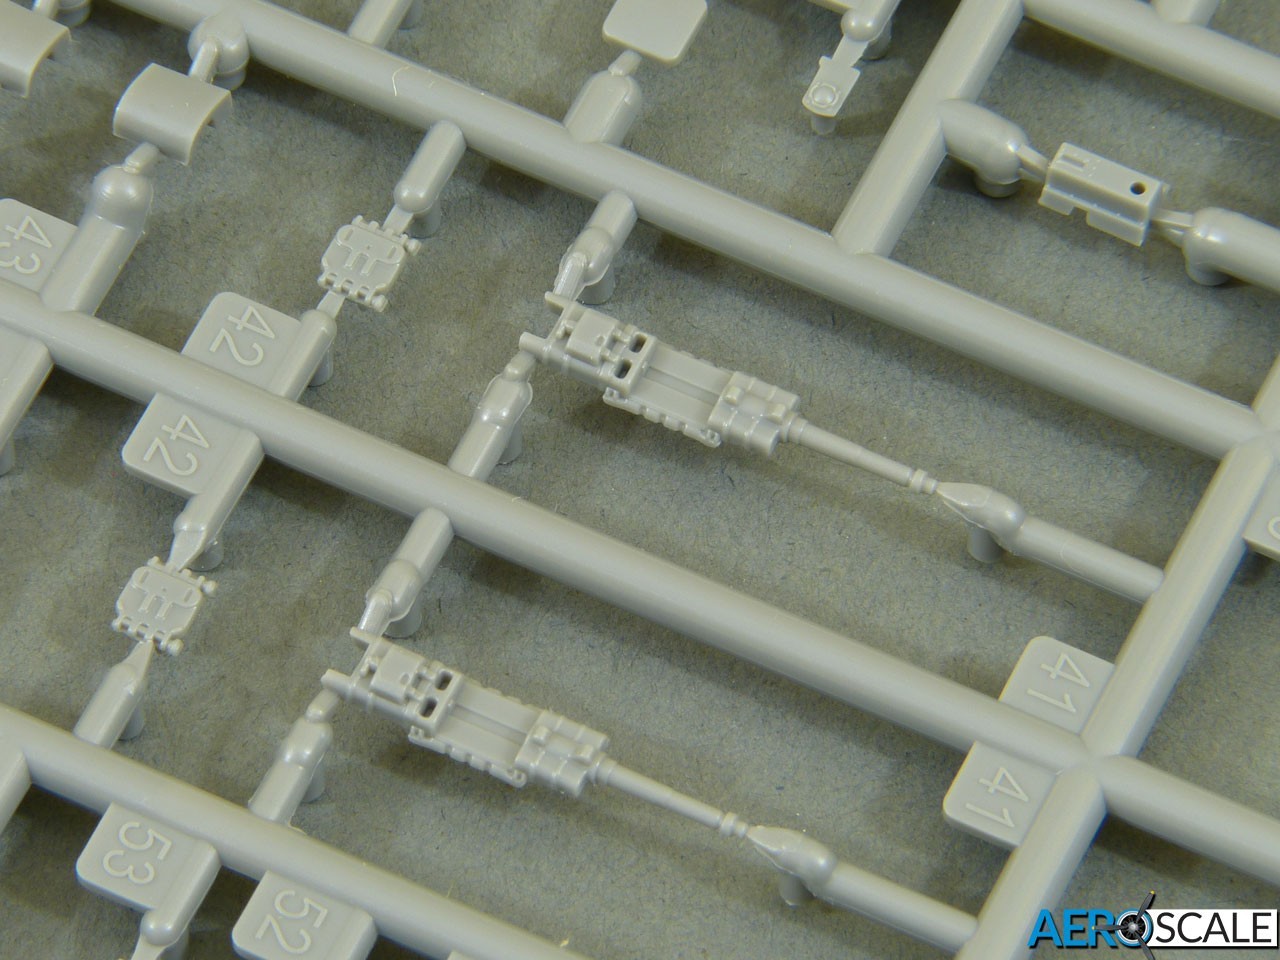
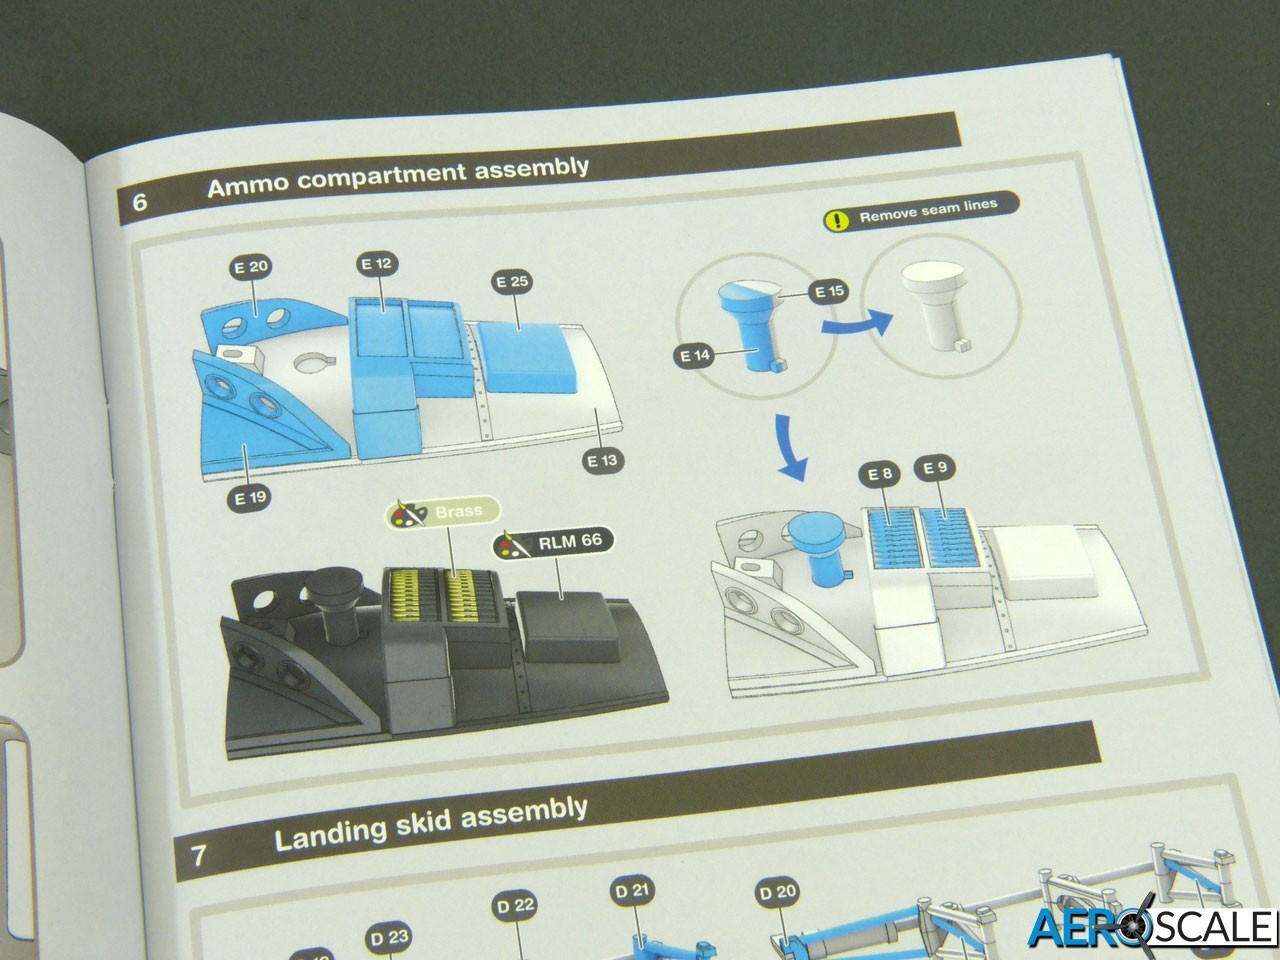
Guns
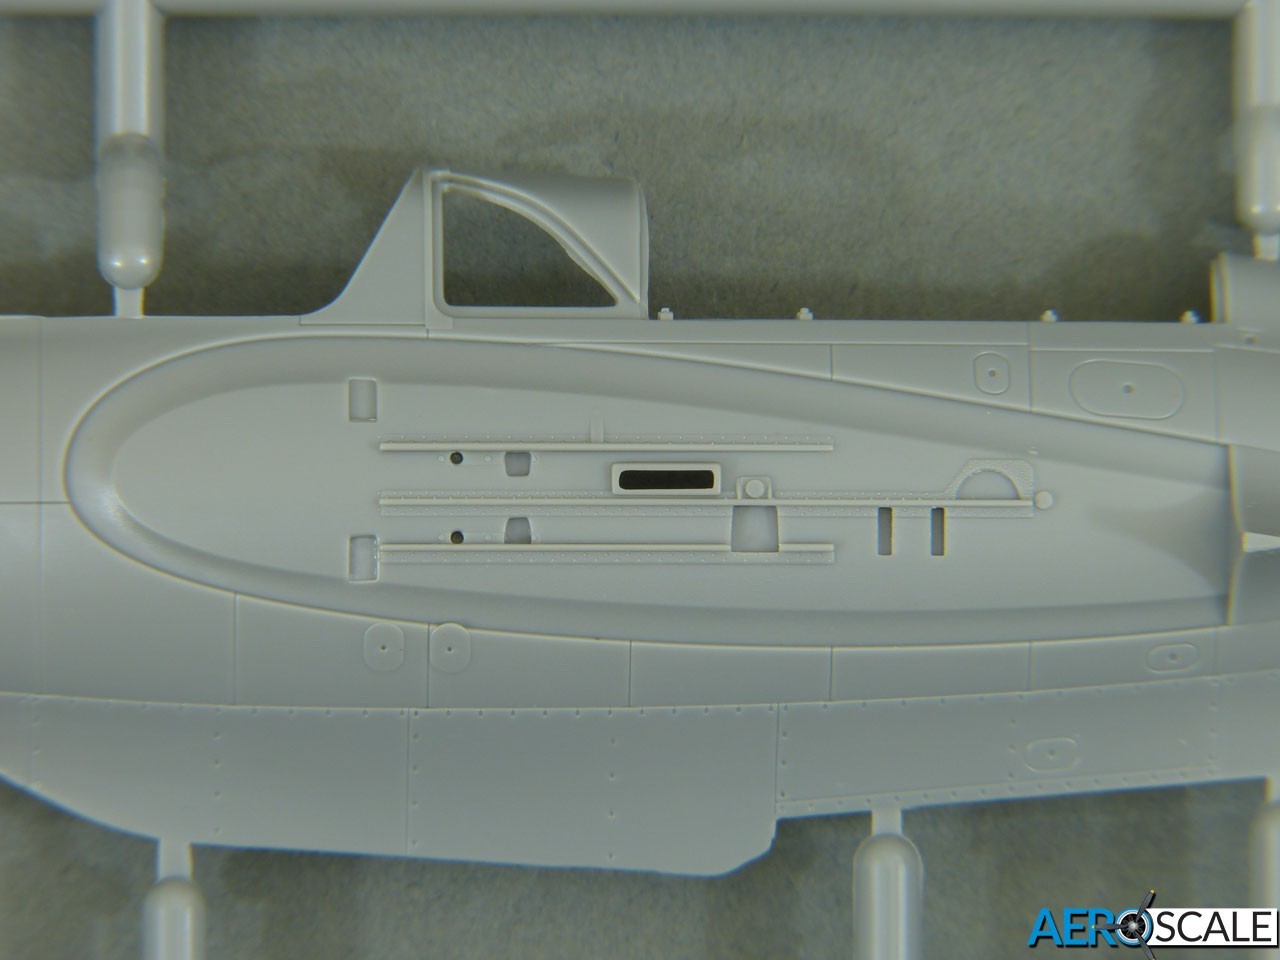
Gas Patch have made provision to display the wing-root cannons and their ammunition feeds. The gun bays themselves are neatly detailed, while the area behind the cockpit can also be shown open to reveal the ammunition belt feeds behind the T-Stoff filler point.
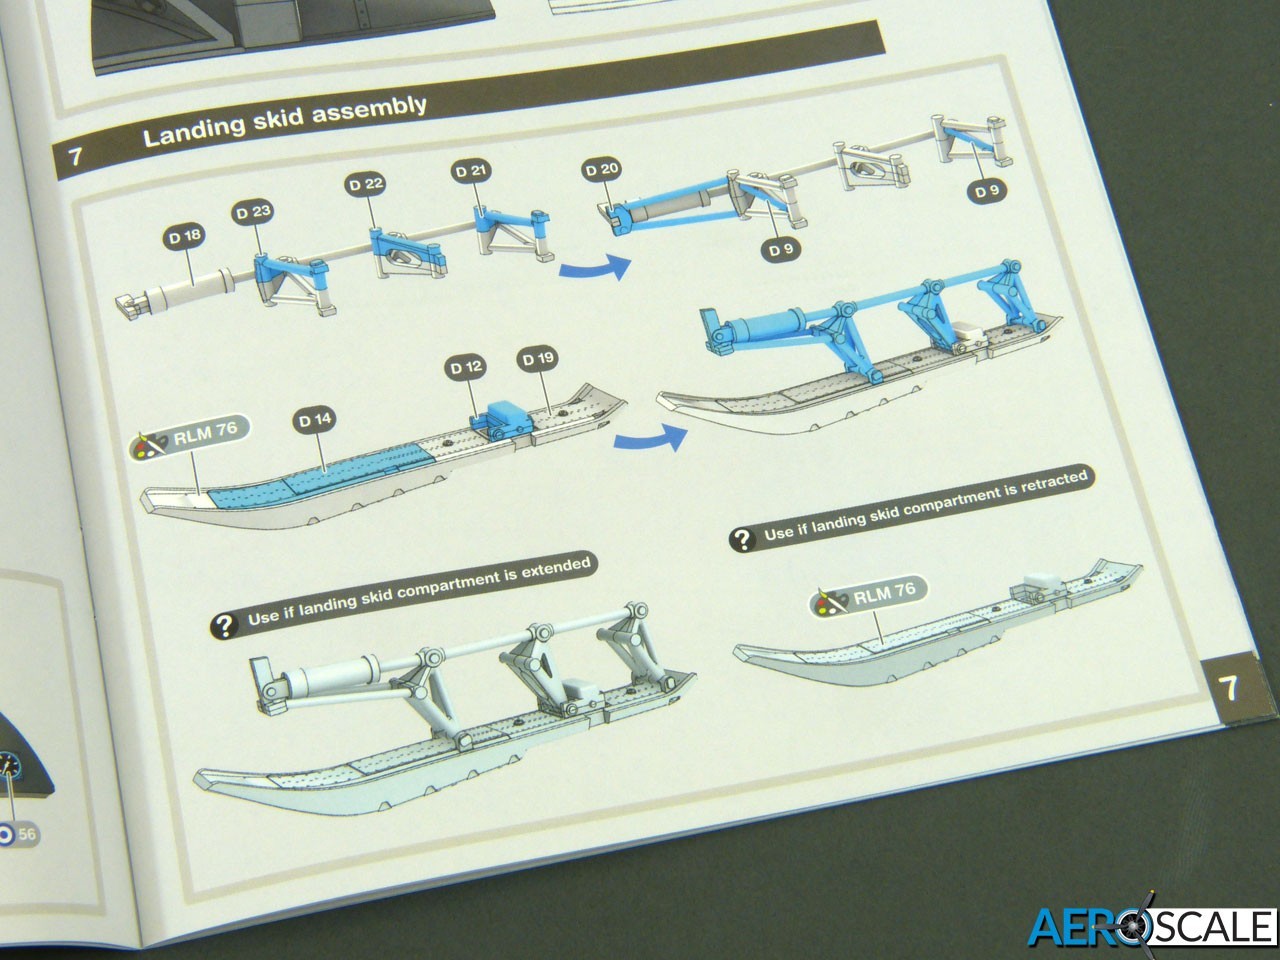
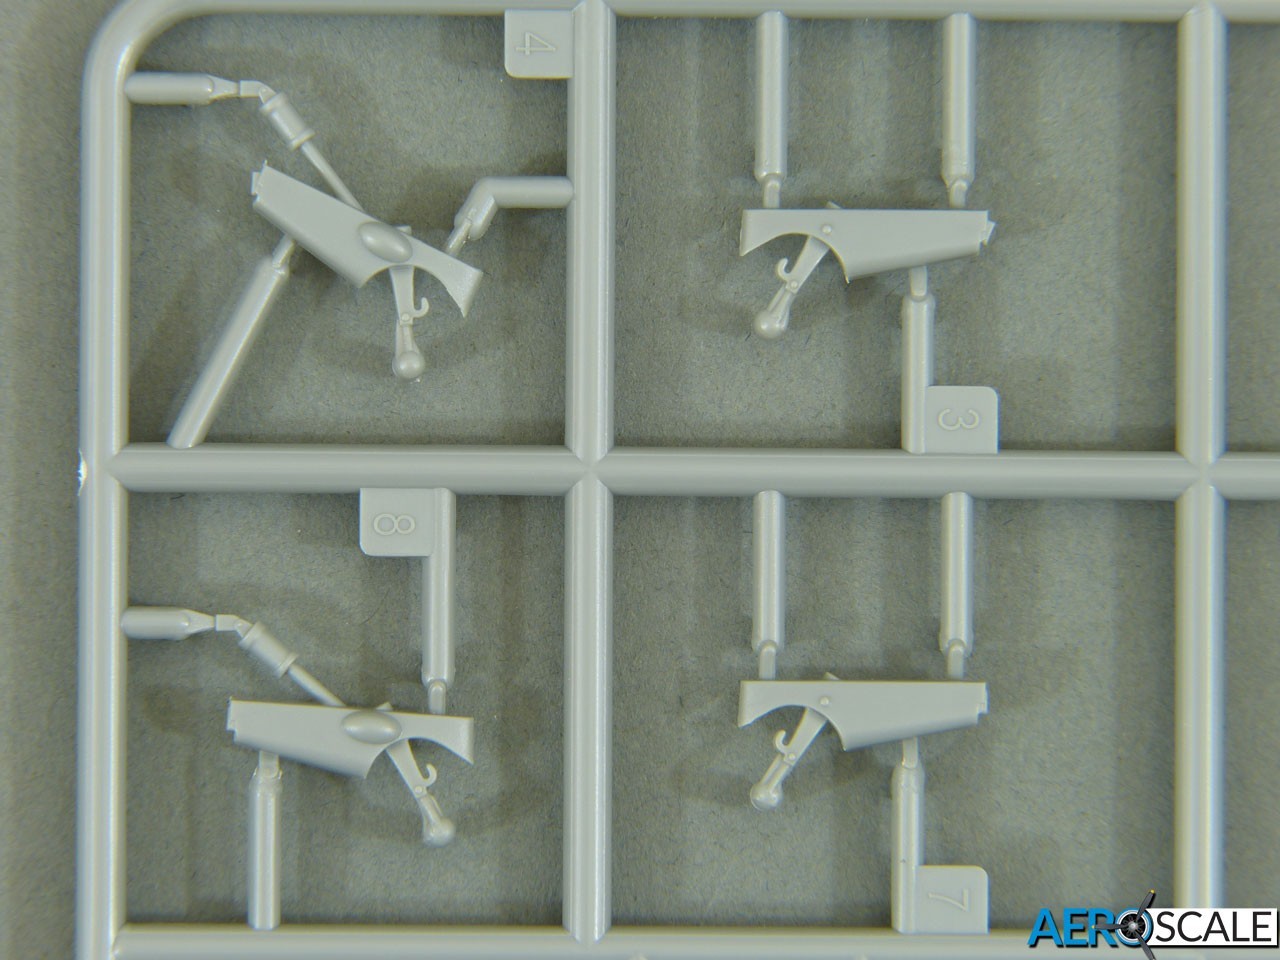
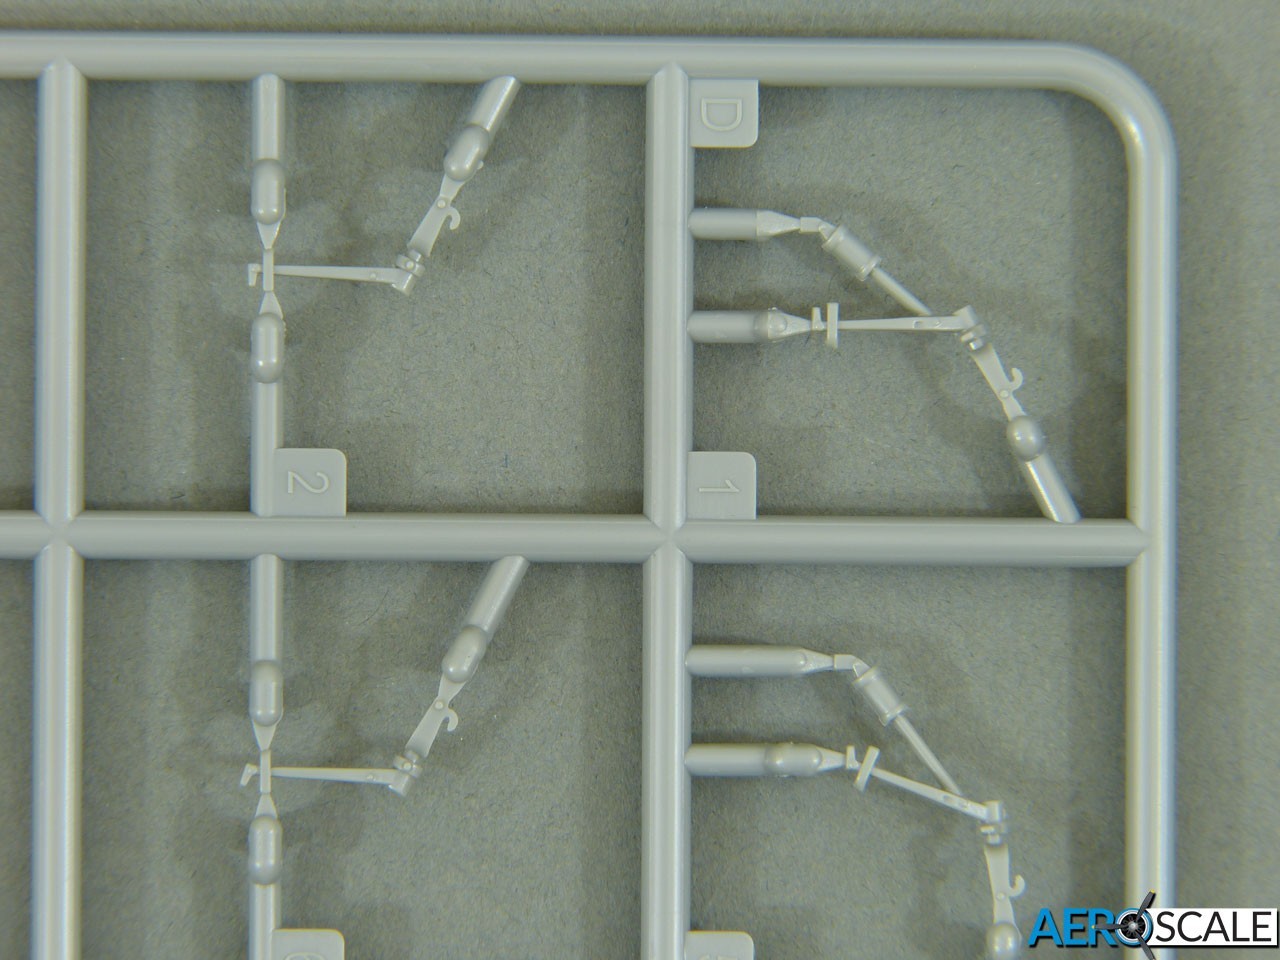
Undercarriage
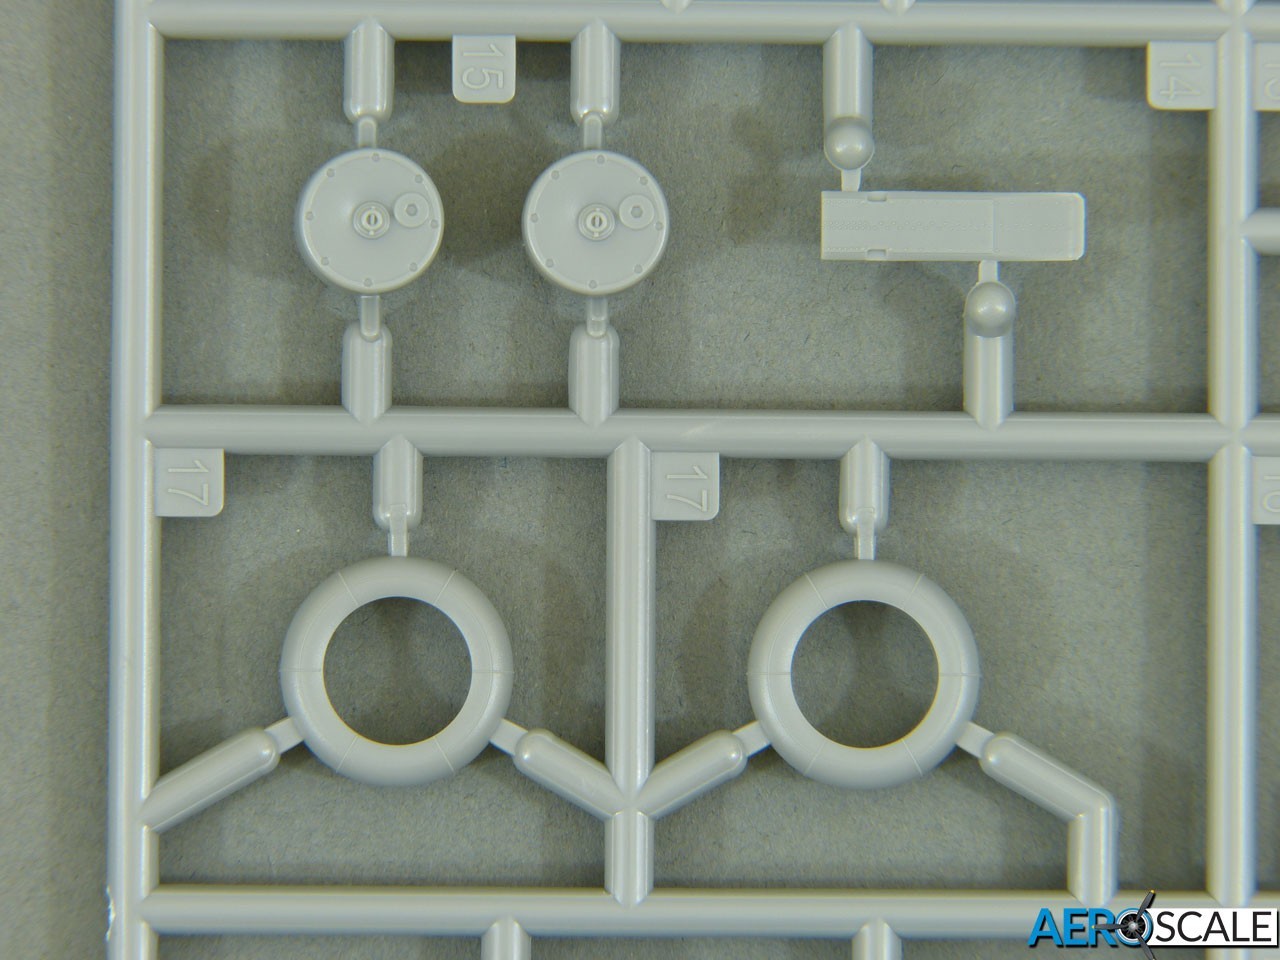
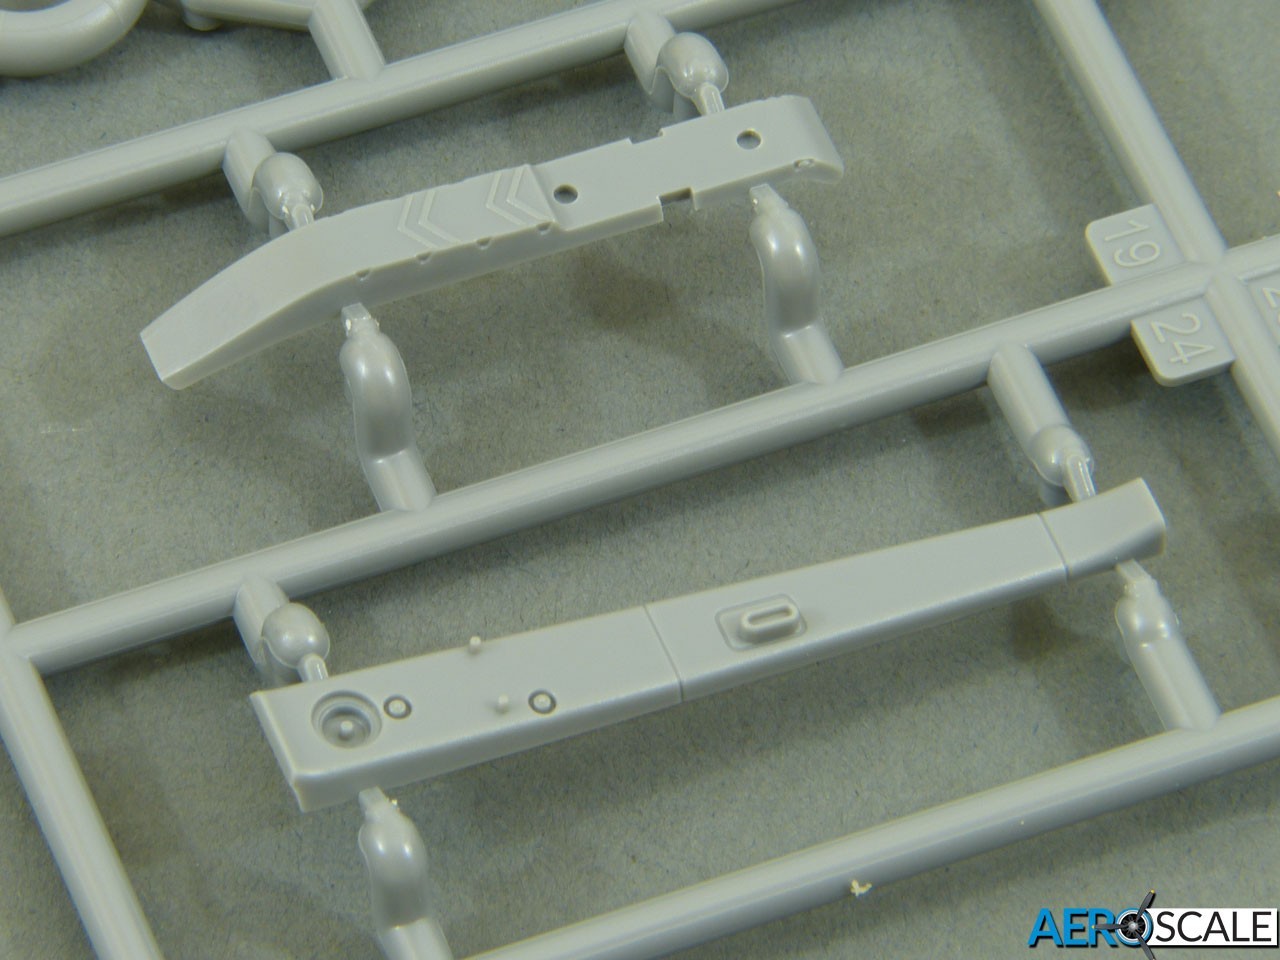
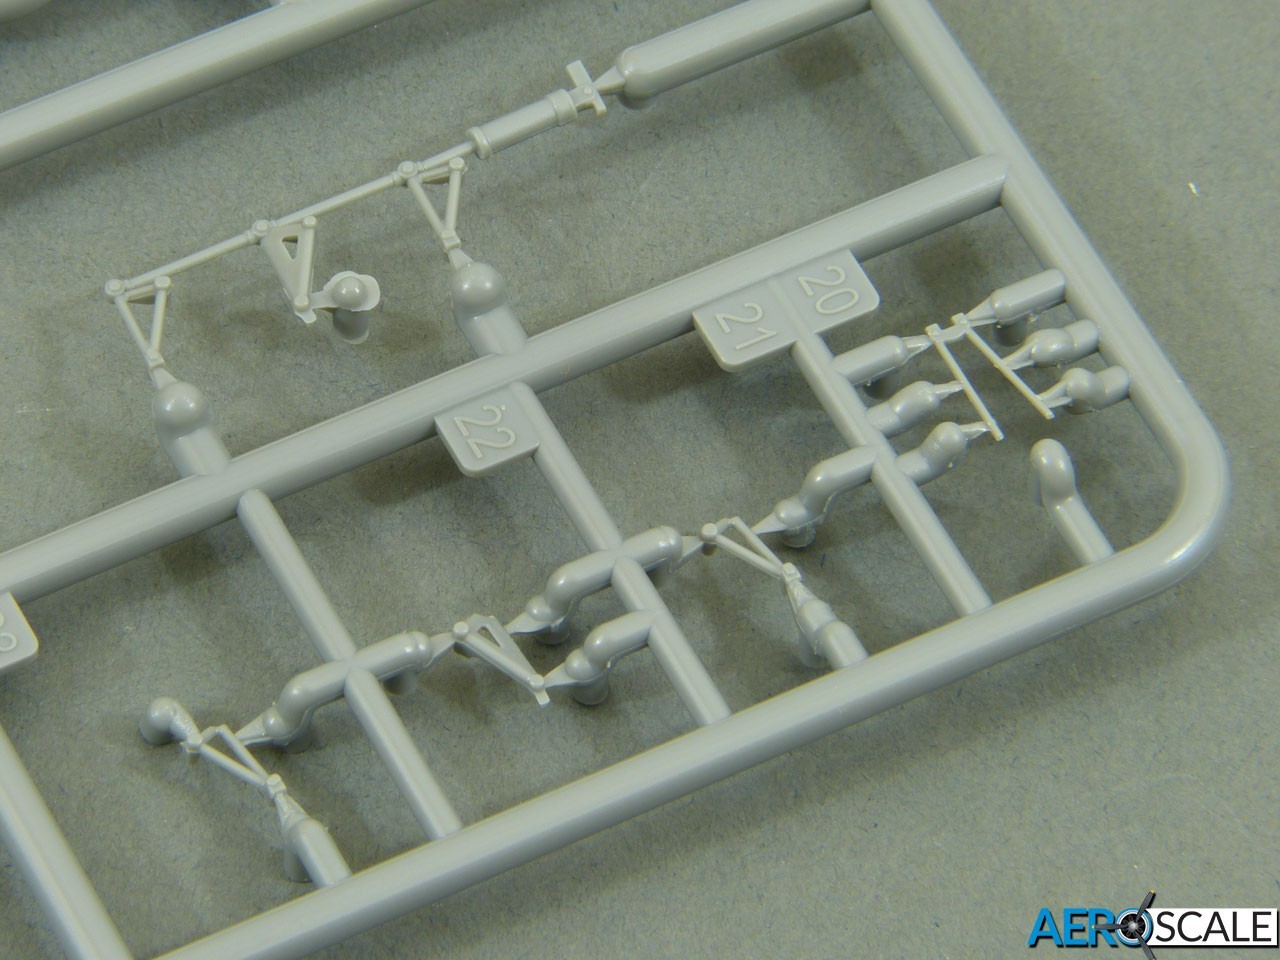
The landing skid can be modelled raised or lowered, while the take-off dolly has optional plain or weighted tyres. This is also true for the tailwheel, which can further be modelled with or without its fairings.
Clear Parts
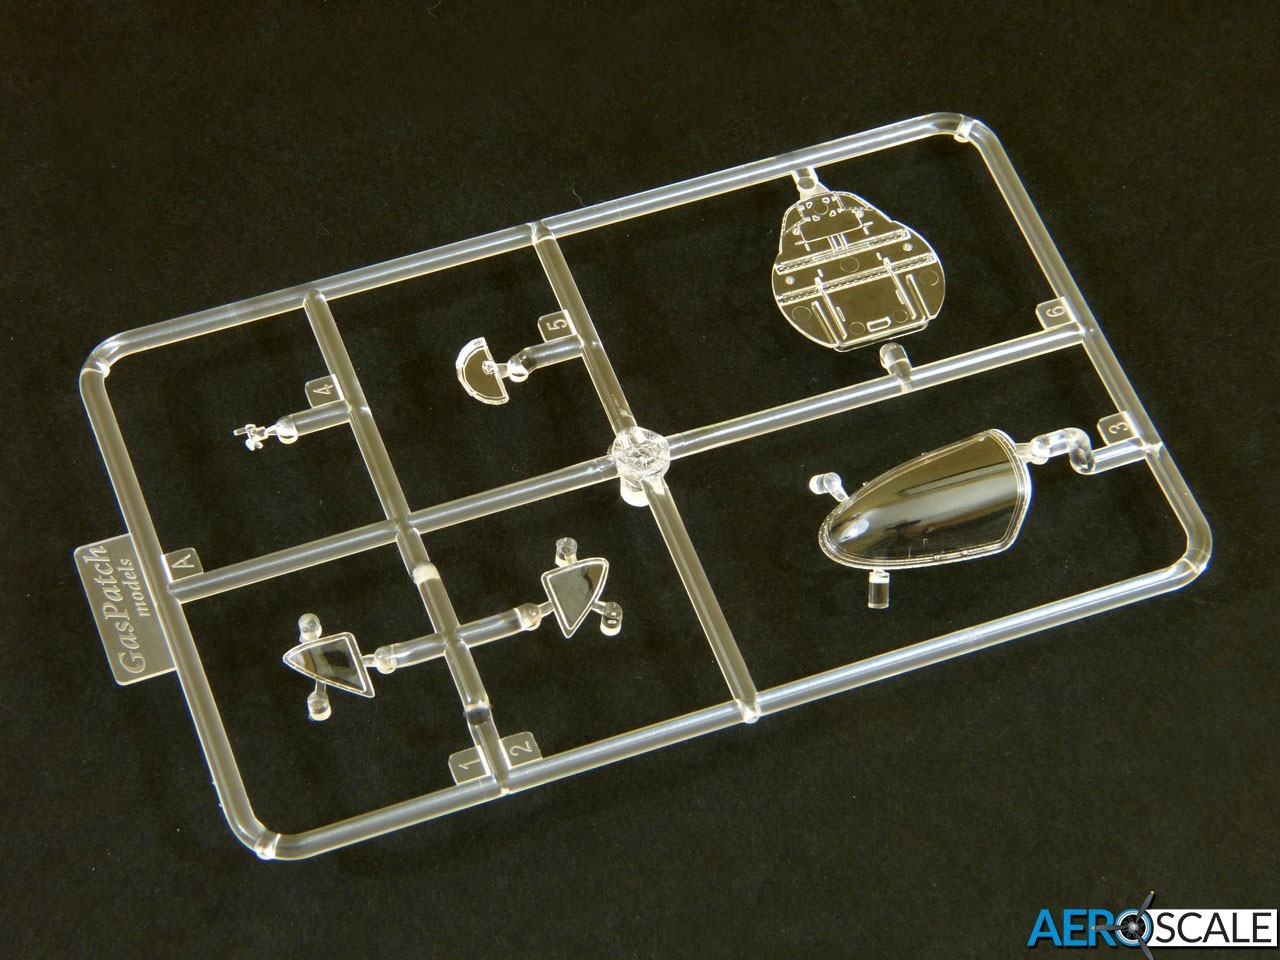
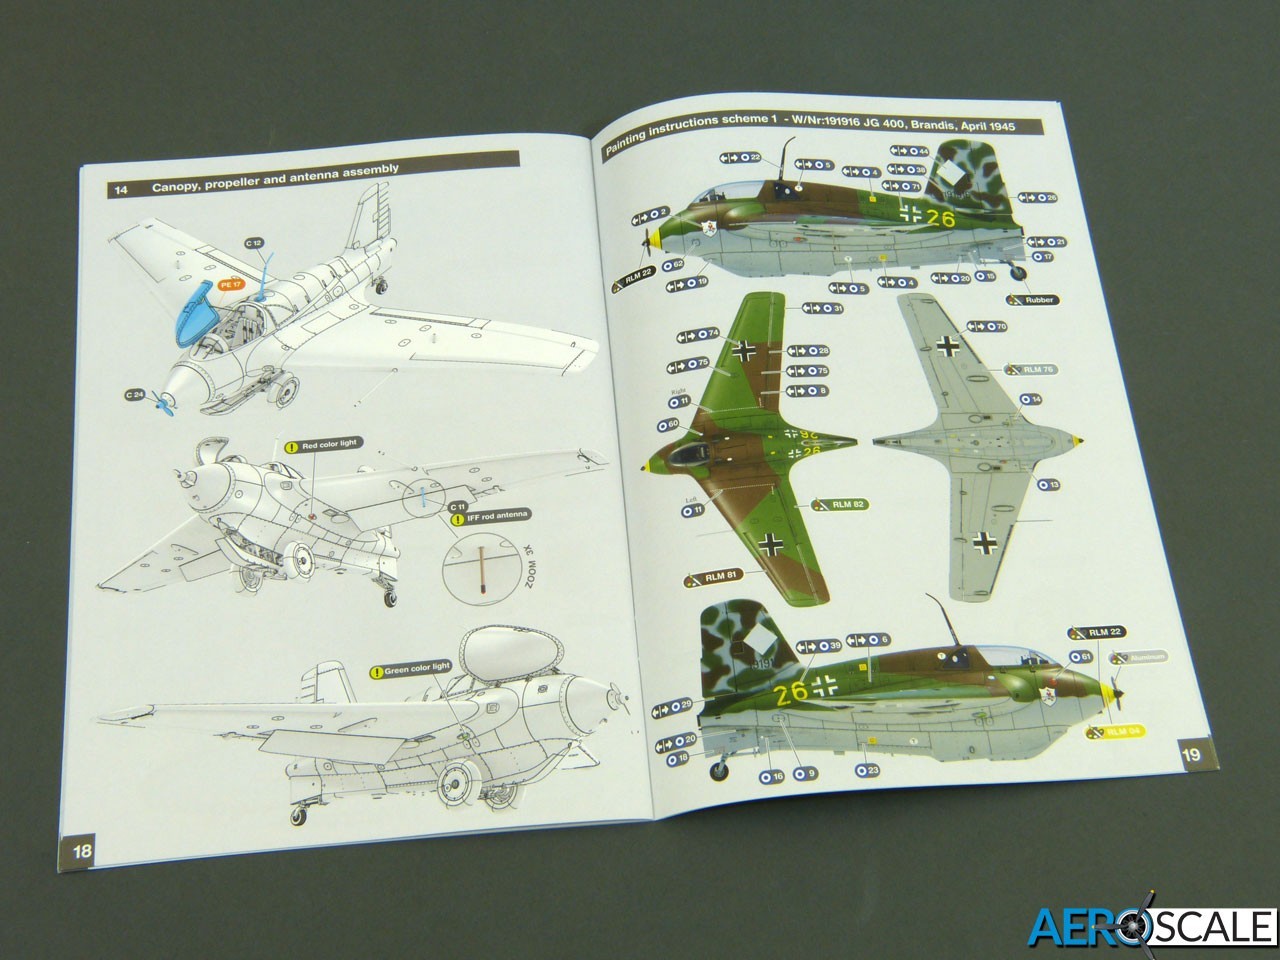
The transparencies are beautifully moulded – crystal clear and without any flow-lines. The canopy is intended to be displayed open to show off the detailed “office” and comes complete with a grab handle and latch,along with a retaining strap. Gas Patch provide painting masks for the canopy, plus the internal armoured windscreen and the rear-view windows mentioned earlier.

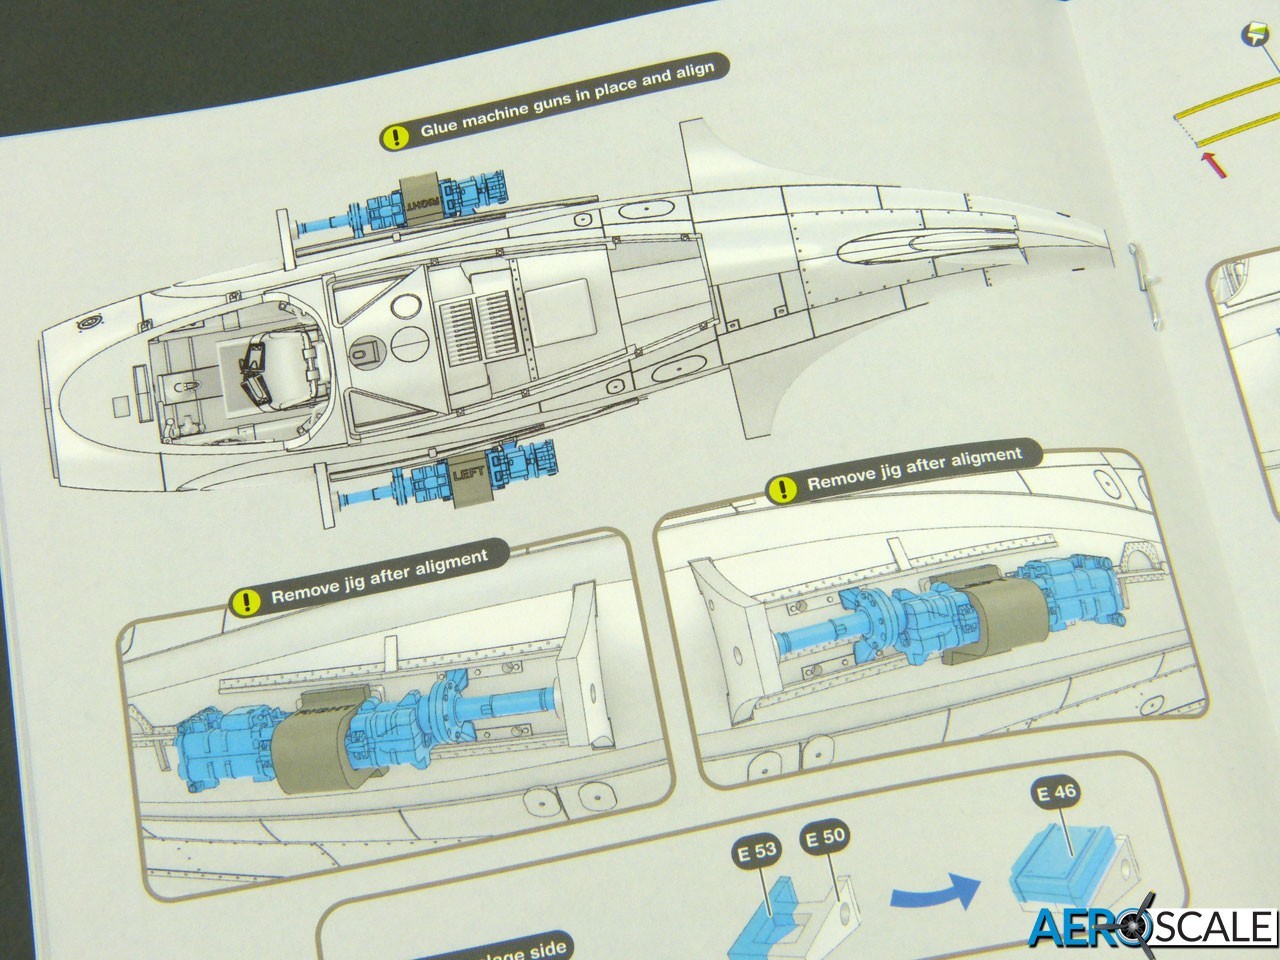
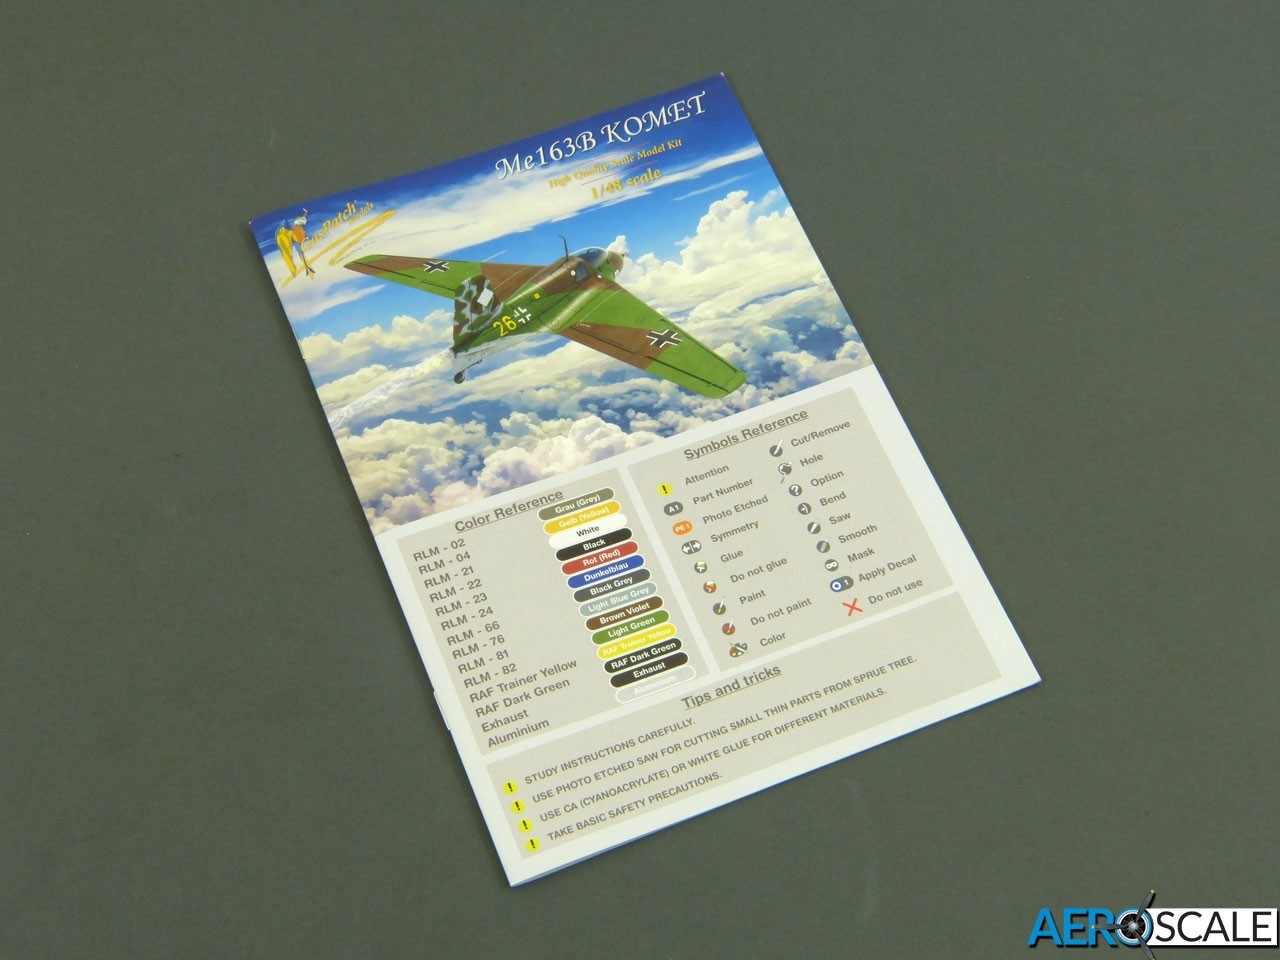
Instructions
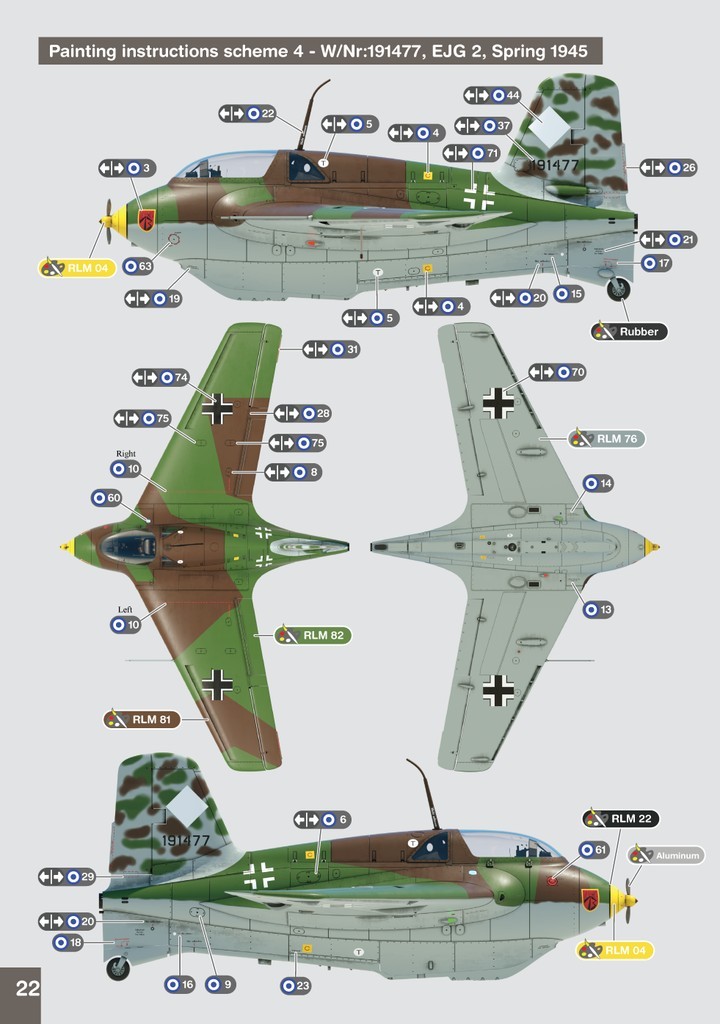
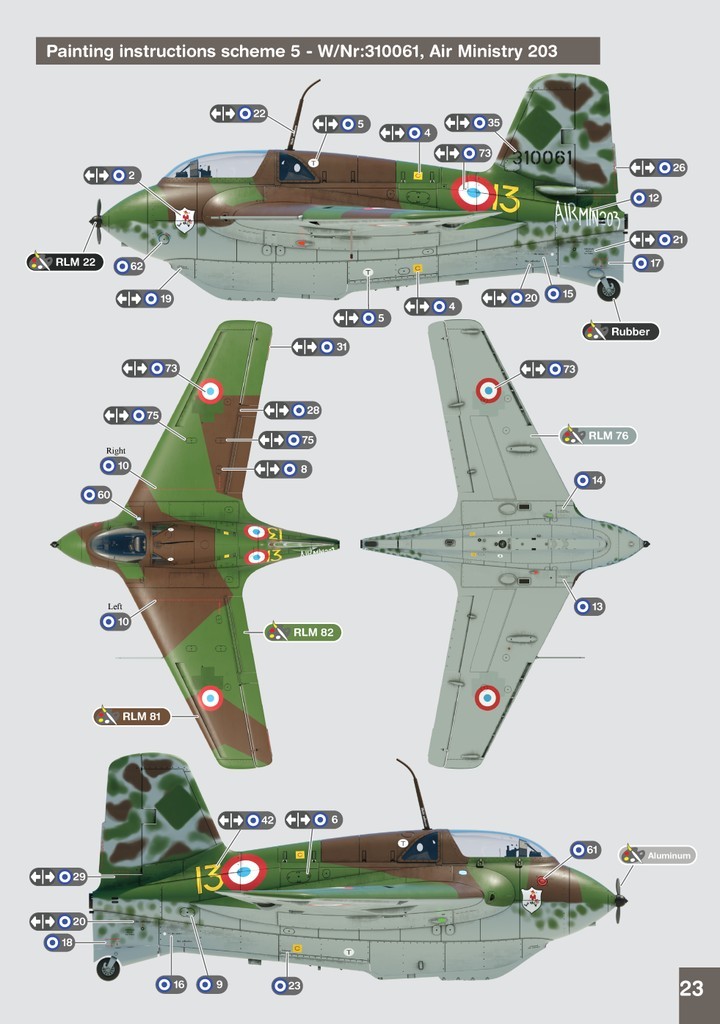
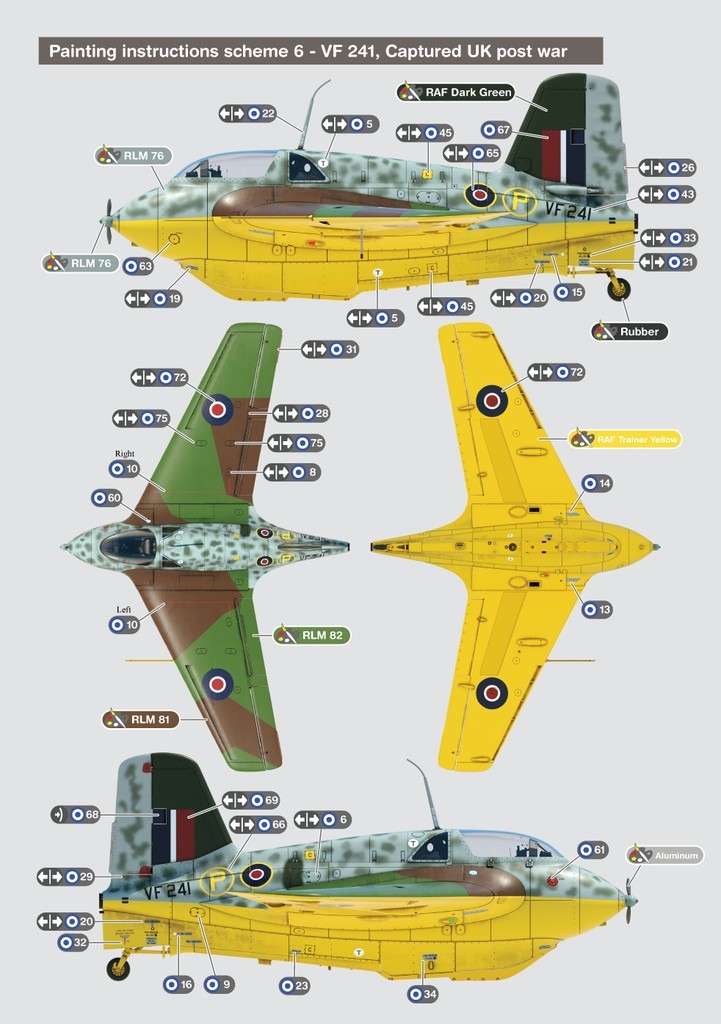
The instructions are beautifully presented as a high-quality full-colour 24-page booklet, with shaded illustrations. Notes in English accompany many of the diagrams, and assembly is broken down into 14 logical stages. Colour call-outs are given for original RLM codes, no particular brands of model paints being suggested.
Colour Schemes
Decals are included for six aircraft – four of them operational,and two bearing Allied captured markings:
1. “Yellow 26”, W/Nr 191916, JG 400, Brandis, April 1945

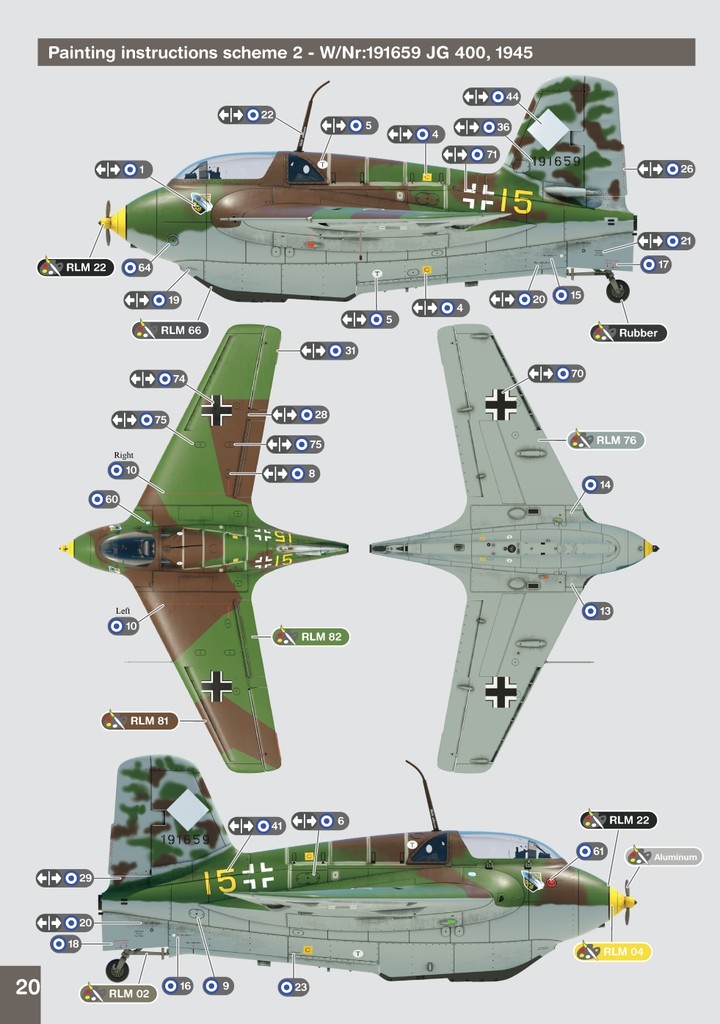
2. “Yellow 15”, W/Nr 191659, JG 400, 1945
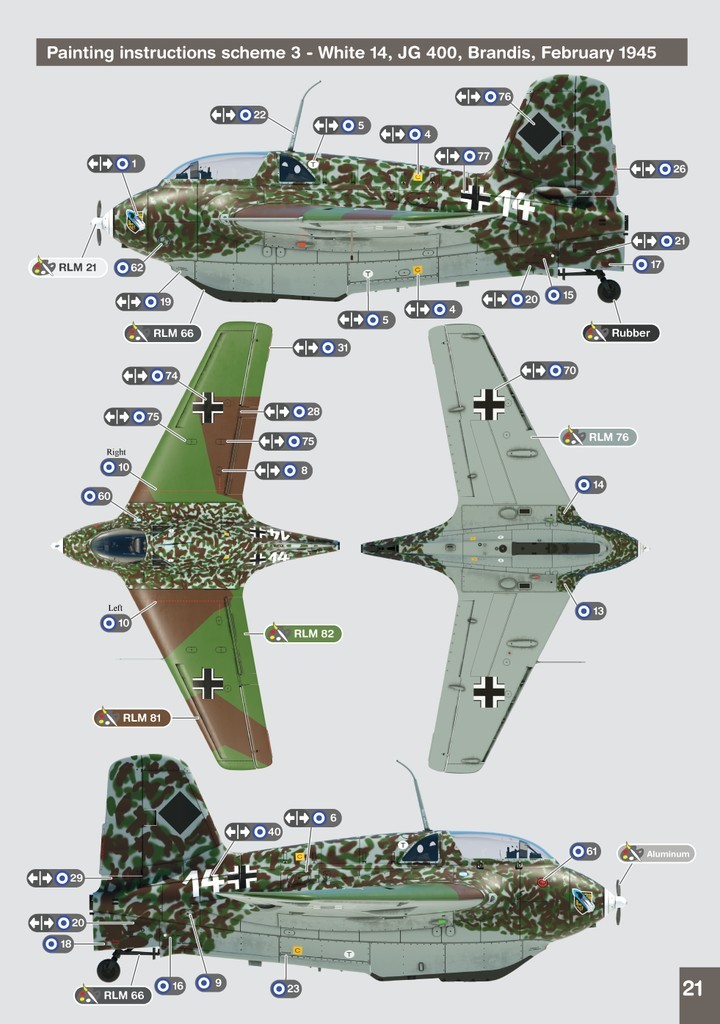
3. “White 14”, W/Nr unknown, JG 400, Brandis, February 1945
4. W/Nr 191477, EJG 2, Spring 1945
5. “Yellow 13”, W/Nr 310061, Air Ministry 203, post-war in French use
6. VF241, Captured UK, post-war
Decals
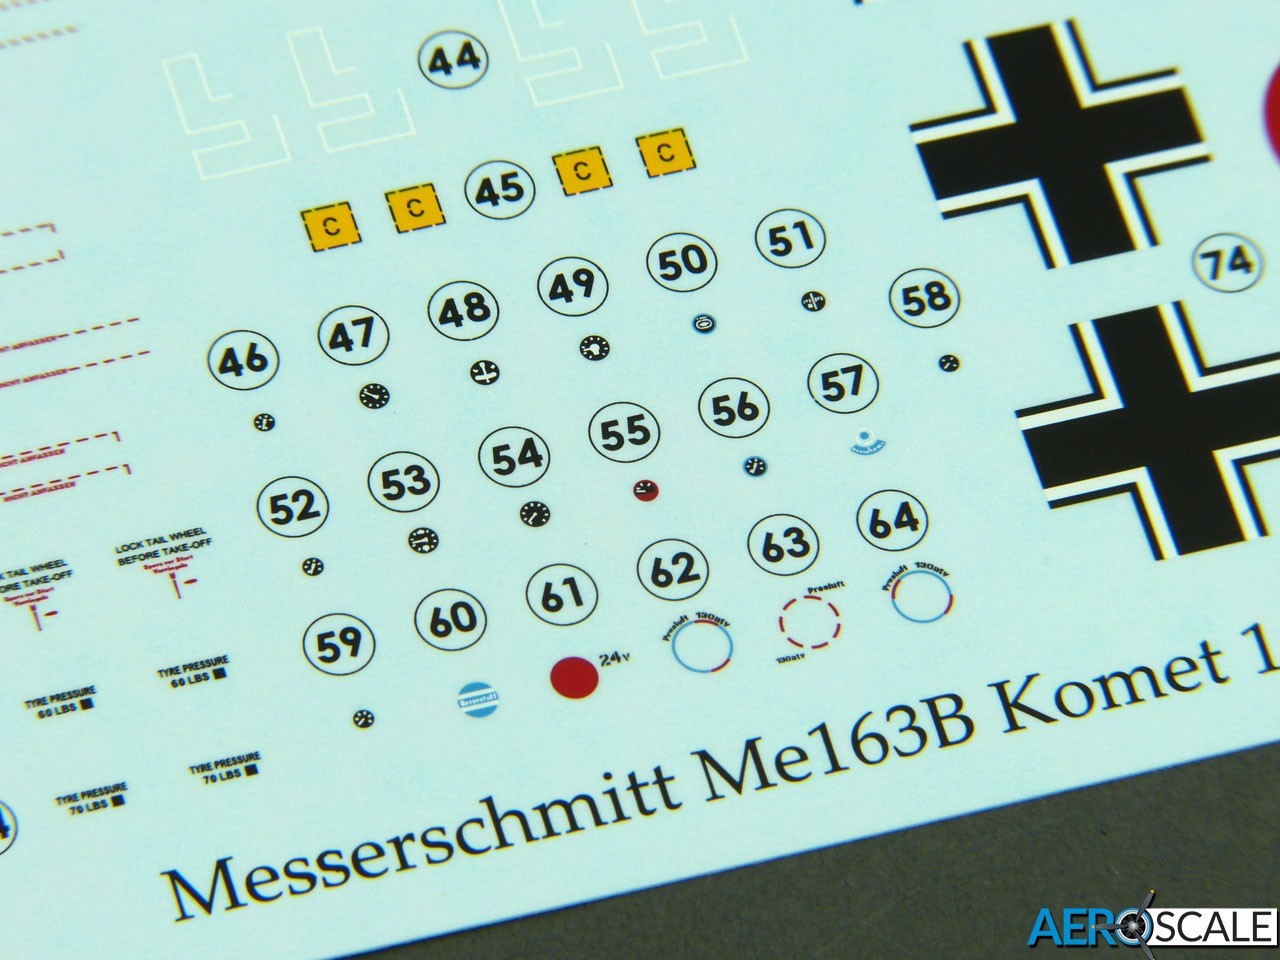
The decals are custom-printed by Cartograf, so their quality goes pretty much without saying. The registration on the thin, glossy items is pin-sharp and there is virtually no excess carrier film. Gas Patch include a generous supply of servicing stencils, and the “split-type” swastikas are provided on a separate sheet.
Conclusion
Gas Patch’s new Me 163 is a real little gem of a kit. Inevitably, some modellers may question the need for another kit of the Komet in 1:48 if they have the ex-Trimaster/Dragon model in their stash already, but this new-tool kit really does take things to the next level in many ways. Plus – hard as it may be to believe – the Trimaster kit originally appeared around 30 years ago (doesn’t it make you feel old if you bought one back then!). Expect to pay around £36.00, which seems very fair for a kit of such high quality (I think the Trimaster kit was about £25 when I bought it in 1990, which is equivalent to over £58 nowadays!).
Kit #48236 is available from Gas Patch Models now.
Please remember, when contacting retailers or manufacturers, to mention that you saw their products highlighted here - on AEROSCALE


![MiG-3 [late] ‘Winter Air Defence’ Incoming](/upload/media/posts/2025-06/20/mig-3-late-winter-air-defence-incoming_1750437150-s.jpg)