Introduction
The Dr.I was not the first impressive Fokker fighter aircraft. The Fokker Eindecker which entered the battlefield in 1914 shocked its opponents with efficient shooting, causing the Fokker Scourge. But in that ear of rapid changes in aviation technology, the advantage of the Fokker Eindecker did not last long, and the front line urgently needed more advanced equipment. In 1917, a brand new Fokker fighter aircraft got into the public eye and this was the Fokker Dr.I which was built with the lastest aviation technology.
Airplanes at the time were generally poor in power and fragile in structure. It was difficult for pilots to make aggressive flight manoeuvres. Inspired by the British Sopwith design, the Fokker company designed the Dr.I as a triplane. So while the overall size of the airplane remained unchanged, the wing area was increased to get more lift and the airplane could make more aggressive flight manoeuvres. Unlike its British opponent, the Fokker Dr.I’s three wings were arranged in order from top to bottom with the wingspan reduced sequentially. There was even a landing gear axle wing playing the role of a fourth wing. In this way, the triplane could get more lift and wouldn’t suffer from too much drag. In addition, the three main wings used more load-bearing components than biplanes and monoplanes, so it could withstand greater g-forces and its fuselage could withstand more violent manoeuvres. Most metal bracing wires were hidden inside the aircraft to greatly reduce the drag. Thanks to these design feature, the Fokker Dr.I triplanes piloted by top pilots like Voss, Richthofen and Ubet often make incredible manoeuvres and dominate air combat.
Review
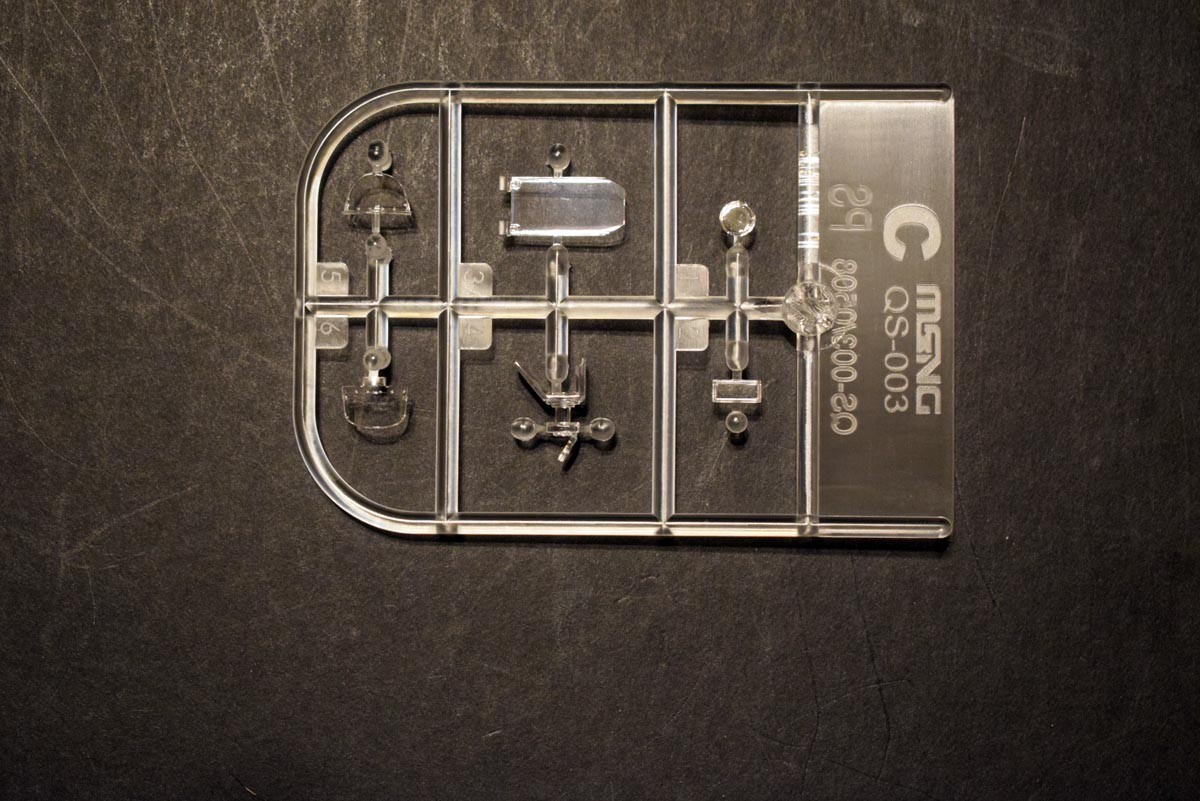
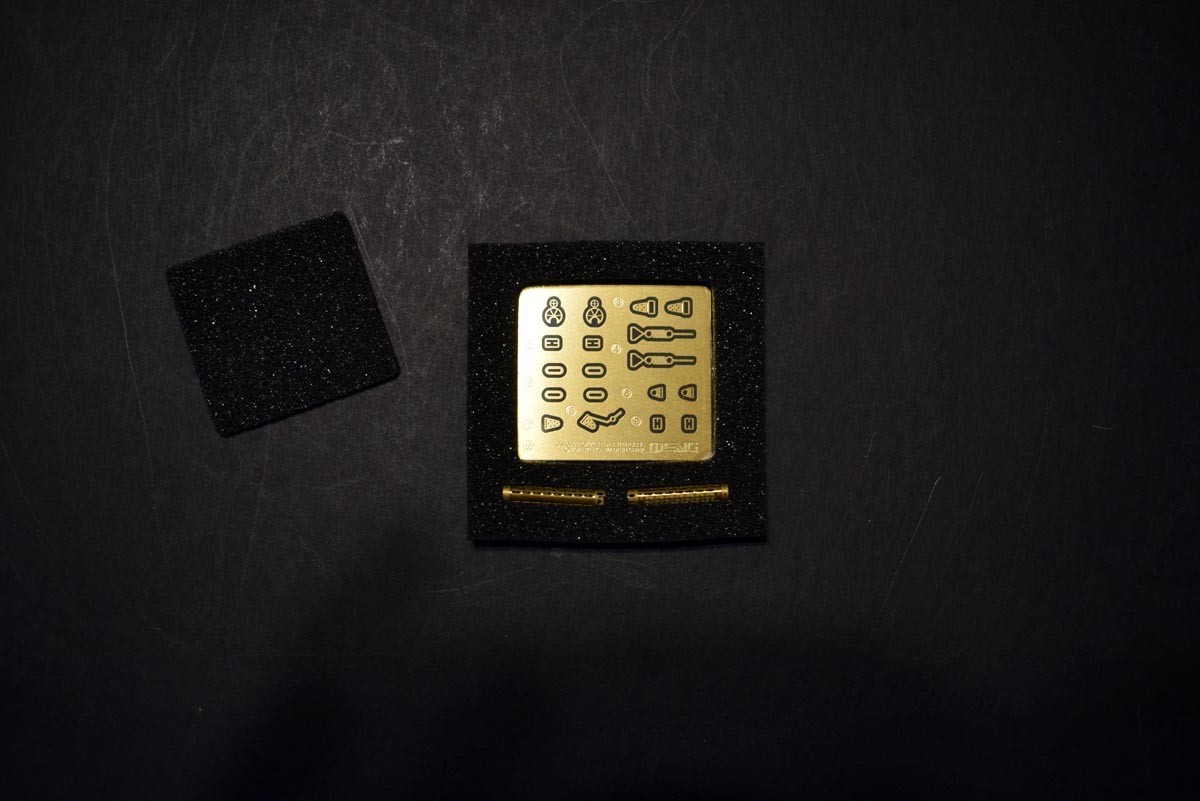
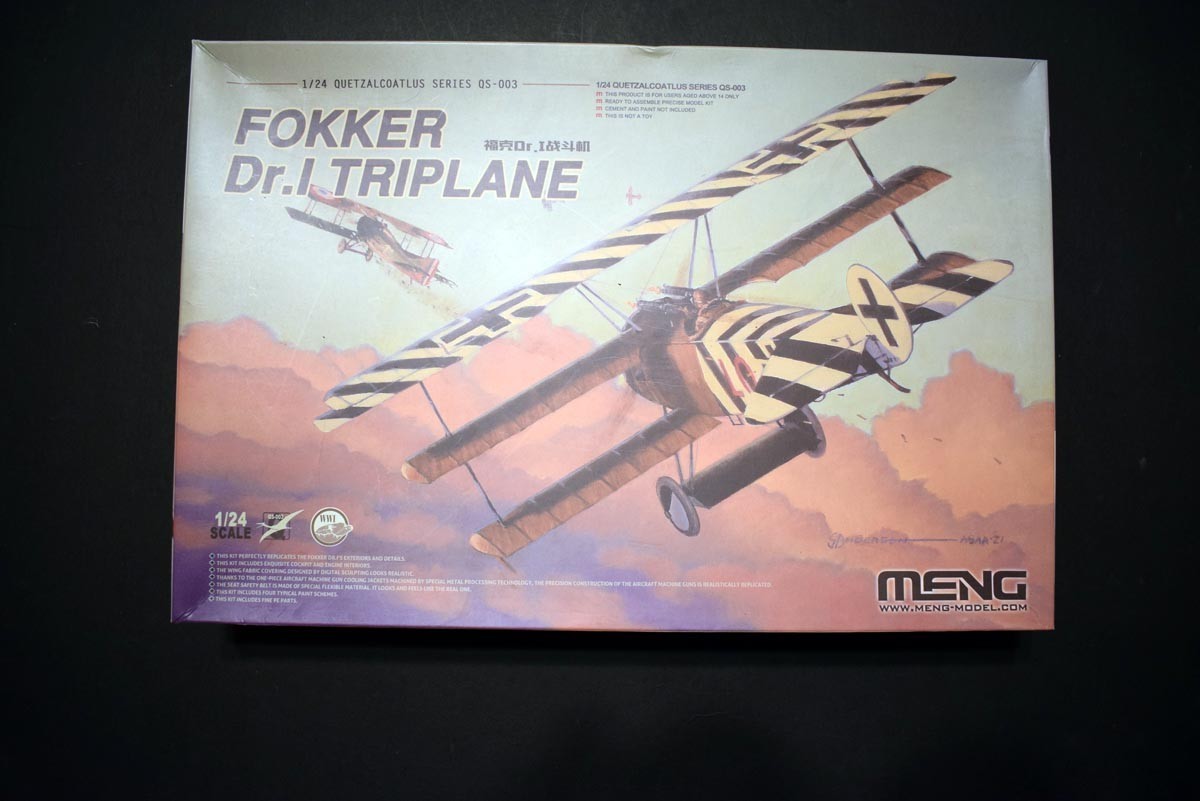
This offering from Meng of a 1/24th scale Fokker Dr.I triplane is supplied in a heavy card tray and a separate card lid. The sprues are all individually bagged, as are the decals. There is a small box included in the packaging that contains a foam insert, protecting both flat and preformed photo etched parts. A look over the mouldings themselves reveals no issues or concerns, and also indicates access for removing parts is good. A check over the instruction booklet, indicates that all steps should be relatively easy to follow, but you need to be aware that some steps will be harder to follow than others, due to the finesse of the model and the addition of details that are not part of the kit.
The cockpit and interior of the fuselage - Meng has supplied in this offering something that feels like vinyl, which are the parts for the pilots harness. The fittings that goes onto the harness are photo etched parts, which has the potential to result in a very pleasing level of detail. However, there is an issue, no measurements or where to place the parts of the harness, and where fold over of the vinyl pieces occur, and so making this guess work to some extent. The internal structure of the cockpit does require that the modeller decides on which version they wish to build, as there are small changes present depending on which way you want to go. A look over the parts used, would indicate that a high level of detail is included from the off. Where there is internal bracing wire visible, it is indicated in the instructions, and I would suggest for ease of construction, the the modeller uses very fine wire to replicate this aspect. Before inserting the cockpit into the fuselage, you will have assembled a sub-assembly that will make the addition of wires into the floor of the cockpit easier. The fuselage halves require a mix of surgery, from drilling to opening holes and removing details again depending on which aircraft you are building.
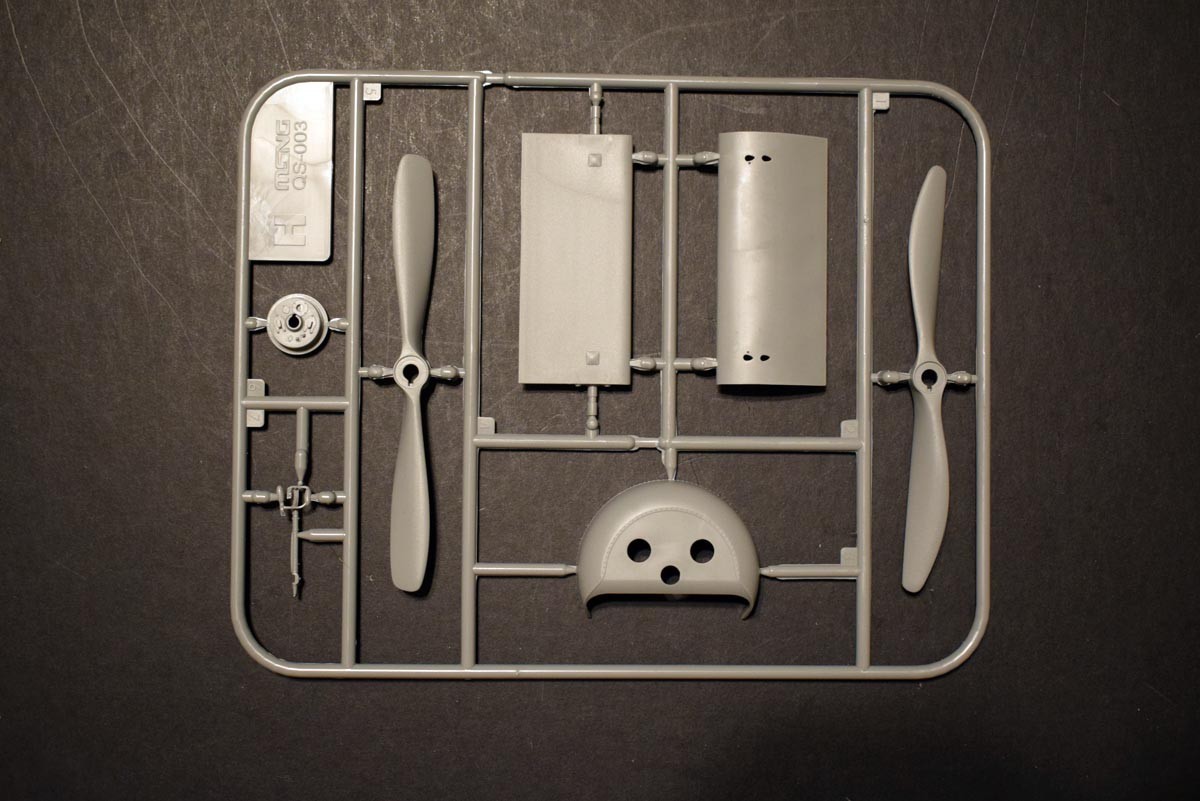
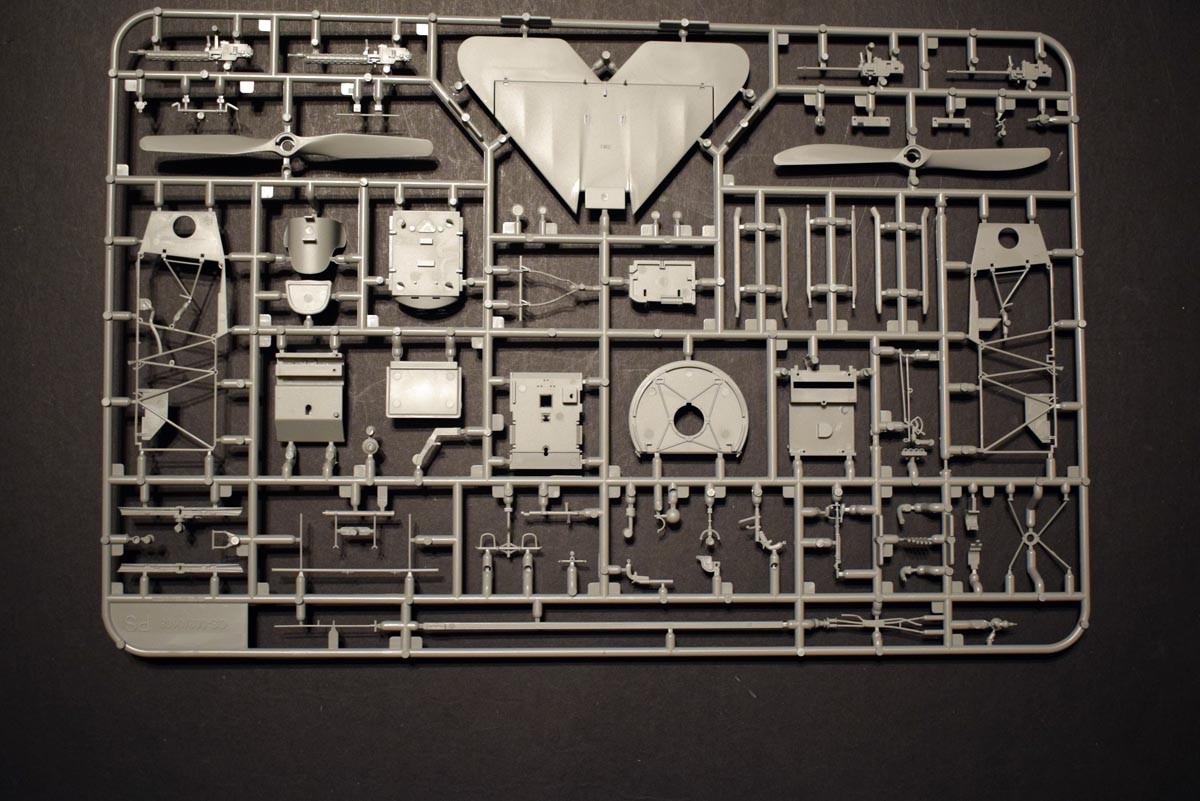
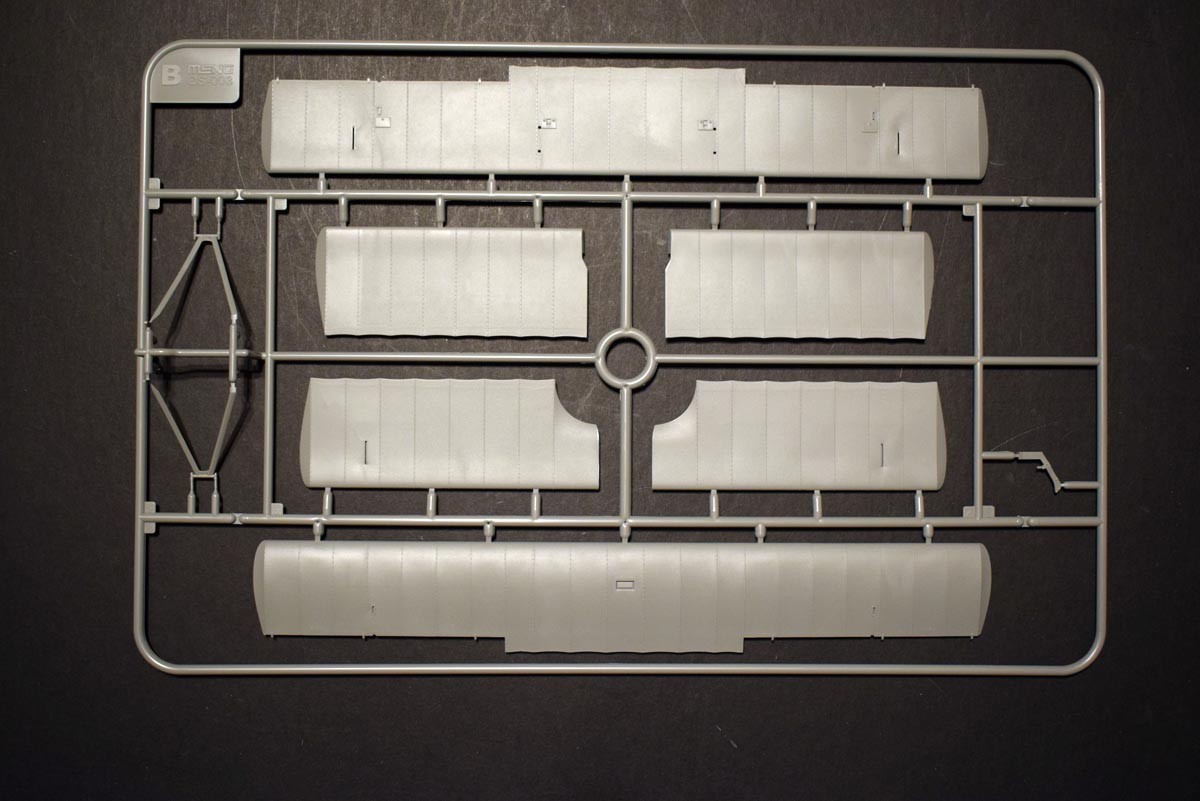
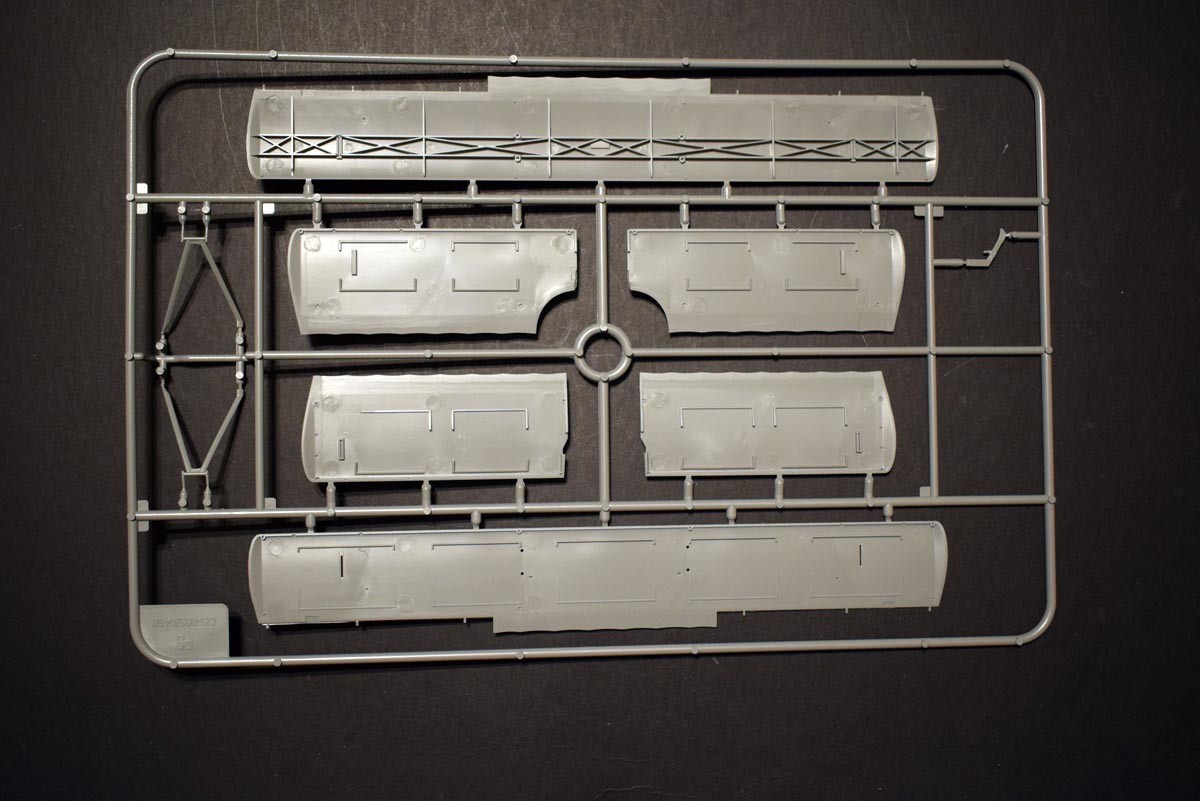
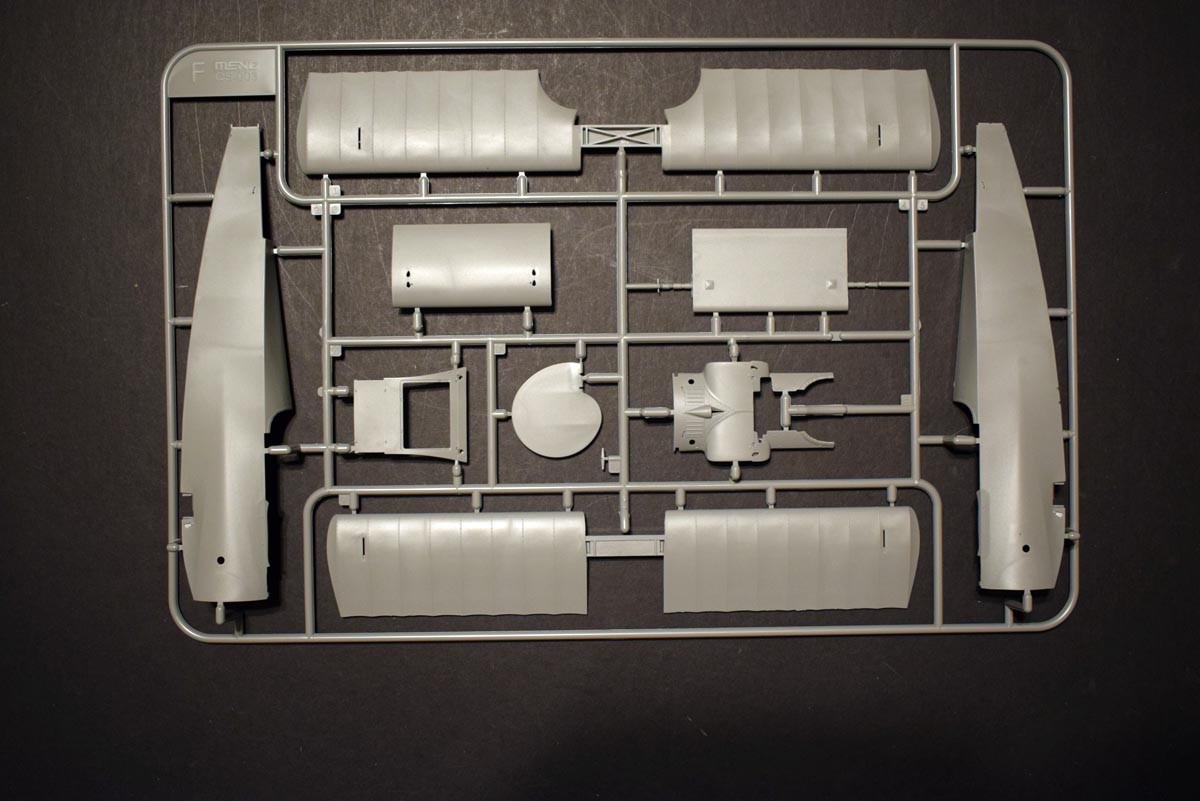
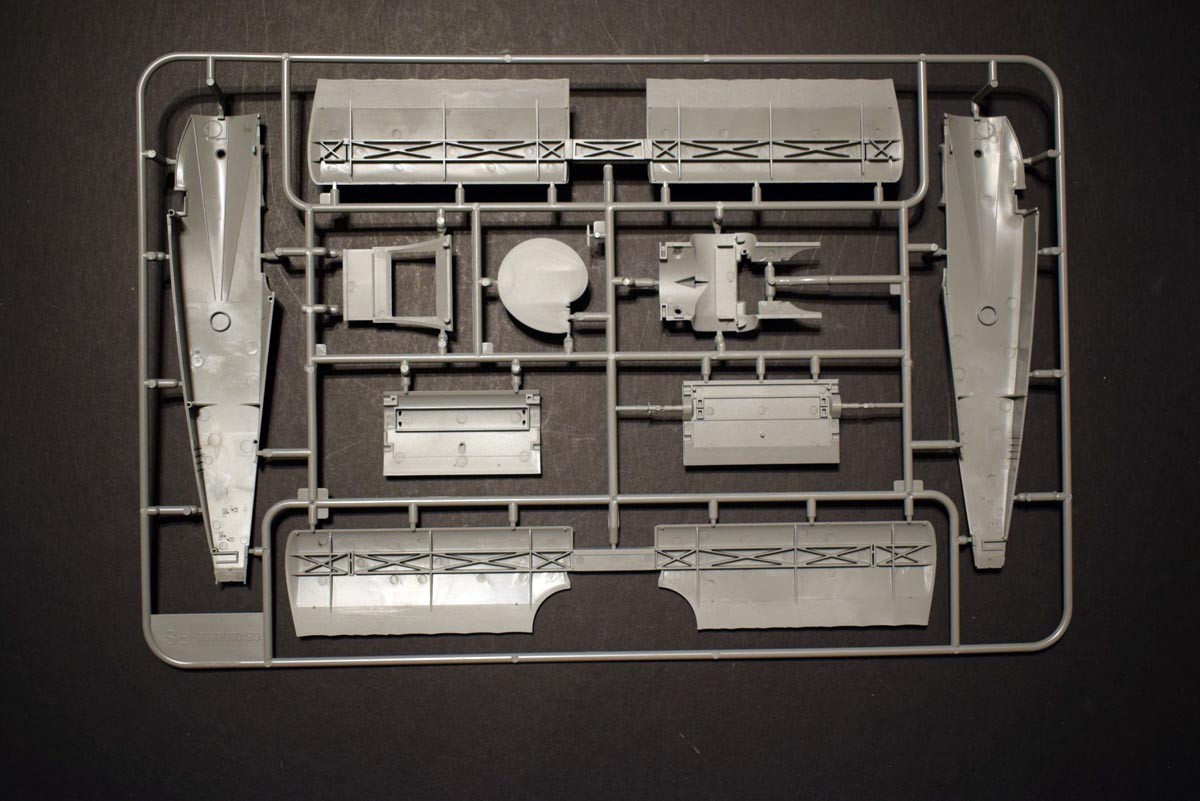
The wings of the model have a very nicely replicated profile, with the internal rib structure clearly visible, and I believe accurate. The broad struts that support the wings have good detail on them, and fingers crossed should make assembly easier than it may have been. It is worth noting, that there are again openings that need to by made depending on the version you are building. The tail of the model, also has well defined rib detail, but the control surfaces have not been provided separately unlike those provided on the upper wing. Possibly one of the biggest issues you will encounter with this model, is in making sure that you correctly alter parts of the model for the aircraft version you are building. I never realised just how many miniscule changes were made on the Fokker Dr.I. I will say that in Meng’s favour, they do appear to have pointed out the alterations that need to be made.
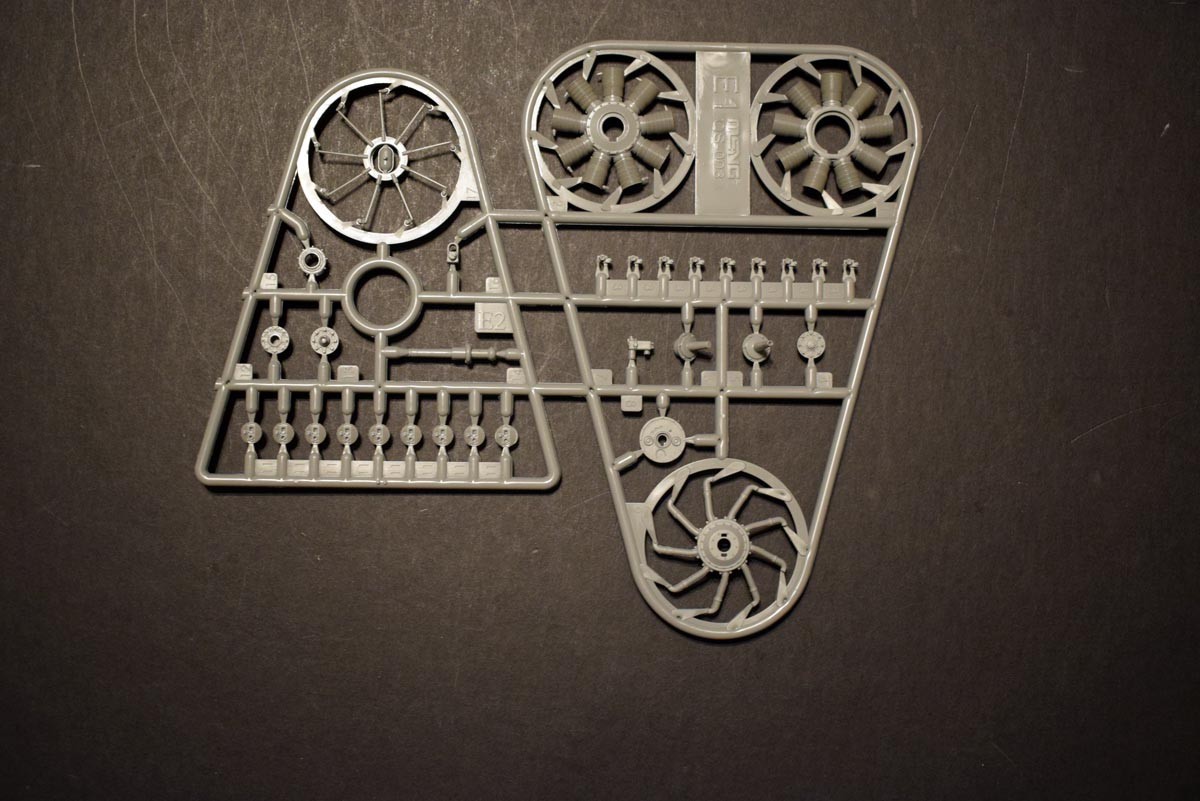
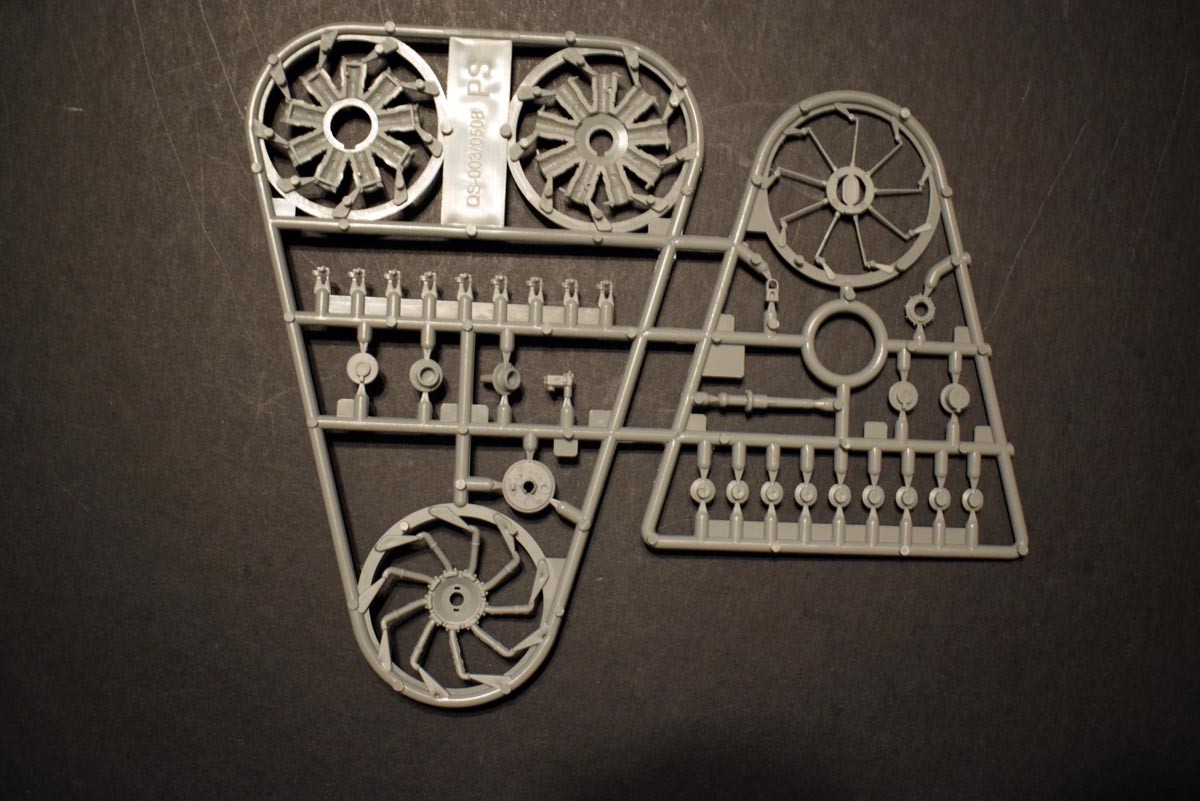
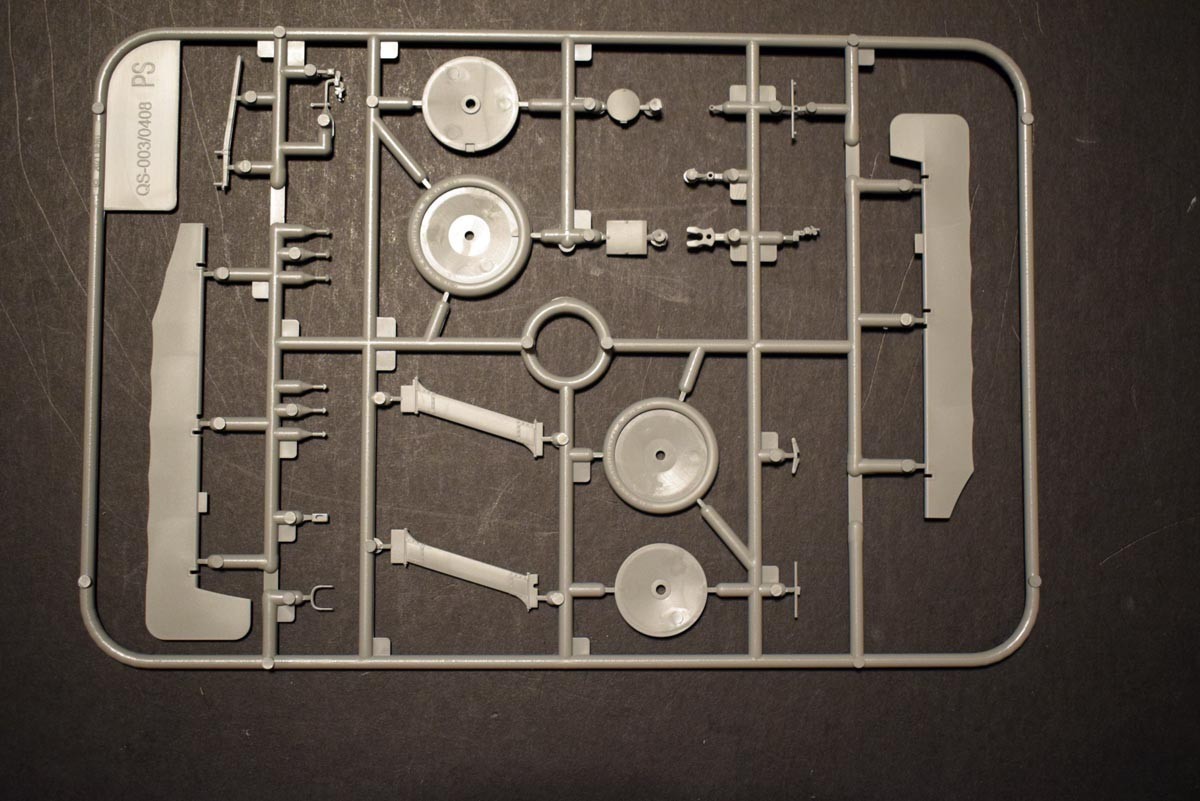
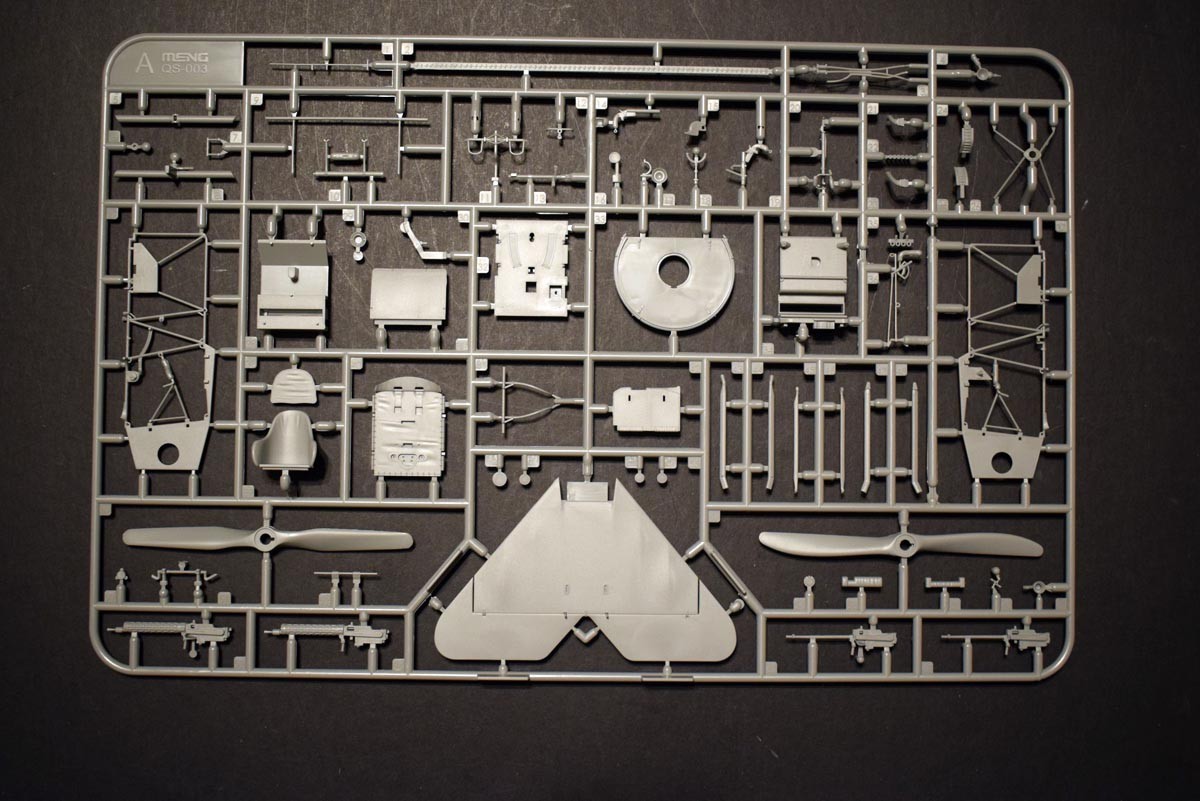
The engine for the model would appear to be a relatively easy build, with very nicely detailed cooling ribs on the cylinders with separate head parts, avoiding the issue of seam lines that are impossible to work on. The ignition harness, is all in plastic which surprised me, but does look better due to it’s 3 dimensional look - rather than flat which would be the case with photo etch. With a portion of the engine exposed beneath the shroud, I feel that Meng has gone to a reasonable level of detail, and I am unsure how this can be improved upon. The propeller itself, has been provided in two different forms, depending on which version of the aircraft you are building.
The offensive weaponry, in the form of two MG 08 machine guns have been provided with two options. One option is completely plastic moulded machine guns, with fair detail for what they replicate, the more advanced version offers a preformed photo etched barrel guard, which obviously presents a higher level of detail with in my opinion not excessively harder work. My disappointment in this area is that the muzzle of the machine guns has not been slide moulded, and as such will need to be opened up for better accuracy.
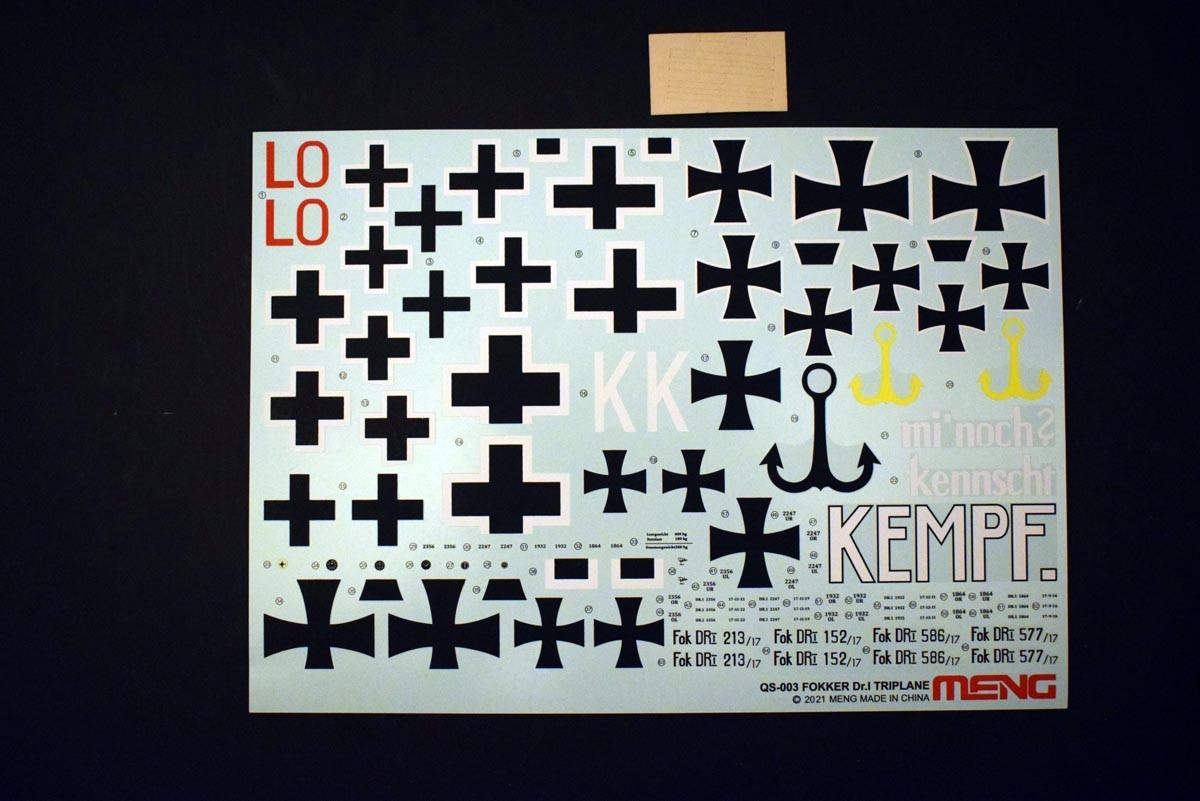
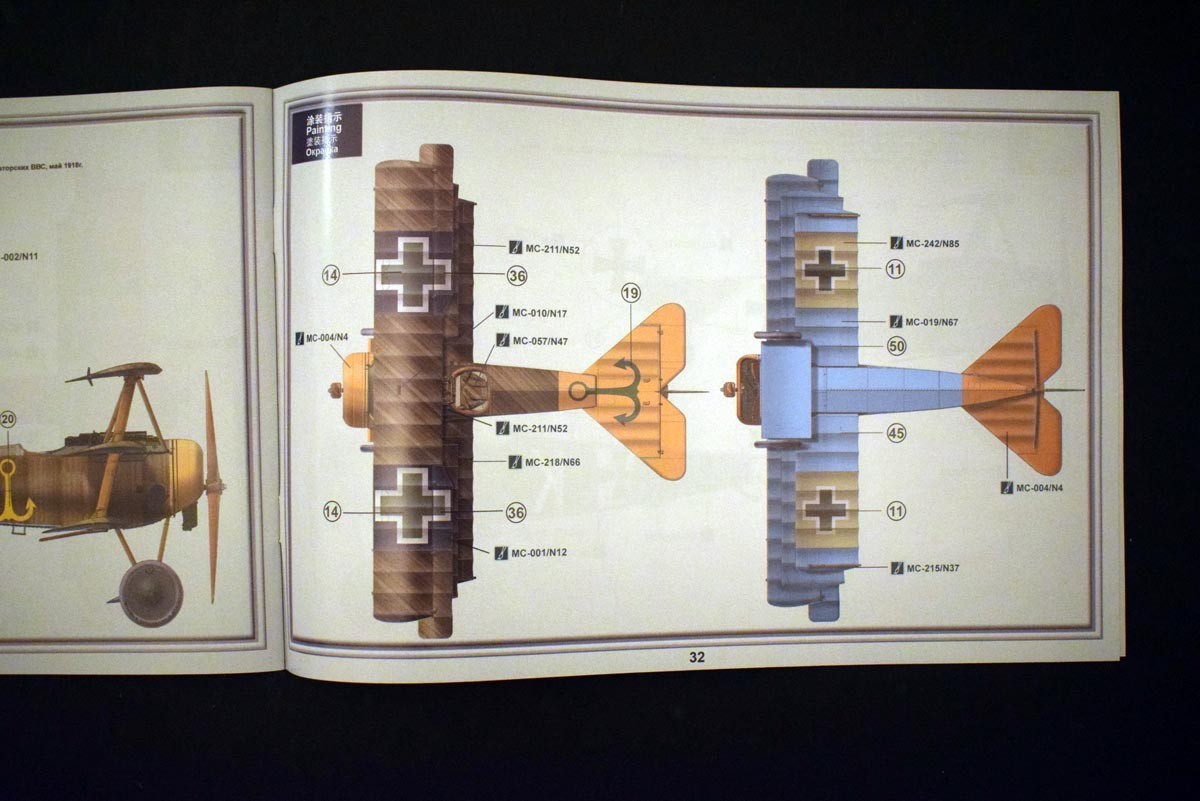
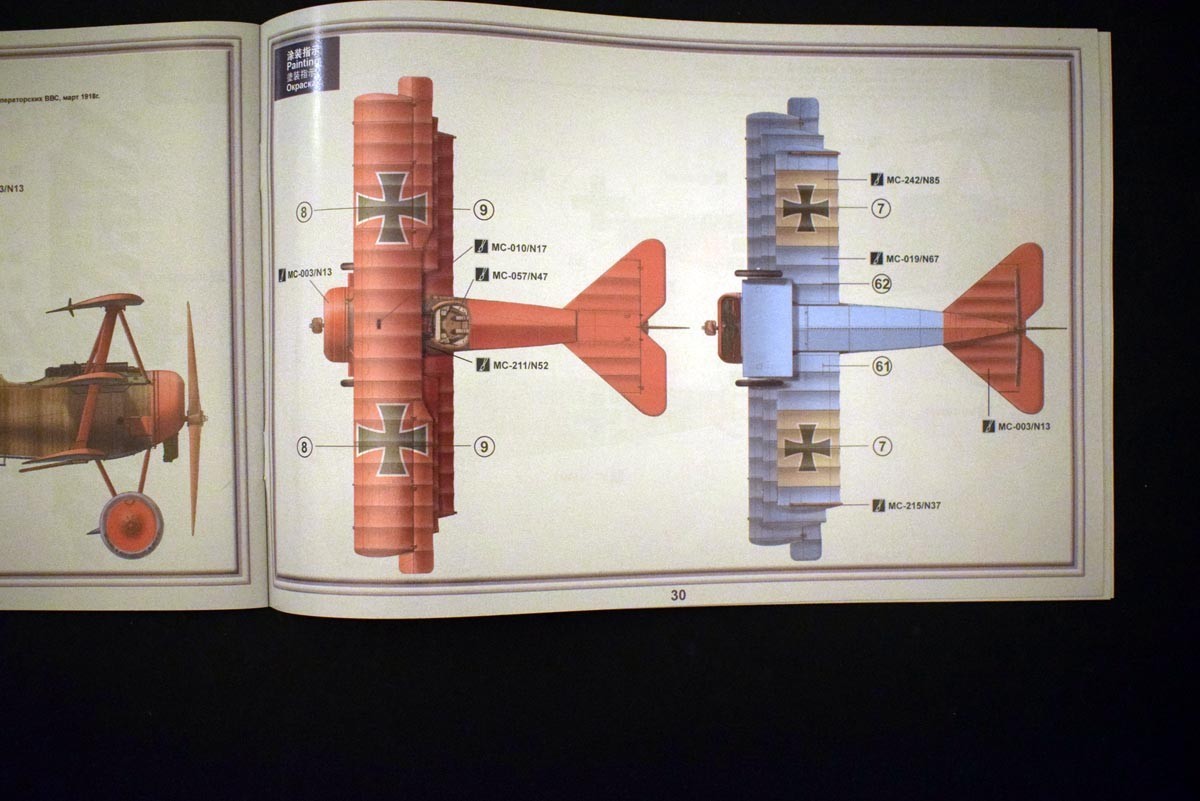
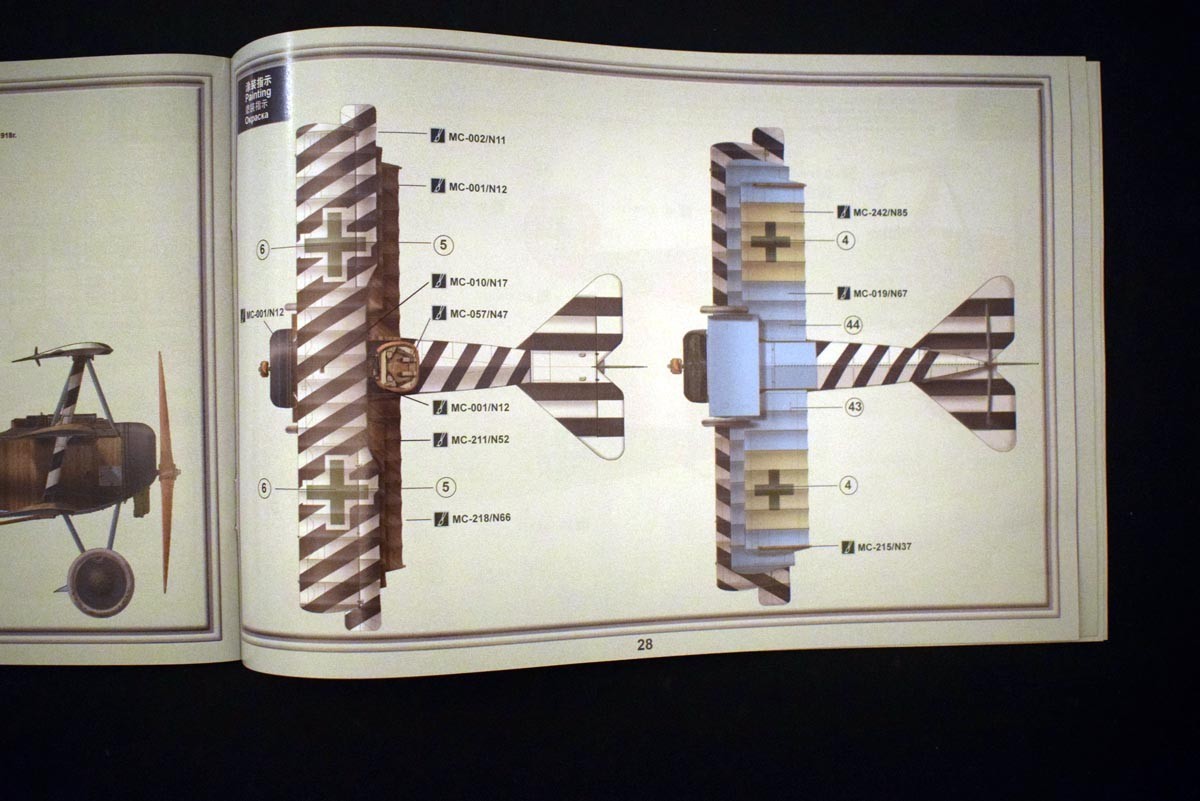
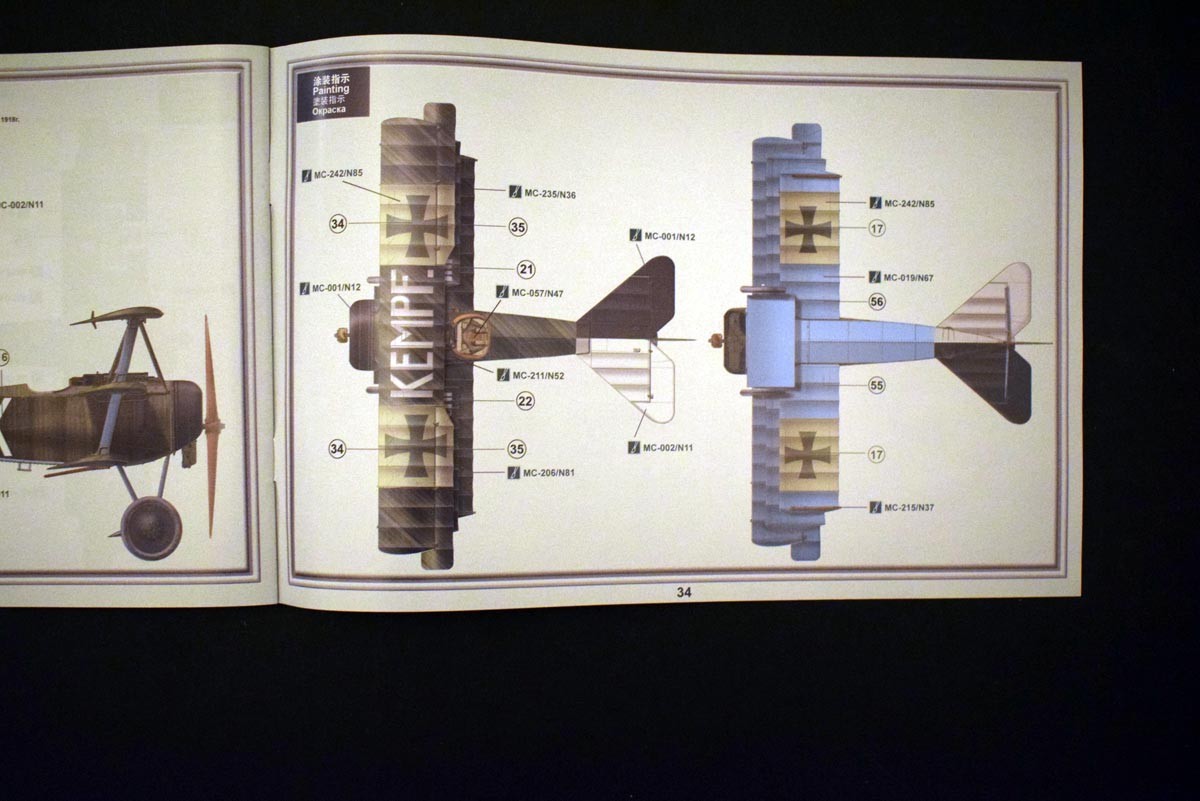
Meng has provided four finishing options for this model, which are as follows:
Aircraft 586/17 of Ltn Ernst Udel, Jasta 4, Deutshe LuftStreikrafte, June 1918
Aircraft 152/17 of Rittm Manfred von Richthofen, Jg 1, Deutshe LuftStreikrafte, March 1918
Aircraft 577/17 of Ltn Rudulf Klimke, Jasta 27, Deutshe LuftStreikrafte, May 1918
Aircraft 213/17 of Ltn Kenpf, Jasta 2 Boelcke, Deutshe LuftStreikrafte, Febrauary 1918
Regardless of which option you decide to finish, they all have visually pleasing attributes. The decals themselves, have good colouration, good definition, but are a little on the heavy side, as in I can feel them on the carrier paper.
Conclusion
This offerings from Meng, appears to me to be a very well designed model, with only two issues. Perhaps the biggest issue depending on how you chose to overcome it is the heavy nature of the decals. The second issue is the number of changes that are present in the model, which despite being well indicated in the instruction, creates the chances for mistakes to be made. In all other respects I am very pleased with what is offered, the layout of the bracing wires appears to have been very well done. Being a 1/24th scale model I would consider replicating these with wire, rather than cotton or vinyl.