Introduction
PZL P.11c airplanes entered service in fighter squadrons of Polish Air Force in 1935and were their most valuable equipment during the polish campaign of 1939.These aircraft served in 1st Air Regiment (AR) in Warsaw, 2nd AR in Cracow, 3rdAR in Poznan, 4th AR in Torun, 5th AR in Lida and 6th AR in Lwow and took part in the Polish Campaign from its outbreak on 1st September 1939 until evacuation forced by the Soviet attack of 17th September. Evacuated airplanes were incorporated into the Romanian Air Force, where they served along side the locally constructed P. 11f version.
In the beginning my thought was to build it OOB but leave it to IBG to make something that screamed to have a few added touches. Don’t get me wrong, this kit is absolutely plastered with detail from stem to stern yet they left the door open for highly talented modelers to take it to another level. I’m not one of those so I’ll just be doing a few extra items to enrich what will be seen.
It is in your interest to pick up a reference book or scour the web for images, of which there are plenty. More on that later.
The Build
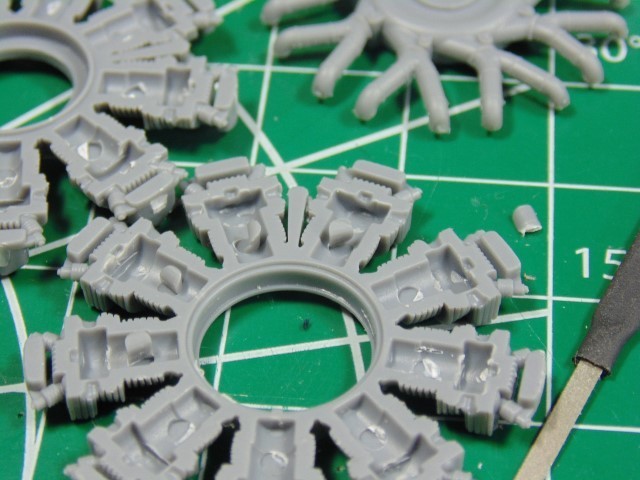
Removing the ejector pins.
The fit needs help at the crank.
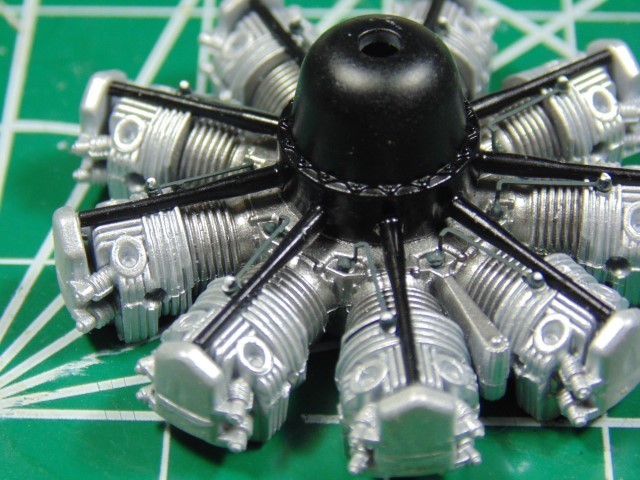
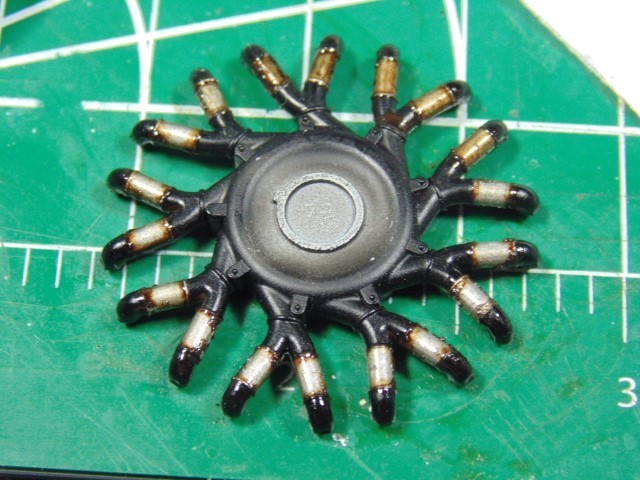
And then the cylinders. Be mindful of the tiny pins on the front of the engine for they hold photo-etched parts
There will be some necessary seam line clean up, but it isn't horrible.

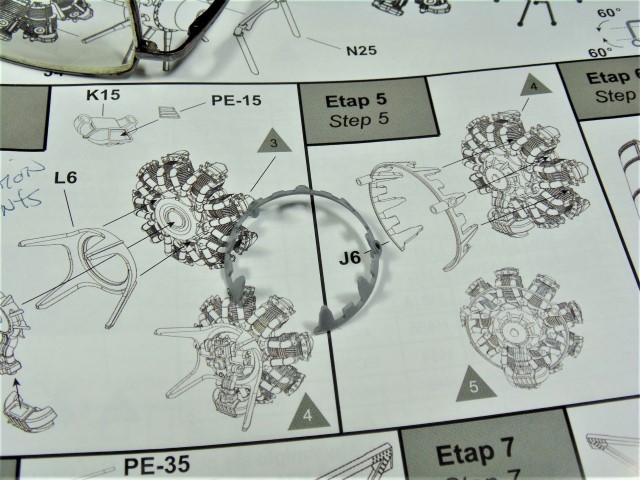
The part L6 engine mount picture is missing in step 5 but it should be installed in step 4.
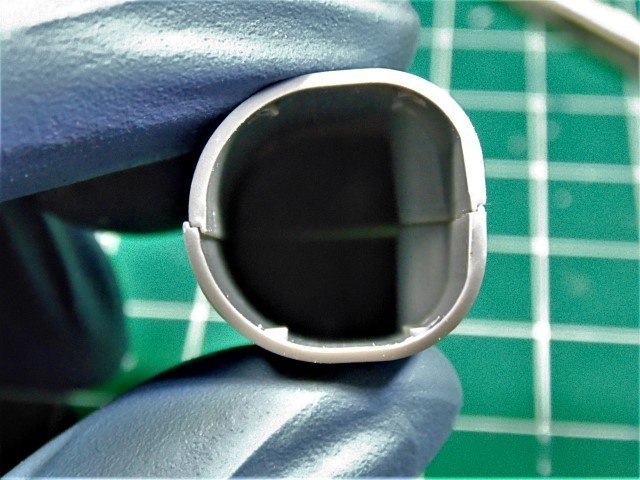
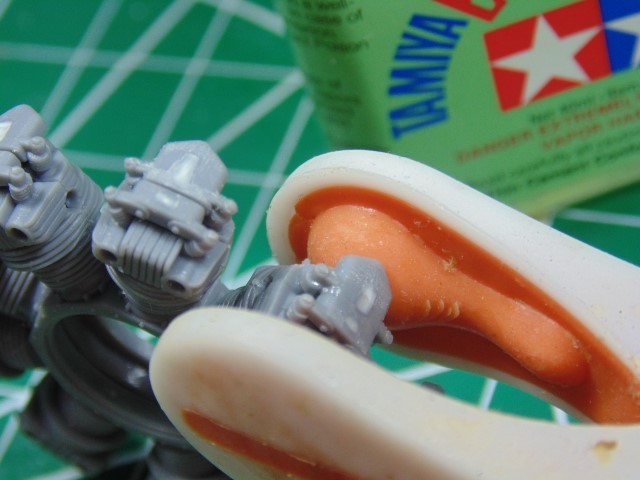
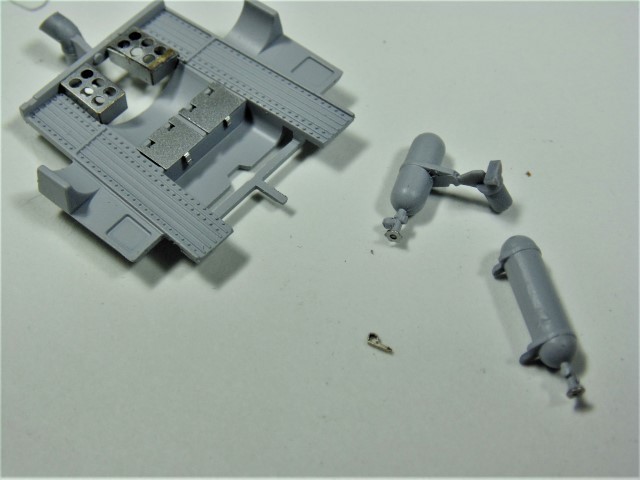
The fuel tank needs a little persuasion to be correct.
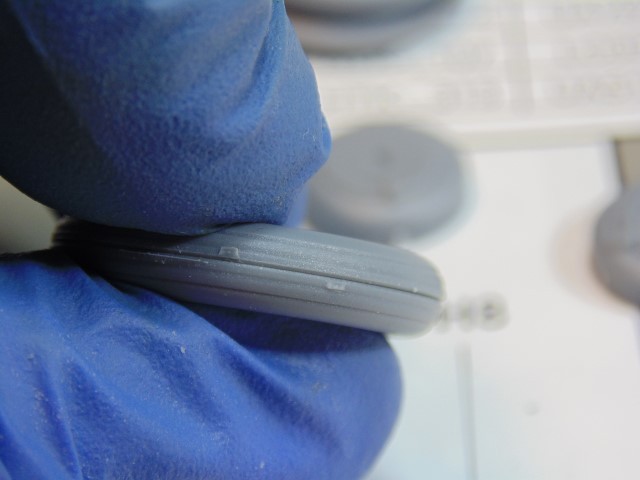
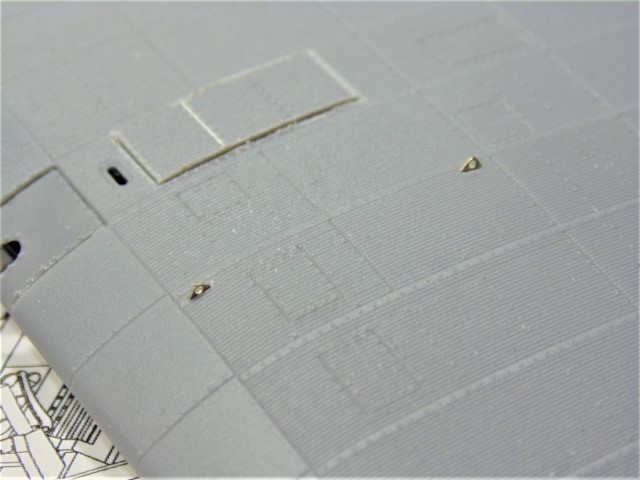
The wide center line groove is supposed to look like that.
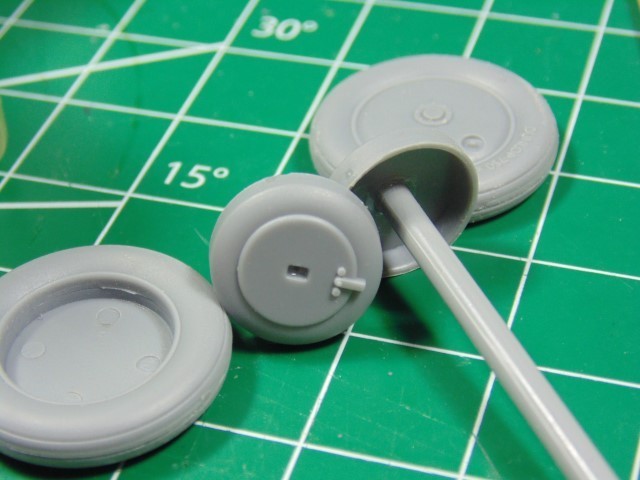
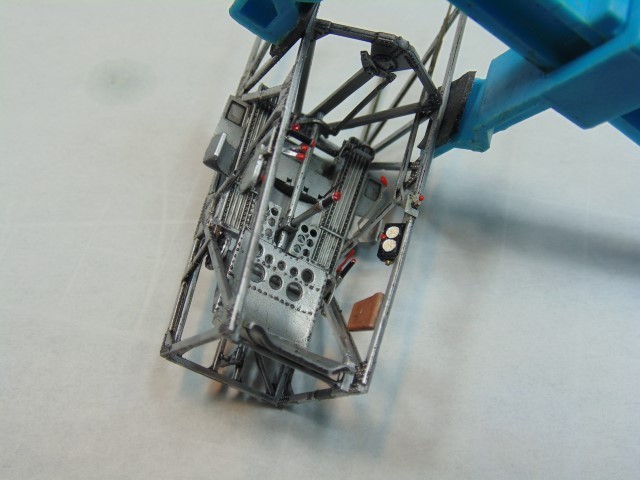
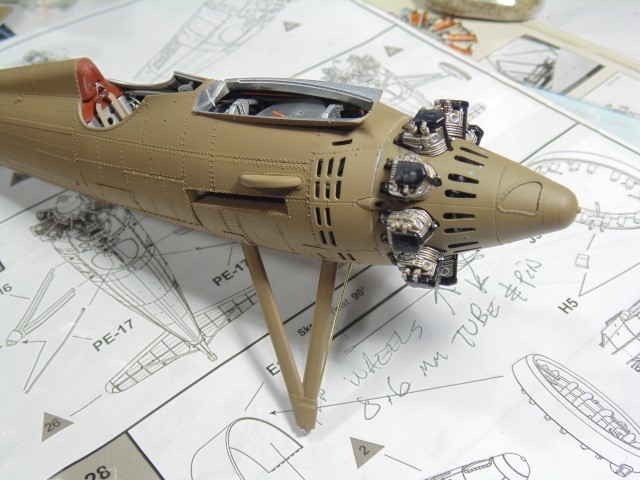
A structurally weak part of the kit is the connection with the wheels. That's a lot of weight on those small points of contact. I'm going to beef it up with styrene and brass tube.
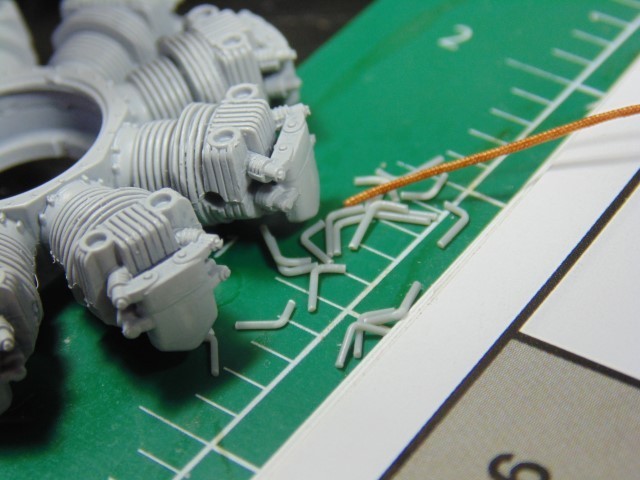
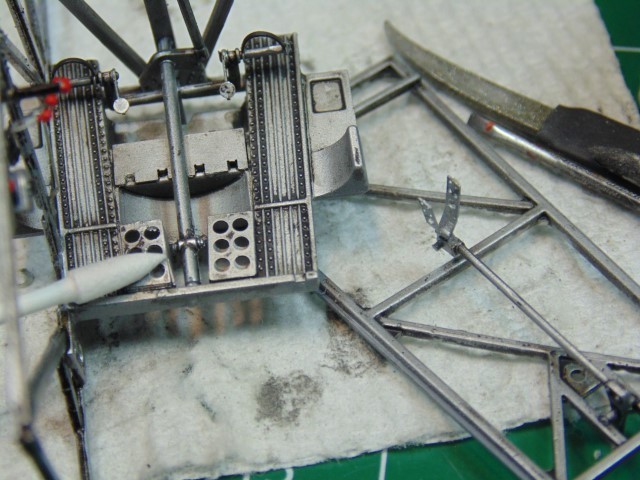
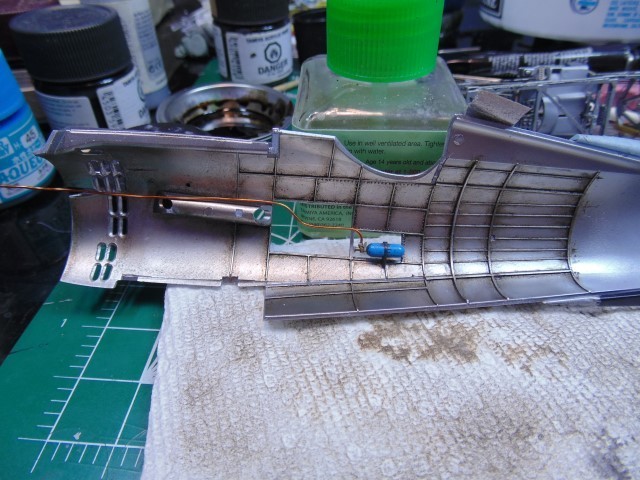
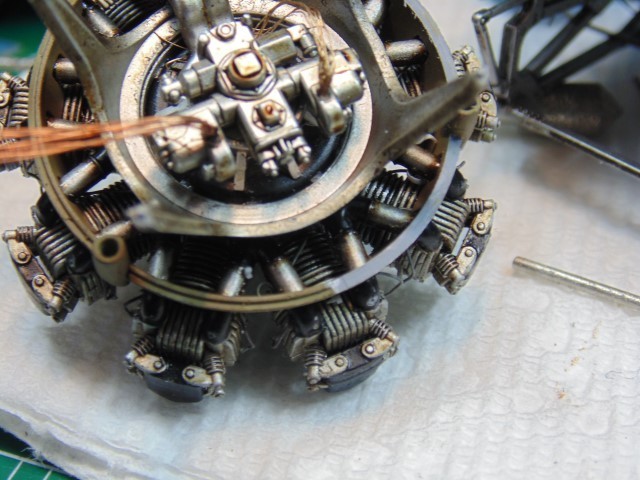
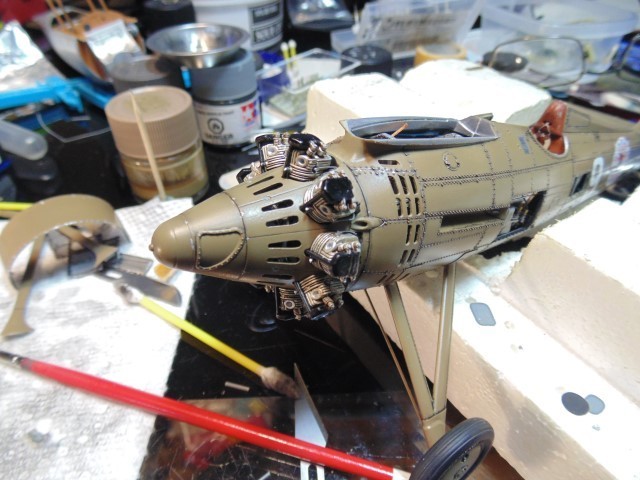
The engine has holes for spark plugs so I'm going to make them and the wires.
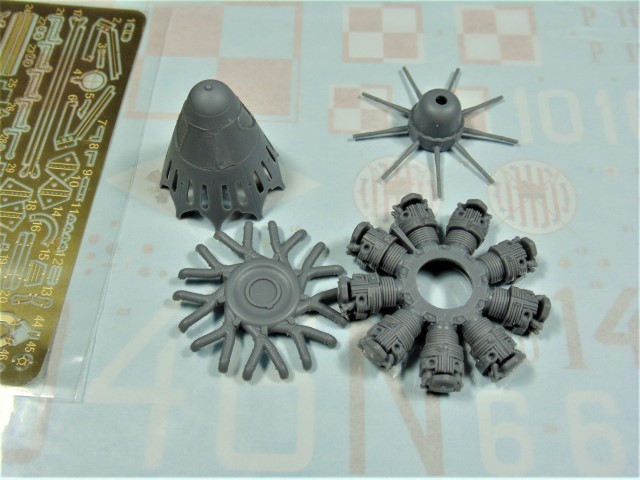
Primed with Mr. Primer Surfacer 1000. Special thanks to Sunward Hobbies for supplying the primer used in this Feature Build. Please visit them at https://www.sunwardhobbies.ca/

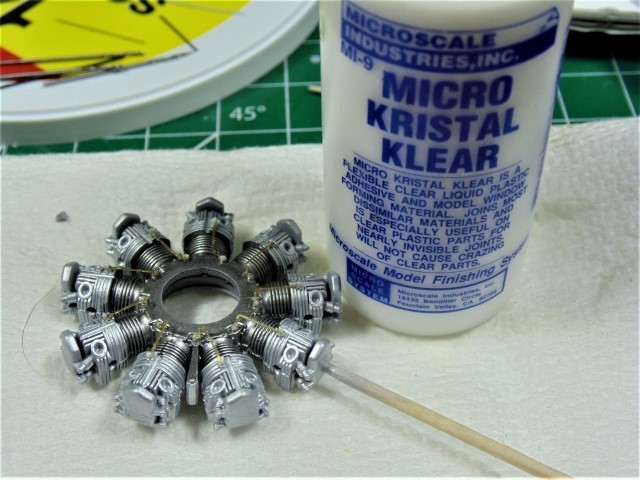
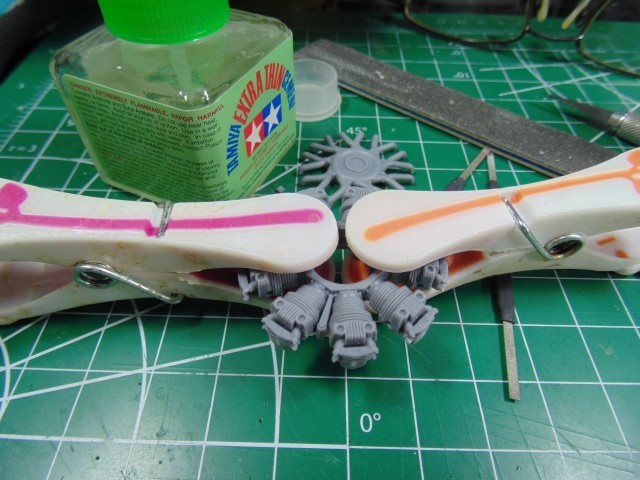
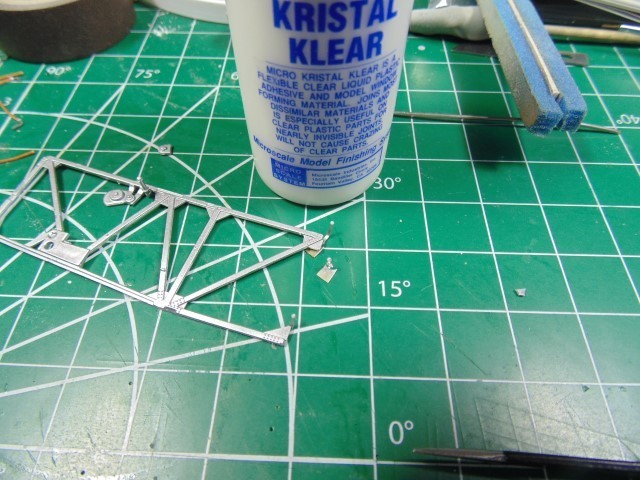
A tiny dab of Krystal Klear on those pins helps them stay put and at the proper angle. Let it get sticky first though.

The valve covers get sanded and cleaned up later. For now I need something to hold on to.
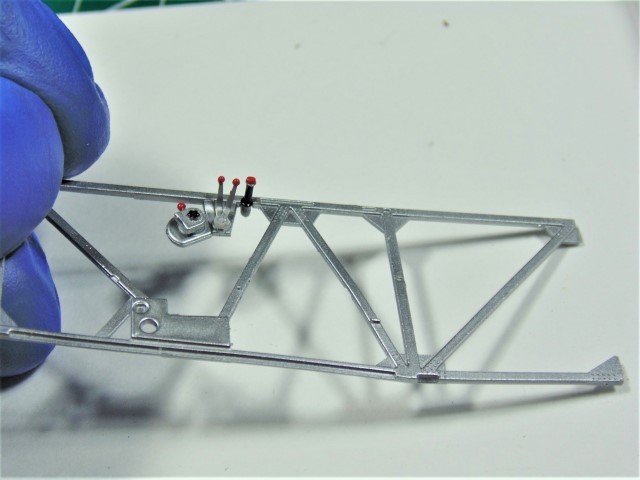
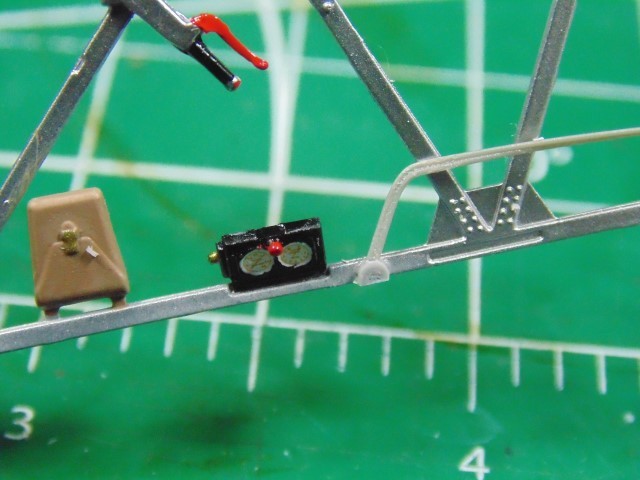
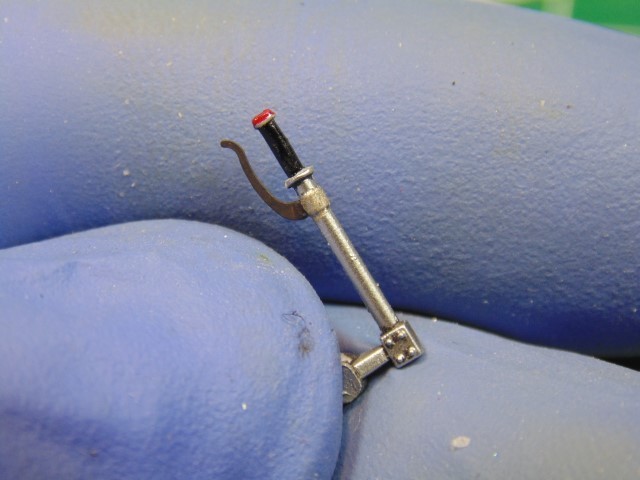
Here I'm adding nobs to the control levers with Krystal Klear.
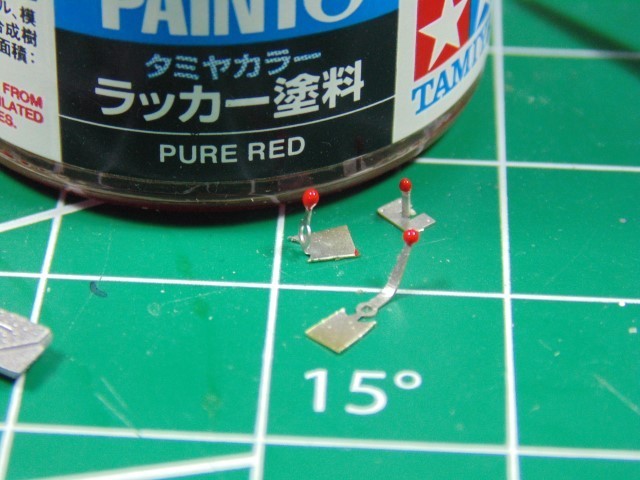
Just one of those easy to do tiny details I feel make a difference.

Some added cabling.
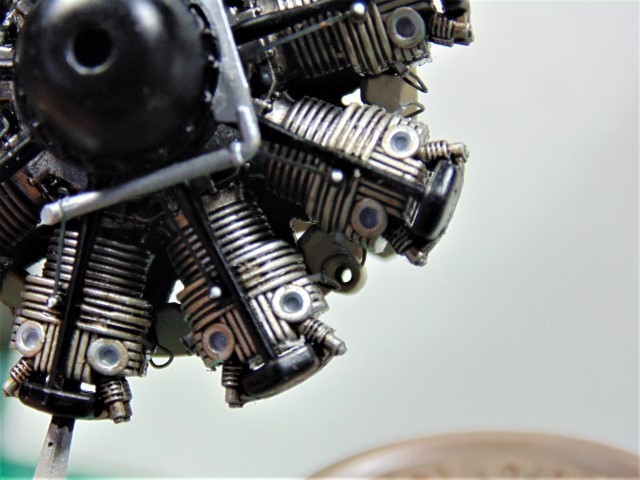
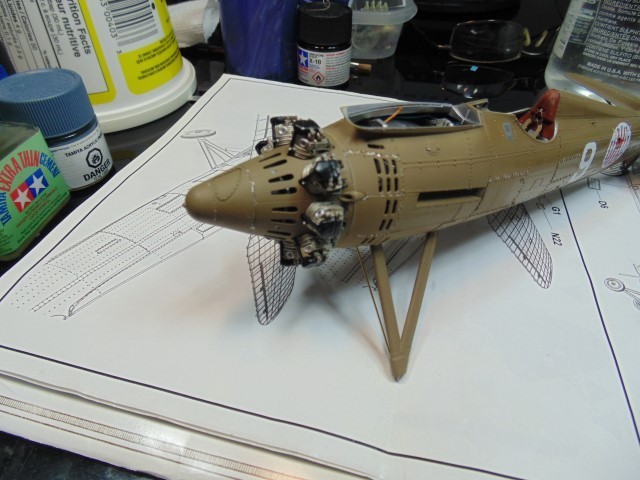
Engine grease on the intake pipes. Abteilung 502 used here.
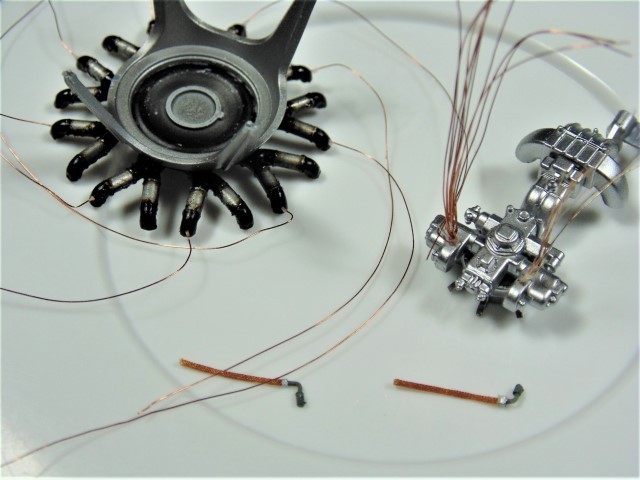
Both the air/water injection pipes and plug wires were omitted due to size of the plug wires and water was not used by the Polish. Wiring on the magnetos is good though.
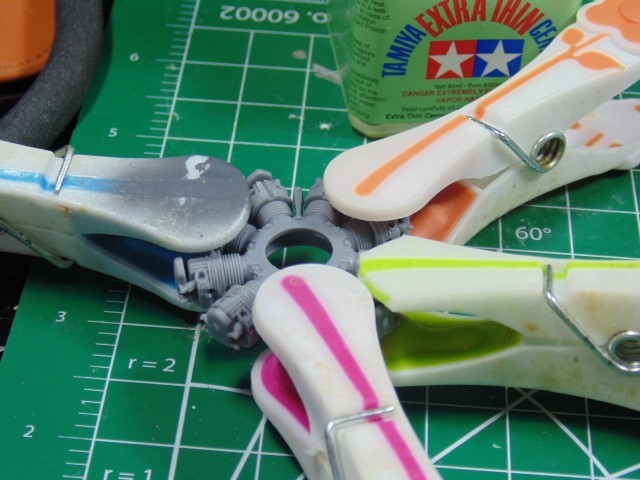
A nice wash brings things together.
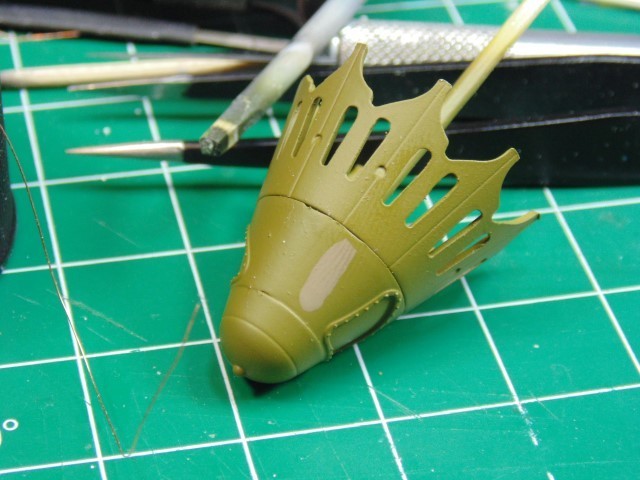
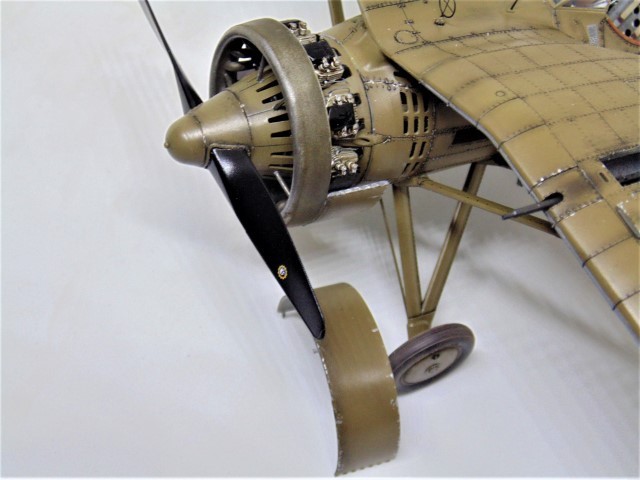
IBG Models call out for a shade of Polish khaki. To me it is more late war and not brown enough to match the box art.
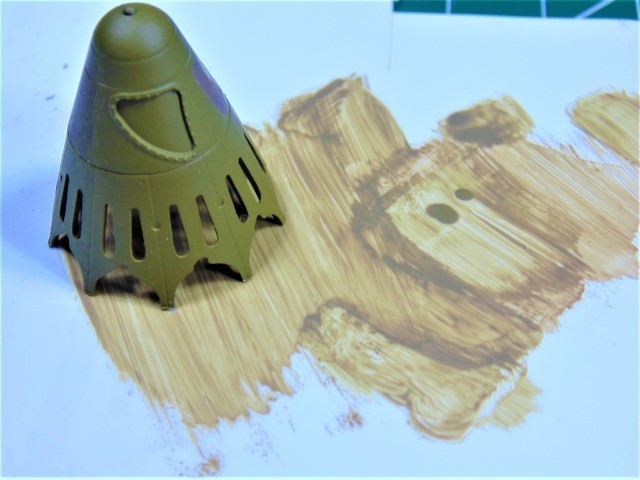
I mixed my own until it looked right.
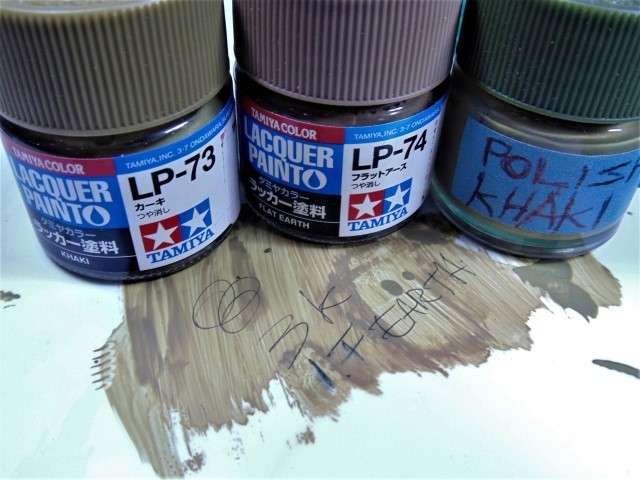
This is my formula for early Polish Khaki.
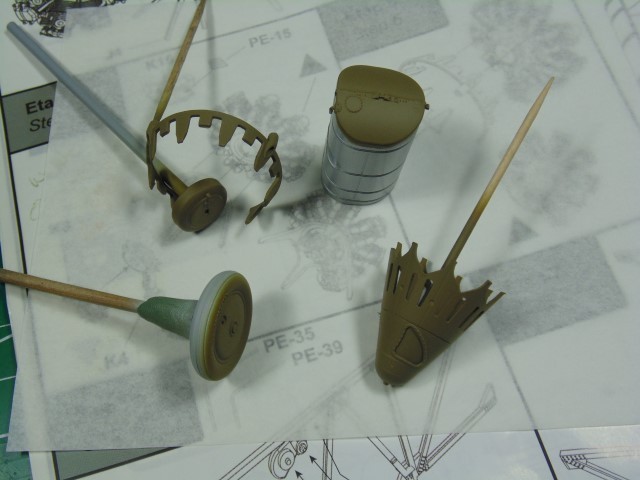
Resprayed parts.
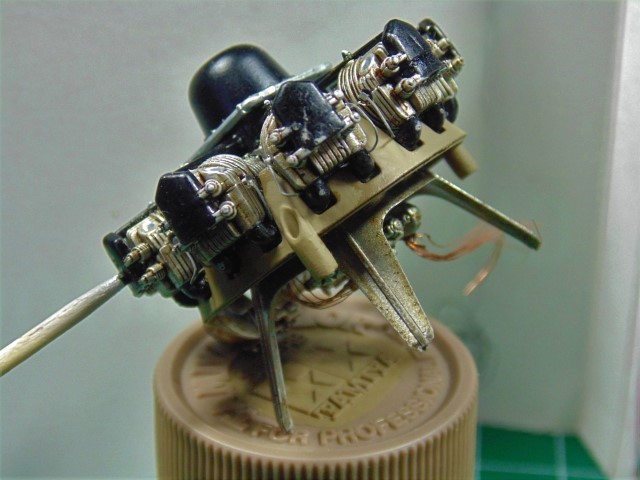
0.2mm lead made the spark plug wires.


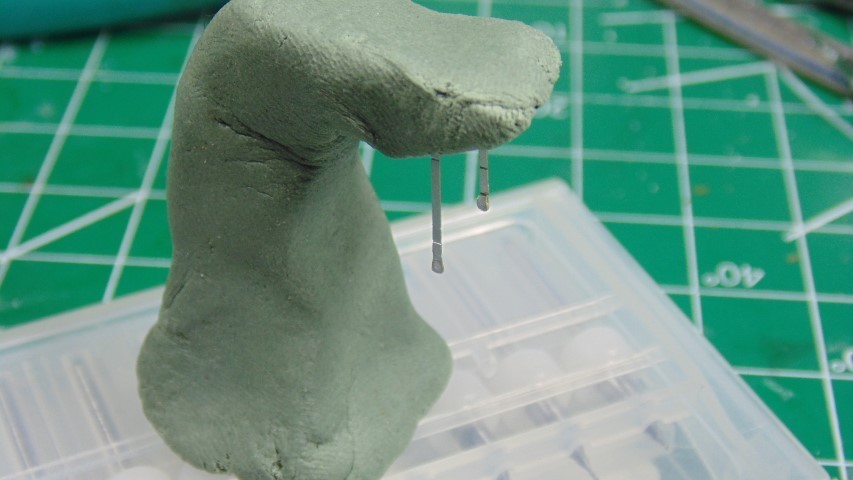
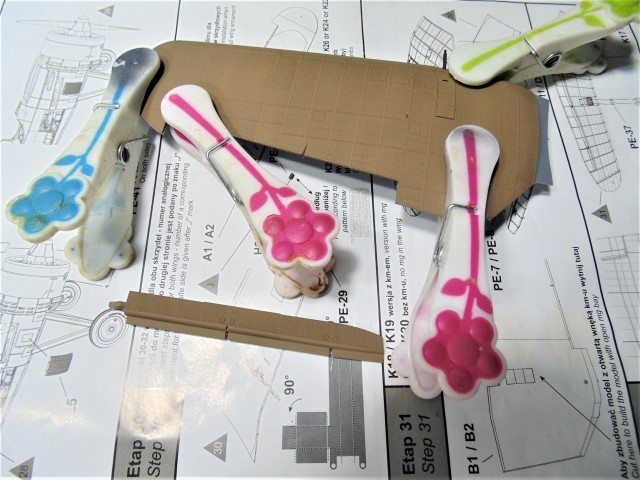
I hang these levers upside down so the PVA will form drops that can be sanded to the right shape. Also, filing the PE tips really helps.
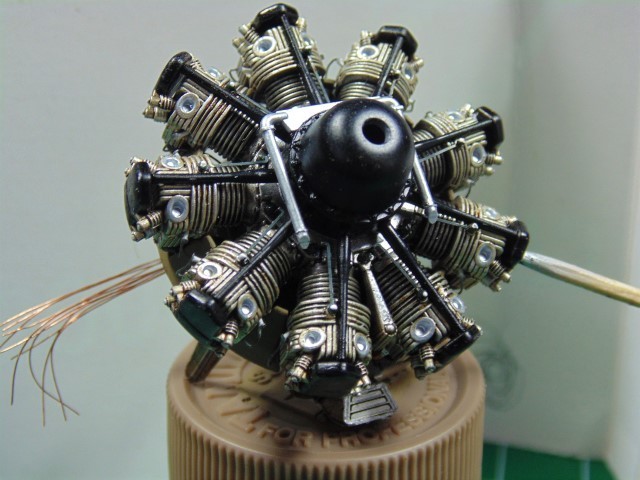
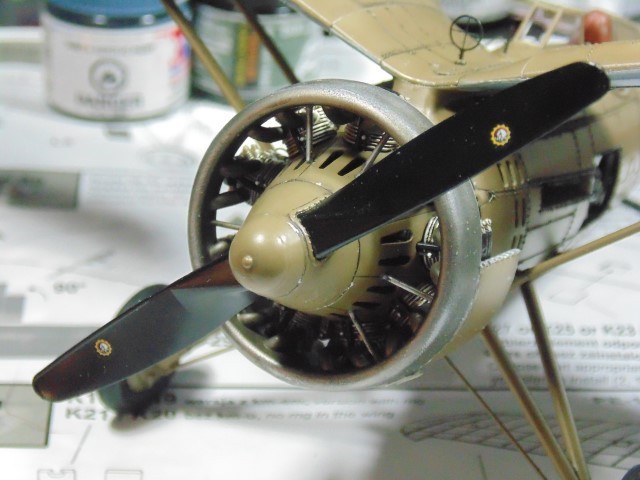
A basic black smoke wash went on here. Tons of detail in this kit, WOW!
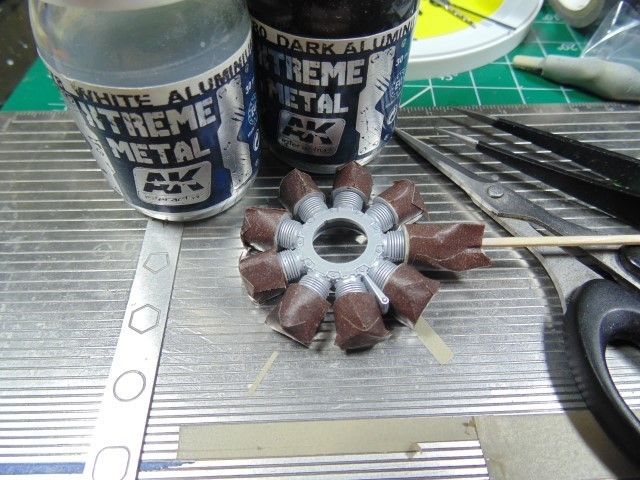
Dark iron for the lever and a couple of shades in AK Xtreme metal.

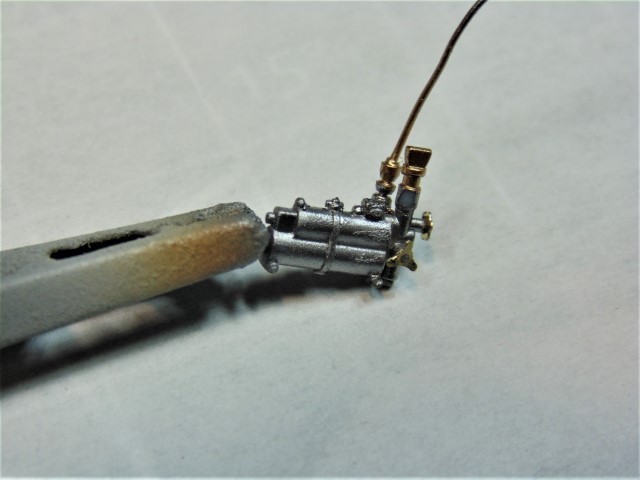
Some pipe and a fitting were added to match pictures.
The fit of the PE to the plastic is brilliant!
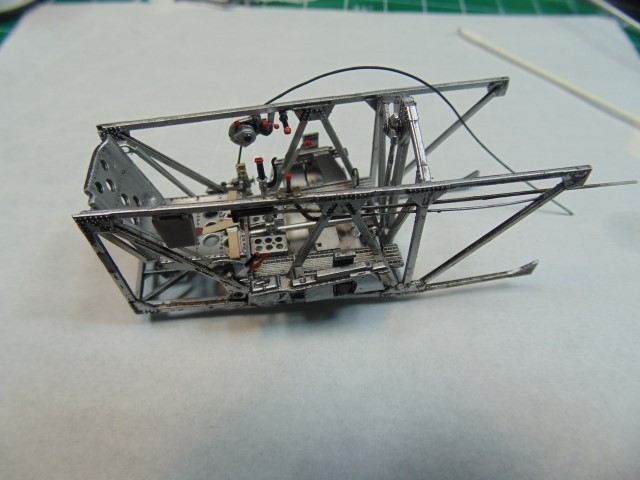
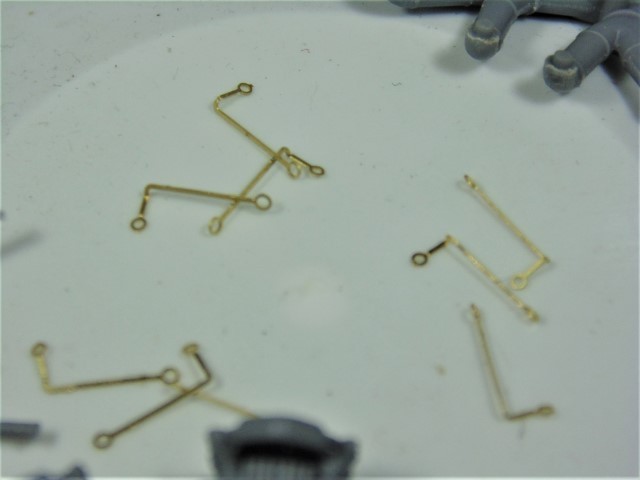
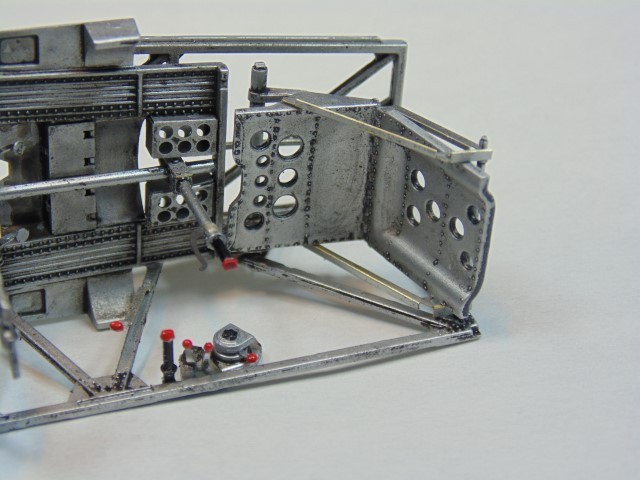
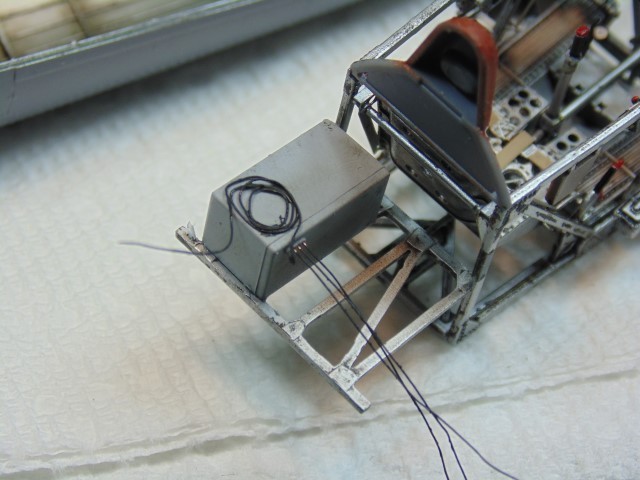
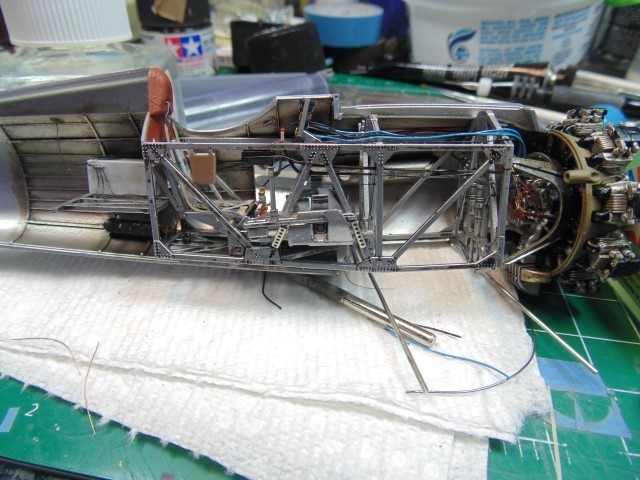
More cables, then belts and gun support.
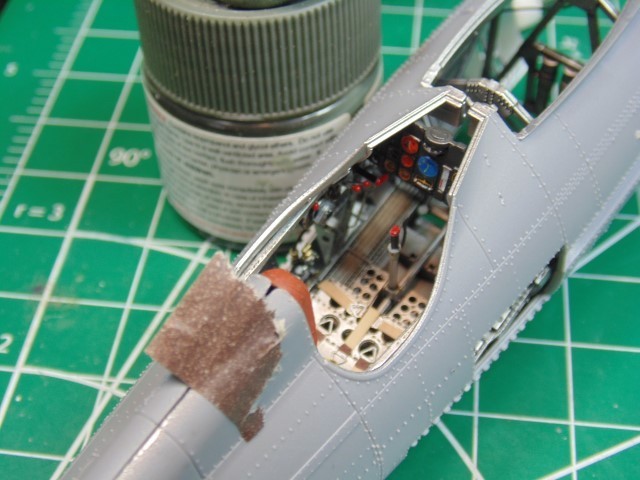
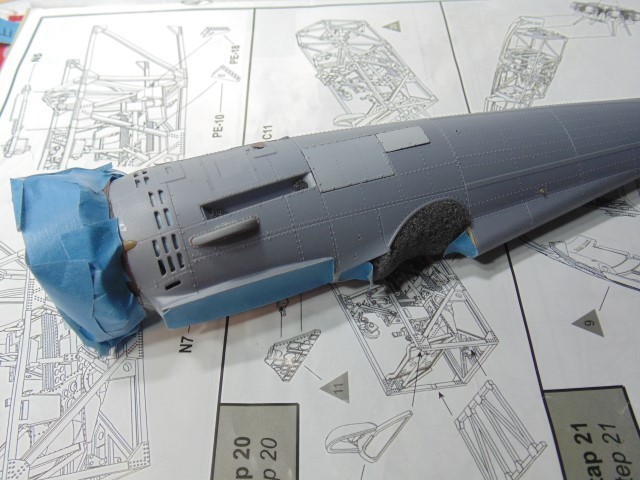
Test fitting the fuselage. Just a tiny adjustment to make.
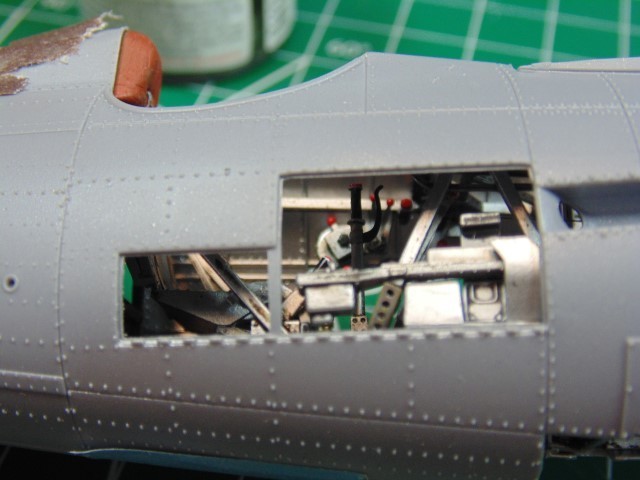
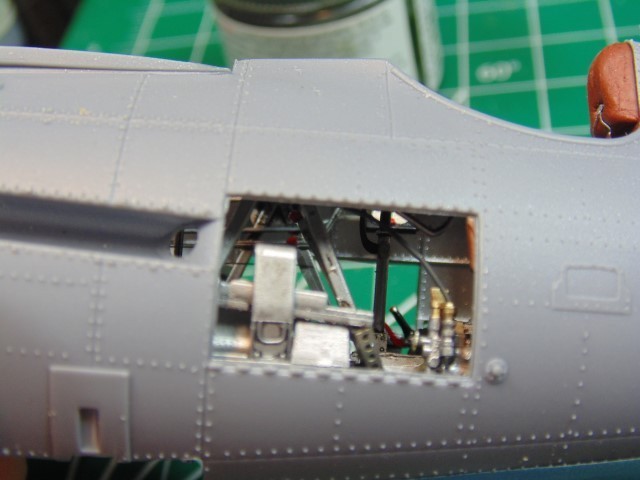
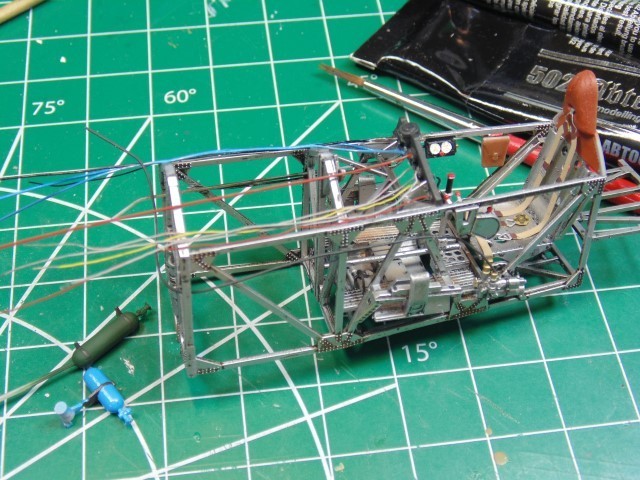
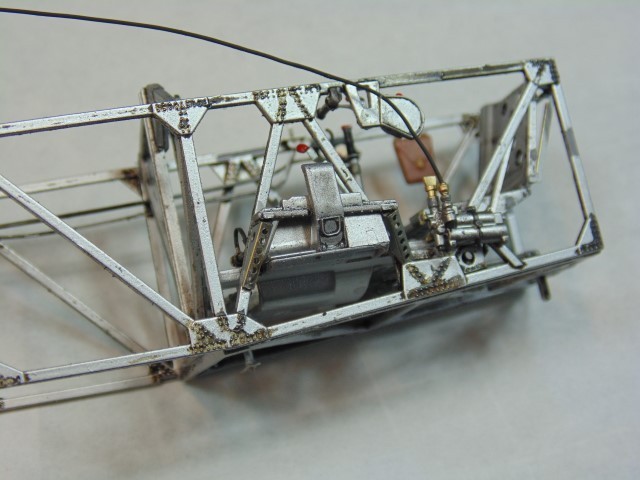
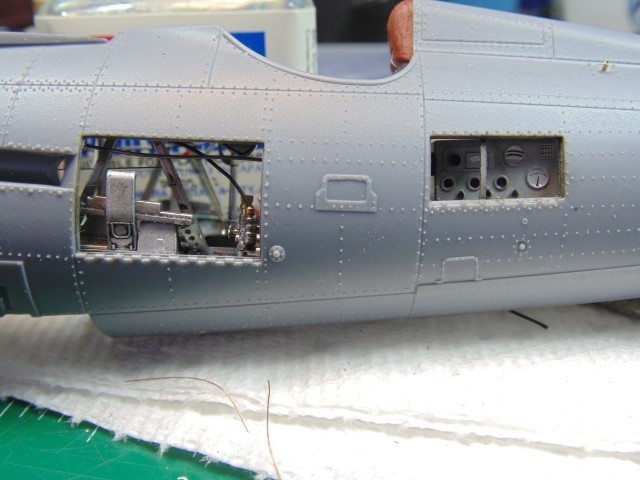
These cables and wires will be seen and are painted to match the one in the Polish museum.
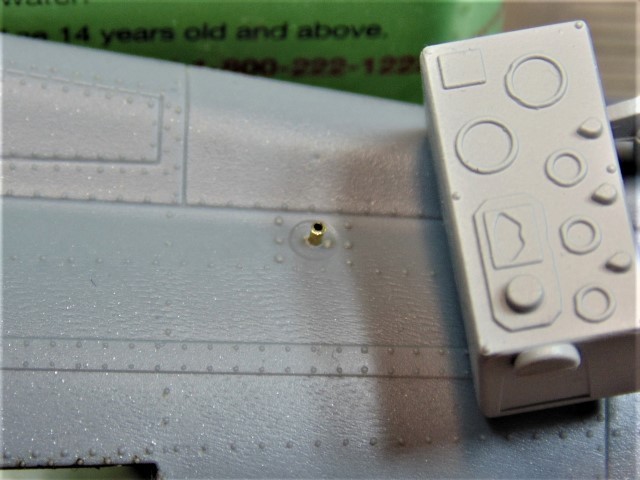
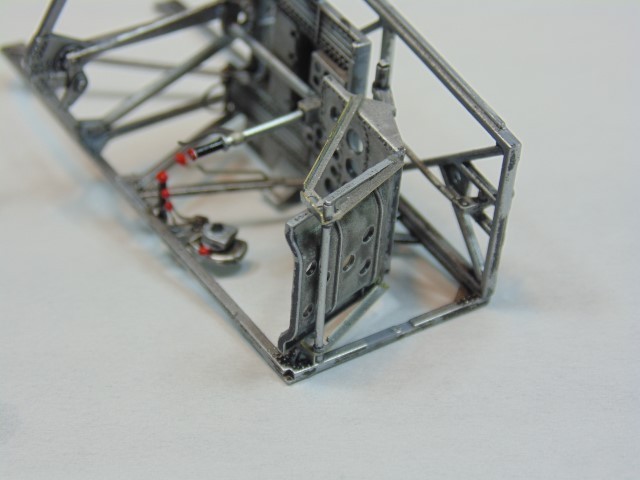
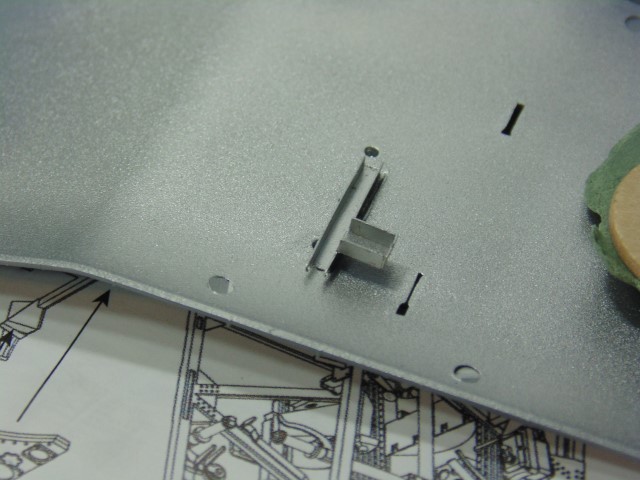
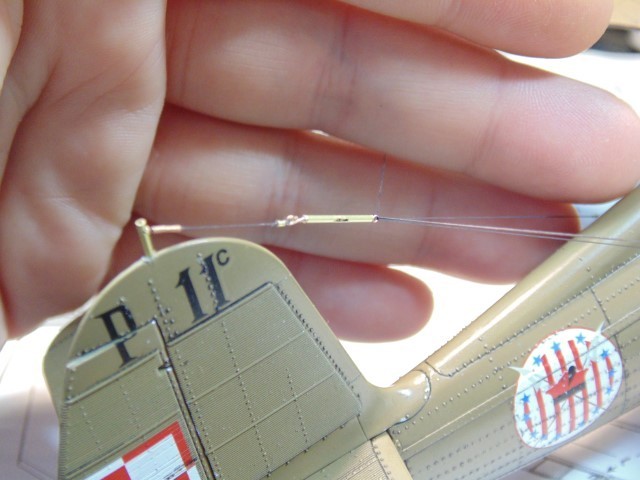
The antenna wire needed an insert which stands just proud of the body.
Can be seen behind the seat so why not.
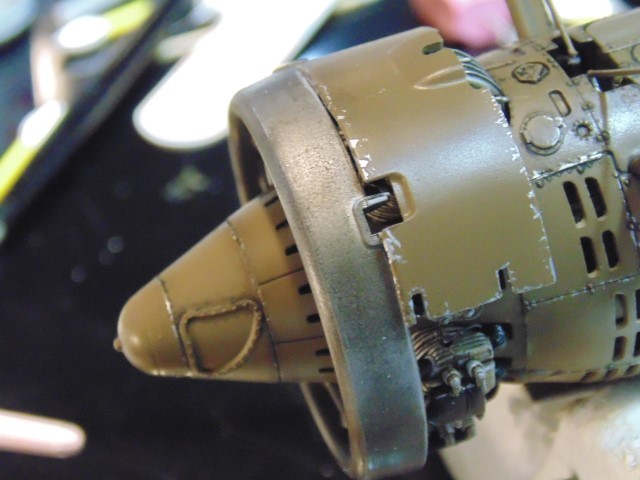
The inner cowl part has to be adjusted to fit.

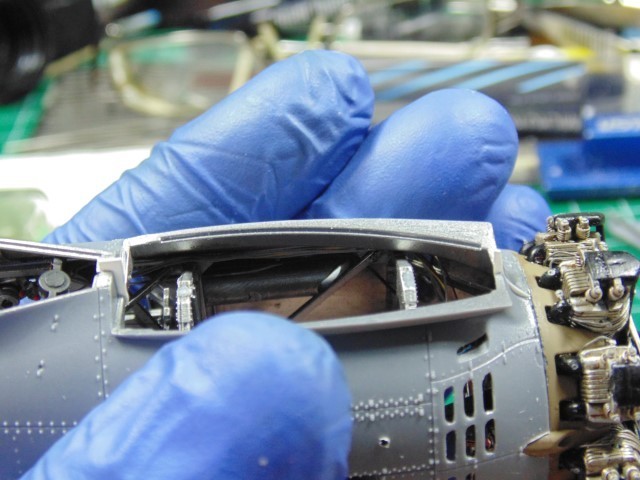
Here's that minor adjustment needed to the fuselage. Some 0.3mm styrene fixed the gap and will be sanded flush. You'll find this out when test fitting the wing.
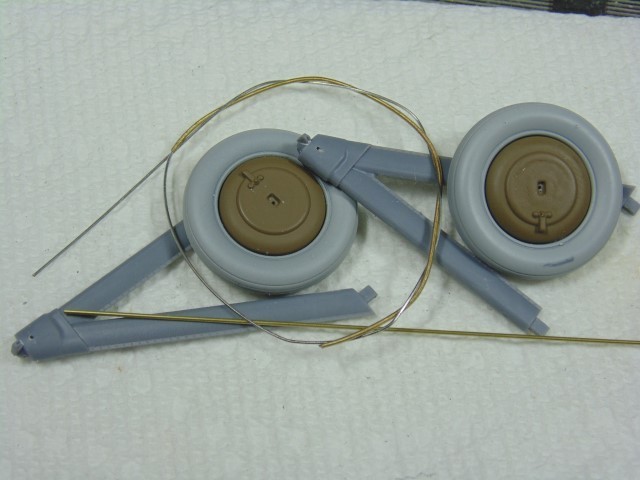
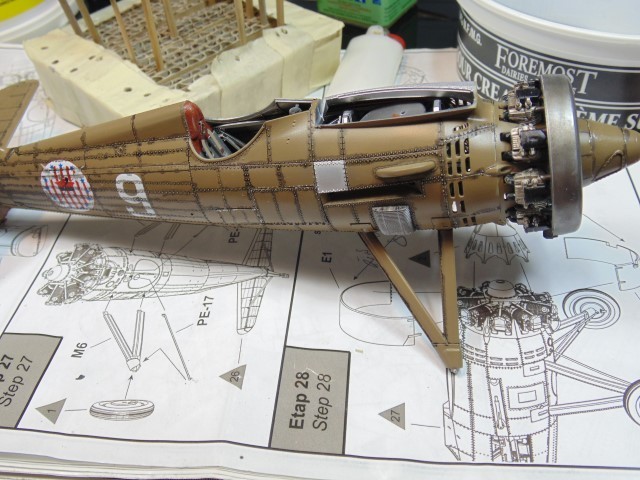
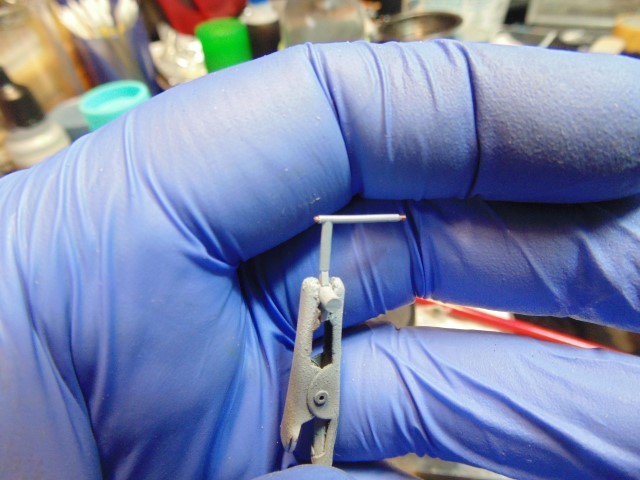
Fine guitar string core for the wheel pins gets inserted into a 0.4mm tube for the braces. This will solve the landing gear weakness.
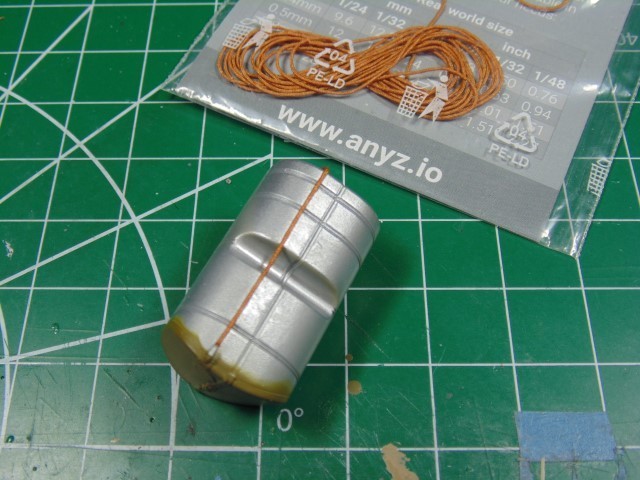
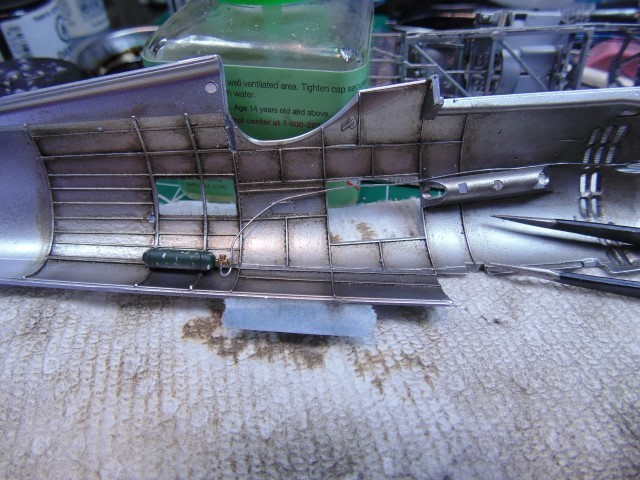
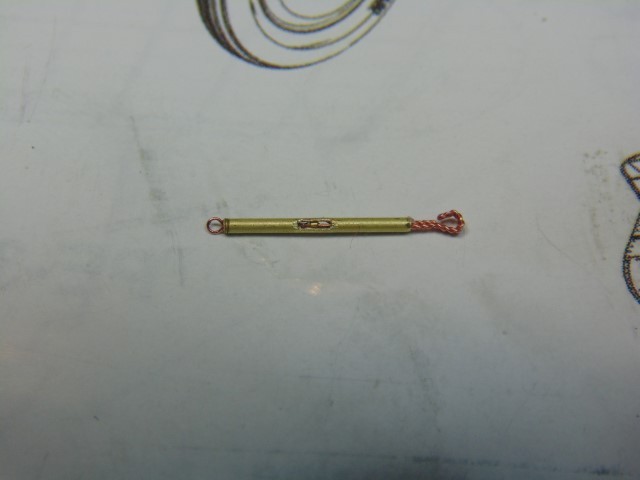
Braided 0.5mm line for the fuel tank.

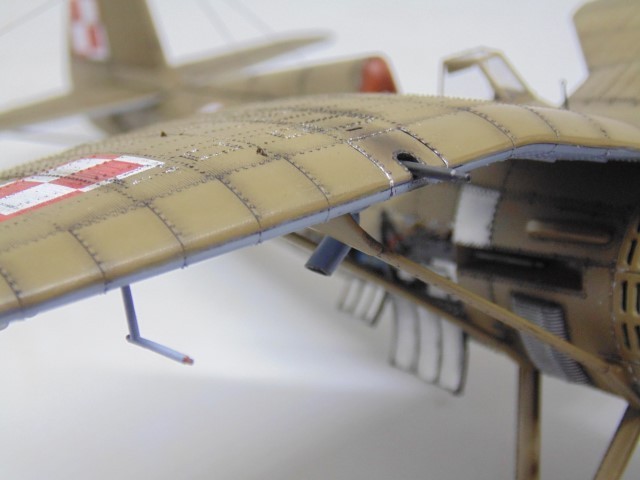
Wing gun support.
The brace for the stabilizers does not line up and needs adjusting the parts.
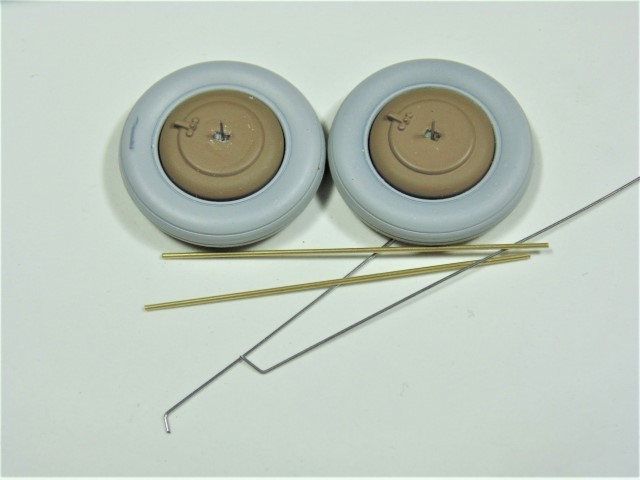
It might be overkill, but I was not going to chance the wheels braking off.
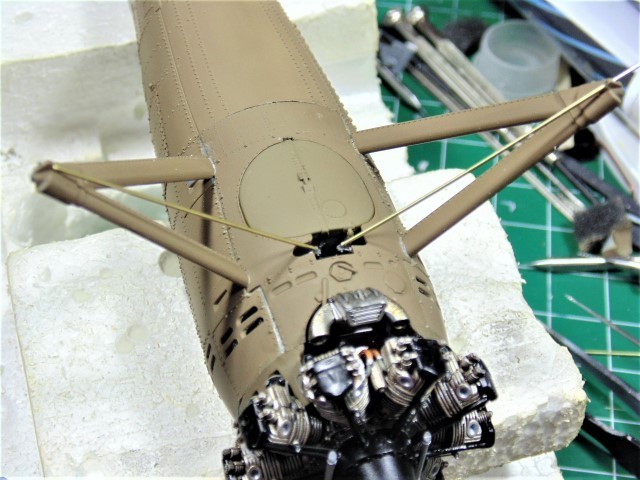
Note the different color on the fuel tank. These were removeable and could be ejected in flight.
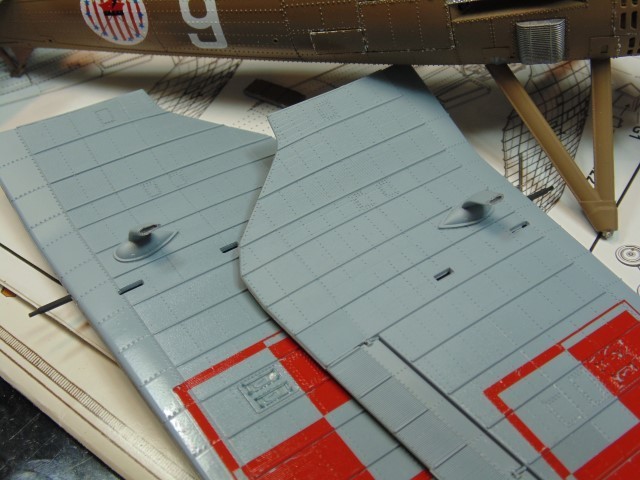
The decals are great, but the texture of they are being put on makes for a delicate bit of maneuvering.
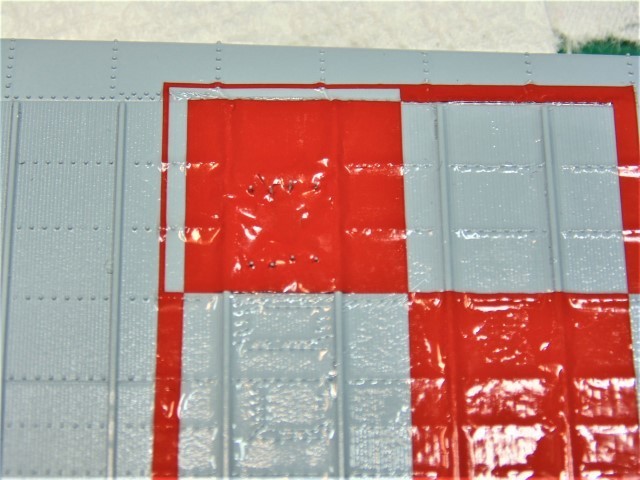
It is extremely difficult to get them to move once down, regardless of how much setting fluid is on the wing. Find a definite landing spot for one end and let it lay down on the other very slowly while maintaining control the entire time.
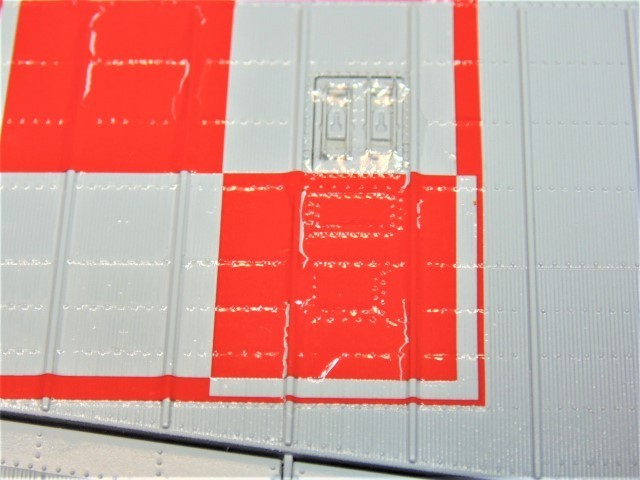
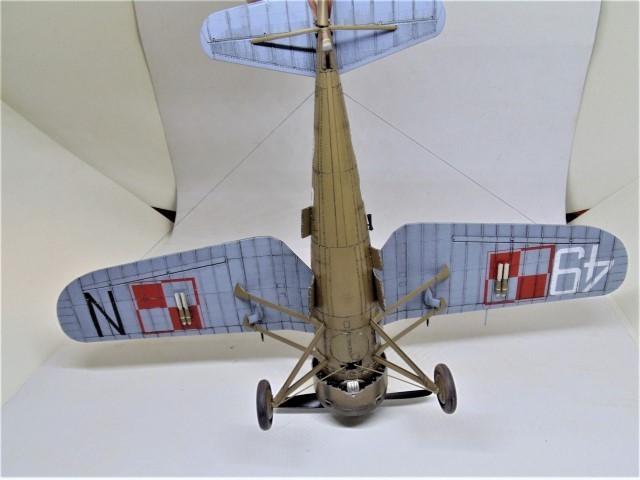
I would 100% pay extra if these had to be printed in 4 squares.

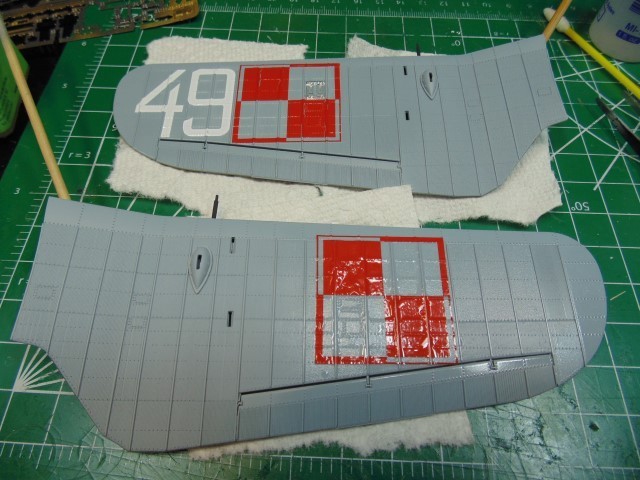
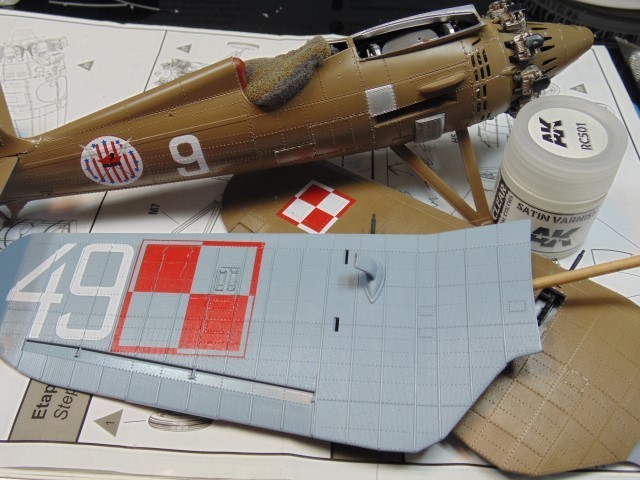
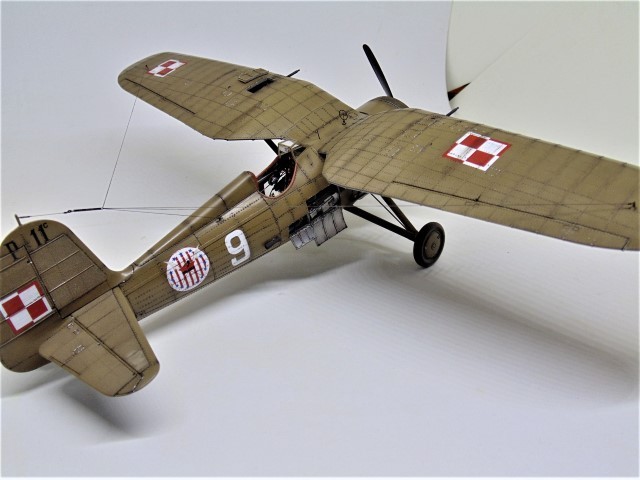
The rest went on like a champ! This aircraft is different than any in the call-outs. I wanted a unique early version so 6 became 9 and 8.87 with wing 49.


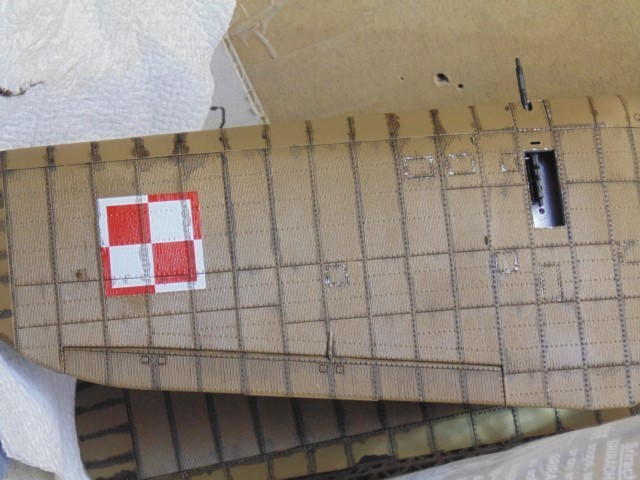
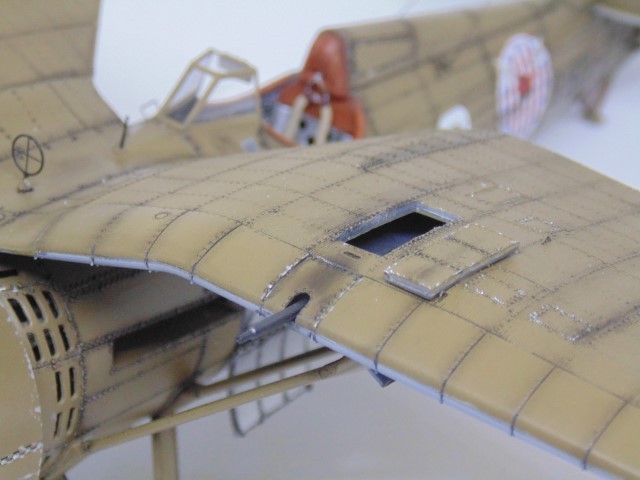
I hollowed out the spent shell channels.
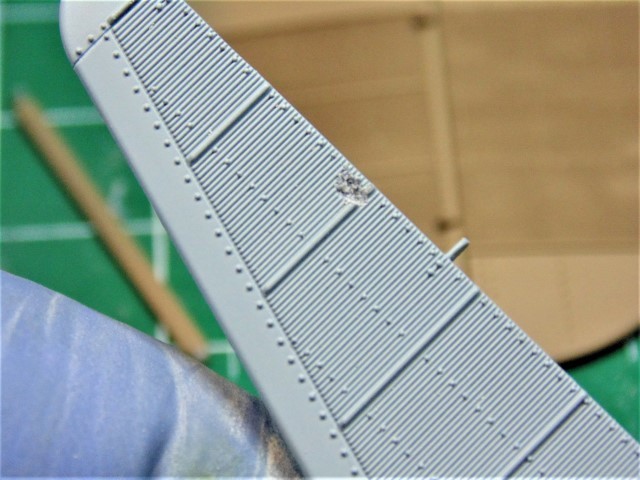
9 had a small repair to one of the panels, hence the bare metal.


Light chipping and shading being done.

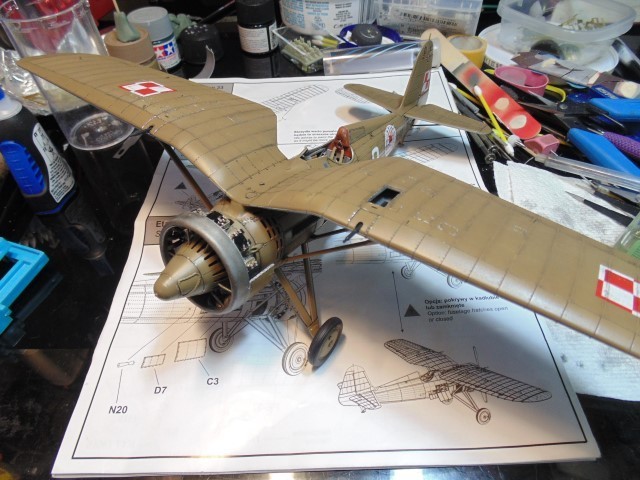


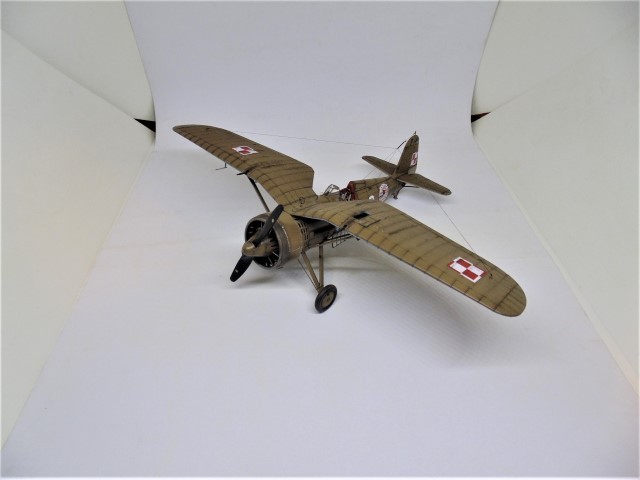
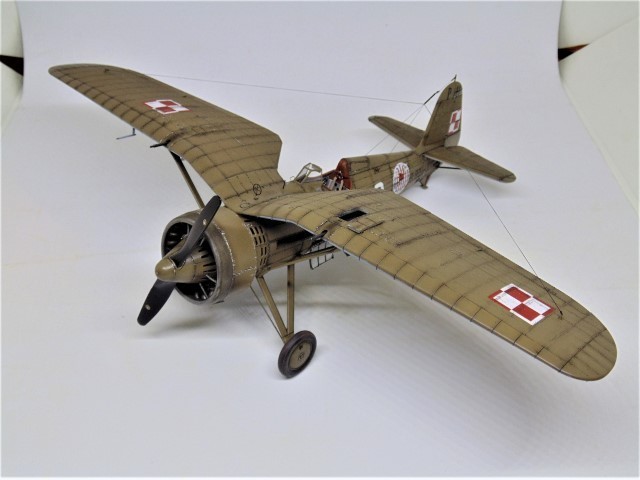
And here's a showcase of the completed project.


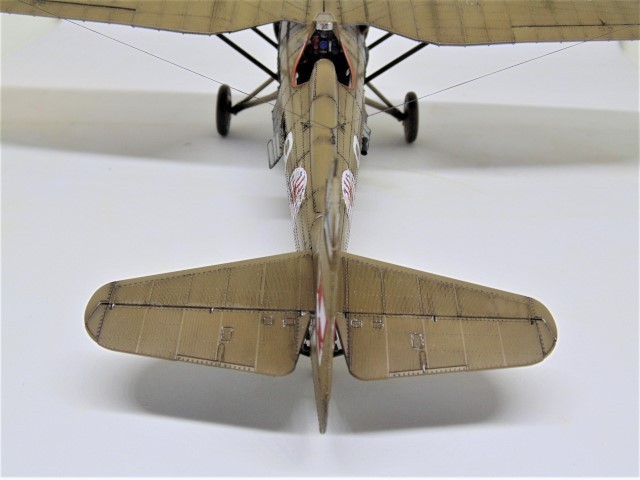


This was one of the most enjoyable kits I've ever built... and boy that says something! The detail is already great, but when you feel the care put into it by the IBG staff, well you just want to take it the next level. I would LOVE to do another.
I didn't want to waste your time and explain every little detail in the build process so if you have questions feel free to drop me a line.
Very special thanks to IBG Models for sending this sample kit for review and build. I urge you to visit them at http://www.ibgmodels.com/ and view a vast number of subject and have a look at 2 award winning model of the year kits.
Thanks Everyone.