Background
The Westland Whirlwind caused something of a sensation when it was revealed to the public. Faster than the Spitfire at low levels and possessing excellent handling, "Teddy" Petter's "cannon fighter" seemed to have everything going for it. But, despite its promise and popularity with pilots, the Whirlwind was doomed from the start by the choice of engines it was designed around. The Rolls Royce Peregrine was smaller and lighter than the Merlin and, critically, lacked both power and reliability. Not surprisingly, priority switched rapidly to the outstanding Merlin, leaving the Whirlwind high and dry with engines that wouldn't be developed further. The final nail in the coffin for the Whirlwind was that it was so closely tailored around the Peregrine, it would require a total redesign to switch to the Merlin - something that a small company like Westland simply couldn't undertake with war already raging.
So, the Whirlwind became one of the RAF's greatest "what-ifs", and only 116 were built, entering service in late 1940 and flying its final missions three years later. Despite its limited numbers, the Whirlwind gave a very good account of itself during its short career, flying low-level sorties into occupied France and proving a match for the defending Bf 109s and Fw 190s. Initially armed with 4 x 20mm cannons in the nose, it was later adapted to carry 250lb and 500lb bombs and "Whirlibombers", as they were nicknamed, carried out highly successful strikes against enemy shipping and ground targets.
Just one Whirlwind survived the war, retained by Westland as a company hack. Tragically, its historical importance wasn't recognised at the time and it was scrapped in 1947. Nearly eighty years later, an ambitious project to build a non-airworthy replica is well underway. To view progress and support the project, visit the Whirlwind Fighter Project website: https://www.whirlwindfighterproject.co.uk/
The Kit
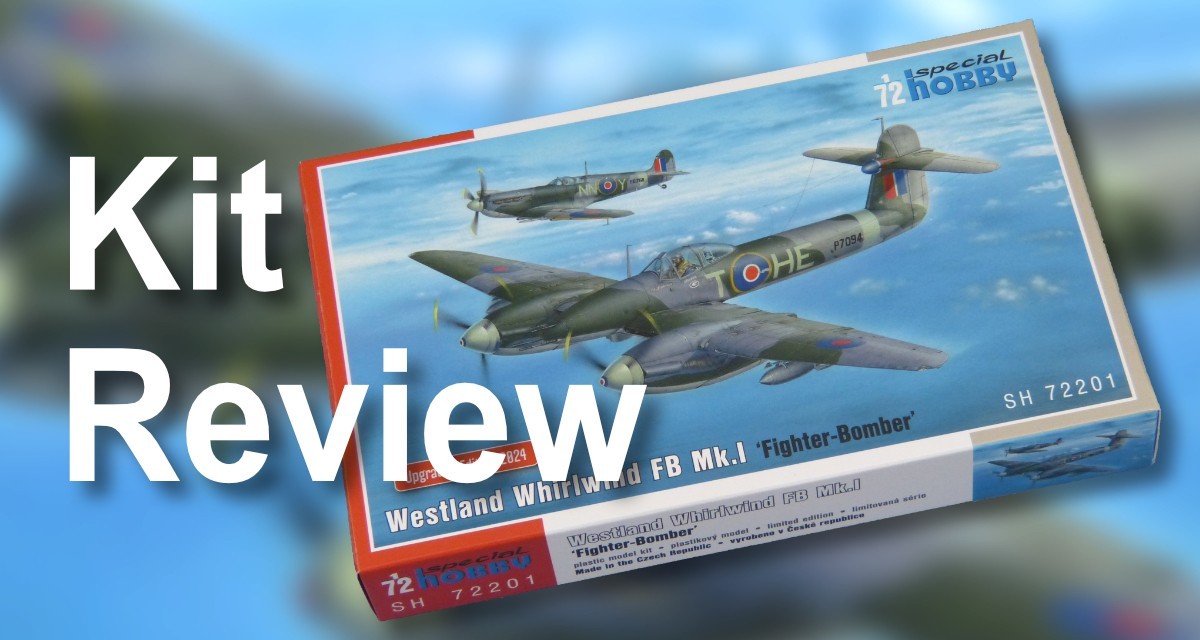
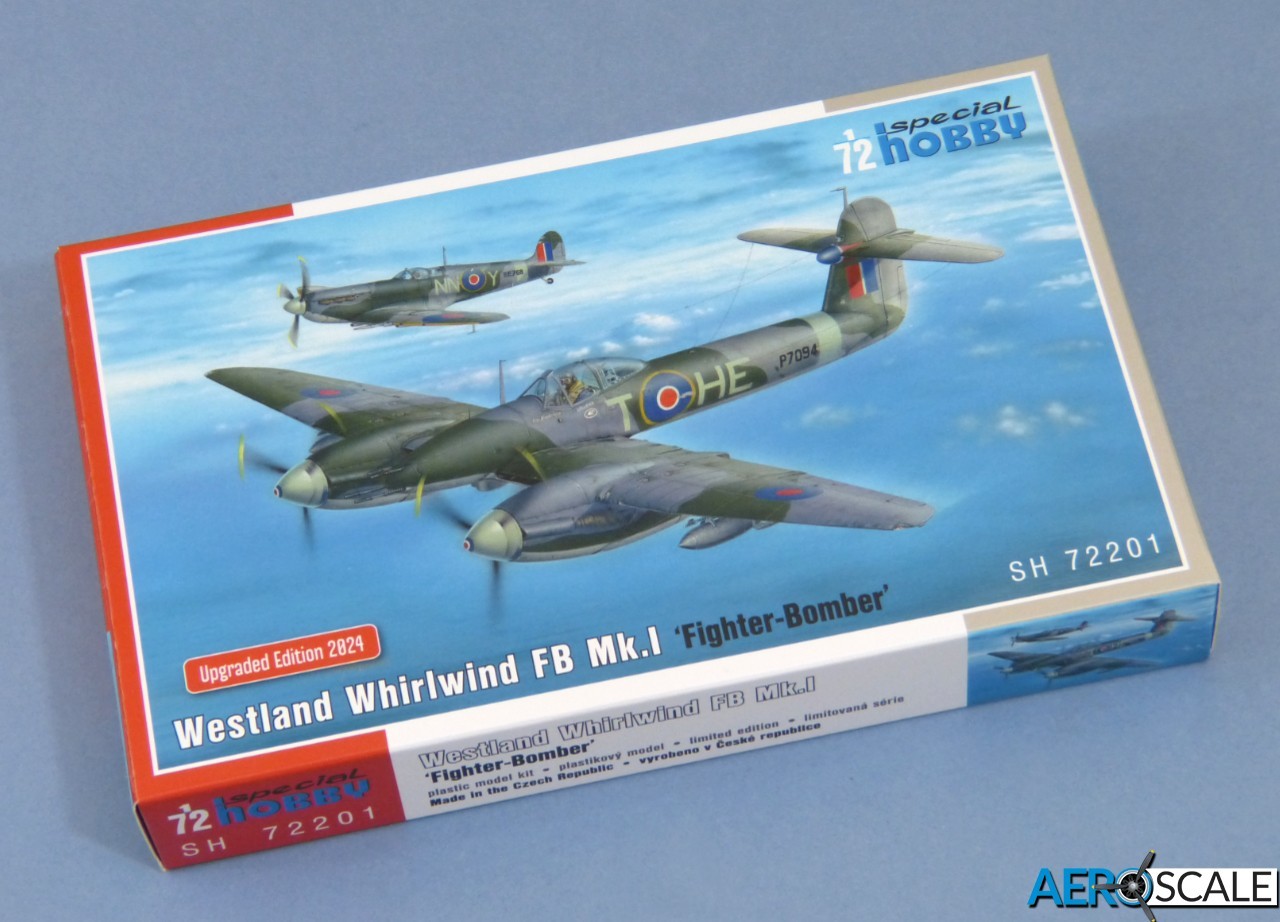
Special Hobby's Whirlwind arrives in an end-opening box. I have to say I prefer conventional boxes, because you can use them as trays for the parts while you work, but the bonus of this style is the artwork of the colour schemes on the back to tempt the customer.
All the parts and accessories are neatly bagged for transit. Proof that accidents can happen despite even the most careful packaging is that one of the delicate resin cannon barrels in the sample kit was broken somewhere along the way. Thankfully, I think I should be able to mend it.
The kit comprises:
49 x grey styrene parts
6 x clear styrene parts
27 x resin parts
4 x 3D-printed parts
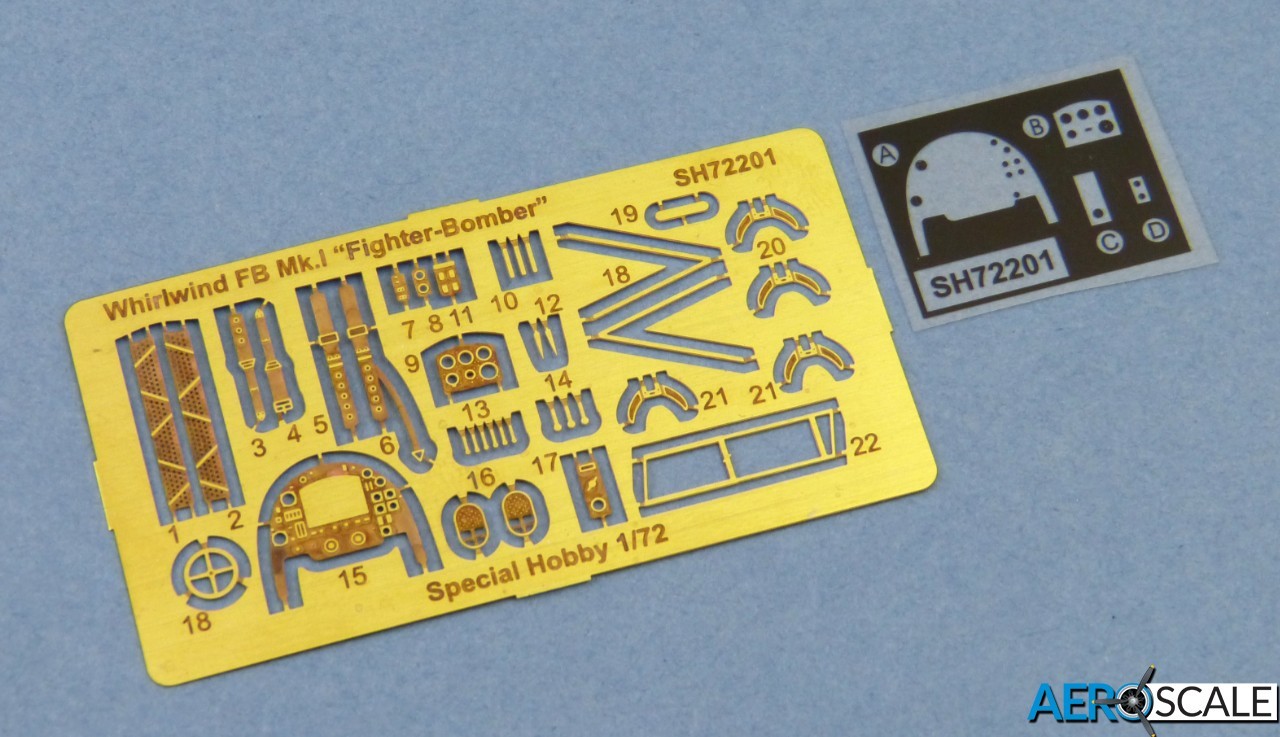
37 x etched brass parts, plus printed film
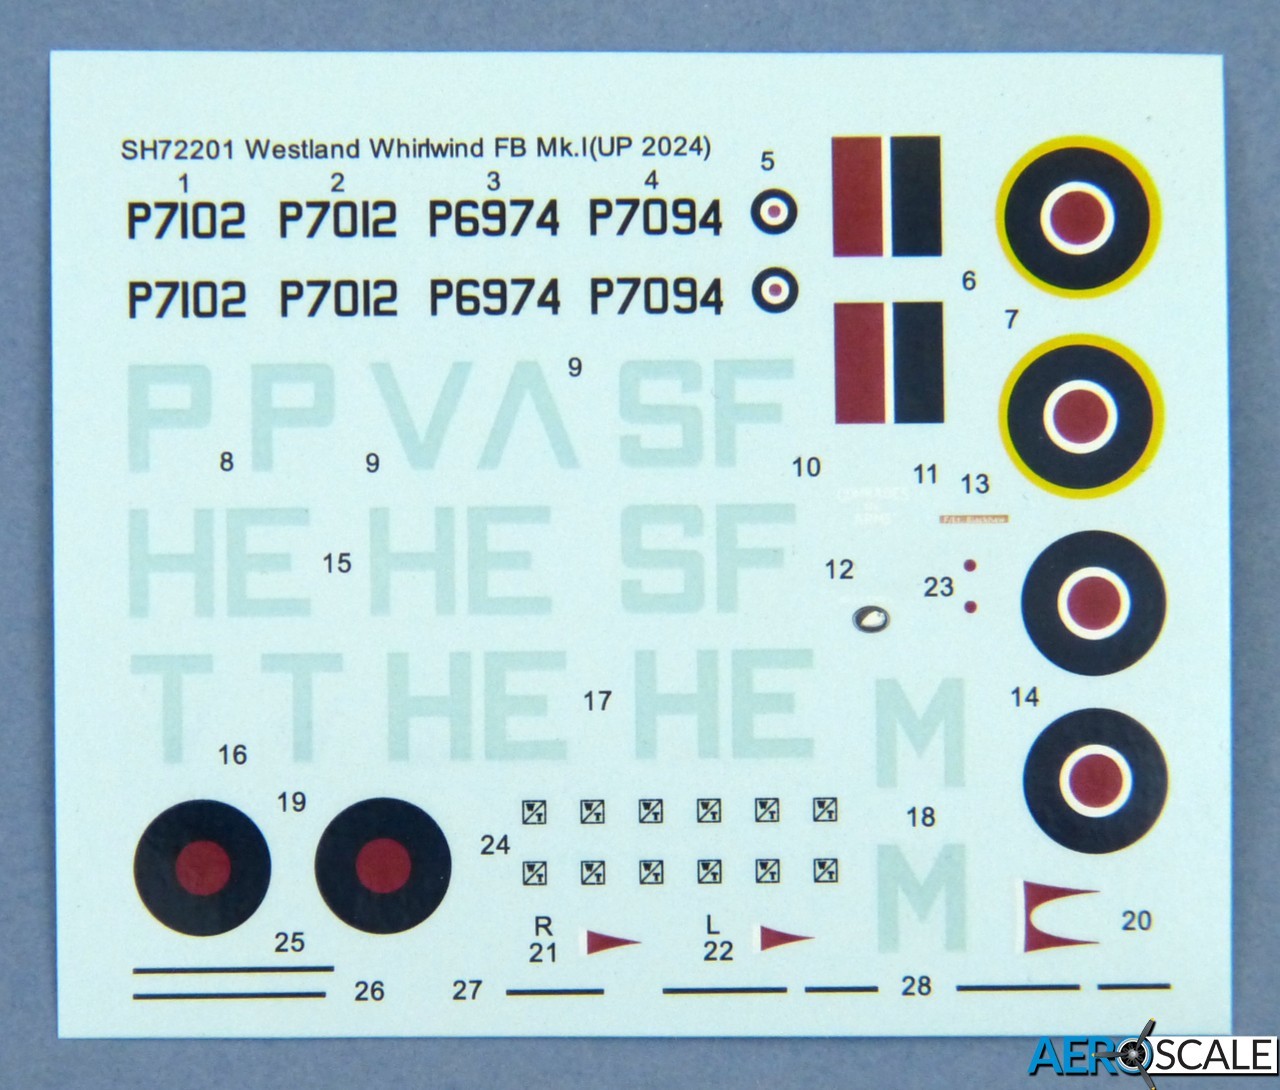
Decals for 4 x colour schemes
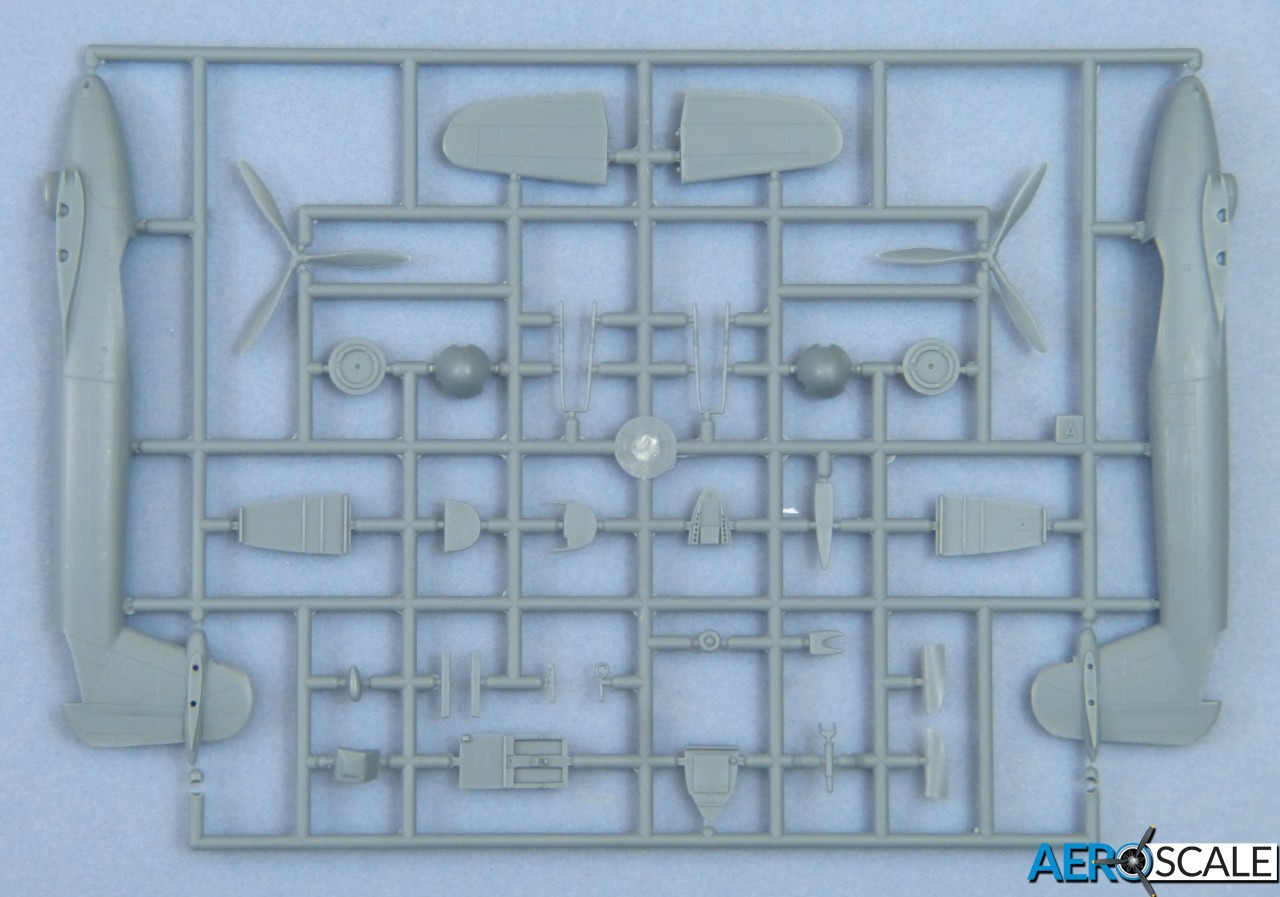
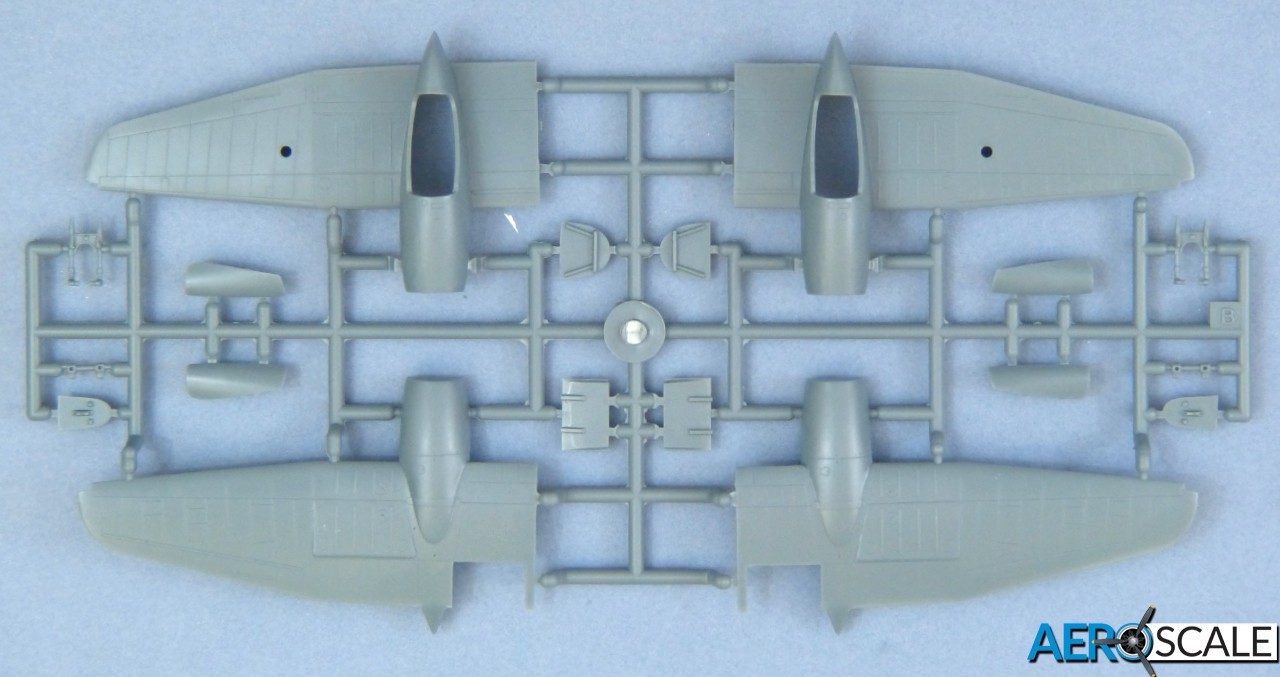
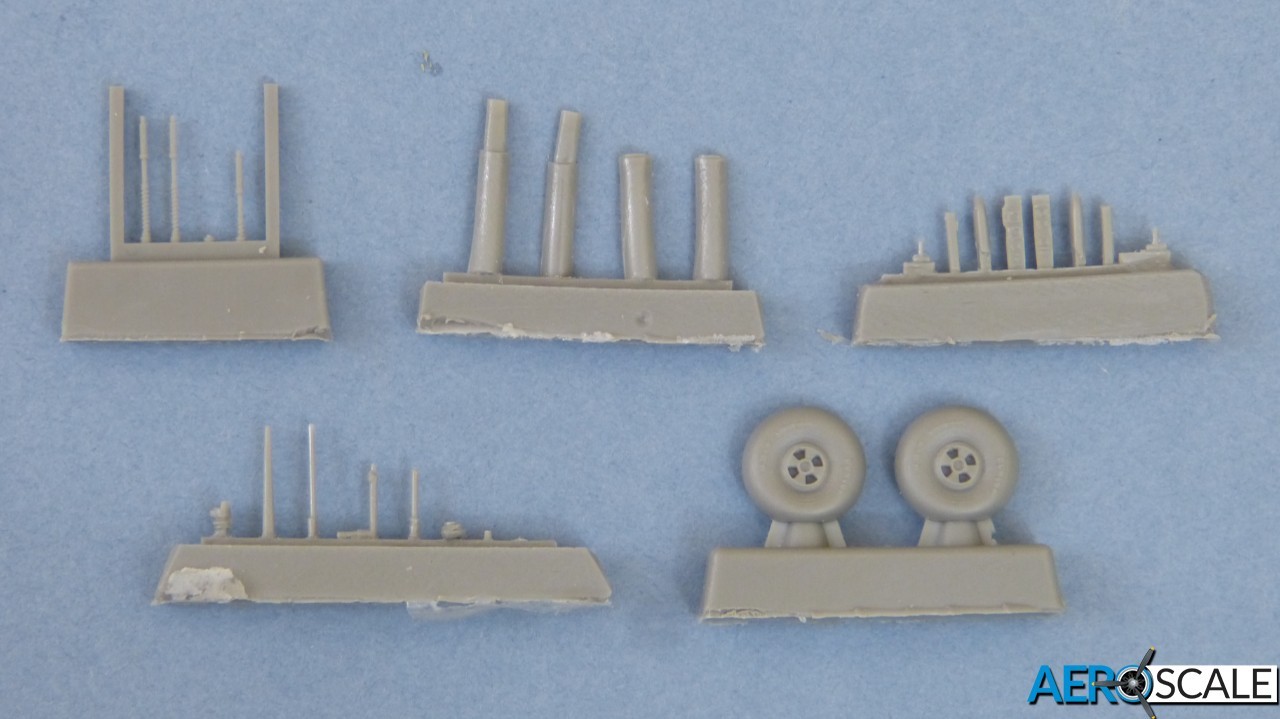
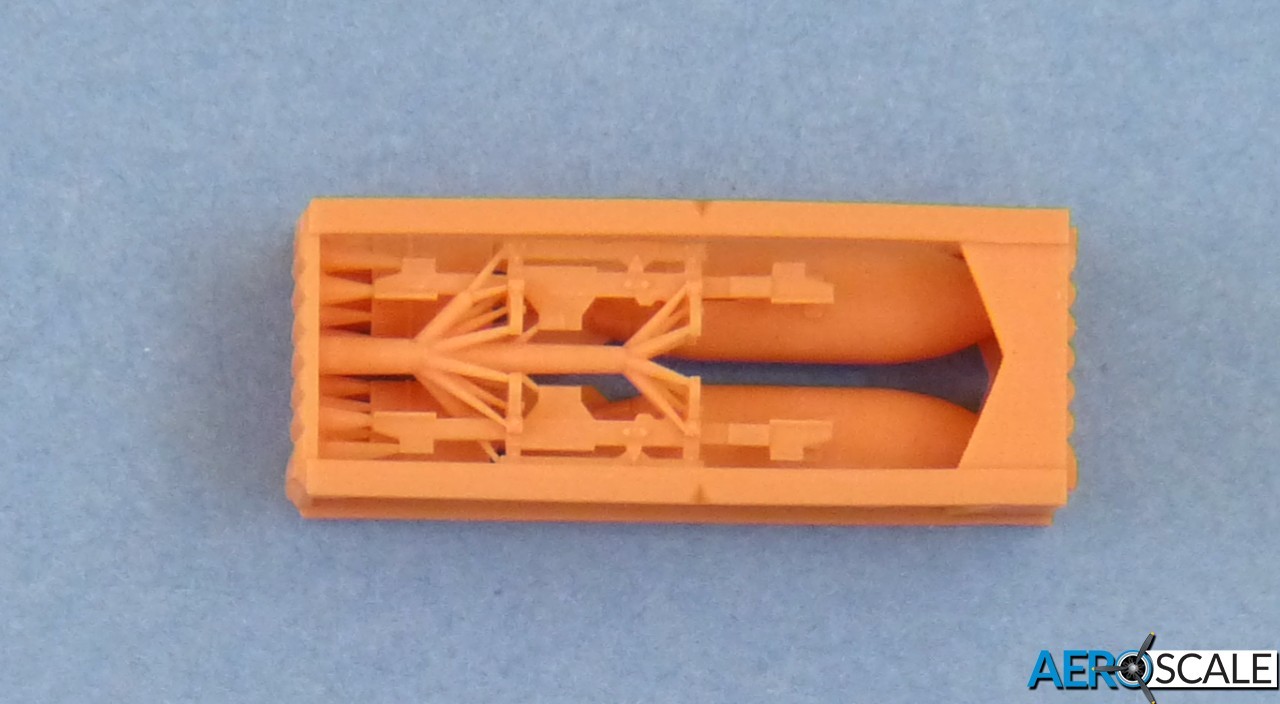
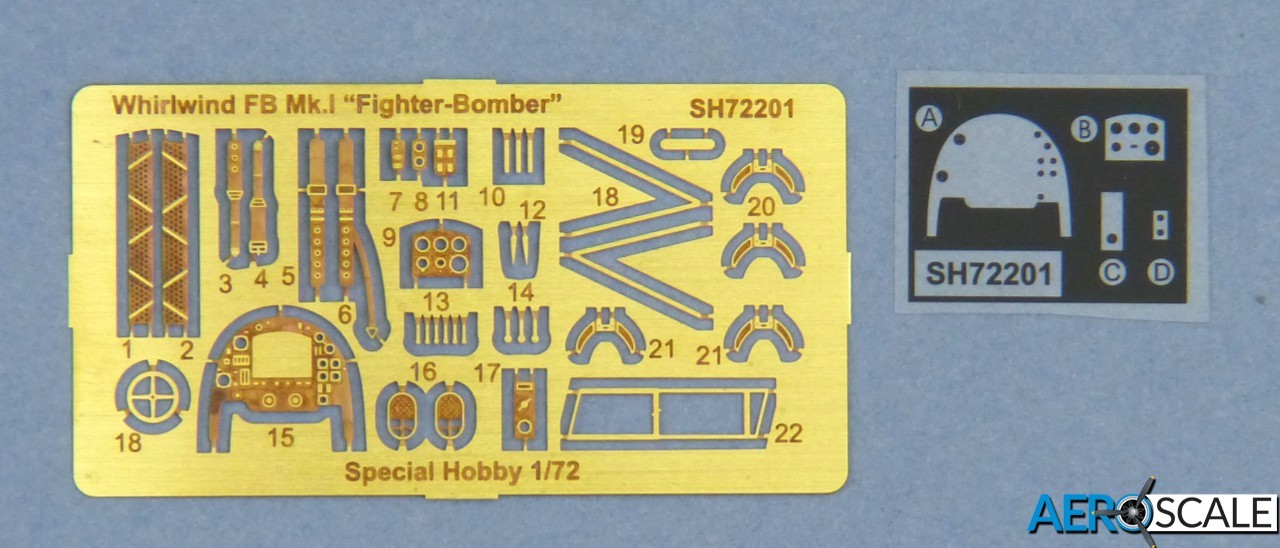
Moulding is very good, as you'd hope with a new-tool kit. There's a whisper of flash here and there, but nothing to worry about, and no sign of any sink marks in the sample kit. Where you'll need to spend a little time on preparing things ahead of assembly is trimming away some of the ejector pin lugs. These are quite prominent and a few of them interfere with the fit of parts.
That's only a few minutes' work, though, and the overall fit of the main airframe components is excellent once it's done. The surface finish comprises neatly engraved panel lines, plus some raised details for the strengthening strips around the wing fuel tanks.
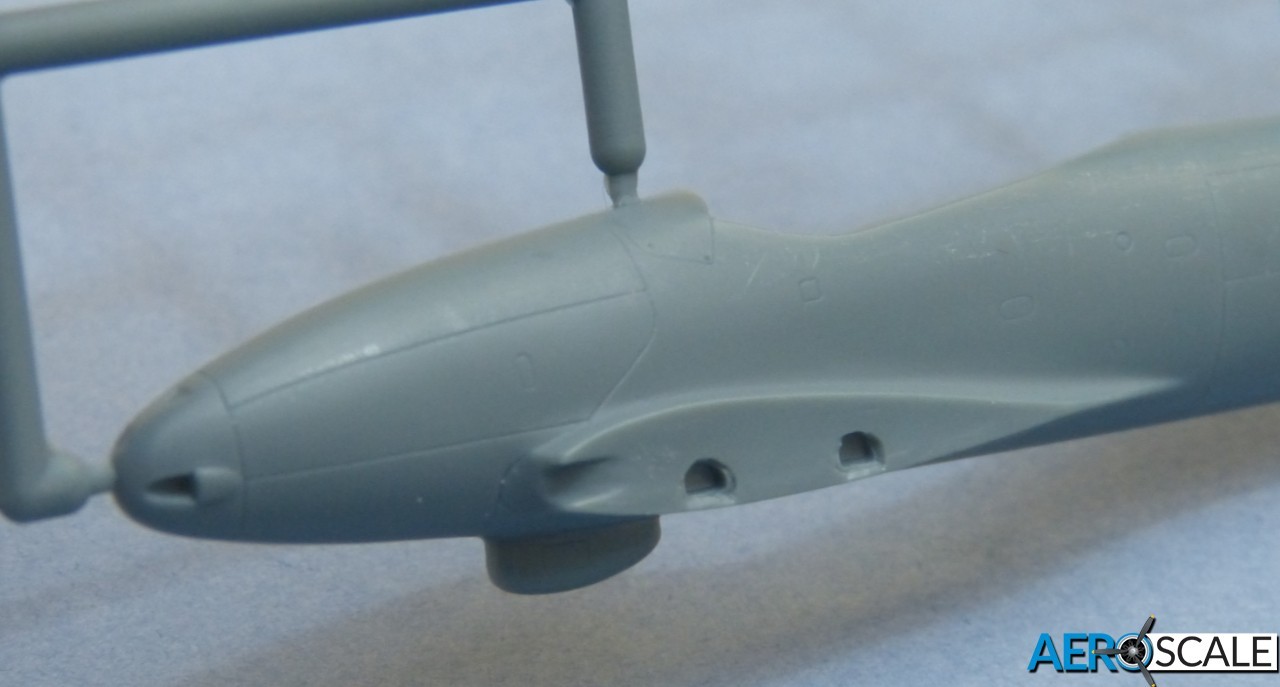
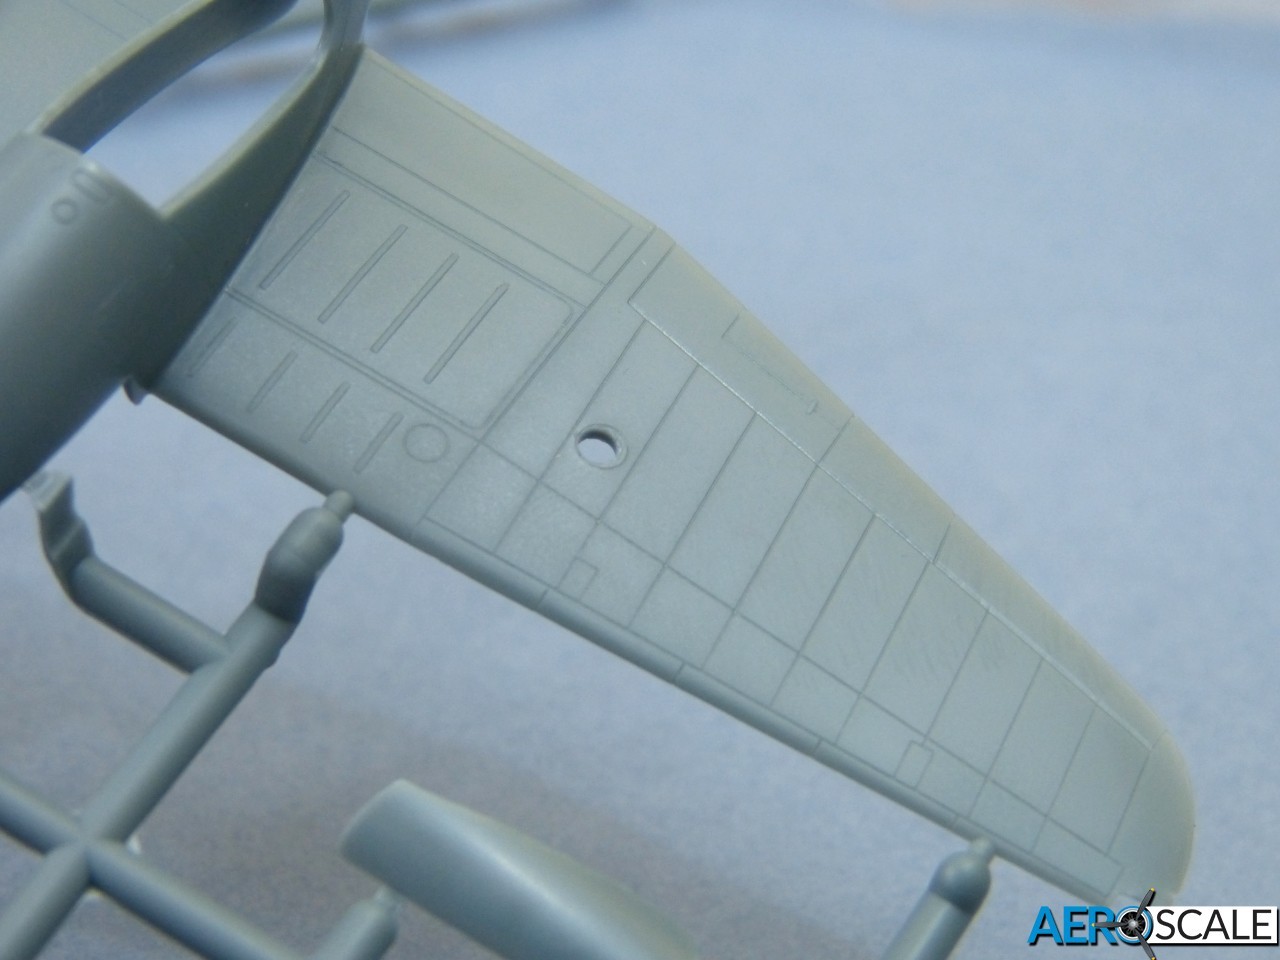
A full dry assembly of the airframe isn't practical, because the wings butt-join to the fuselage. That should be no problem in this scale, because they line up perfectly and there's plenty of gluing surface to support their weight. The fuselage halves are a precise match without the need for locating pins, and the tailplanes are a solid fit after drilling the holes for their locating pins a bit deeper.
All in all, building the basic airframe looks like it will be very straightforward, but you'll likely need a spot of filler for the seams on the engine cowlings.
A Few Details
Construction starts, as you'd expect, with the cockpit, and Special Hobby have provided a very detailed "office" for this scale. Over 30 styrene, resin and metal parts include classic photoetch/film "sandwiches" for the main instrument panel and side consoles, an etched seat harness and rudder pedals, plus a trim wheel and numerous levers to dot around the cockpit. The completed effect would look great in any scale, and quite exceptional for a 1:72 kit.
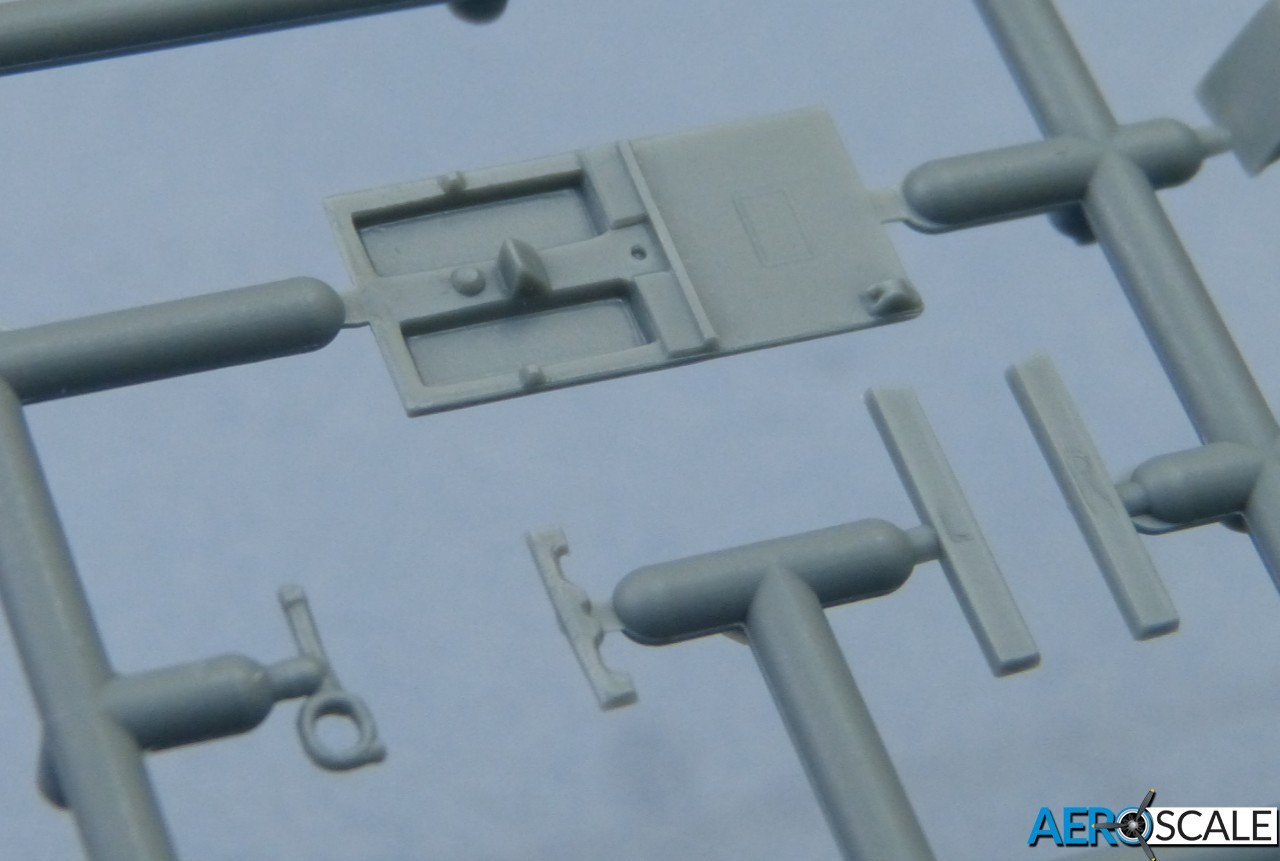
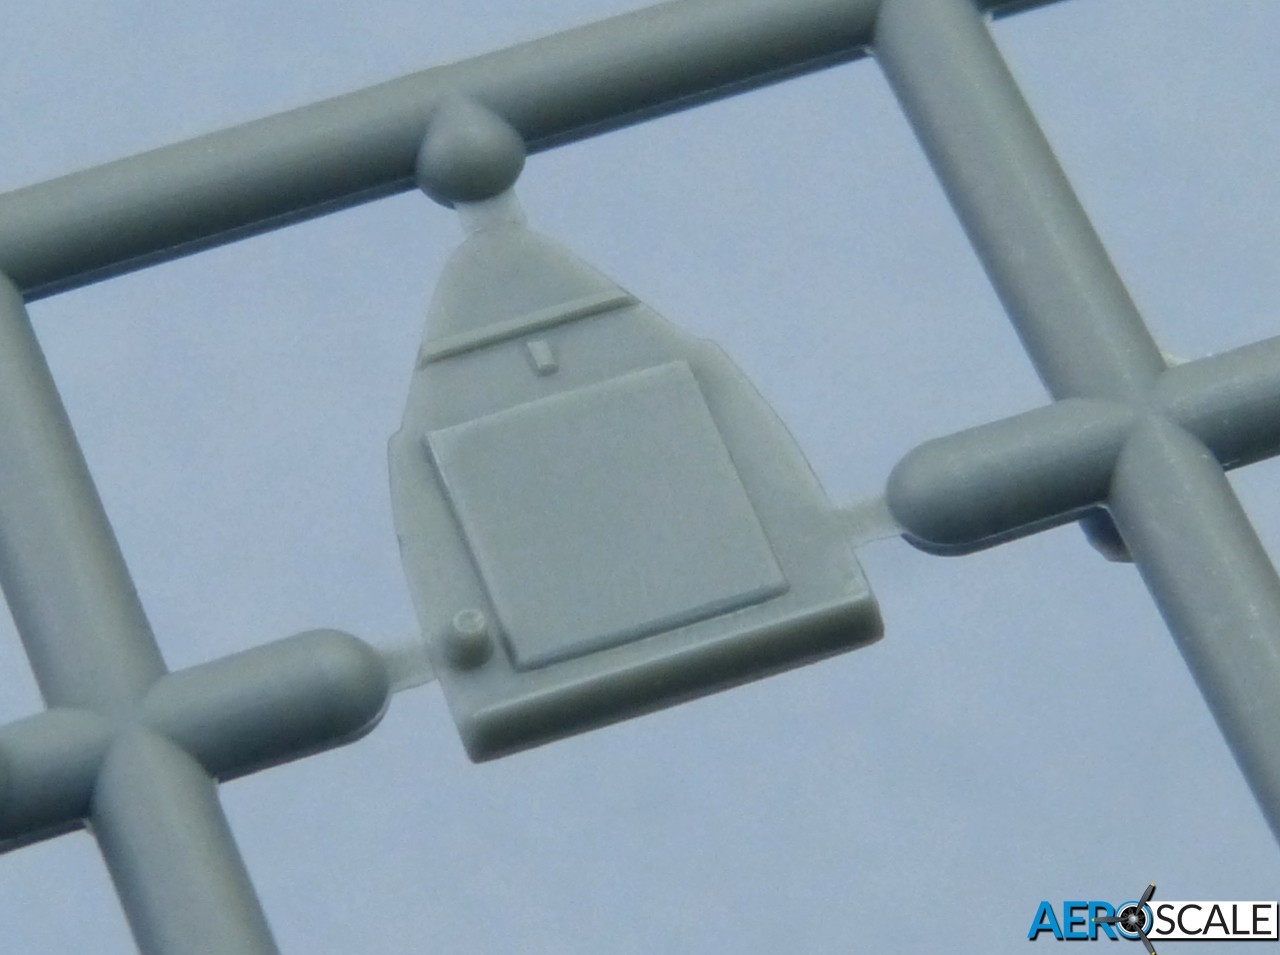
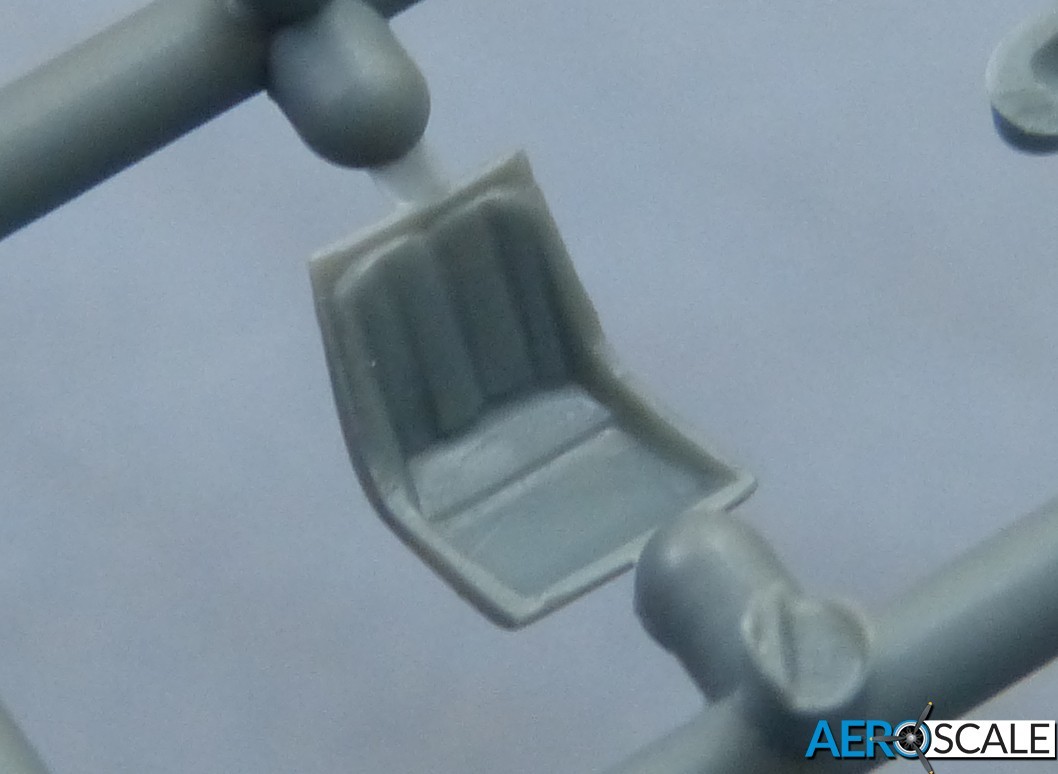
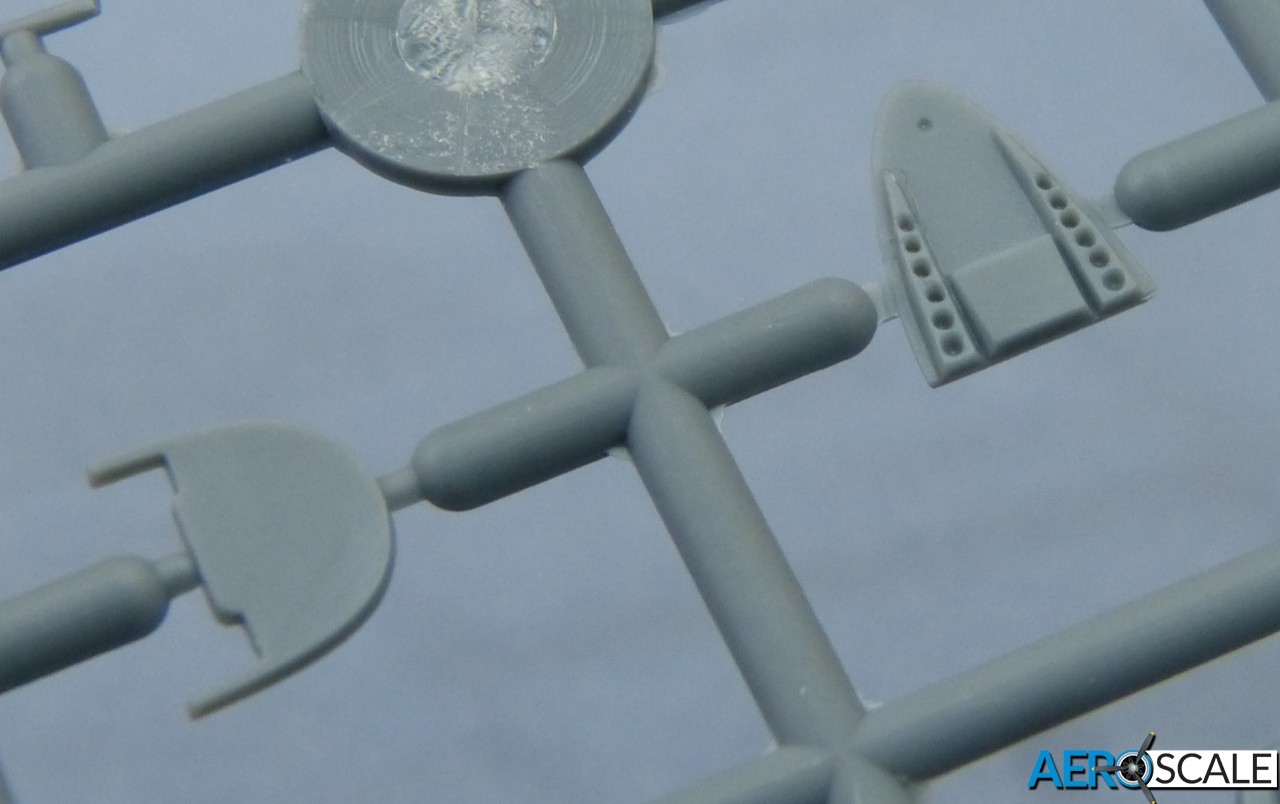
The undercarriage wells are boxed-in with integral attachments for the main gear, which itself comprises four parts. It should capture the look of the original very well, and it's completed by a pair of resin wheels, cast "weighted" and complete with tiny Dunlop logos and text on the sidewalls.
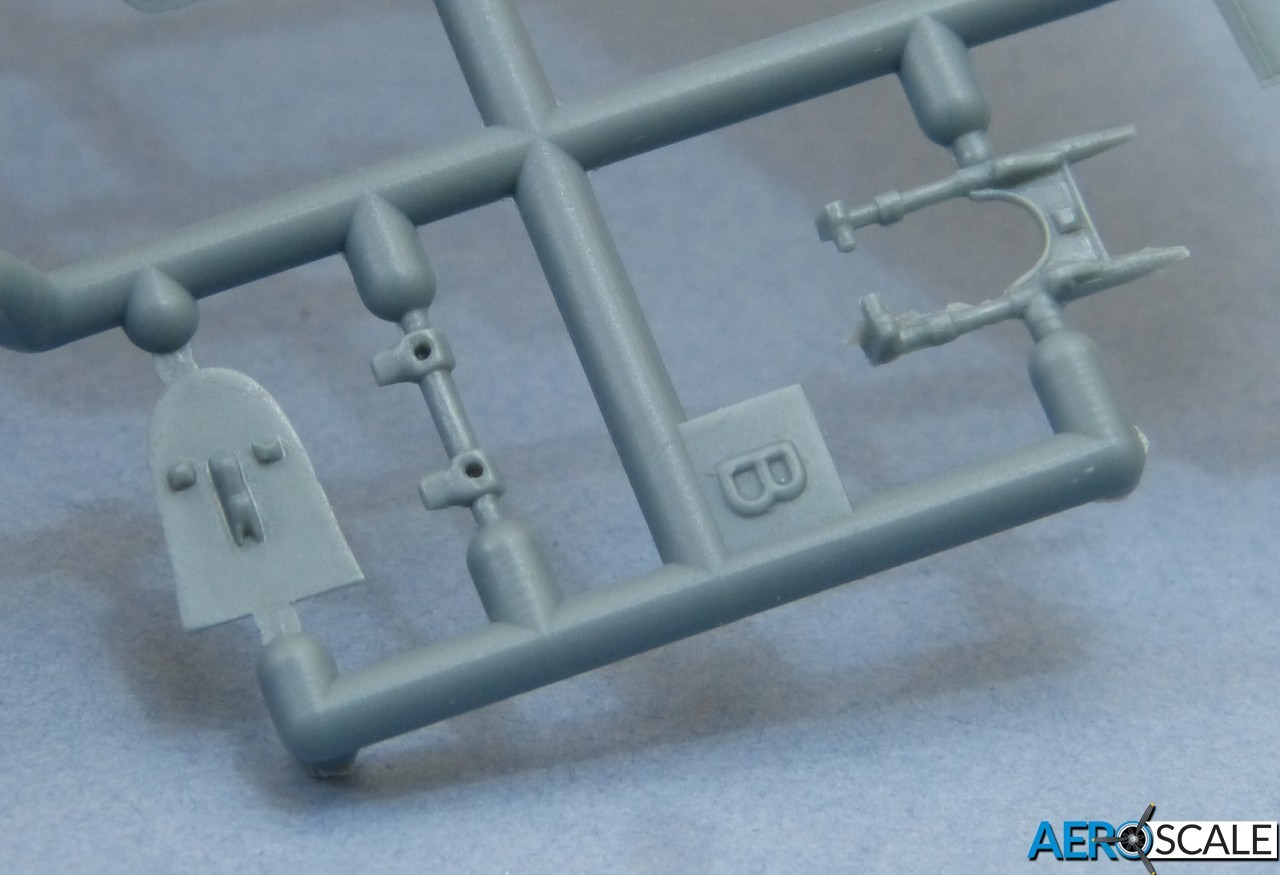
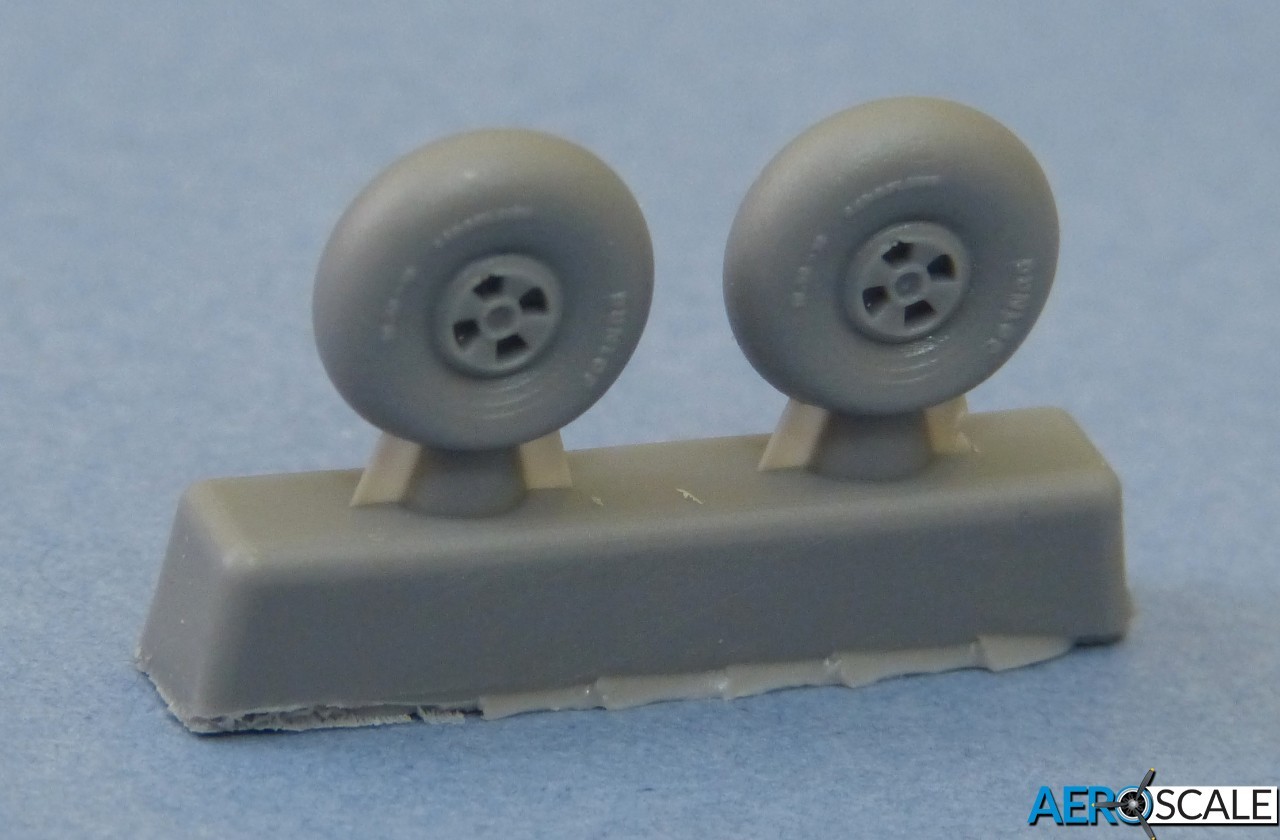
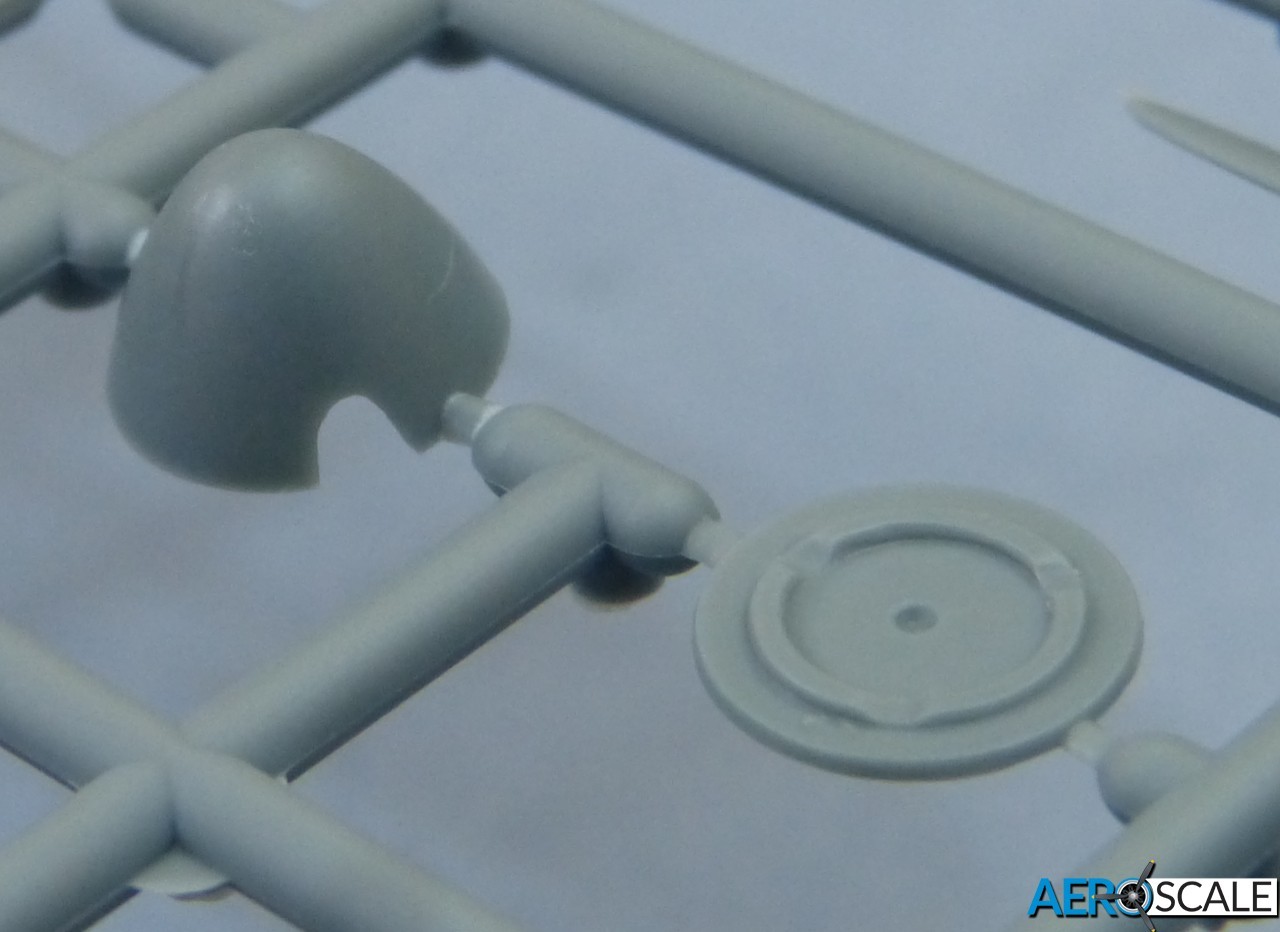
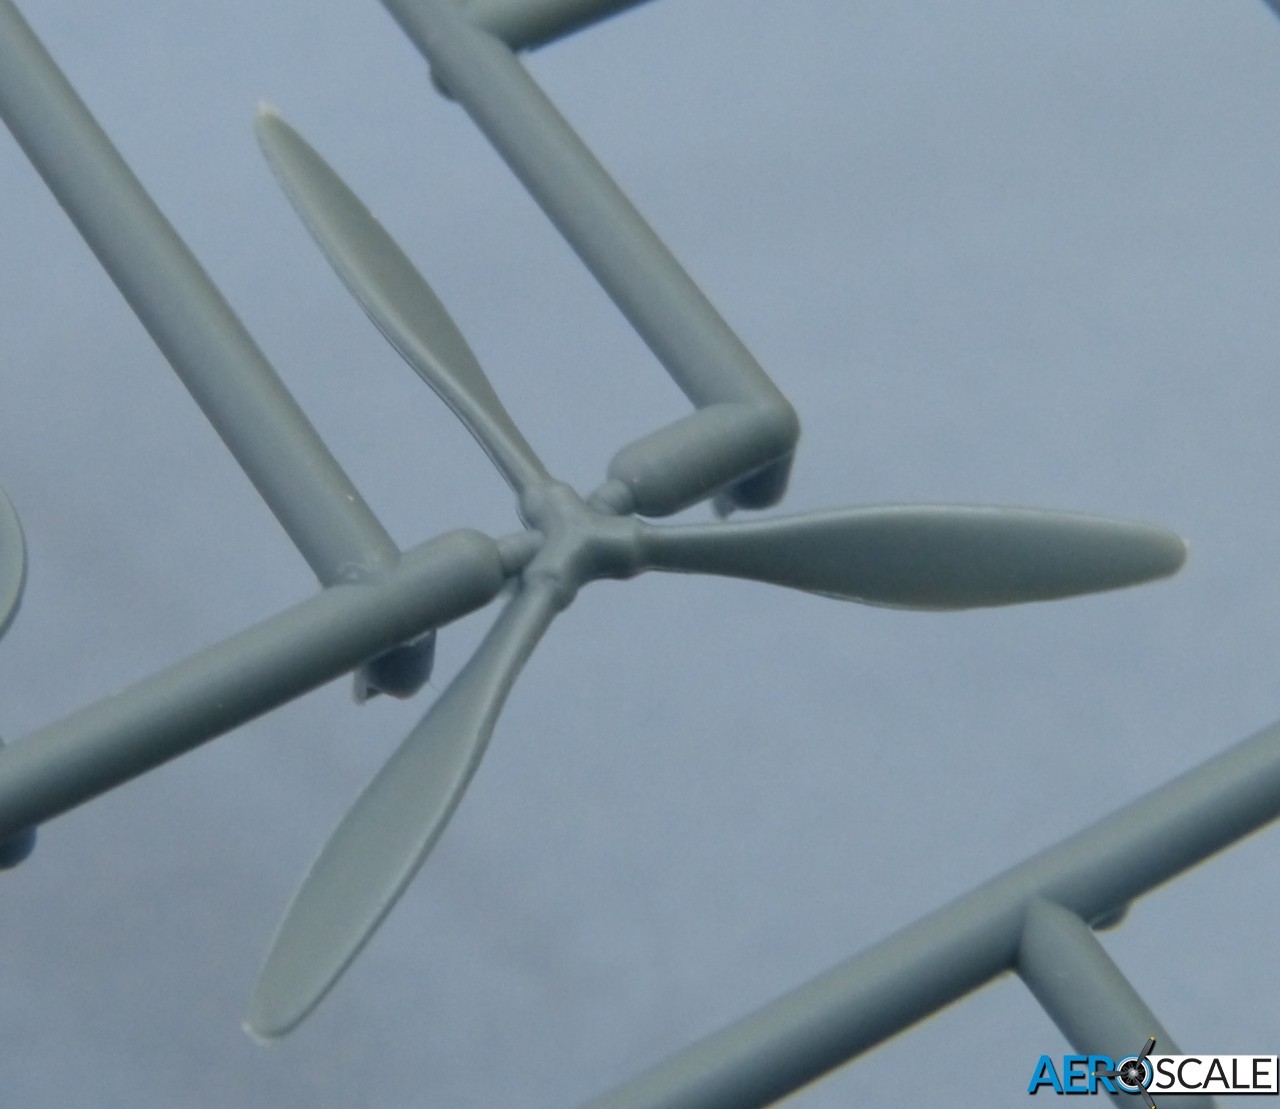
The nacelles are completed with hollowed-out resin exhausts, and straightforward spinners and props. The wing root radiators feature photoetched faces.
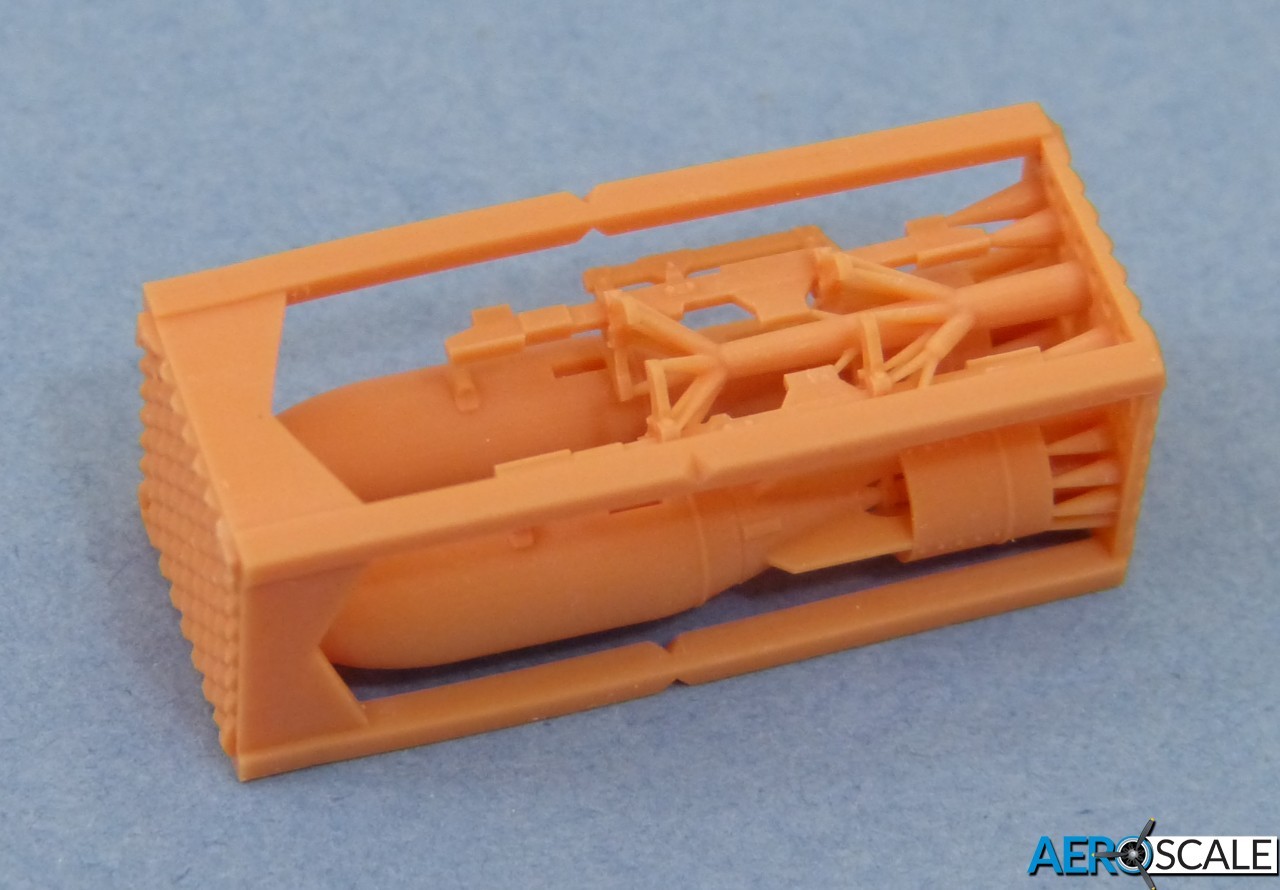
Armament consists of a battery of 20mm cannons in the nose (as noted above, one of the delicate resin barrels was broken in the sample kit) and a pair of superb 3D-printed 250lb bombs and racks to hang under the wings, complete with photoetched braces.
Rounding off the exterior are small details such as aerials and a delicate 2-piece brass pilot's boarding ladder.
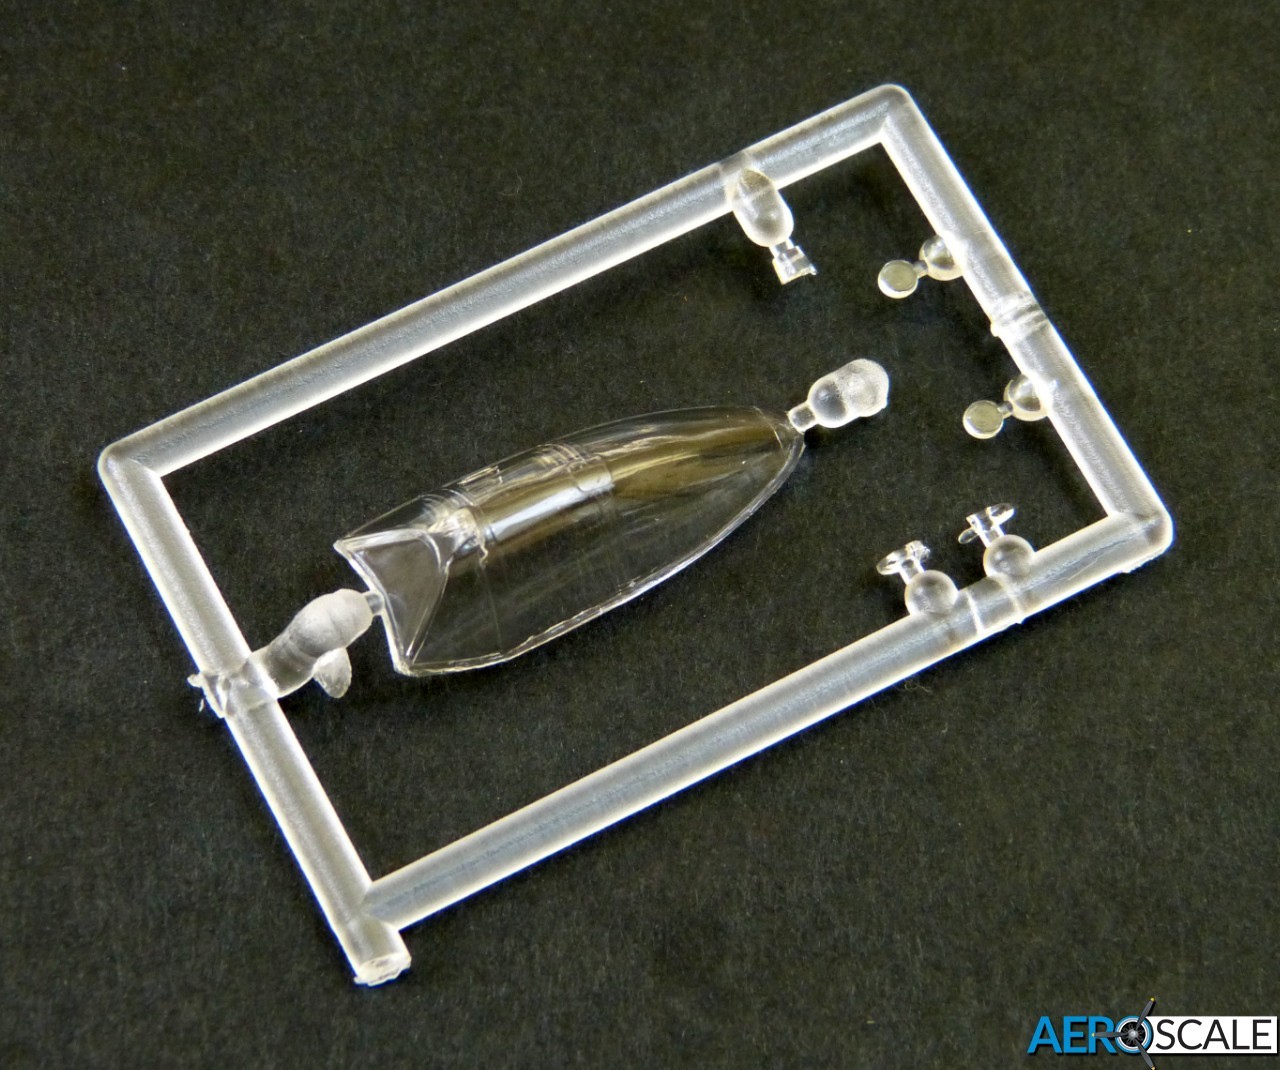
Finally, the clear styrene runner provides the canopy and lamp covers. The canopy is crystal-clear and has crisply defined frames. I'm surprised that it's not supplied in two pieces to pose open and show off the detailed cockpit, but that'll be an easy modification with a fine razor saw.
Instructions & Painting
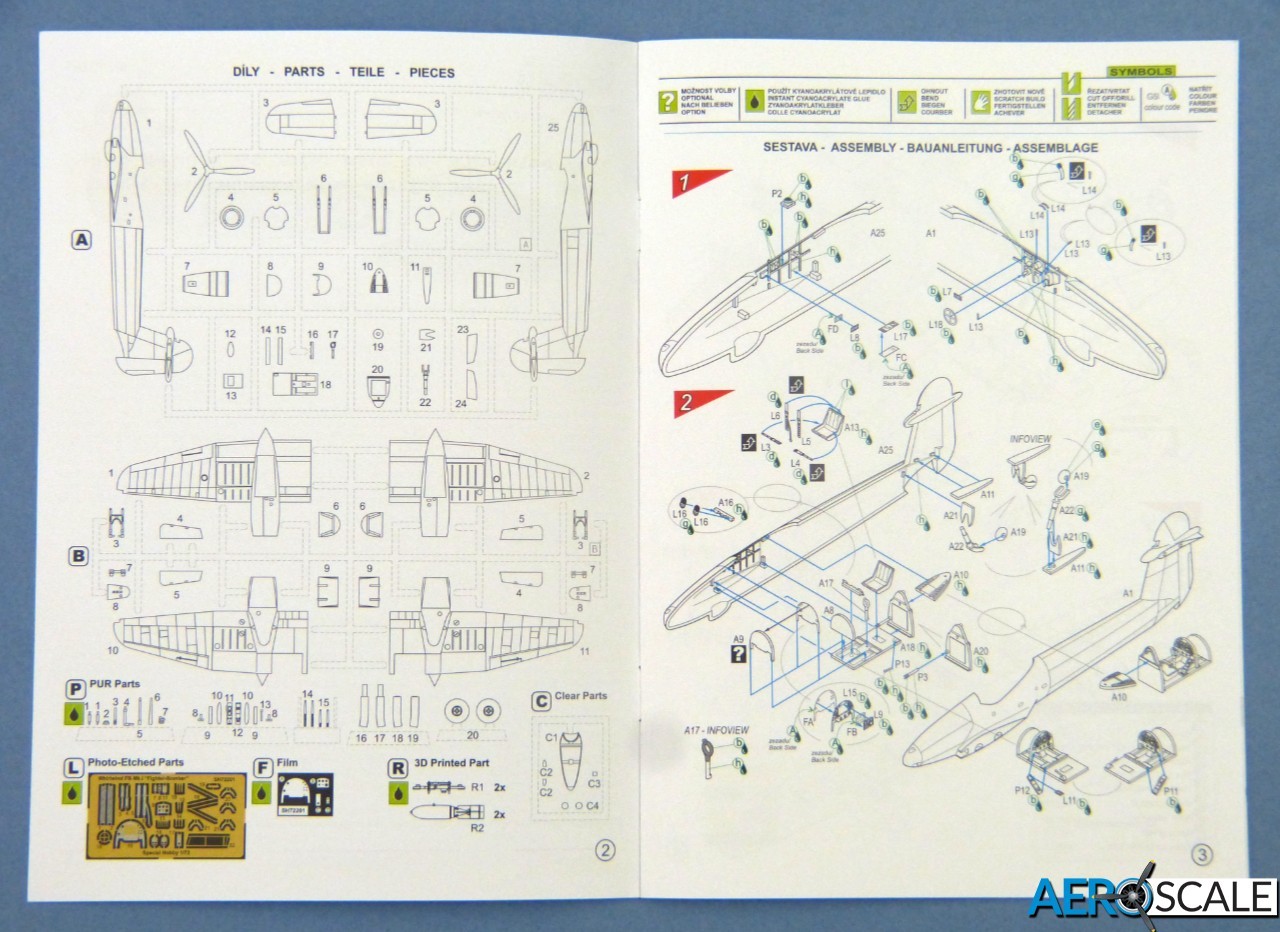
The assembly guide is printed in colour on good quality stock as a 12-page A5 booklet. The diagrams are well drawn, but those showing the cockpit construction are a bit cluttered due to their small size on the page. Special Hobby give colour matches for Gunze Sangyo paints.
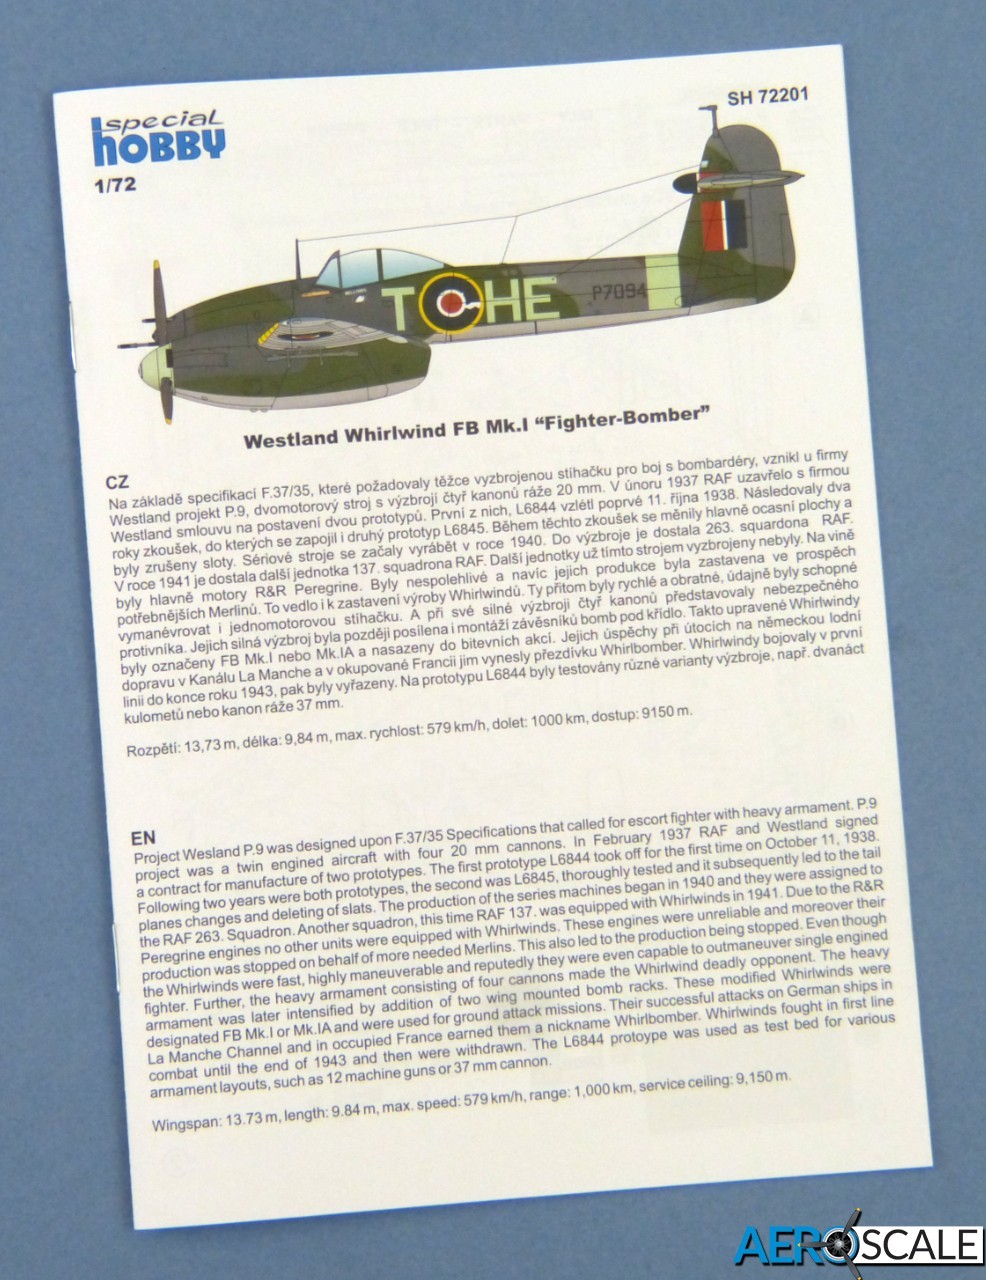
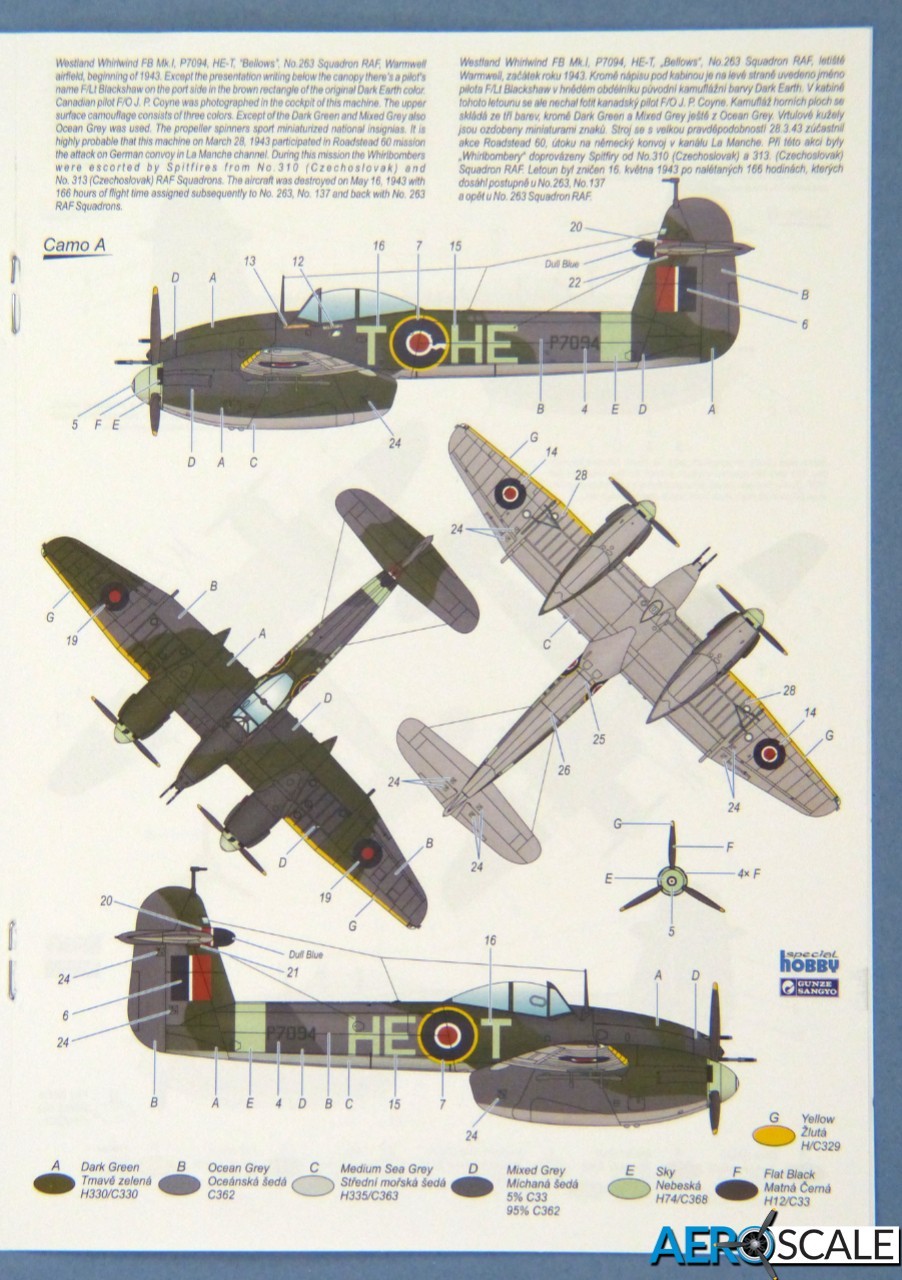
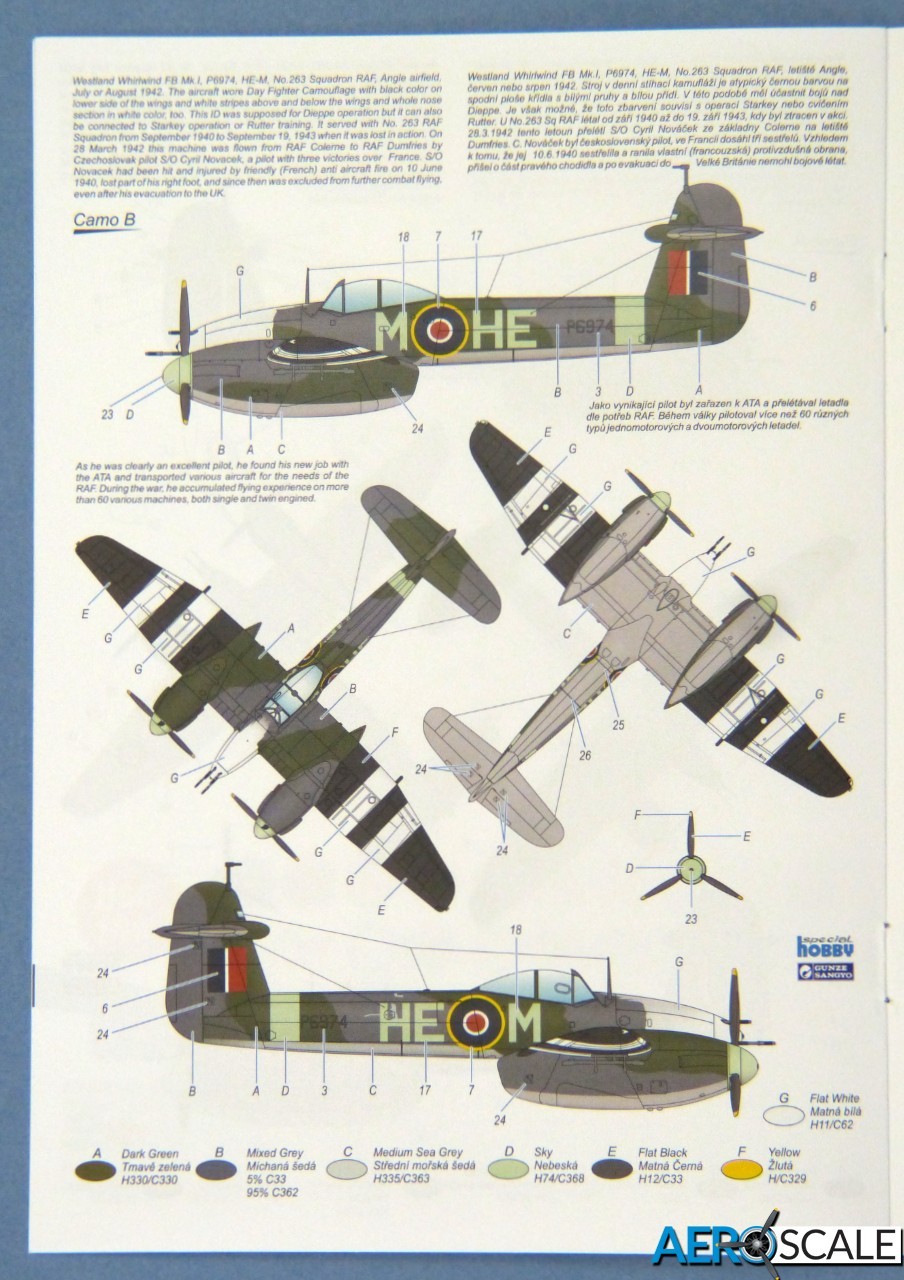
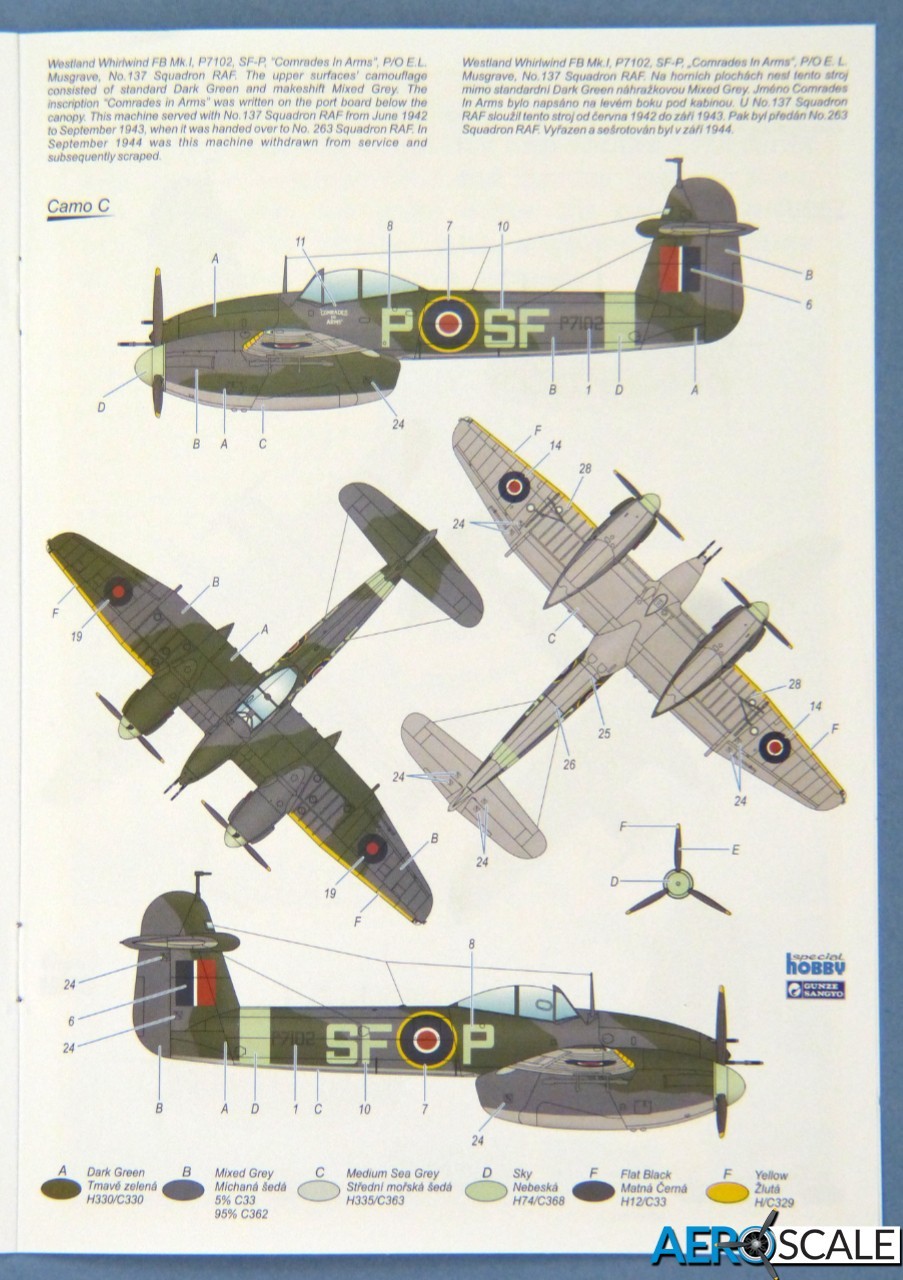
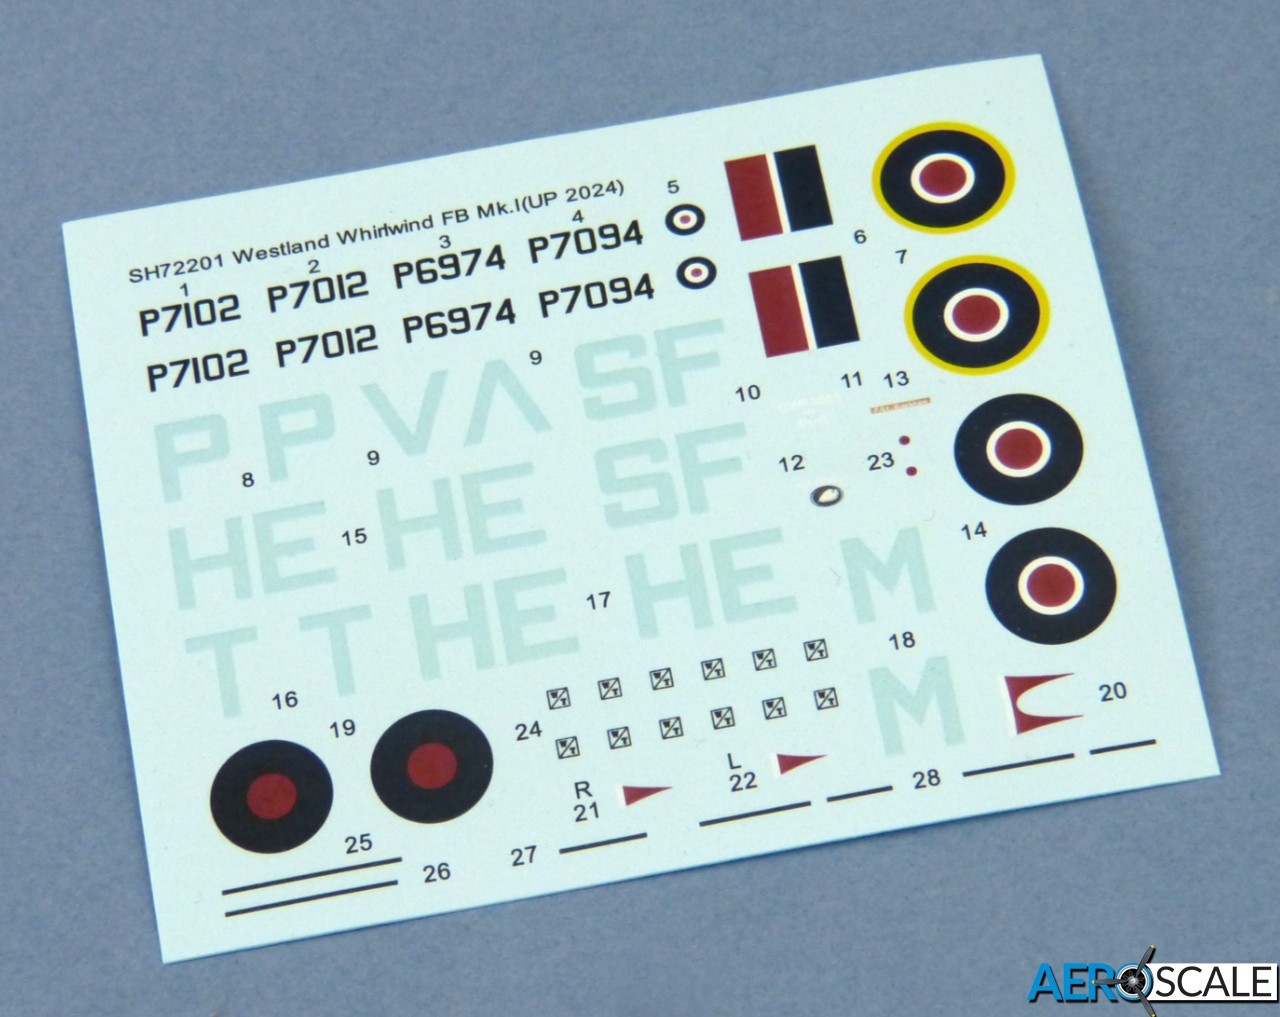
Decals are included for a quartet of "Whirlibombers":
A. Westland Whirlwind FB Mk.1, s/n P7094, "Bellows", HE-T, 263 Squadron, 1943
B. Westland Whirlwind FB Mk.1, s/n P6974, HE-M, 263 Squadron, 1942
C. Westland Whirlwind FB Mk.1, s/n P7102, "Comrades In Arms", SF-P, 137 Squadron, 1942-43
D. Westland Whirlwind FB Mk.1, s/n P7012, SF-V, 137 Squadron, 1941-43
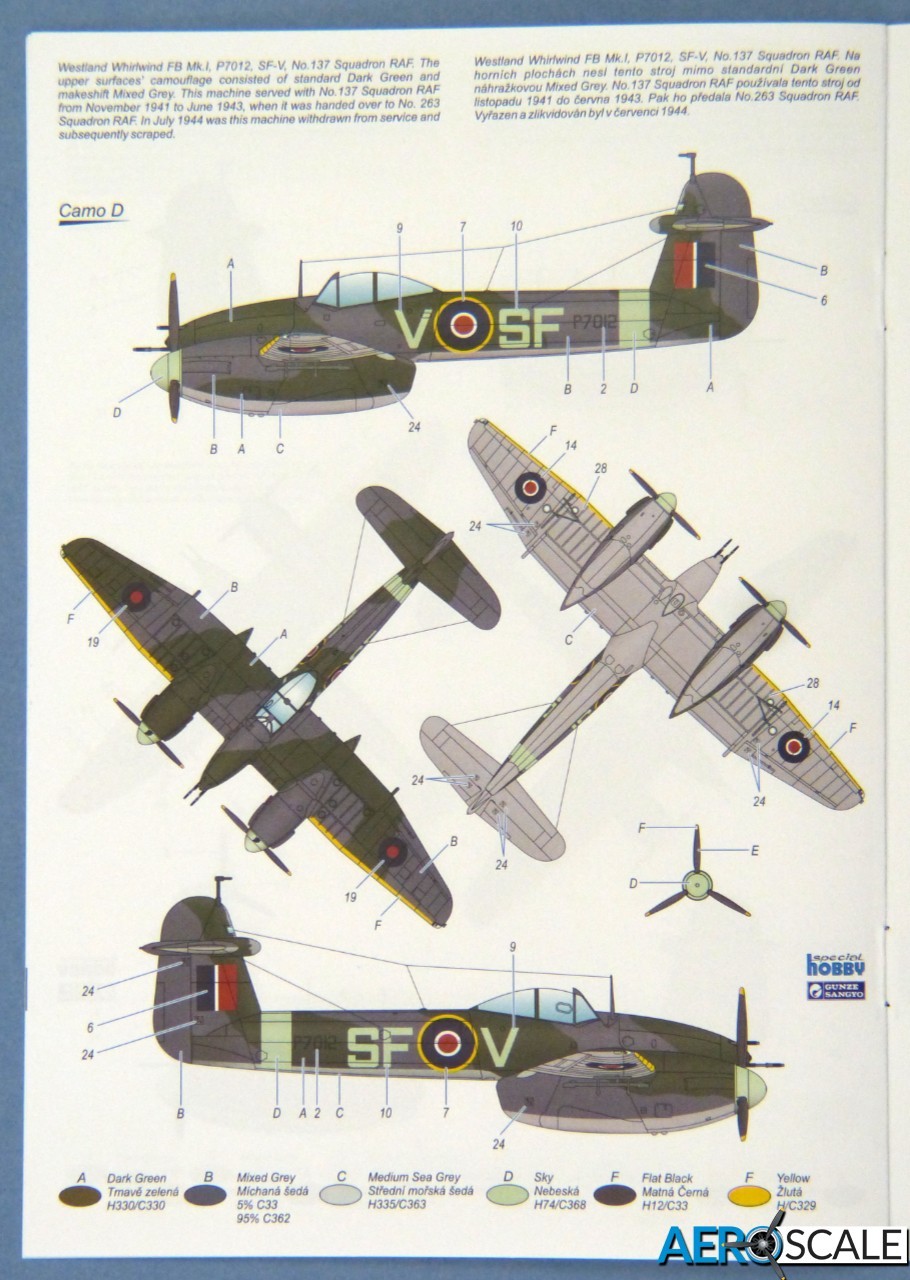
The decals look to be very good quality - thin and glossy, and printed in precise register. Under a strong magnifier some of the colours appear to be produced with a pattern of ultra-fine dots, but these are invisible to the naked eye. The national markings look good, with a convincing Dull-Red. The Sky codes look a bit "mint green" on the sheet - but that may change once they're applied, and Sky was one of those colours where there was considerable variation in real life. You may have to mix a few model paints to get a good match for the decals when you paint the fuselage band and the spinners.
The decals have quite a lot of excess carrier film, but recent experience with Special Hobby's decals has shown that this disappears entirely when they're applied, and they snuggle down beautifully with standard decal solutions.
Conclusion
While I seldom work in 1:72 these days, I'm really looking forward to building Special Hobby's "Whirlibomber"! I first fell in love with the Whirlwind as a modelling subject way back in the 1960s with Airfix's original 1:72 effort. Next came their 1970s new-tool version, which seemed the height of sophistication in its day. Roll on 50 years (can it really be that long?!) and this new kit from Special Hobby completely eclipses its predecessors and really does do justice to the aircraft. It promises to be a thoroughly enjoyable build, but I'd recommend anyone tackling it has a bit of extra experience because of the cast resin, 3D-printed and small photoetched parts that it includes.
Kit #SH72201 is available now from Special Hobby - Price: 26.20 Euros
Many thanks to Special Hobby for the review samples.
Please remember, when contacting retailers or manufacturers, to mention that you saw their products highlighted here - on AEROSCALE


