












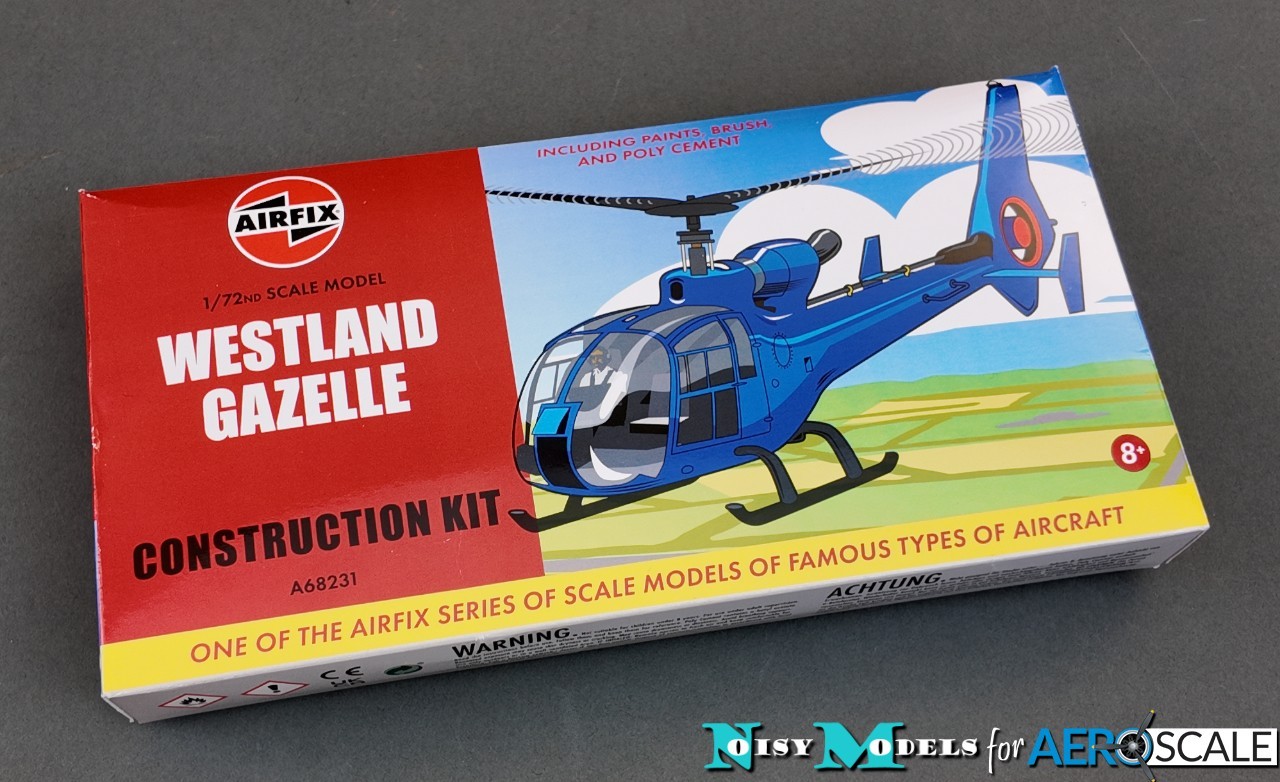
Wandering down the centre aisle at my local Lidl supermarket last week, I spotted a new selection of "starter sets" from Airfix. Among them was their 1:72 Westland Gazelle, a kit that brought back fond memories of building it as a kid back in 1973 when it was first released. The new sets might be aimed at beginners, but the nostalgia factor with the Gazelle hit me straight between the eyes and I couldn't resist buying one.
The set arrives in an end-opening carton which is rather flimsy, so mine had already crumpled just from sitting in the store display. It's also only just deep enough for the contents, so it was bulged. Happily, though, everything inside was intact when I opened it.
In my opinion the box front art is "unusual" to say the least and will be an acquired taste. I guess it's meant to hark back to the very earliest Airfix kits and their simplified artwork, but this will obviously be lost on beginners and I'm not convinced it will appeal to today's kids. Still, it's eye-catching - if only in a "What on earth?..." way.
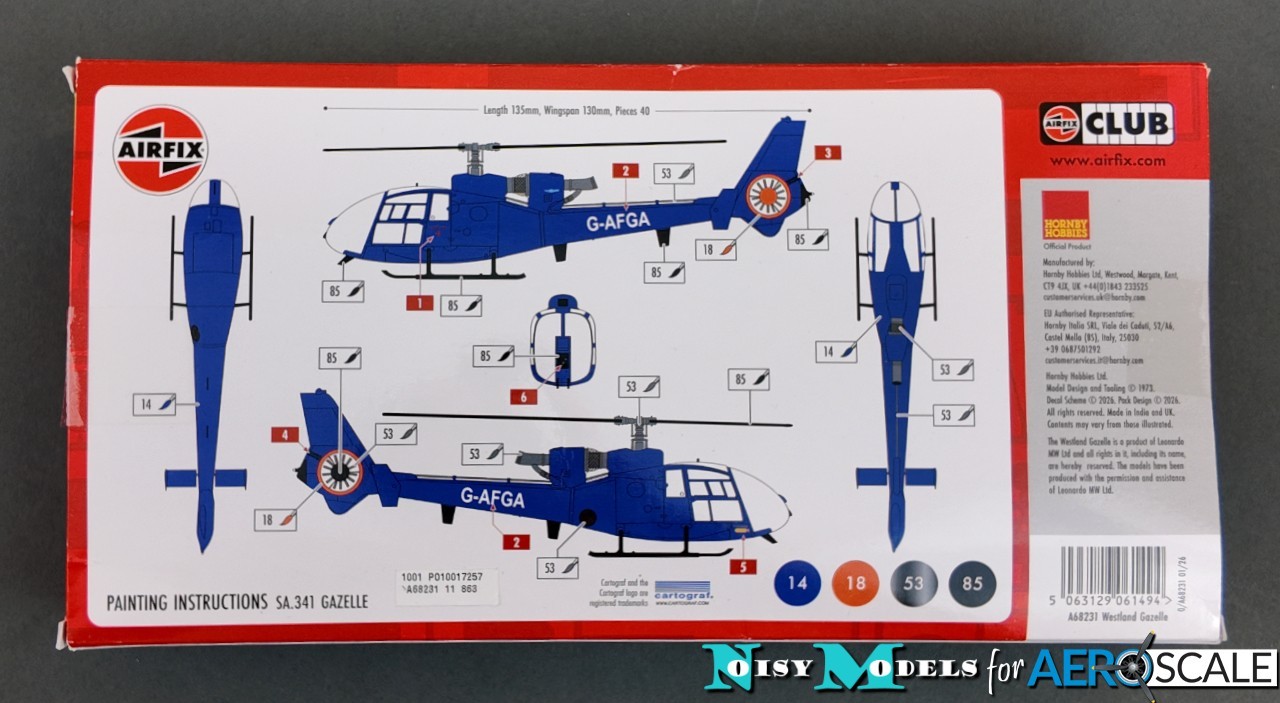
The back of the packet is much more conventional, with a full-colour painting and decals guide that replaces having one printed in the instructions.
The main contents arrive in sealed plastic bags for protection in transit, and it was good to see the clear parts packed in their own bag.
The set comprises:
34 x grey styrene parts
12 x clear styrene parts
Cartograf decals for a single colour scheme
1 x tube of Hornby polystyrene cement
4 x pots of Humbrol acrylic paint
1 x Humbrol-Airfix size 2 paint brush
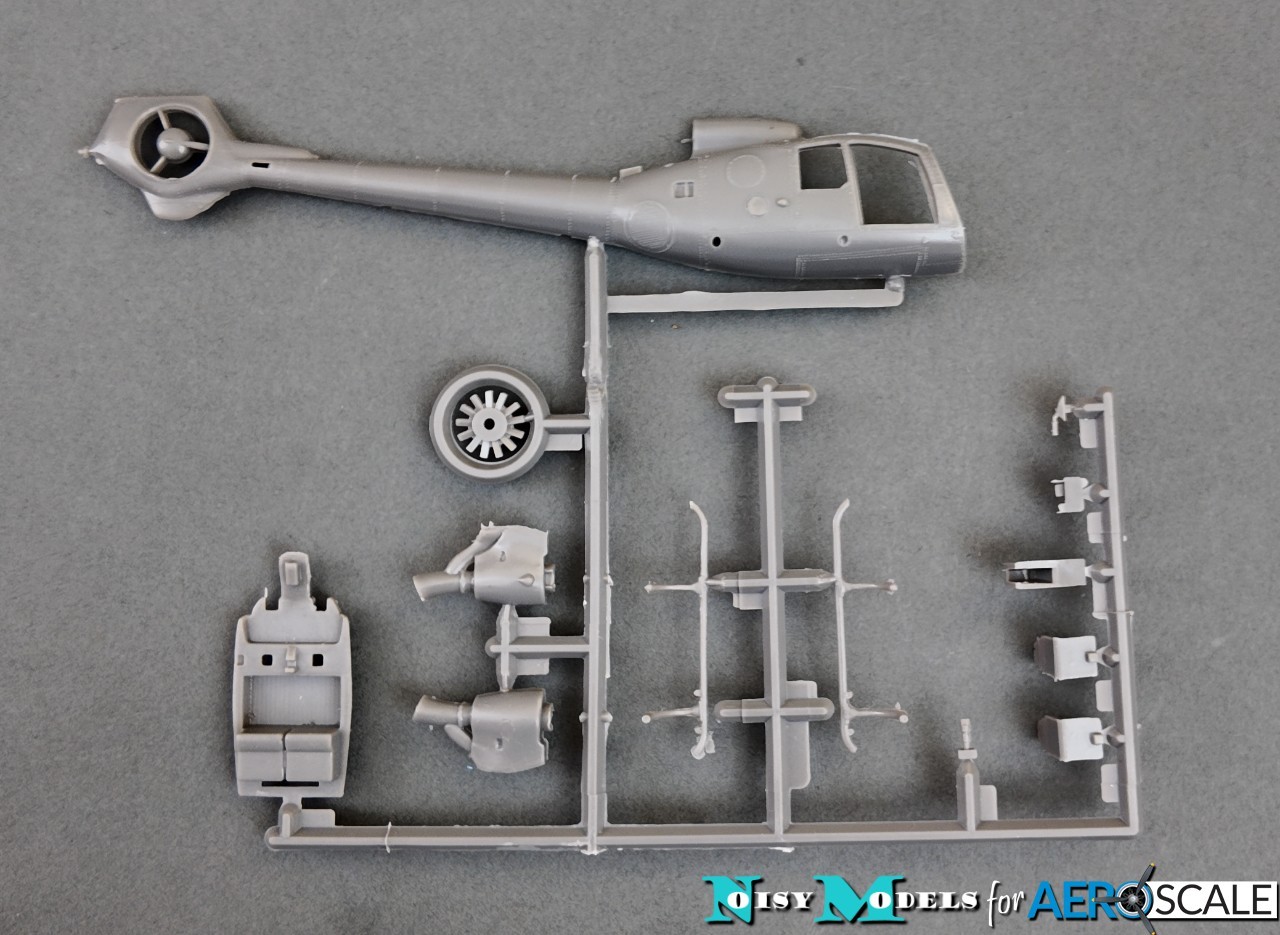
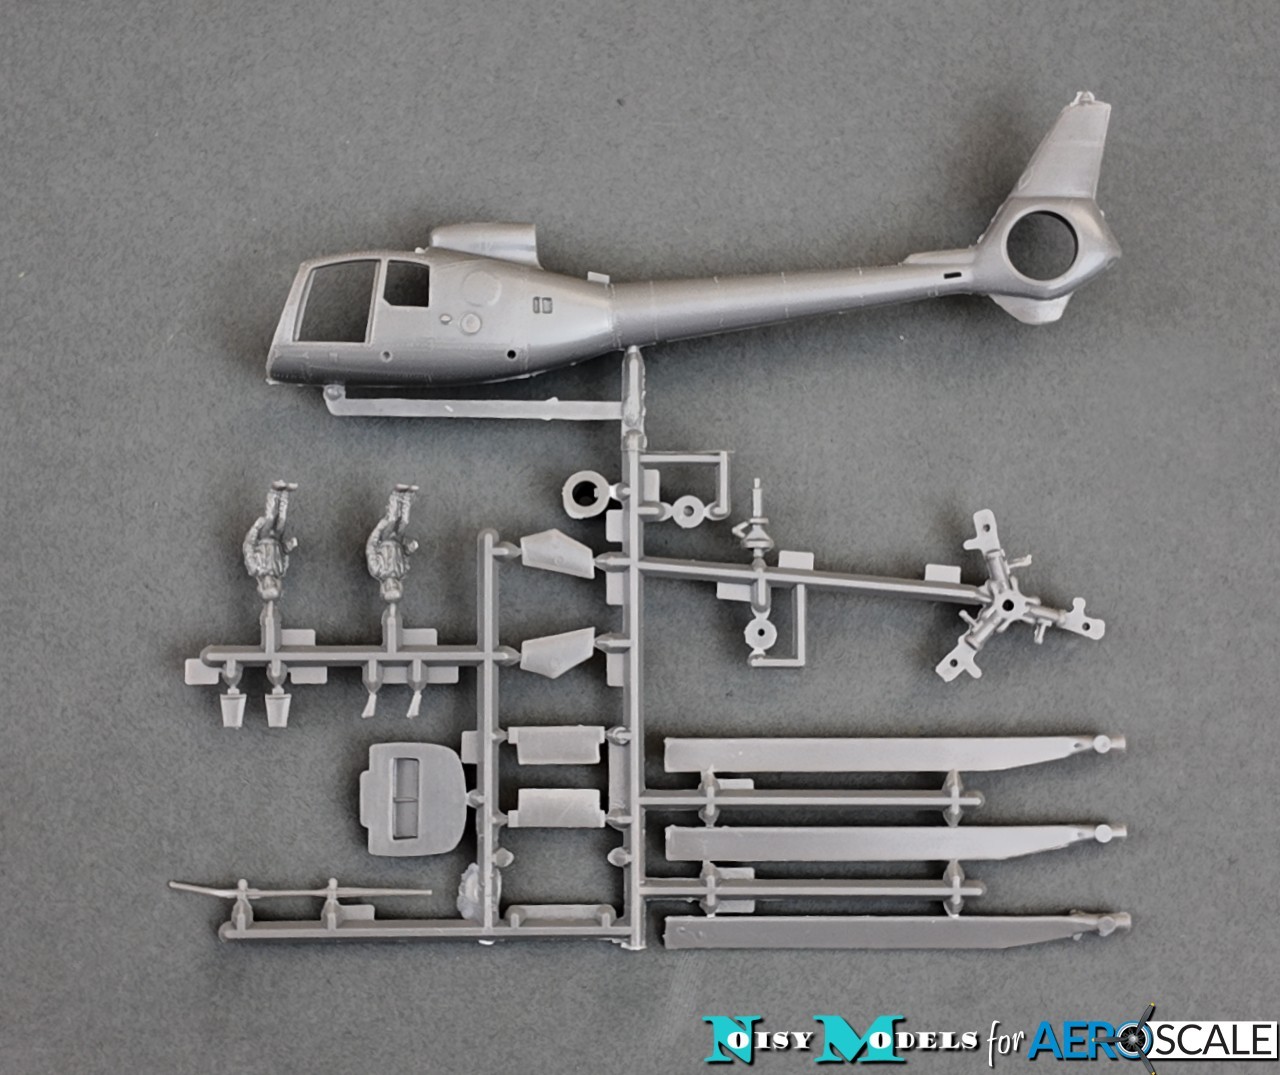
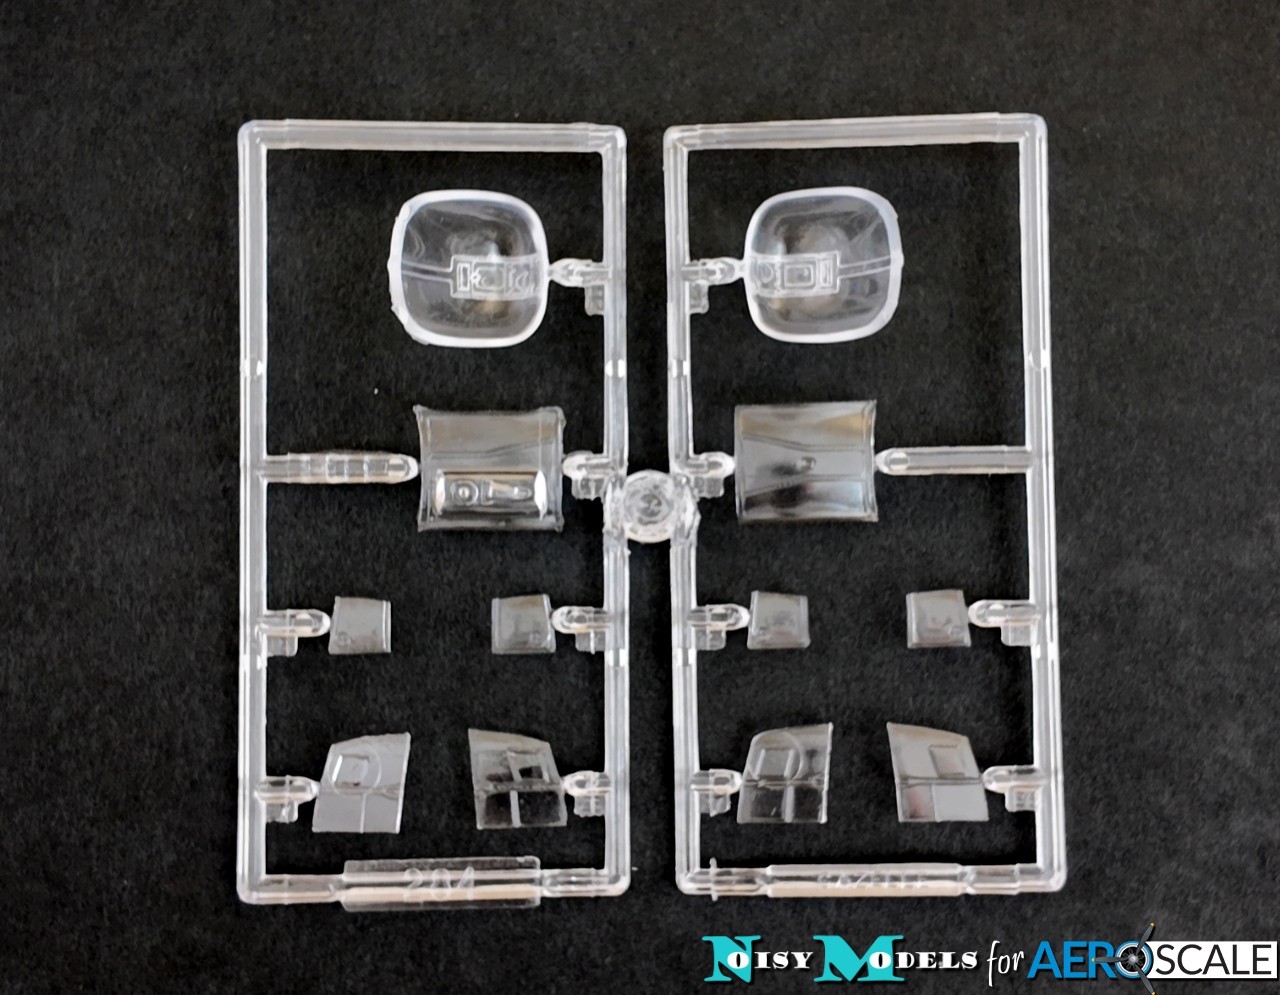
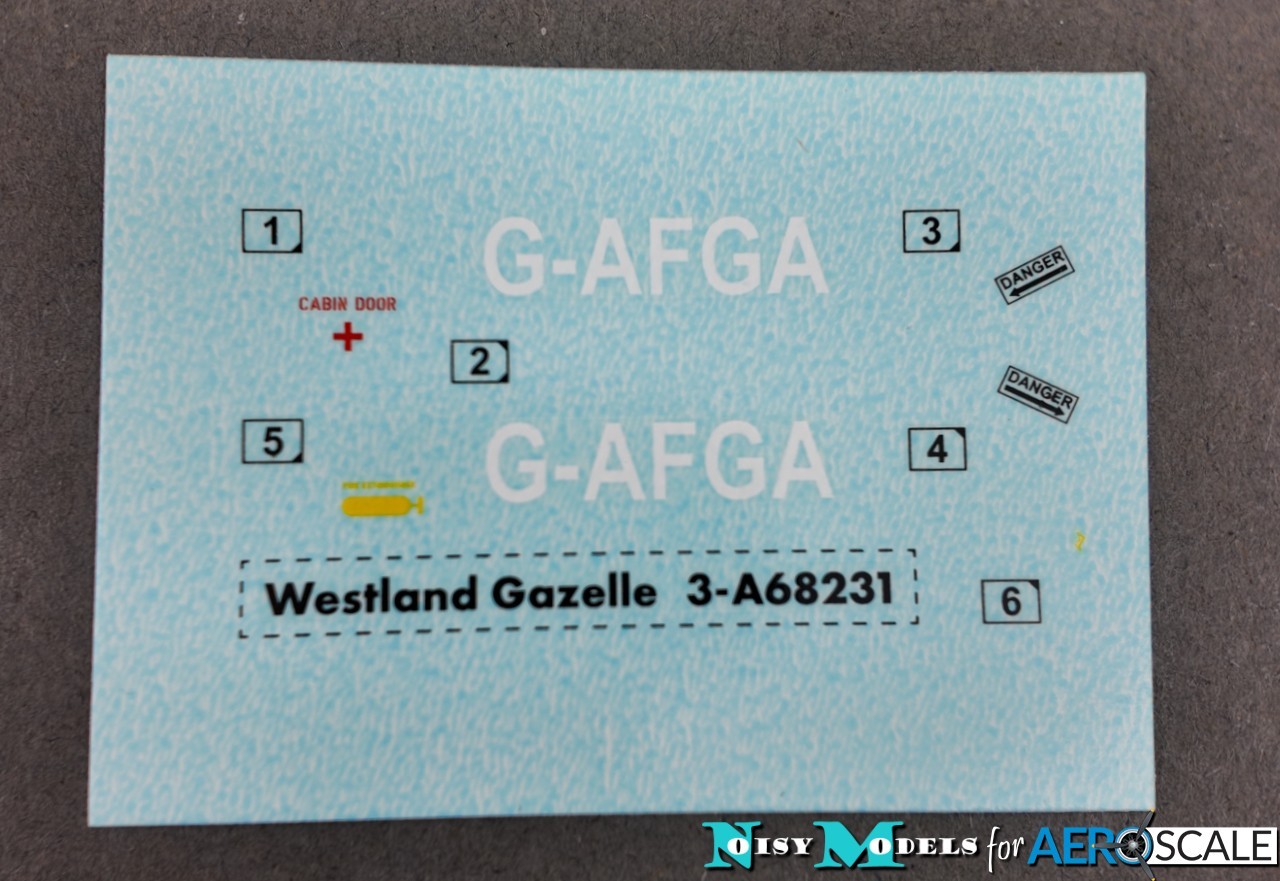
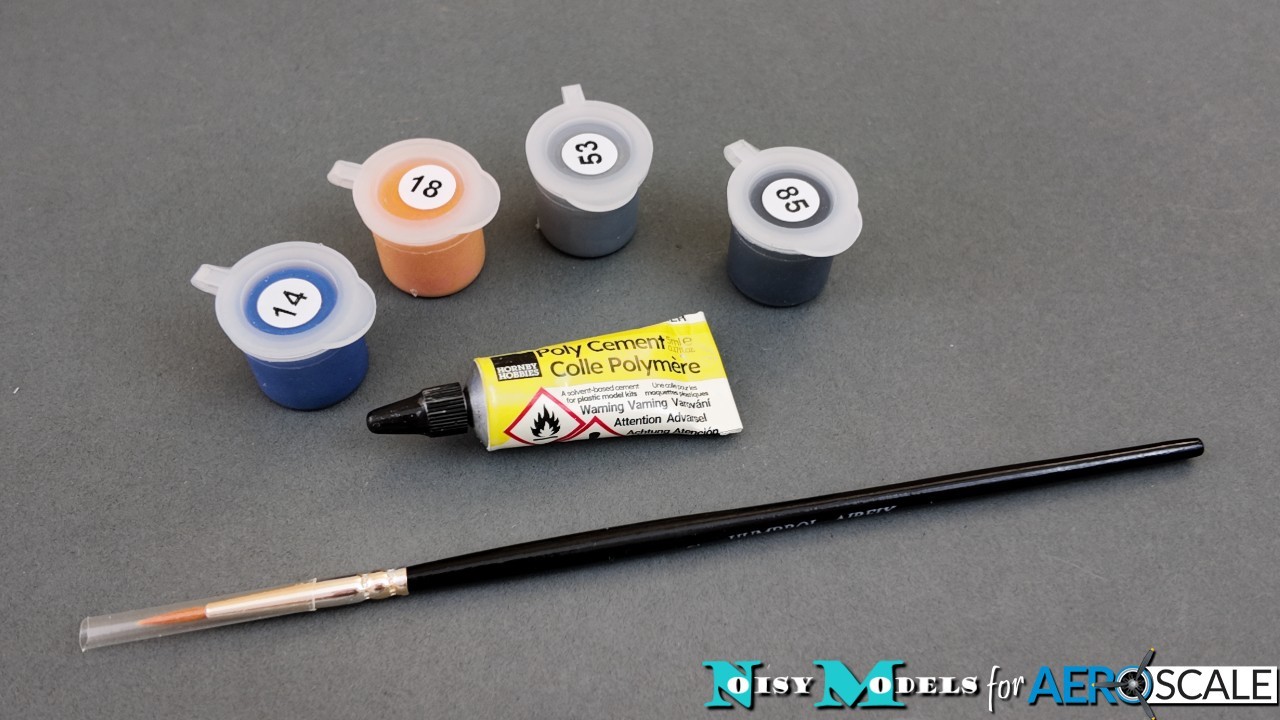
There are a few spare parts because this boxing is for a civilian Gazelle, but there should be aftermarket decals available for the many armed forces who operated the type if you want to build a military Gazelle.
So, how has Airfix's Gazelle held up after over 50 years? I've got to say... not too badly. There's a touch of flash here and there, but I was expecting far worse, so the condition of the parts is generally a pleasant surprise.
The surface detail is typical of the era - i.e. raised panel lines and rivets - but it was done with a light touch (although some of the lines of rivets are a bit wavery). Experienced modellers may want to smooth and re-scribe everything, but equally you could leave most of it alone and go for the vintage kit look.
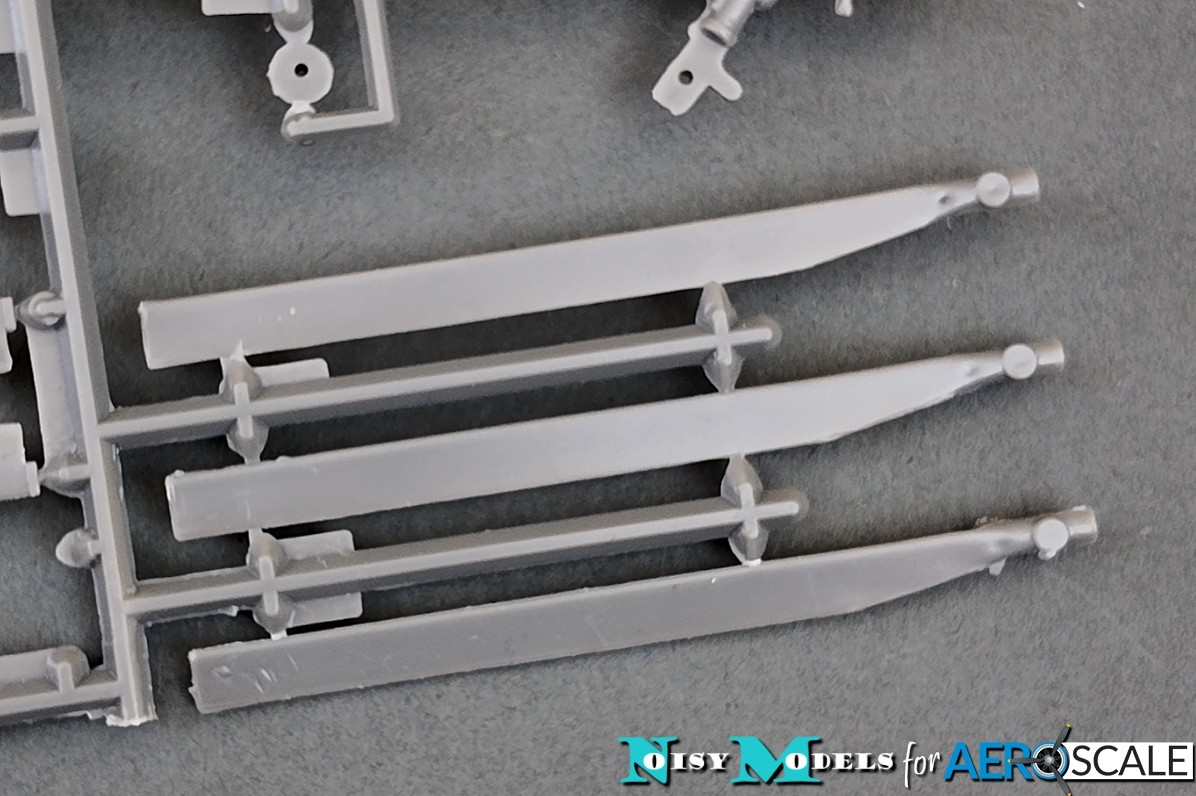
On the negative side, I did find a few ugly marks on one of the rotor blades that are presumable a sign of mould damage.
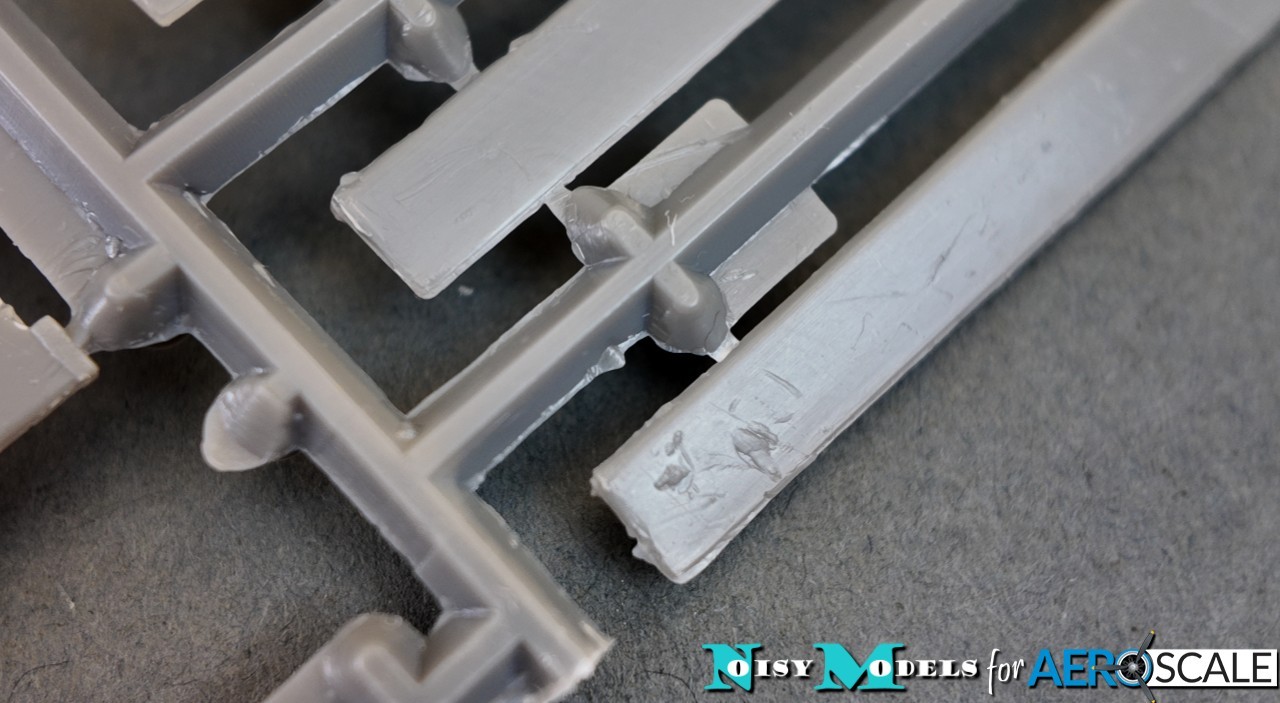
The kit was originally released with a stand that's no longer included. Thankfully, its slot is covered over and won't be visible.
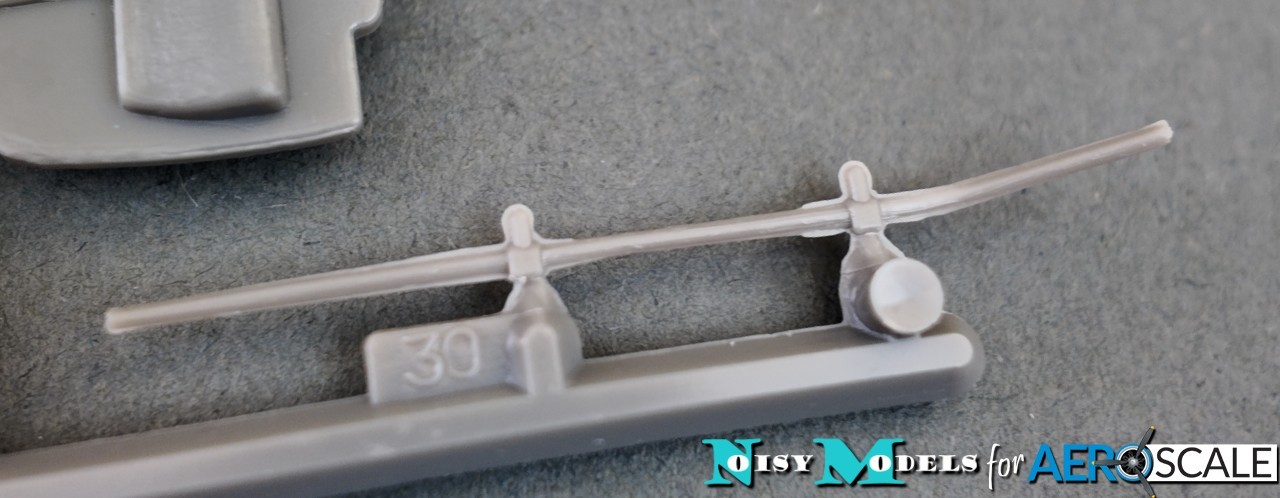
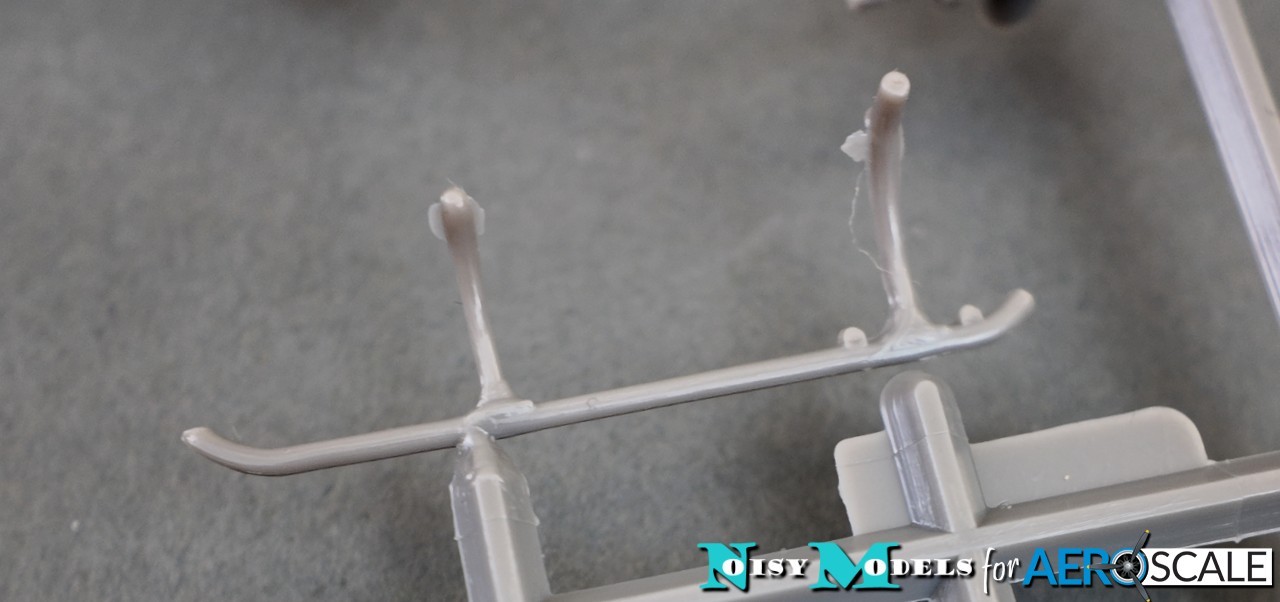
In terms of design, the only real problem that I found was the drive shaft for the tail rotor protrudes well beyond its runner so, inevitably, it was quite badly bent in my kit. This just seems to have been badly thought out when the kit was originally produced, and I imagine it was always prone to damage.
Test Fit
As the set's aimed at encouraging beginners of 8-years-old and older to take up our hobby, the crucial thing is that the kit fits together easily.
I deliberately tried to do as little preparation of the parts as possible, and I have to say a dry-assembly proved a bit of a mixed bag. The fuselage halves are quite nice and straight, and the locating pins line up neatly, so there's no problem there. The cockpit floor and rear bulkhead also fit inside without any fuss.
The tail stabiliser were a different matter. The slot on one side needed opening up slightly and the vertical fins are a completely loose fit, so attaching them and getting them to sit square will be a fiddly job for beginner.
If the tail feathers are fiddly, sadly the engine and transmission are worse. This time the locating pins don't line things up properly and you'll be much better off removing them - something that experienced modellers will have learned the hard way, but which will almost certainly fox beginners.
I test-fitted the bubble nose and that was fine after sanding the mating surfaces on the fuselage flat. But that's the crucial point - and it needed to be done before the cockpit interior was added, something a beginner probably wouldn't check was necessary.
So, overall, Airfix's Gazelle should present no problem for anyone with a bit of experience - and, in fact, should result in a very neat little finished model - but I'm hesitant to recommend it as a first kit for a total beginner, especially an 8-year-old, because it could end up causing frustration and disappointment.
A Few Details
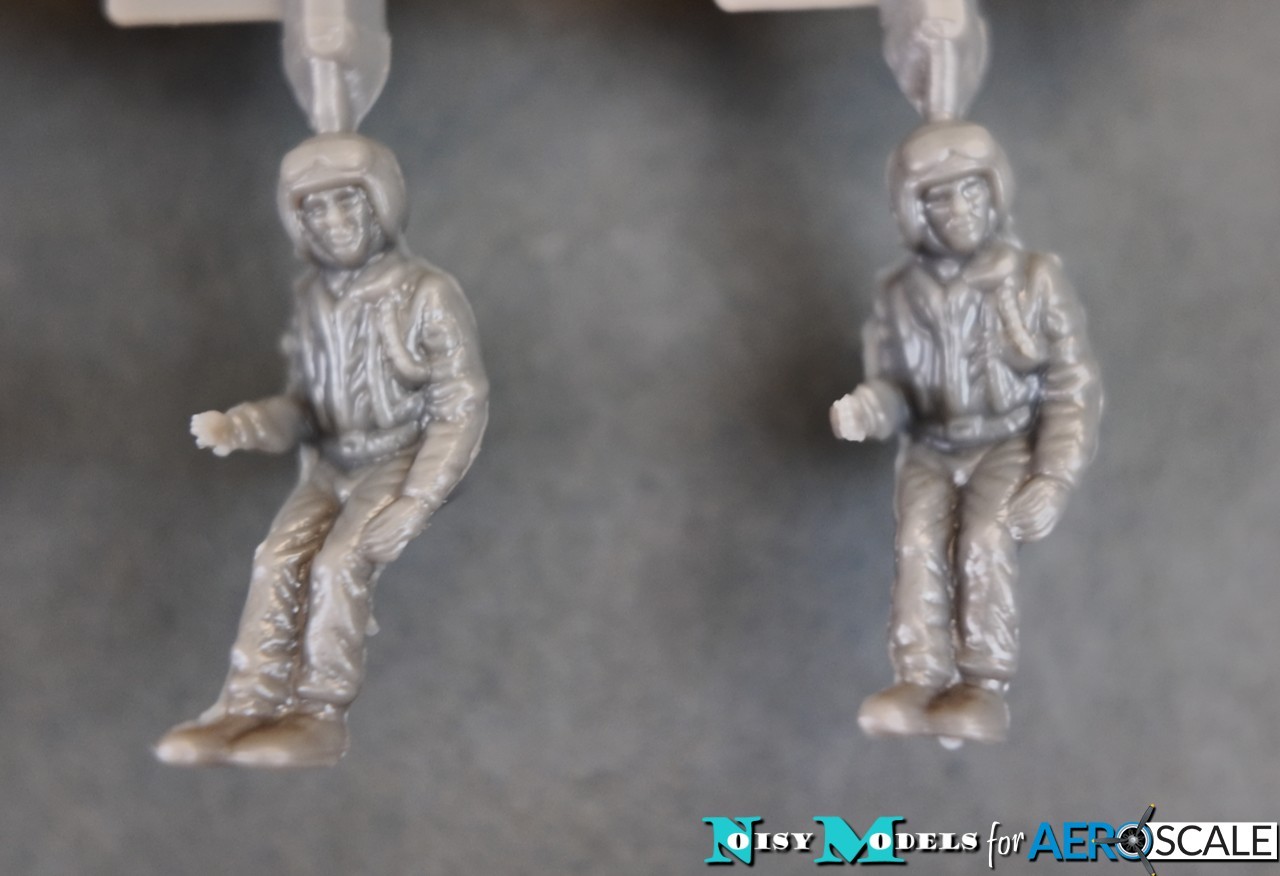
And, as you'd expect in a vintage kit, there really are only a few details. The cockpit comprises 8 parts, plus a pair of quite well sculpted aircrew (sadly in identical poses).
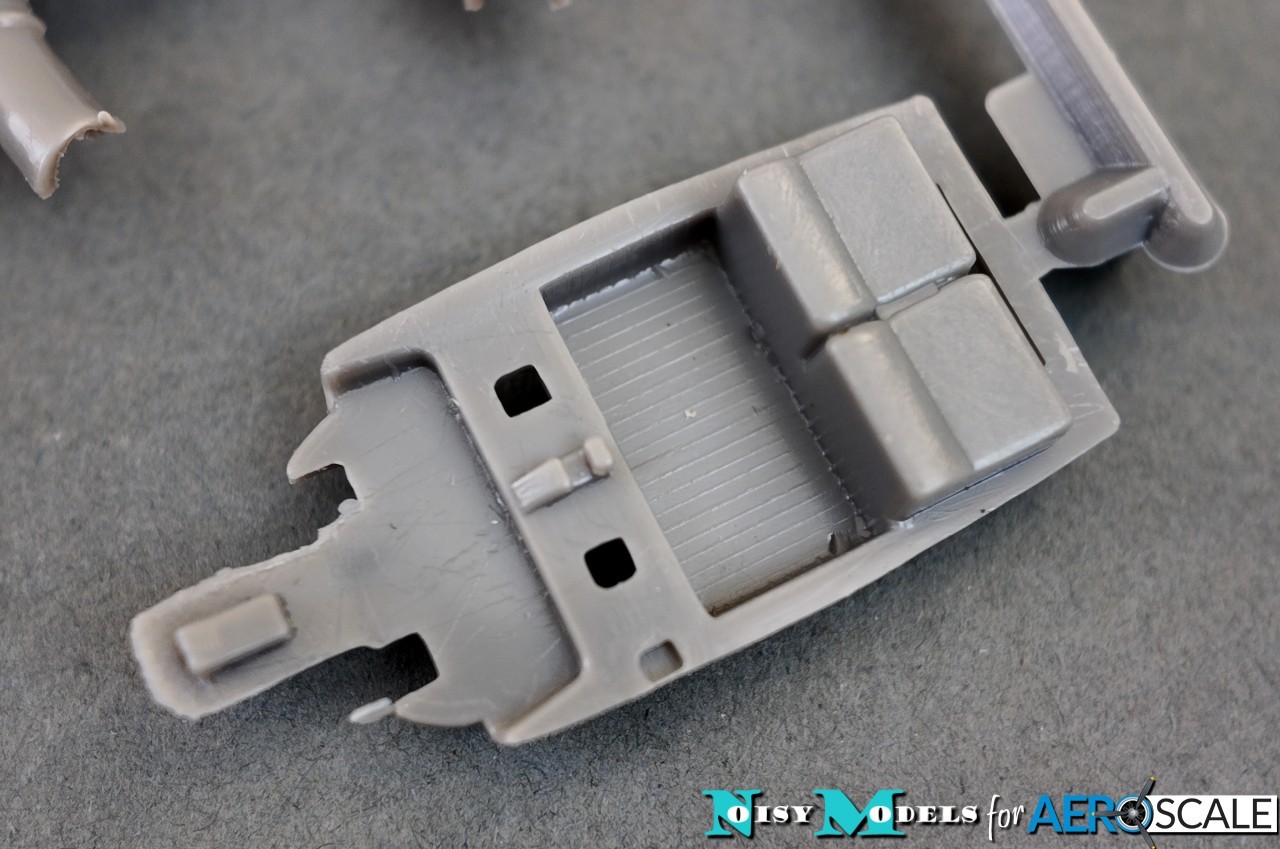
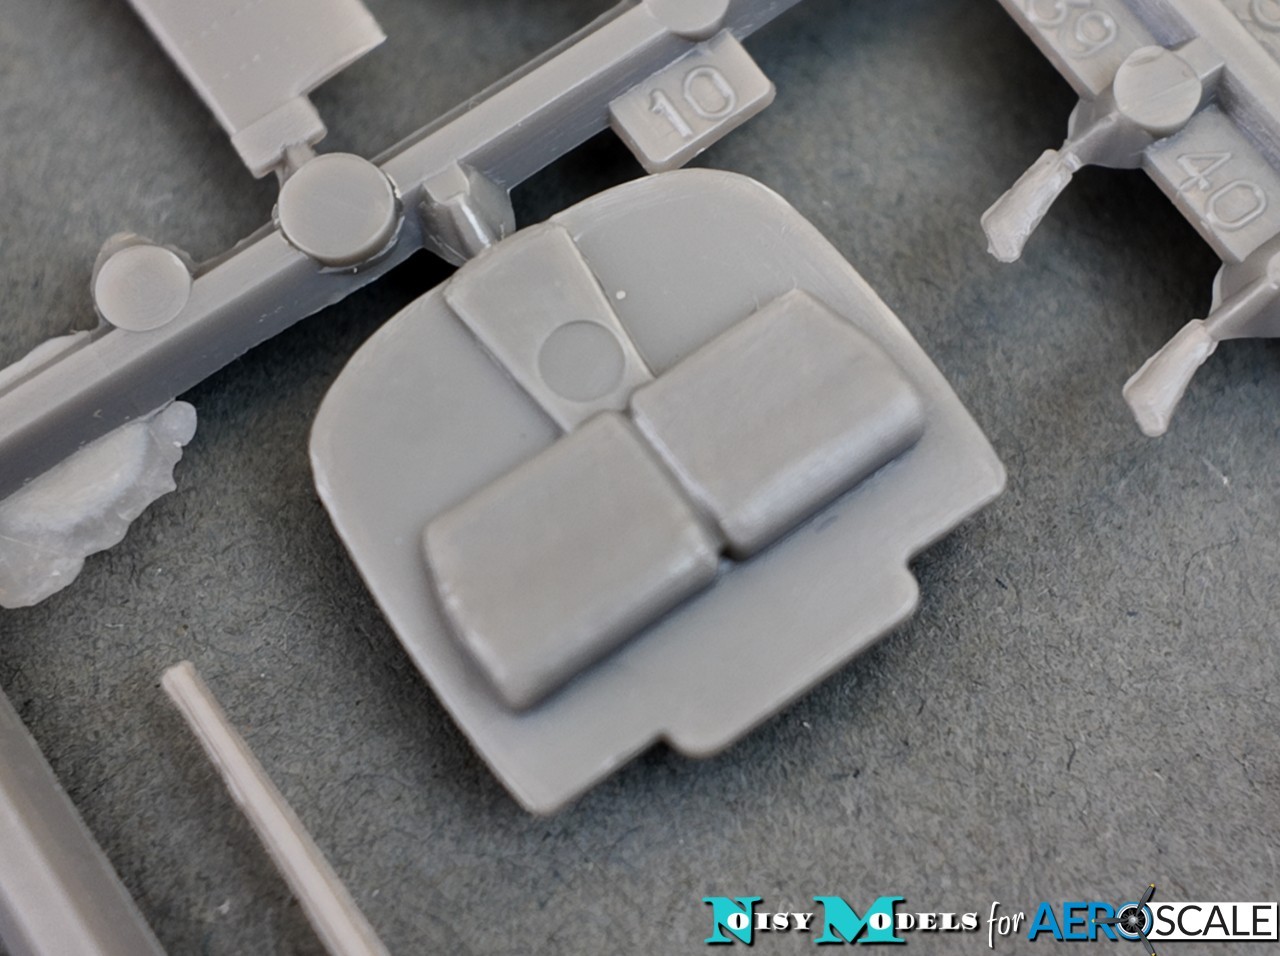
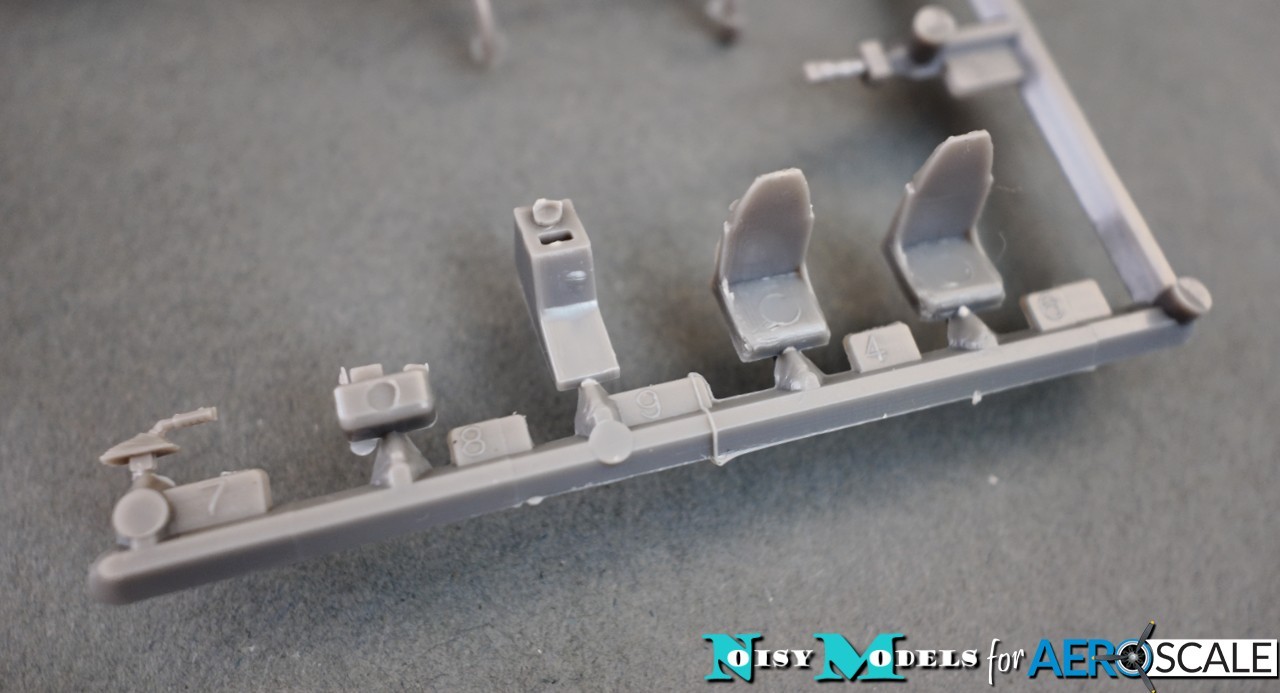
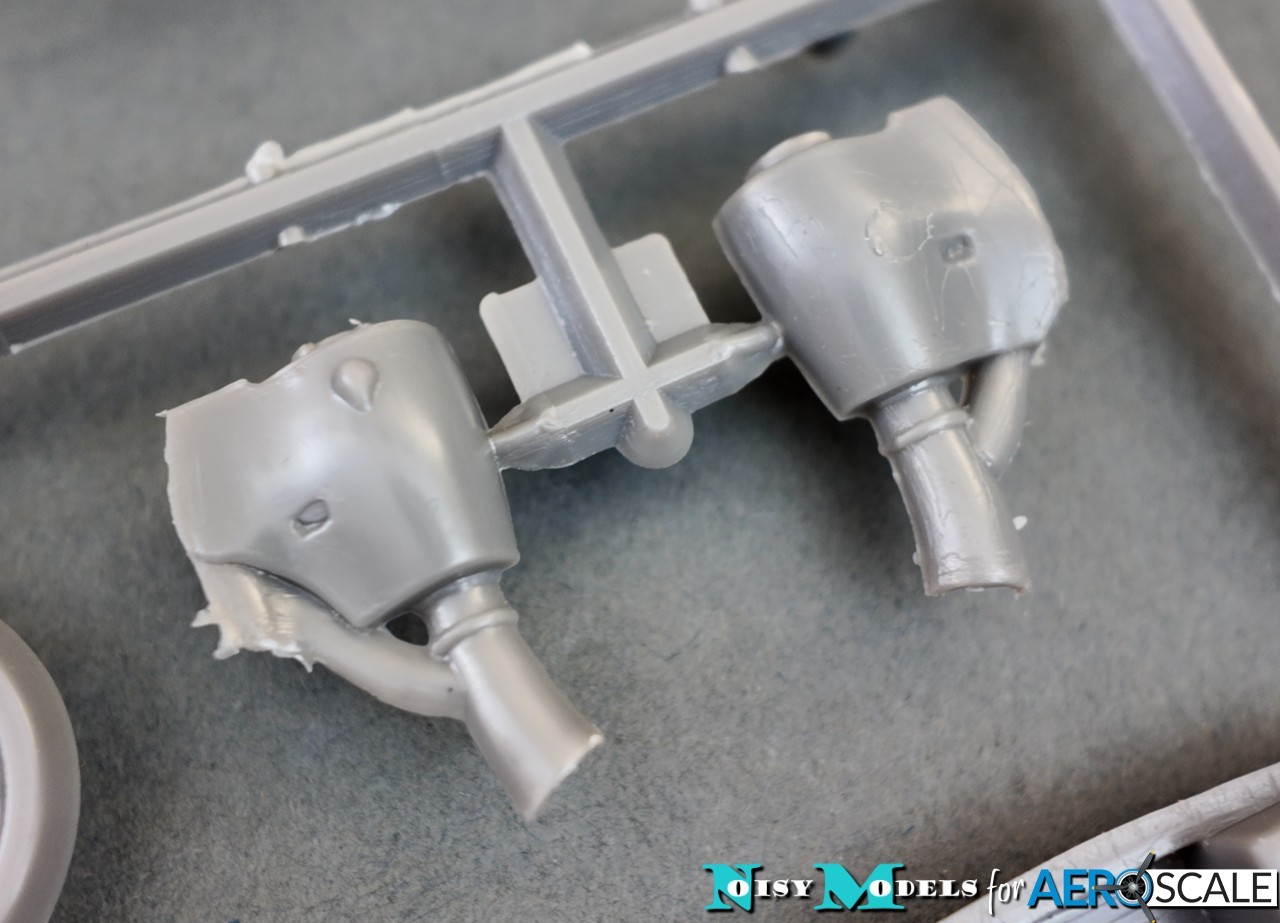
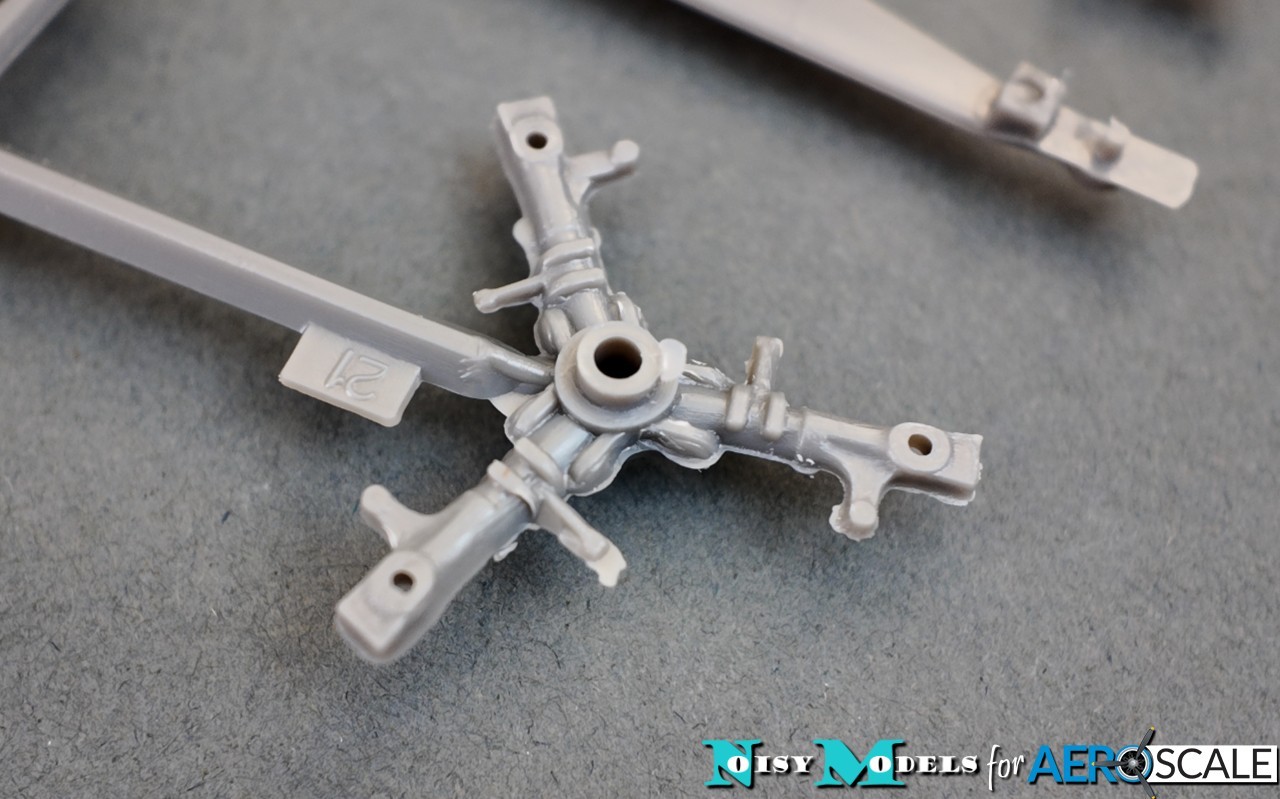
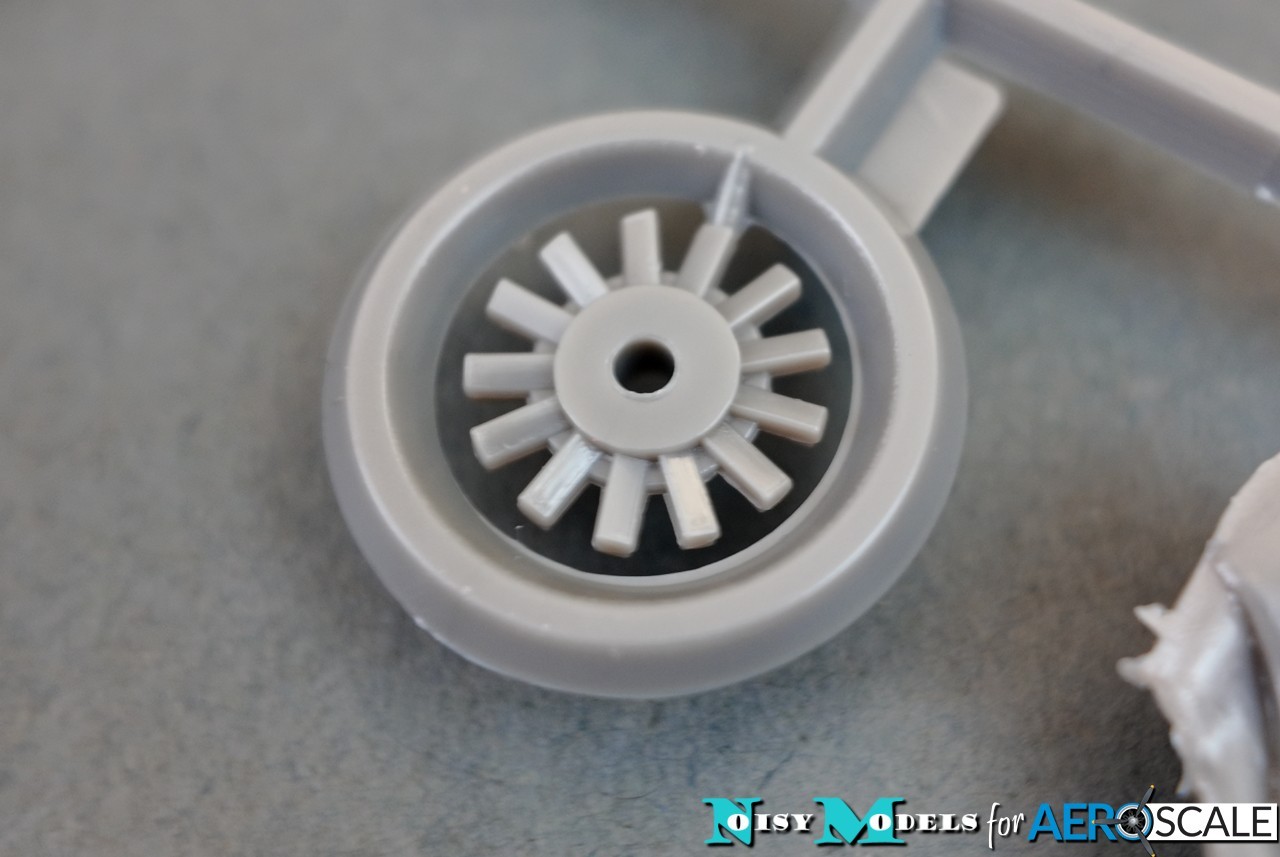
The engine and exhaust comprise just three parts, as does the main rotor hub. The tail rotor traps between the fuselage halves, and both it and the main rotor are designed to spin - probably an irrelevance to us oldies, but sure to increase the play-factor for kids.
The finished model sits on a skid landing gear, and I can't remember if it was a tail-sitter when I built it back in the '70s, so this will be worth checking before you leave it too late to add some weight as far forward as possible.
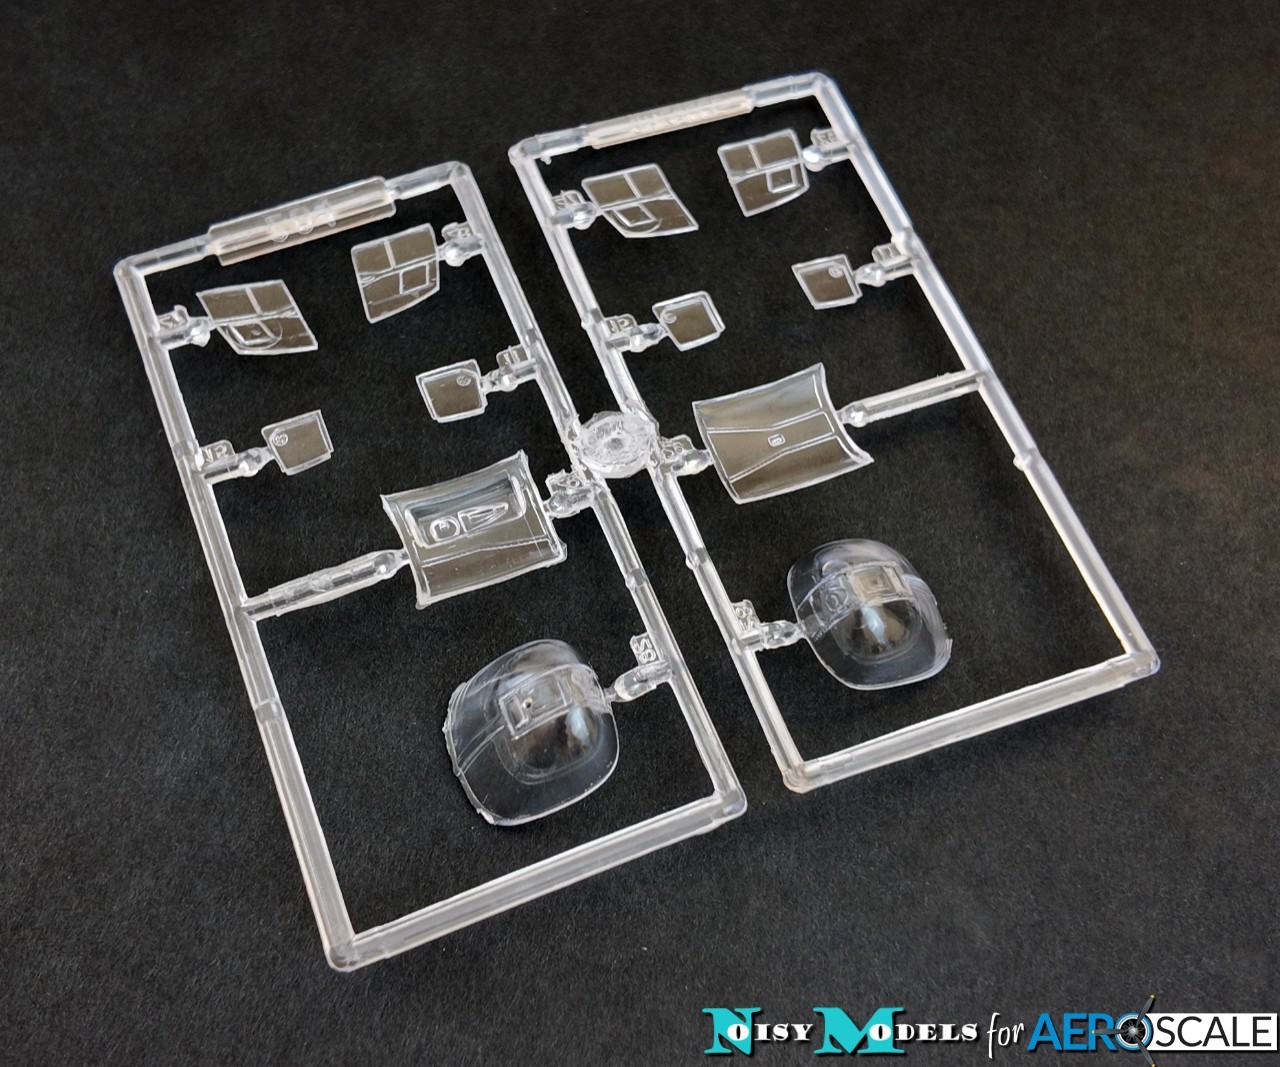
The cockpit glazing is a bit thick, but nice and clear, The side windows attach from the inside, but everything else can be fitted after the fuselage is finished, and a neat touch is that the doors can be posed open if you wish.
Instructions & Decals
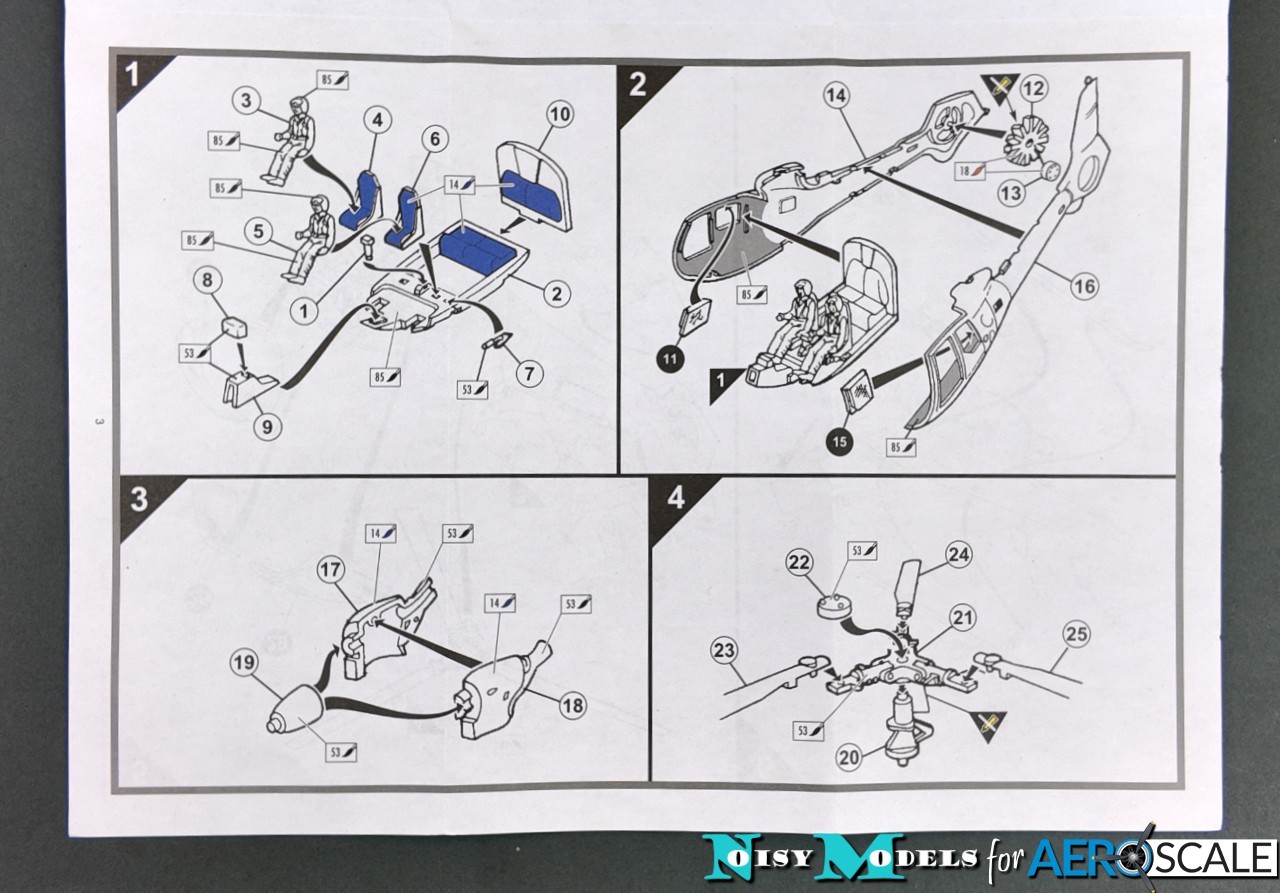
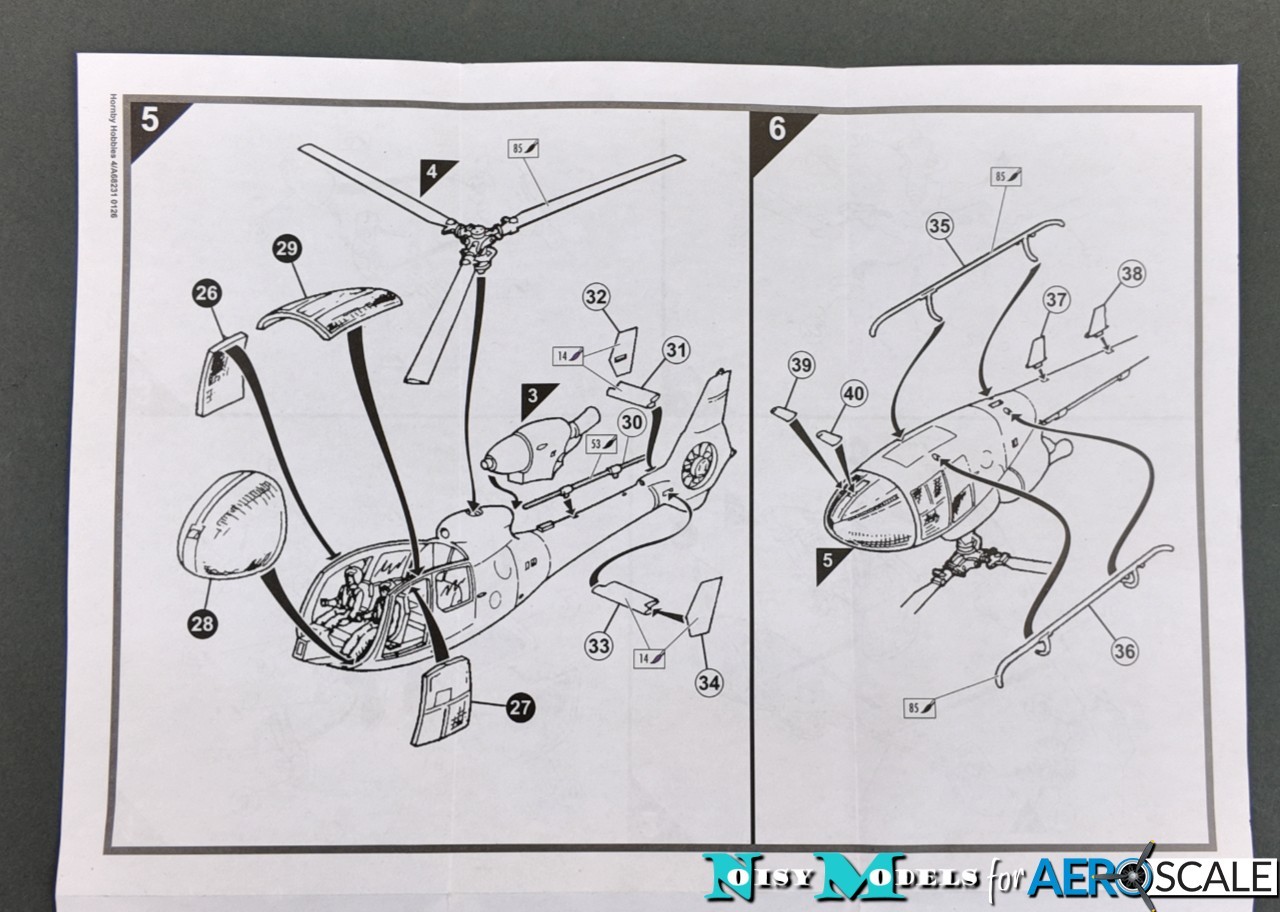
The assembly guide is printed a fold-out pamphlet in English and German (a clear sign of the Lidl connection) and uses the original 1970s illustrations that break construction down into six straightforward stages. Obviously, it's much more cost-effective to use the old illustrations, but an added bonus for me is that I find them far more logical than Airfix's current design style, so there's no needless highlighting previous sub-assemblies in red (which counter-intuitively (for me, at least) only makes them look like a problem).
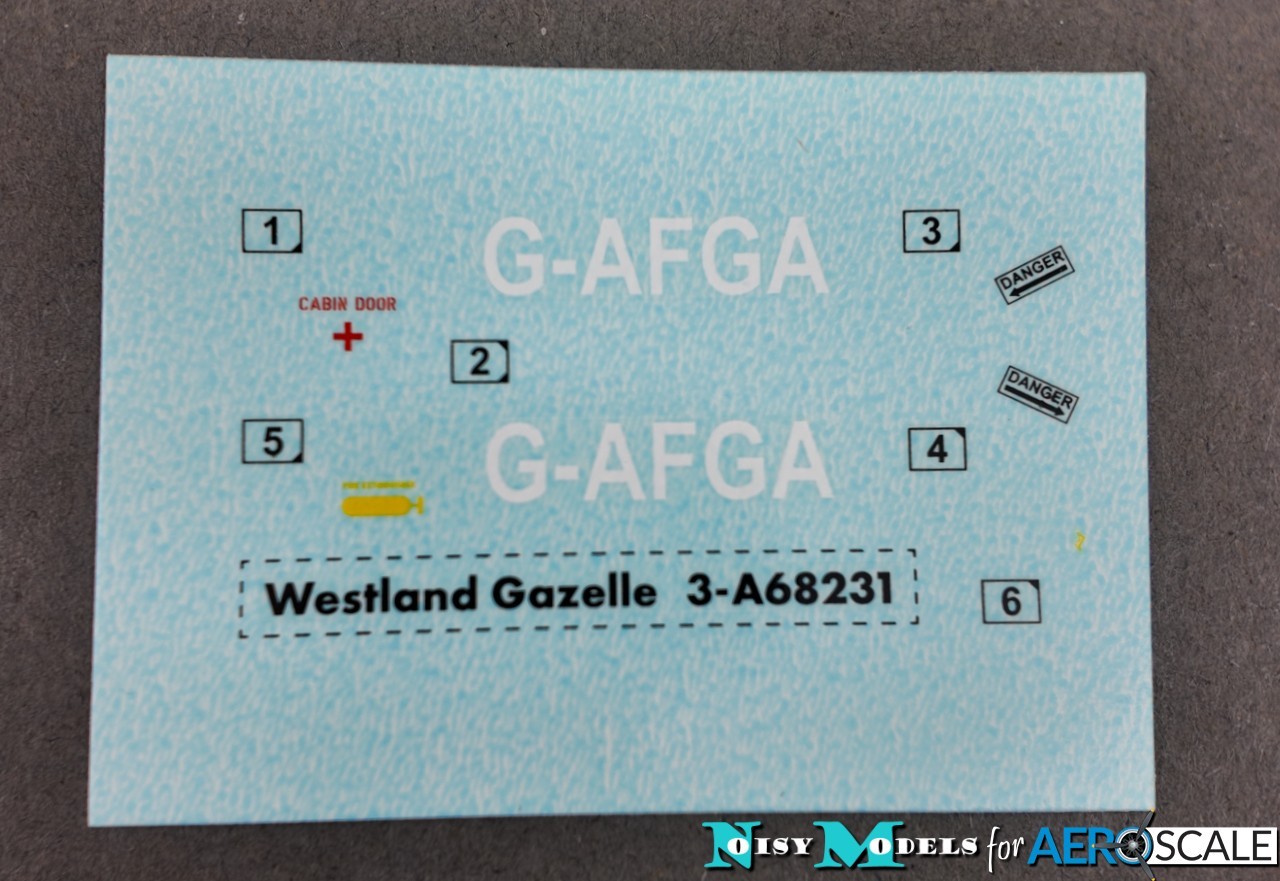
There's just one colour scheme offered for an overall blue Gazelle, with a very small sheet of Cartograf decals that are printed to their usual excellent quality, with virtually no excess carrier film.
It's hardly the most exciting paint scheme in the world and I must admit, especially thinking back to when I was a kid, I'd far rather have had a military option.
Accessories
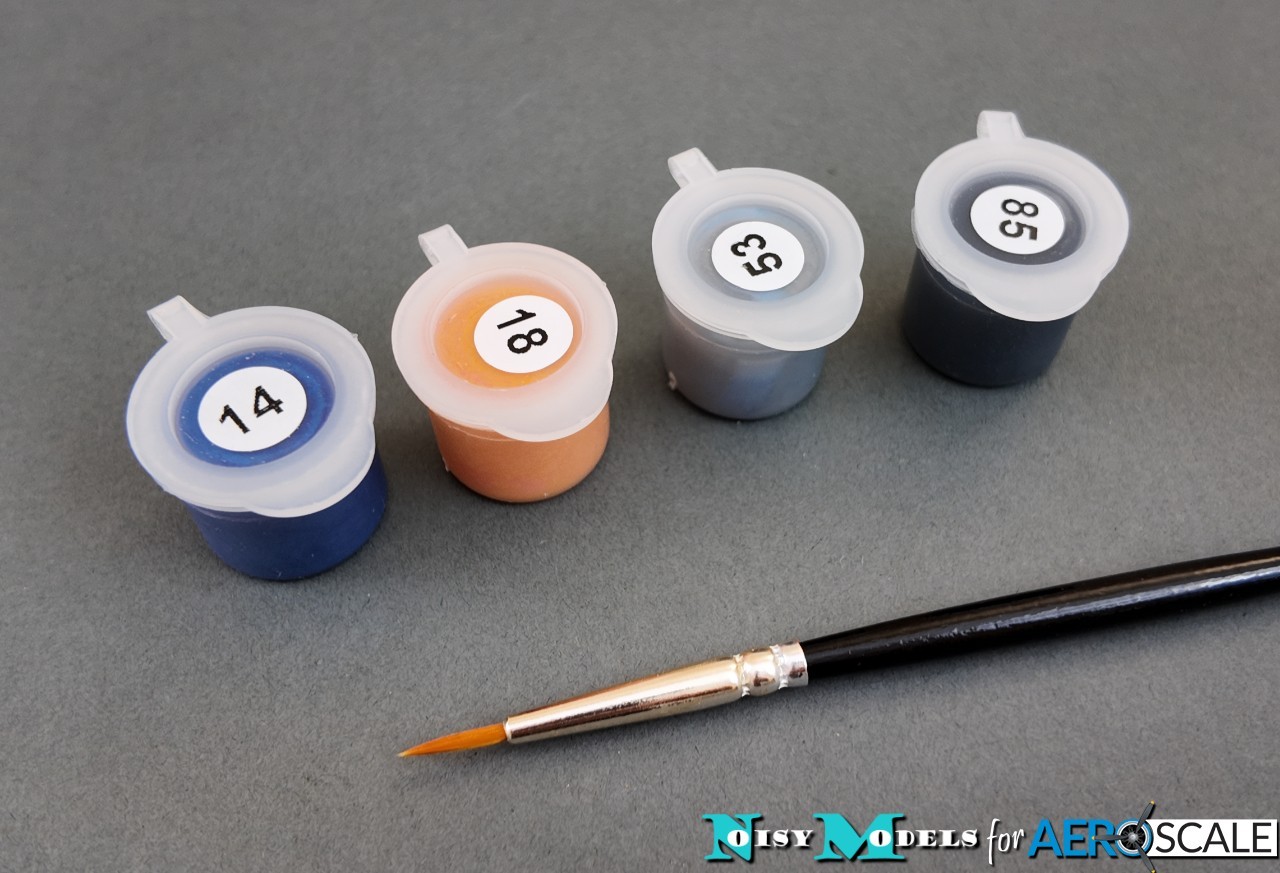
Airfix include four small pots of acrylic paint to complete the model - gloss blue and orange, gunmetal and satin black. I've previously found Humbrol acrylics to be very good quality and the paints provided should get the job done fine. I think there should enough blue - it's only a small model after all - and there's ample of other colours. Although I probably won't use them for this build, they'll be very to keep.
Then there's the paintbrush - and, happily, it's very nice quality and something I'll definitely use at some point. I remember back in the day that brushes included in painting sets were usually dreadful and only served to frustrate anyone trying to use them, so Airfix have made a good choice here by including a quality item.
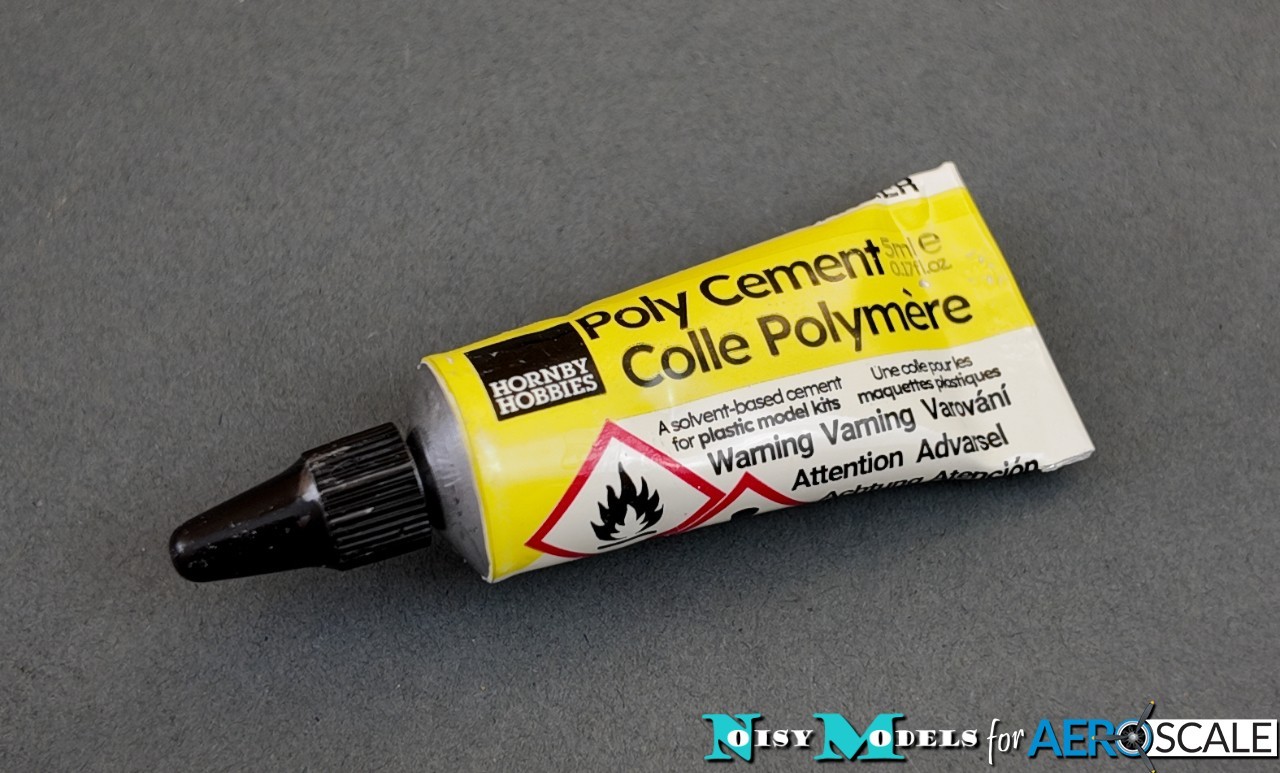
Finally, the set comes complete with a tube of cement - which I won't use, but will be handy to keep in the workshop for any heavy-duty jobs where slow-drying isn't a problem. A little bottle of thinner cement with a precision applicator would have been preferable for the set, but most of us made do with tube cement perfectly well if we were kids back in the early days of plastic modelling, so it shouldn't really be a problem.
Conclusion
Looking on the Airfix website, their 1:72 Westland Gazelle doesn't appear to be available currently in any other boxings, so this tie-in with Lidl presents a very welcome opportunity to get the kit again. The basics are there for super-detailers to go to town on, and equally the kit's held up well enough, considering its age, for quick "nostalgia build". The included accessories won't go to waste, even for experienced modellers with well-stocked workrooms, so the Airfix-Lidl boxing represents very good value at just £7.99 (the paintbrush alone would probably cost a couple of quid if bought separately).
As a starter set, is the Gazelle suitable for beginners? Based on the condition of the mouldings and the test-fit, I'd say a qualified "Yes", but parts of it will be fiddly and a youngster will definitely benefit from some supervision and encouragement from someone with a bit of experience.
As I noted above, I built the kit when it was first released and I enjoyed it, but I was about 14 years old then and already had plenty of builds under my belt. I think expectations have changed over the intervening years, and a better choice for a total beginner would be a new-tool kit - possibly even a snap-together one - to make sure as far as possible that their first build is fun and a success.
Note: I'm even less convinced by the prospect of the 1:72 de Havilland DH.88 Comet Racer that's also been released as part of the series. That dates right back to the 1950s, and already seemed pretty crude when I began building kits in the '60s, so I'd be very wary of giving that to a youngster today if you're trying to encourage them to take up scale modelling.
Item #A68231 - Westland Gazelle Starter Set - is available exclusively at Lidl - price: £7.99
Please remember, when contacting retailers or manufacturers, to mention that you saw their products highlighted here - on AEROSCALE