


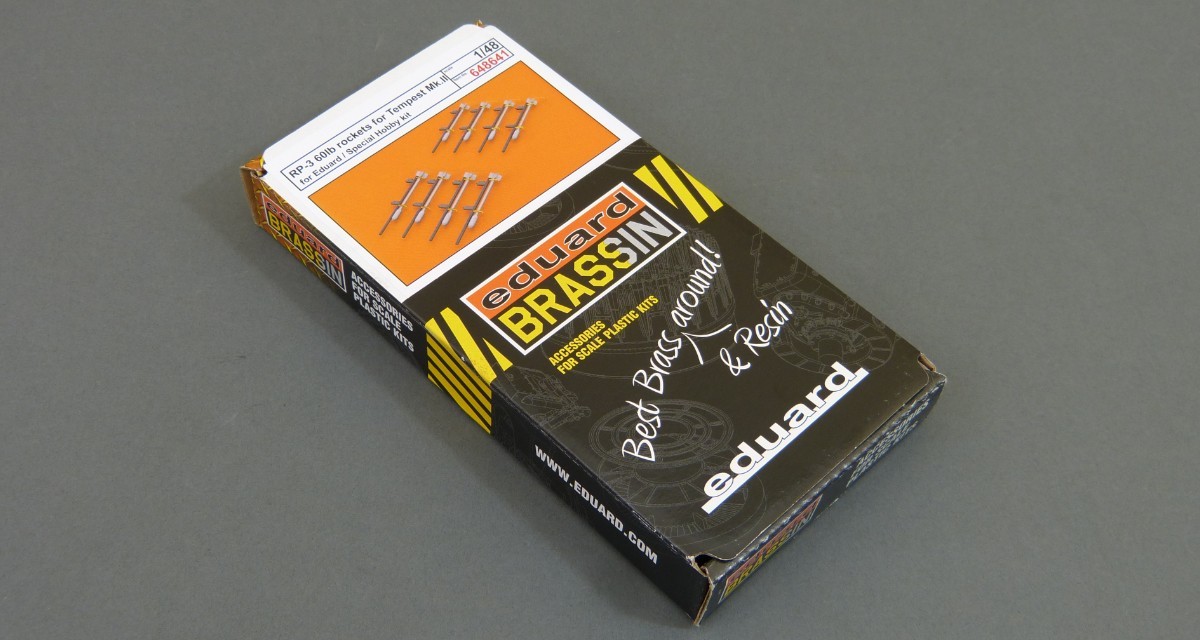
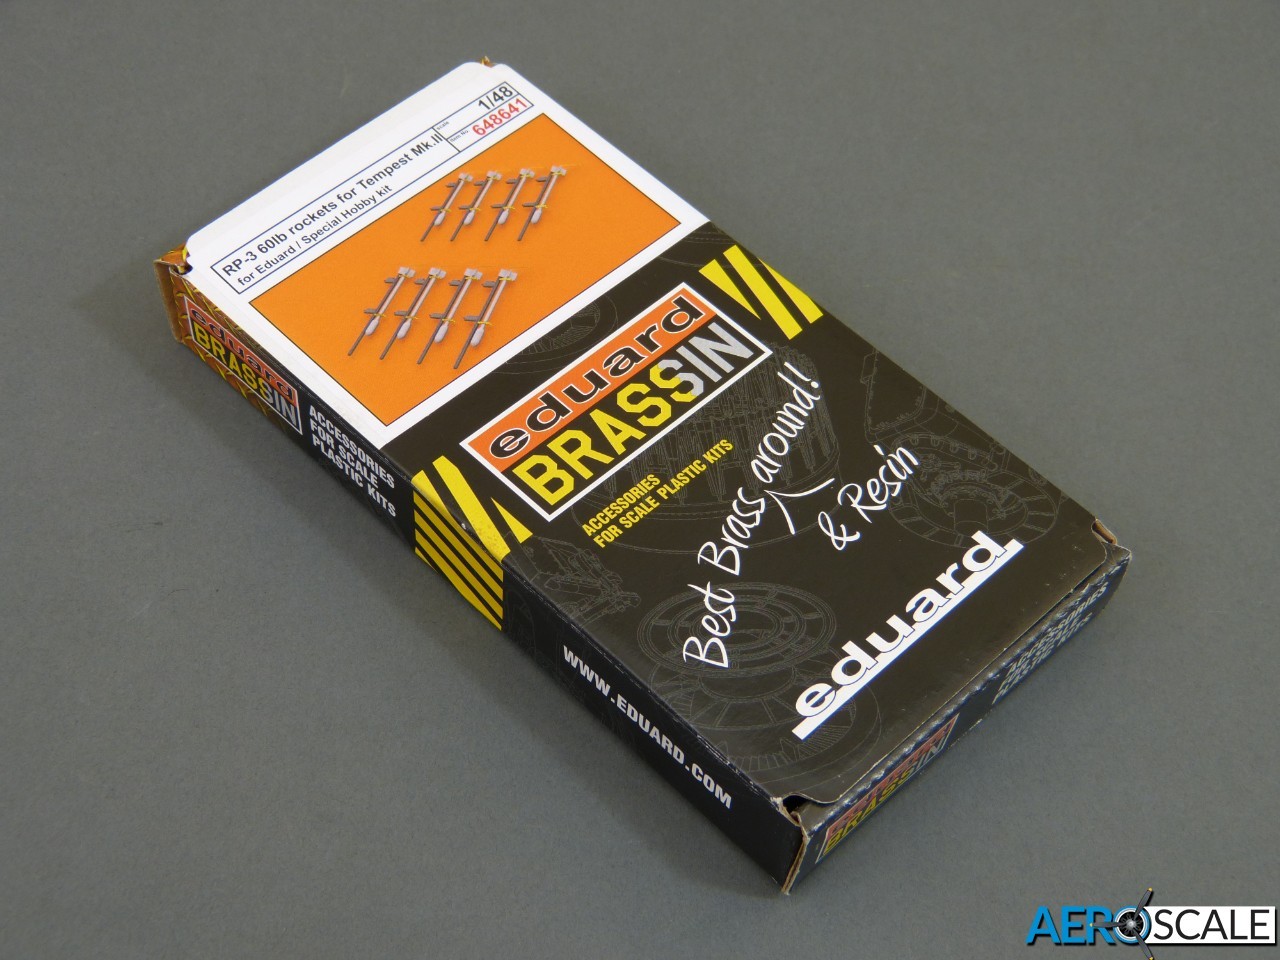
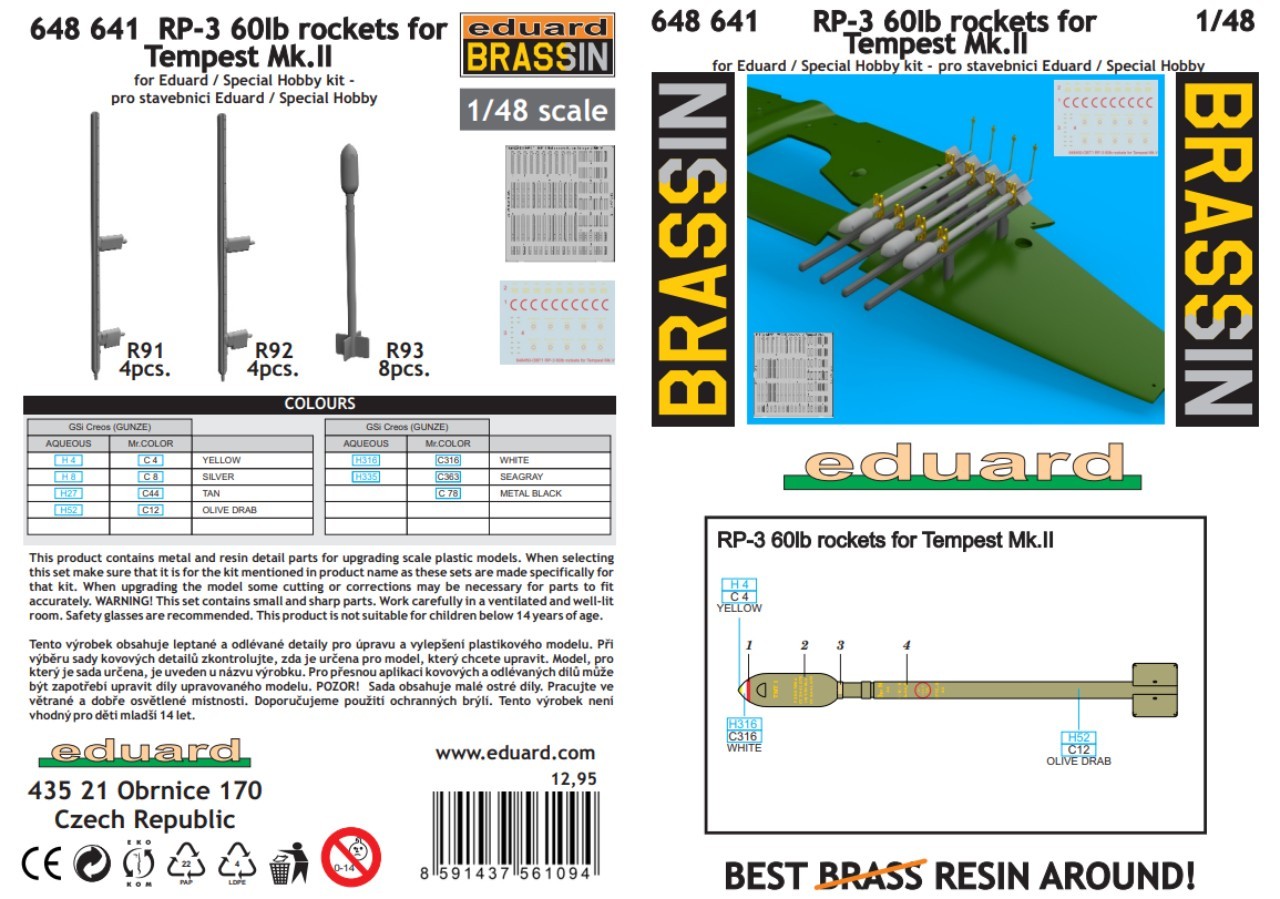
Set #648641 arrives well protected in a sturdy little cardboard flip-top box, with the main parts and accessories in resealable zip-lock bags.
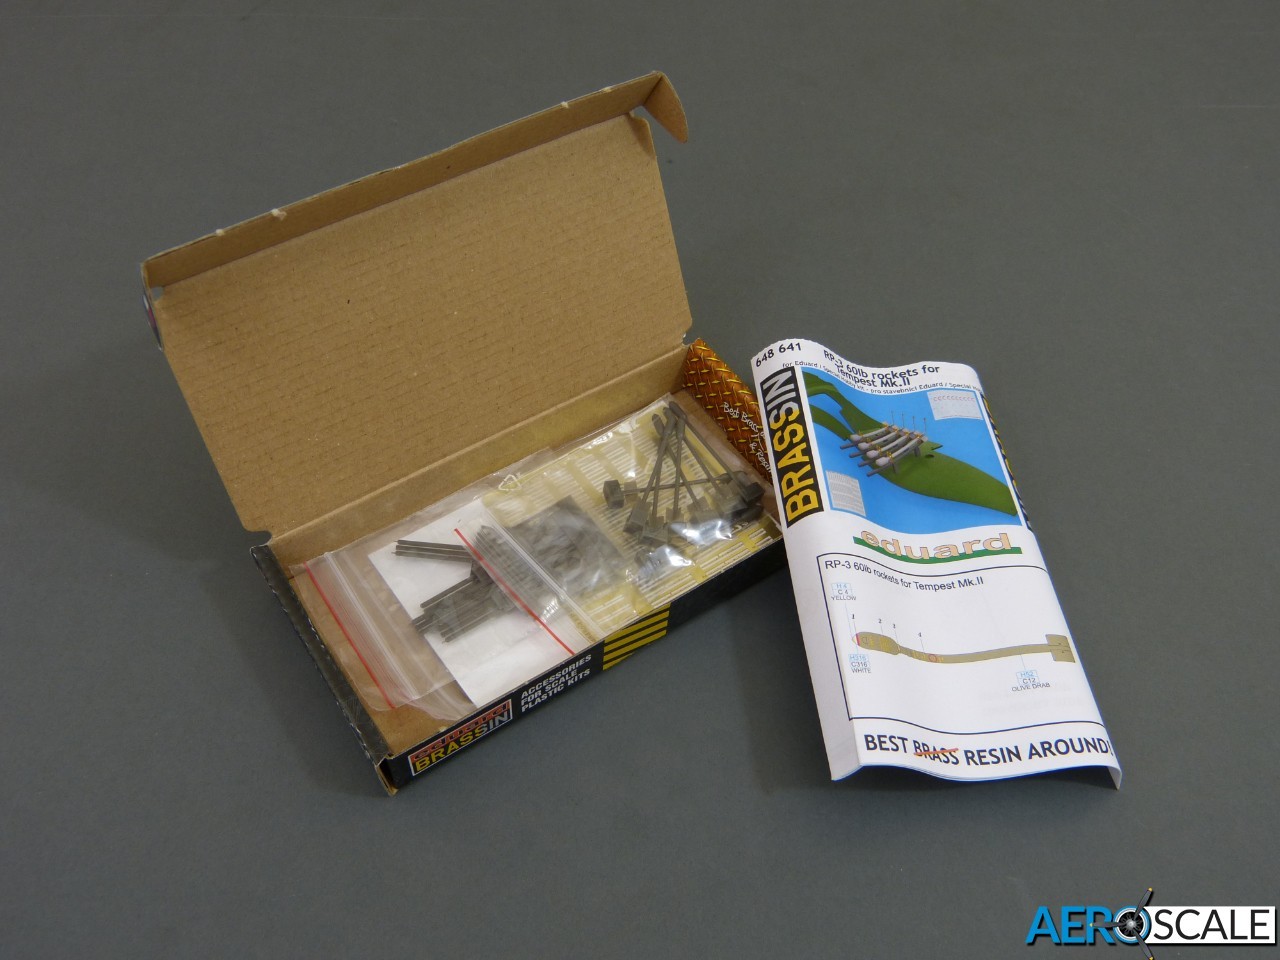
The set comprises:
16 x grey resin parts
91 x etched brass parts
Decals
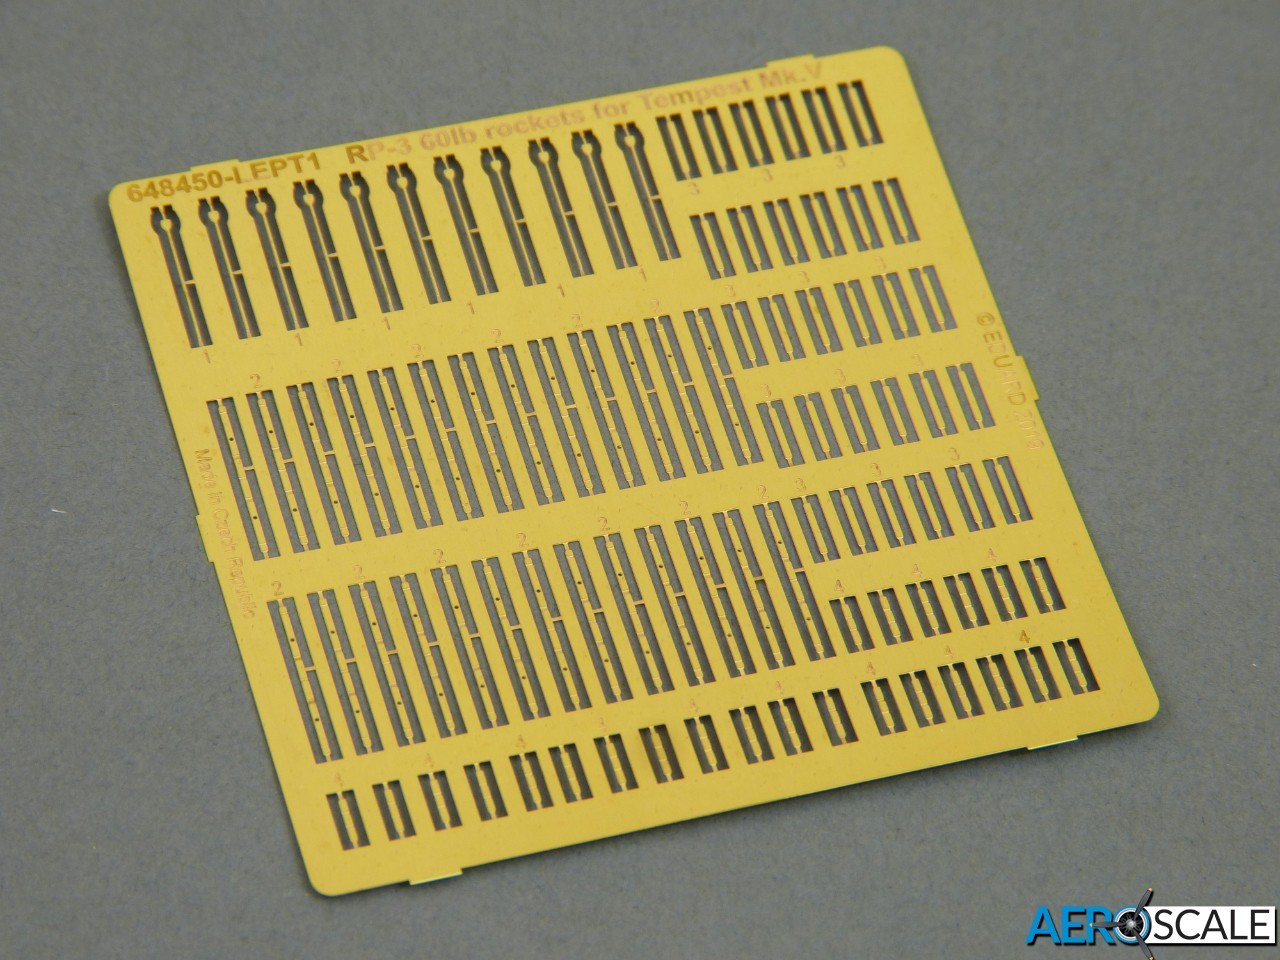

Over 90 etched parts for a battery of 8 rockets! This gives you some idea of just how complex and detailed the set will be, but rest assured, you're actually "only" going to need 56 of them. Eduard have included a useful number of spares for each component - although that in itself seems a rather ominous prediction of just how many times you're either going to mess up folding and rolling the tiny pieces to shape, or else lose them to the "carpet monster"...
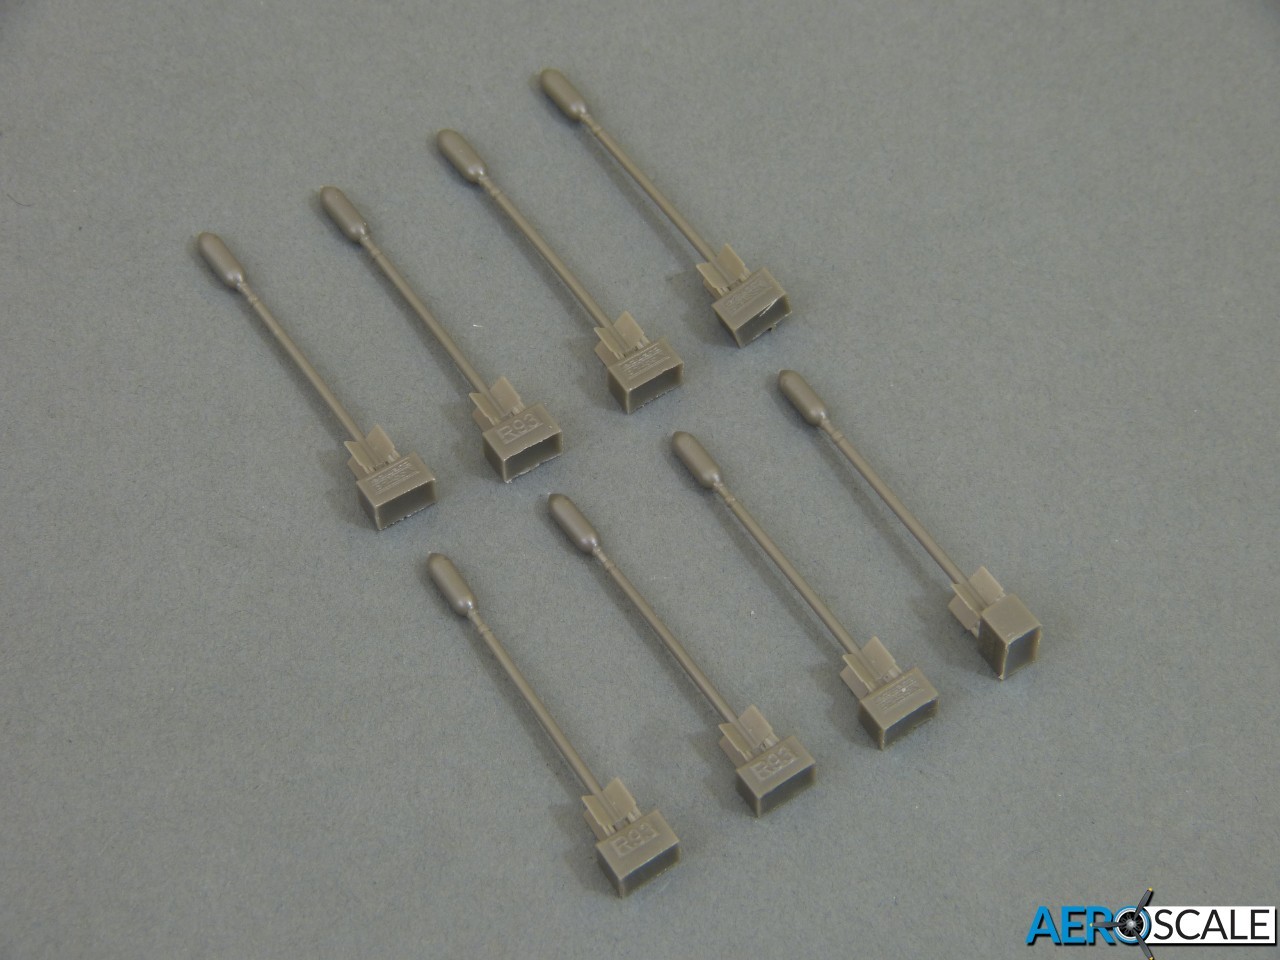
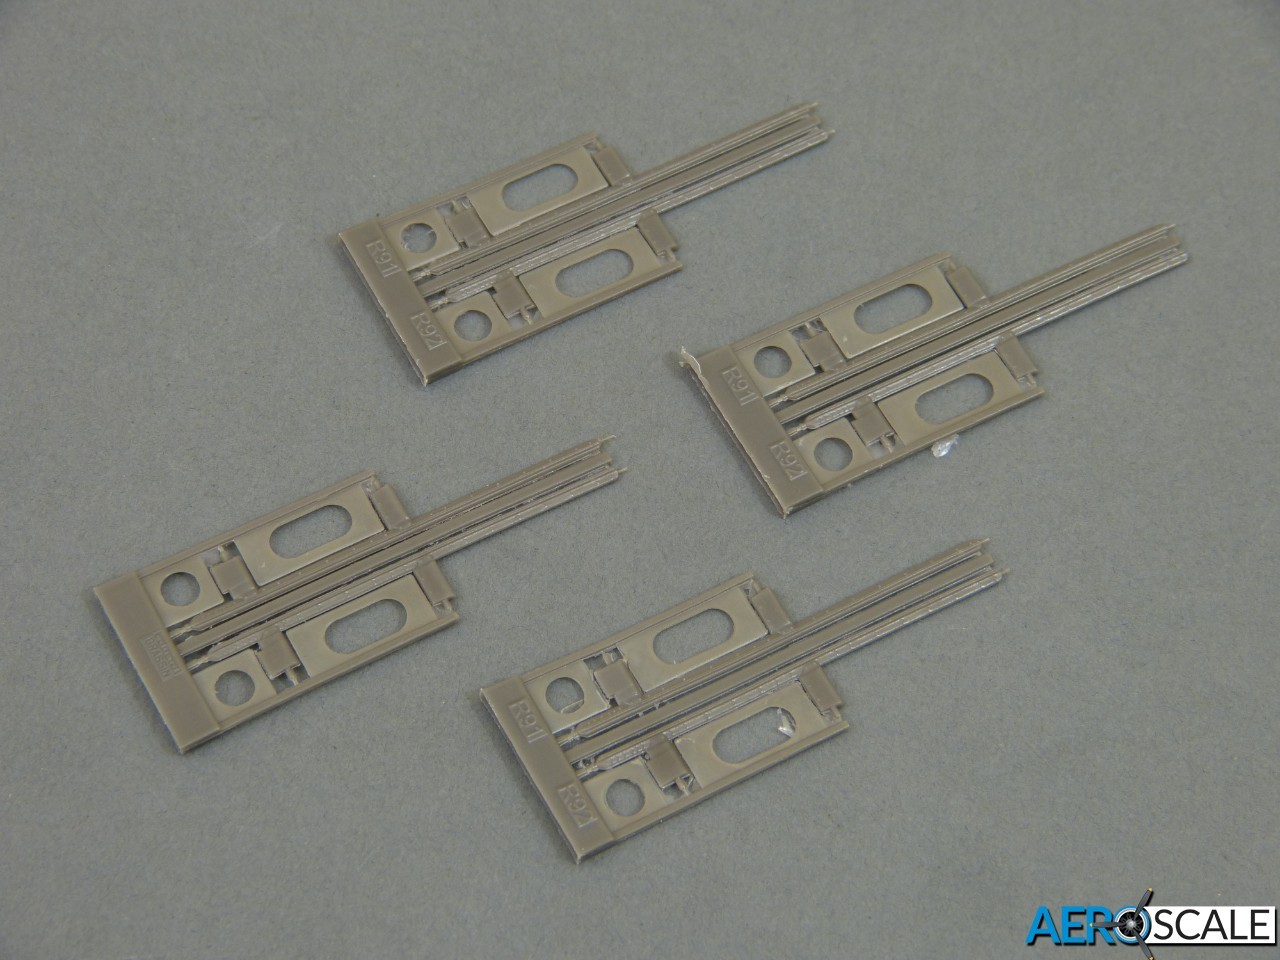
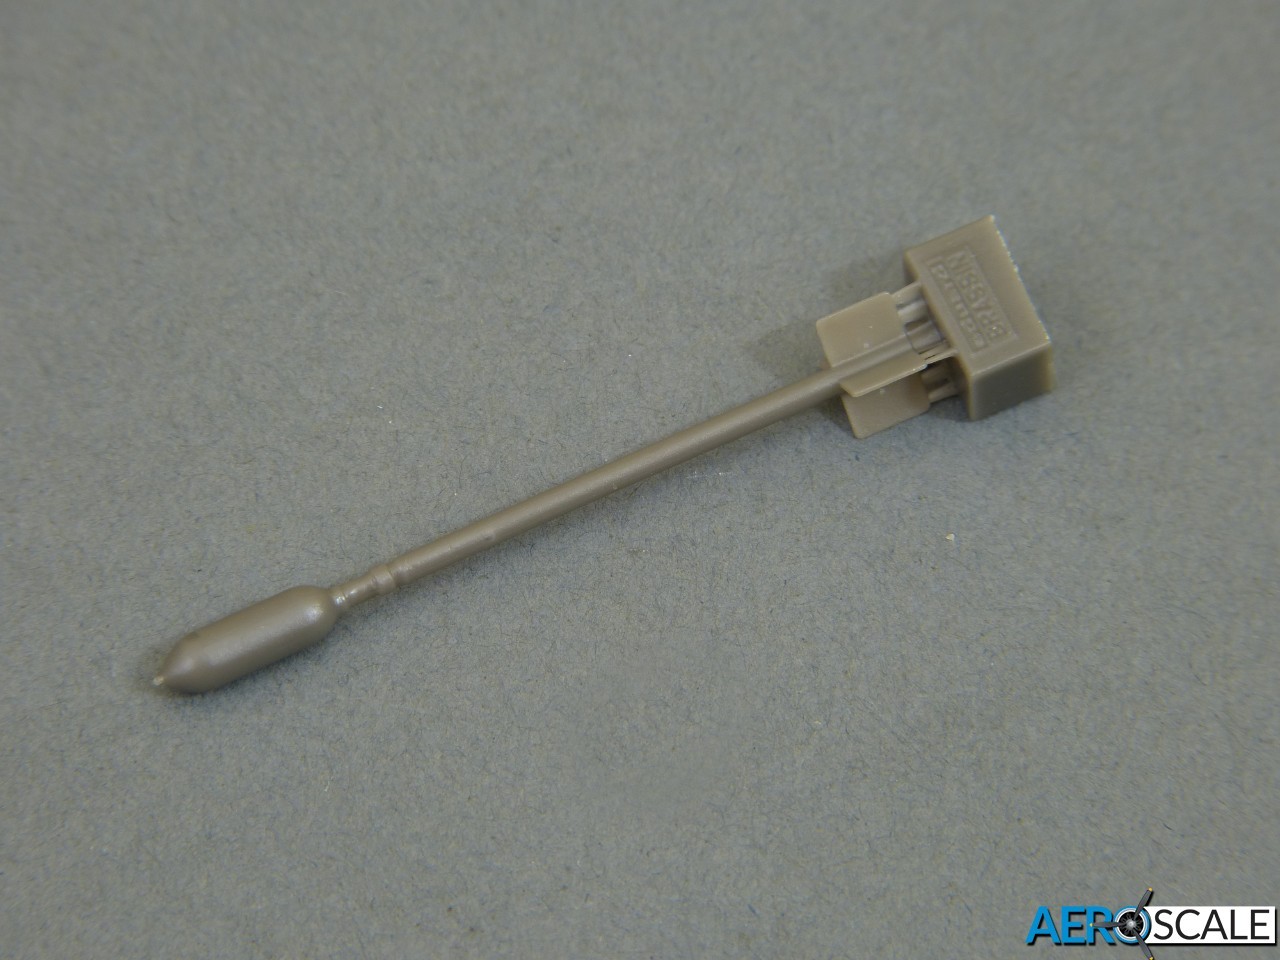
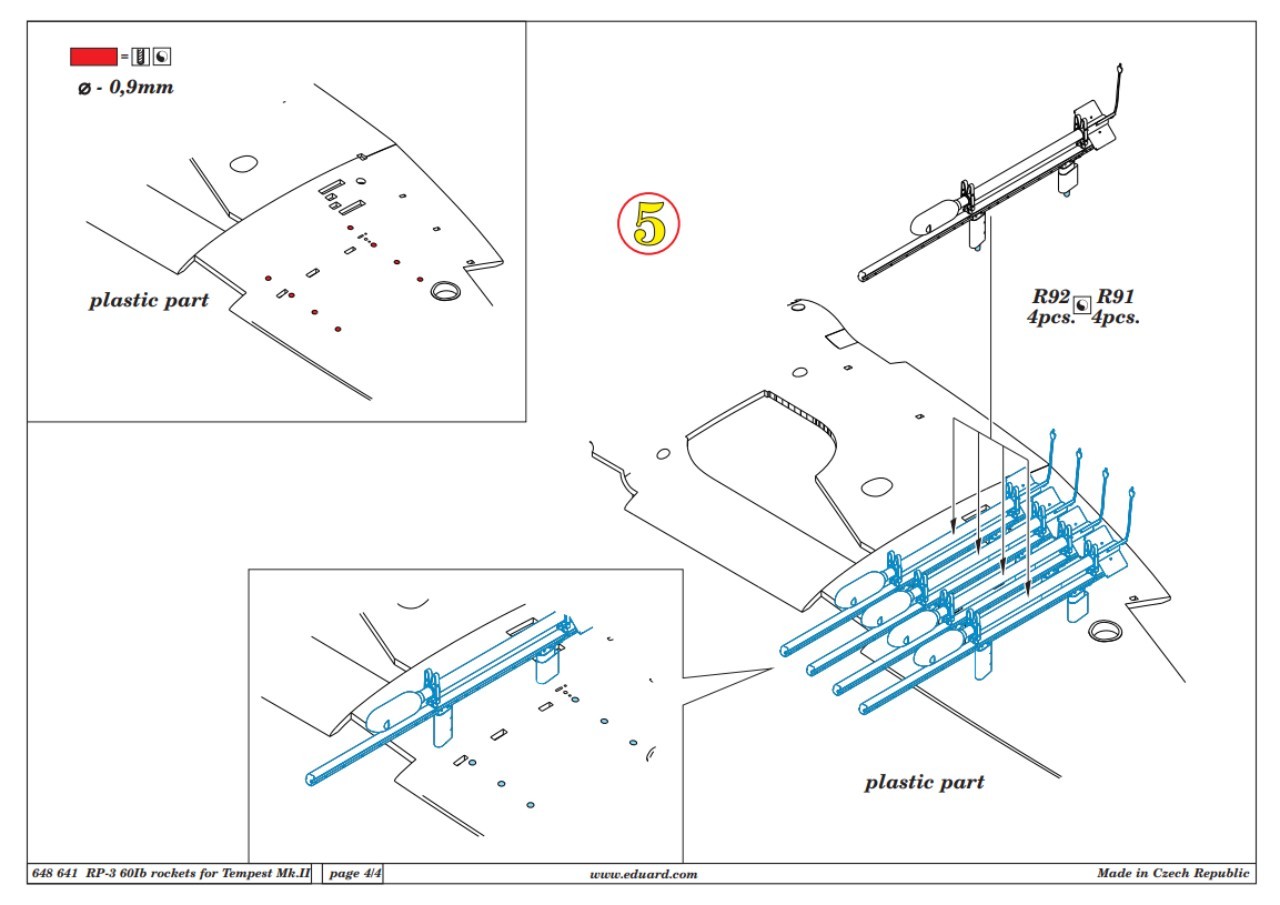
But I'm getting ahead of myself. The core of the set is resin, with 8 beautifully cast rockets and rails. I was surprised to find that the rockets are one-piece castings - I expected the fins to etched, but there's no need for that because the resin tails are wafer thin. Very little preparation is required for the rockets - it's just a case of cleaning up the small casting points and drilling a hole to accept the firing connection.
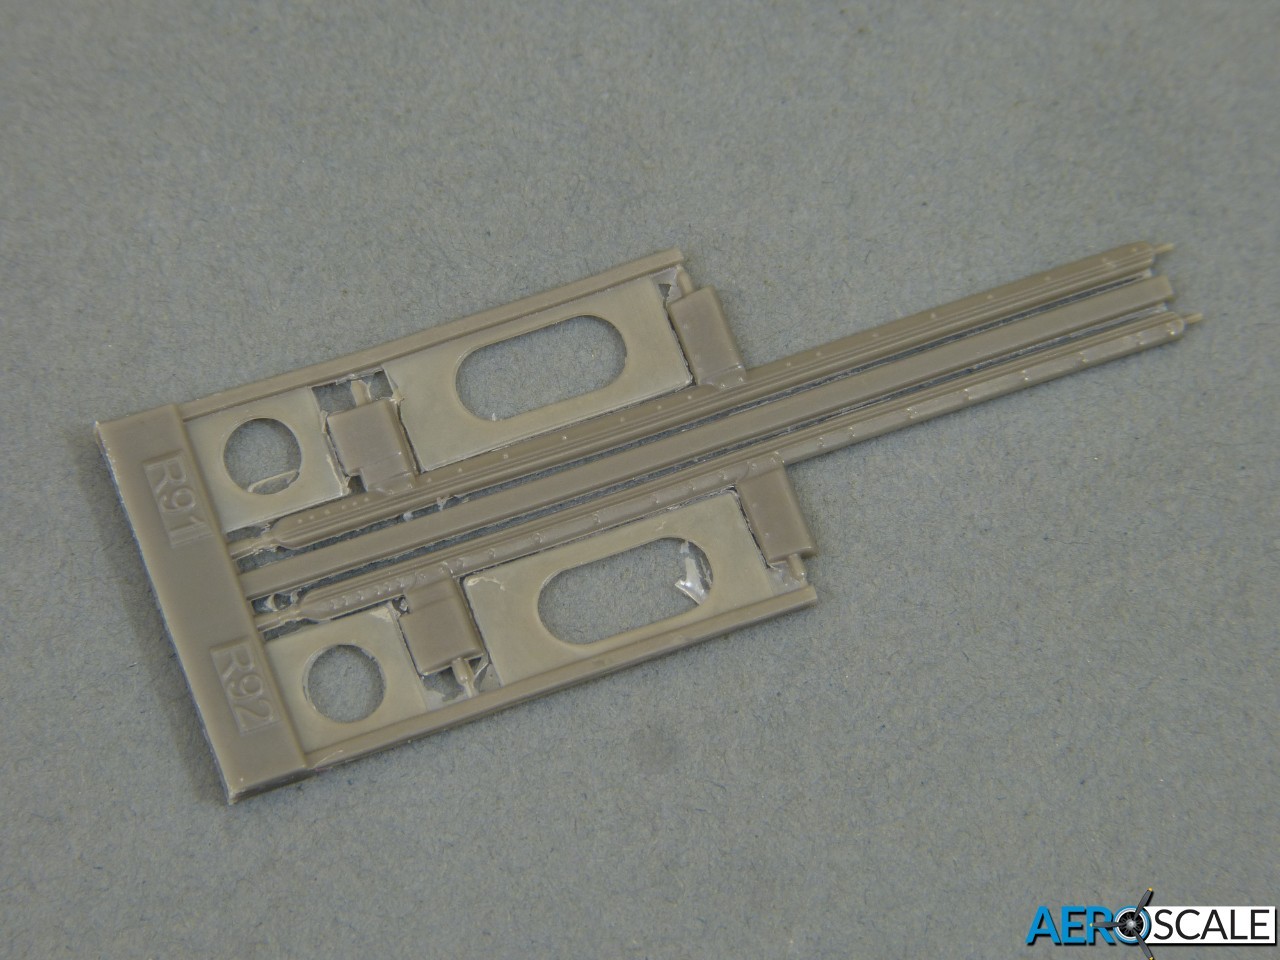
The rails are very well detailed, with thin wafers of resin to support the castings. Again, preparation should be quick and straightforward. One point to note is that the rails are "handed", so don't muddle up which ones hand under each wing.
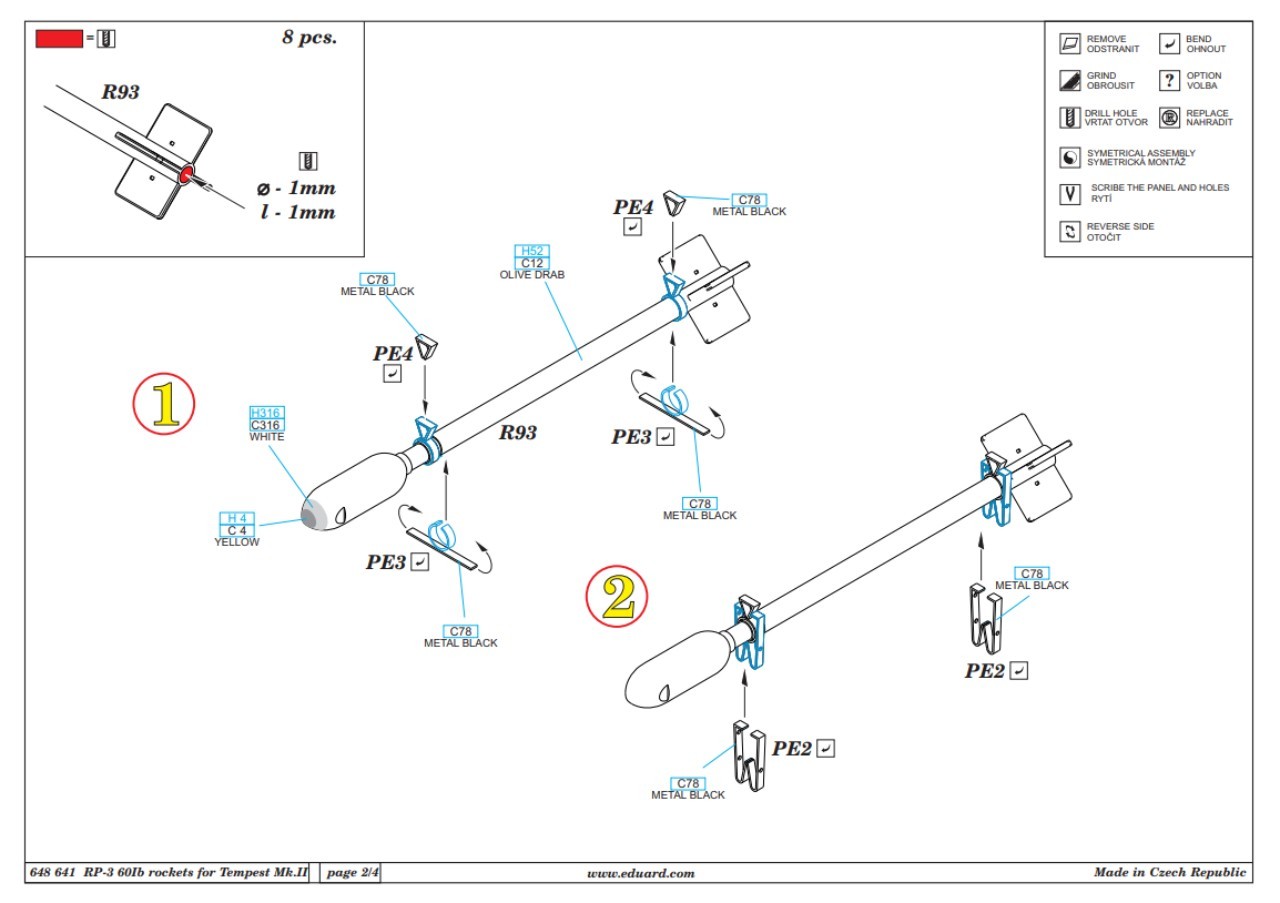
Back to the etched parts. Why are there so many? It's all down to the retaining clips. There are 2 sets per rocket, and each of them is made up from 3 parts. Two of these will need to be folded to shape accurately, while the third must be rolled into a circle around the shaft of the rocket. This will all be pretty fiddly, because some of the parts are quite small, but I imagine it will become a bit easier once you've made a couple of sets successfully. The brackets should look incredible once they are finished, but I think they will be very easy to damage, so you really will have to handle them with the utmost care.
Along with the brackets, each rocket is fitted with an arming/firing lead. Arguably, these are a bit 2-dimensional as supplied, but I've always been surprised how effectively etched parts like this "thicken up" with a light coat of PVA. Note: Eduard show the cables hanging loose, which is correct for an aircraft prior to the rockets being made "live" for a sortie. If you're building your model ready to take off, the cables should be plugged into the wings.
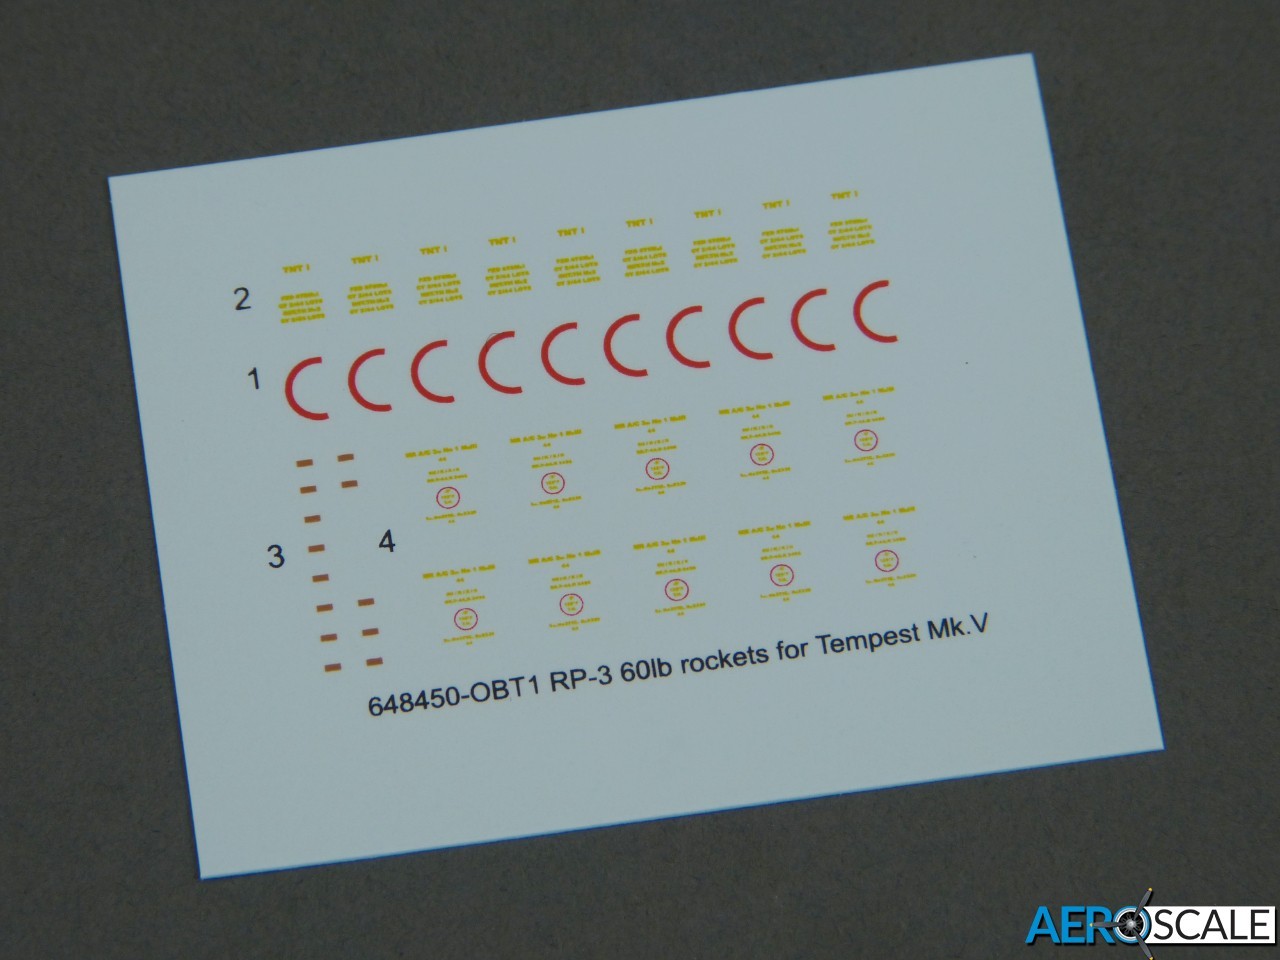
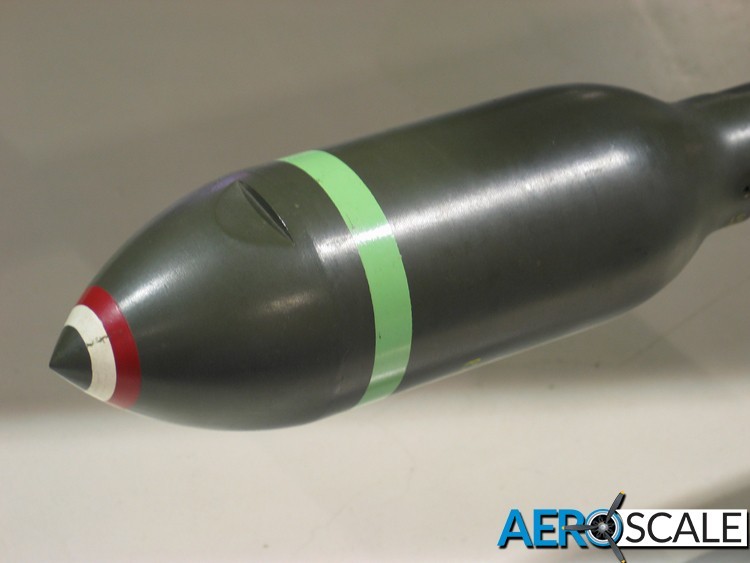
To complete the rockets, Eduard have included a small sheet of decals for stencils and one of the rings around the warhead. Eduard provide a useful painting guide in the instructions, but this does differ slightly from the photo I took many years ago at the RAF Museum and the diagram which I drew for Mal Mayfield's excellent "Storm Warning" article on the archive site: https://archive.aeroscale.net/features/551/index.htm

Eduard's instructions are clear and straightforward to follow, breaking construction down into four stages, with colour shading to show where drilling is required.

Conclusion
Suffice it to say, this isn't a set that's suitable for anyone who's clumsy or impatient, but the end result should be pretty spectacular - a major improvement over styrene rockets. The set is nominally designed for the Eduard / Special Hobby Tempest Mk.II, but it will also be appropriate for many other aircraft of the era - just be sure to consult your references for any differences between types.
Many thanks to Eduard for supplying the sample for review.
Set #648641 is available from Eduard now - Price: £5.37
Please remember, when contacting retailers or manufacturers, to mention that you saw their products highlighted here - on AEROSCALE


![Junkers F13 [Early Prod] With Winter Skis Coming Soon](/upload/media/posts/2025-07/22/48020-junkers-f13-with-winter-ski-early-prod_1753181324-s.jpg)


