












Background
The British Purchasing Commission [BPC] approached North American Aviation [NAA] to build the Curtiss P-40 under license for the RAF. NAA instead proposed a design for a higher performance fighter, interesting the BPC and contract was agreed to build a prototype. The prototype NA-73X airframe was rolled out 102 days later [09/09/1940] with the first flight on 26th October the same year. The Mustang Mk.1 operated by the RAF was powered by the Alinson V-1710, the engine fitted to P-40. As a result, the early P-51’s were affected by the same drop in performance with altitude as the P-40. The P-51B/C (Mustang Mk III) was fitted with the Rolls-Royce Merlin transforming the aircraft's performance at altitudes.
In the China-Burma-India theatre [CBI] the P-51B Mustangs proved to be highly effective at supporting ground troops as well as raiding strategic targets. They could be fitted with a wide range of ordnance and of course they could defend themselves. As in Europe the Mustangs were utilised for photo reconnaissance.
The kit
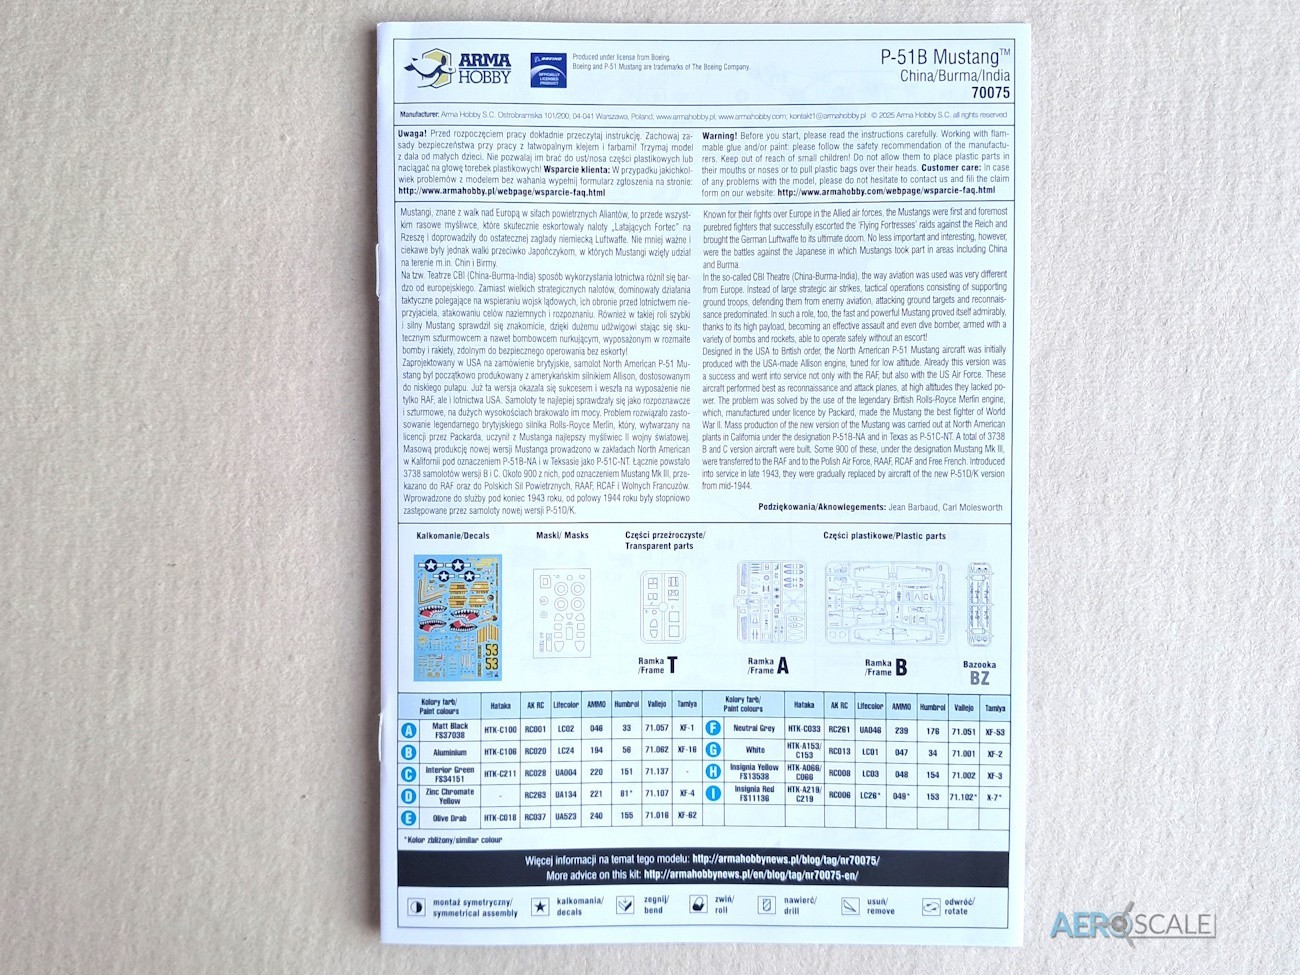
This is Arma Hobby’s eighth boxing of the P-51B/C since it was released as a new tool in 2021.
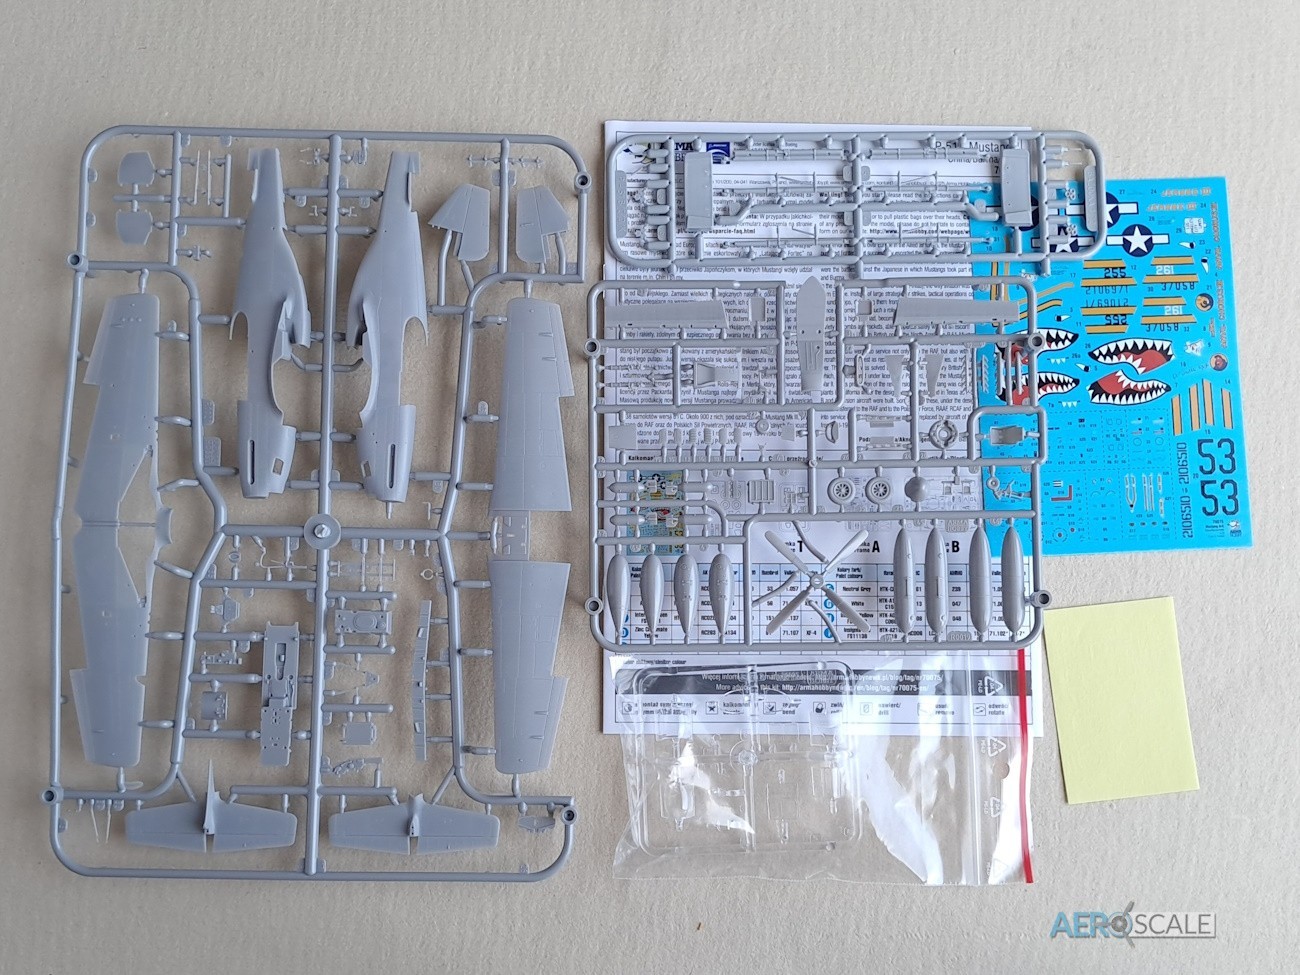
Inside the side opening box you will find:
- 3 x plastic sprues including a bonus sprue
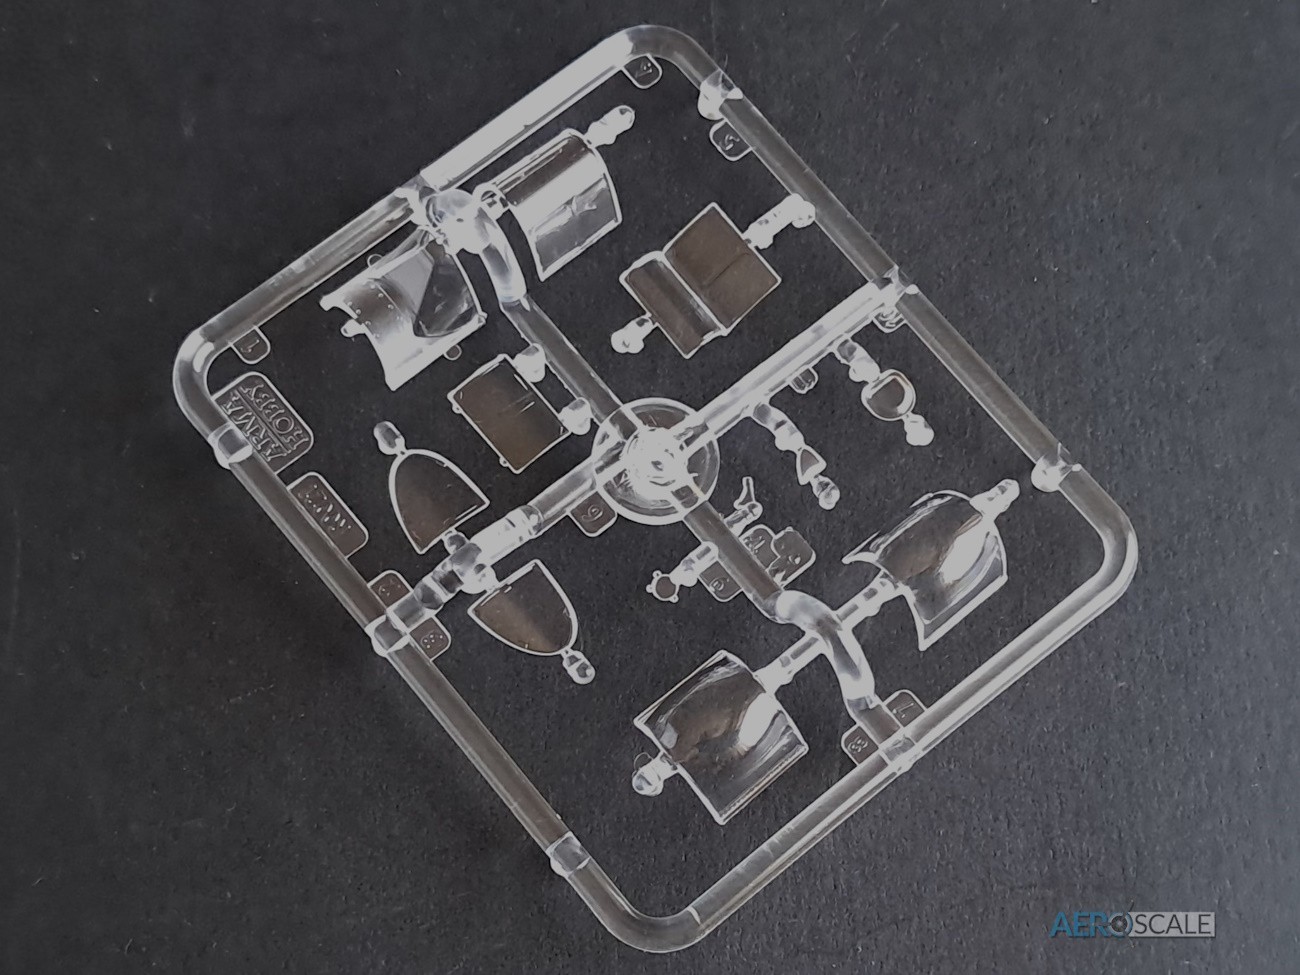
- 1 x transparent sprue
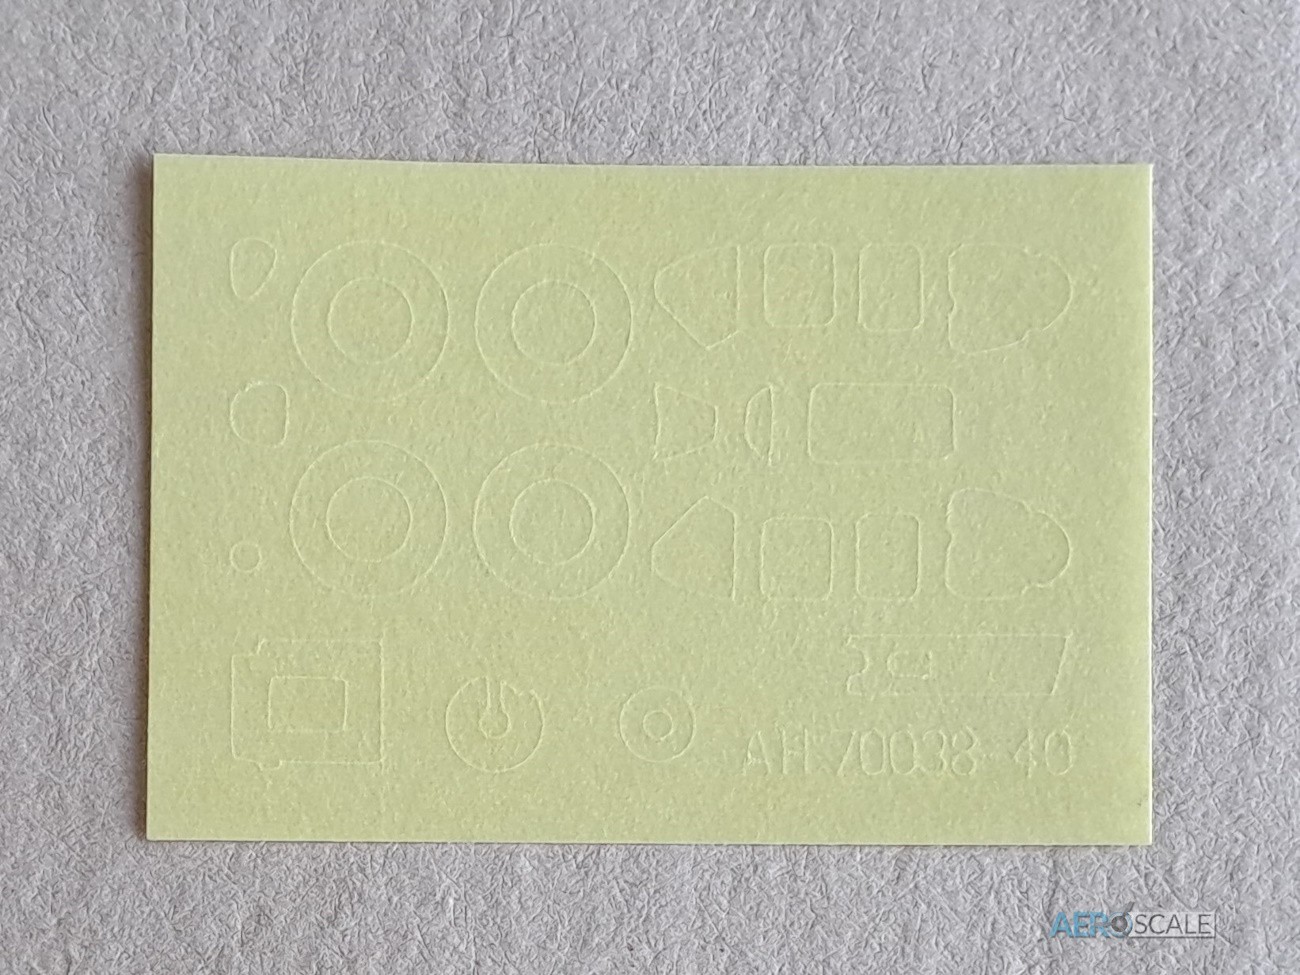
- 1 x Paint masks
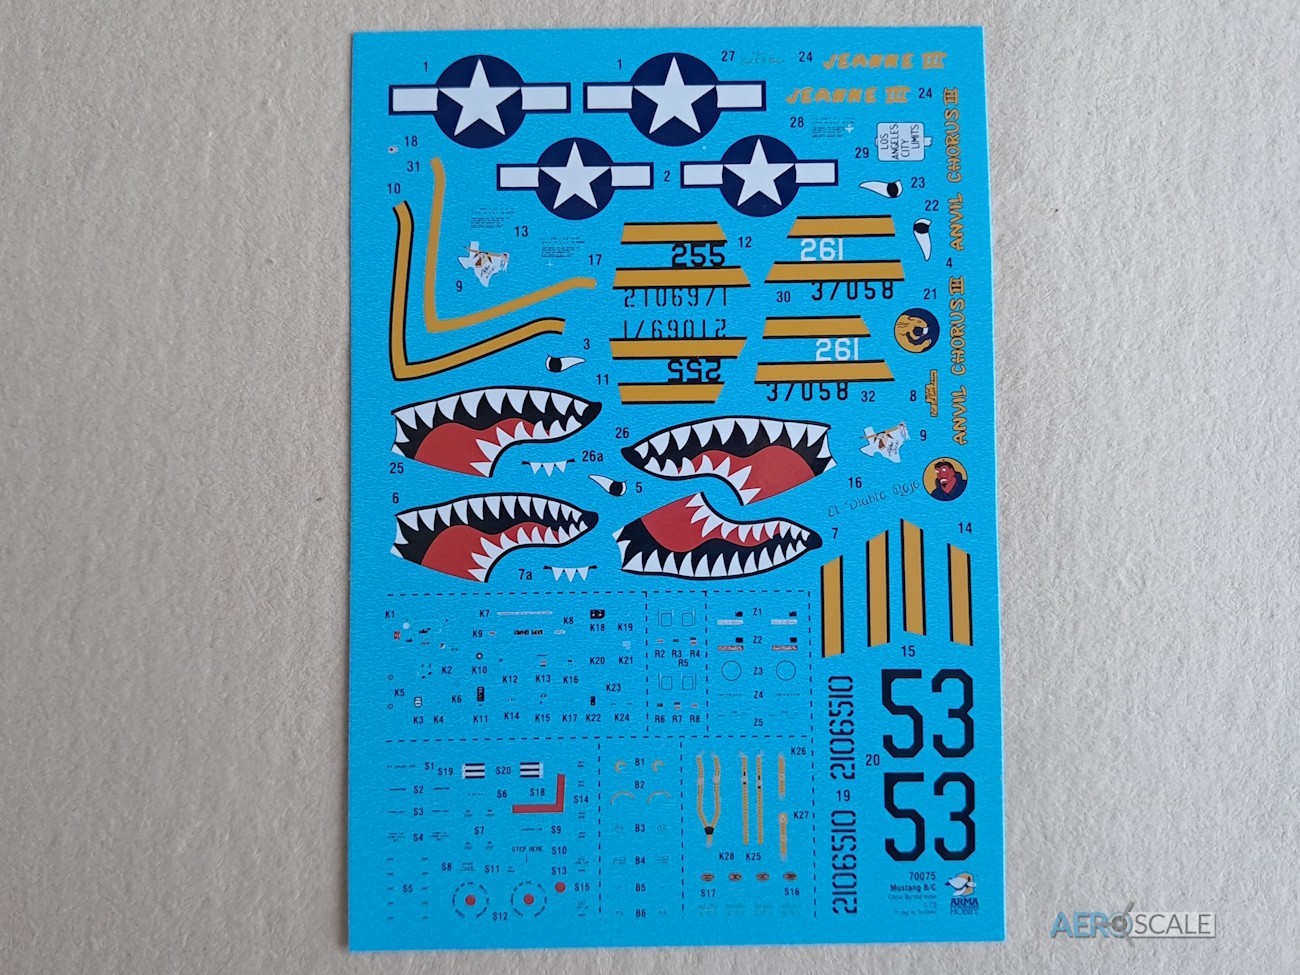
- 1 x Decal sheet with three marking options
- 1 x Instructions booklet
- 1 x 3D print access code
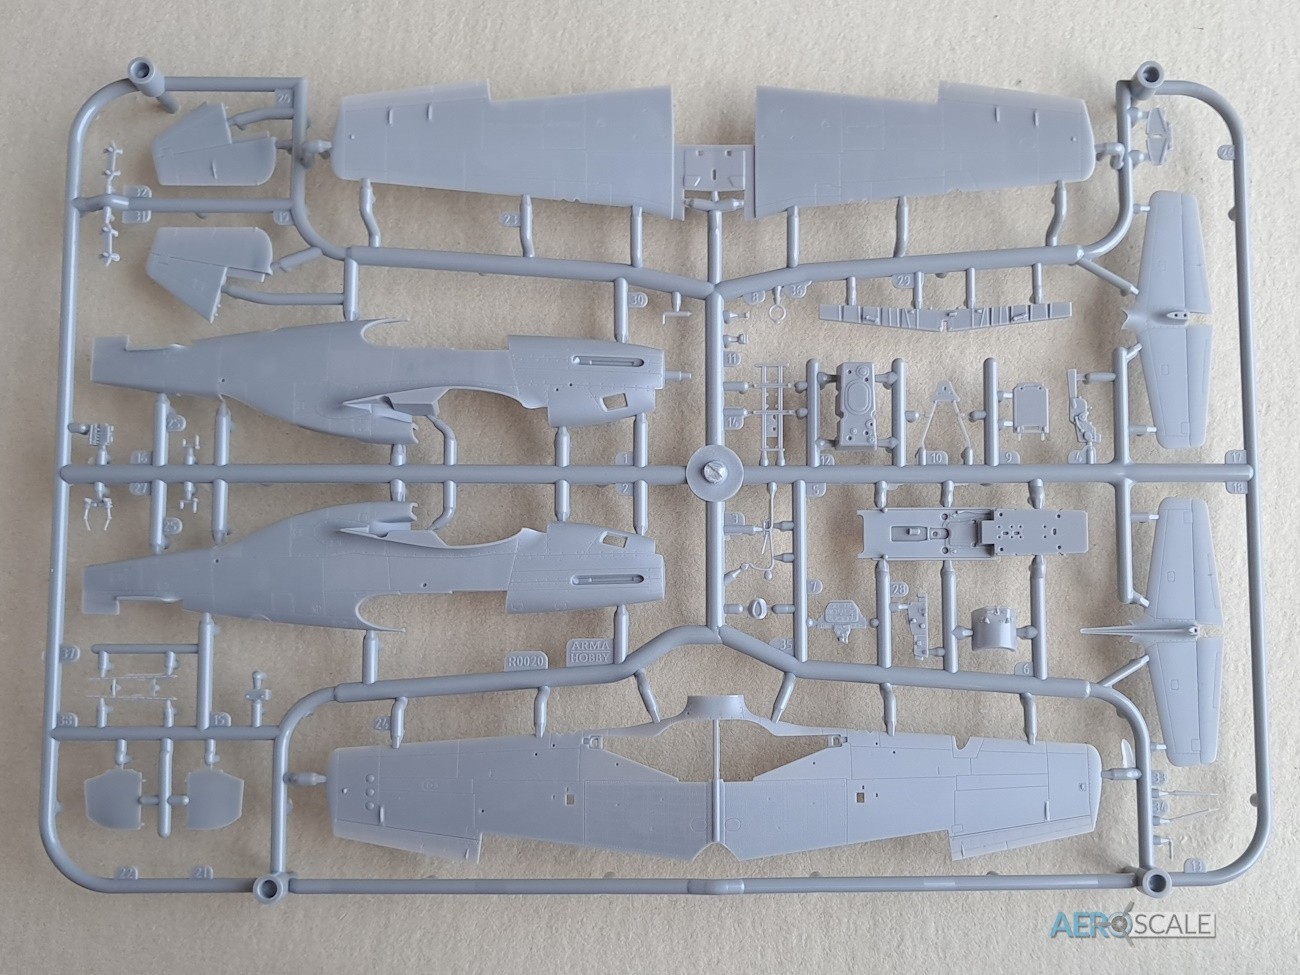
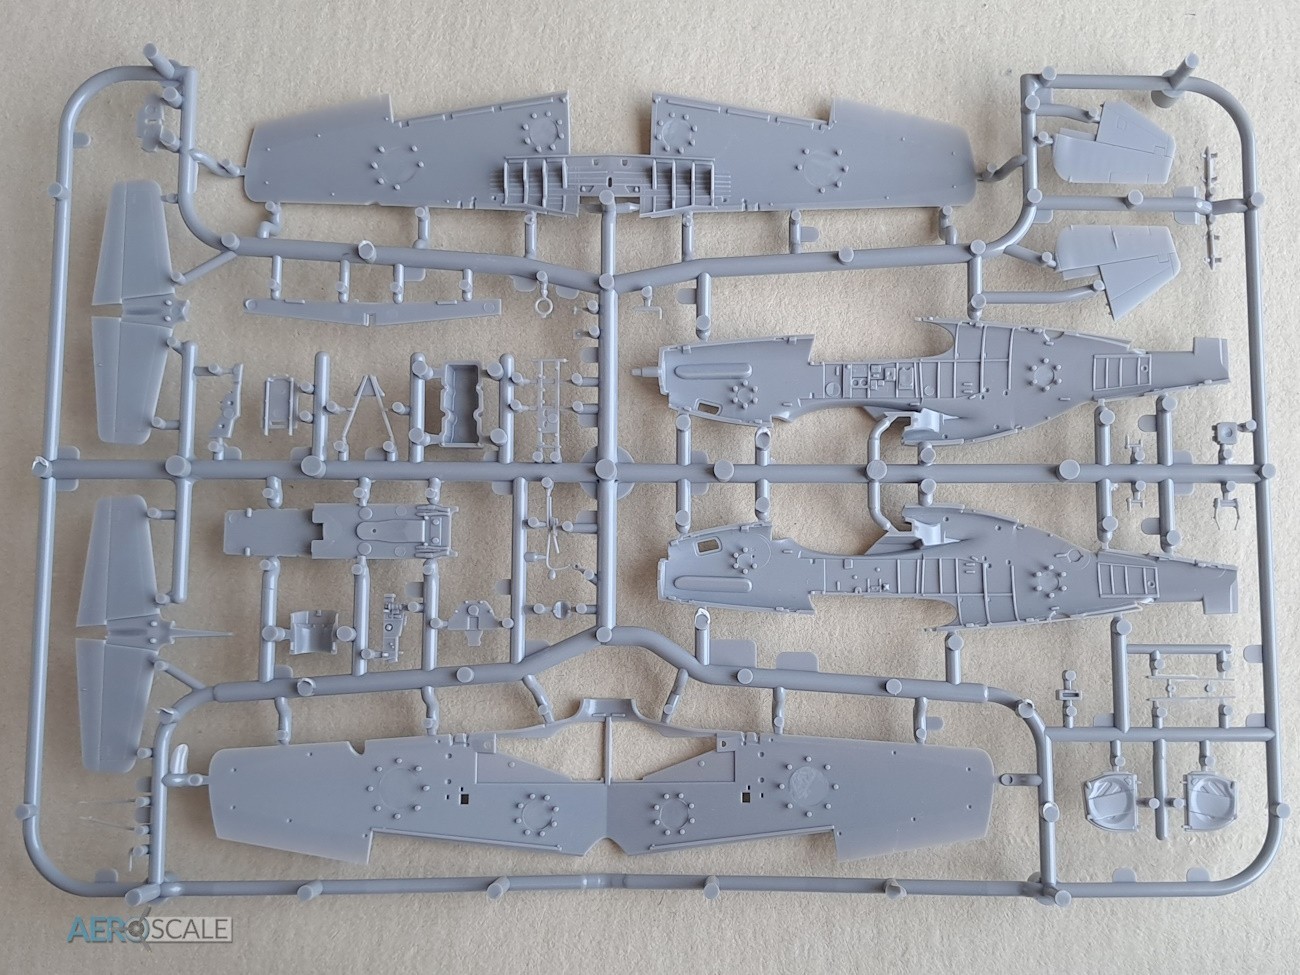
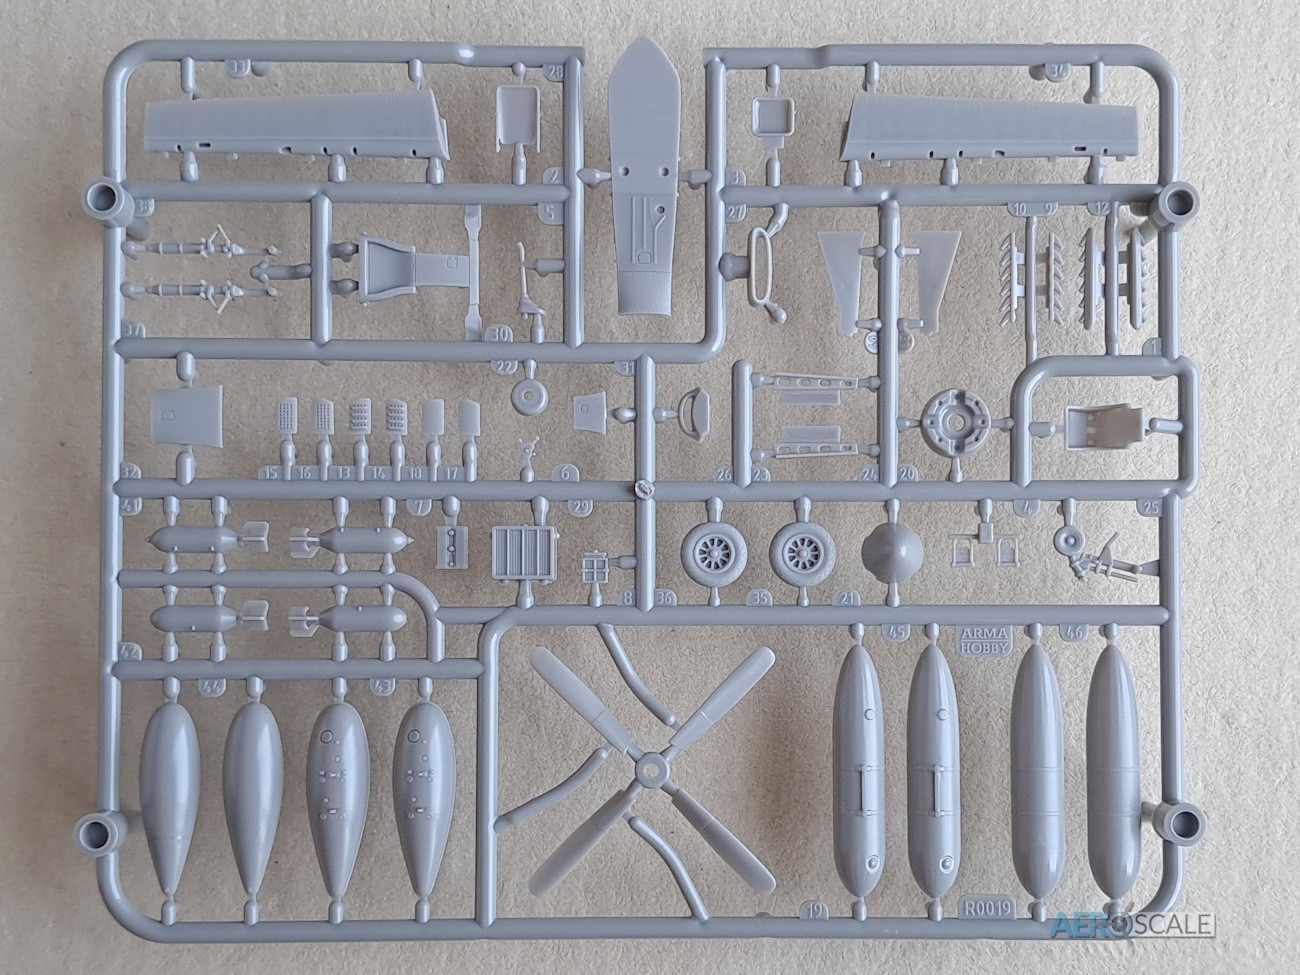
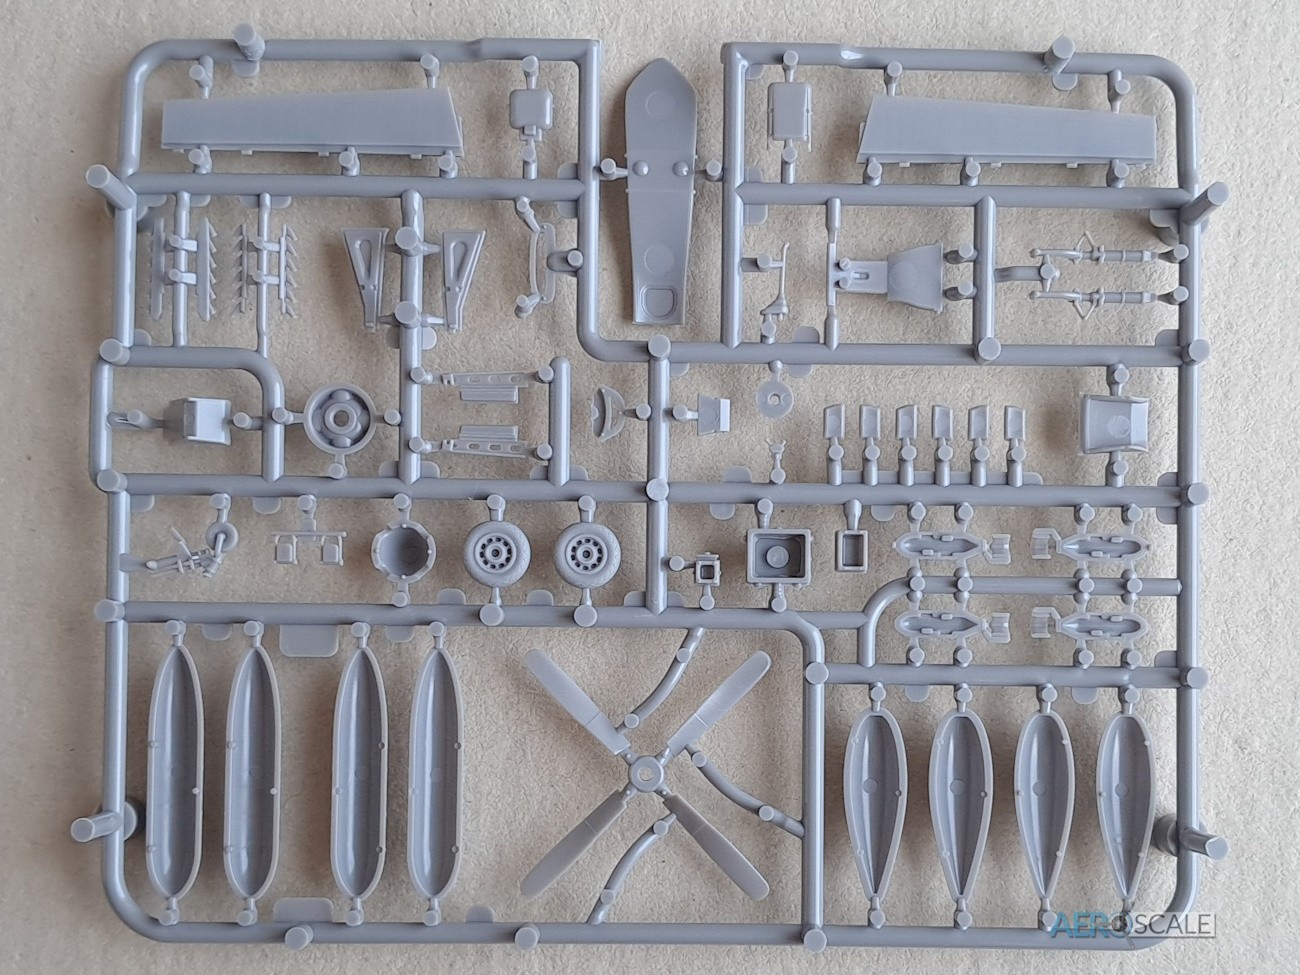
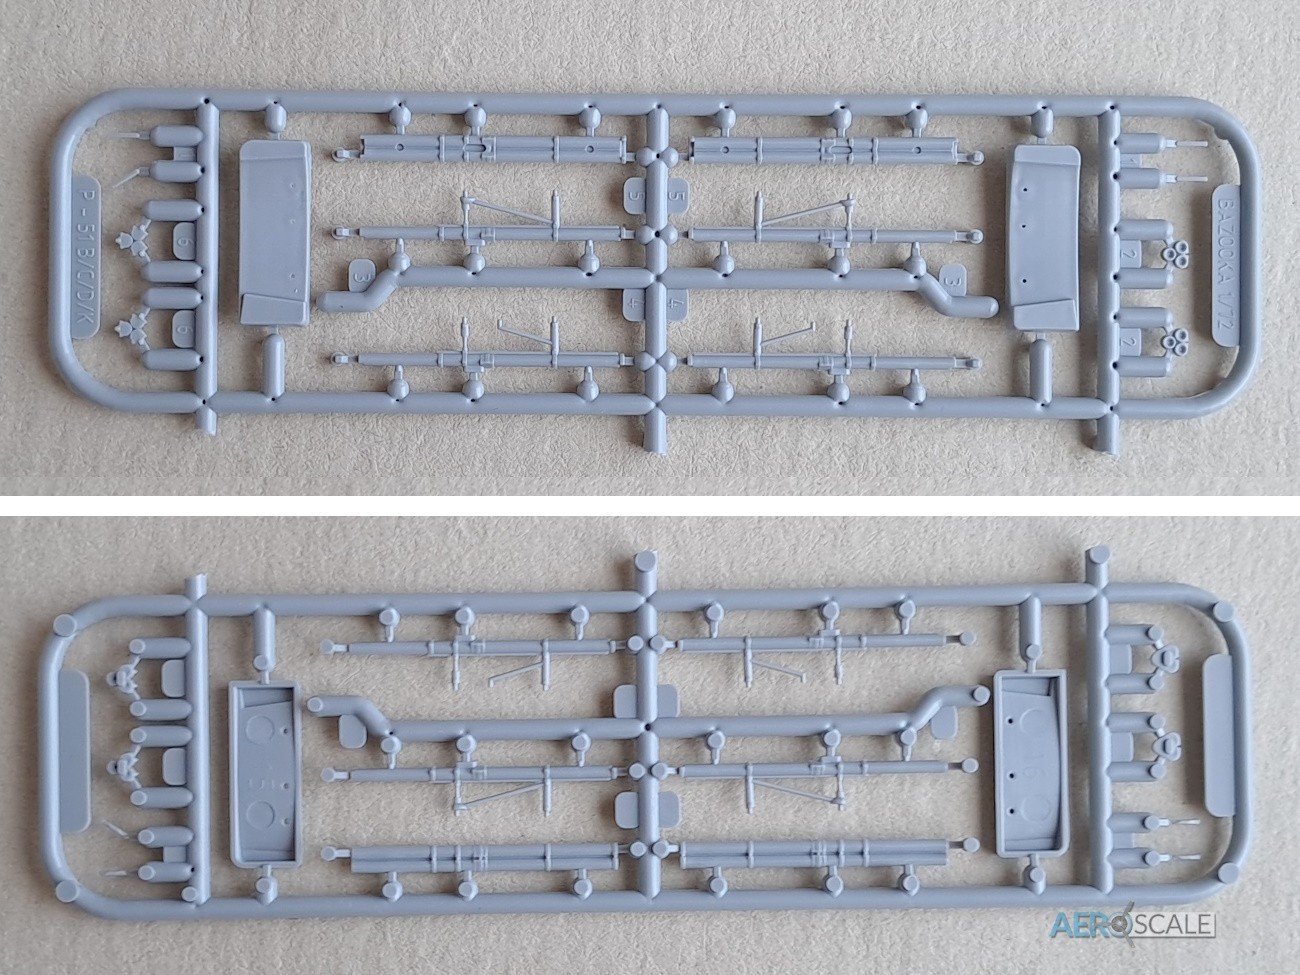
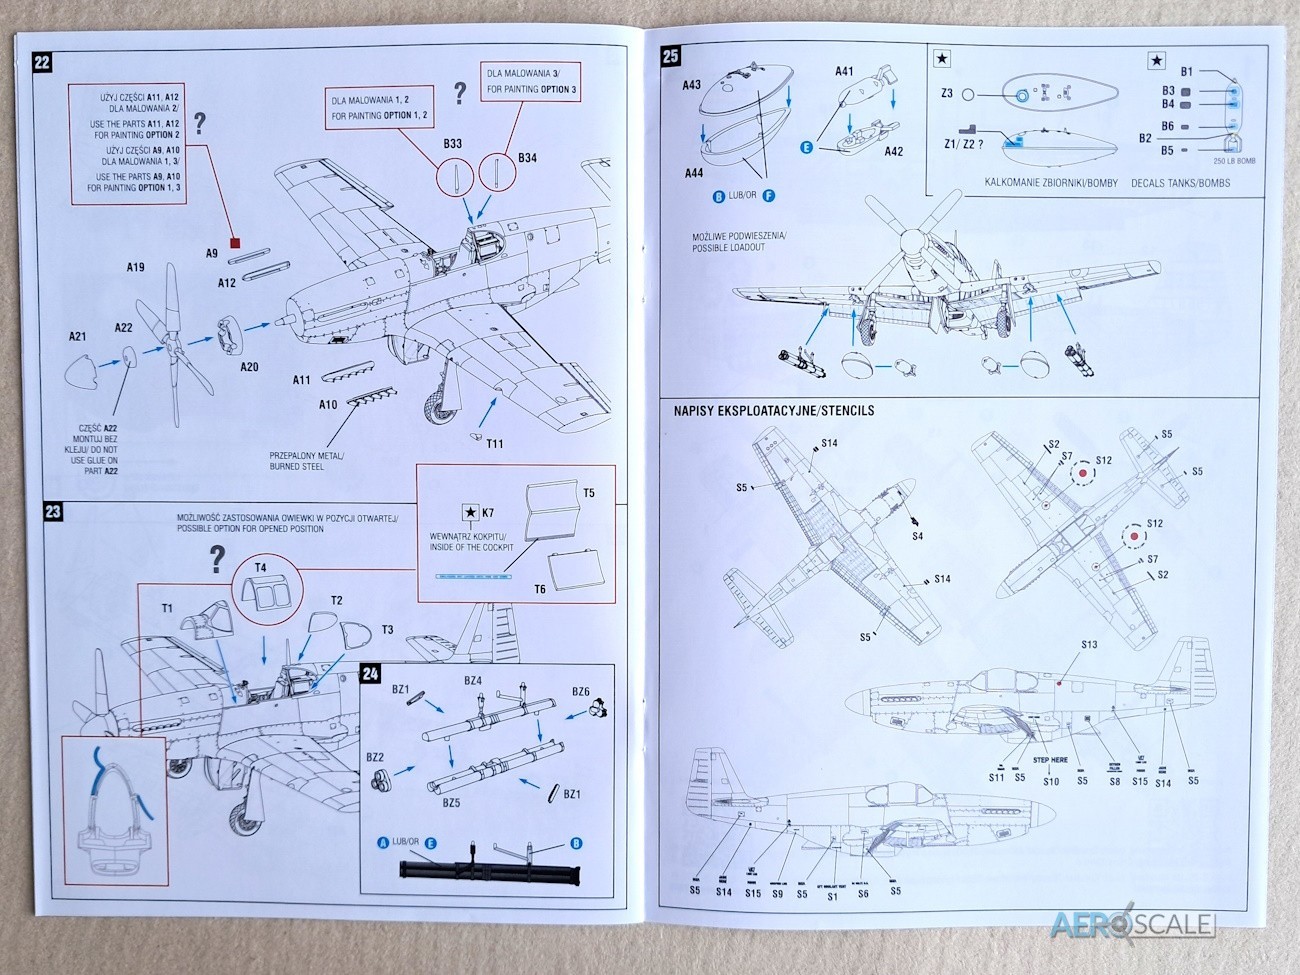
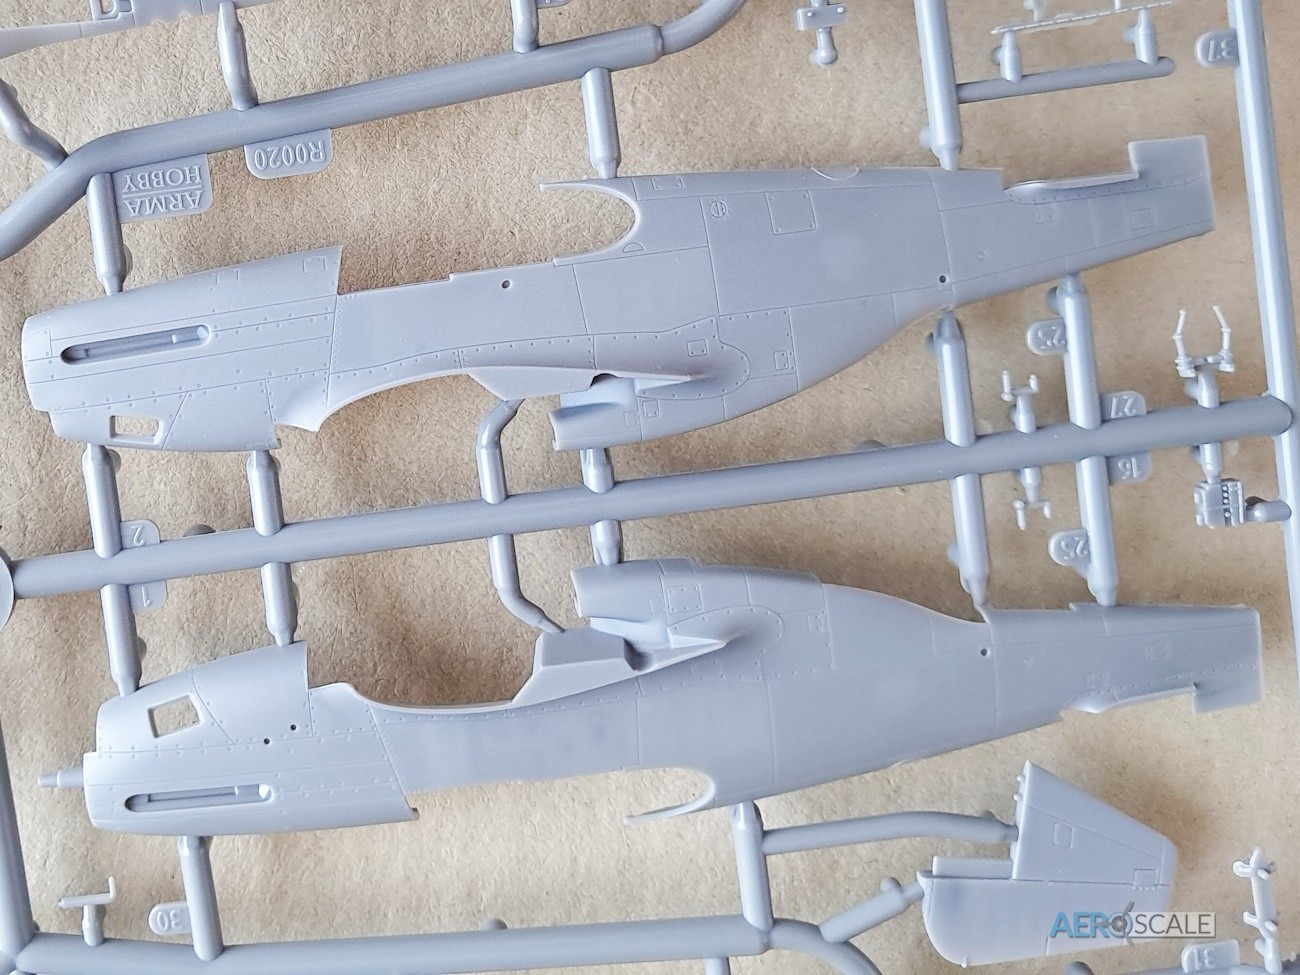
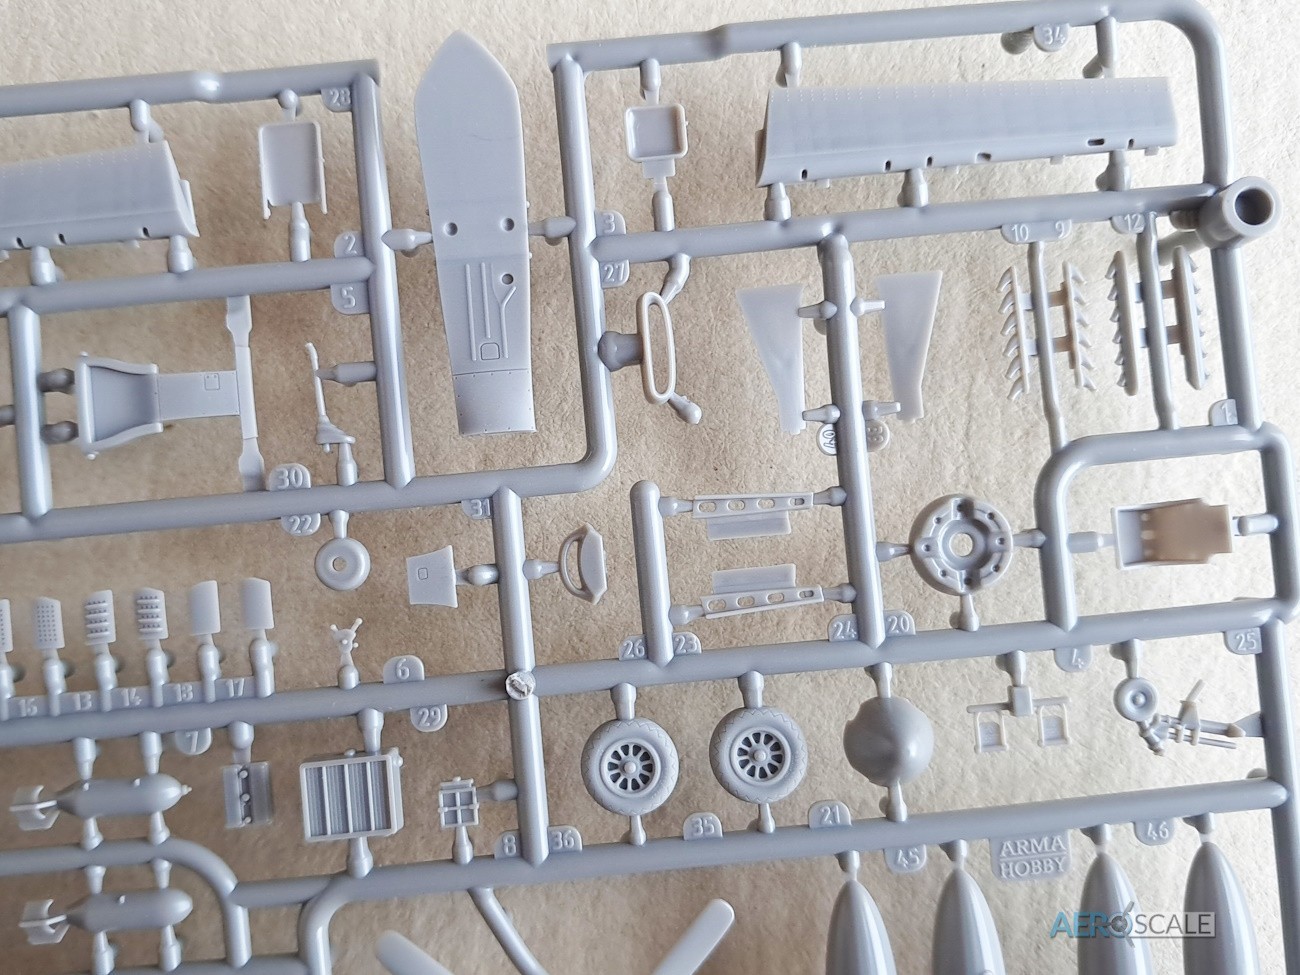
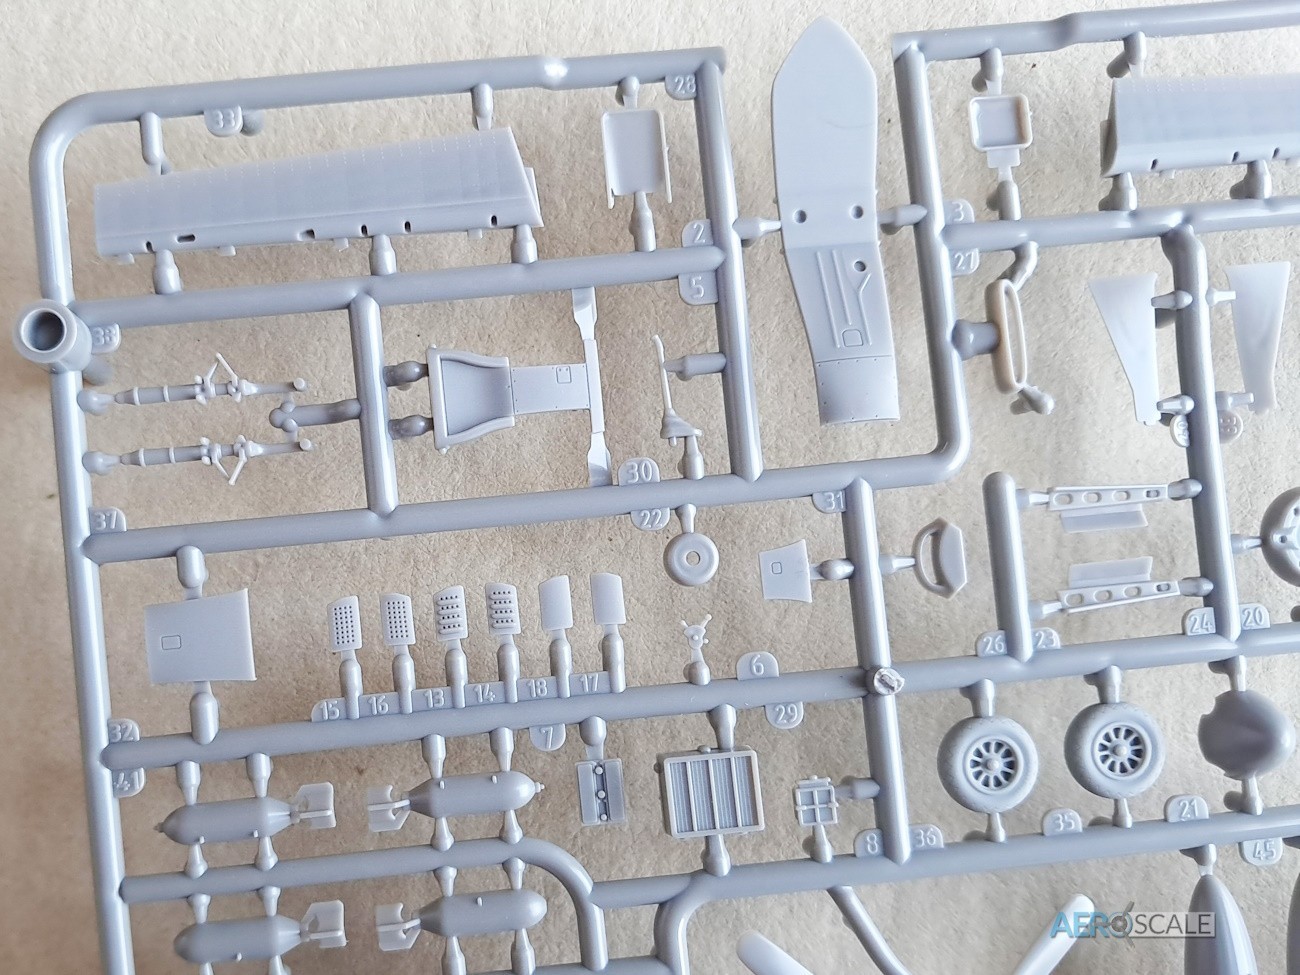
All the contents are placed in a single bag and inside are separately packed clear parts. The Kabuki masks and decals are placed inside the instructions. The recessed detail on the plastic parts is crisp, consistent, and highly suitable for natural metal finishes of which there are two with this edition. The fuselage and main wings have locating pins to help with alignment of parts. If you are familiar with the Arma Hobby series of P-51’s you will notice immediately the extra sprue [BZ] with the M10/M14/M16 launchers [bazookas].
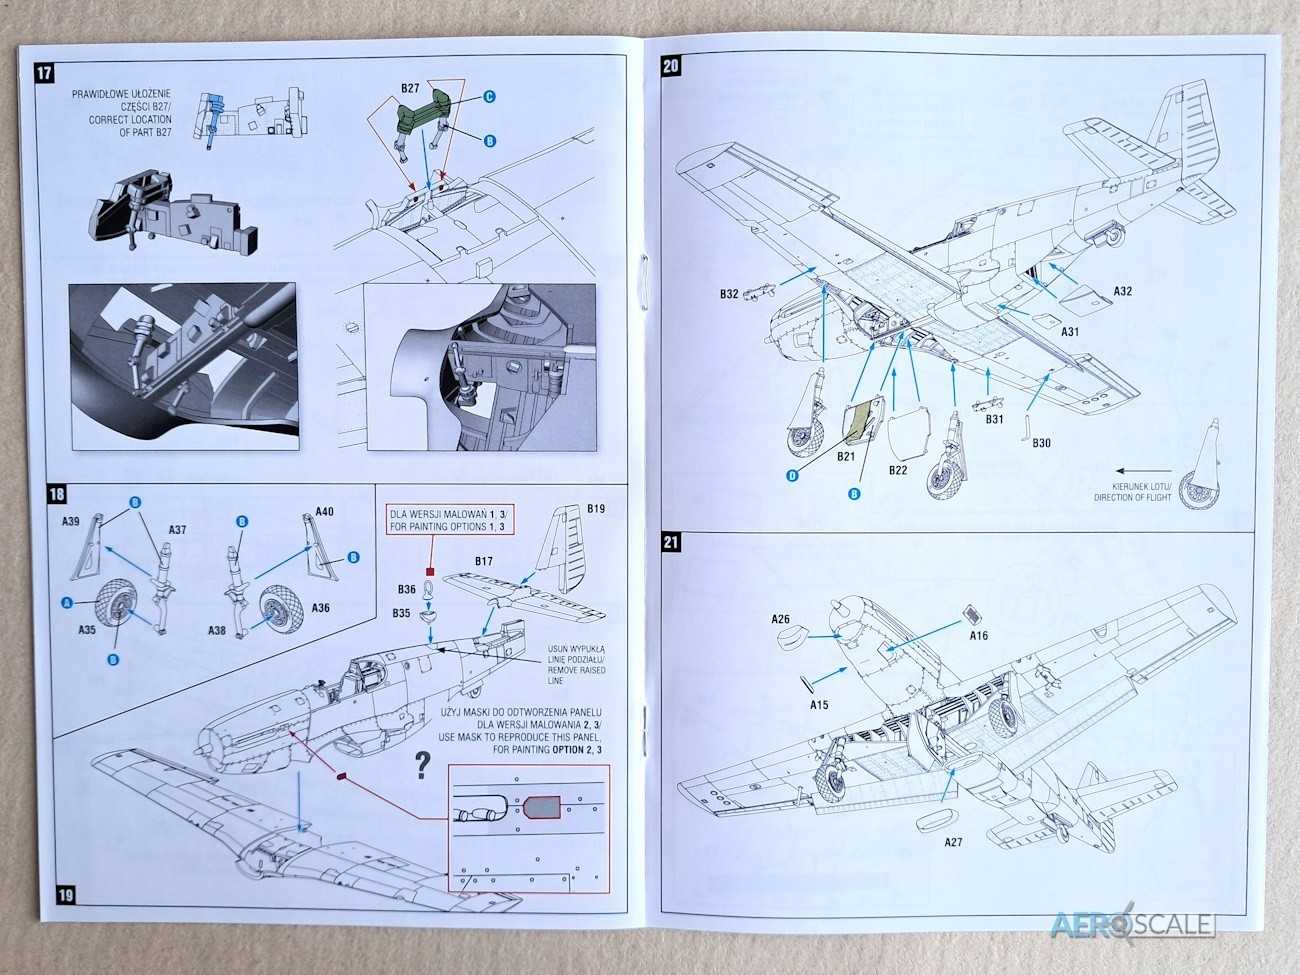
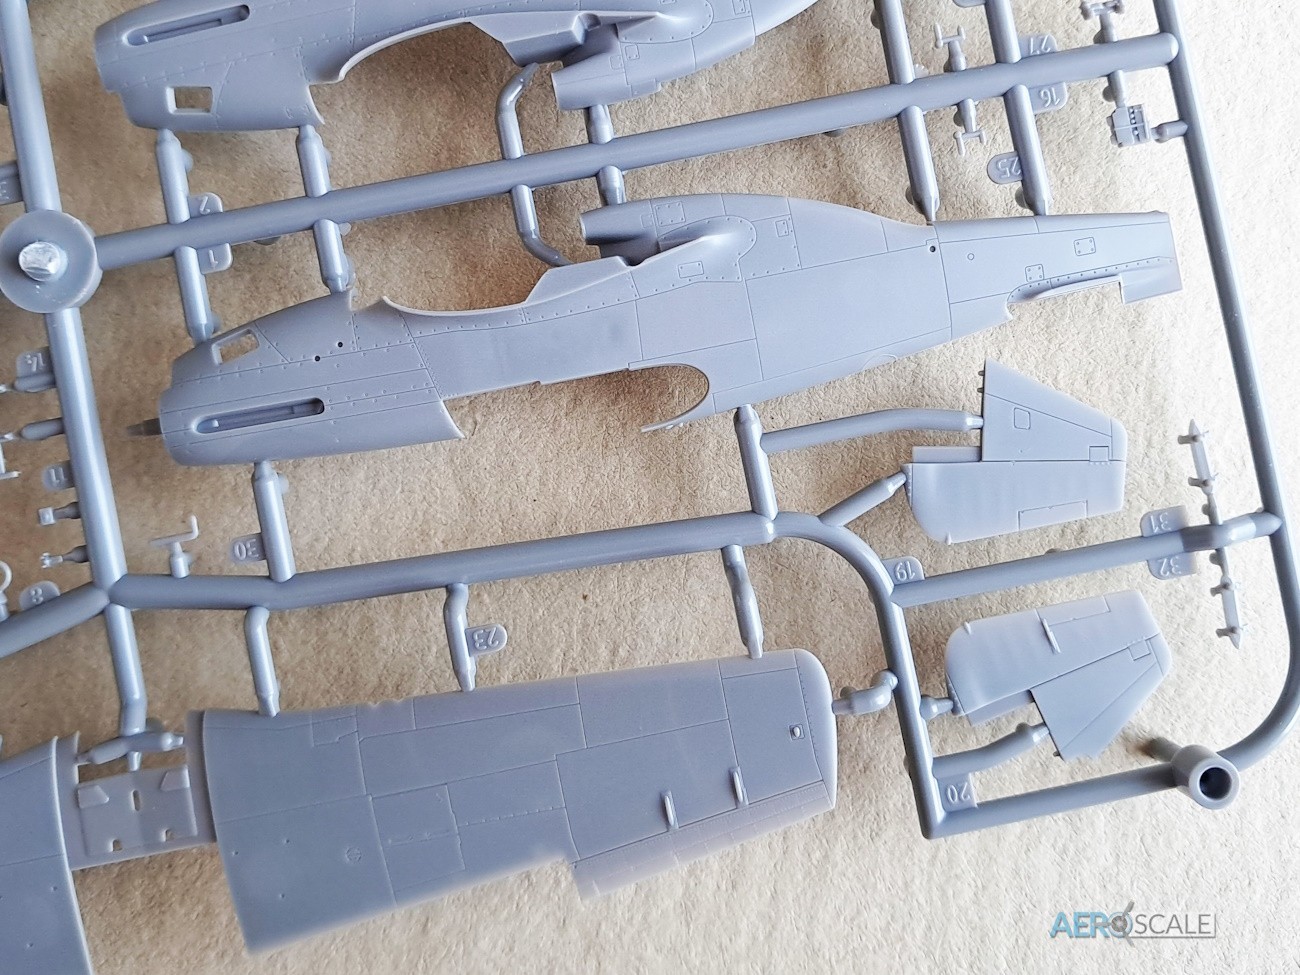
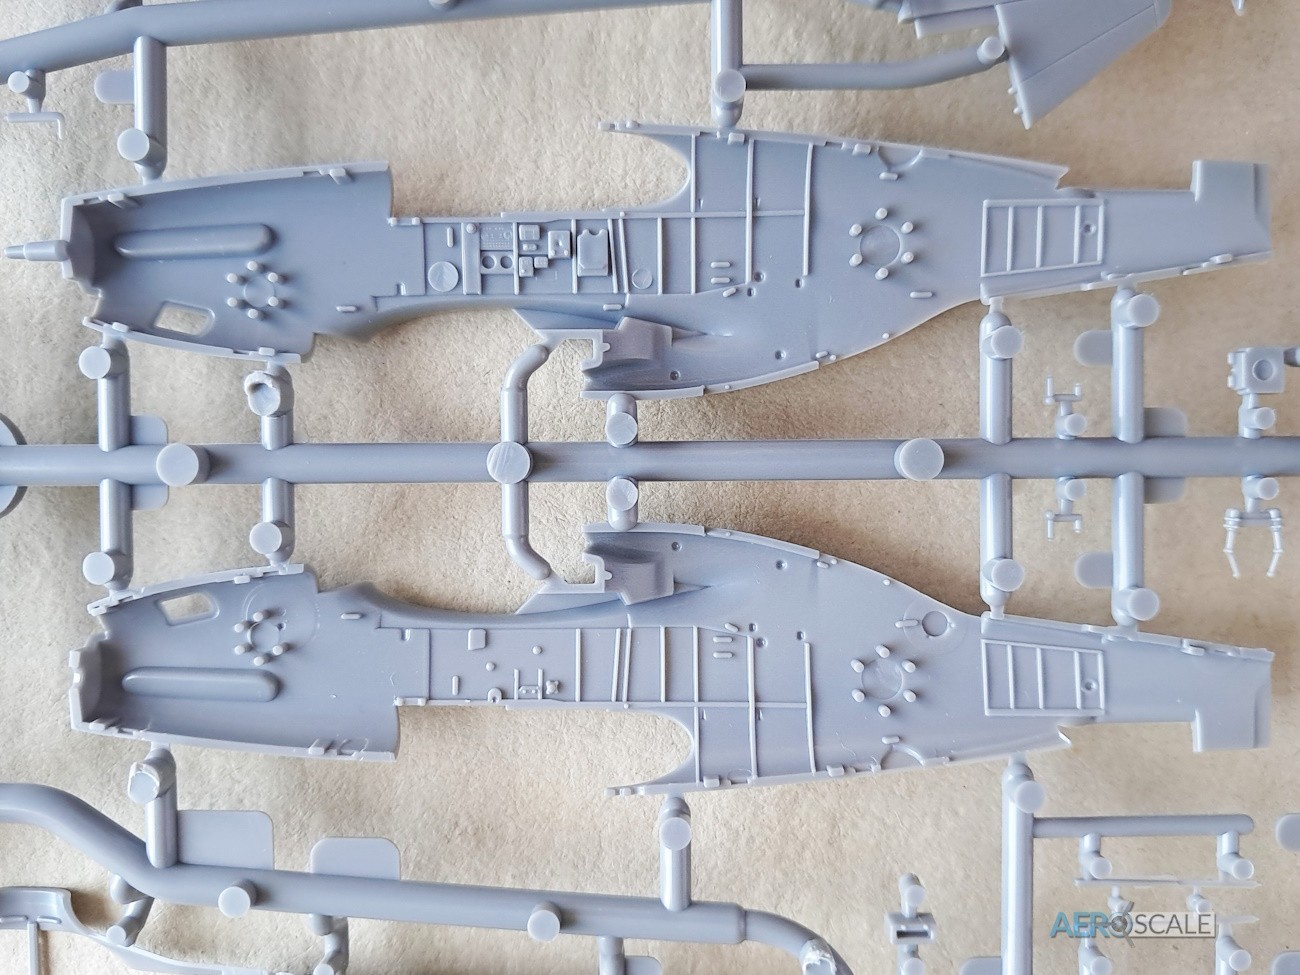
The fuselage halves lack the vertical tail as the kit allows you to fit filleted or non-filleted vertical tails. With this edition the un-filleted tail is fitted to the three marking options. Both tails have the rudder moulded in the neutral position. There is a little plastic shrinkage on the right fuselage corresponding to the area where the cockpit detail is. There should not be a problem eradicating it though as it occurs right in the middle of a panel. The separate perforated vent covers for the carburettor intake are fitted with this edition, three different types of cover are included. The kit comes with the Hamilton standard cuffed propeller and there is a choice of two styles of exhaust. One has shielding protecting the pilot from glare of the exhaust. So, check the instruction which one is relevant to the marking option you have selected. Options 2 and 3 has a small panel just aft of the left exhaust stack. There is a paint mask representing the panel. The air duct under the fuselage is also a focus for several detailed parts. This release features the filler cap for the self-sealing fuel tank aft of the pilot's seat that started with P-51B-5-NA or block 5. There is a fair bit of detail in the radiator housing under the fuselage. The face of the radiator has some fine mesh detail. The lip of the intake as well as the lip of the intake in the nose are separate parts. Two styles of antennae mast are offered as well as a directional antenna. The latter requires a bit of surgery to the upper fuselage between the cockpit and vertical tail. Full details in the instructions.
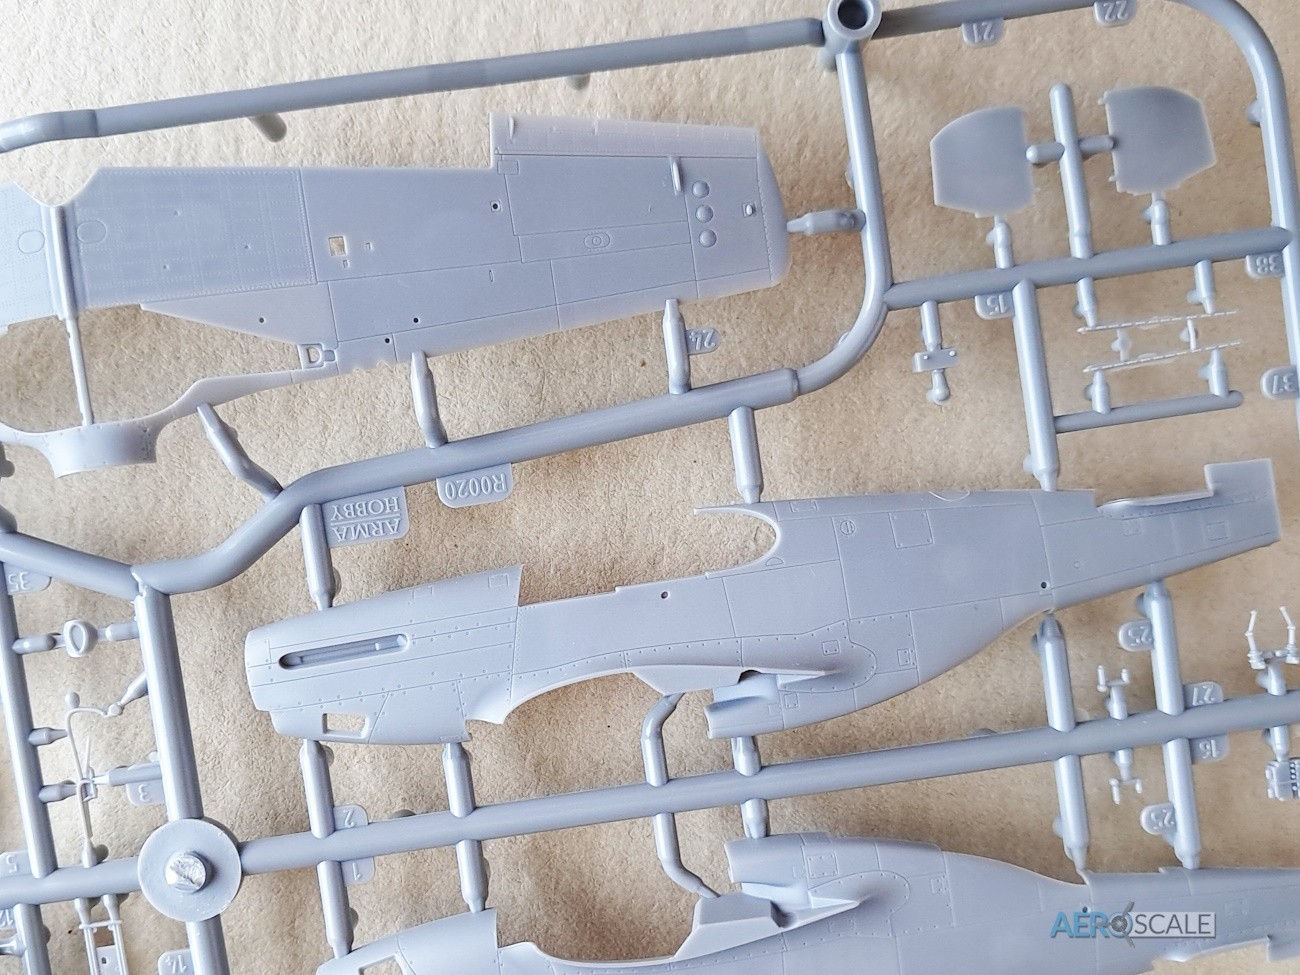
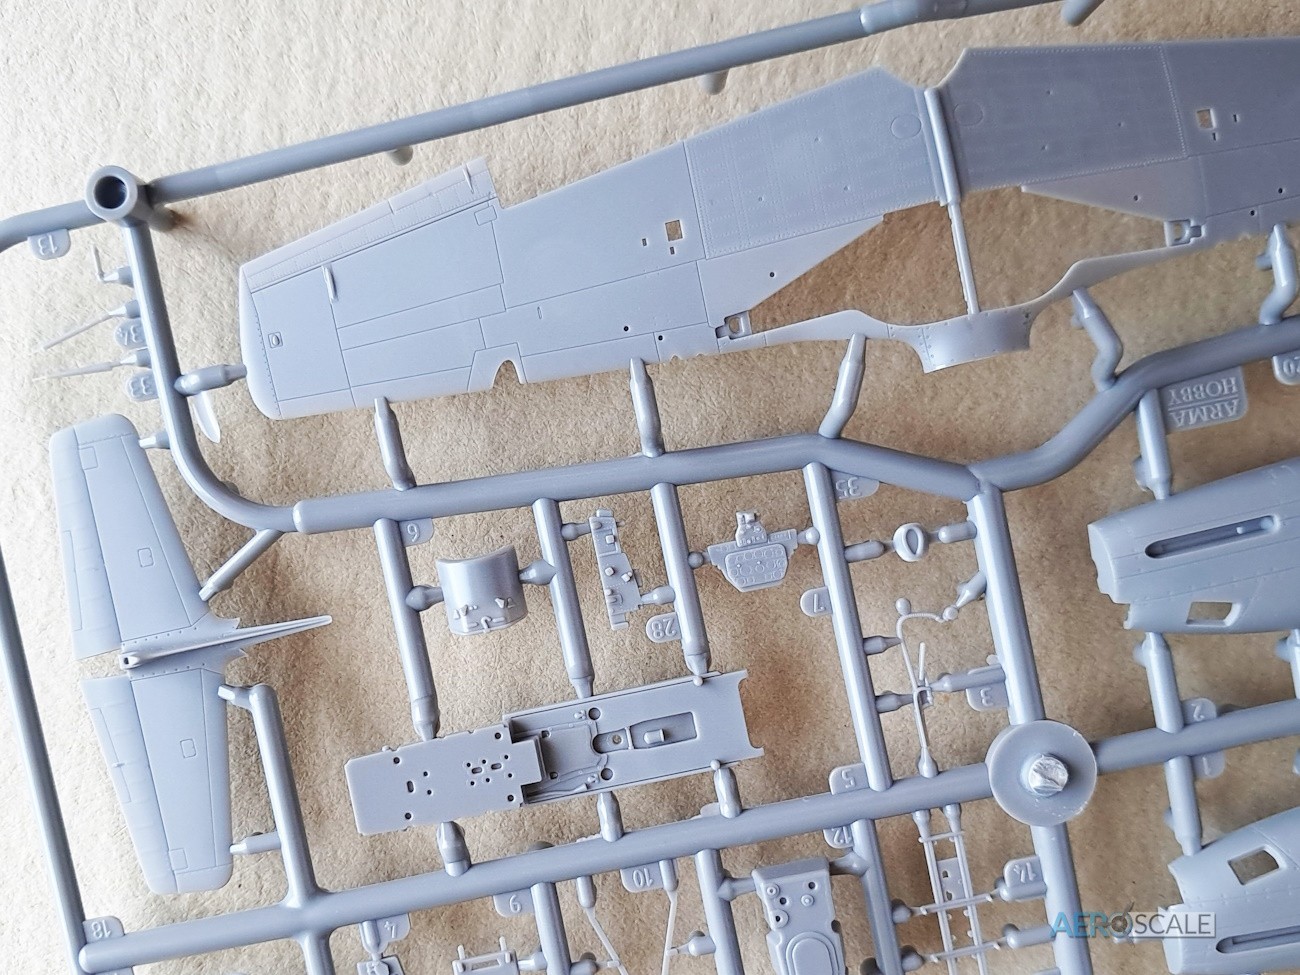
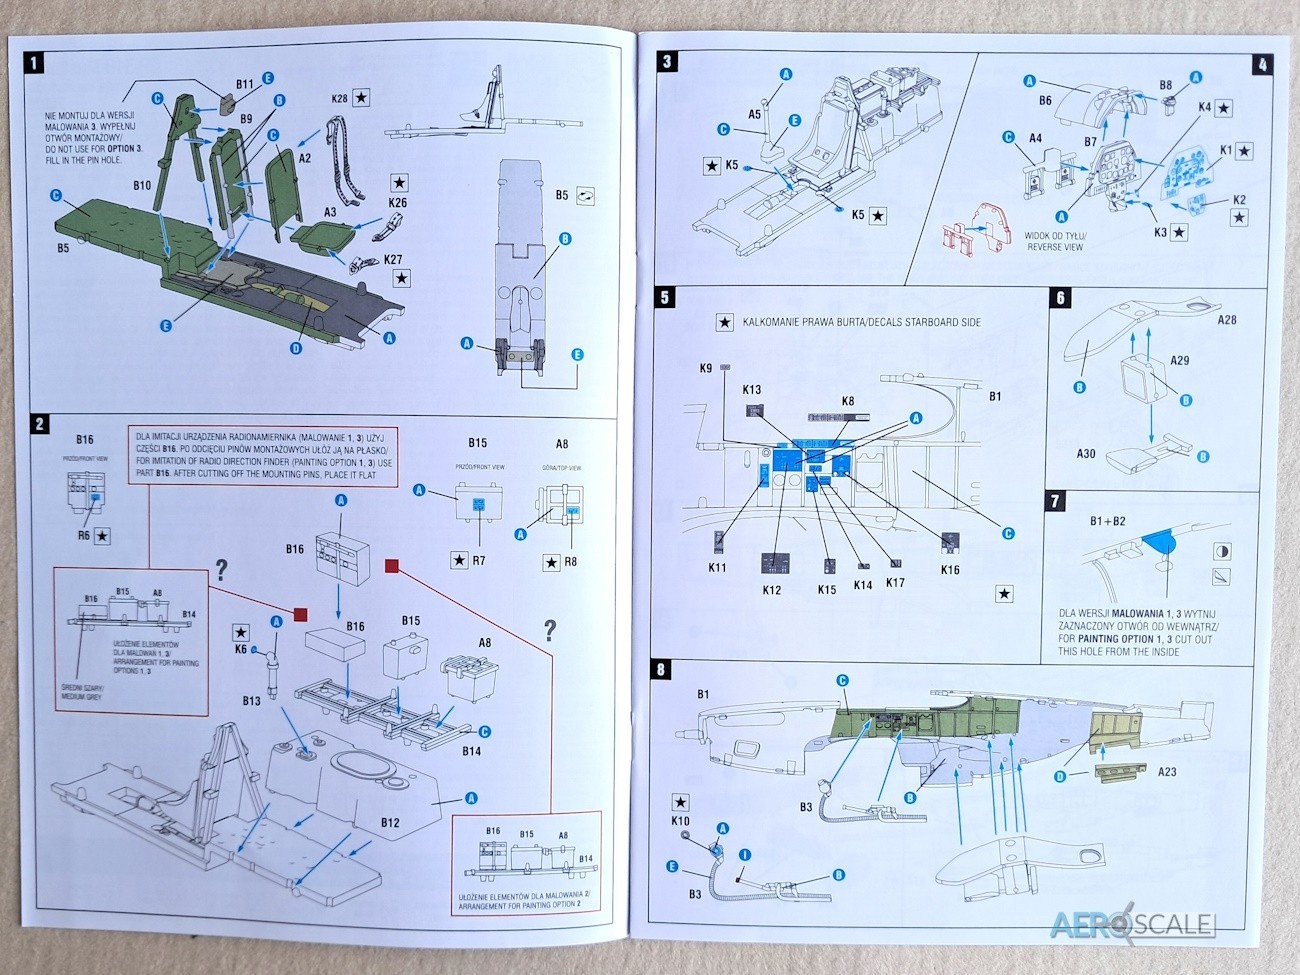
The raised detail on the cockpit sidewalls, the radio/ fuel tank bay behind the pilot’s seat and rear undercarriage well looks excellent. There are additional parts [throttle, oxygen hose and electrical boxes] as well as decals to add to the cockpit sidewalls for extra detail. Two types of seats are included: Warren McArthur or Schick Johnson, though the former is used for all three marking options. The seat is fitted to a cockpit floor that extends into the radio compartment. Decal seatbelts can be added to the seat. Also added to the floor is the armoured seat plate and a ‘A’ frame. Also added to the floor is the control stick. The instrument panel [IP] has decals representing the instrument faces. The rudder pedals are attached to the back of the IP. You will find on the sprue’s separate parts for the radio equipment, battery, and the fuel tank, which are all fitted behind the pilot’s seat. All in all, an impressively detailed cockpit.
The kit offers two types of canopies: the hinged flat framed or Malcom hood a bulged one-piece canopy. The hinged flat framed canopy is used with all three options. There are five clear pieces for both canopy types and both can be modelled open. The clear part offering the flat frame canopy with the open door is moulded in one piece, making life much easier to fit and should prove robust. Arma Hobby has included paint masks for all the clear parts forming the canopy.
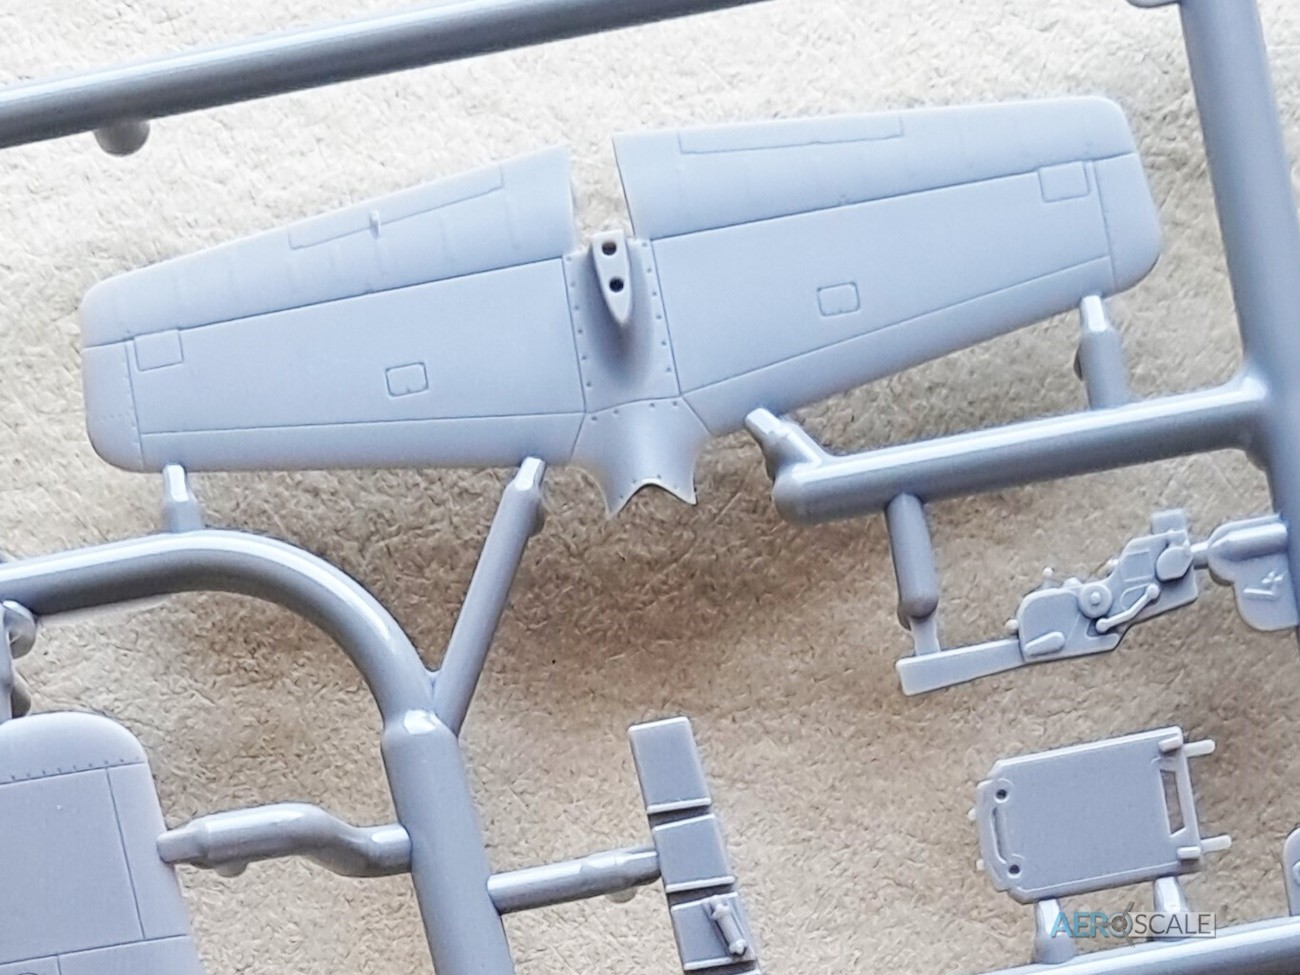
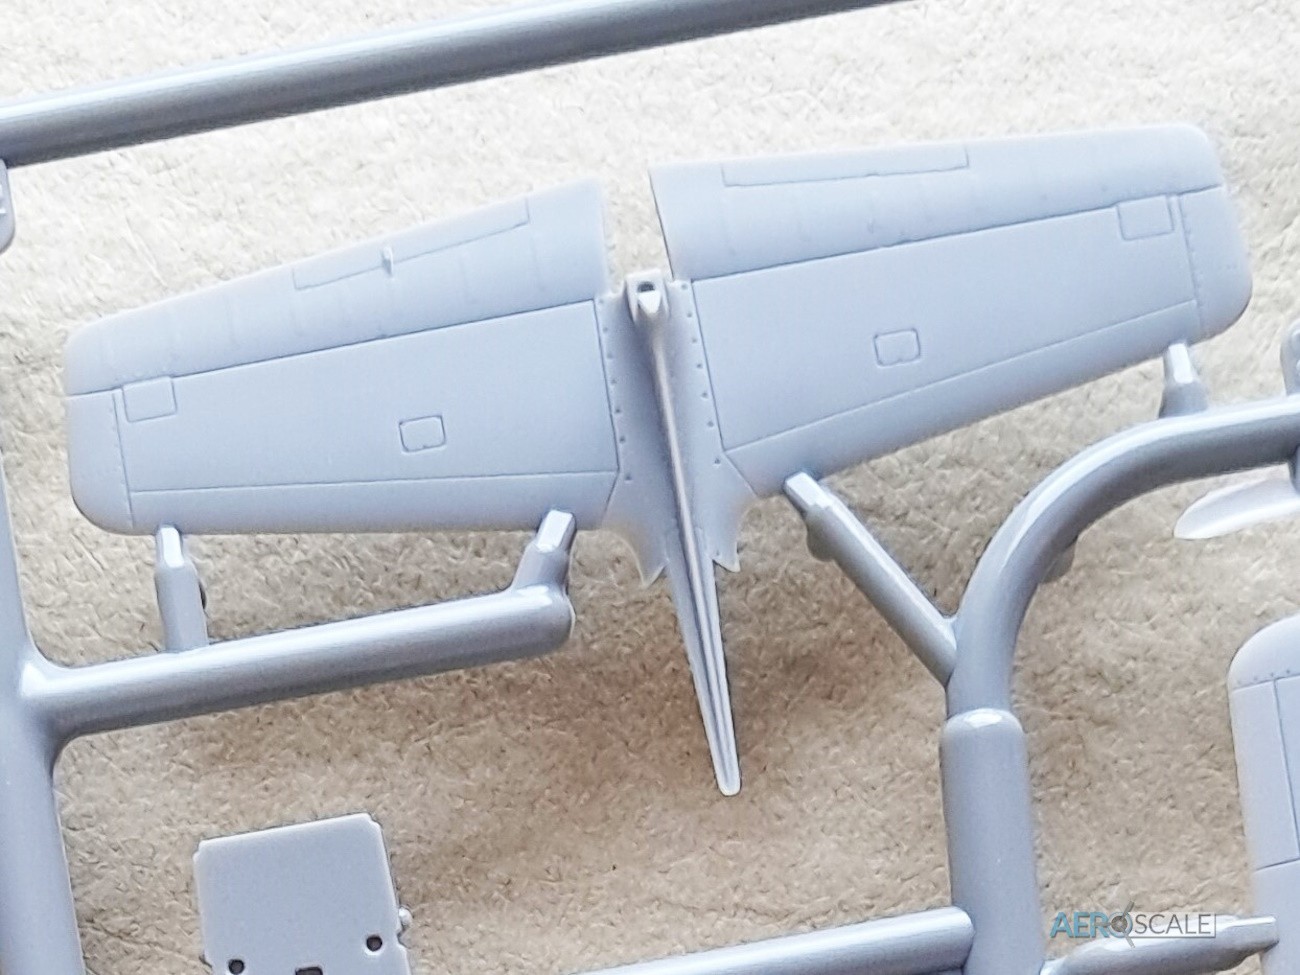
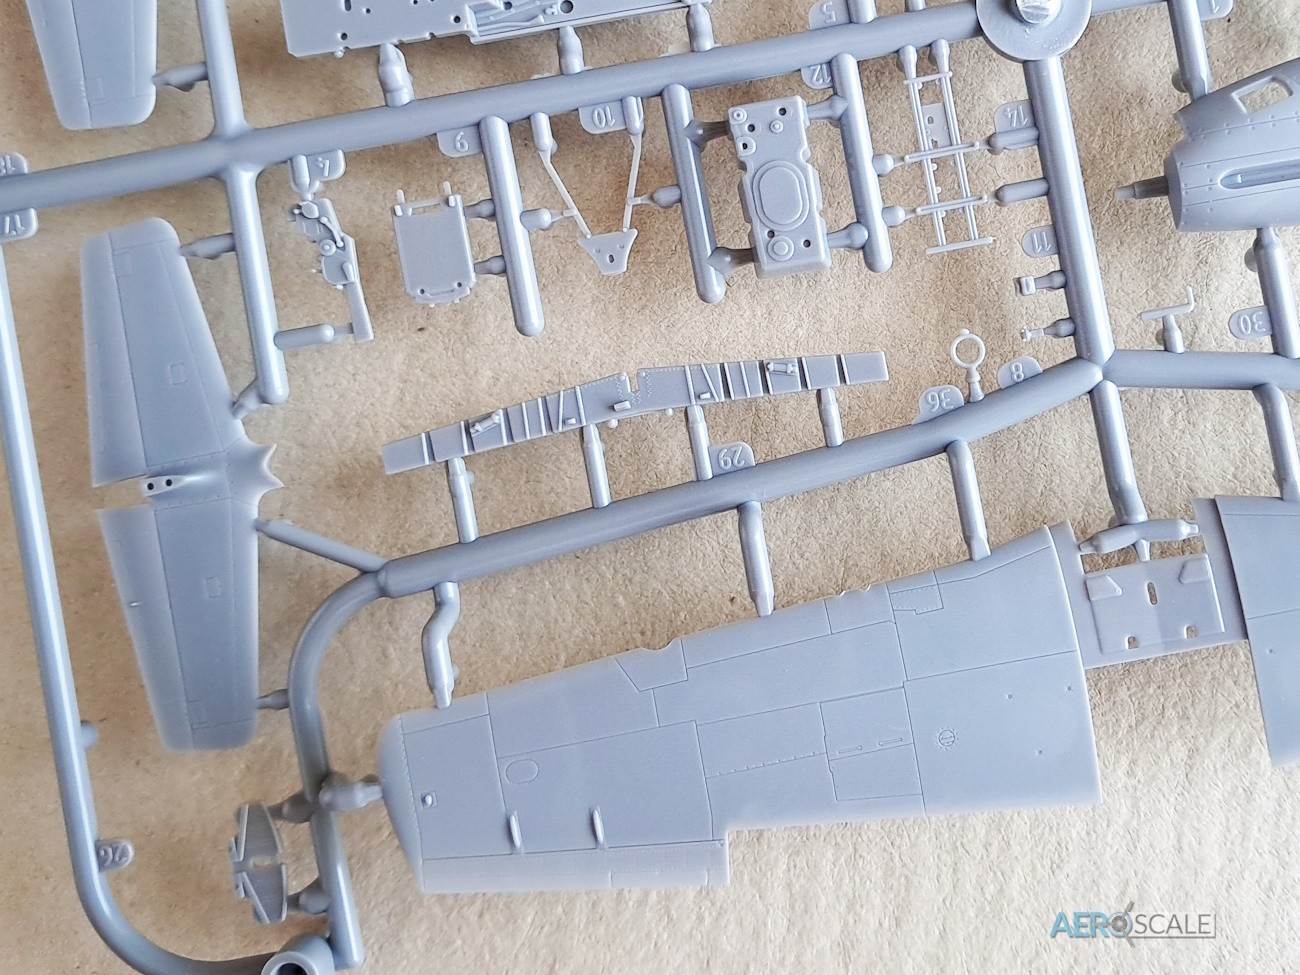
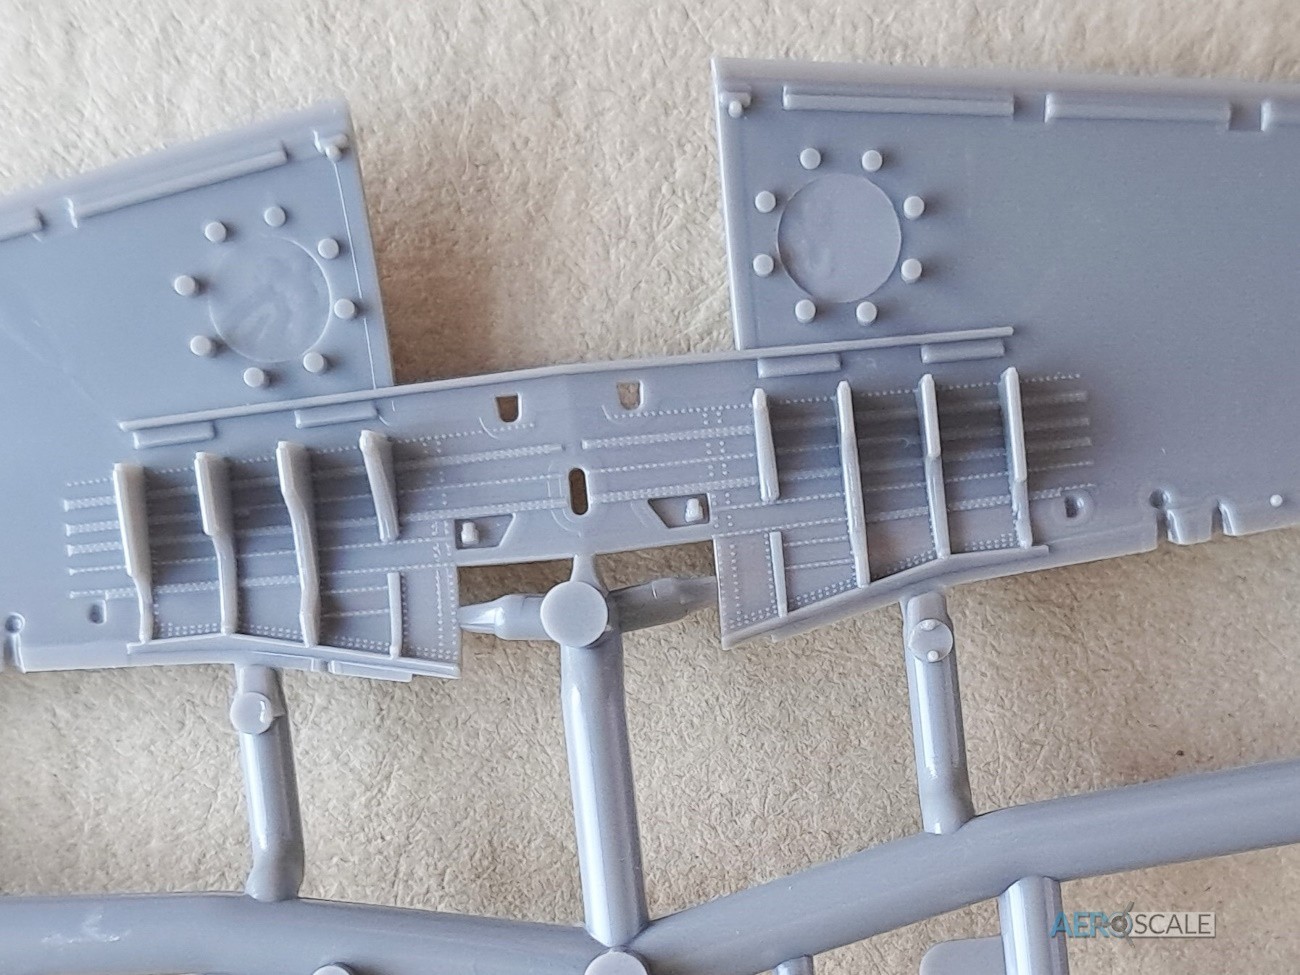
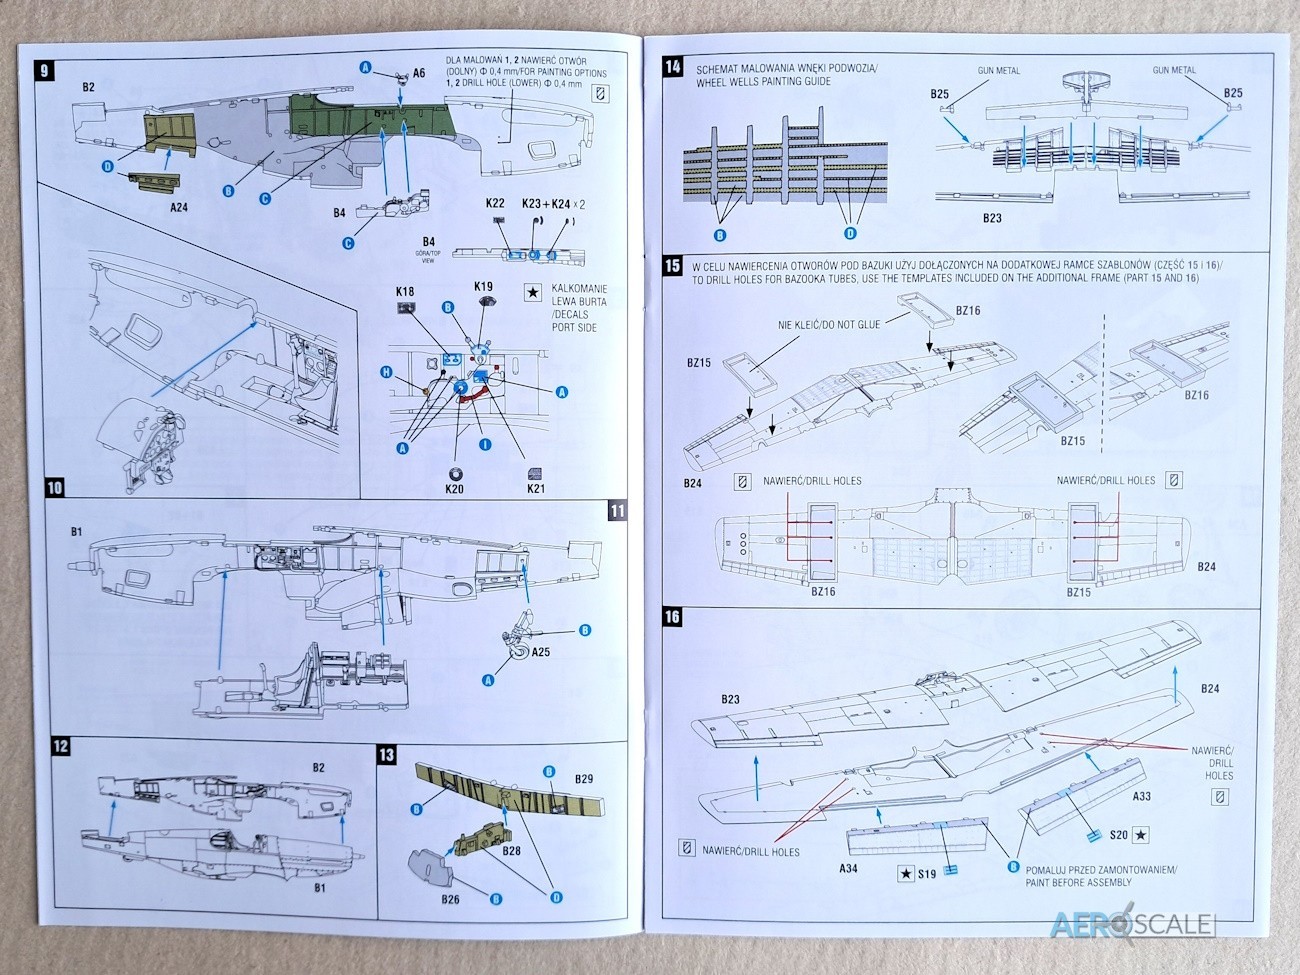
The wings are in two pieces with a one piece lower and a one piece upper. The ailerons are moulded as part of the wing though the flaps are separate and can be fitted in the dropped position. The detail in the undercarriage [U/C] bay roof is moulded into the top wing and it looks superb. Normally the cost of such detail are signs of shrinkage on the other side, but there is no sign of it on my sample. There is a section of the wing spar to add to the U/C bay too. There are a couple of jigs on sprue BZ, that will help you accurately drill holes for the locating pins on the bazooka tubes. You still have the option of fitting the 75-gallon fuel tanks or bombs. There are guide holes in the wing to start you off. The kit features both filleted or non-filleted tail, though the latter is used on all the marking options. The un-filleted horizontal tailplane is one piece with separate elevators moulded in the neutral position. The representation of the canvas covered control surfaces and the rib tape looks very good. Trailing edges for the elevators and rudder are very thin.
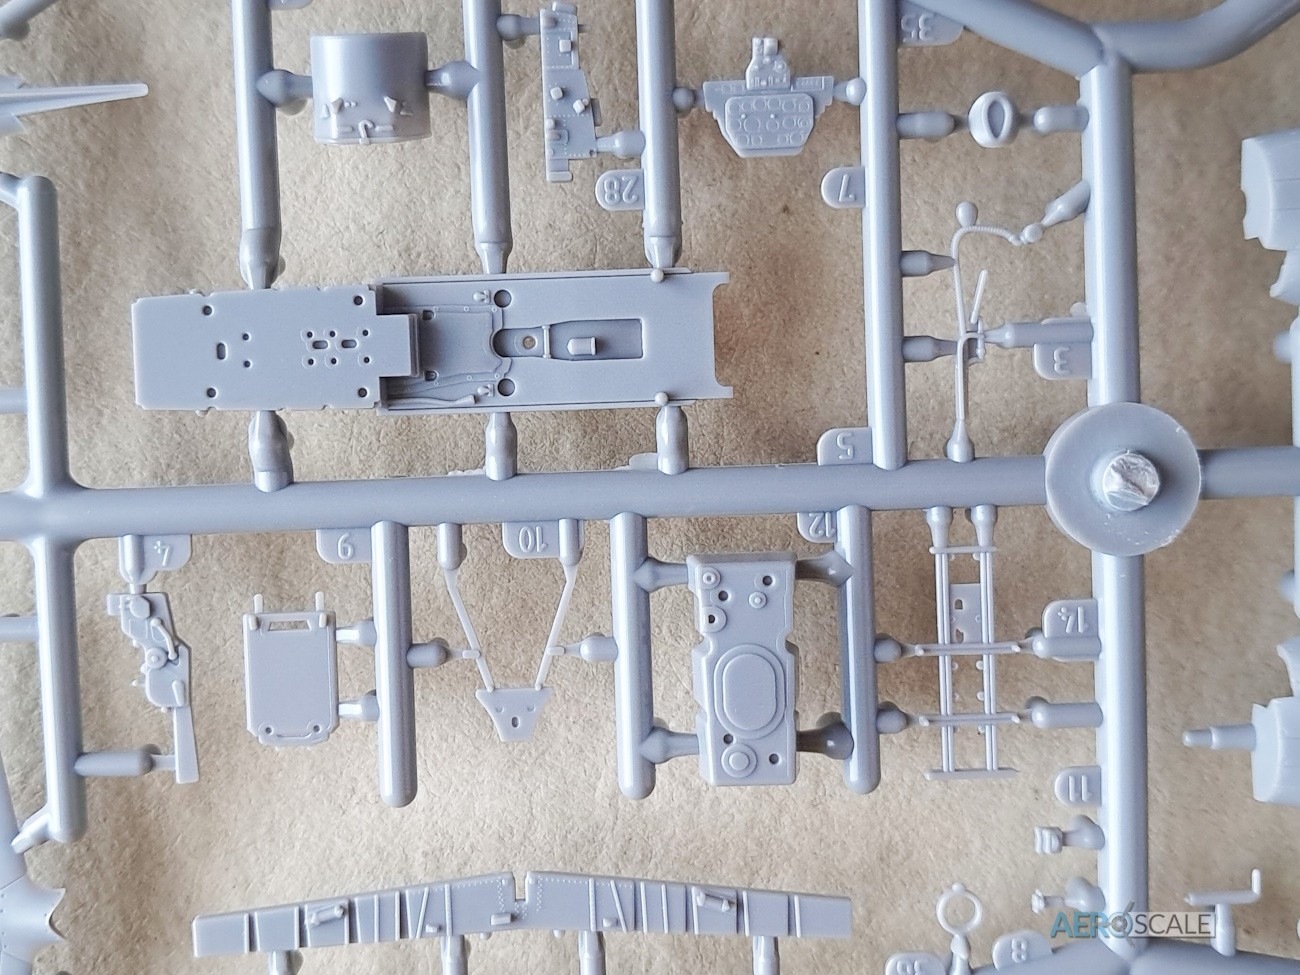
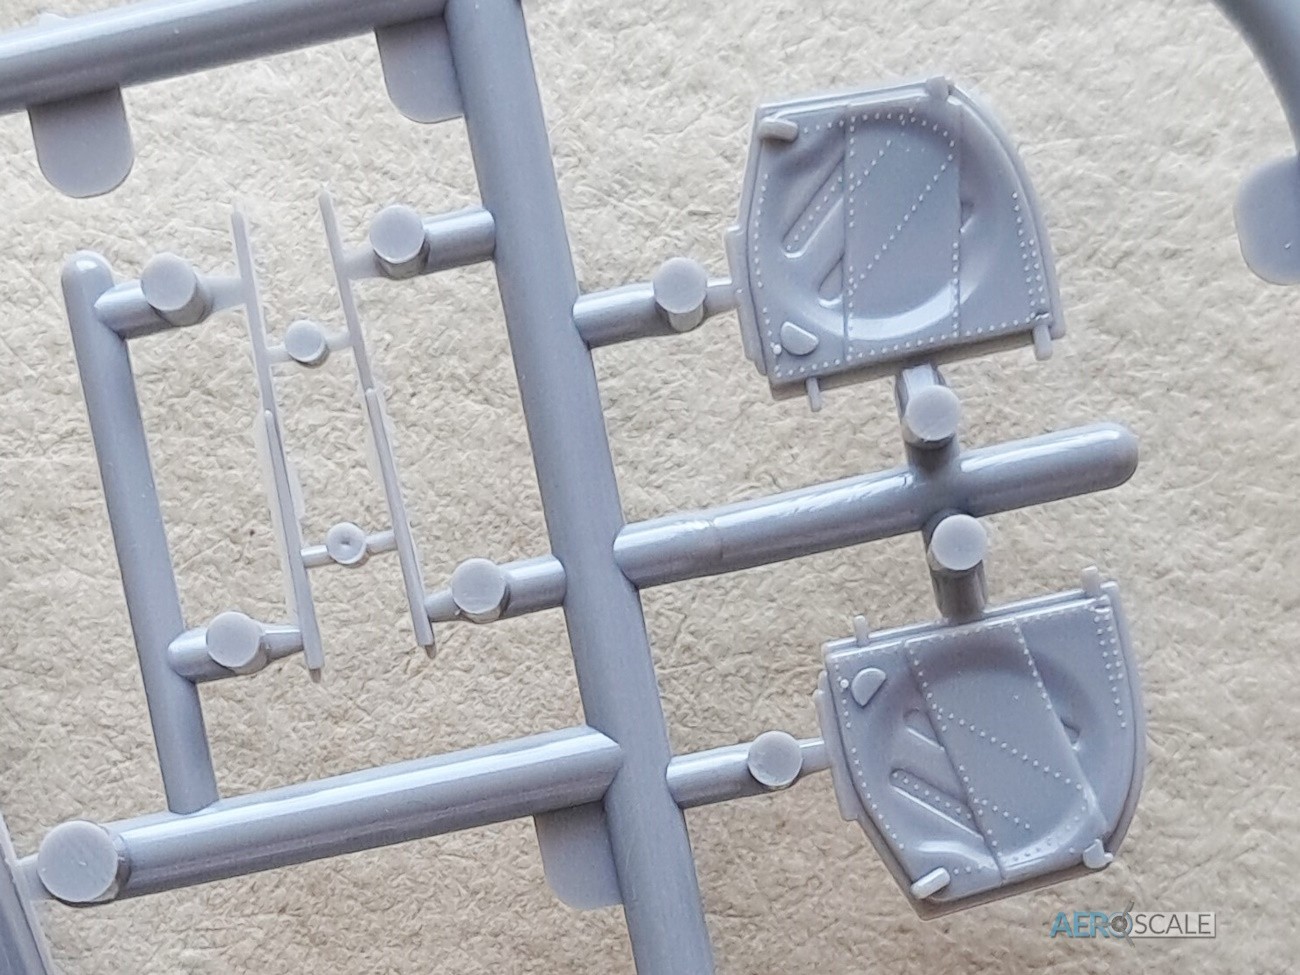
The main and tail wheel wells have plenty of raised detail. In the main gear bay there is a separate wing spar and a wall dividing the bay. Actuators for the inner doors are also separate. The main wheels are each one piece with beautifully detailed hubs and weighted diamond tread tyres. The rear wheel unit is one piece and superbly moulded. The detail on the inner doors of the main undercarriage is well executed, replicating the pressed aluminium very well. There is a hint of shrinkage on the exterior surface of the doors attached to the U/C legs, although this will be easy to put right with a sanding stick as there is no surface detail.
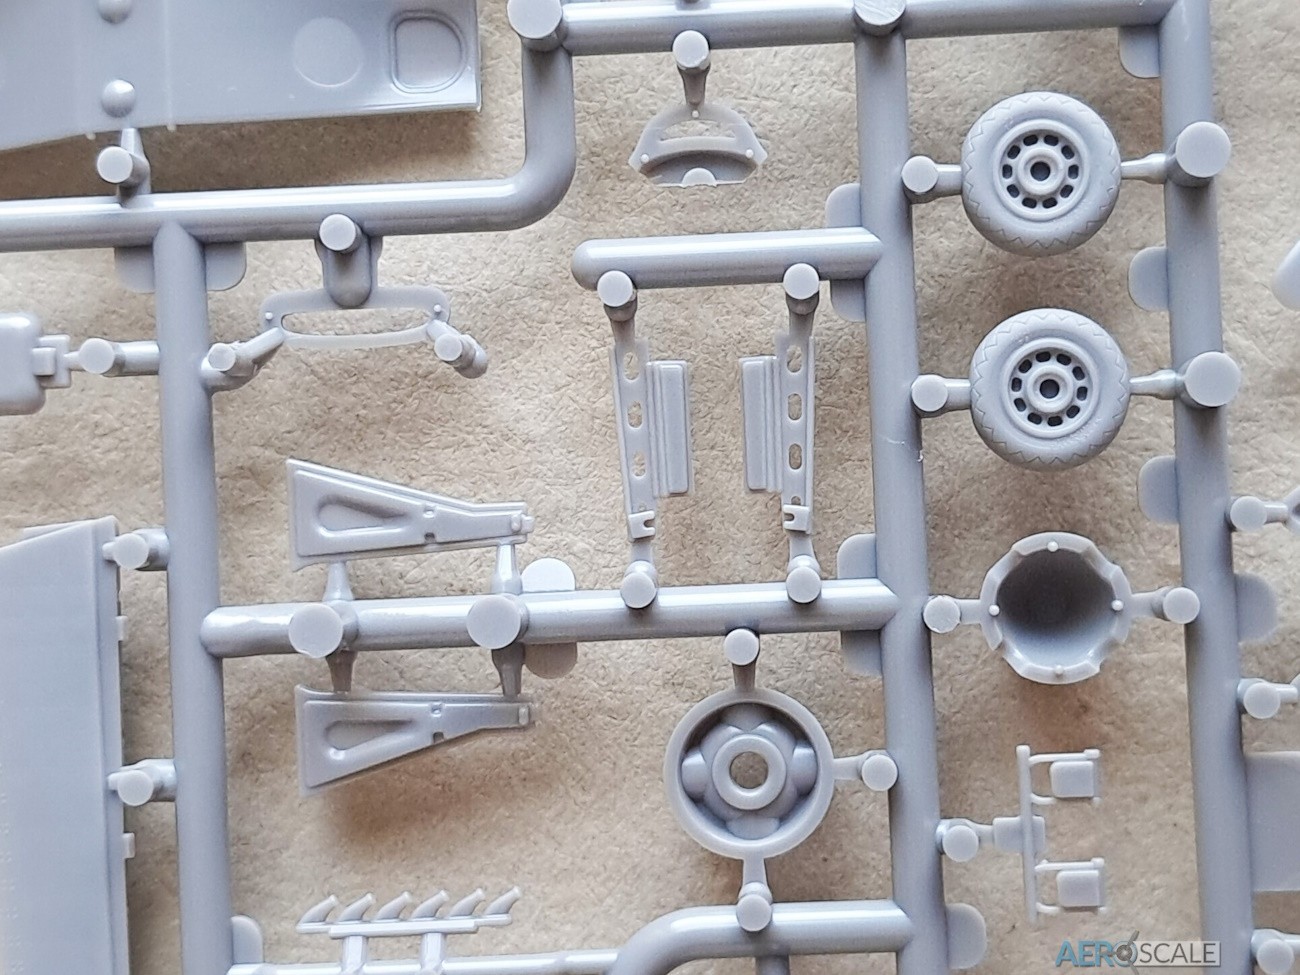
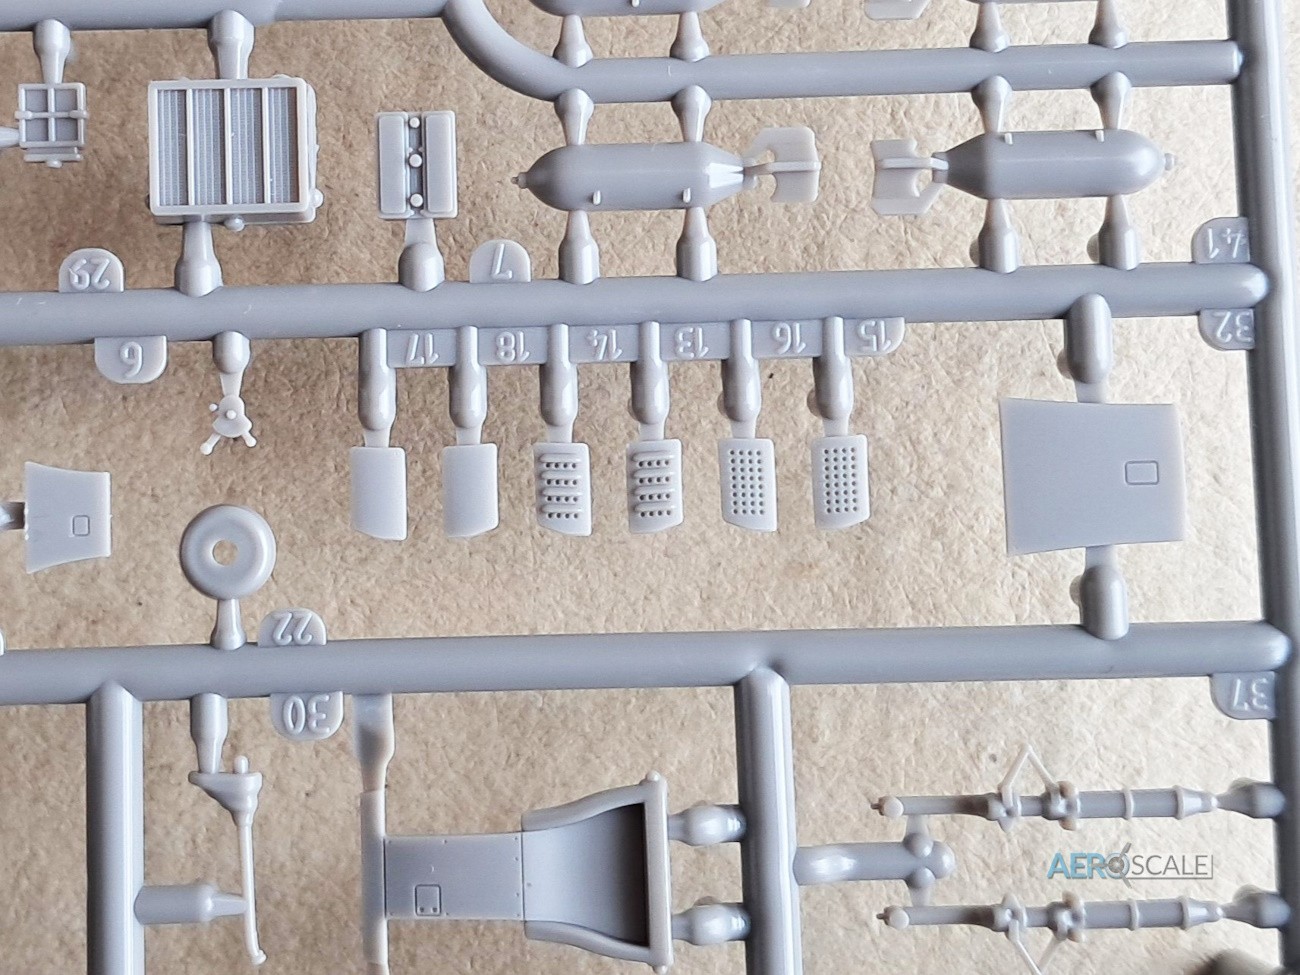
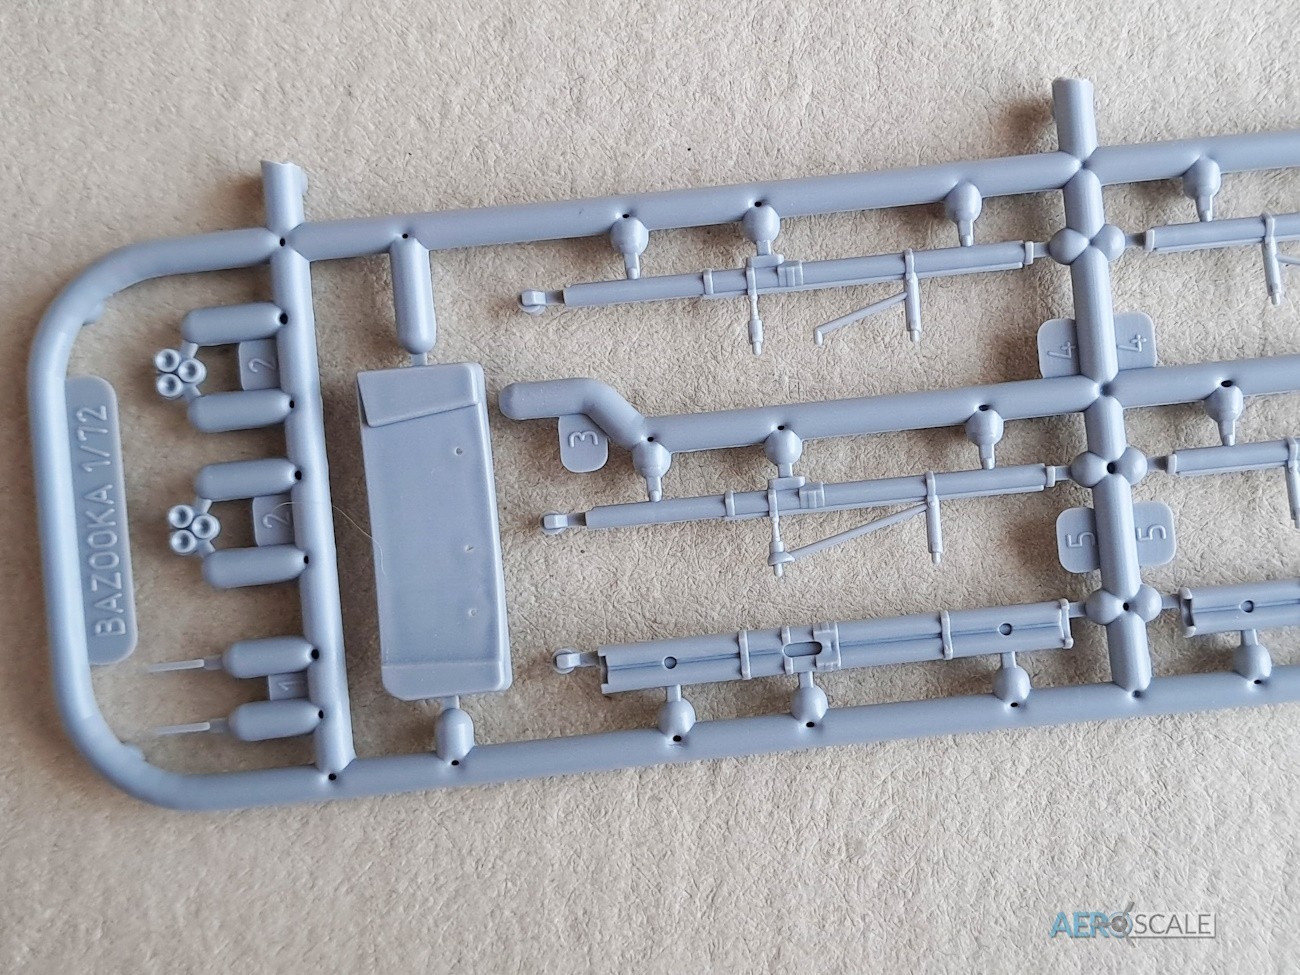
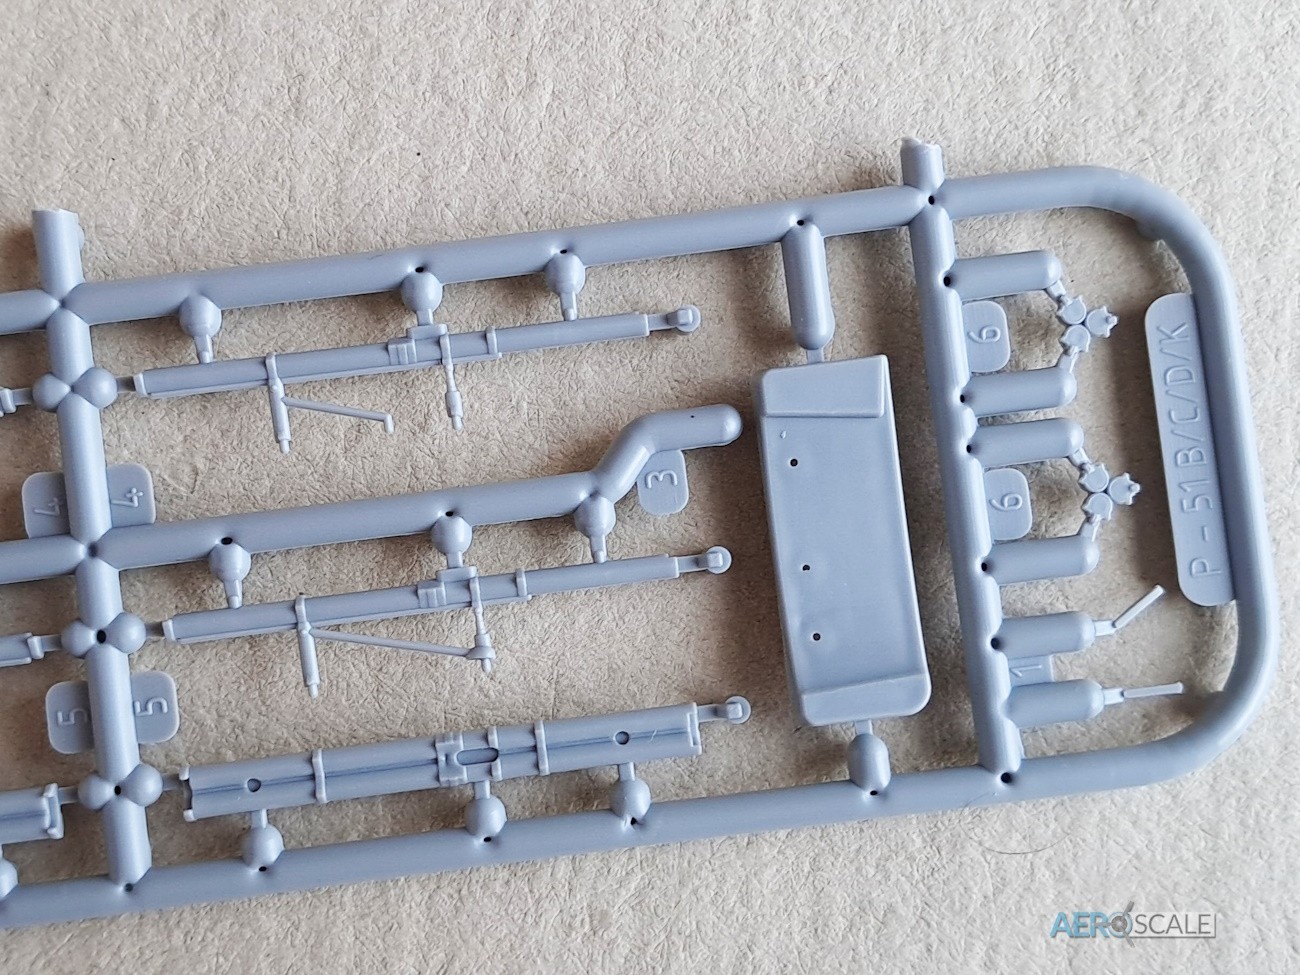
As already mentioned, there is a new sprue with the rocket projectile tubes or bazookas along with two plastic drill guides. The parts look superb, well moulded. Each unit comprises of three tubes. Two tubes are moulded together and a top tube is moulded with the wing mounting frame. There are two types of mounts, though only one is used with all three marking options. The front and rear of the bazookas are moulded separately. Also, there are the original paper 108 gallon [not fitted] and aluminium 75-gallon fuel tanks as well as the two 250lb bombs that you can fit along with the bazookas.
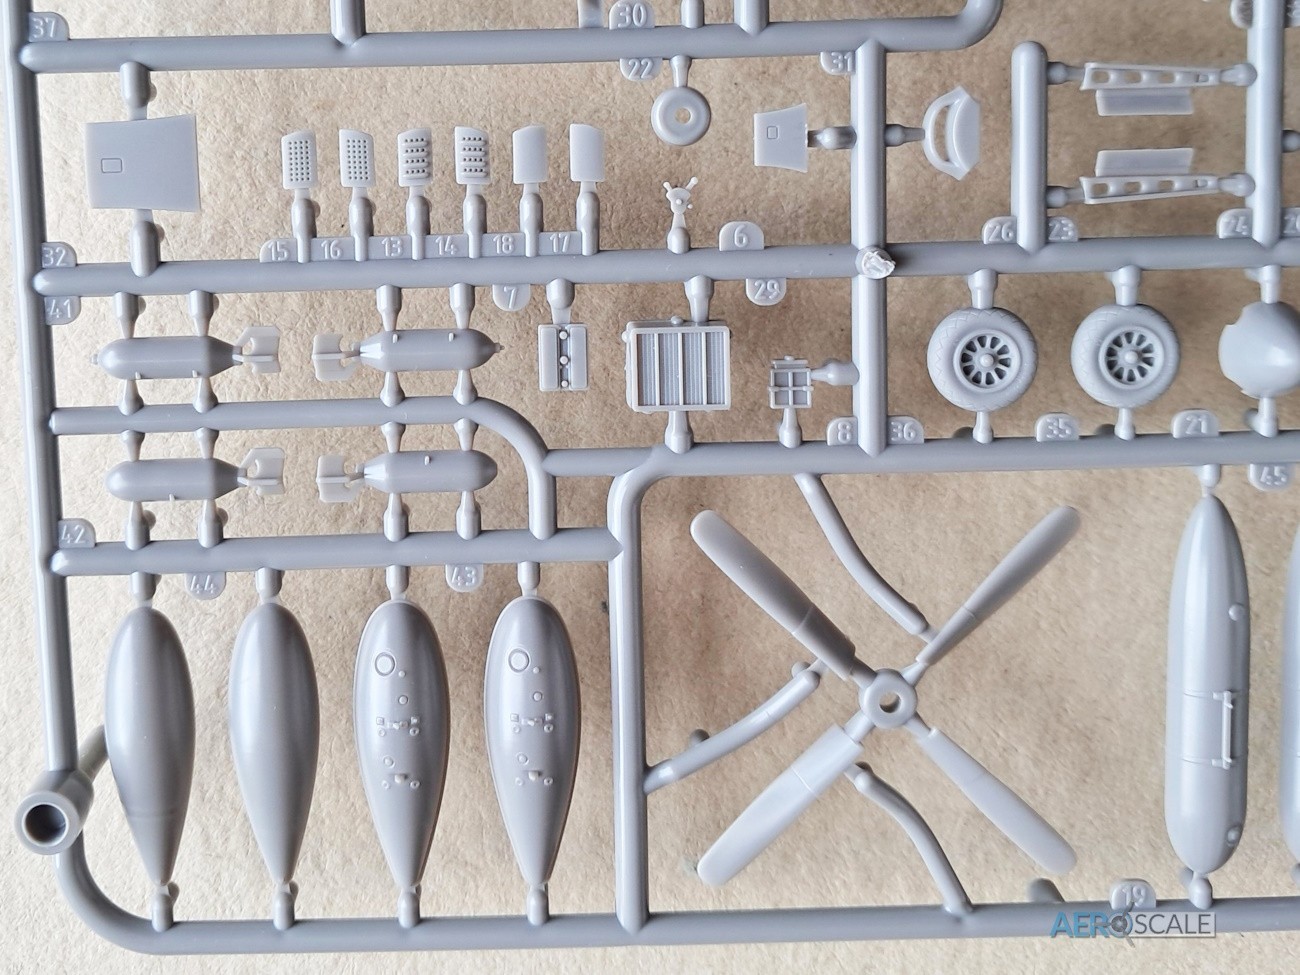
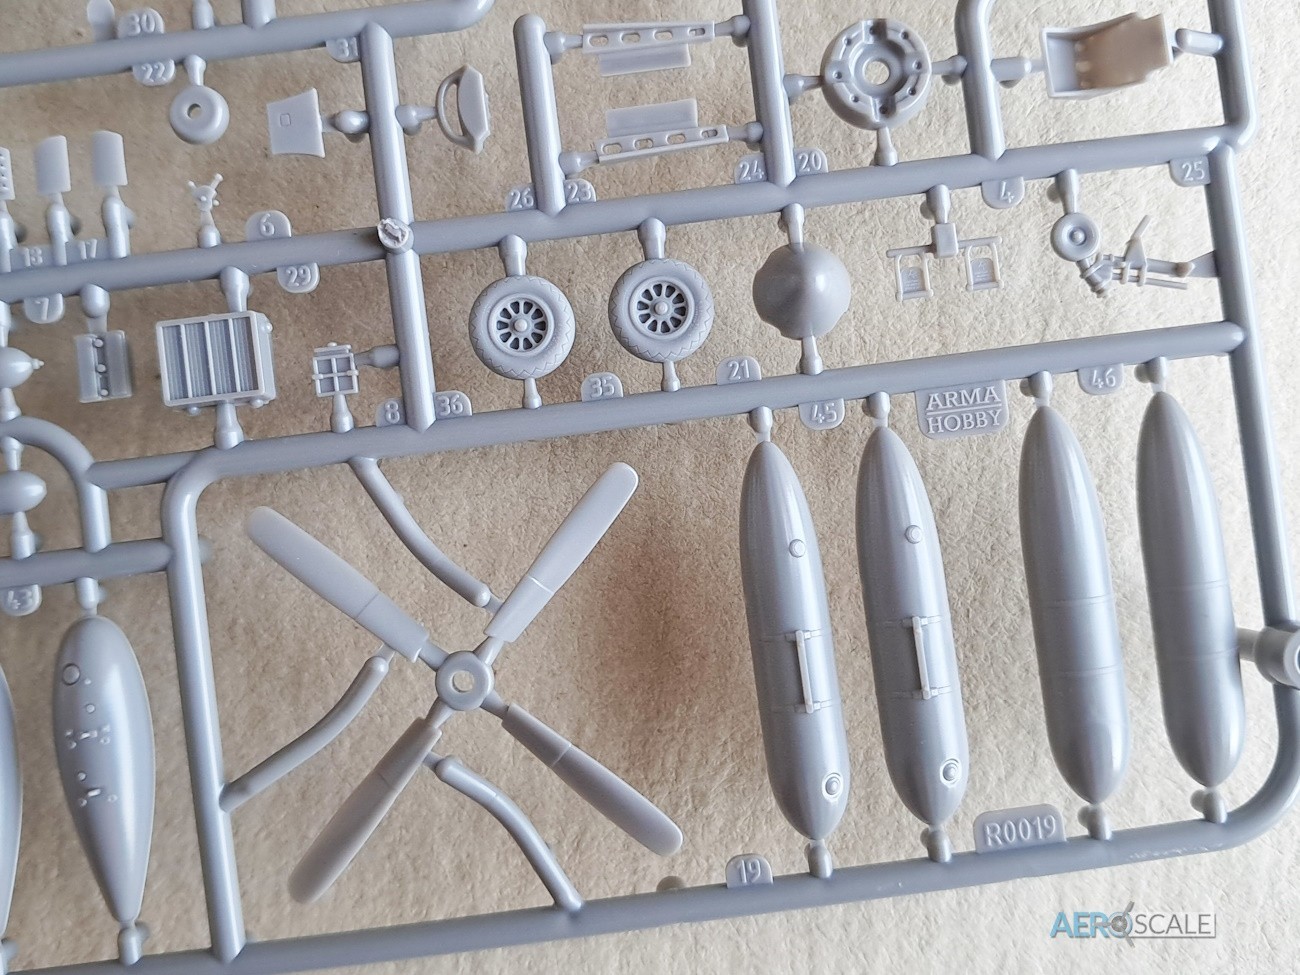
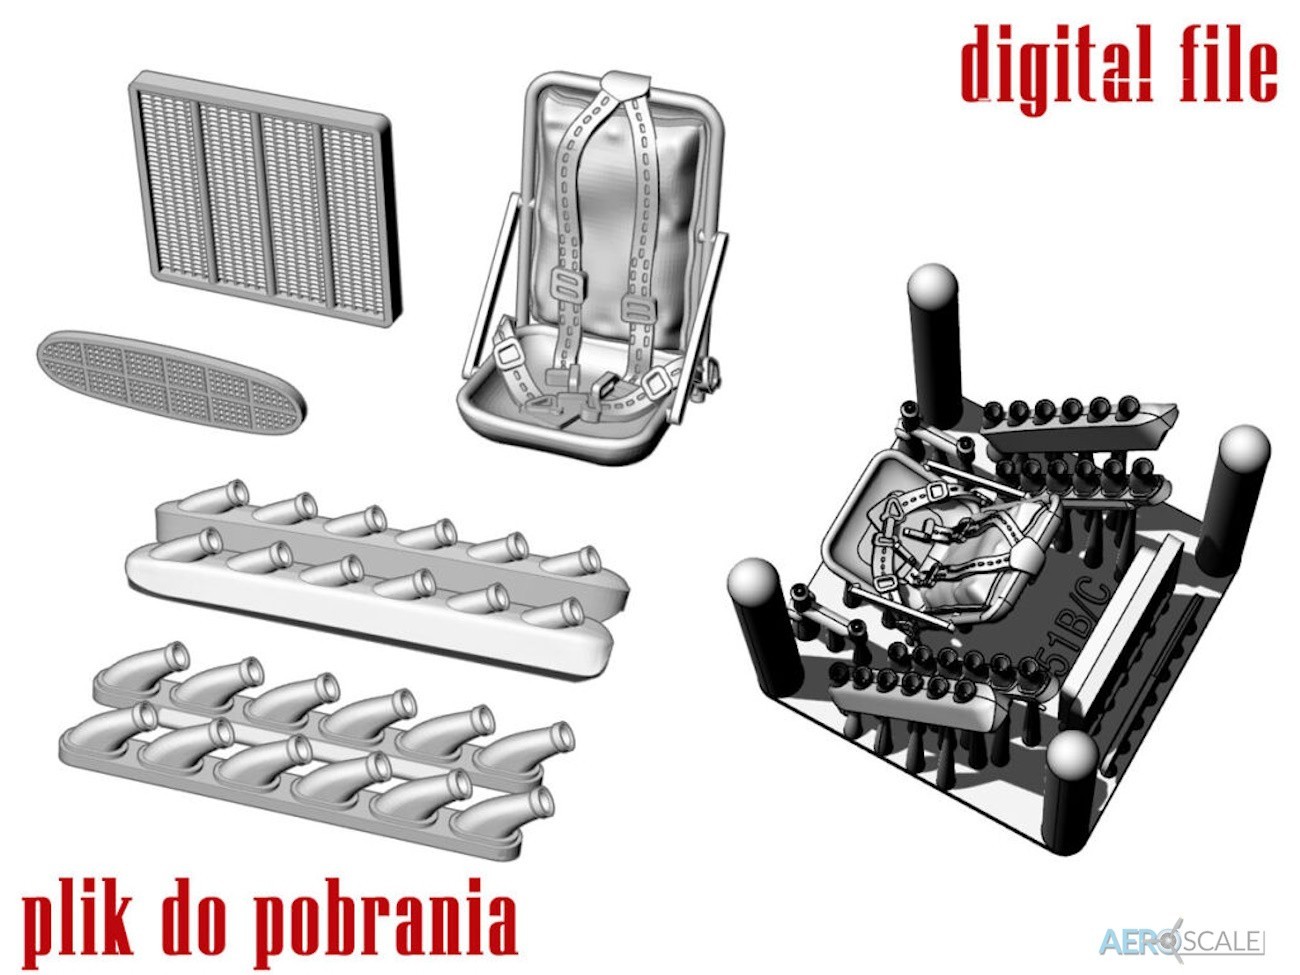
Included with the kit is a QR code allowing you to access the 3D print file. If you have access to a 3D printer you will acquire s a set of superbly detailed parts including a seat with seatbelts, two radiator faces and two sets of exhaust pipes.
Decals are printed by Techmod and they look superb, looking glossy, with good colour density and registry. Carrier film is kept to a minimum. Very impressed with the definition of even the smallest of stencils and there are quite a few to add.
Kabuki type paint mask are for the clear parts of the canopy, main and tail wheels, and landing light.
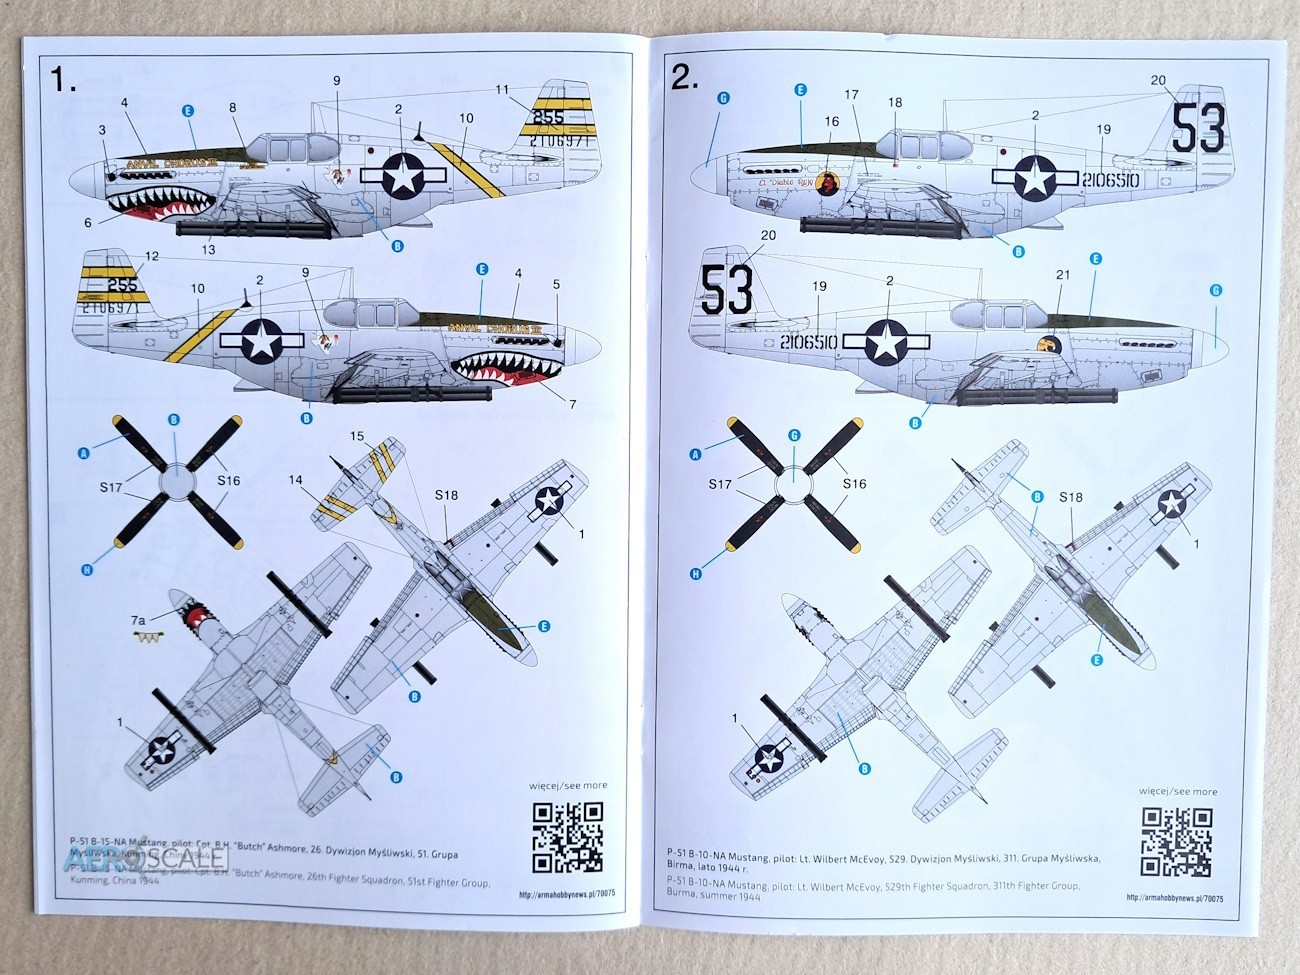
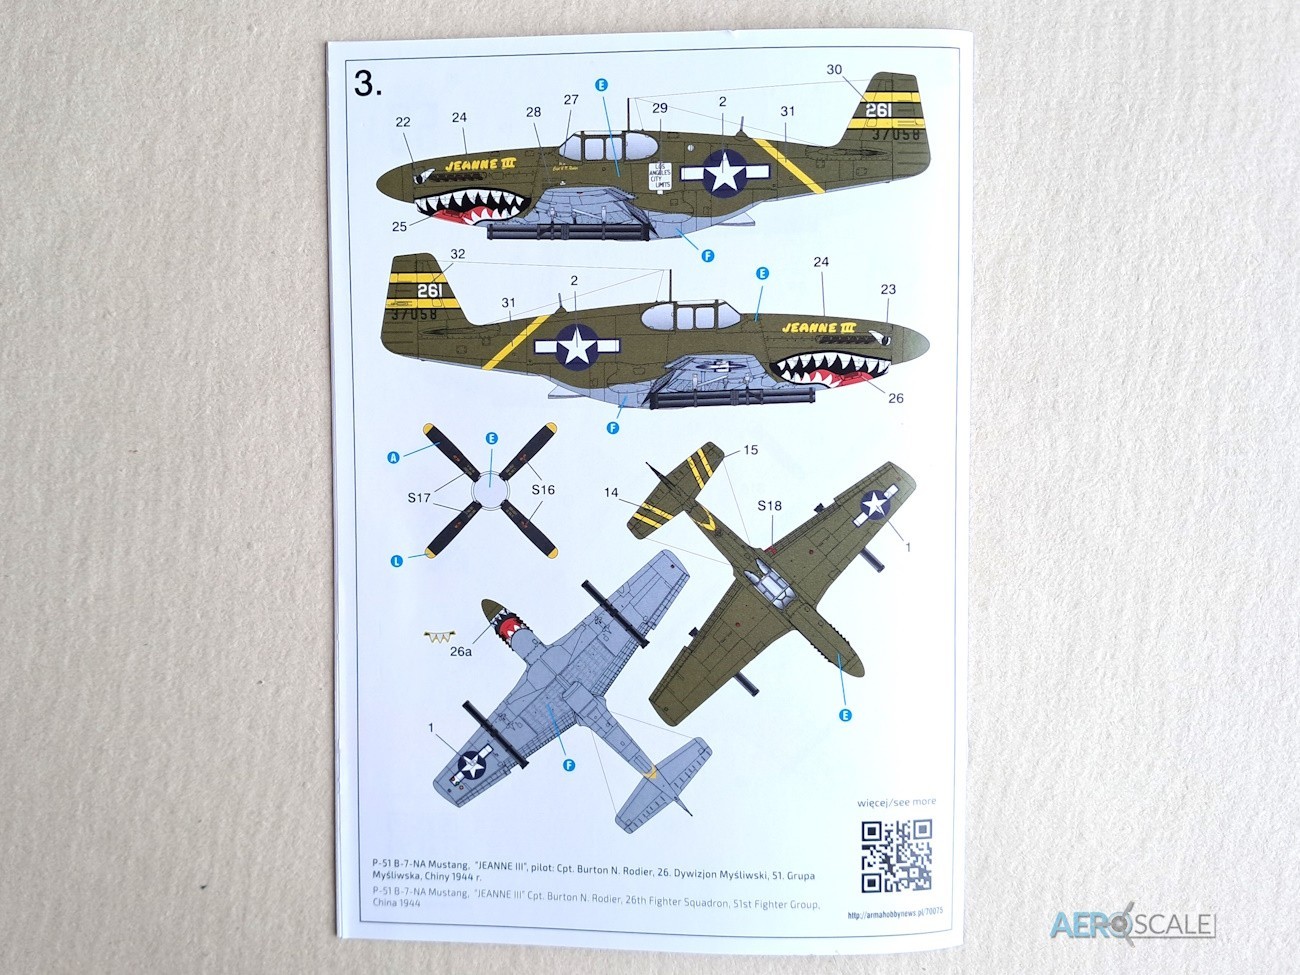
Instructions comprise of a twelve page, A5 format booklet. The line drawings and renders accompanied by the instructions in Polish and English make the instruction very user friendly. There is quite an extensive range of paint manufactures as reference for the colours. The painting guide features four views of each aircraft along with a separate guide for the stencils. Paint manufactures referenced include Hataka, AK RC, Lifecolor, Ammo, Humbrol, Vallejo and Tamiya. Also included are the FS numbers too.
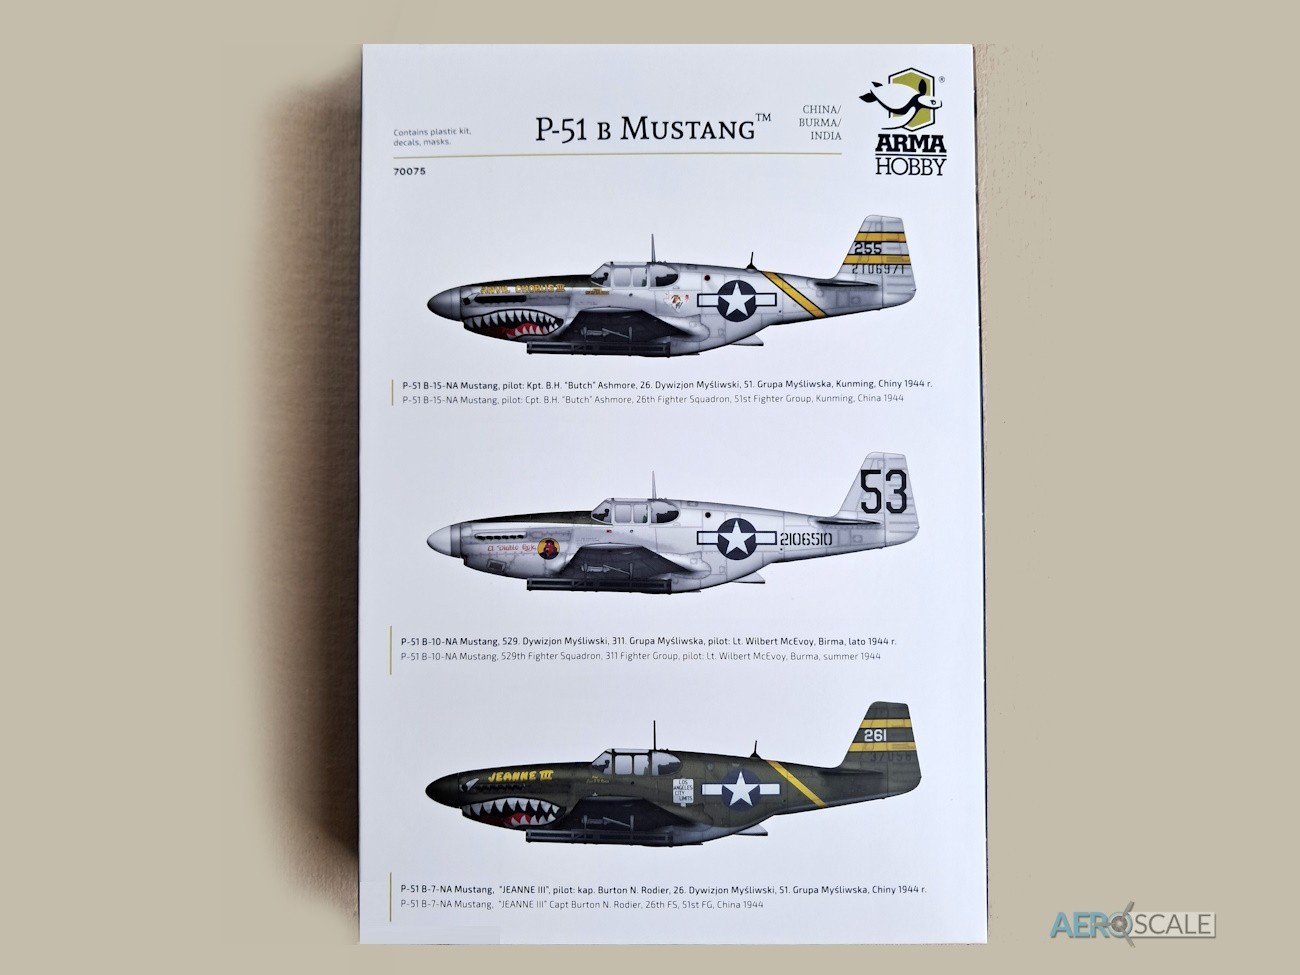
Marking options include:
- [1] P-51 B-15-NA Mustang, flown by Capt. B.H. “Butch” Ashmore, 26th Fighter Squadron, 51st Fighter Group, Kunming, China 1944
- [2] P-51 B-10-NA Mustang, 529th Fighter Squadron, 311th Fighter Group, flown by Lt. Wilbert McEvoy, Burma, summer 1944
- [3] P-51 B-7-NA Mustang, “JEANNE III”, flown by Capt. Burton N. Rodier, 26th Fighter Squadron, 51st Fighter Group, China 1944
Options 1 and 2 are both natural metal finish, whilst option 3 has olive drab upper surfaces and neutral grey under surfaces. Options 1 and 3 from the 26th FS feature black bordered yellow stripes and you may be pleased to learn that the stripes are included on the decal sheet. The distinctive sharks teeth on both 1 and 3 are included on the decal sheet. Option 2 is interesting as the two digit aircraft number is applied bomber style on the vertical tail. The art work is worth mentioning. Option 1. There is some interesting artwork and calligraphy on each of the marking options.
Conclusions
Great to see Arma Hobby releasing their outstanding 1:72 scale P-51B with marking options for the CBI theatre. Also, chapeau to Arma Hobby for producing a new sprue with the bazooka set. It will certainly garner interest with this option. Modellers always are looking for something different and this release will strike a chord with many fans of the Mustang. Price from Arma Hobby is very good, the kit retails currently at €22.50. Highly recommended.
Looking forward to seeing Arma Hobby’s new tool 1:72 scale P-51D in the near future.
Many thanks to Arma Hobby for supplying this kit for review on Aeroscale. The kit is available now from Arma Hobby.
70075 P-51B Mustang™ China/Burma/India – 1:72
Please remember, when contacting retailers or manufacturers, to mention that you saw their products highlighted here – on Aeroscale