
Background
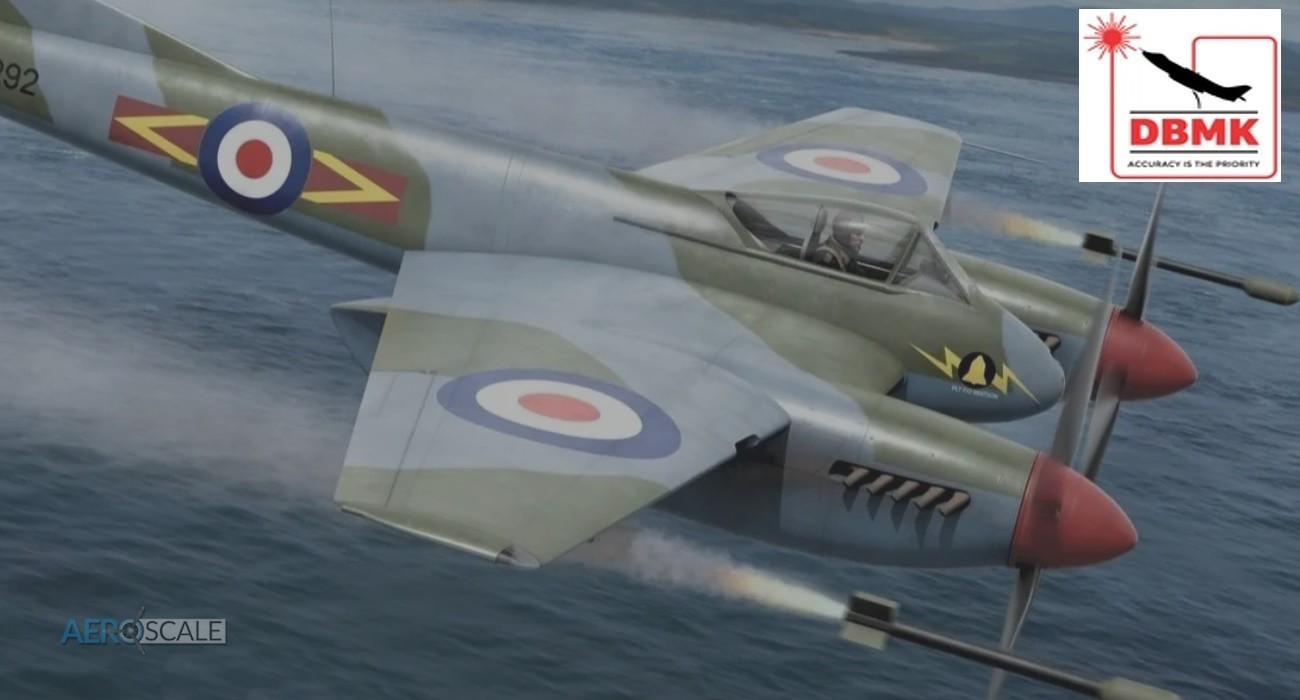
It’s often called the ultimate piston engine fighter a title that is probably shared with its very close relative the Sea Fury. Originally called the Typhon II, the Tempest was the result of a need to improve the Typhoons performance at altitude. Hawker believed that the introduction of a laminar wing into the design would solve the deficiency at altitude making it a more versatile fighter. Unfortunately like the Typhoon it was disappointing at high altitude, but excelled nearer to Earth. Despite the disappointing performance at altitude the Tempest proved to be an extremely effective combat aircraft with its excellent range with fuel tanks, speed, outstanding roll rate and great visibility from the cockpit. It carried a considerable punch with four wing mounted 20mm cannons and ability to carry up to 2000lbs of ordnance. The Tempest was typically fitted with two 1000 lb (450 kg) bombs or eight 60 lb (27 kg) rockets. When fitted with under wing fuel tanks, the Tempest could loiter for up to 4.5 hours. It was feared by all that was within its range of operation whether ground targets or the emerging jet powered aircraft. Hubert Lange, a Me 262 pilot, said: "the Messerschmitt Me 262's most dangerous opponent was the British Hawker Tempest — extremely fast at low altitudes, highly manoeuvrable and heavily armed."


The Tempest MK.II was designed from the outset to be powered by the Bristol Centaurus 18 cylinder radial engine. The first prototype [LA602] took to the skies in 28 June 1943. The first production line of Tempests Mk.II’s were produced on the 4th October 1944 at Bristol's Banwell facility. As the end of the war was in sight production was cut back. Fifty Mk.II’s were produced at Barnwell with a further four hundred and two built at Hawkers Langley plant. There were two Series of Tempest Mk.II produced: the first Series had the serial number prefix MWxxx and the second series had the prefix PRxxx, useful to know if you are doing some photographic research. The first series lacked the tropical filter, situated just in front of the windscreen. There was an additional water tank fitted in the cockpit. Most of the first series Mk.II’s were converted for tropical use and many were sold to India and Pakistan. The Tempest Mk.II was a little longer than the Mk.V by twenty centimetres, but slightly shorter in height. Performance compared to Mk.V was improved despite the Mk.II being twenty kilos heavier. The Mk.II beat the Mk.V in climb rate and speed as well as the service ceiling. The Tempest Mk.II was ear marked for the war in the East with Japan serving with the Tiger Force. It did see action against guerrillas of the Malayan National Liberation Army during the early stages of the Malayan Emergency.


The Kit
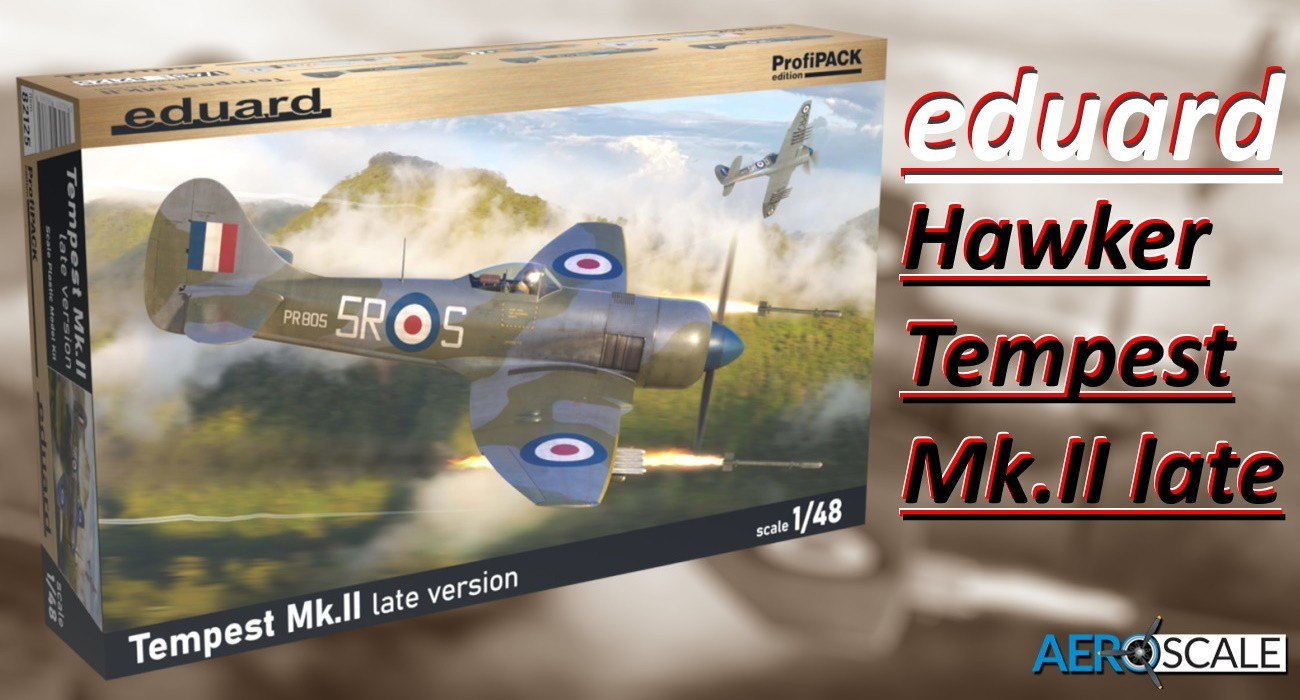
Eduard and Special Hobby collaborated on releasing the Hawker Tempest in 1:48 scale. This is the second 1:48 scale Tempest Mk.II Eduard has released. The first was the early MK.II [82124].


Opening the box, it’s a little disappointing and unlike Eduard to place the grey and one clear sprues in one bag. Once you carefully extricated the sprues it’s immediately obvious how good the mouldings are and the quality of the detail. Eduard is right up there with the best model manufacturers in the way they create fine panel lines and detail.


Contents include:
- 6 x grey platic sprues
- 2 x clear plastic sprues
- 1 x small fret of pre-coloured photo etched items
- 1 x paint masks
- 2 x sheet of decals
- 1 x A4 20 page instruction manual.


The cockpit area is made up from around twenty-nine plastic parts and around twenty-two photo etched parts [PE]. There is additional fine raised detail on the inside of the fuselage in the cockpit area. As is the norm with Eduard ProfiPACK editions you have a choice of how you represent the instrument panel and side consoles. You can use the pre-coloured PE parts supplied, use the excellent detail moulded on the plastic parts or use the decals. Seat harness is included on the PE fret. The seat is made up from four parts. There is a wealth of detail to be found with the parts supplied, more than enough for most modellers.


The canopy is beautifully clear and the separate windscreen means you can display the canopy open, so you can better see the cockpit detail Eduard has gone to great lengths to supply you with. The canopy is fitted onto a grey plastic sill


The fuselage comes as two halves; thankfully Eduard has decided not to complicate things by including open panels. Only the forward bank of cylinders for the Centaurus radial engine are visible. The cylinders are moulded on a back plate to prevent seeing into the fuselage. This arrangement is more than adequate as the engine fitted tightly in the bay and there is a large reduction gear housing further reducing the view. Special Hobby released a resin set [129-5131] showing the port side section of Centaurus engine as viewed with a panel off. The rather large four bladed prop is made up from three parts. The separate one-piece rudder has noticeable raised lines to represent the rib tape as the rudder frame was canvas covered. There is some good raised detail in the tail wheel bay. There is a roof and partial stop plate any view of the inside of the fuselage.


The lower wing is a full span one piece part. The two upper halves of the wing have some good raised detail in the roof of the wheel bay. There are six parts forming the walls of each bay and parts for the retraction gear. Armament consists of the 20mm Hispano Mk.II canons with the short barrels. In fact, they are so short they barely project out from the leading edge. Unfortunately, Eduard has continued keeping this small section of the leading edge separate. Not sure why this is separate, but it will spoil the look of the leading edge if you don’t blend them in correctly. There are around twenty-six plastic parts detailing the main undercarriage bay. Additionally, the raised detail in the roof of the bay will certainly create an interesting focal point. There will be plenty of detail in the undercarriage bay. The ailerons are separate one-piece items and presumably positionable. There are partly formed holes that need to be drilled out for the fitting of the rockets and fuel tanks. The large radiator on the right-wing leading edge has a detailed plastic or PE face. The smaller radiator has no such detail. The two horizontal tail surfaces are each two pieces. The elevators are separate and are one piece.


The tyres of the main undercarriage have Dunlop moulded onto the walls. Hubs are separate and look very good, and there are masks for them too. The main landing gear legs are one piece as is the complex looking activation arm and they are impressively detailed as are the inside of the gear doors. The legs are well detailed and pretty robust and take the weight of the model by themselves. The detail on the inside of the undercarriage doors looks crisp. The anti-shimmy rear wheel and oleo are made up from four parts.


There are two types of rocket projectile provided: with rails or without. The one with the rails are the ones to use as indicated in the instructions. There are preformed holes in the lower wing if you can’t resist installing the rockets. The rocket body, warhead and rails are one piece. The stabilising fins are separate and there is a PE ignition cable to attach to the rear too. Marking option ‘B’ suggests using just the fitting the rocket rails. Removing the rocket from the rails looks easy enough to do. The fuel tanks on a clear sprue seem to confuse some folk. It’s not actually the tanks that were clear, it was the pylon that was transparent. Drop tanks are included in the kit, though you cannot fit both rockets and fuel tanks.


There are masks for the windscreen and canopy as well as the wheel hubs, wing root walkways along and the ID lights.


The two sheets of decals are printed in house and as you would expect the quality is superb. The zig zag white wing markings for option ‘D’ are included on the decal sheet. There are quite a few stencils to apply and there is a guide in the instructions.


There are six marking options with this release including:
- [A] PR805, No.33 Sqn, Butterworth, Malaysia, 1951
- [B] PR772, S/Ldr G. T. A. Douglas, No. 152 Sqn, Risalpur, India, November 1946
- [C] PR782, No.16 Sqn, RAF Fassberg, Germany, 1948
- [D] A152, No 5 Sqn, Royal Pakistan Air Force, 1949
- [E] PR666, Sqn Ldr T.H. Meyer. No. 30 Sqn, Santa Cruz, Bombay, India, 1946
- [F] HA598, No. 7 Sqn, Royal Indian Air Force, 1947
Eduard has chosen a good range of marking for the Mk. II. The two that appear natural metal are actually painted Aluminium. Eduard states that option ‘D’ could be painted in the desert or the day fighter scheme and leave the modeller to decide.


The A4 sized twenty page instruction booklet takes you through the build process clearly. Gunze Sangyo and Mission paints are used for reference, but it is simple enough nowadays to cross reference these with your favoured paints.


Conclusions
Great to see the mighty Centaurus powered Tempest Mk.II from Eduard coming out at the same time as the Sabre II engined Tempest Mk.V. The quality of the recessed and raised detail is exemplary and the amount of detail included in the cockpit and main wheel wells is superb. Eduard has done the modeller a great service producing this release as they have rather than creating a hybrid with the inherent problems of fit of parts.


Our thanks to Eduard for the review sample
82125 - Tempest Mk.II Late Version ProfiPACK - 1:48
Please remember, when contacting retailers or manufacturers, to mention that you saw their products highlighted here – on AEROSCALE.