Background
It was quickly realised that the Fw 190 A1-4 could easily carry more ordnance with a redesign of the fuselage. The D-2 engine was moved forward by 15 cm resulting in a shift of the centre of gravity forward to allow more weight to be carried aft. The Fw 190 A-5 was the first series to incorporate this redesign. The A-5 also marked a change of manufacturing techniques and new production plant for the ‘Würgers’ was set up at Fieseler substantially increasing production. As a result production of the Fw 190 rose from 224 aircraft in 1941 to 1,878 in 1942.Some A-5s were tested with the MW 50 methyl alcohol and water injection system, but installation was not adopted for serial production.The FuG 25a Erstling IFF, and an electric artificial horizon were fitted into the A-5. The A-5 retained the same wing and internal armament as the A-4.‘Umrüst-Bausätze’ kits were issued over time to modify the A-5 for various roles as a night fighter, long range intruder and fighter bomber as well as reconnaissance.
- Fw 190 A-5/U2 – night fighter/intruder 2 x MG 151s, ETC 501 racks fitted
- Fw 190 A-5/U3 – fighter bomber 2 x MG 151s, ETC 501 racks fitted
- Fw 190 A-5/U-4 – armed reconnaissance 2 x MG 151s, 2 x RB 12.5 cameras
- Fw 190 A-5/U-8 – fighter bomber 2 x MG 151s, SC-250 centre line rack, 2 x 300 litre under wing fuel tanks
- Fw 190 A-5/U12 – bomber destroyer 2 x MG 17, 2 x MG 151 fitted internally, 2 x MG 151/20 fitted under the wings
- Fw 190 A-5/R-11 – night fighter fitted with FuG 217 Neptun radar equipment
The Kit
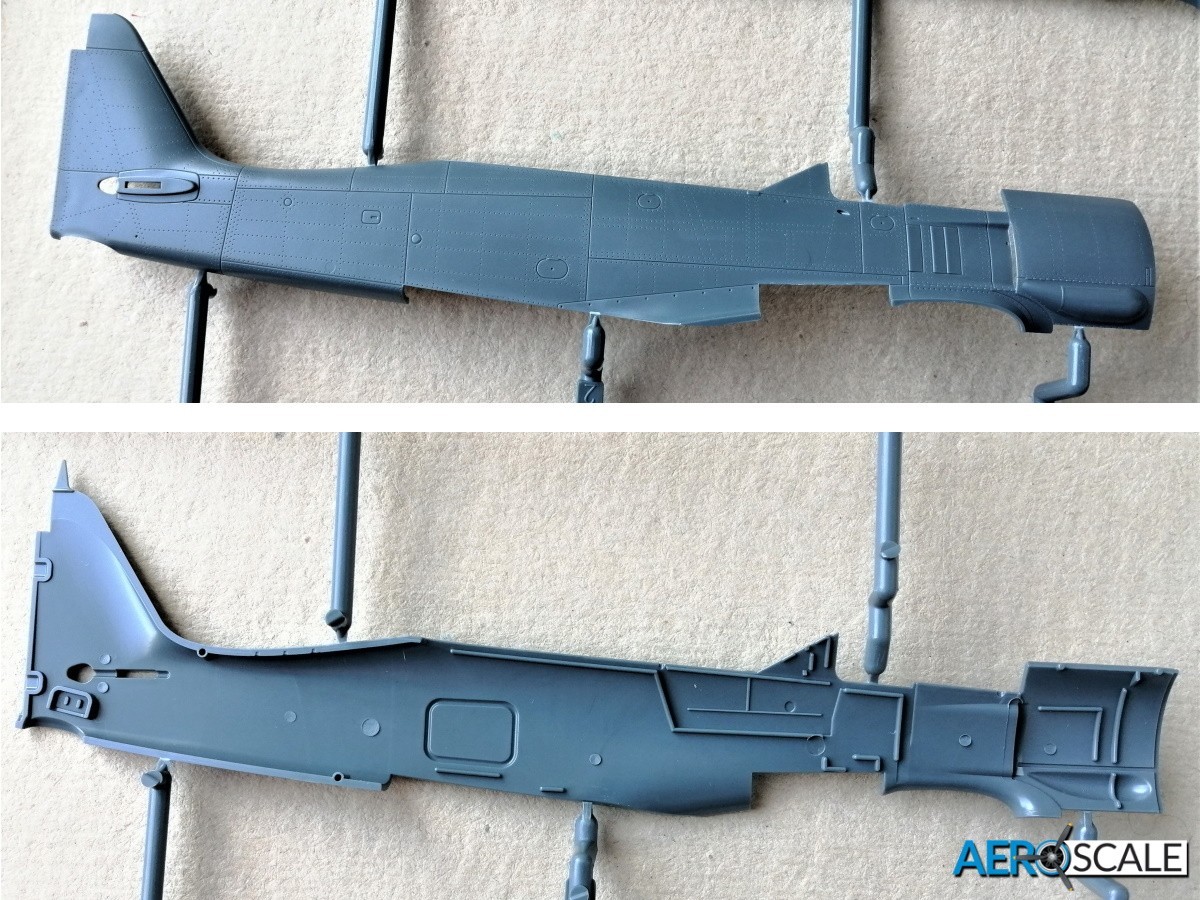
This is Eduards second generation of ‘Würgers’ and its noticeable how much simpler the construction of the fuselage is compared to the first generation of quarter scale Fw 190. They were known for their difficulty of build, due to the open panels. This second-generation quarter scale Fw 190 A’s were first released 2017. There is a caveat though. The more simplified approach of this kit will suite the modeller not wanting to show any internal detail. The first generation of releases are ideal if you want to display your model with open hatches and panels.
Overall, the raised and recessed detail looks superb and is very delicately done. Contents include:
- 5 x Grey plastic sprues
- 1 x Clear plastic sprue
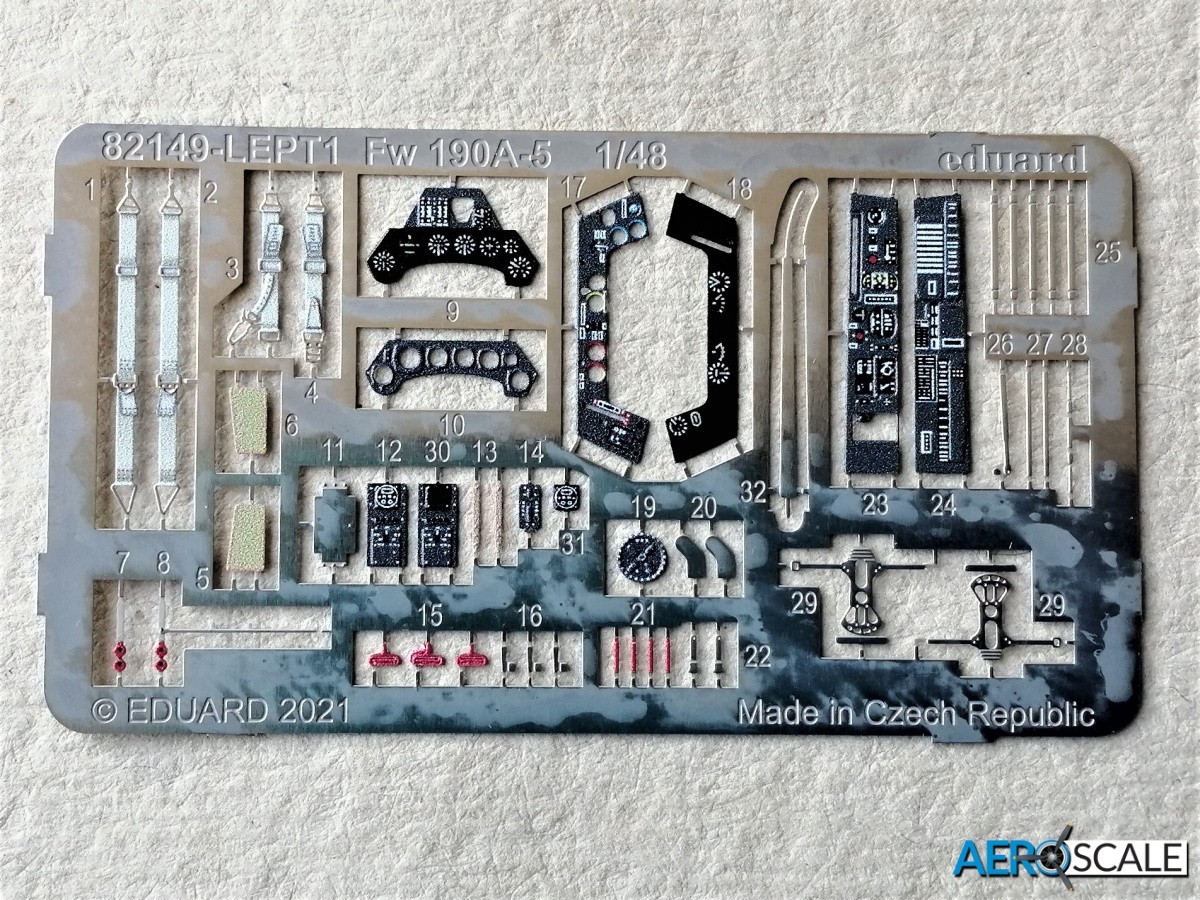
- 1 x Pre-coloured photo etched fret
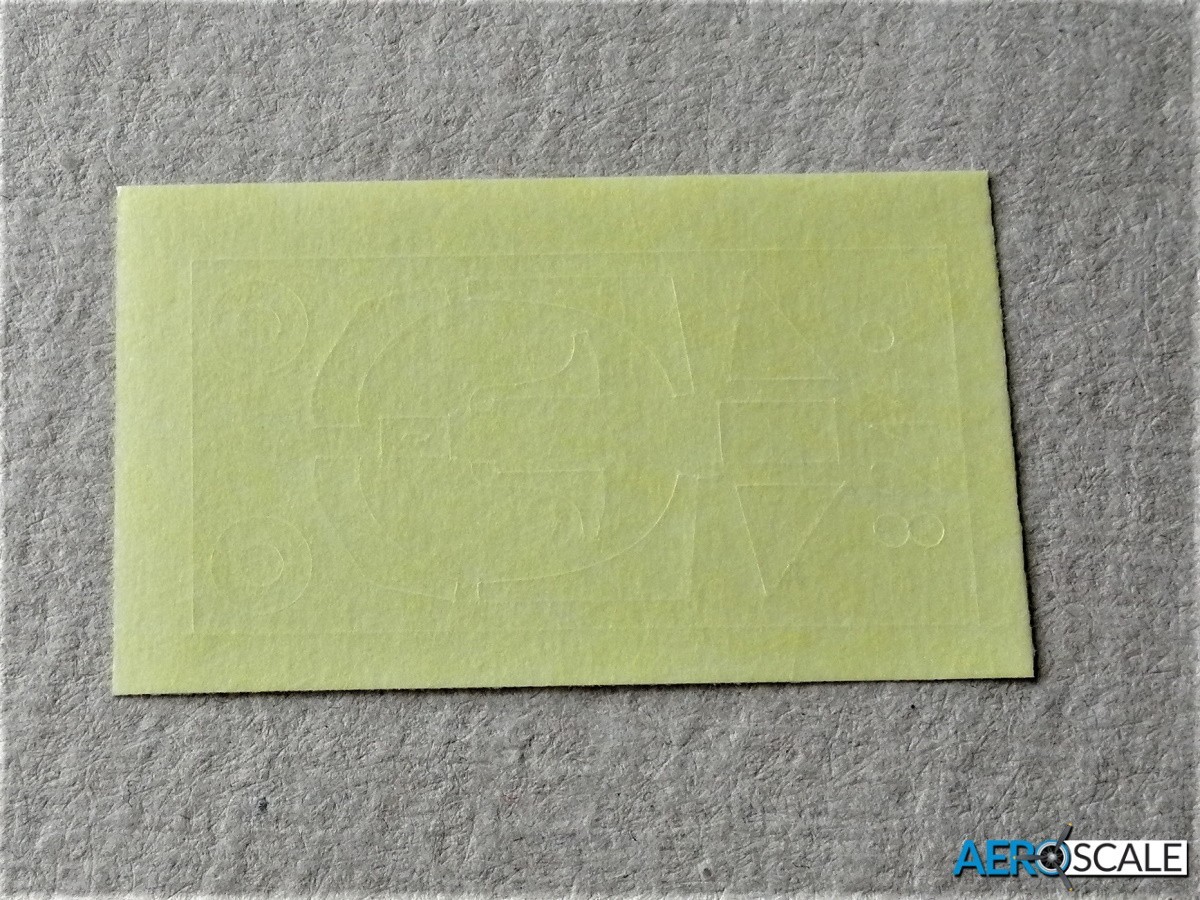
- 1 x Set of paint masks
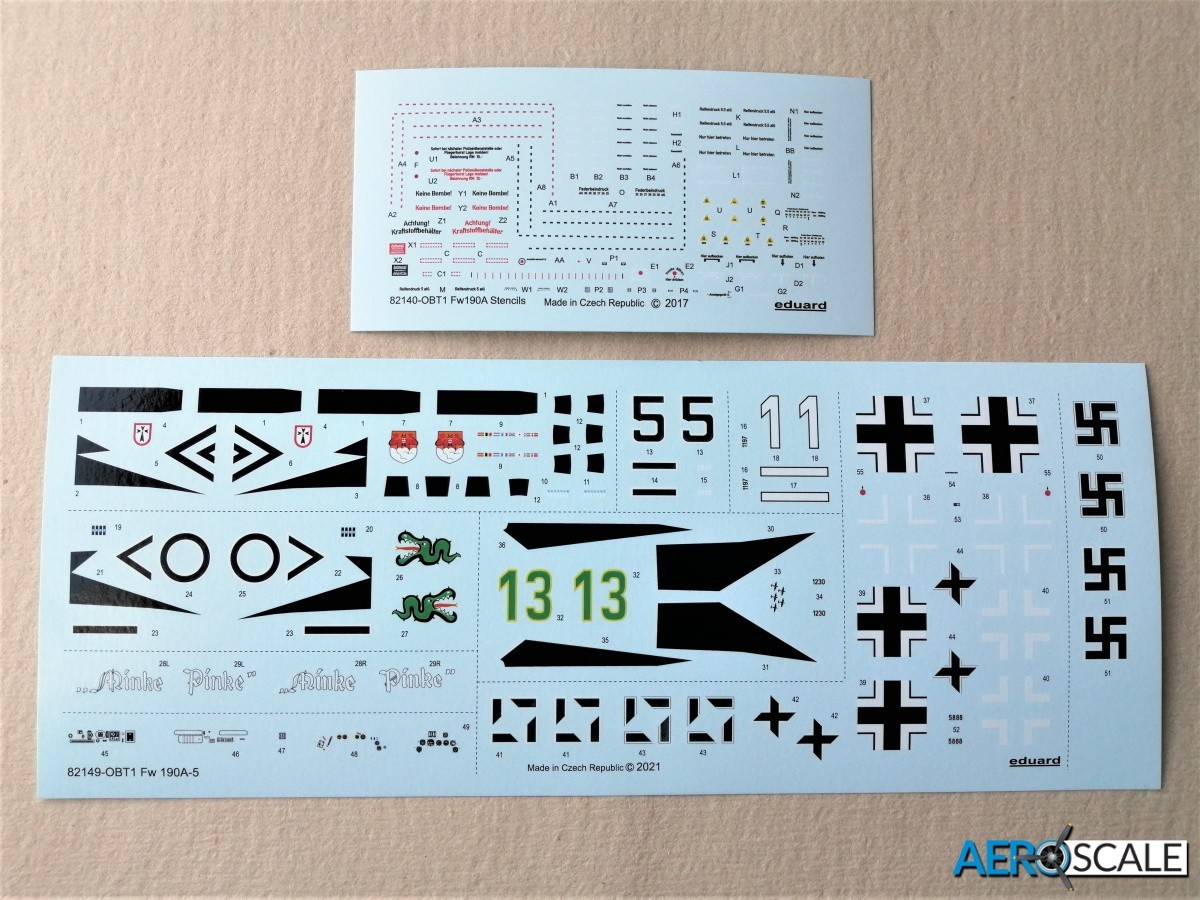
- 2 x Decal sheets
- 1 x A4 format 16 page build manual.
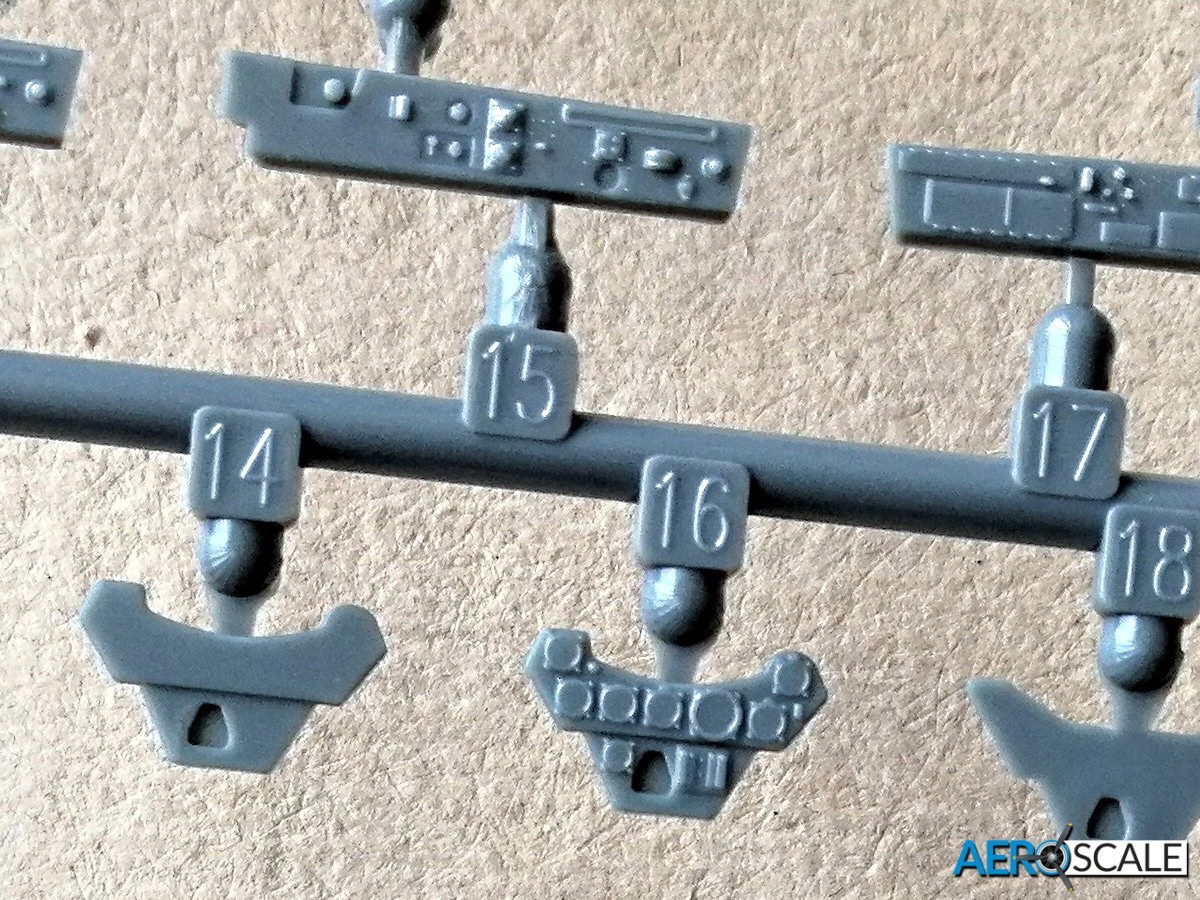
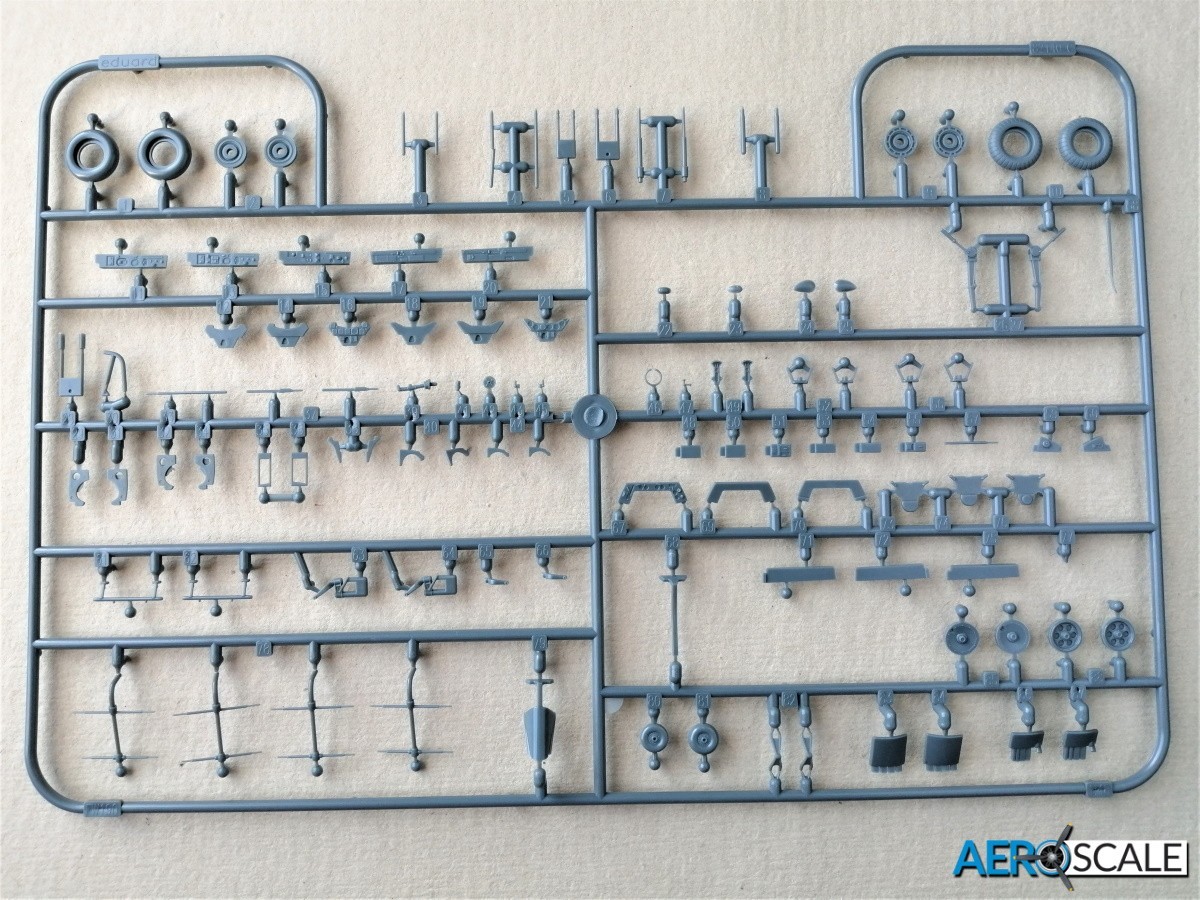
As always with Eduard’s ProfiPACK releases there are various ways off detailing the cockpit: using the detailed plastic parts, the pre-coloured photo etched parts and decals. There are around sixteen plastic parts and twenty-four photo etched parts making up the cockpit, as well as four decals for the instrument panel and side consoles. There are clear parts for the gun sight Most of the detail parts are attached to the one-piece cockpit tub that also incorporates the decking to the rear of the pilot. Seat harness are included on the pre-coloured photo etched fret. The decals for the instruments look very good and are a viable alternative to detailing the IP and side panels. The raised detail for the IP and side consoles is more than sufficient for detailing and dry brushing if you prefer to represent the instruments that way.
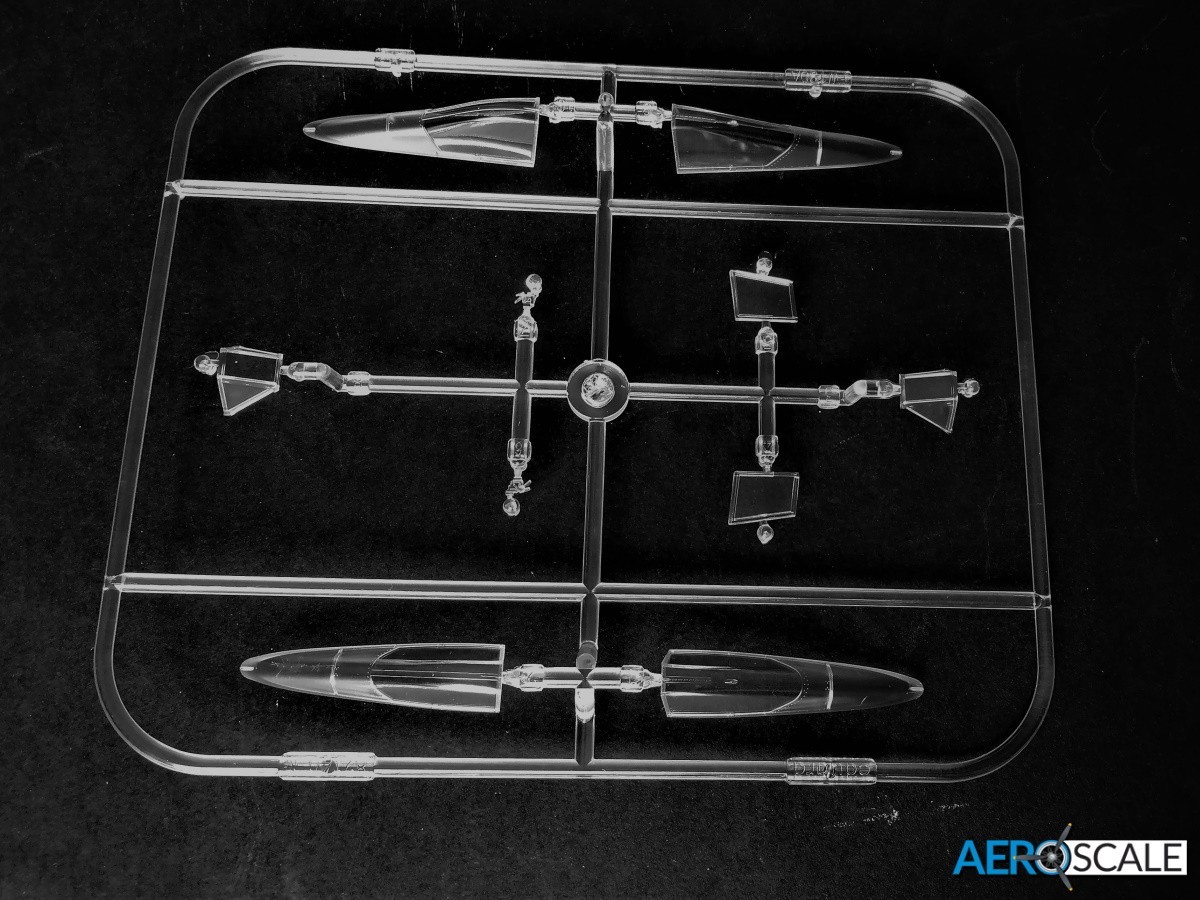
The canopies and windscreen are crystal clear. There are two canopies one for open and one for closed. Paint masks are included for both the windscreen and both styles of canopies. There’s a plastic armour plate/headrest and support or a photo etched brace to add to the canopy.
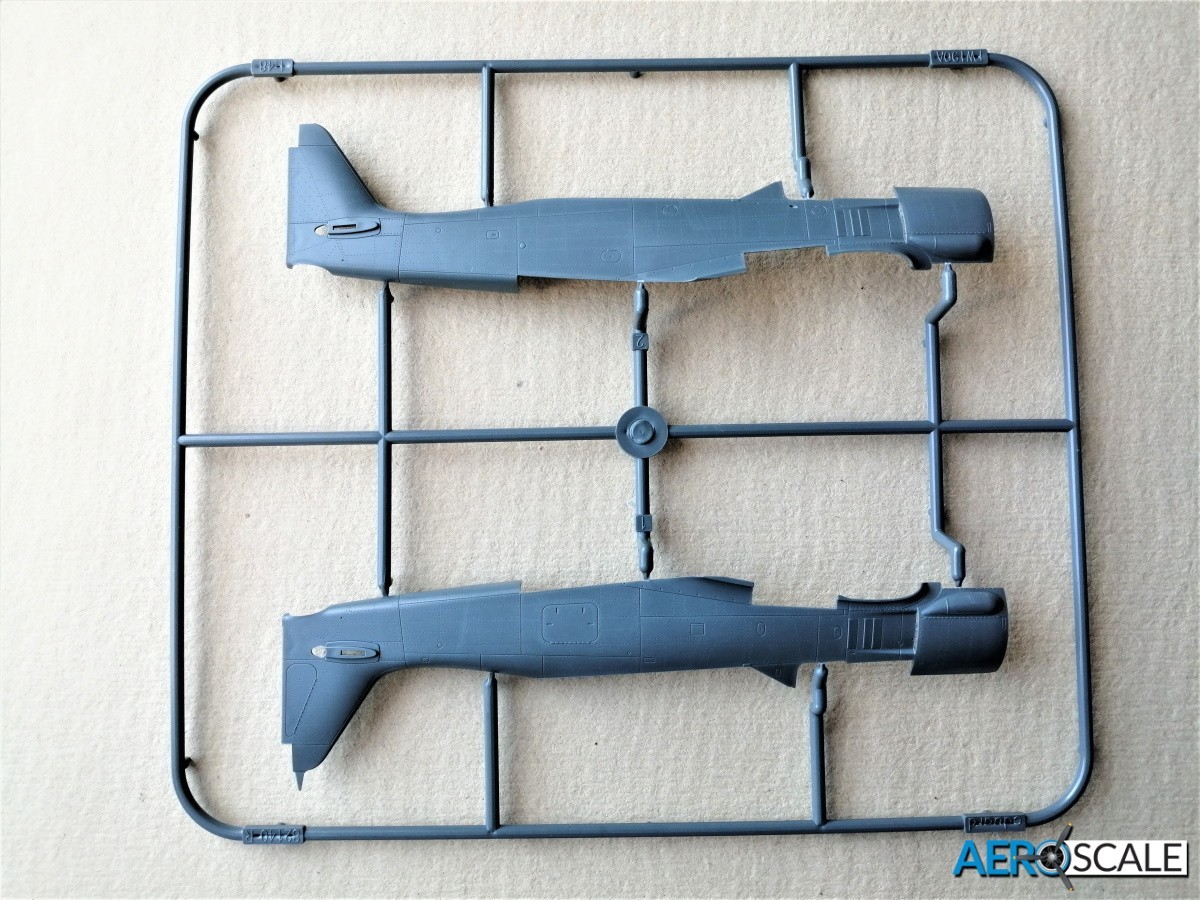
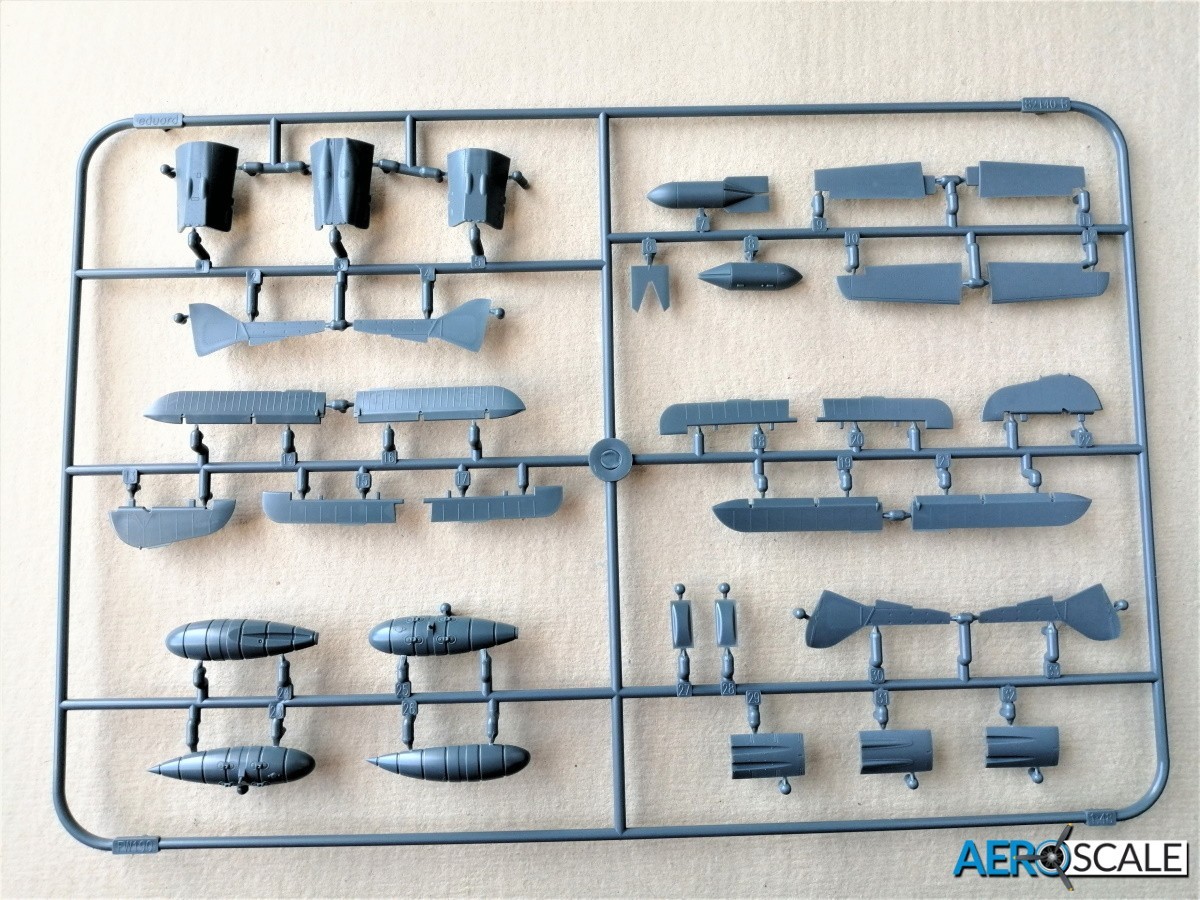
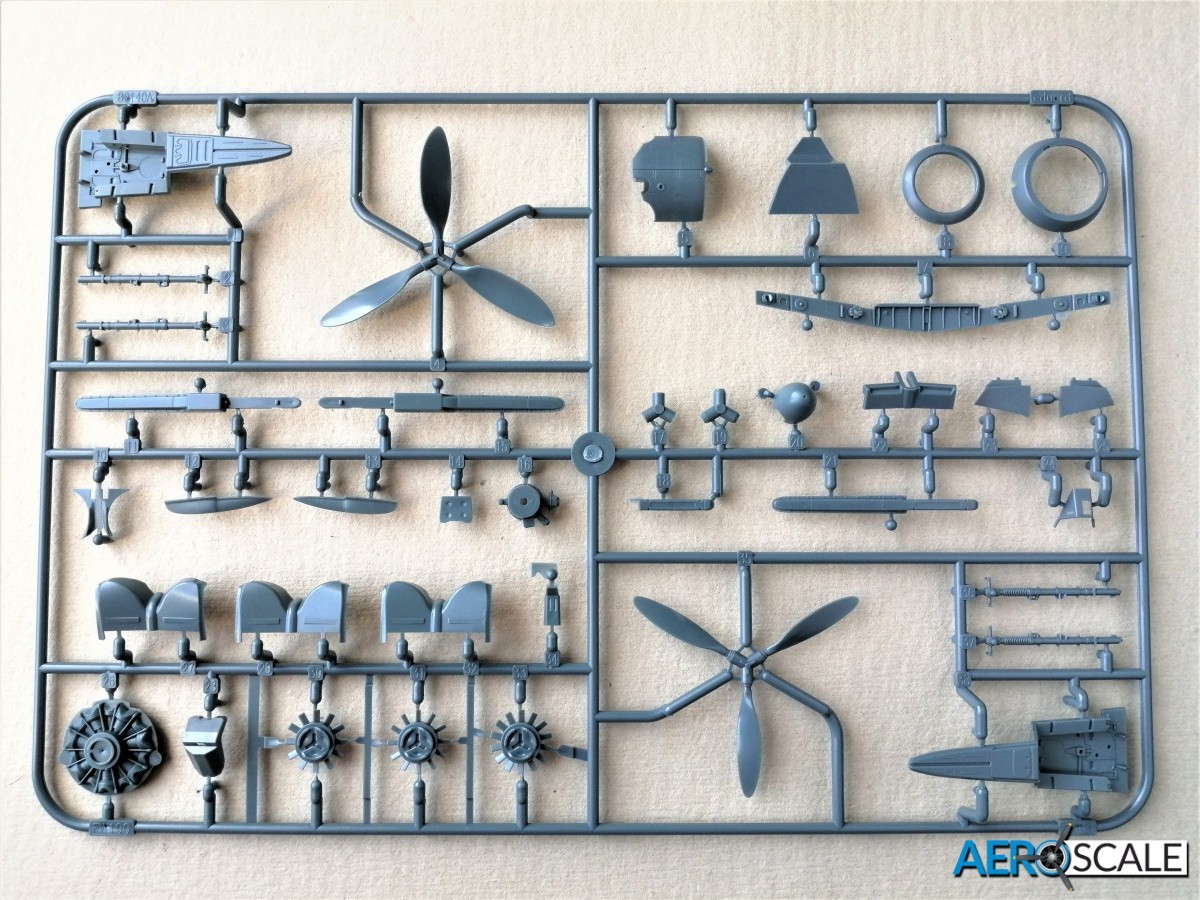
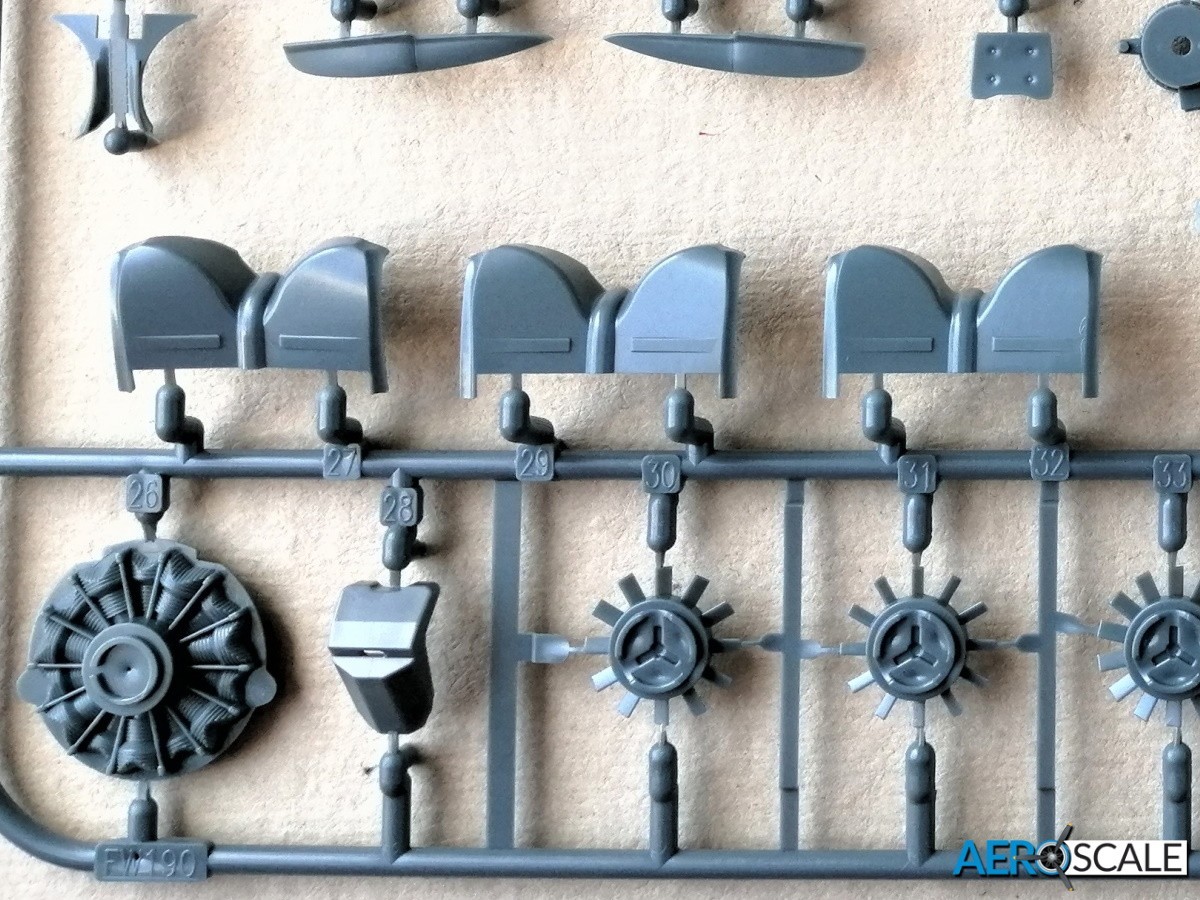
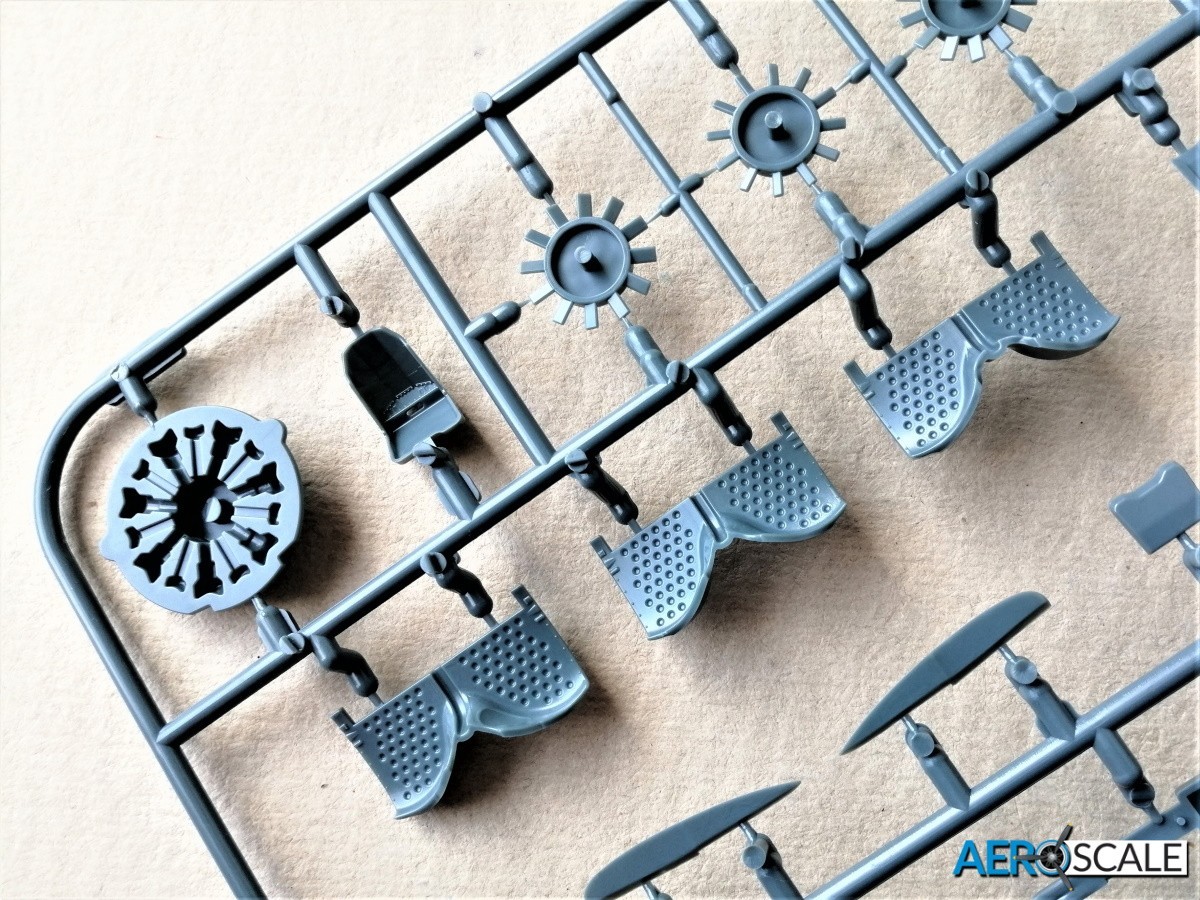
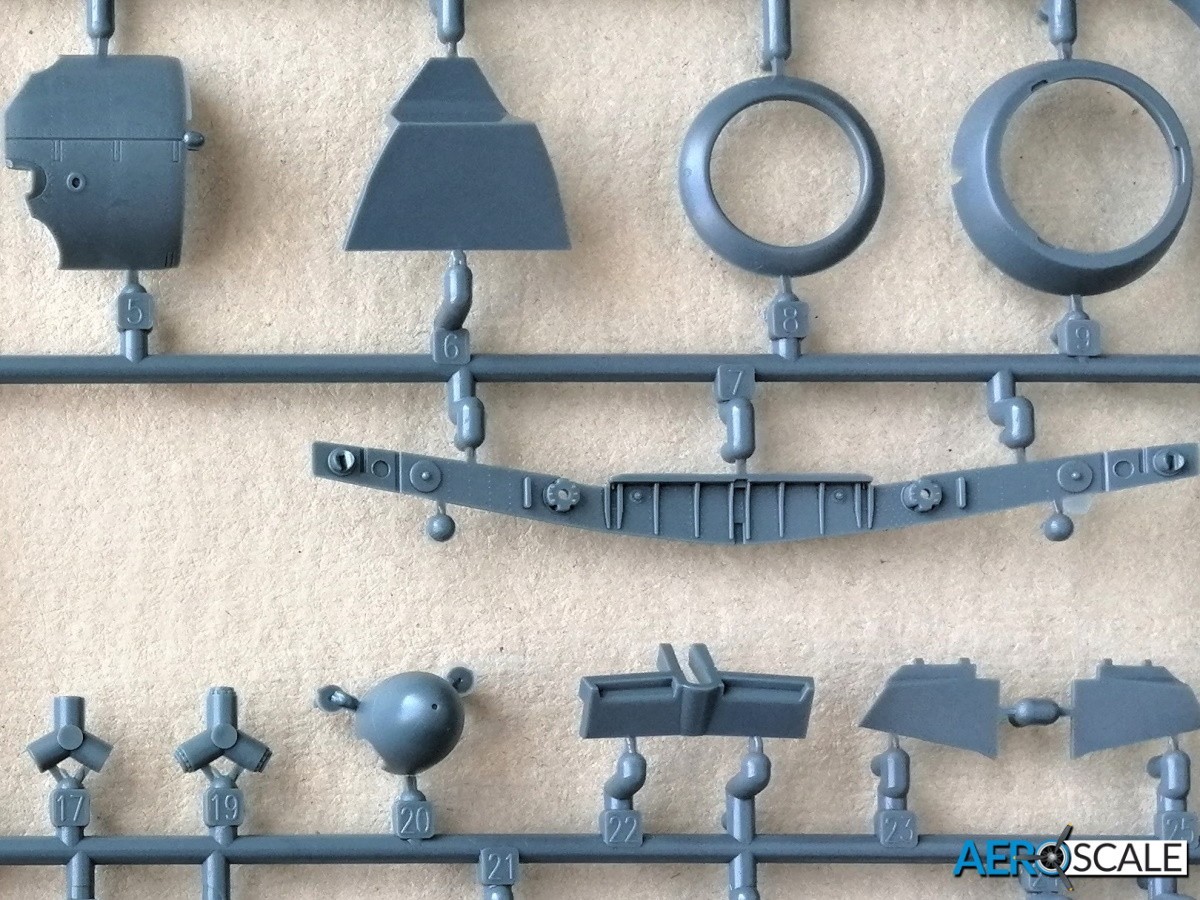
There are locating pins to help with the alignment of the two halves. The upper decking over the engine bay is made up from two parts,the two MG 17’s barrels are moulded separately. The two-part BMW 801 engine is moulded onto a plate that slots into the fuselage. The representation is shallow and pretty simple looking, both banks of cylinder’s are there, but in a compressed form. The engine will be mostly obscured by the fan in front, so it’s an acceptable trade off in detail. The three banks of exhausts are moulded separately, a nice touch is the exhaust blocks for the fuselage side has ‘L’and ‘R’ on them. There’s even a slight indentation at the ends of the exhaust.The louvre doors behind the exhaust are set in the closed position.
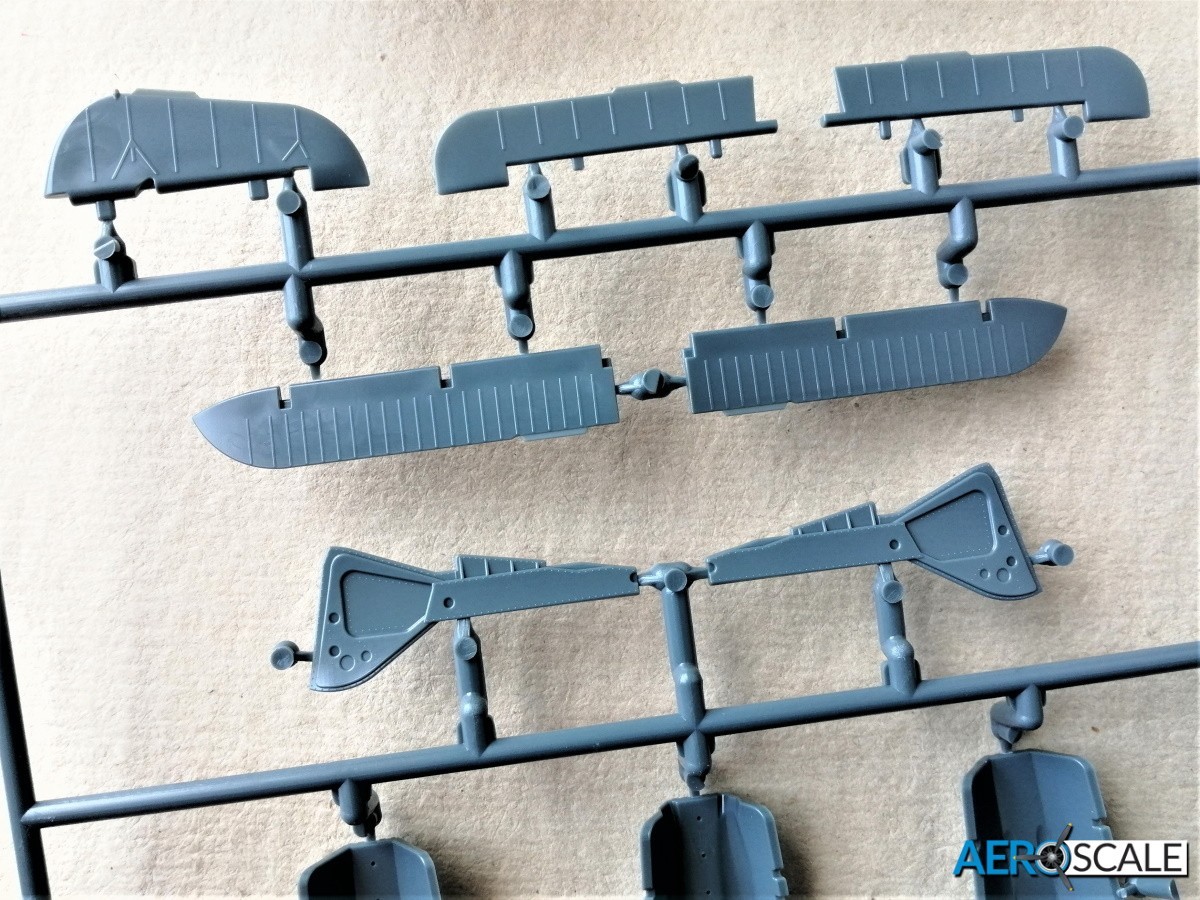
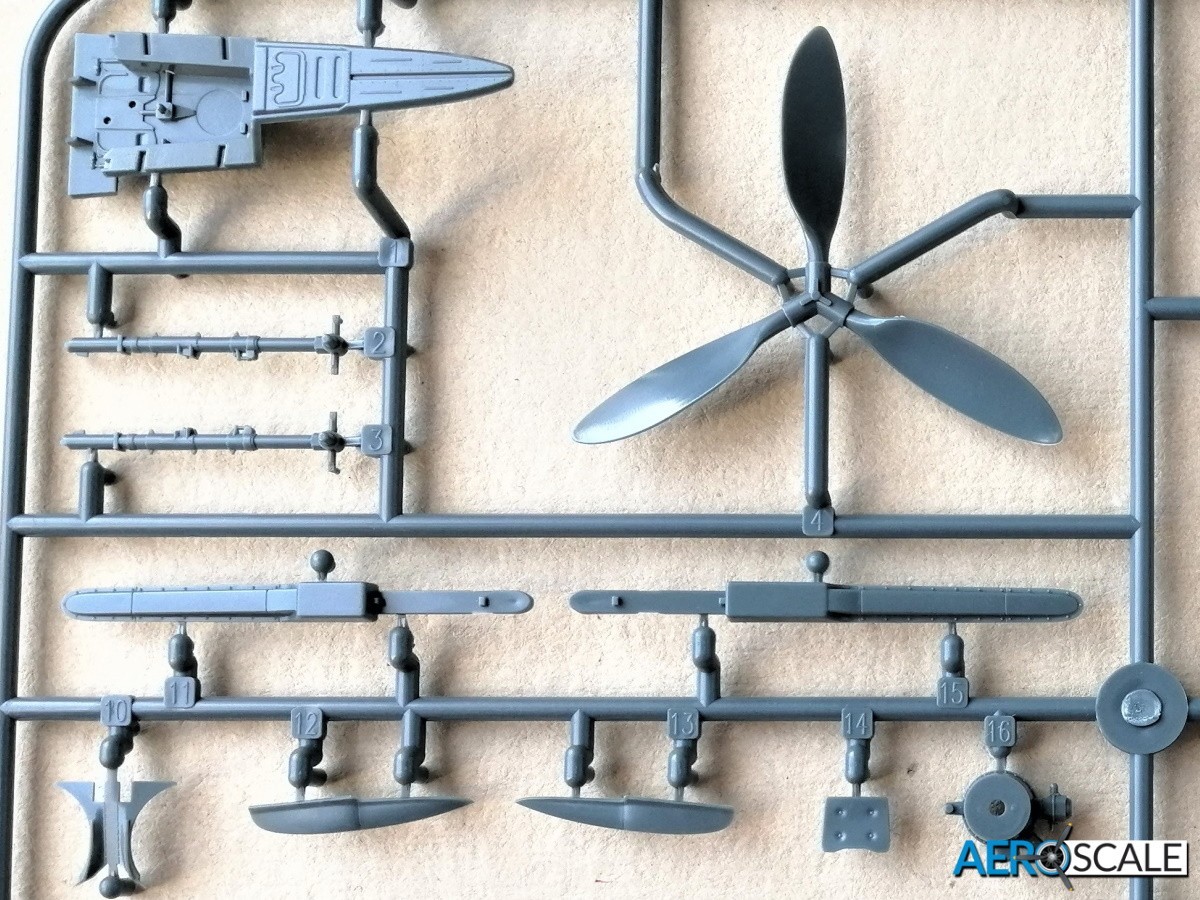
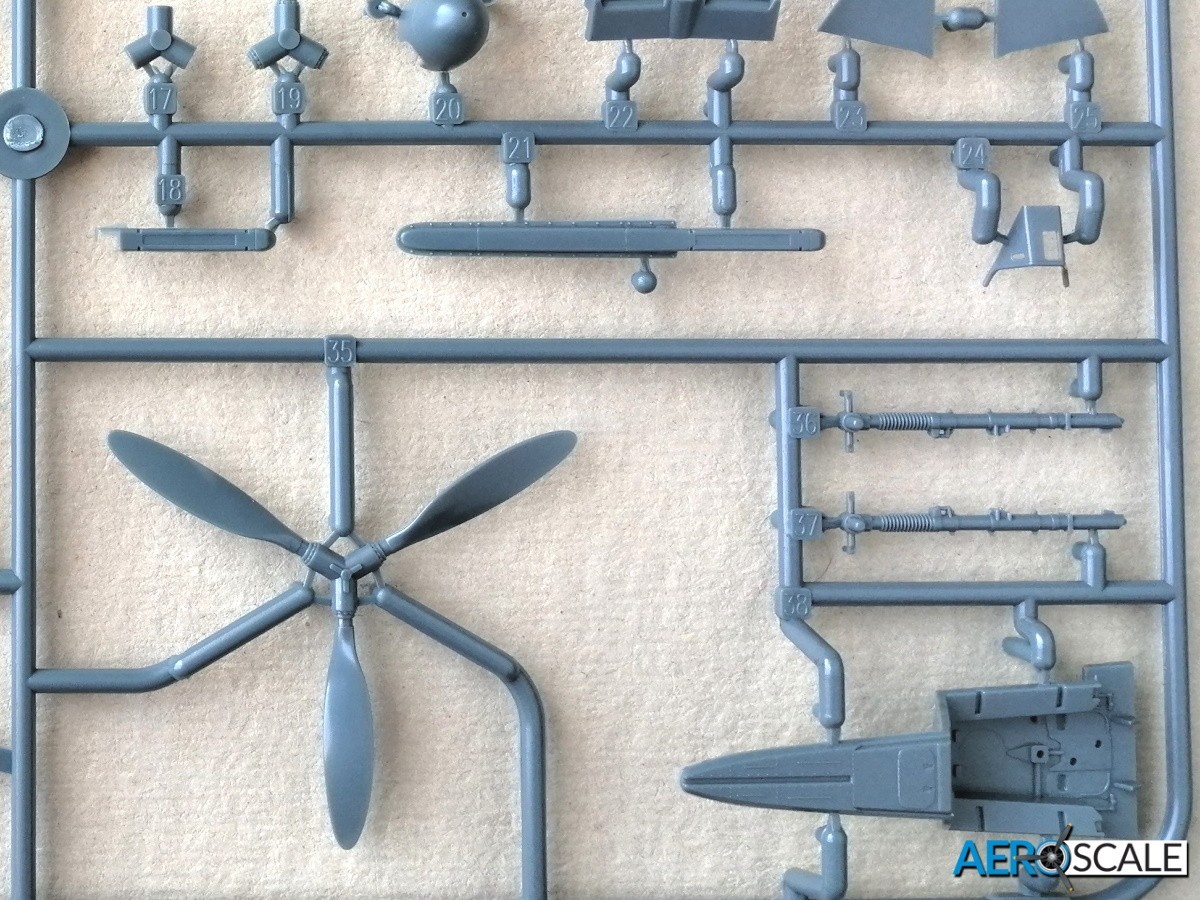
The always impressive looking prop is made up from four parts including the fan. The prop for this version has the narrower cord blades. The radio hatch is moulded closed but there is quite a deep recess around the hatch on the inside of the fuselage if you feel the need to open it up. There is a small amount of detail inside the fuselage where the tail wheel is located. The rudder is one piece with raised detail, the trailing edge is nice and sharp.
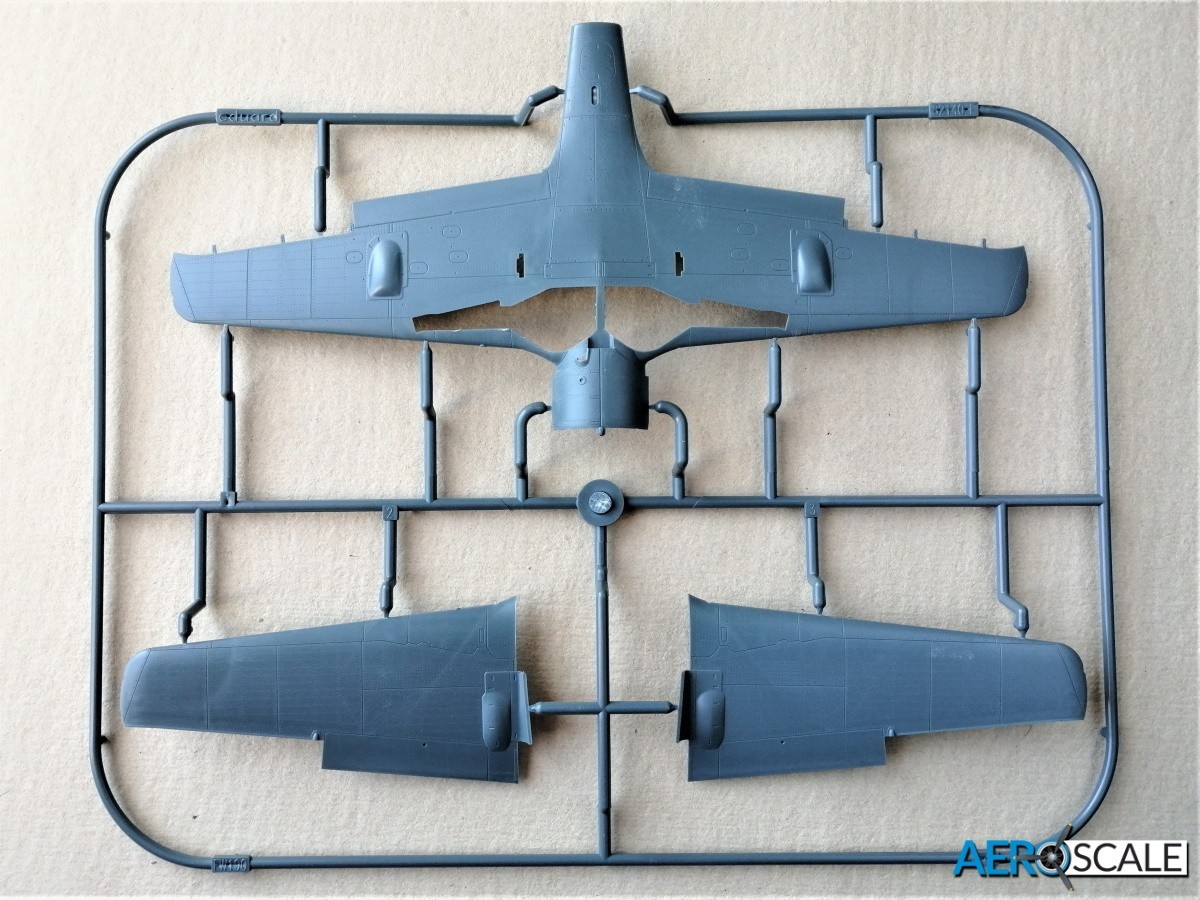
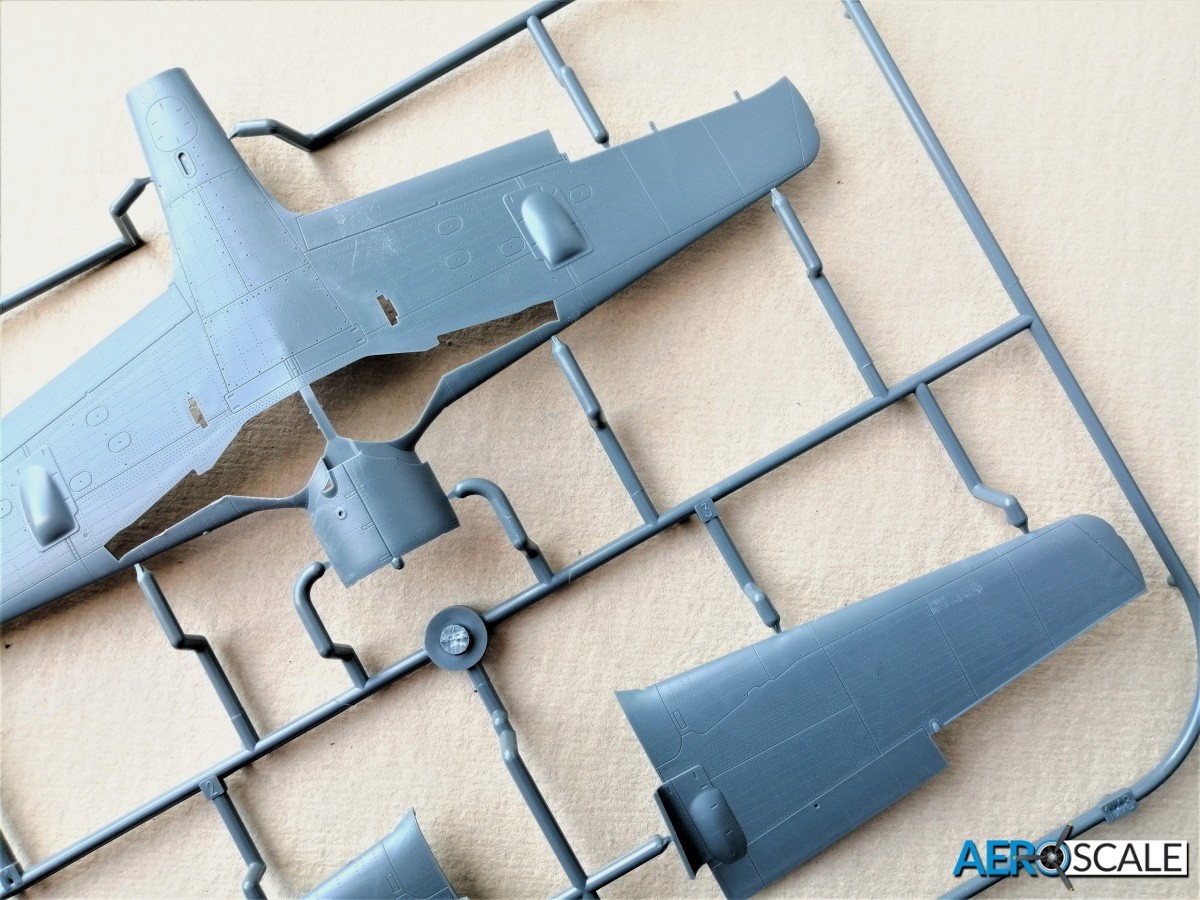
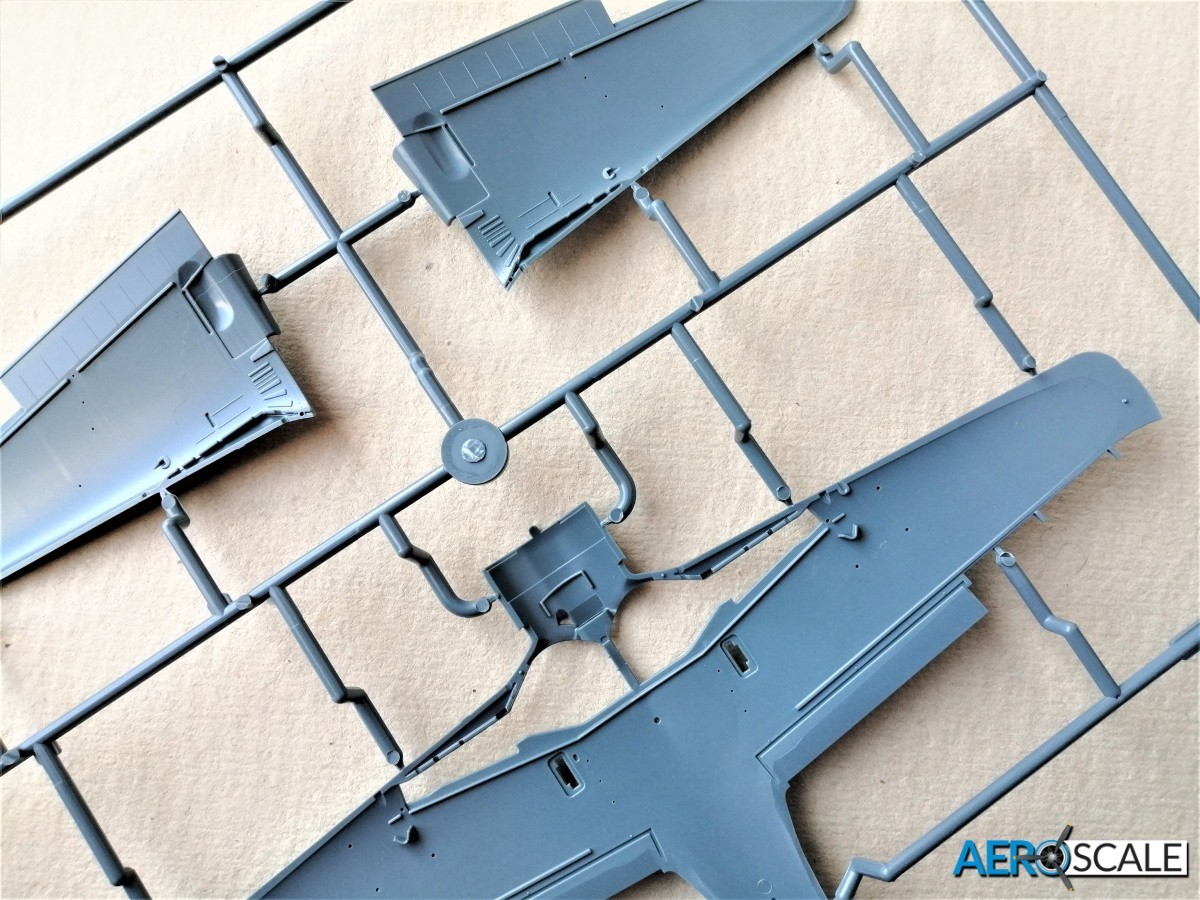
The wings are a much simpler affair to put together as there are no open hatches as with the Eduard’s first generation of Fw 190. The lower wing is one piece with separately fitted ailerons, but the flaps are integral to the wing. Eduard has engineered deep recess around the flap area on the inner surface to make the cutting out of the flap easier if you wish to create or purchase a flap set. There’s a good lip around the cut outs for the undercarriage so attaching the side walls will be easy enough. The main spar is represented and forms part of the undercarriage bay. There are around fifteen plastic parts to detail the undercarriage bay and that’s not including the barrels of the two MG FF cannons passing through.
The tail planes are each made up from two pieces and the two elevators are one piece, again nice sharp trailing edges.
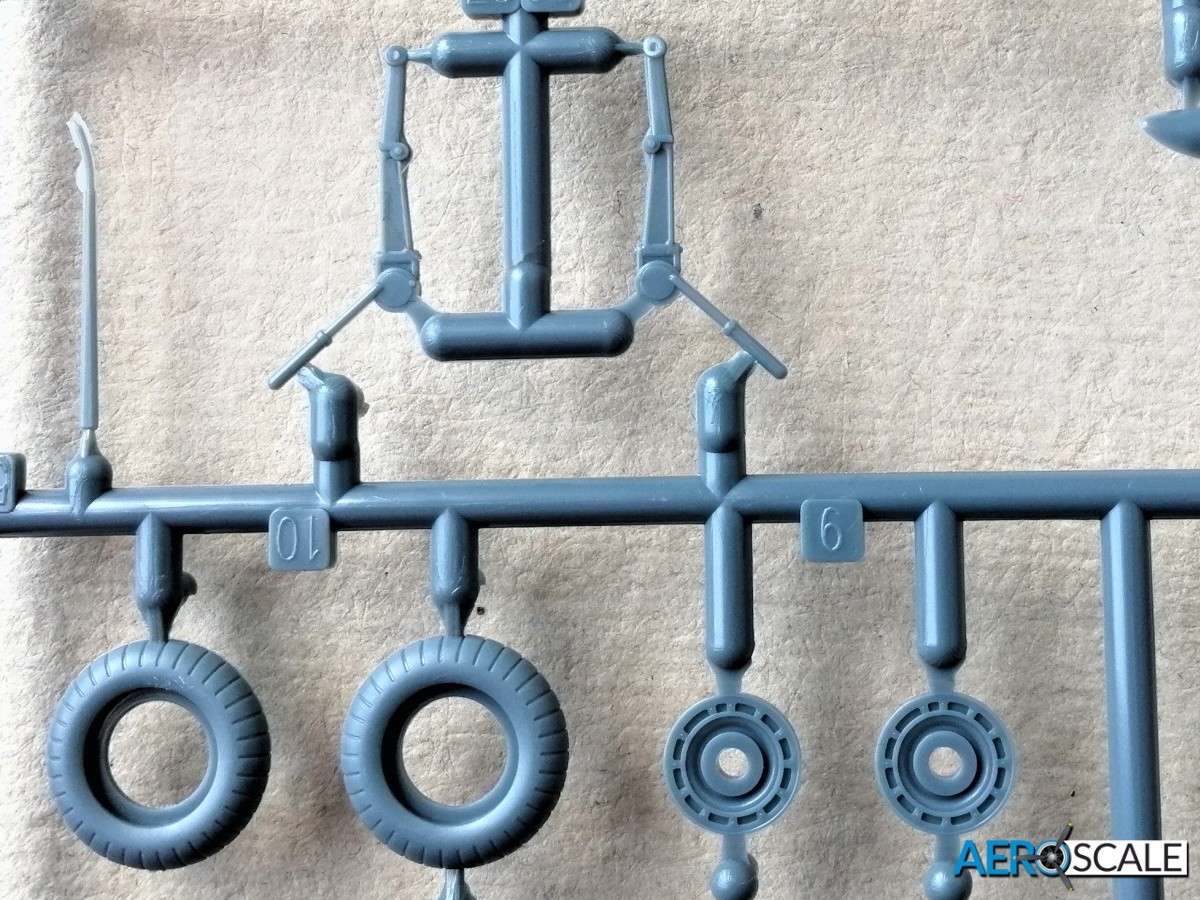
The undercarriage is very well detailed, there’s a real finesse in the way the whole thing is designed. There’s a useful guide in the instruction indicating the rake of the oleo. The oleo has a retracting arm to attach to it which will provide a fair bit of strength and hopefully assist insetting that odd looking rake. The main wheel tyres are each one piece. There’s a choice of tyres with tread or slick. The hubs are separate and can be left off for painting or you can attach them and use the paint included paint masks. The tail wheel has three components and the unit just slides into the fuselage after they have been joined.You can fit a fuel tank and rack, but make sure you drill out the holes in the fuselage before they are glued together.
Most of the pre-coloured photo etch parts are for the cockpit including seat harness, instrument panel, side panels, levers, rudder pedals
There are paint masks for the canopy and windscreen as well as the main wheel hubs. I did notice that Eduard has changed the backing from thin card to paper. Not sure I like it particularly, but we will see if it has a marked effect with the ease of removing the masks.
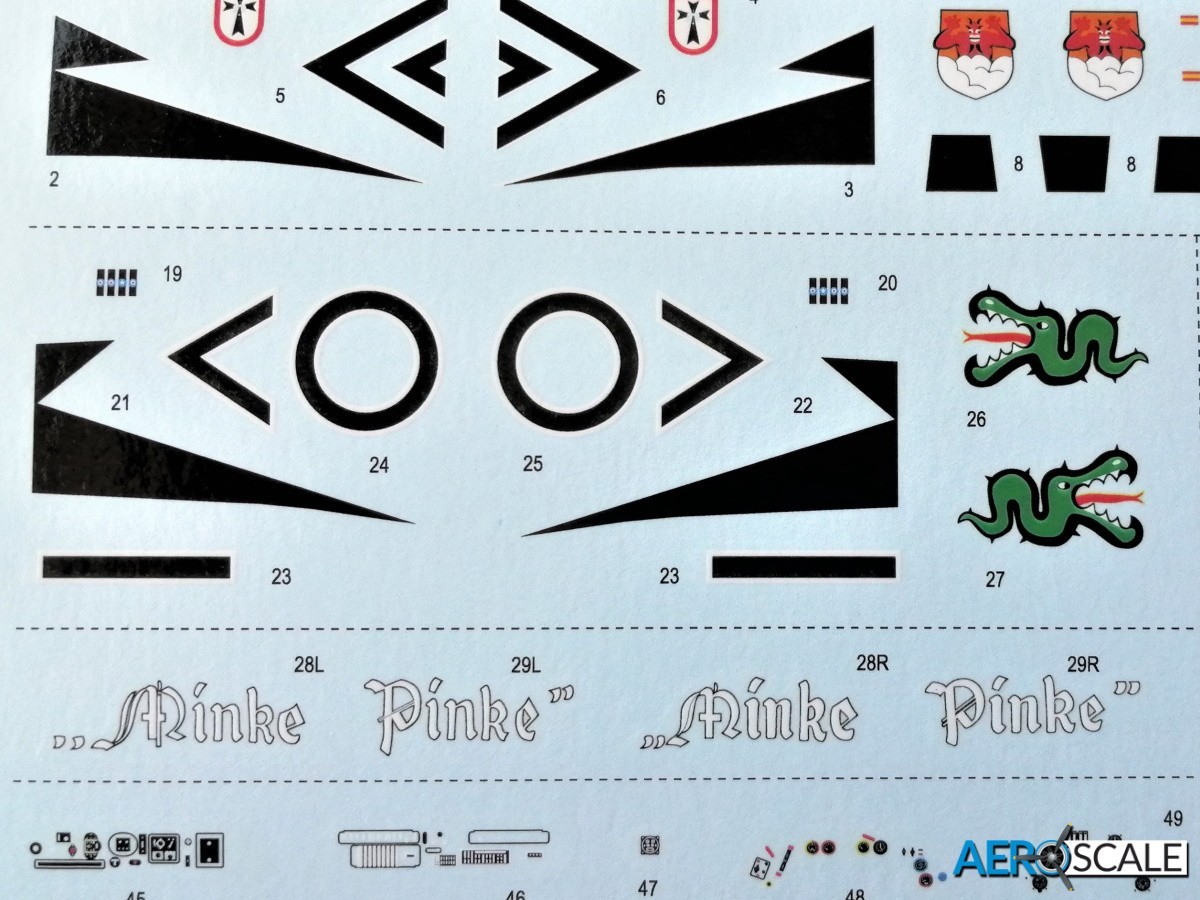
There are a couple of sheets of decals: the larger of the two has mostly the markings printed on it. Full or part swastikas are included.The stencils are really well printed the lettering is easily legible.
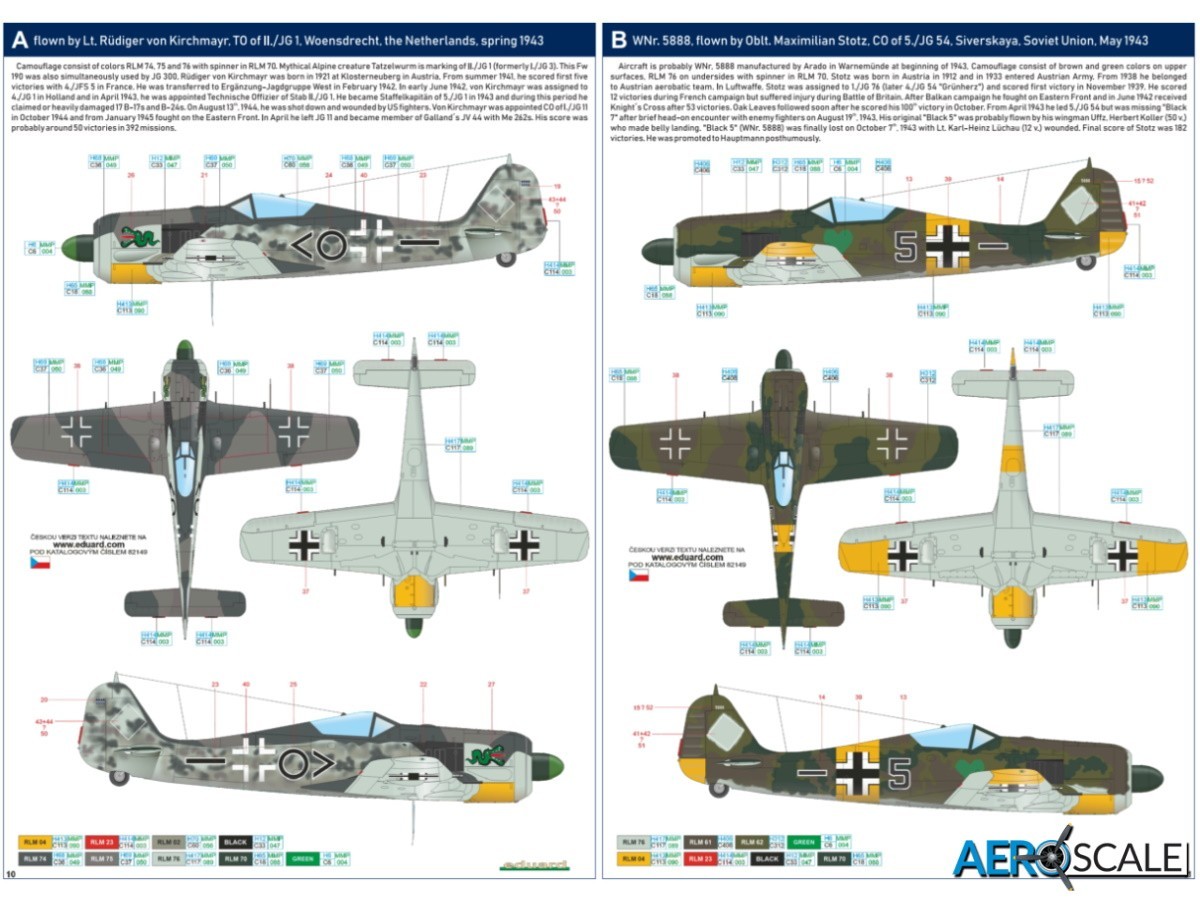
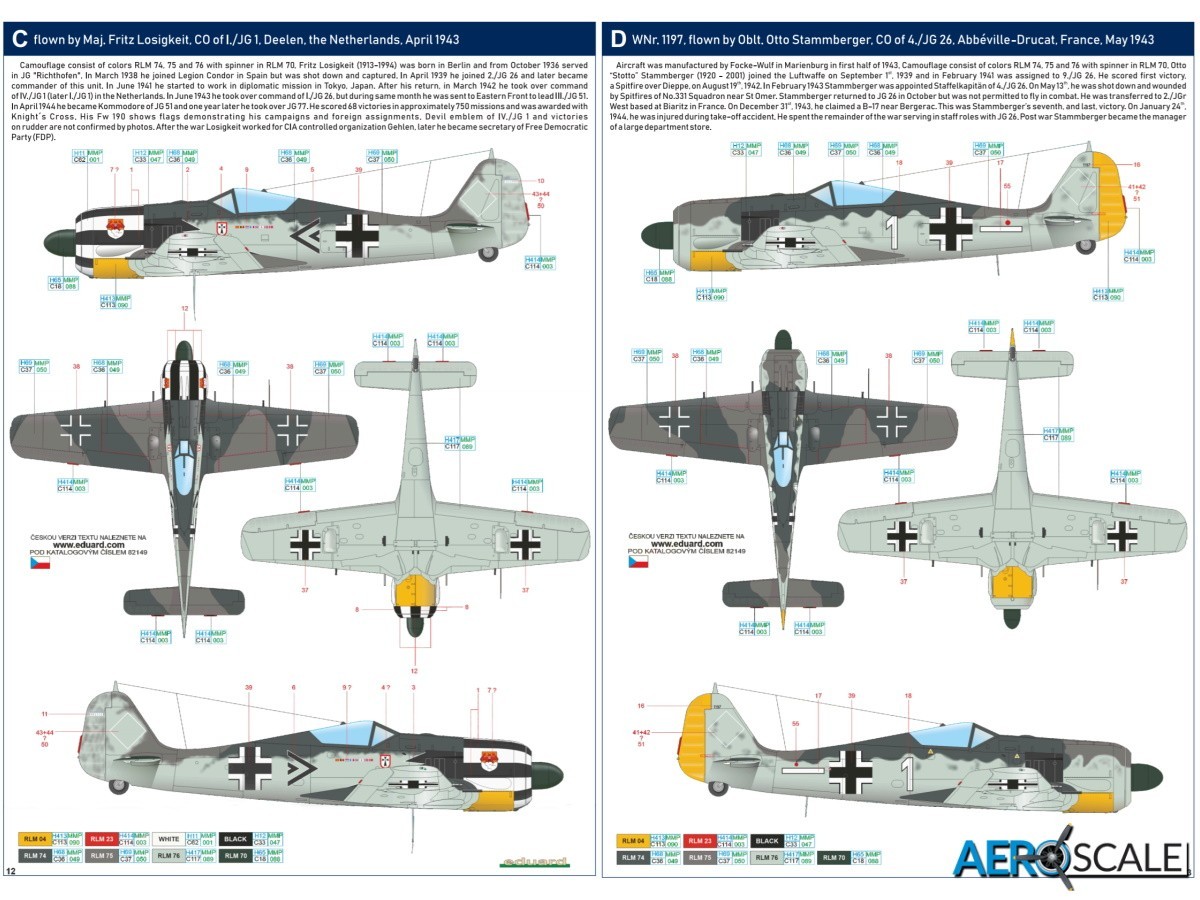
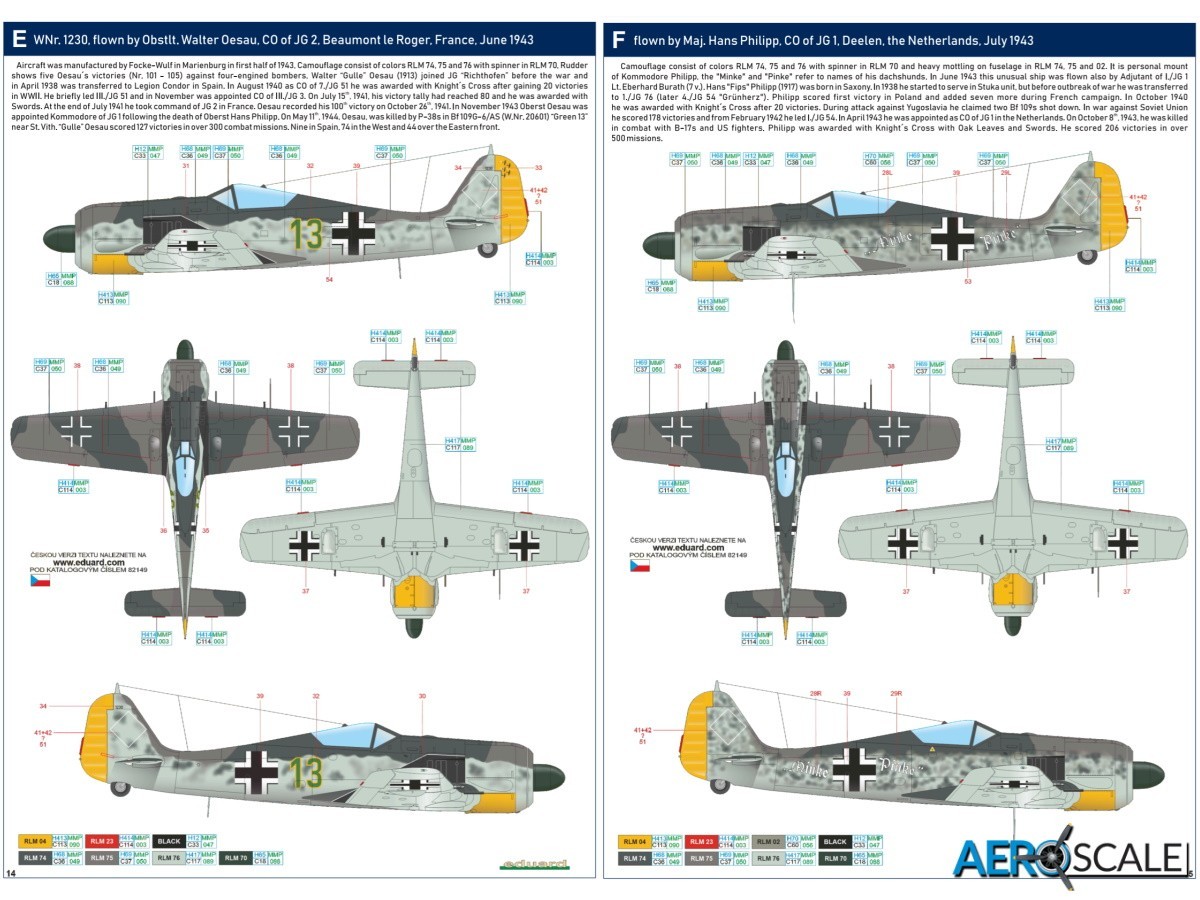
Instruction comprises of a sixteen-page A4 booklet. There are numerous stages of the build over ten pages. Black line drawn illustrations are very clear and they look easy enough to follow. Just be aware of any subtle variations depending on which marking option you’re going for. Finally, there are five pages of the marking options in colour and a page dedicated to the applying the stencils. Upper surfaces are all with one exception are RLM 74 and 75 with RLM 76 on the sides and underneath. Option B which has RLM 61, 62, 70 on the upper surfaces and RLM 76 on the lower. You might be glad to know there is not a spiral spinner amongst them.
Conclusion
The user-friendly parts will appeal to modellers that just want a clean representation of the aircraft without having to blend in separate cowls, covers and hatches. I’ve seen too many partially built first generation ‘Würgers’ sitting in a pending pile. The inclusion of the additional pre-painted photo etched parts to detail the cockpit and the paint masks is areal plus.
Having already built Eduards second generation Fw 190 A-6I know what a pleasure the kit was to put together. I recall finishing the kit in just over a week after the start of the build.
Our thanks to Eduard for this review sample
82149 - Fw 190A-5 ProfiPACK- 1/48
Please remember, when contacting retailers or manufacturers, to mention that you saw their products highlighted here – on Aeroscale.