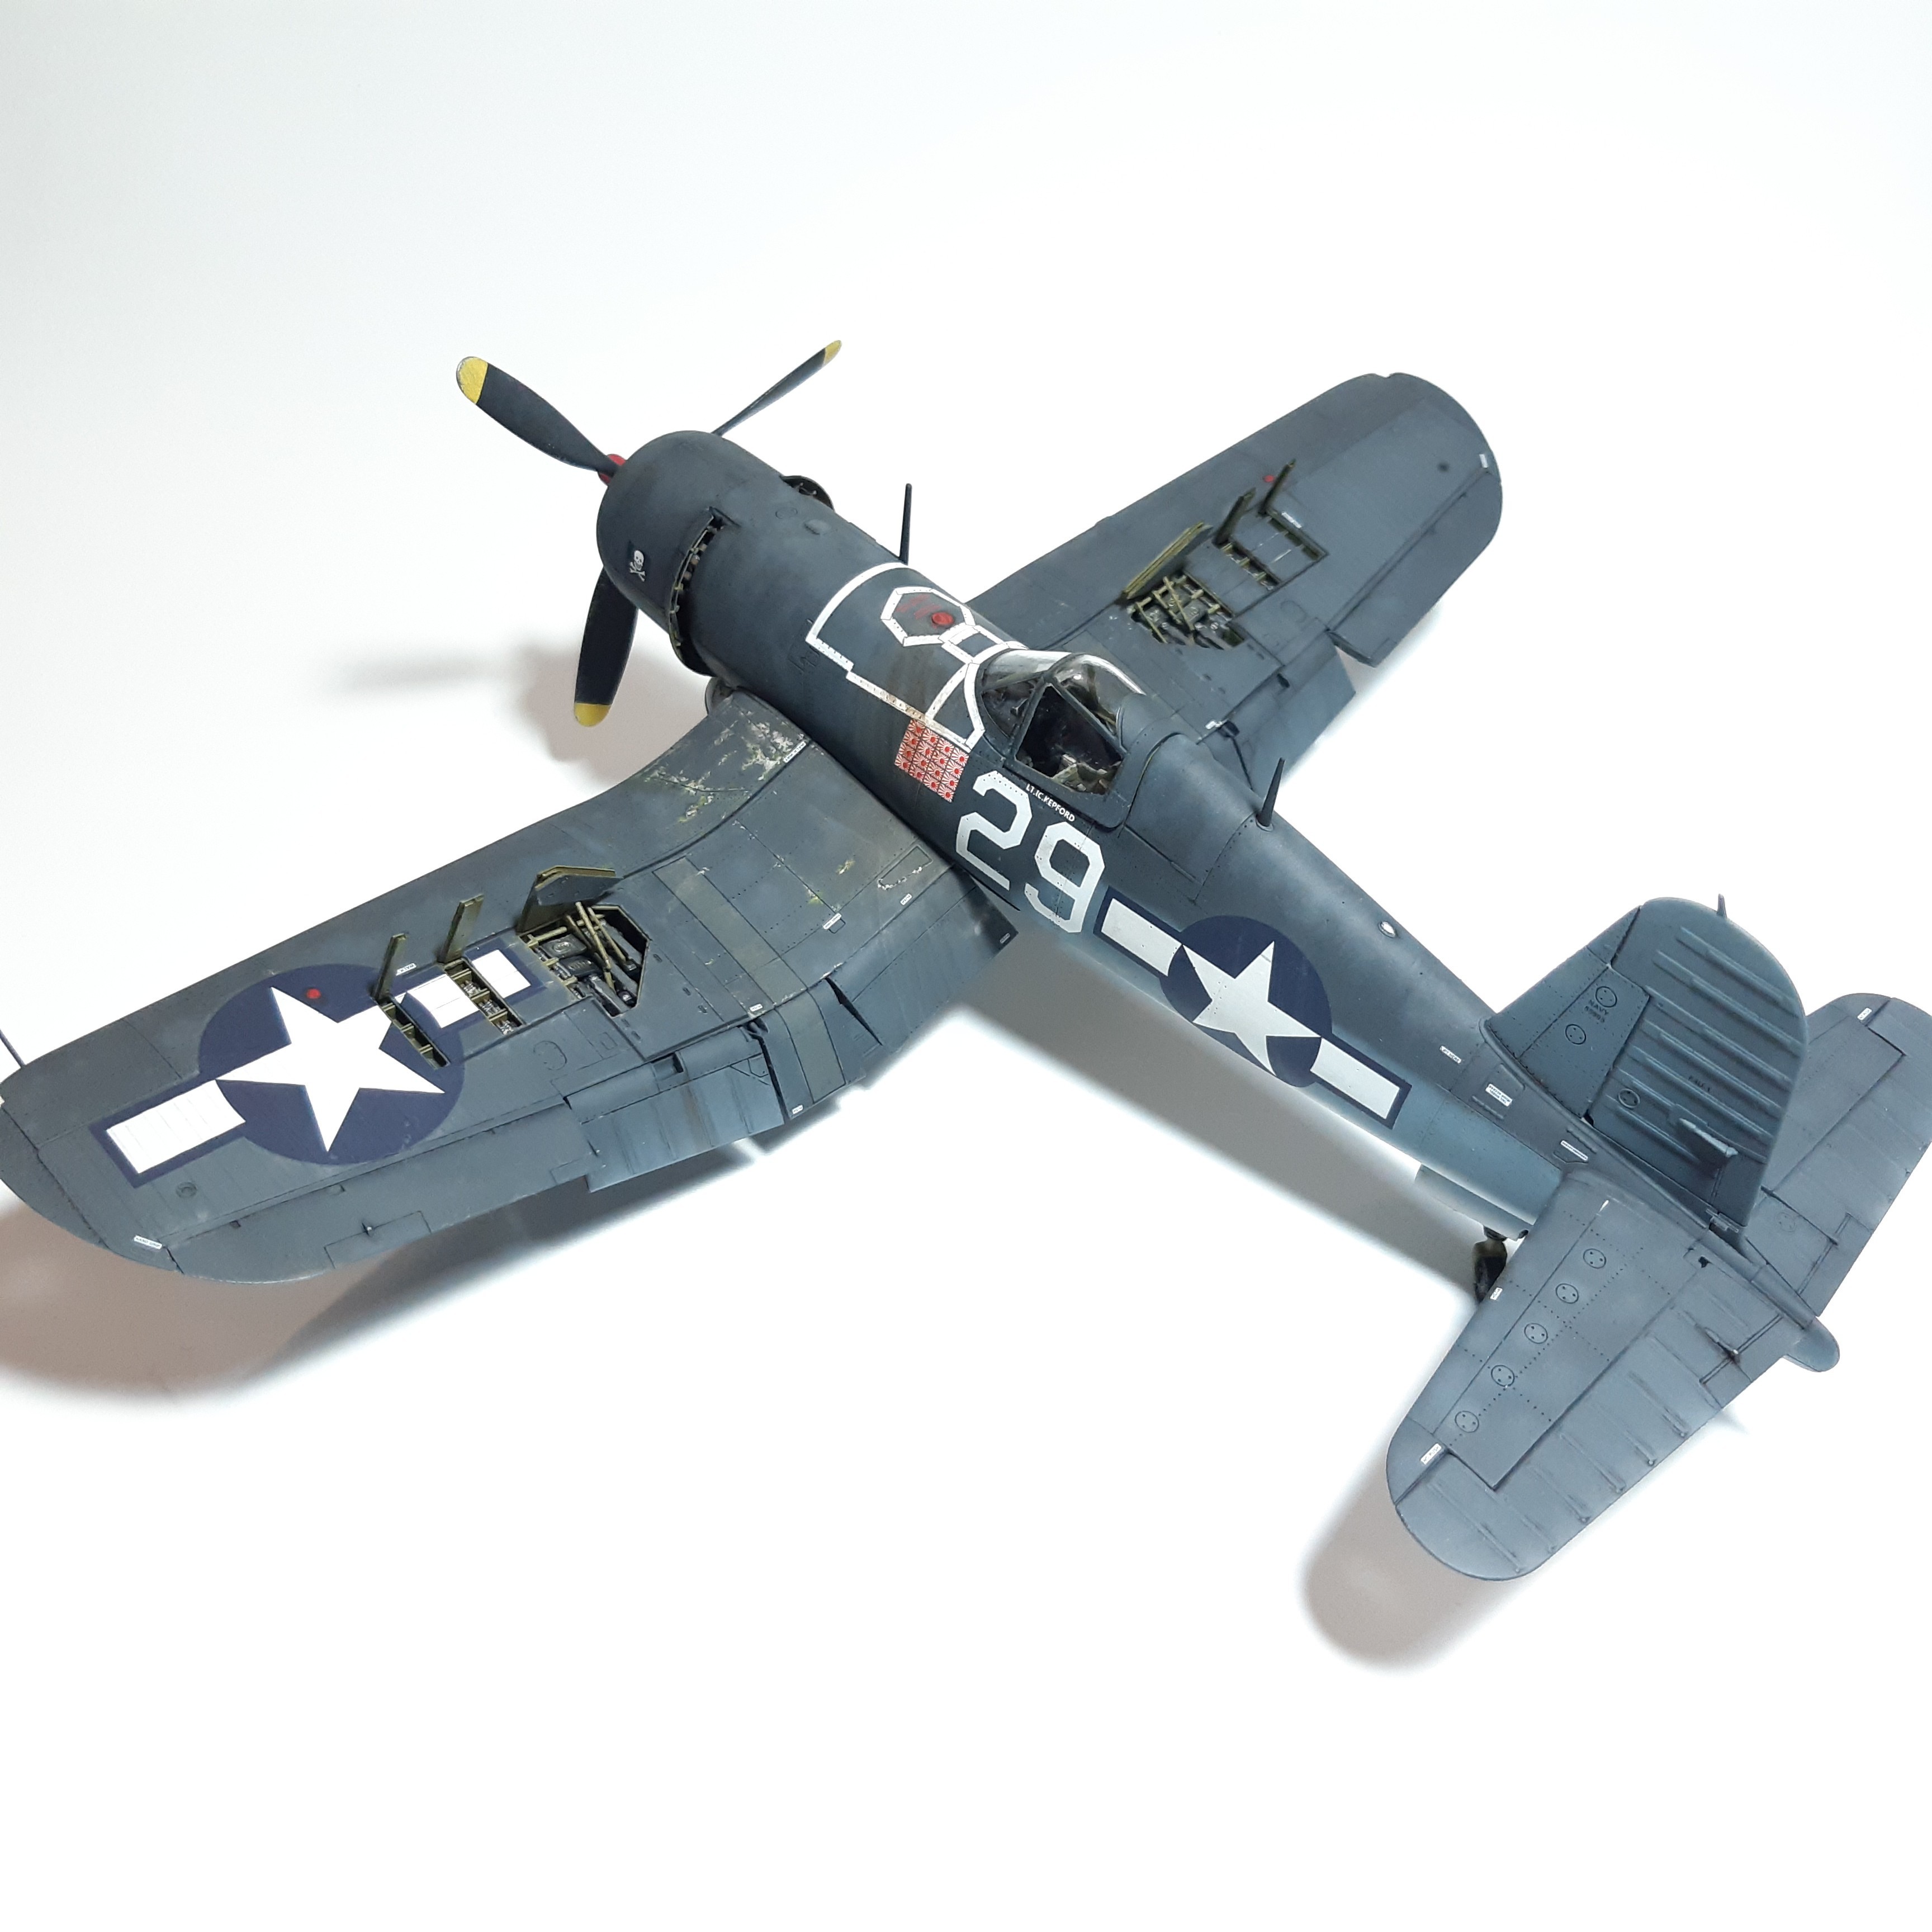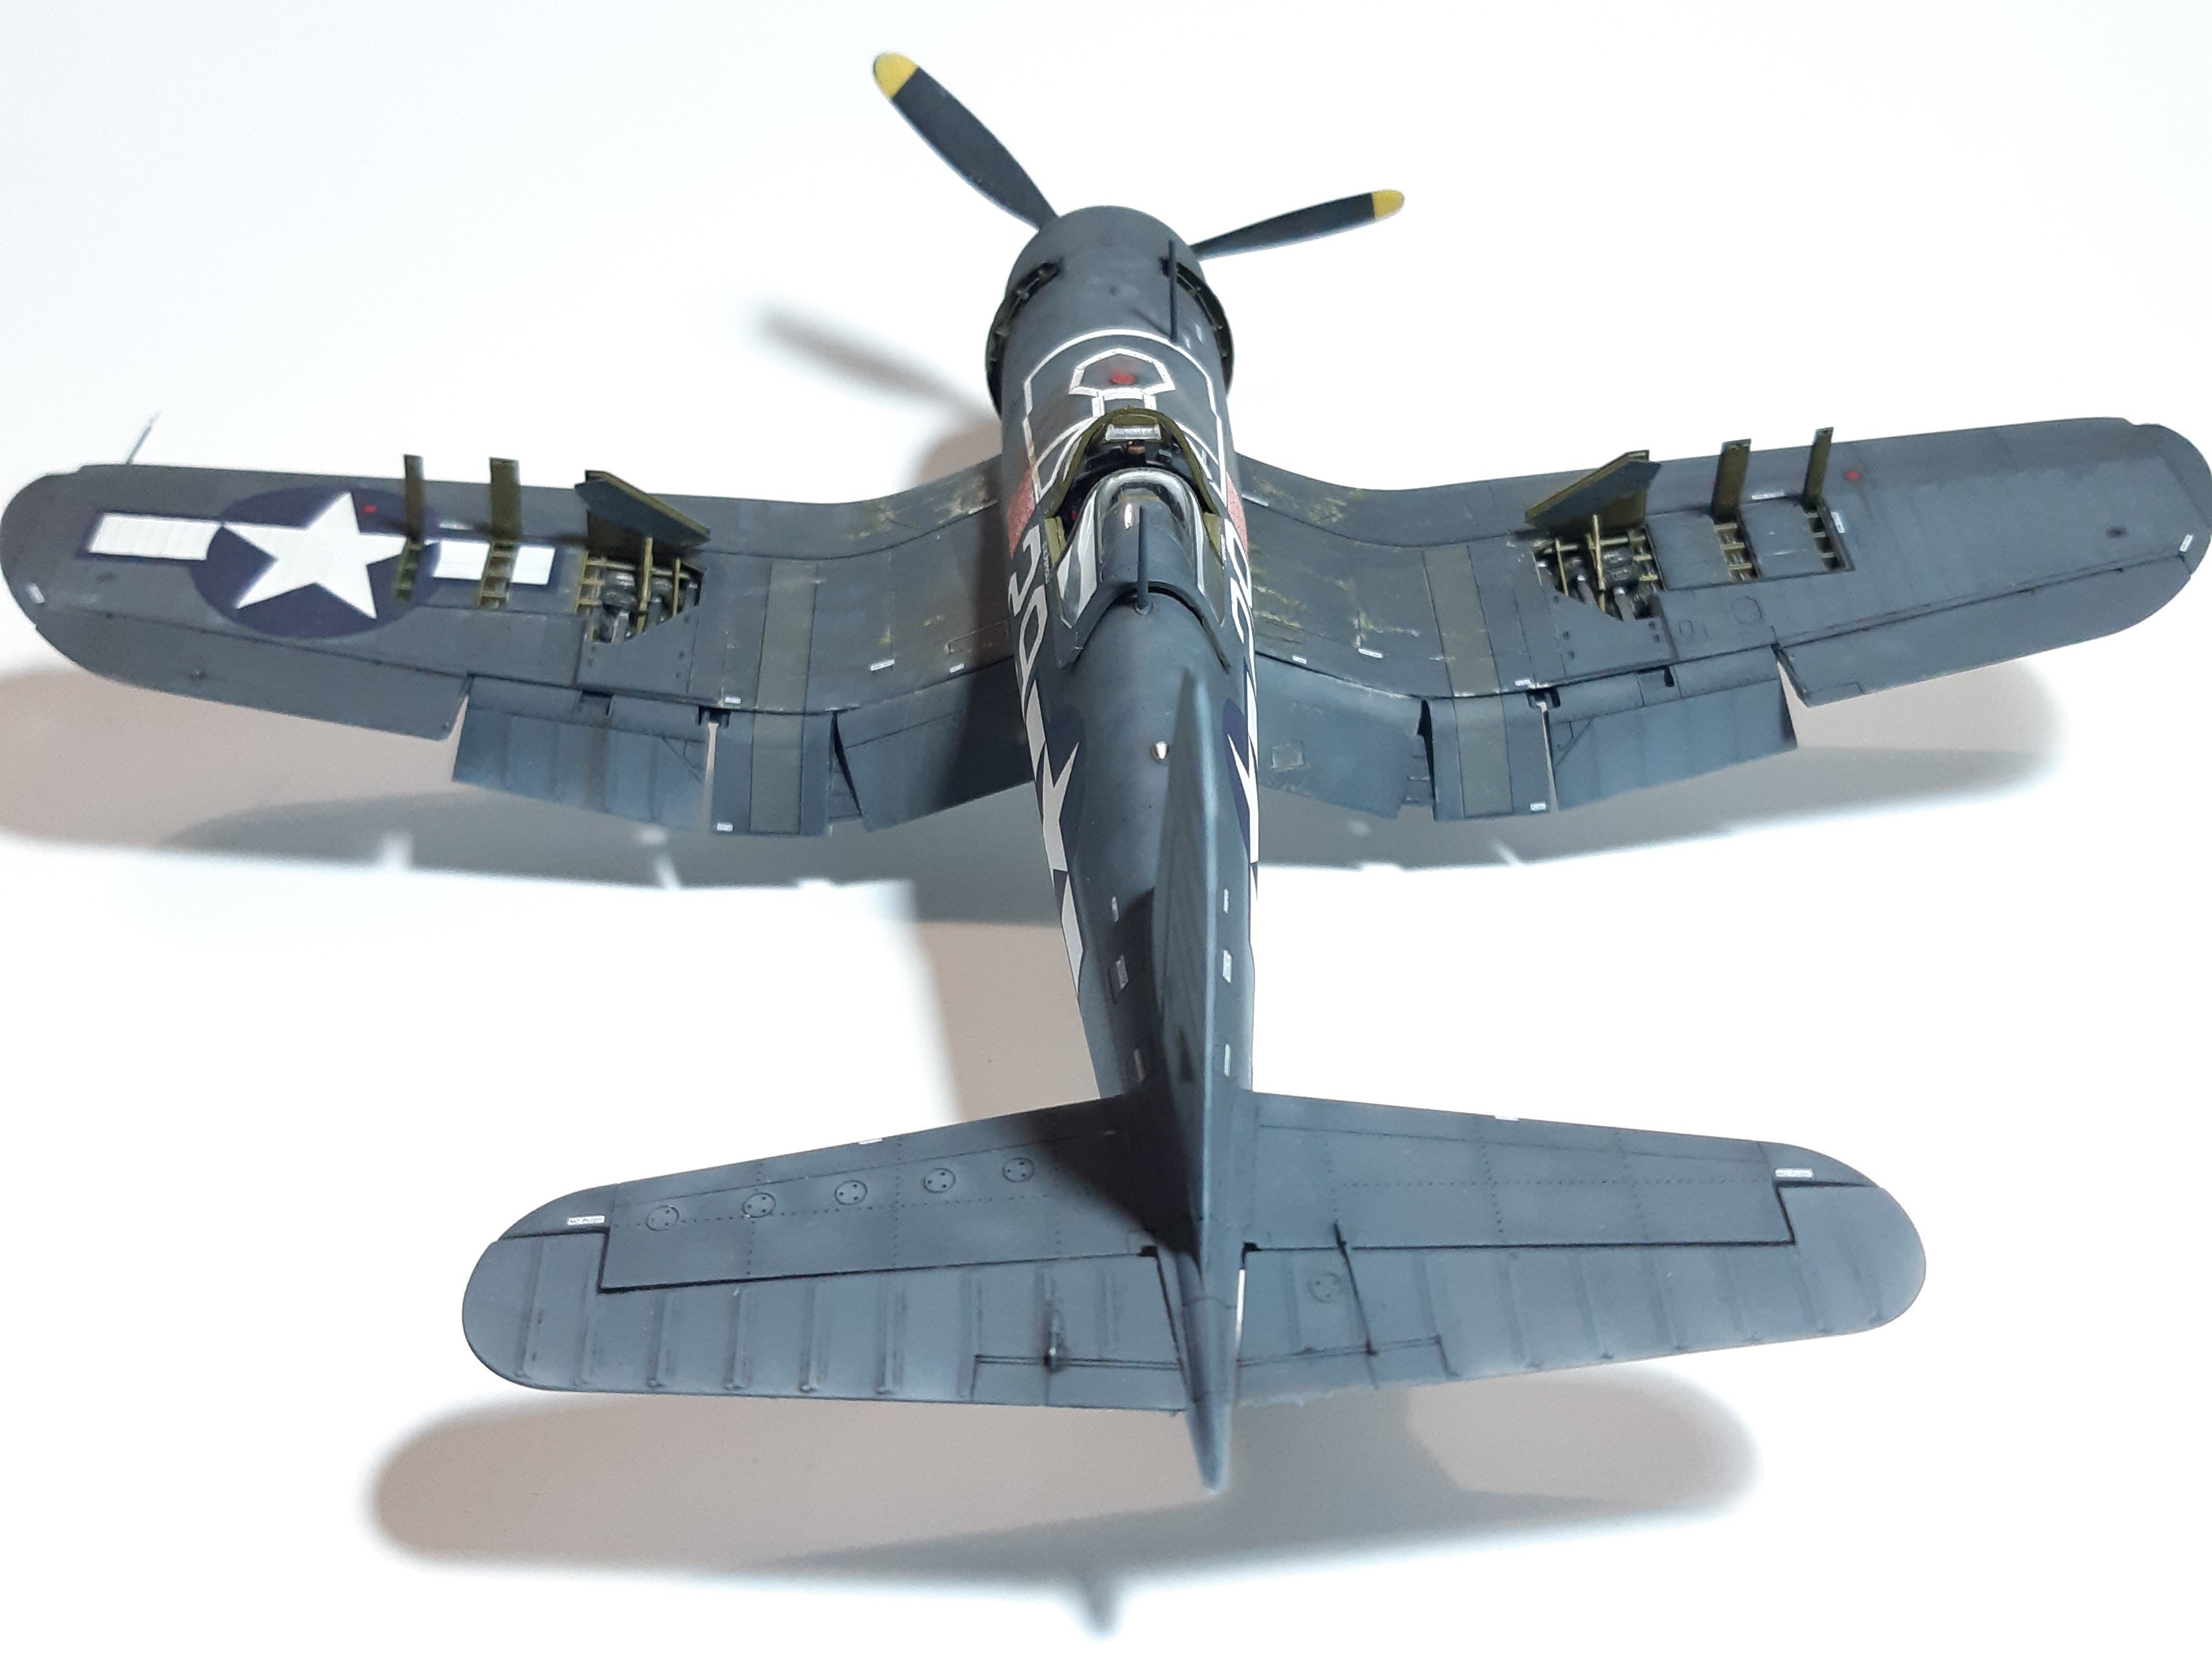
The F4U Corsair is one of those iconic fighters from WW2 that needs no presentation. The W-shaped wings and overall profile has always caught the interest of the aircraft enthusiasts and scale modellers.
I have had the chance to get a sample of one of the brand new F4U-1A/F4U-2A in 1/48 scale from Magic Factory: this is a combo box of two complete Corsair models, one for the F4U-1A and one for the F4U-2 version, with options to choose between folded or extended wings.
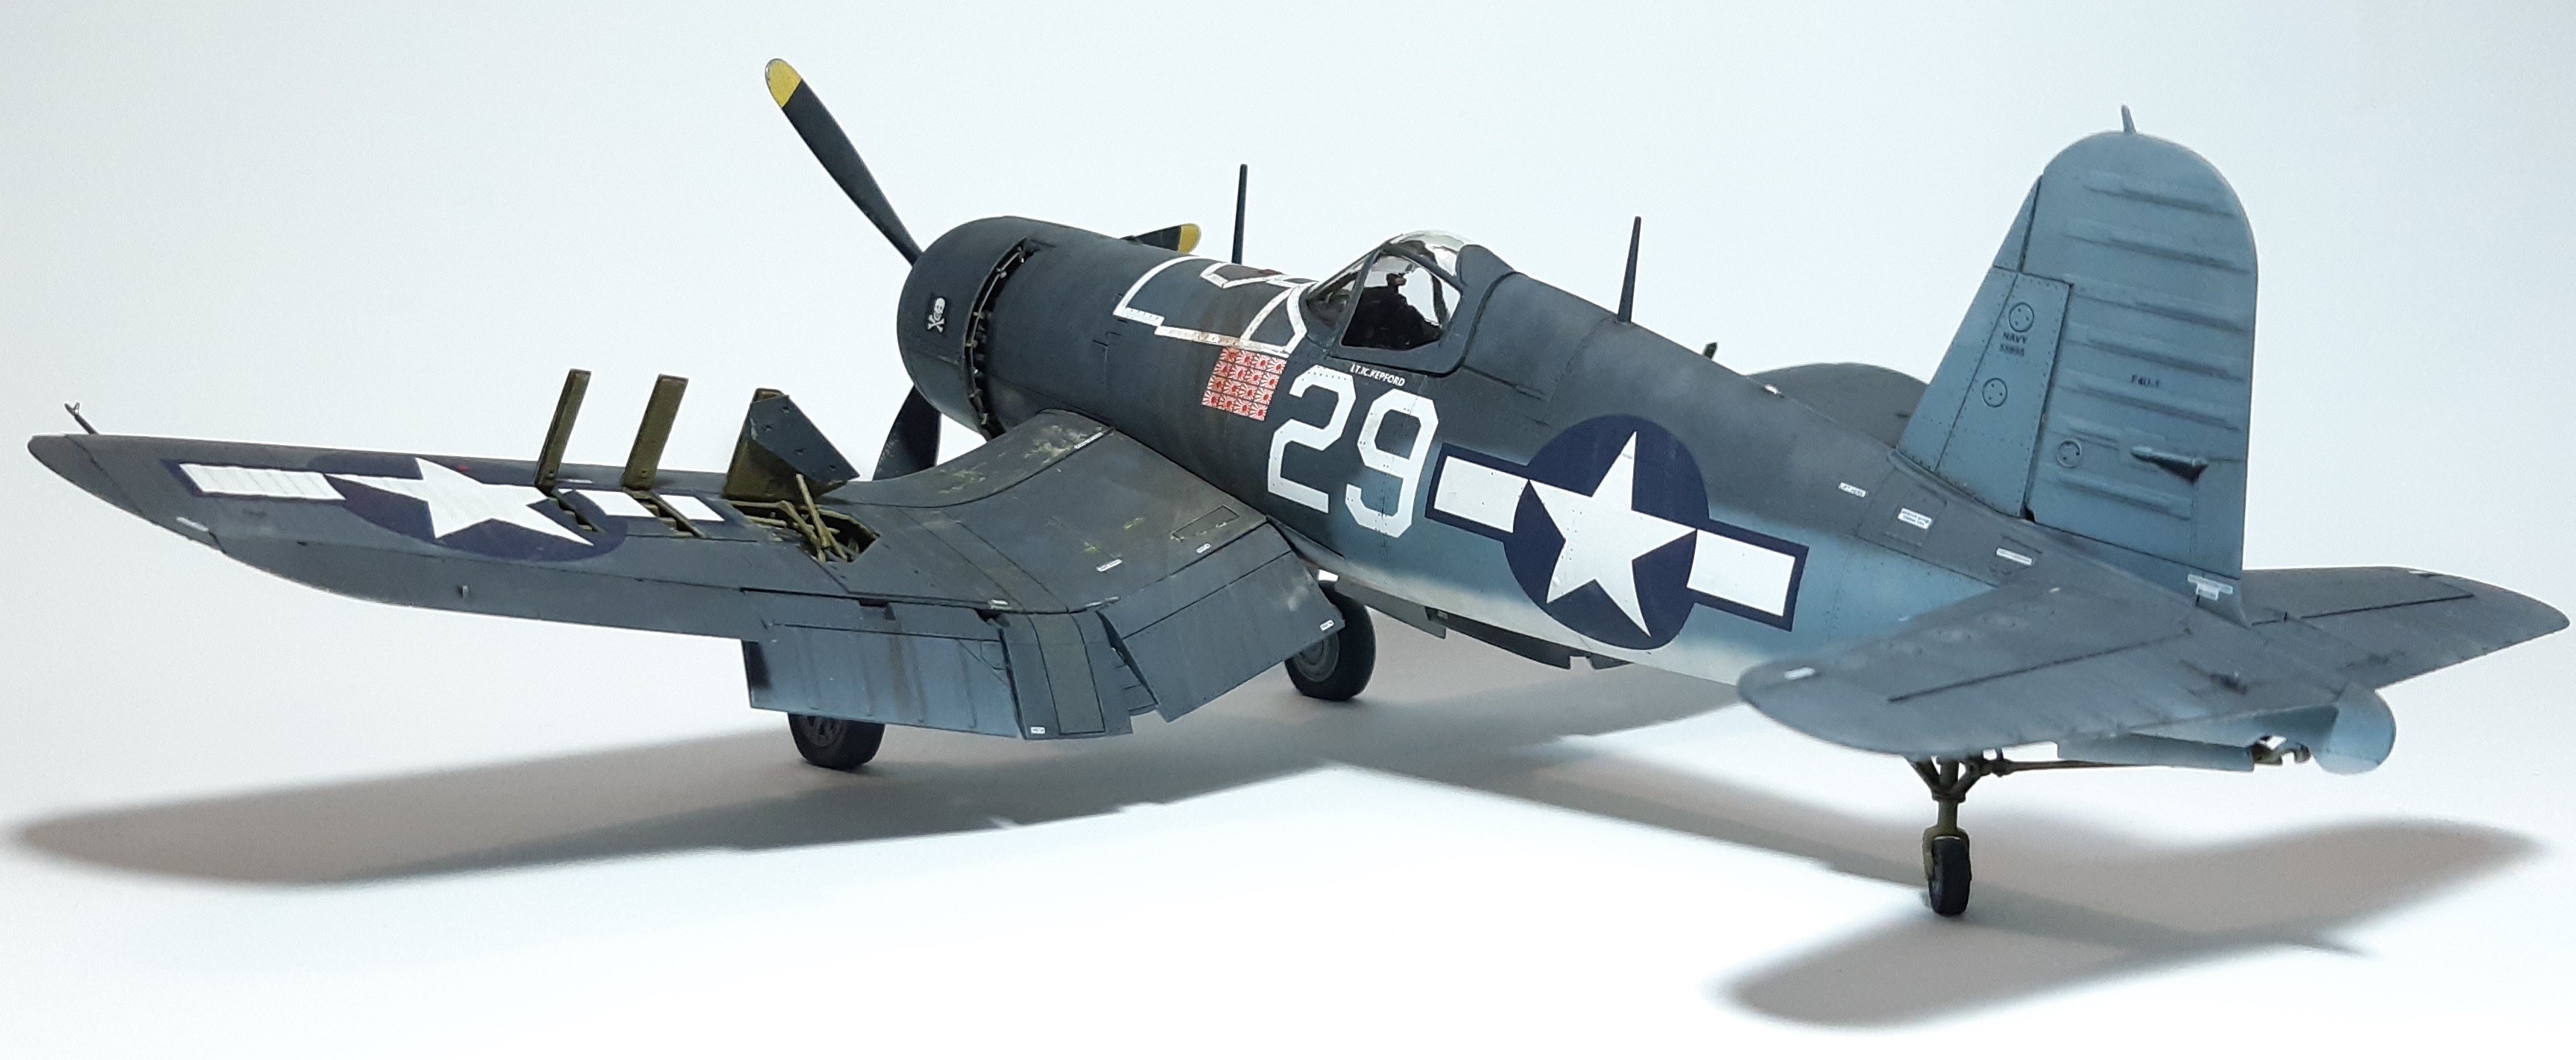
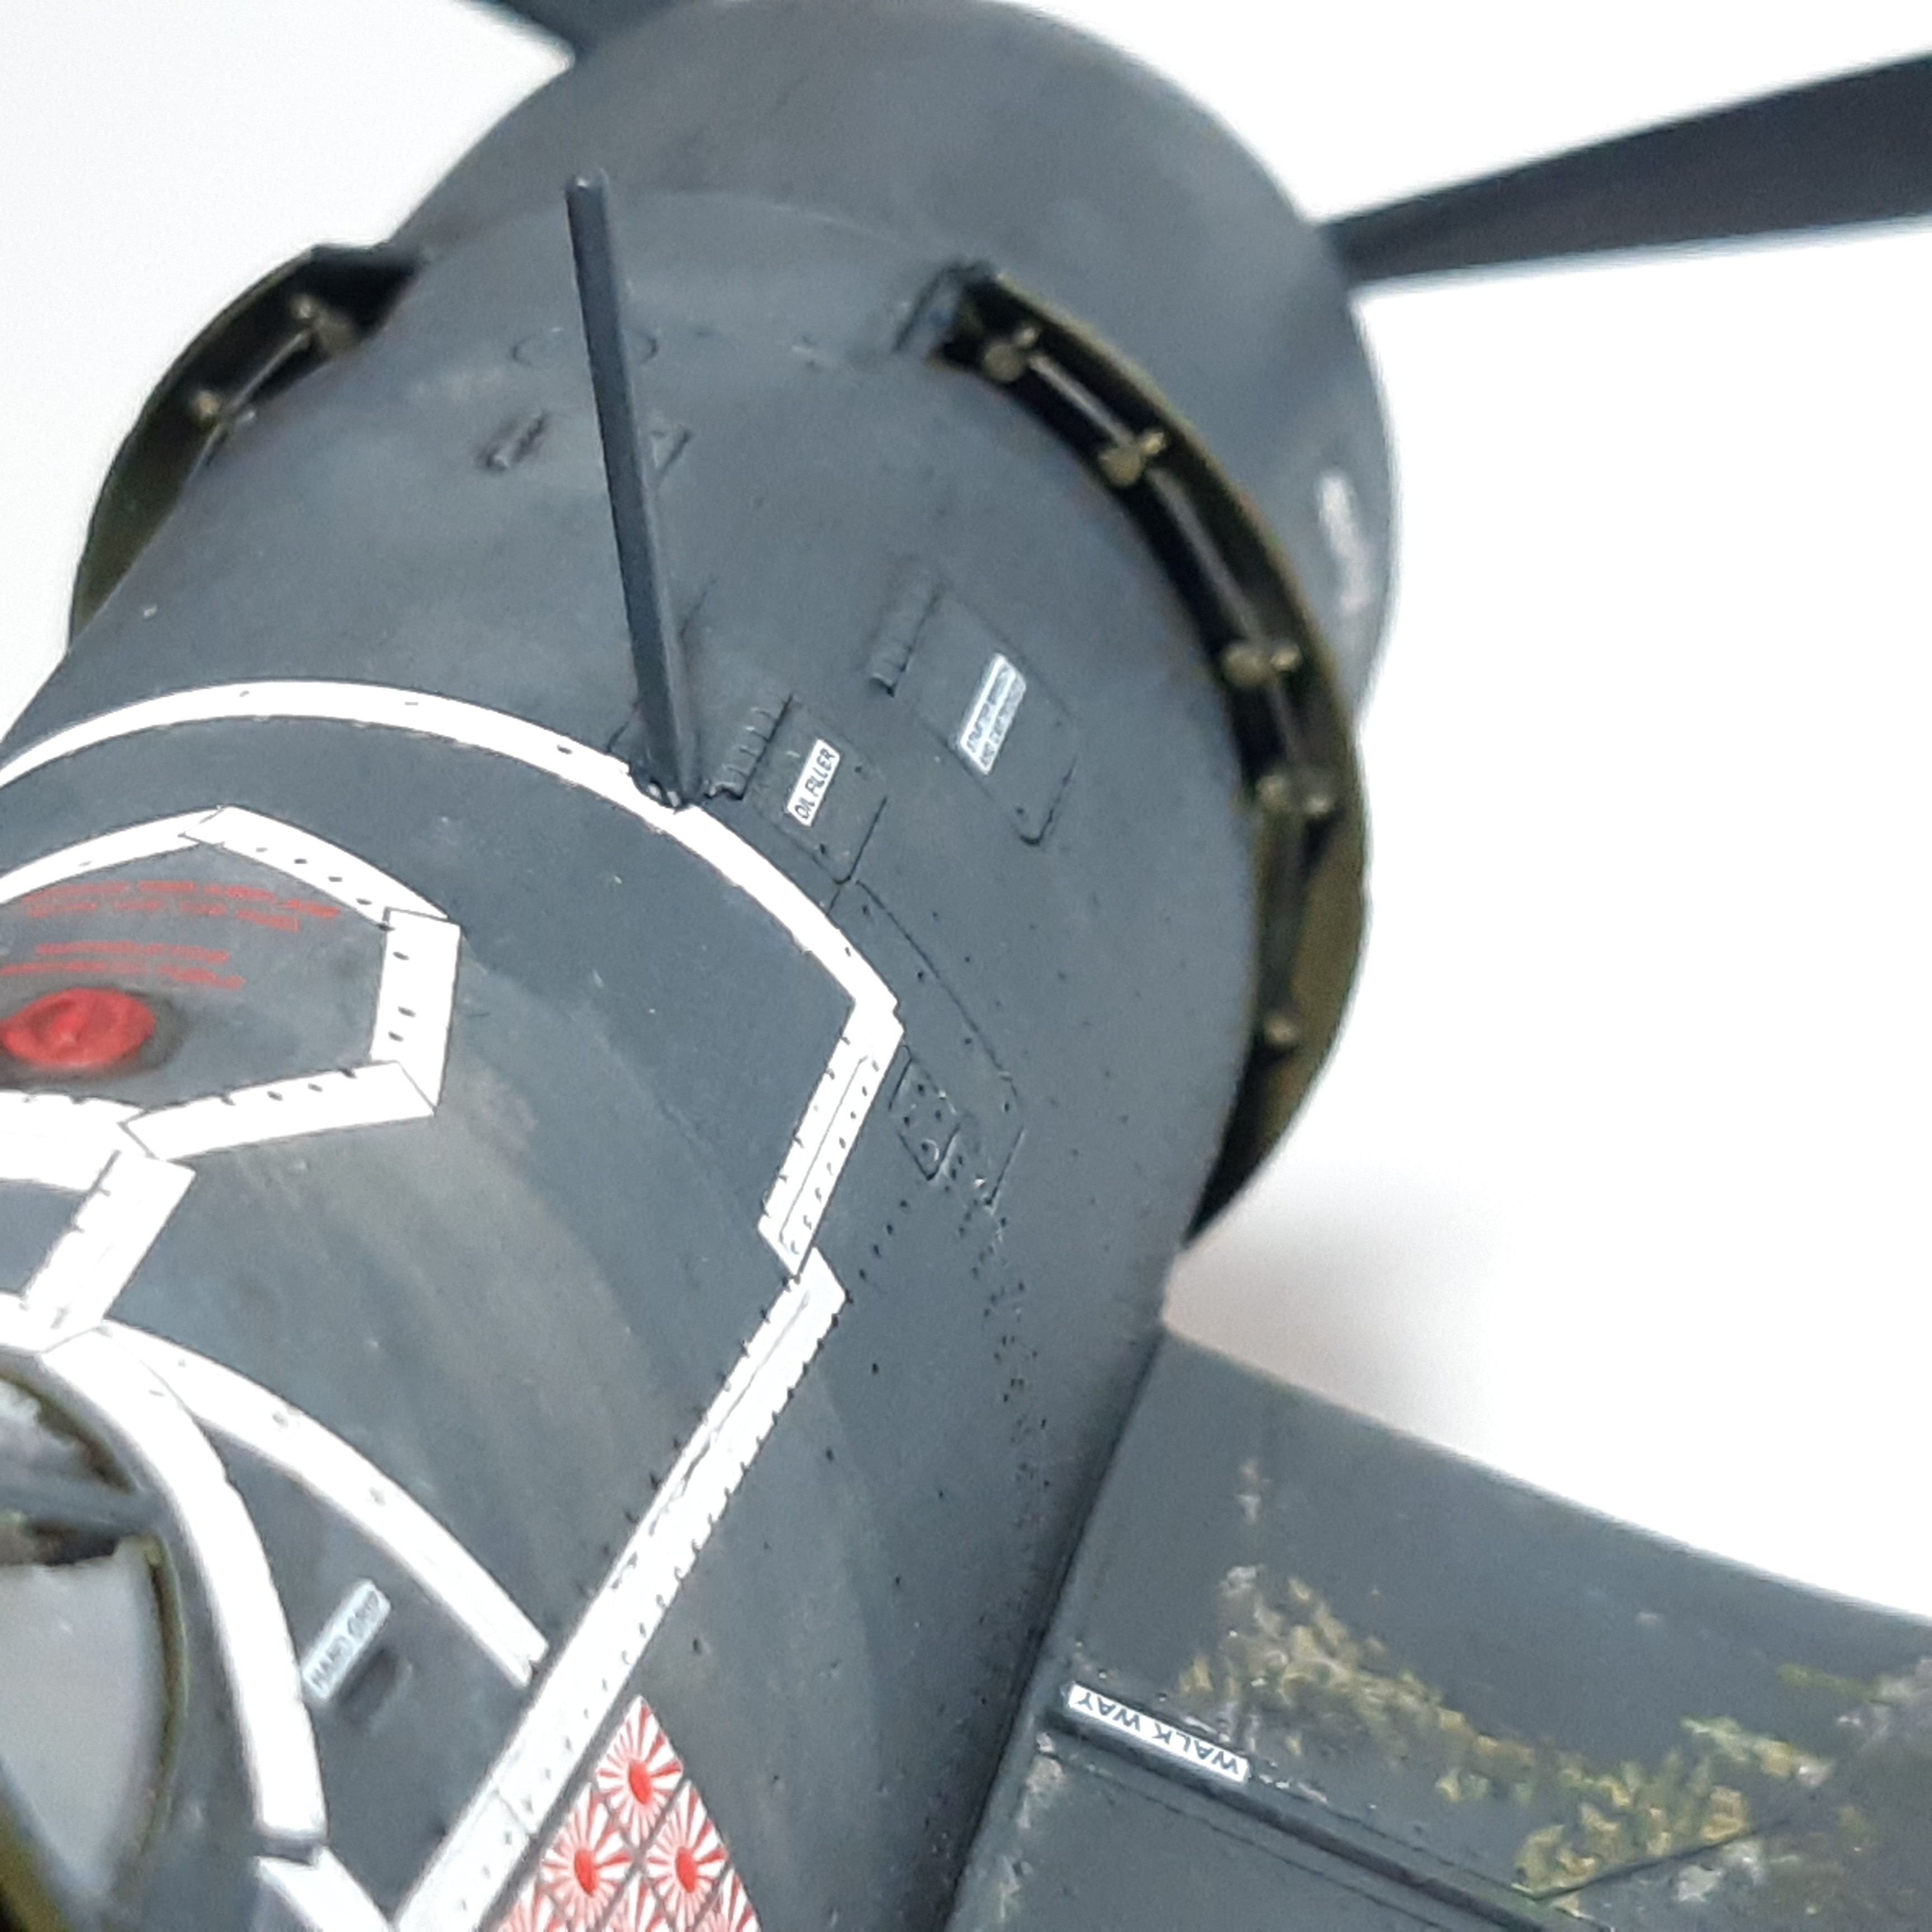
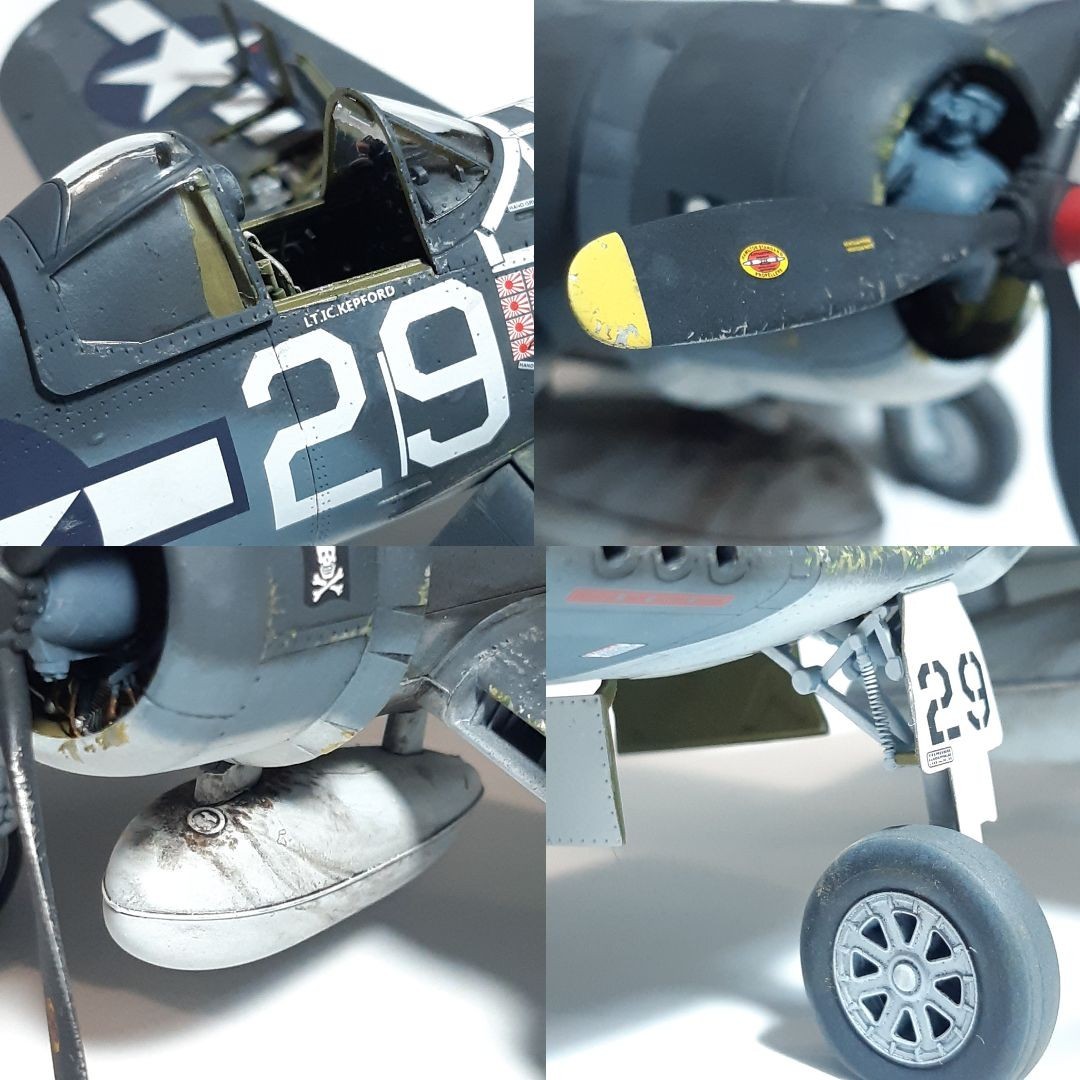
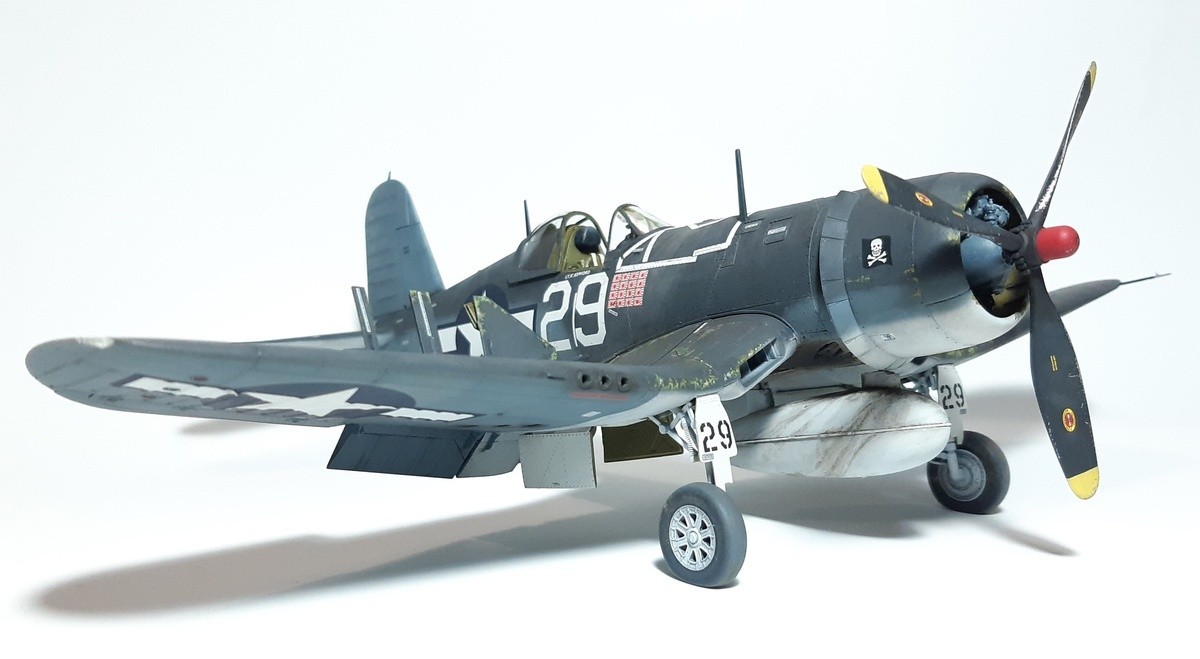
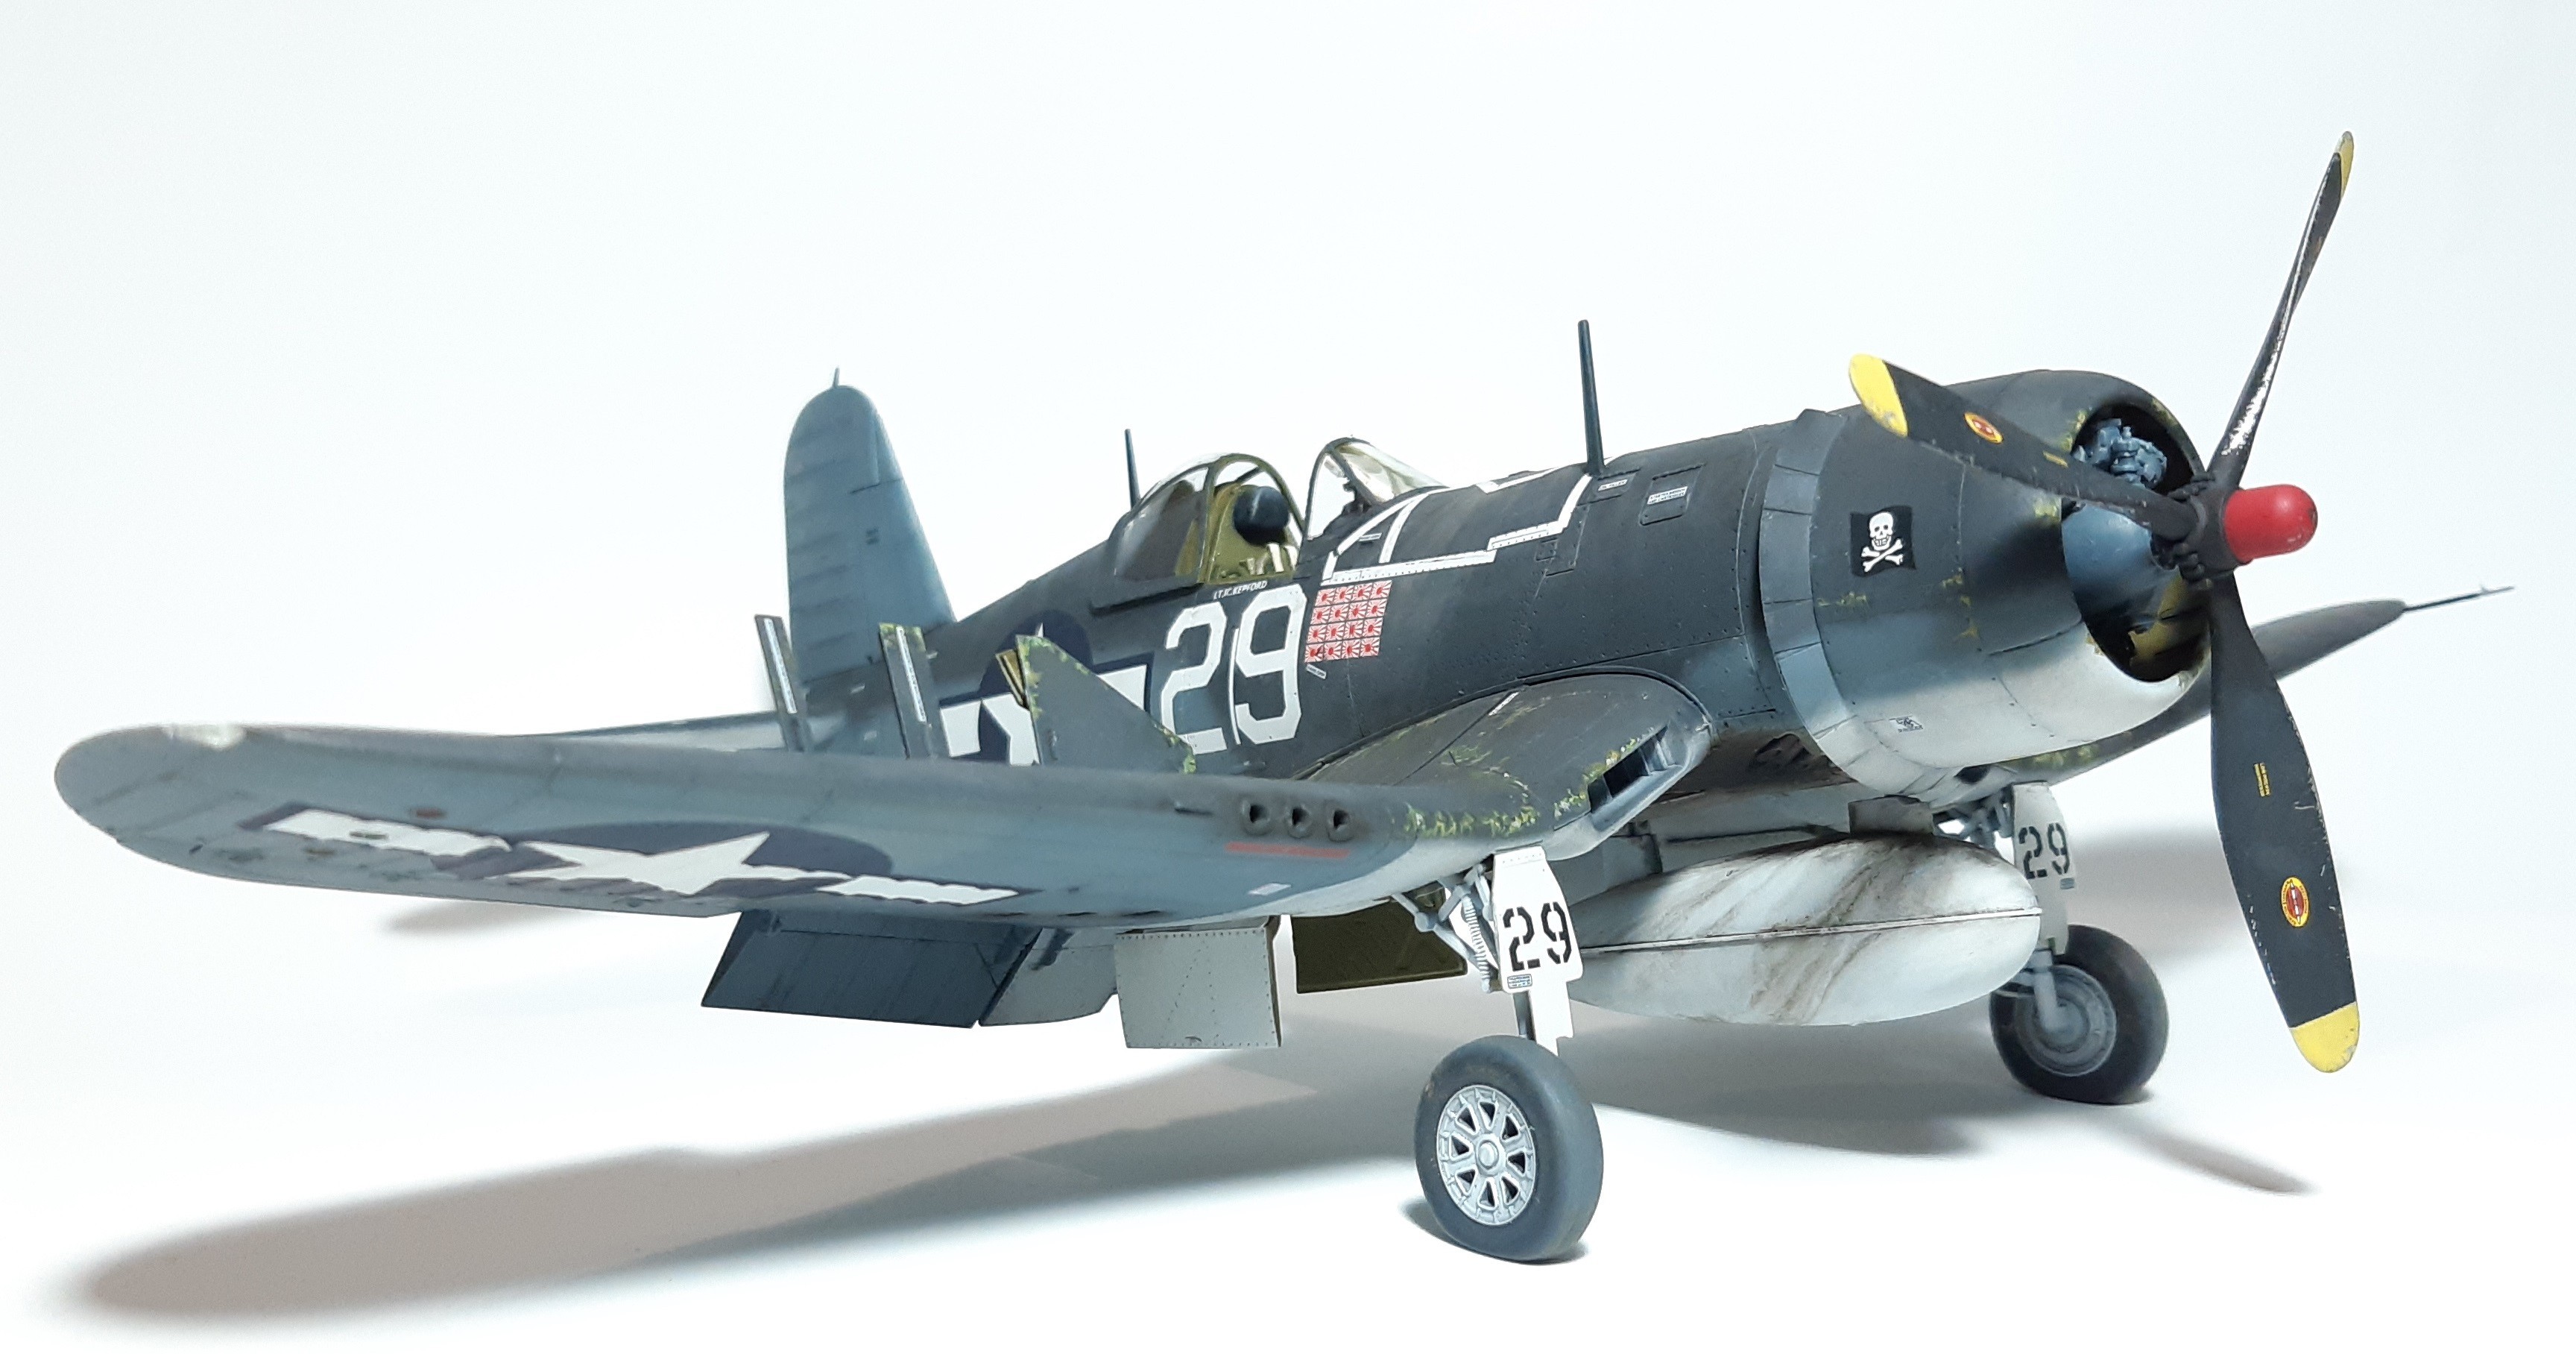
I decided to build The F4U-1A with extended wings and markings of the Jolly Rogers squadron, stationed in Bougainville on Feb-Mar 1944. The decal sheet is printed by Cartograf with great quality, and it is full of tiny signs, so take your time when you are to apply them.
As usual, construction begins with the cockpit, which is richly detailed, specially in the side consoles and main instrument panel. Harness straps are Photo-etched parts, nicely represented -just look at the buckles.
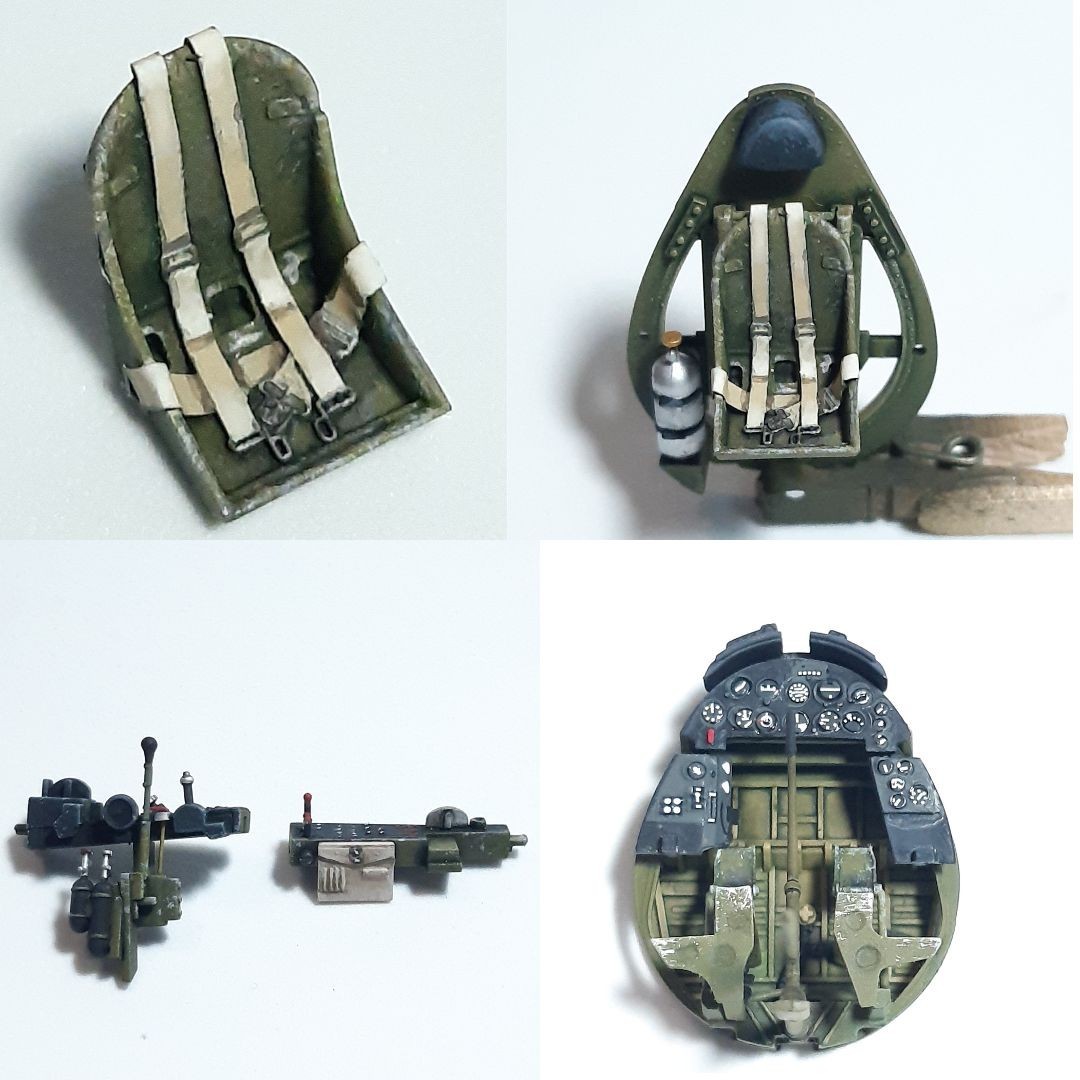
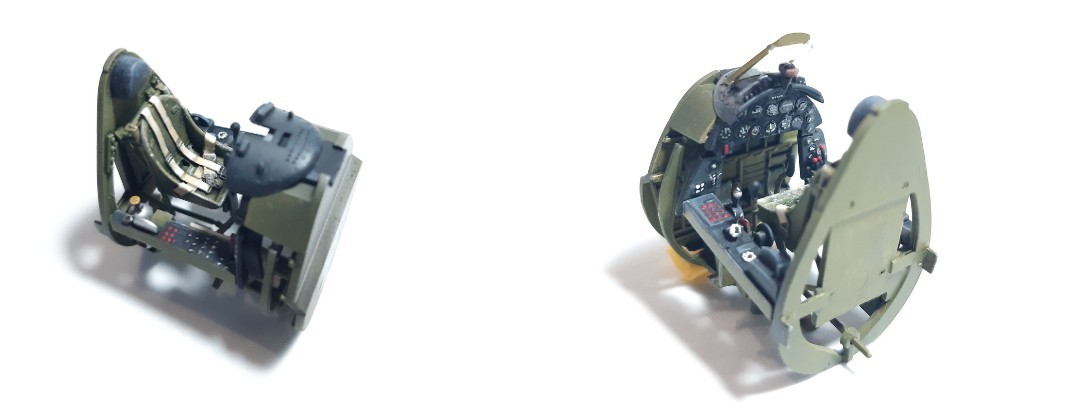
The supporting structure for the pilot seat comes in two pieces, G42 and G43, but when I glued them together, the horizontal bar behind the seat showed a nasty joint in the middle. The solution is very simple, once glued to the rear bulk head frame, I cut off the horizontal bar, and replaced it with a stretched sprue of the proper length. Special attention has to be taken on the alignment of the seat with the center line of the plane, I noticed a slight tendency to tilt to the left, but perhaps that was my fault. The attachment of the side consoles with the instrument panel and the rear bulk head frame is a bit tricky, so I used the fuselage as a jig, to make sure every thing was in its proper position.
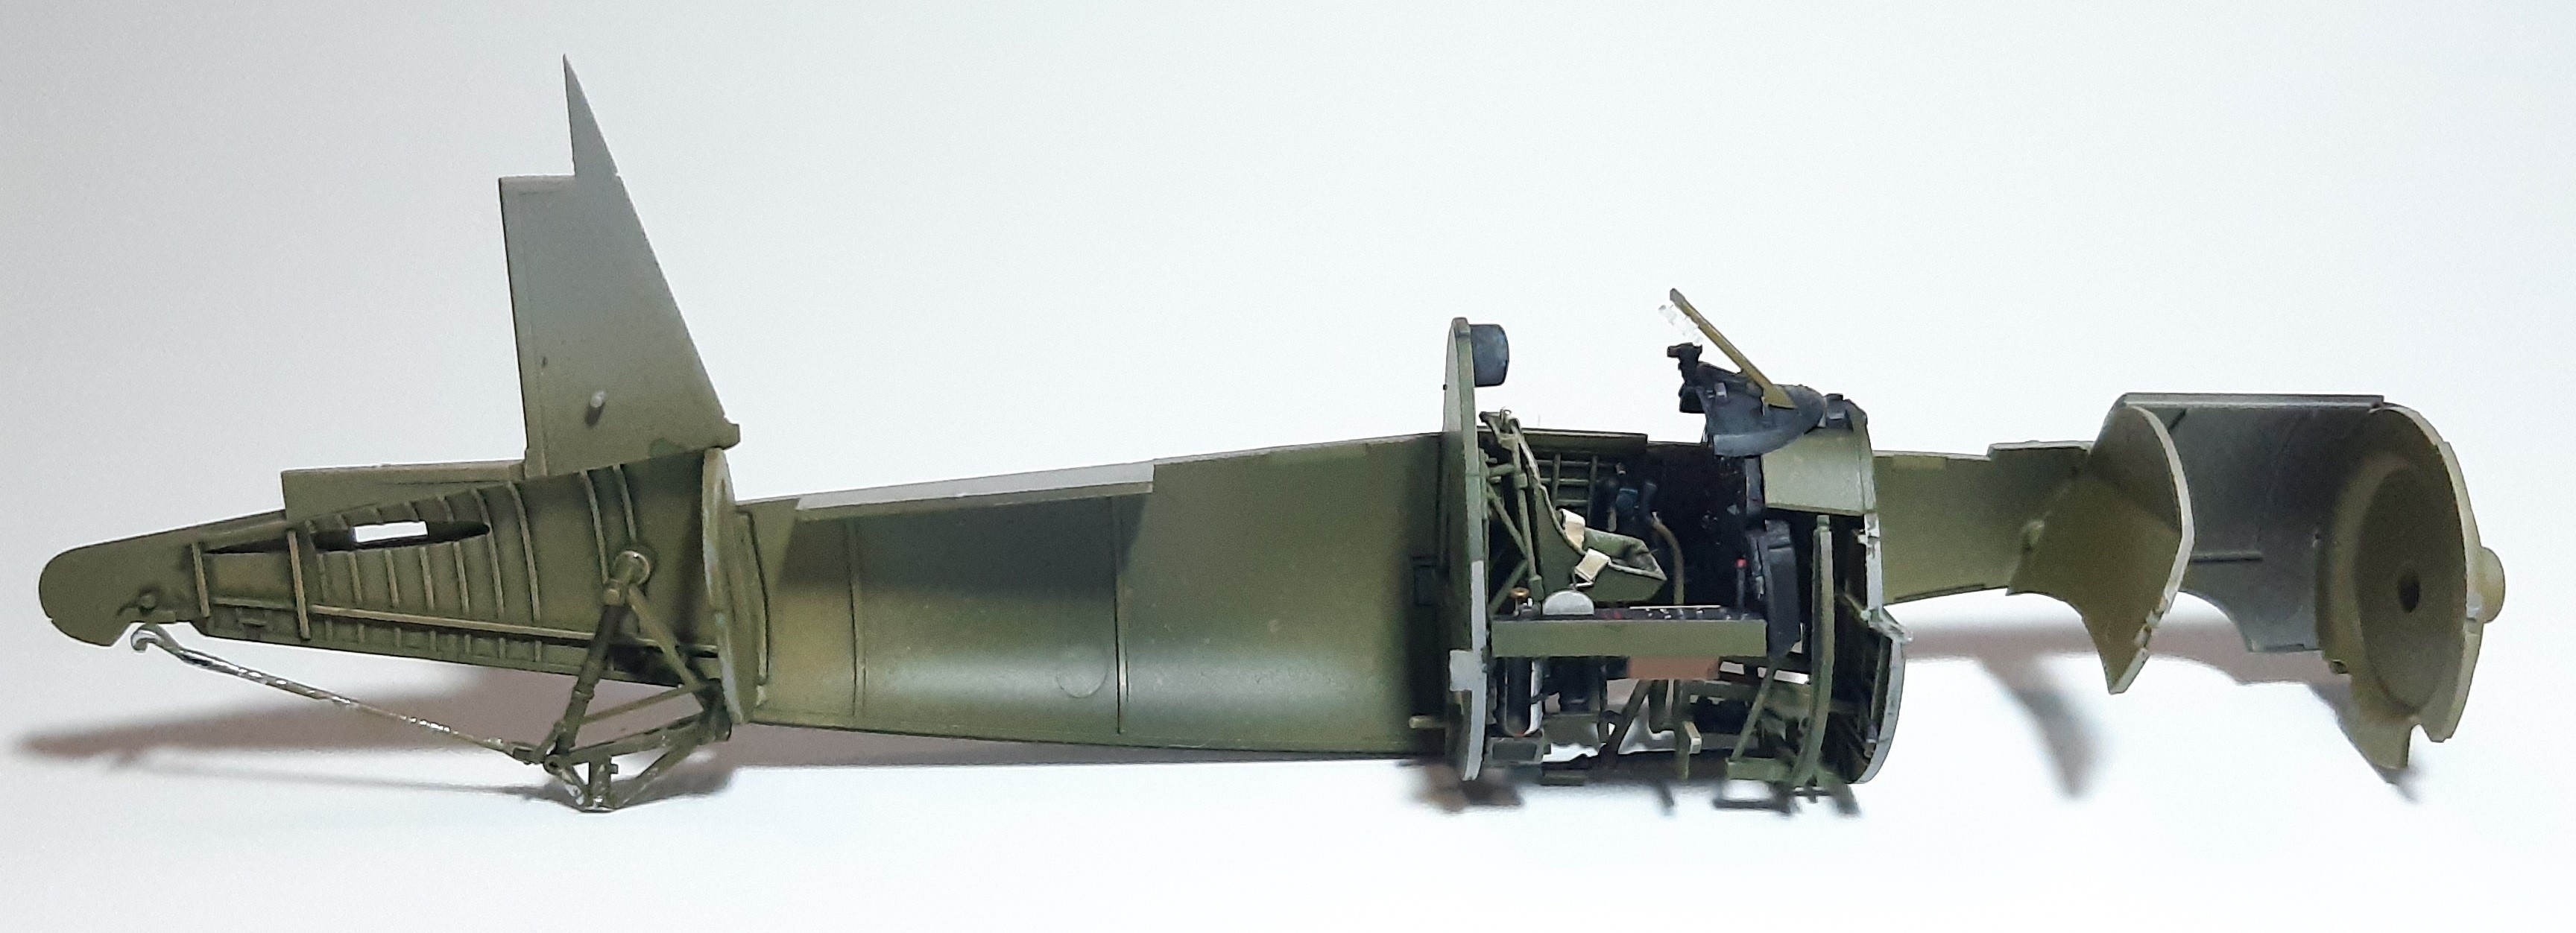
With the tail hook and cockpit in place, we can proceed to close the fuselage halves, but you better do some dry fit before gluing all together. Double check the joint of the upper part of the fuselage, part A57, and the fuselage halves, to get a neat joint. I did not take that caution and ended up sanding the joint flush.
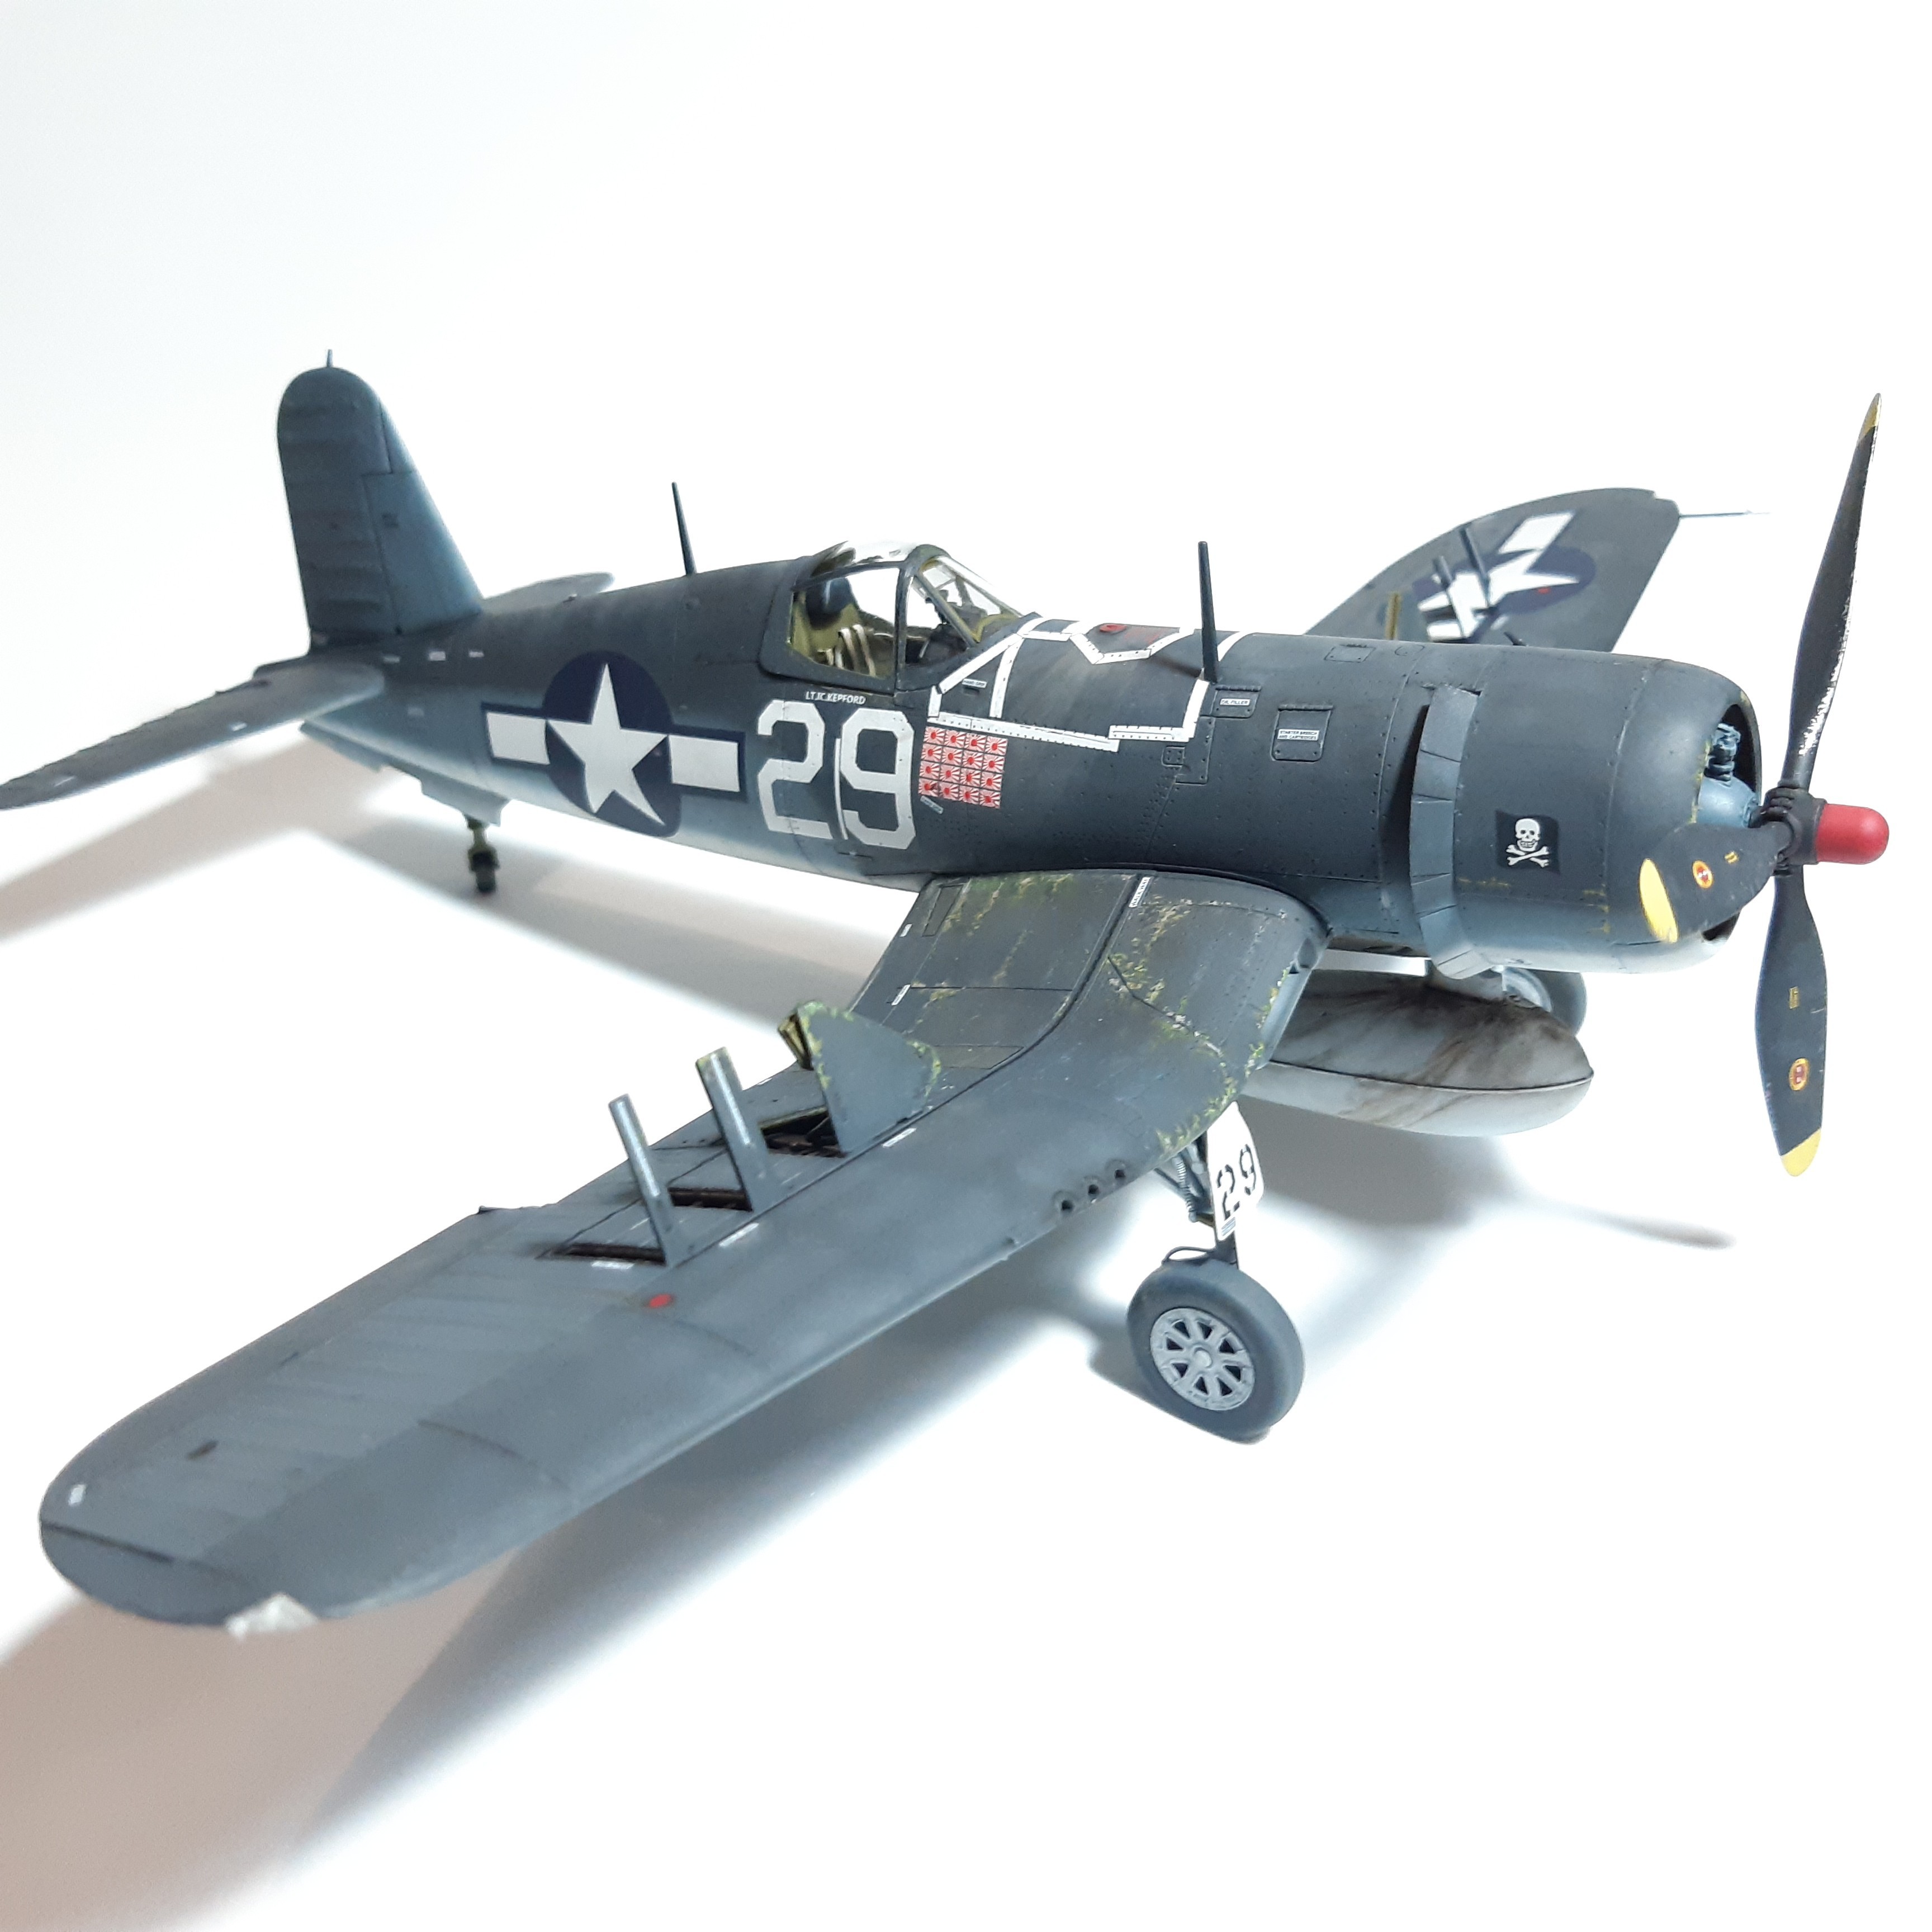
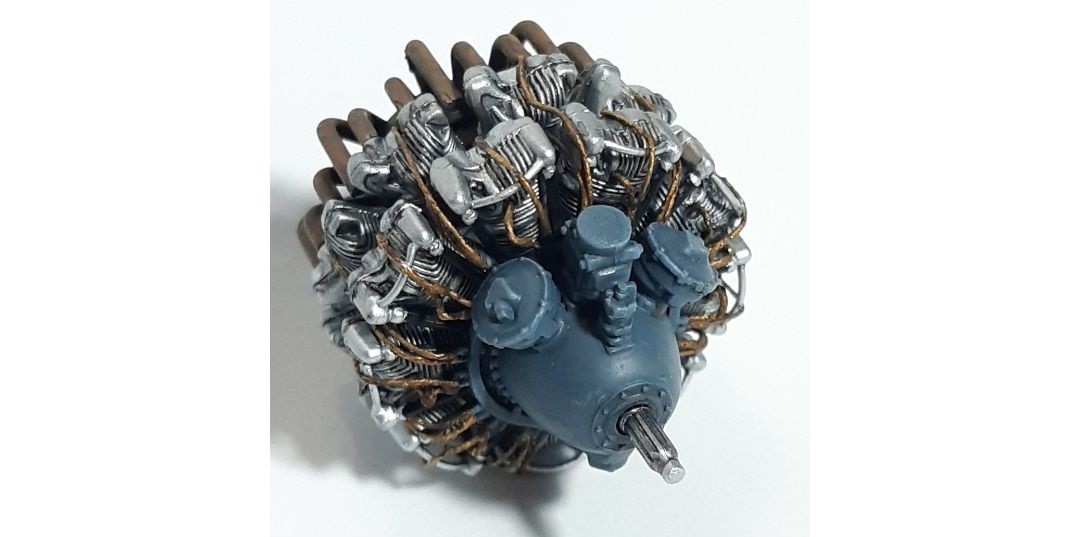
Although the engine is nicely detailed, I could´t help adding the ignition wires, made with sewing thread, and the wiring between the cylinders heads out of tin wire. Regarding the exhaust pipes, the arrangement is wrong, they do not reach the first row of cylinders, and do not make their way to the final outlet. Instead, you are given a piece part for the three exhaust pipes ends which is different depending on the version you are building. Anyway, the exhaust pipes will not be visible once you install the engine cowling, and the end pipes will do the trick. Magic Factory has a full accurate 3D version of the engine in case you plan to show the engine.
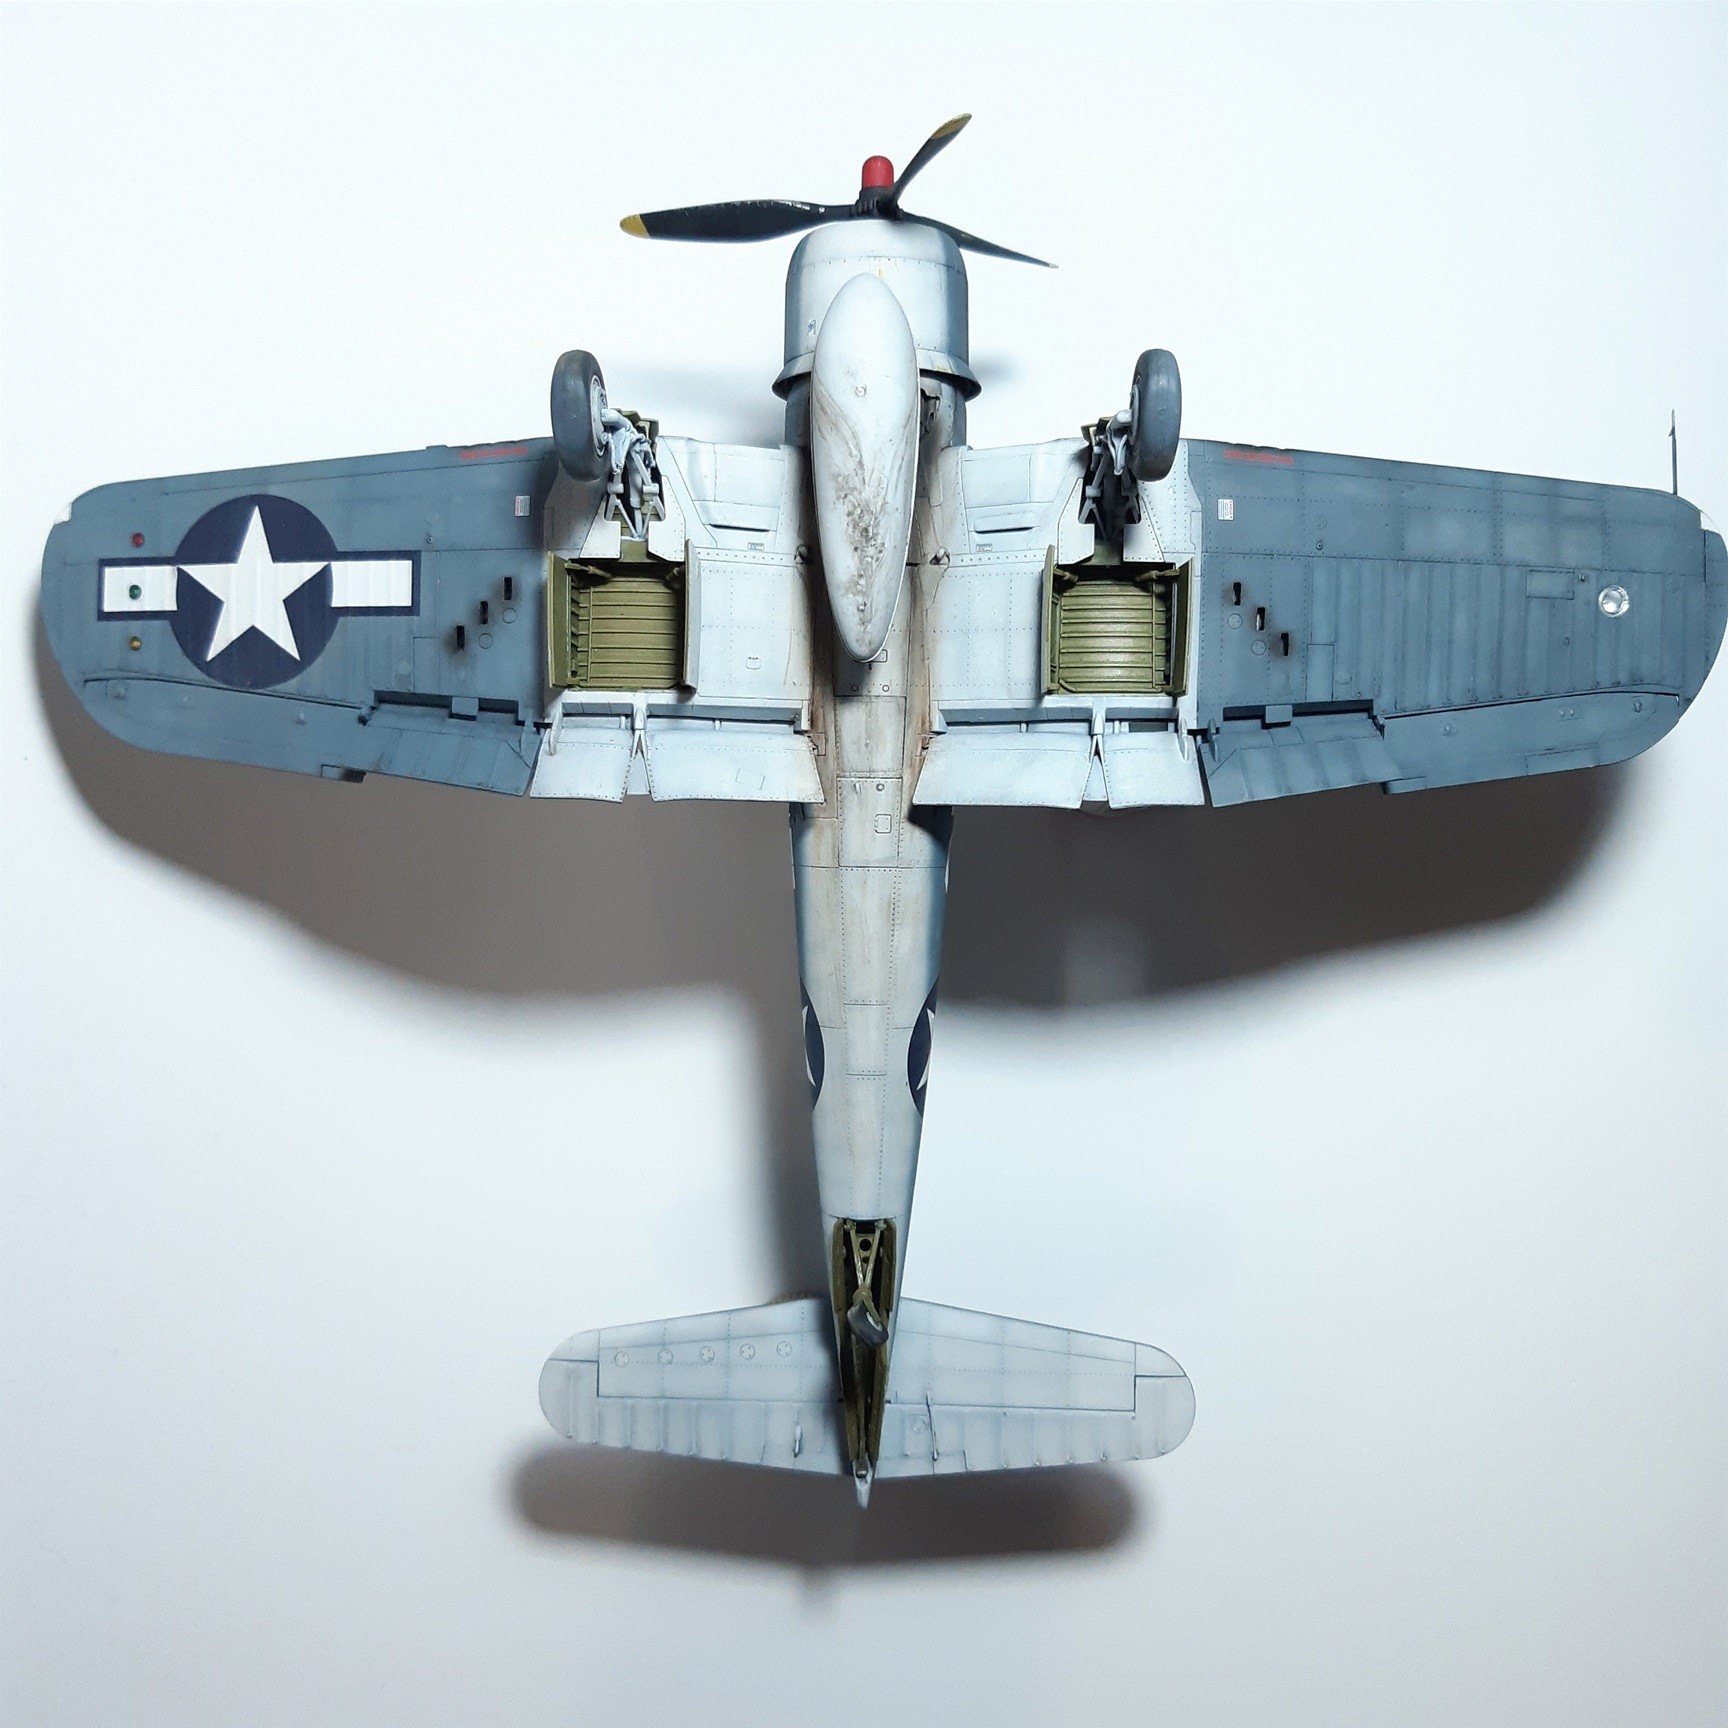
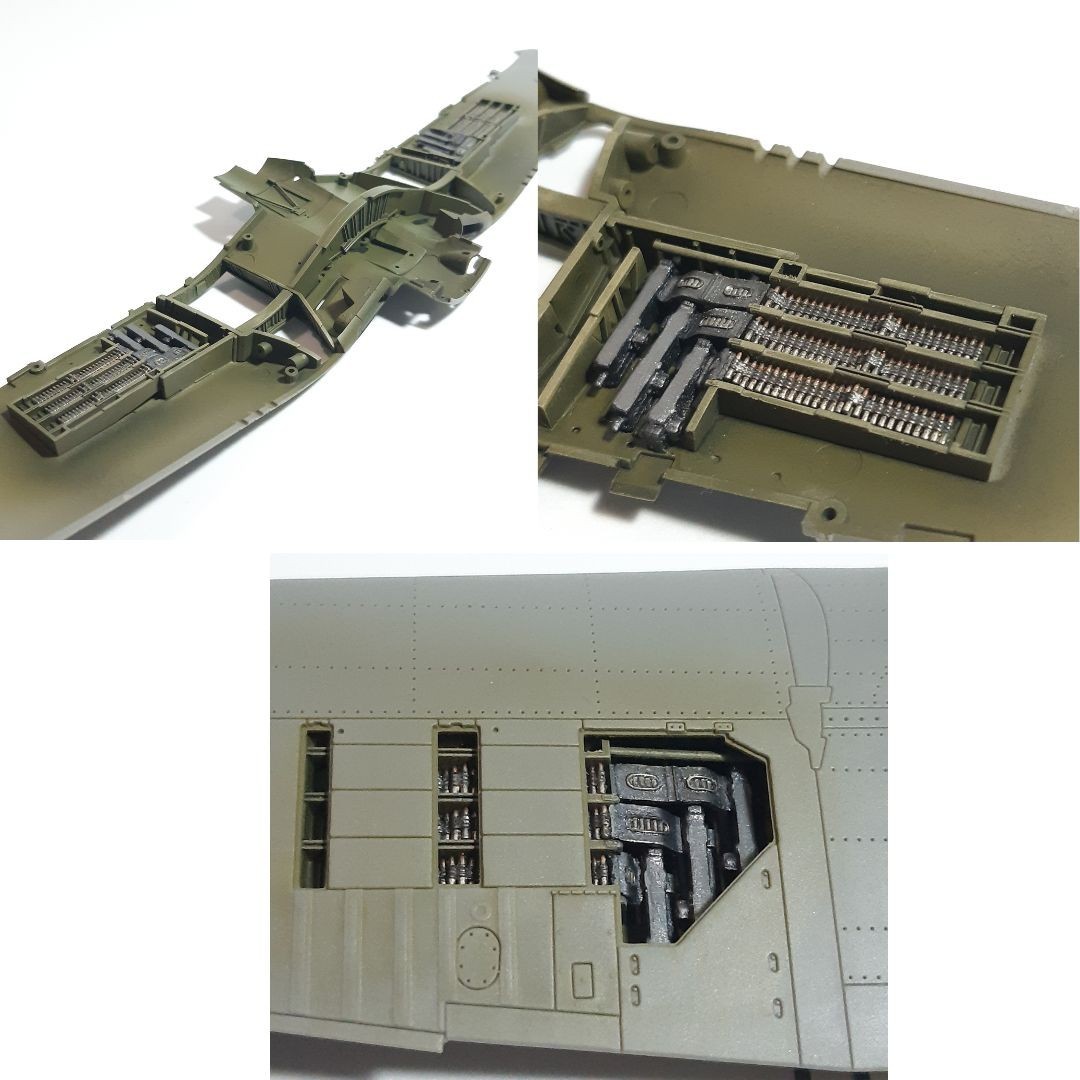
Wings construction is quite straight forward. Next comes the machine gun bay. Ammo belts and guns are stunning, so I did my best here, to leave the gun bay doors in open position, but that will not take place until the very final step, mean while, I will leave them closed with Tamiya masking tape underneath, to protect the previous work, and ease the paint job and manipulation of the model. Flaps, ailerons, and wingtips, will end up the wing assembly.
The wing –fuselage joint is perfect, no filling or sanding required here. You have two options for the cowling flaps, close or open position. I opted for the second option, and again added some details to represent the close actuators and retracting wire, as this area would be visible.
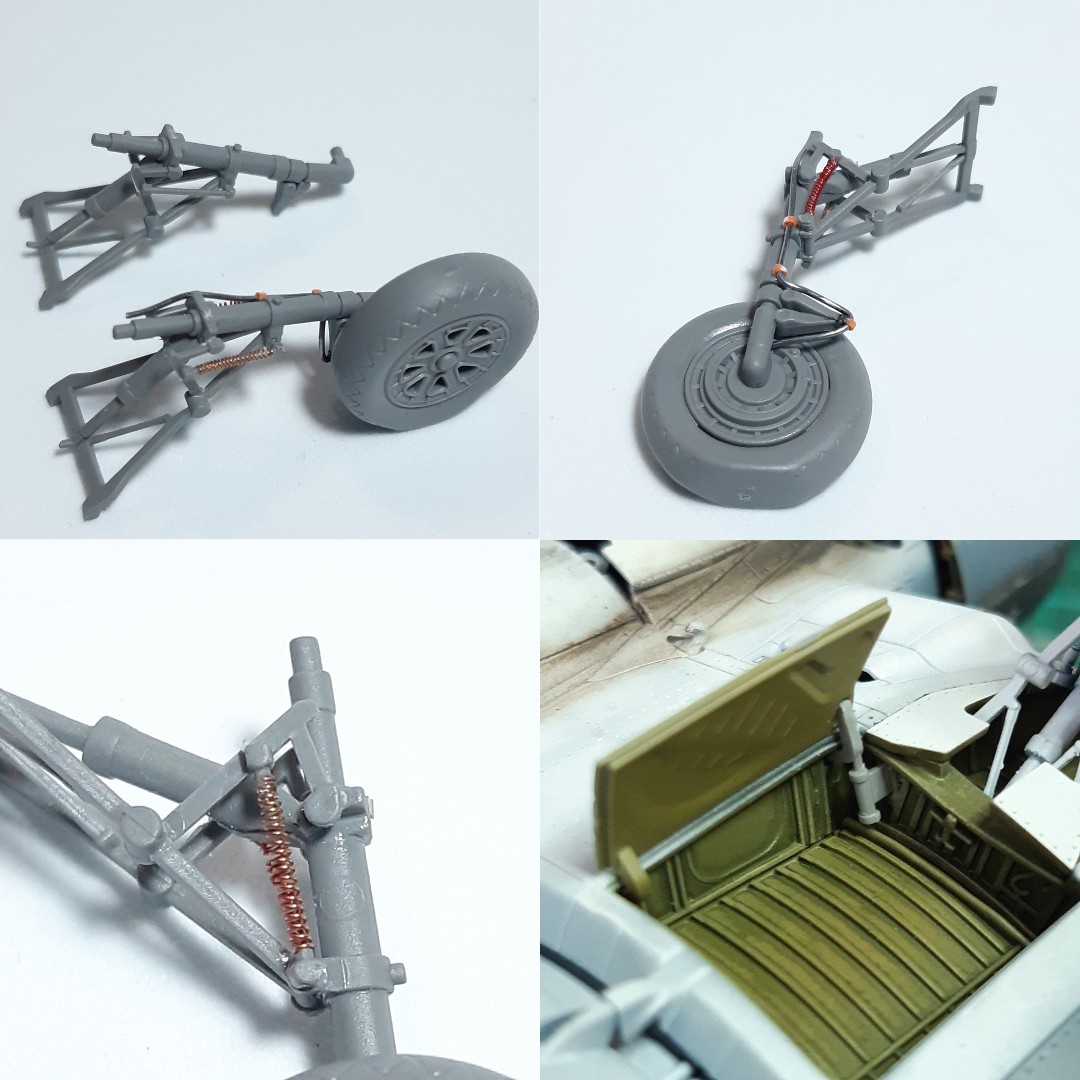
The landing gear is a complex piece of art, but is worth to replace the solid springs representation by a thin wire spring. Also added the hydraulic, made from tin wire. Another point to take special attention are the landing gear bay doors attachment points. Double check the position of pieces A1, A2 and B21, B11, instructions are not very clear about the exact position this pieces should be glued. I used CA glue to fix them in the right position.
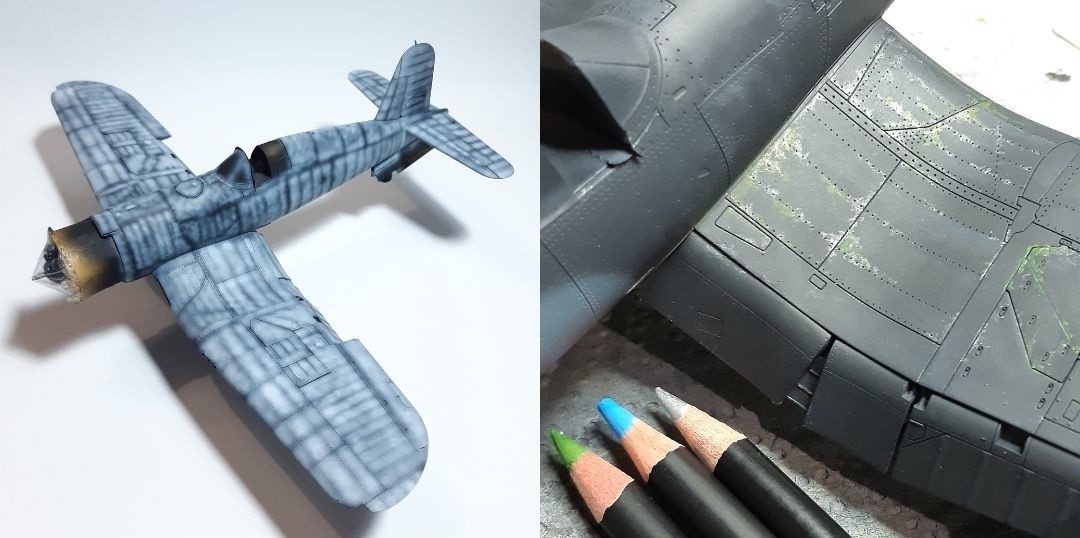
For the three color scheme, I used Vallejo Model Air colors. 71.295 for Non Specular Sea Blue, 71.299 for Intermediate Blue, and my own mix for Insignia White.
To achieve the fading paint effect, I first made a black and white preshade, followed by thin layers of paint, leaving preshade partially visible through. After a protective layer of matt varnish, more subtle effects were added with oils colors. The metallic chipping paint was done with Vallejo aluminium, and a metallic color pencil.
Conclusion
Magic Factory has released a wonderful and precise 1/48 scale F4U Corsair. Detail level is very high, like cockpit, machine gun bay, and engine, and although some steps are complex, with care and patience they can be carried out without much difficulty. I just can highly recommend this kit, you won't be disappointed, and yes, did I told you the are two kits in the box? :)