Background
The Bf 109G-14 was an attempt if rather unsuccessful one to try and standardise the production of the fighter. Overall, the type offered improved combat performance with more powerful engine. The MW 50 power boosting water injection system provided short burst of extra power at medium and low altitude. Aerodynamics was improved with the redesigned engine cowl that was adopted with the Bf 109 G-5/6. The distinctive blisters either side of the cowl seen on the Bf 109 F/G disappeared. Manoeuvrability was improved with a larger plywood tail and rudder. The clear-view Erla Haube canopy became standard installation and gave the pilot much improved visibility. There were several variants of the Bf 109 G-14 including:
- G-14 Fighter standardised late-production G-6; DB 605AM engine with MW 50 boost
- G-14/AS - High-altitude fighter with DB 605ASM engine with MW 50 boost
- G-14/ASy - High-altitude command fighter
- G-14y - Command fighter
- G-14/U4 – Similar to the G-14, but with 30 mm/1.18 in MK 108 Motorkanone cannon in the nose.
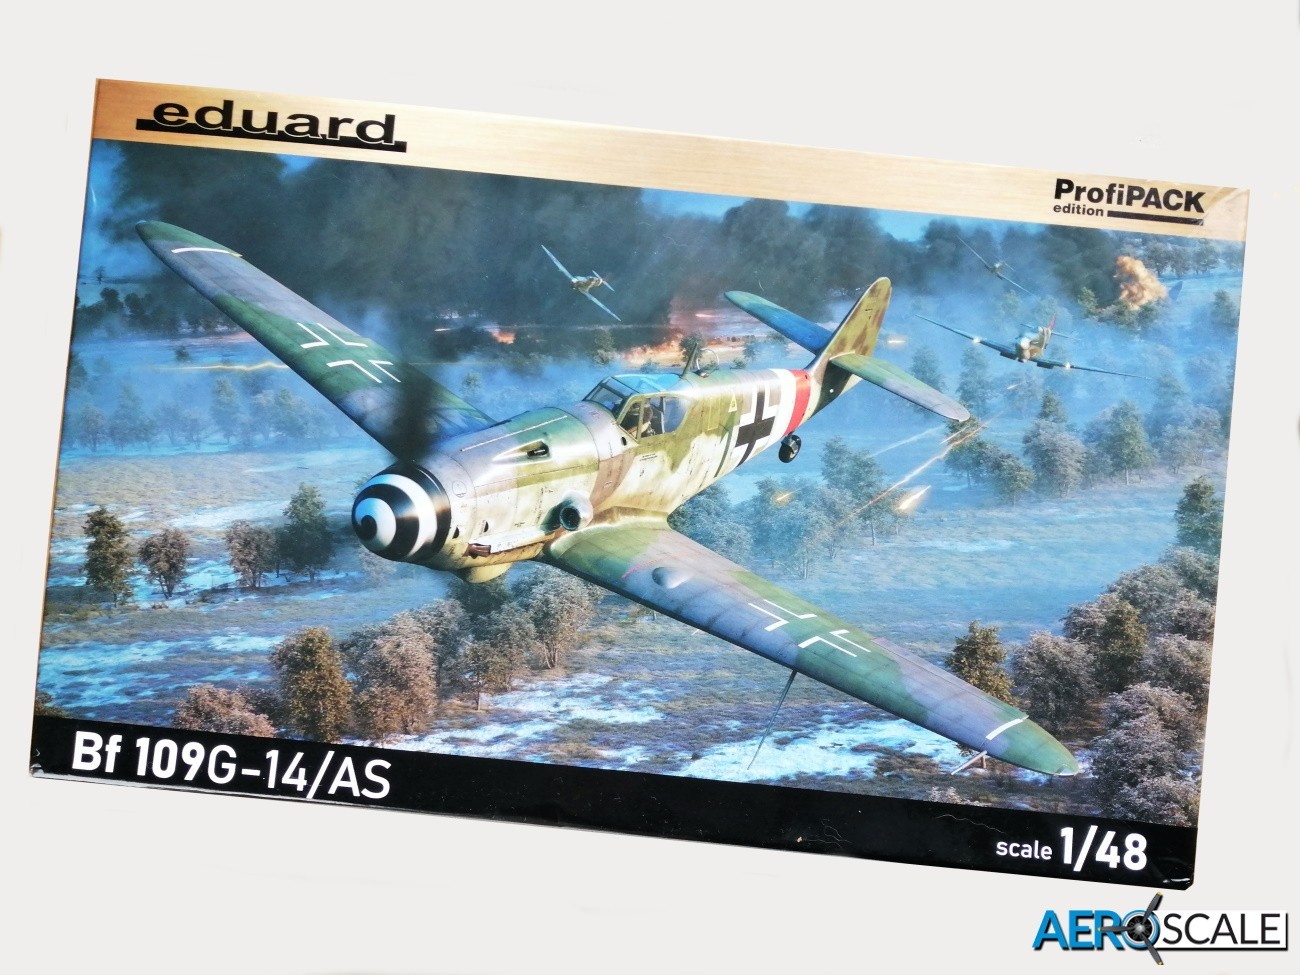
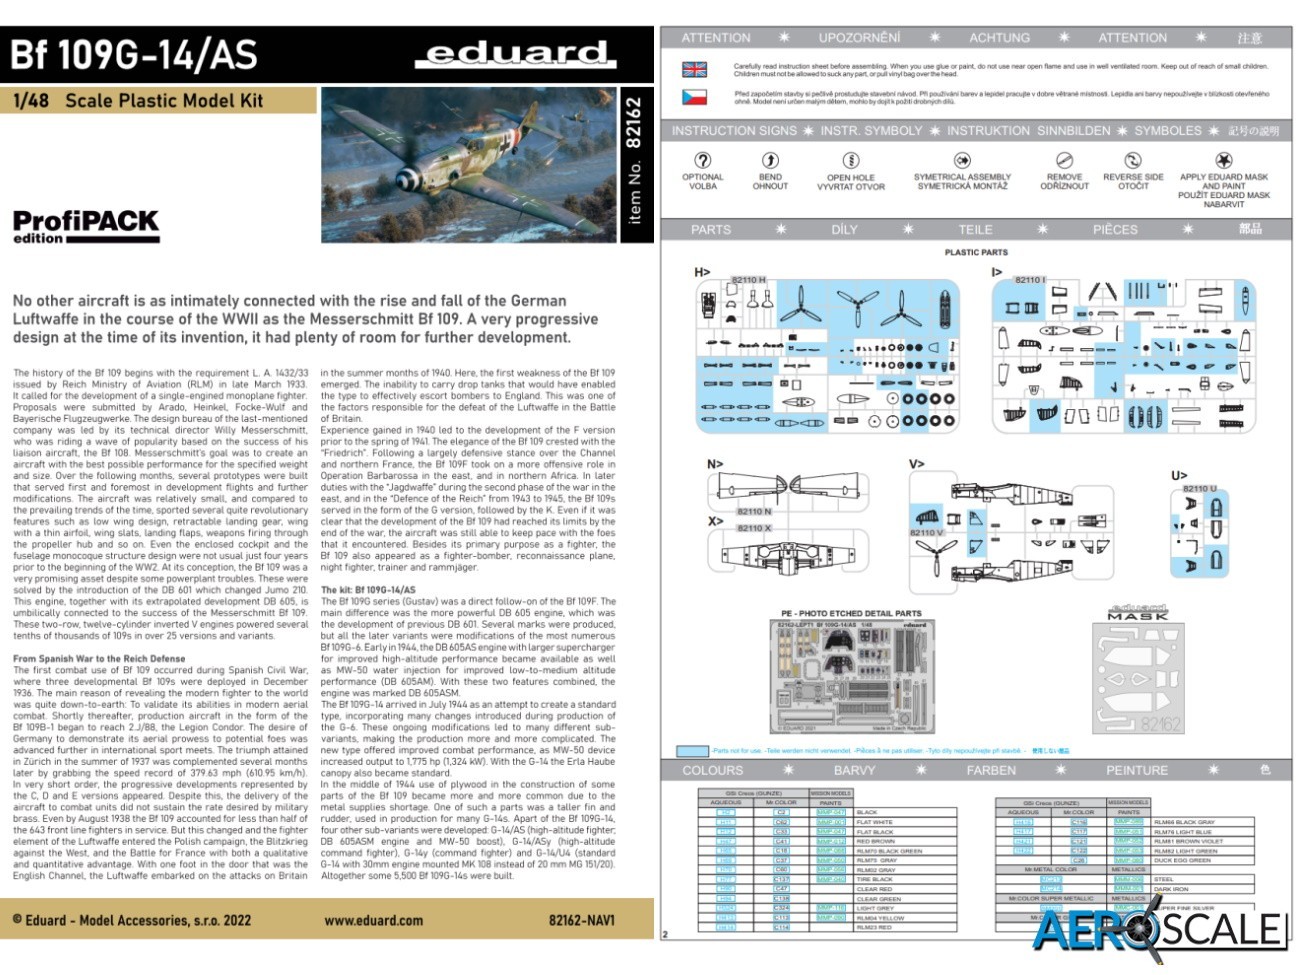
The kit
This Edition from Eduard depicts the Bf 109G-14/AS designed for high altitude interception. It was powered by the DB 605ASM, which was built specifically for high altitude combat. The larger intake fed the air hungry supercharger. Eduard has previously released the Bf 109 G-14 [82118]. Its only released the G-14A/S as a duo combo ‘Reichsverteidigung’ [1119] and ‘Bodenplatte’ [11125]. This is the first time the high-altitude Bf 109 G-14A/S has been released in its own right.
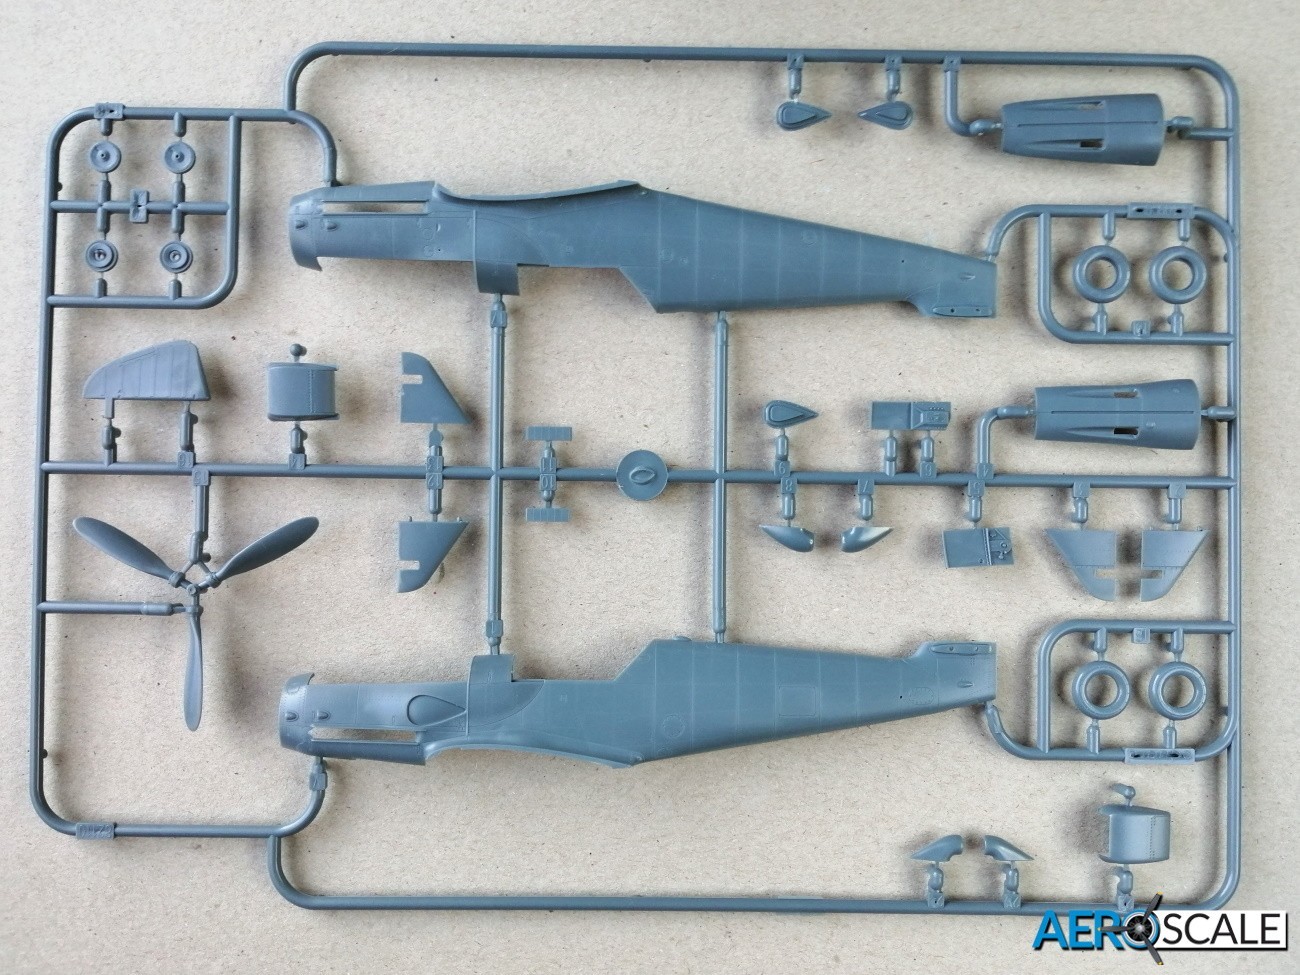
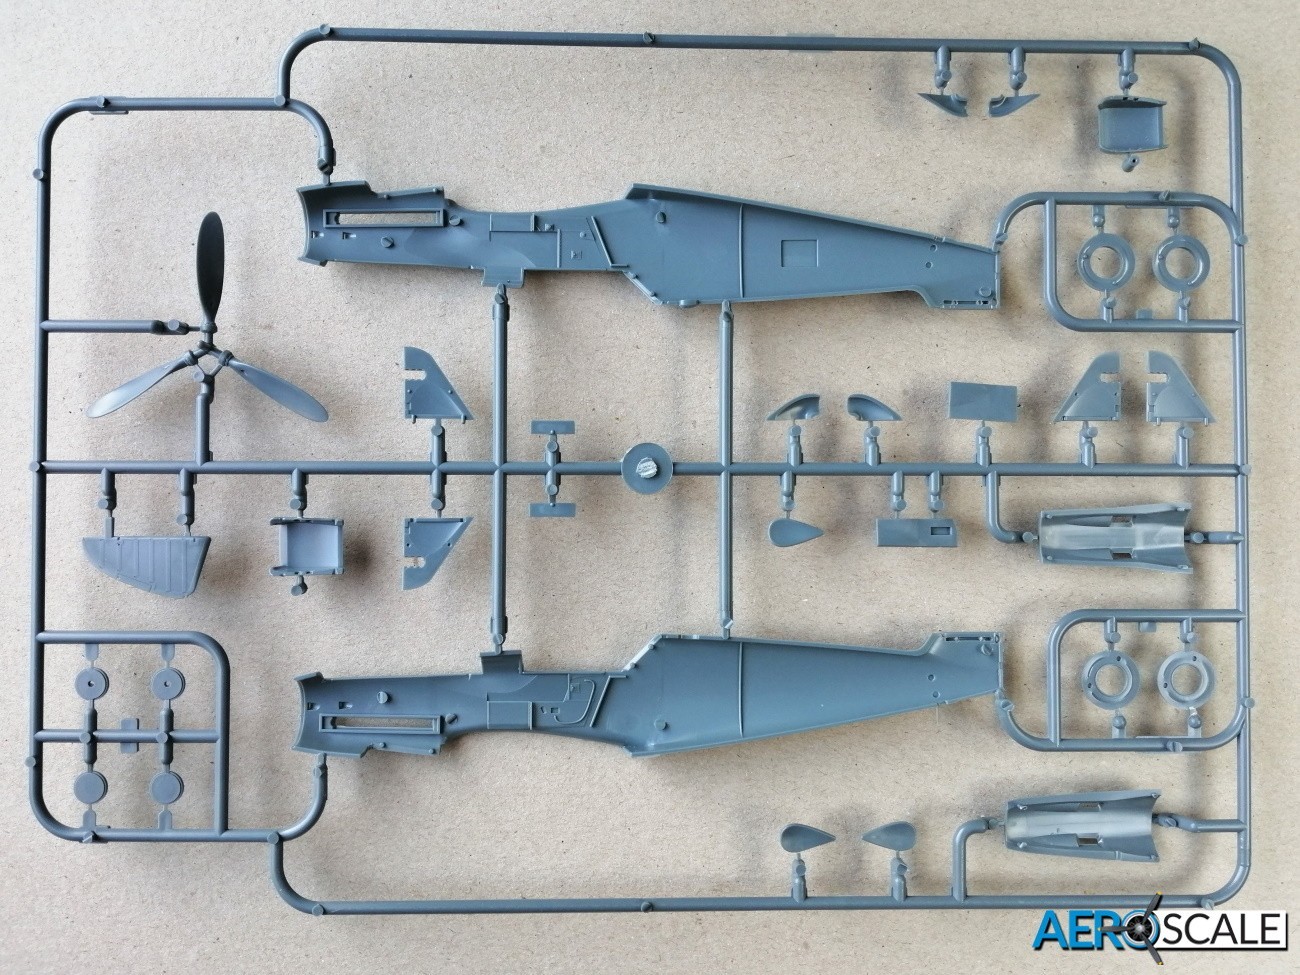
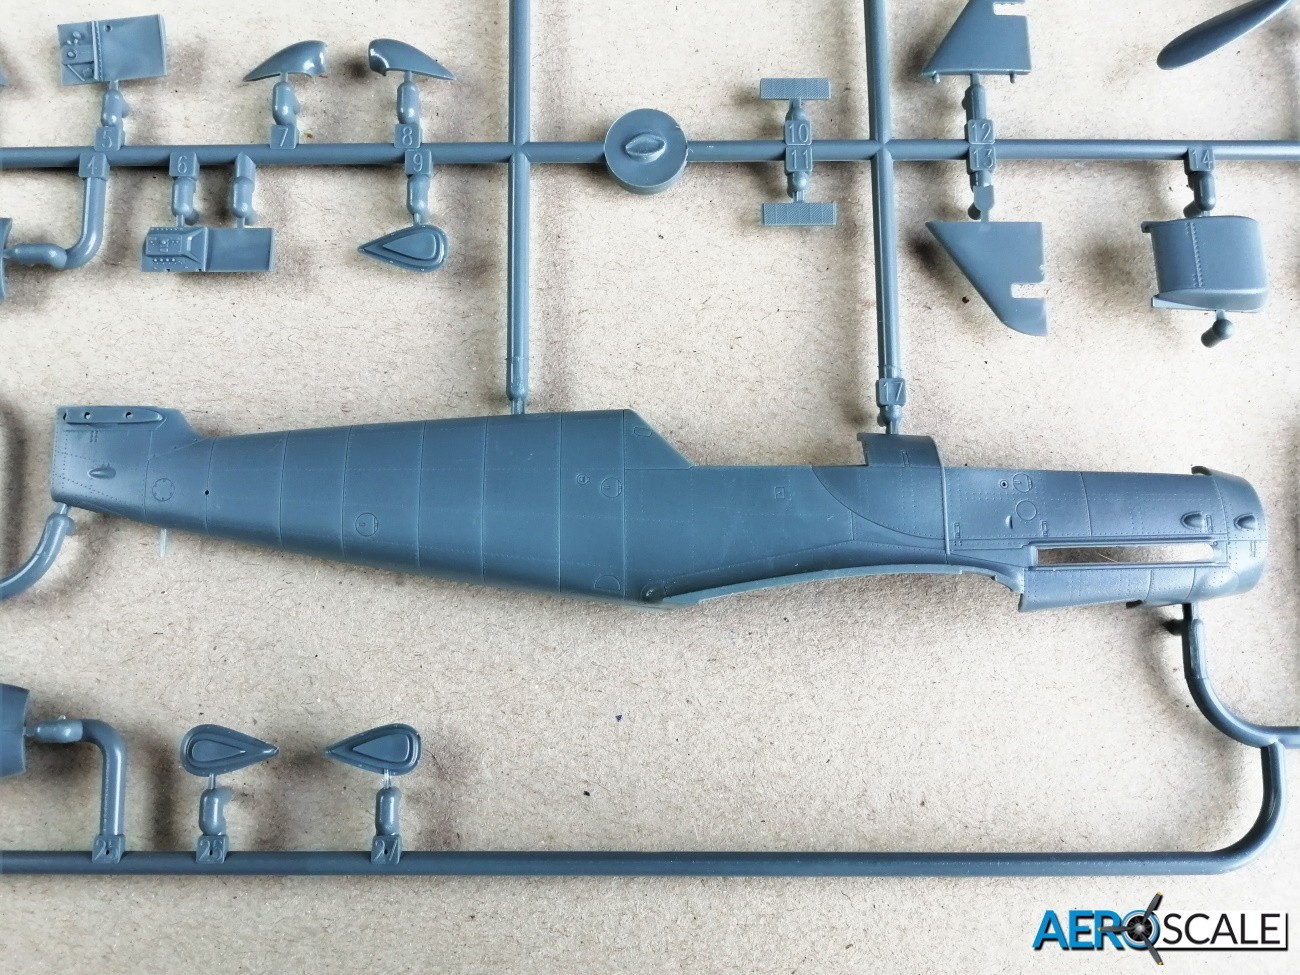
The first thing that impresses on opening the box lid is the quality of the surface detail. The recessed rivets and panel lines are beautifully executed.
This release features:
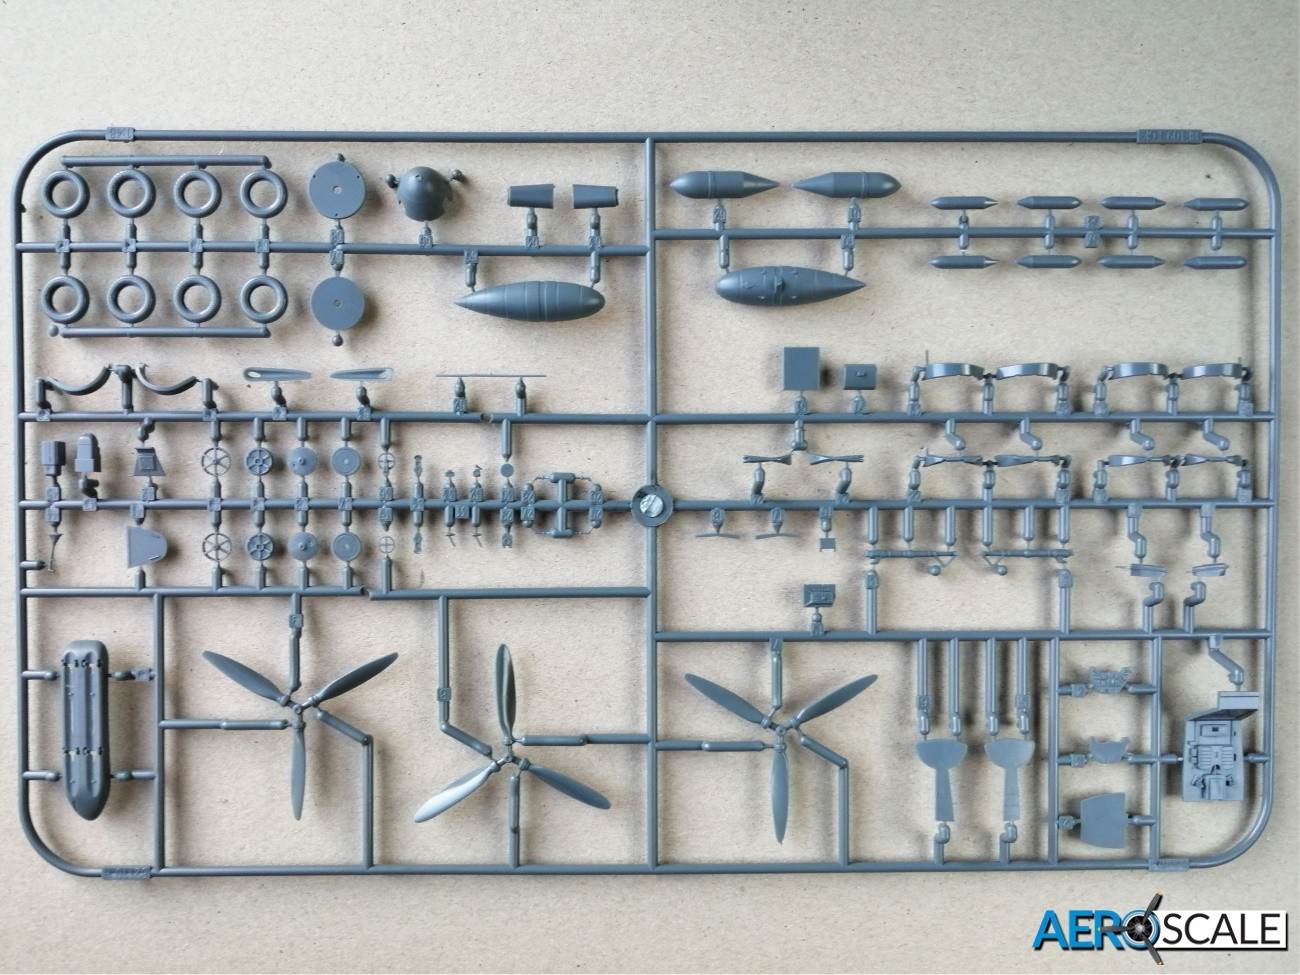
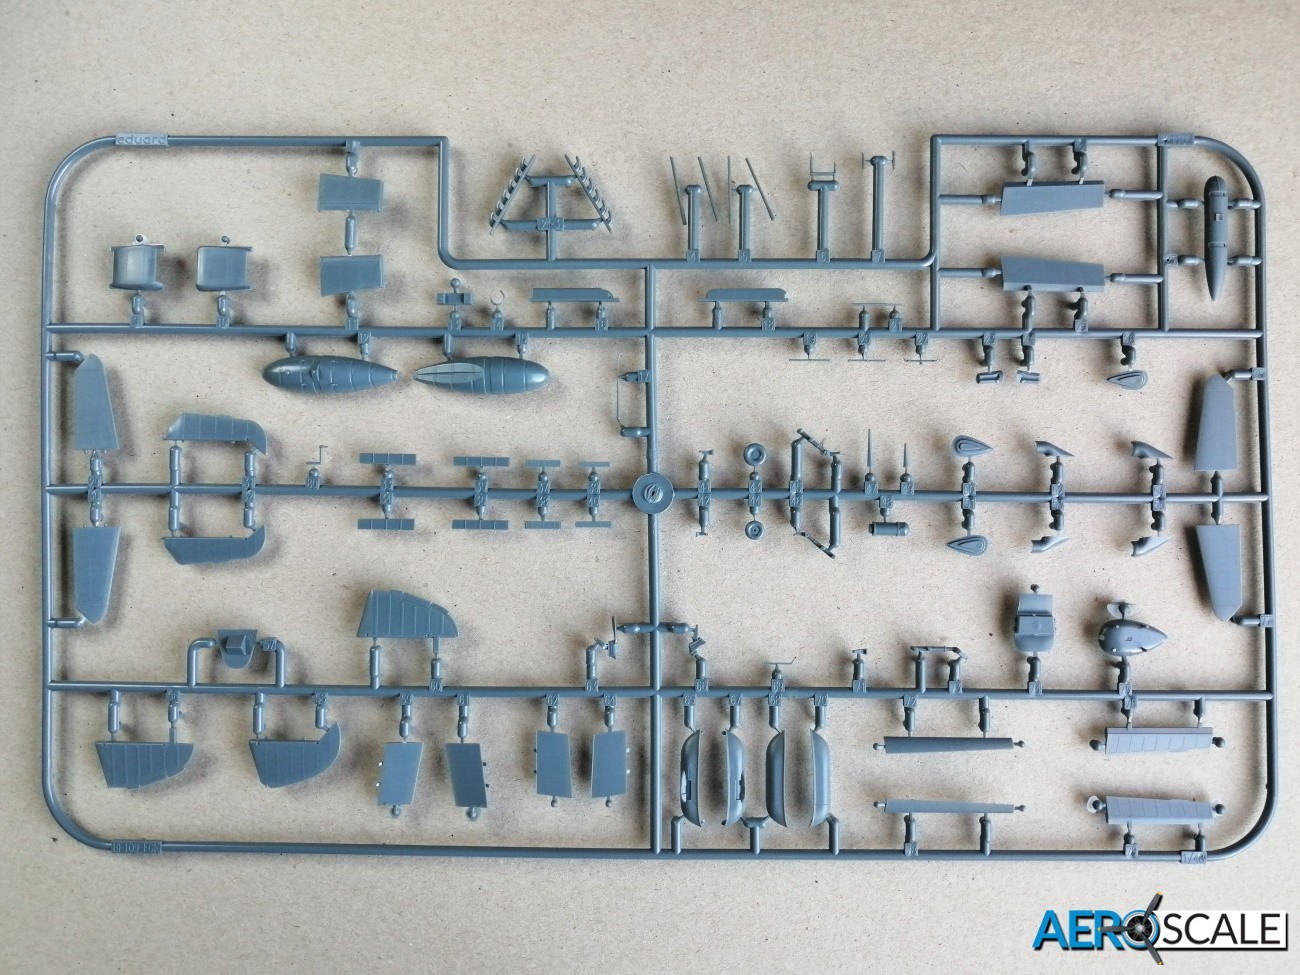
- 4 x grey plastic sprues
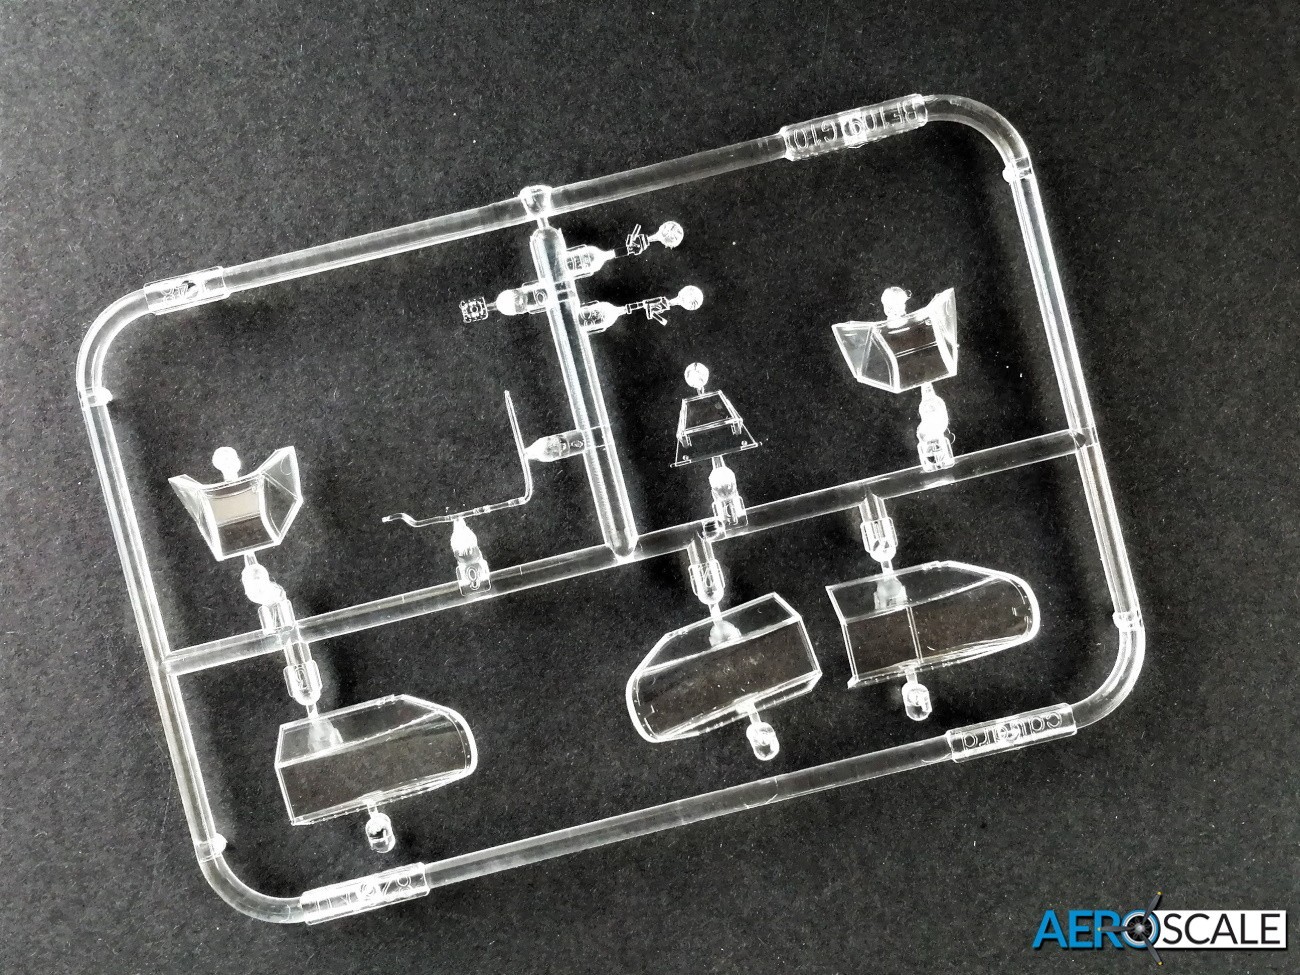
- 1 x clear plastic sprues
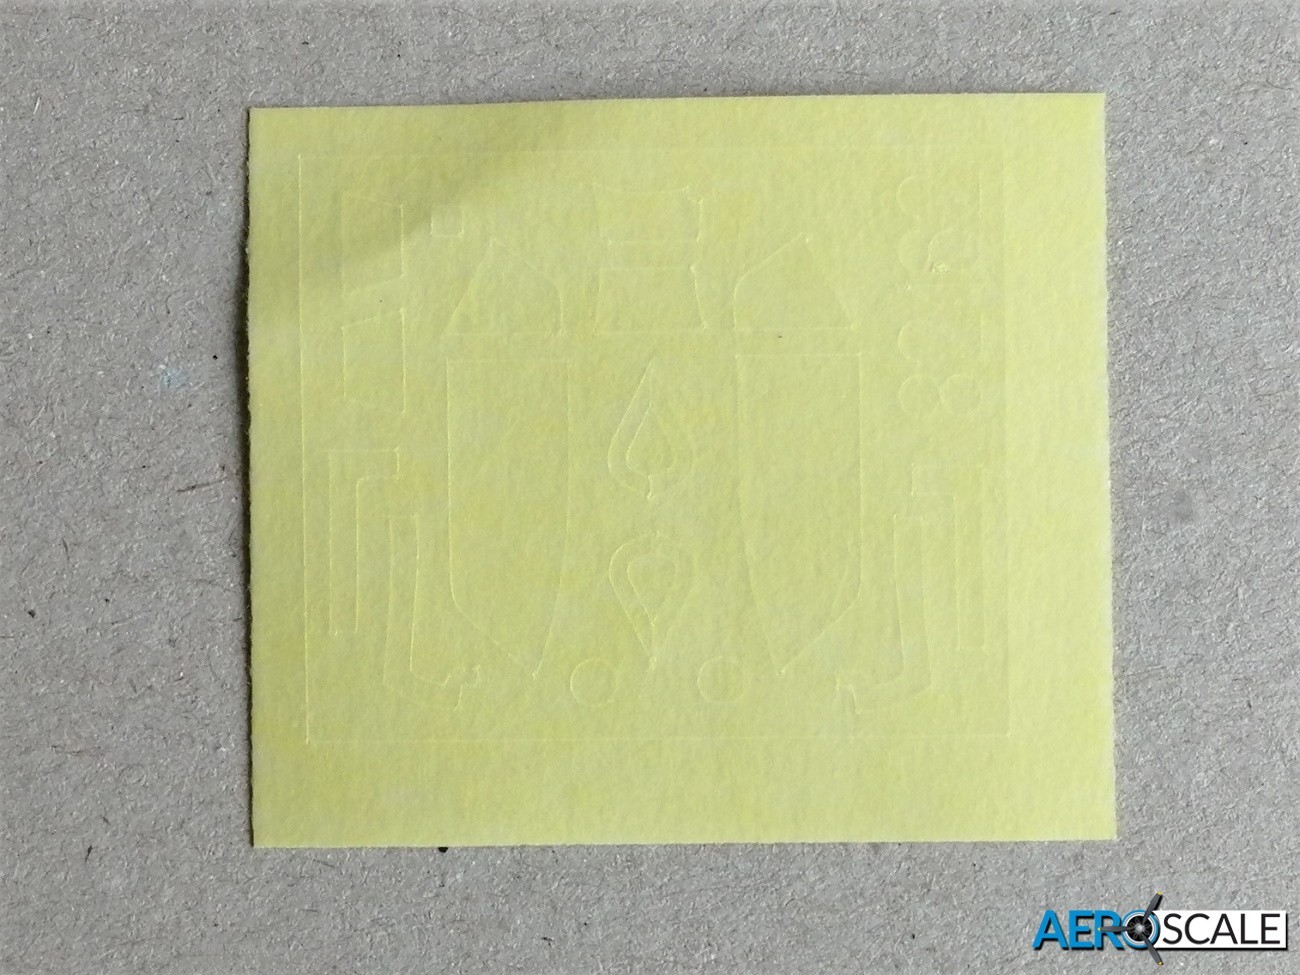
- 1 x sheet of paint masks
- 1 x pre-coloured photo etched fret
- 2 x sheet of waterslide decals
- 16-page instruction manual

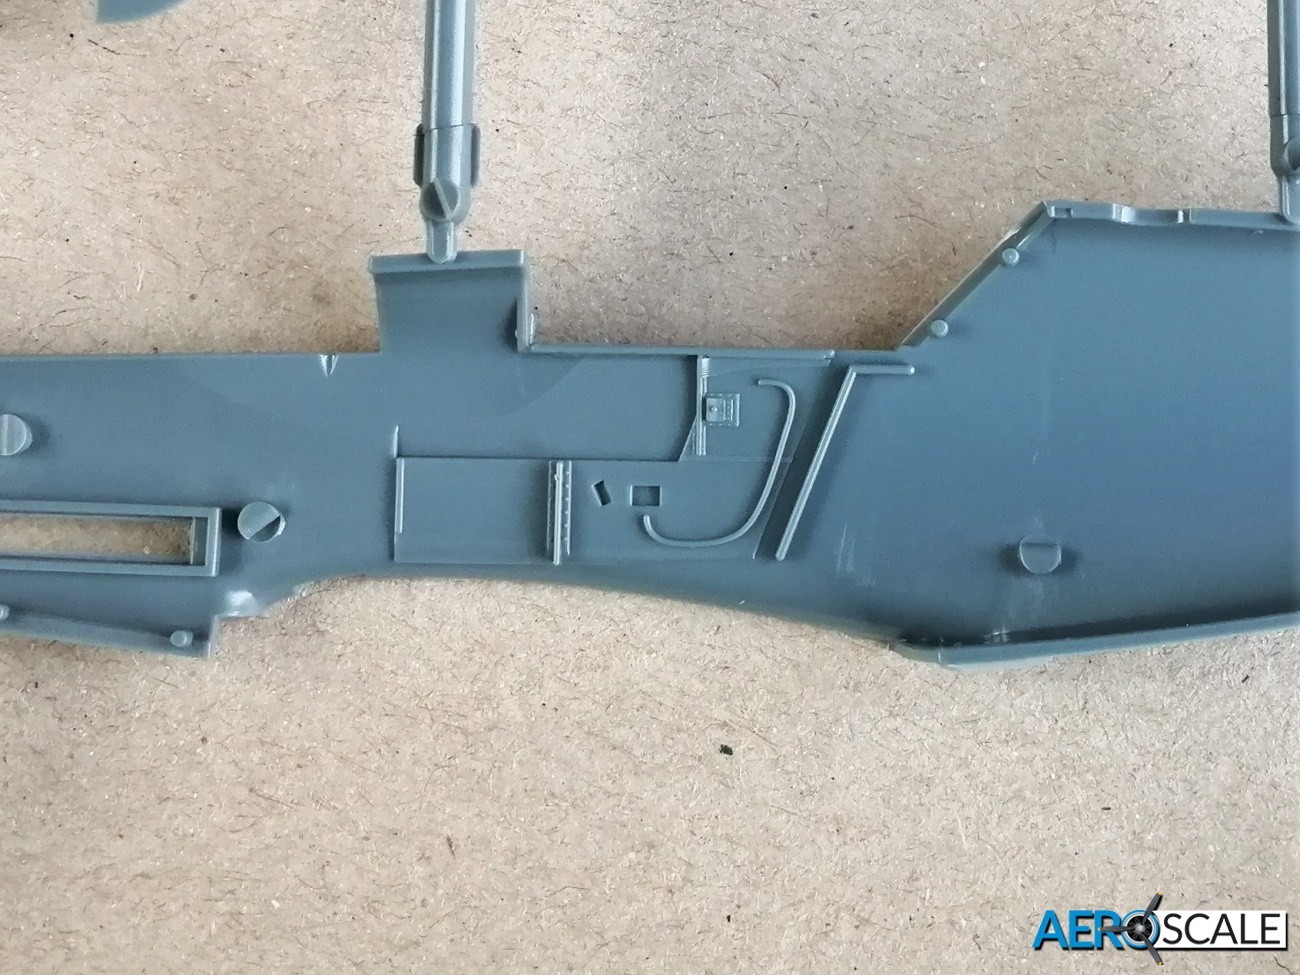
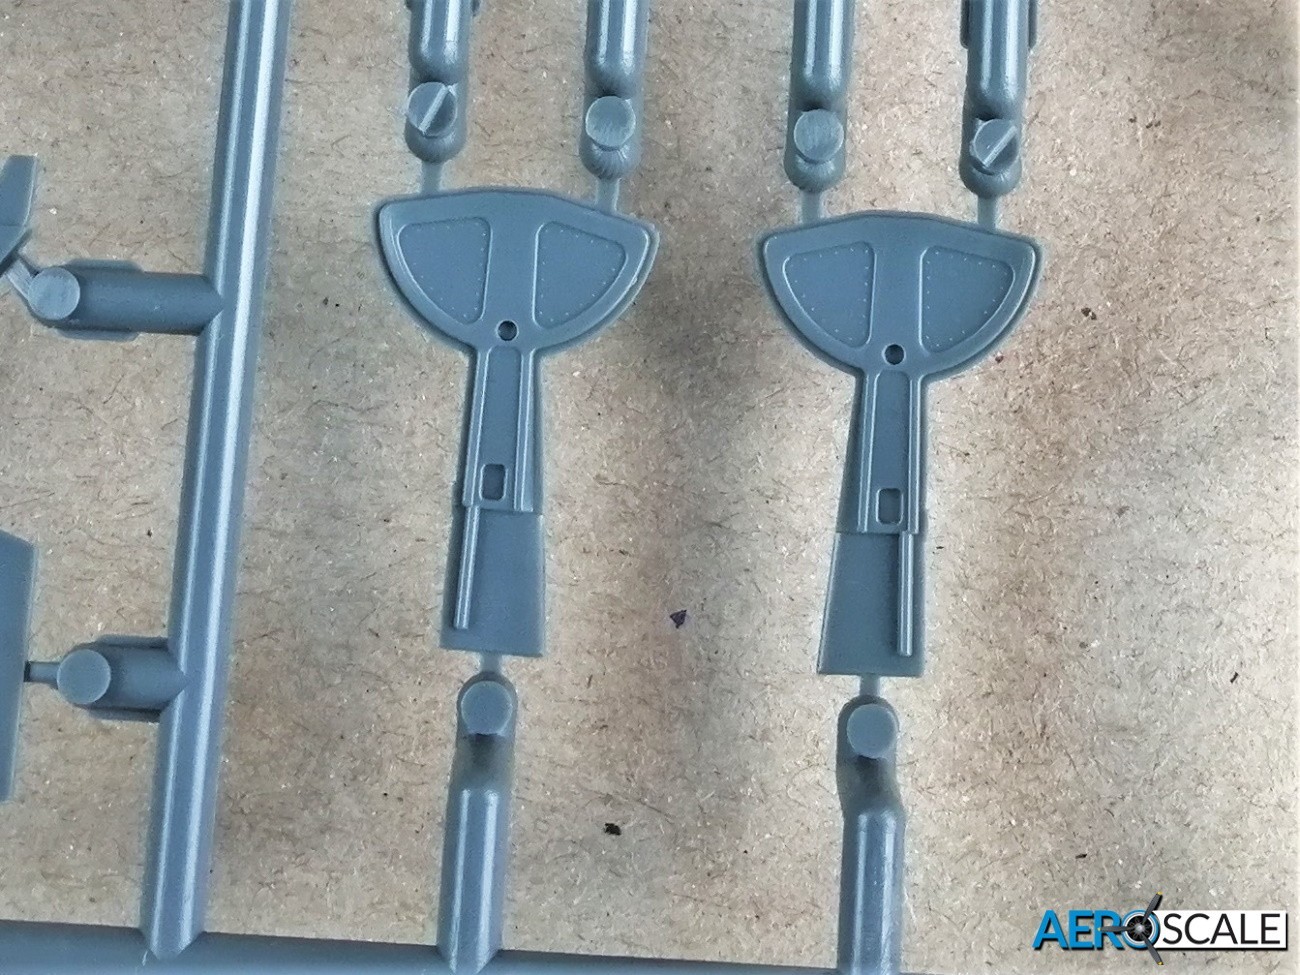
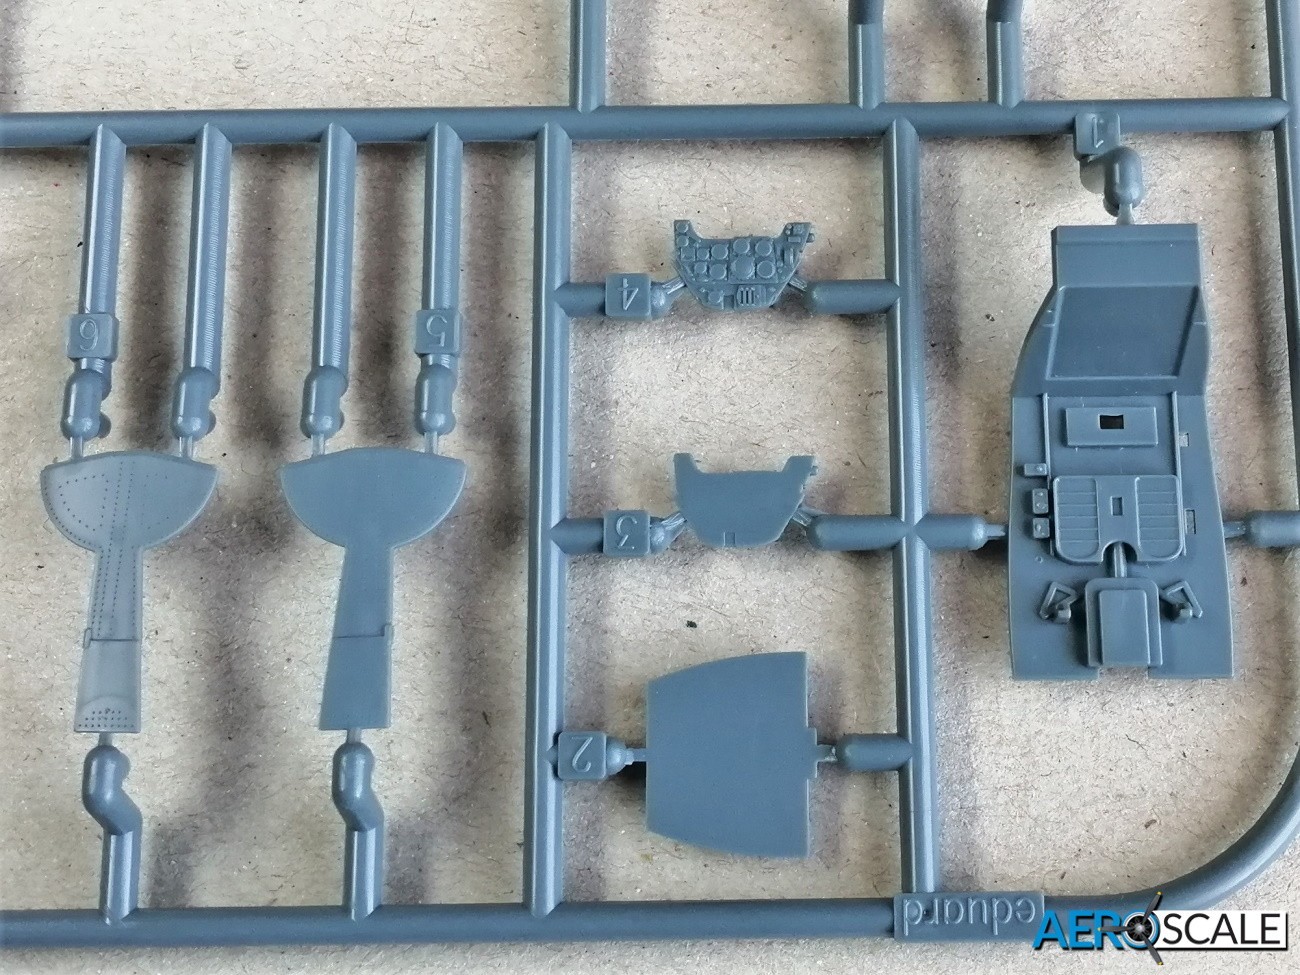
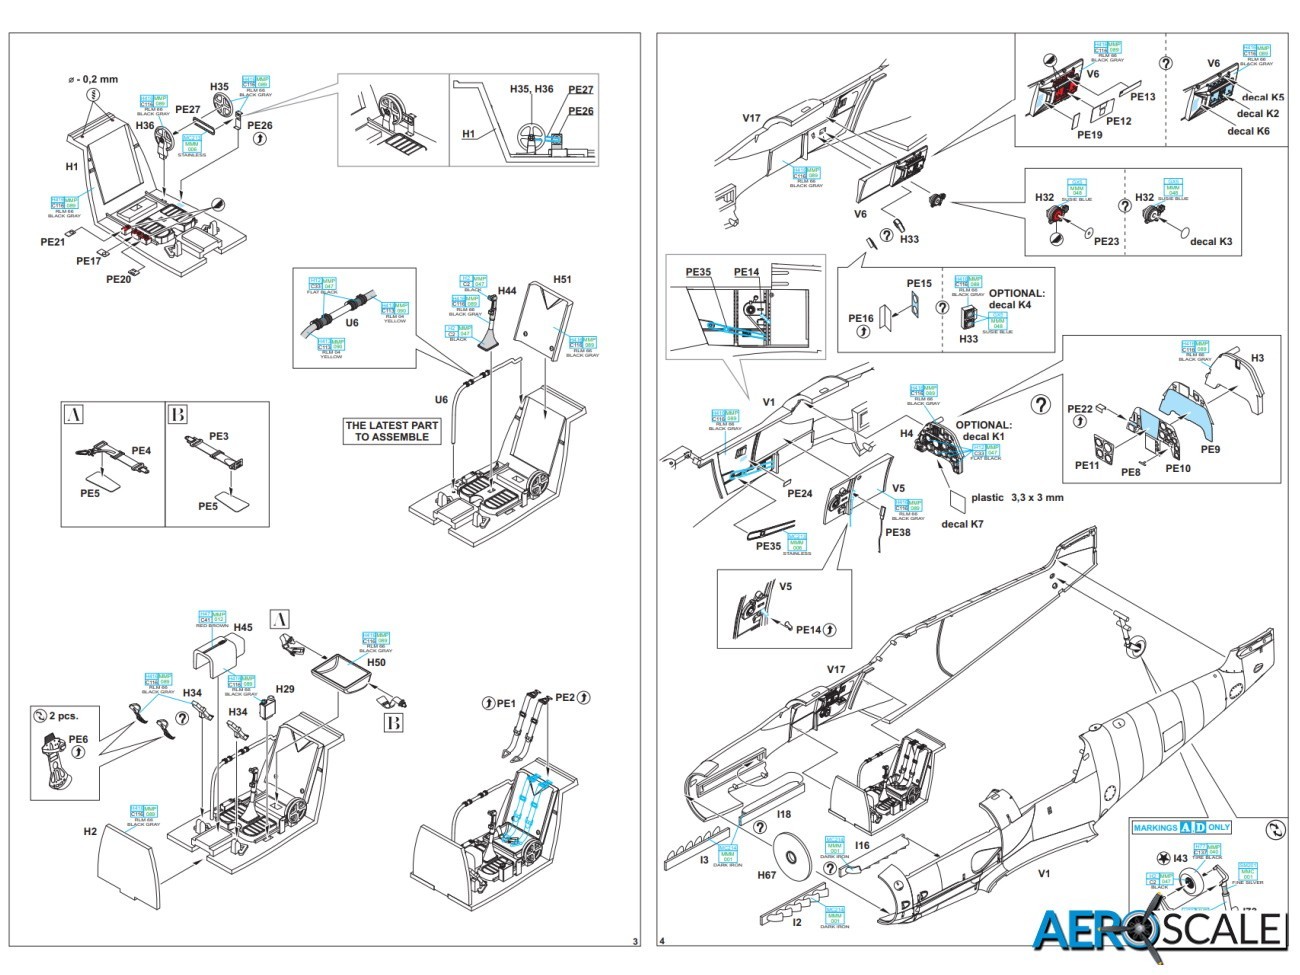
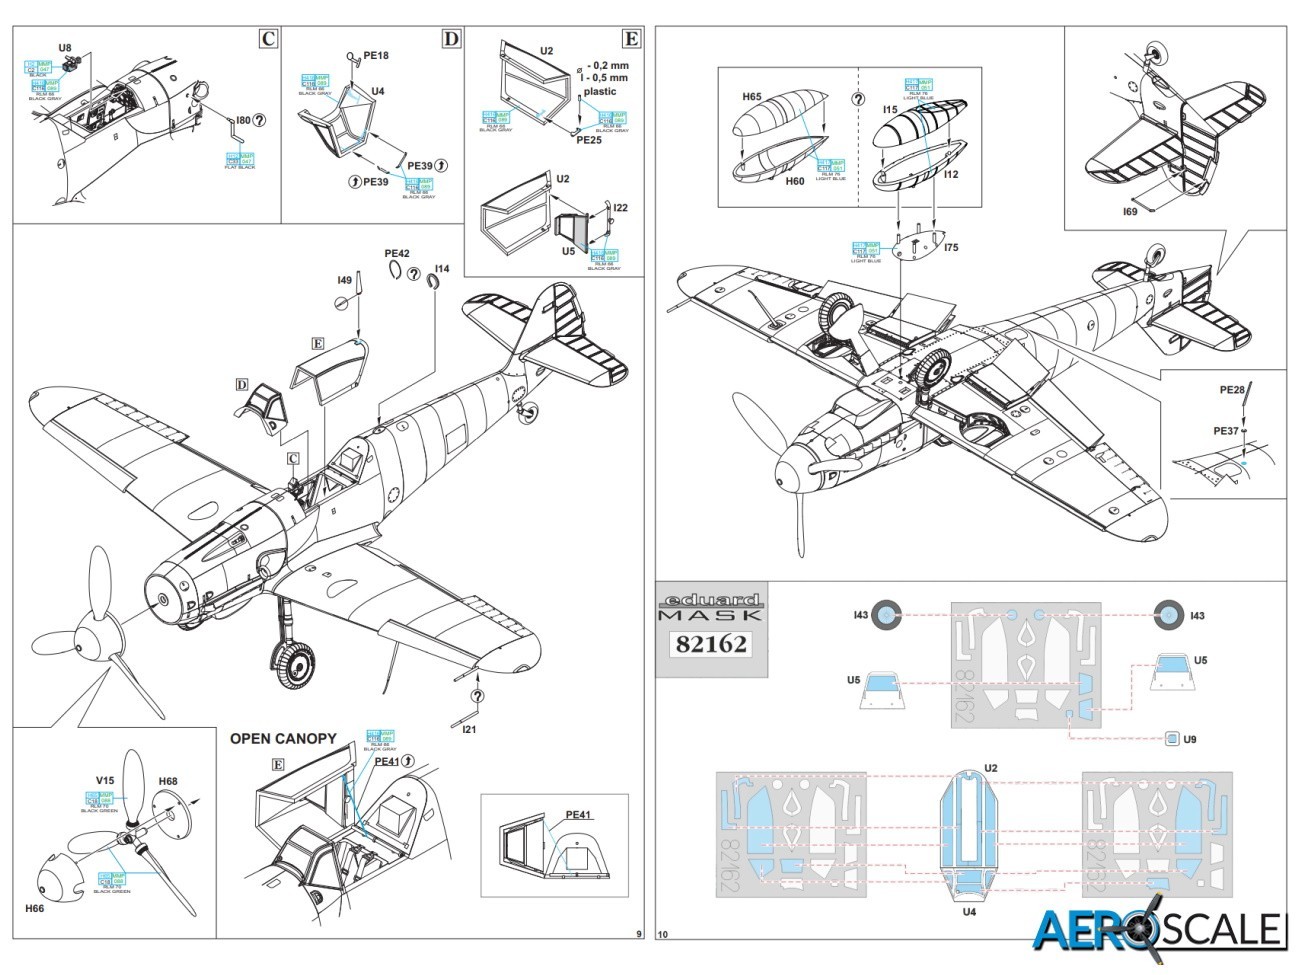
Being a ProfiPACK edition the cockpit can be detailed using a mix of plastic, photo etched parts and decals. There are around sixteen plastic parts making up the detail in the cockpit. The detail on the plastic parts is excellent, perfect if you want to drybrush to emphasis the detail. Eighteen photo etched parts are available to further detail the cockpit. The bulk of the cockpit is made up from a floor that incorporates the rear bulkhead, the two-part bucket seat is placed onto it. There is a pre-painted photo etched seat harness too. The covered end of the central mounted cannon, control stick, and rudder pedals are added to the floor. There is a choice of plastic or photo etched pedals, the latter incorporate straps. There are four pre-coloured photo etched parts for the instrument panel. If you do not fancy using the photo etched instruments then there are decals. The distinctive looking wheels by the pilot’s seat on the left wall which operate the elevator and flap are made up from two finely detailed plastic parts. The chains are photo etched, one is sandwiched between the two wheels and there is another chain to add to the fuselage wall once the unit is complete. In front of this is the plastic throttle and sidewall section. The clear plastic fuel hose to the right of the seat is a nice touch, you just mask the clear part and paint the rest yellow.
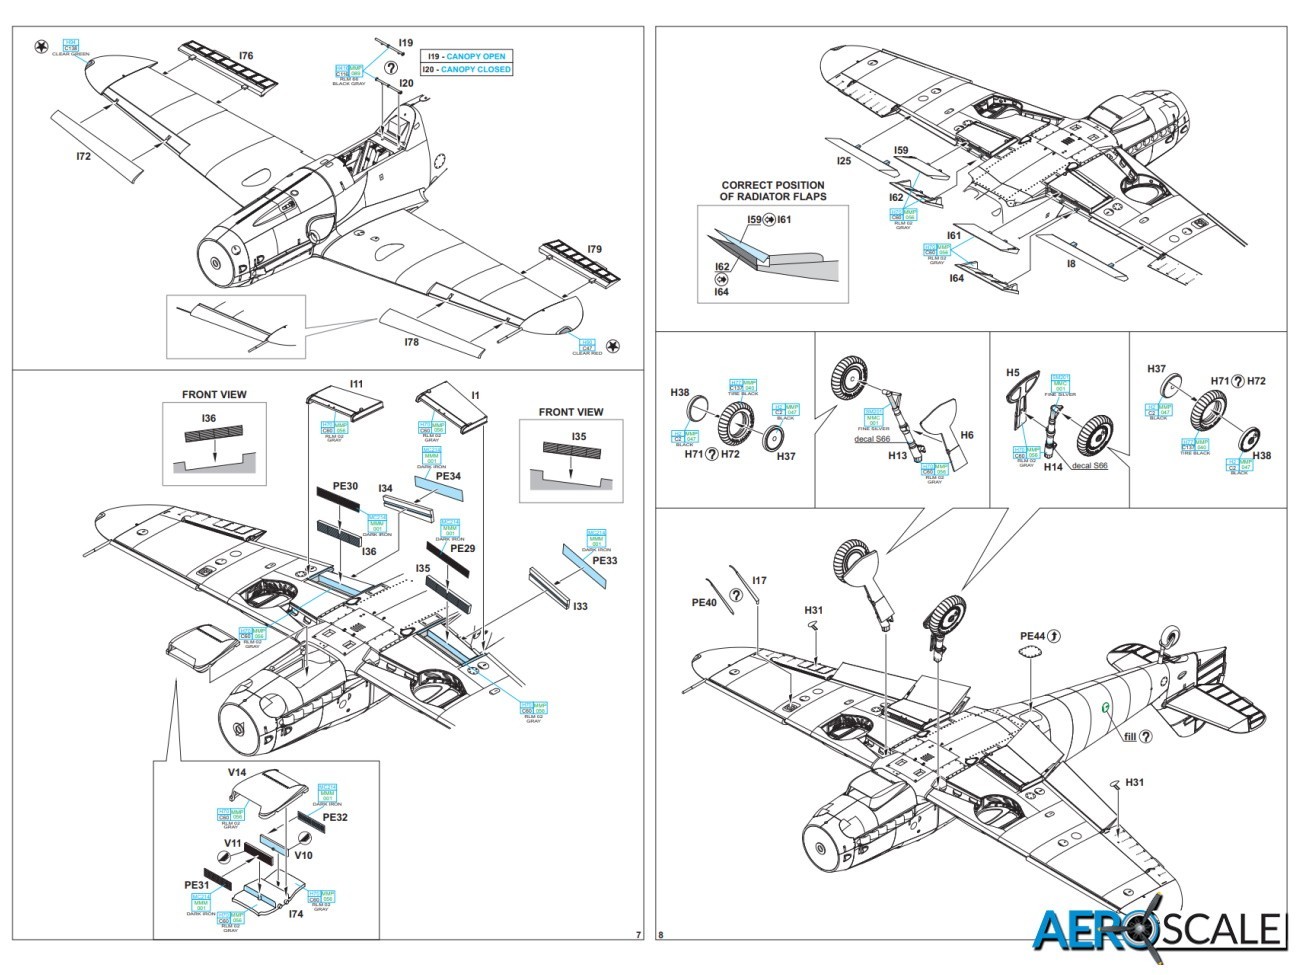
The distinctive Erla Haube clear view canopy is separate and can be displayed open. It is hinged on the right side. There is a PE part that represents the cable limiter. The plastic is crystal clear.
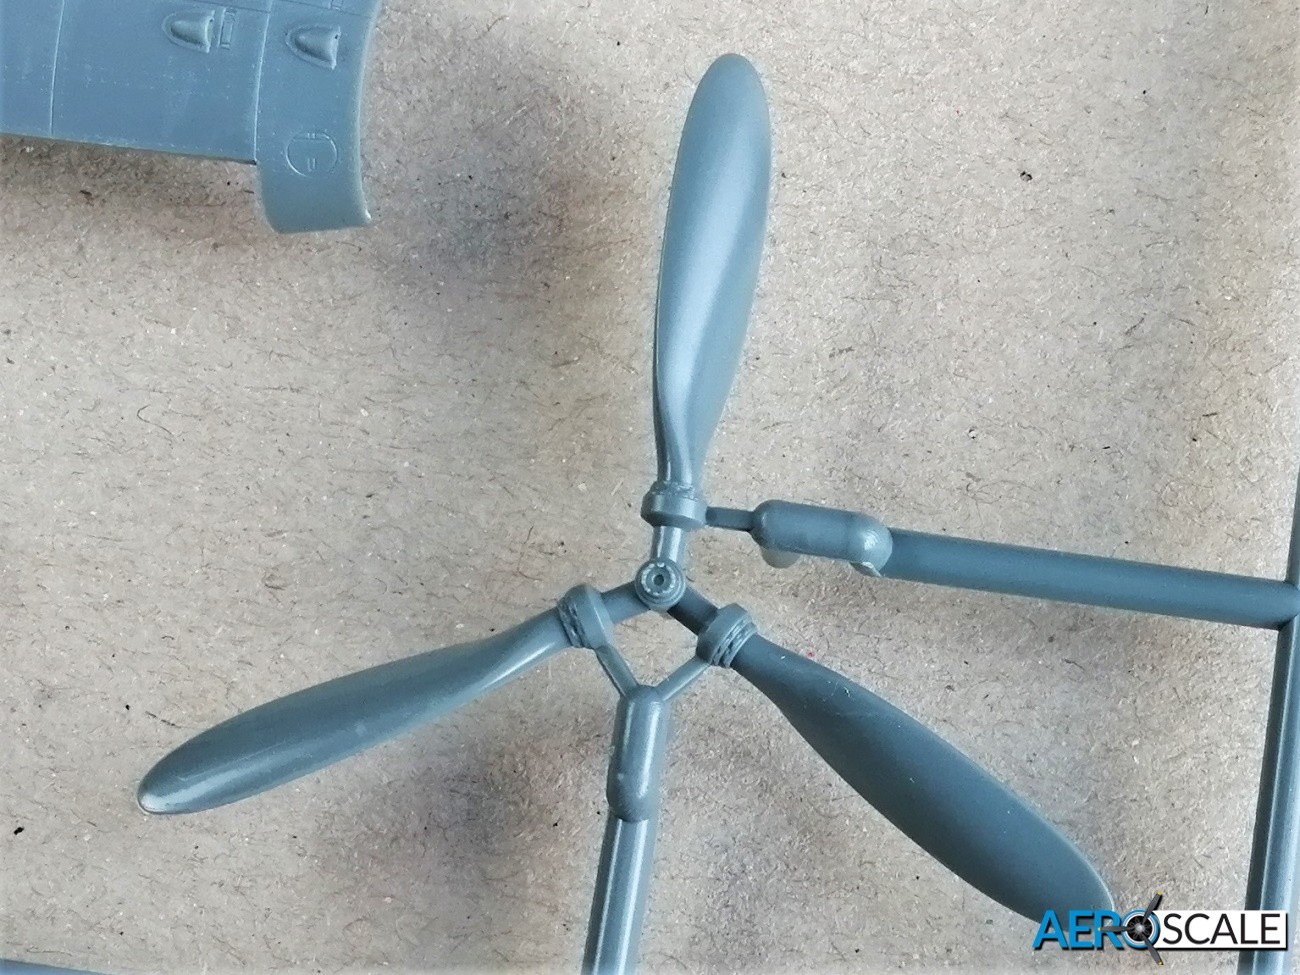
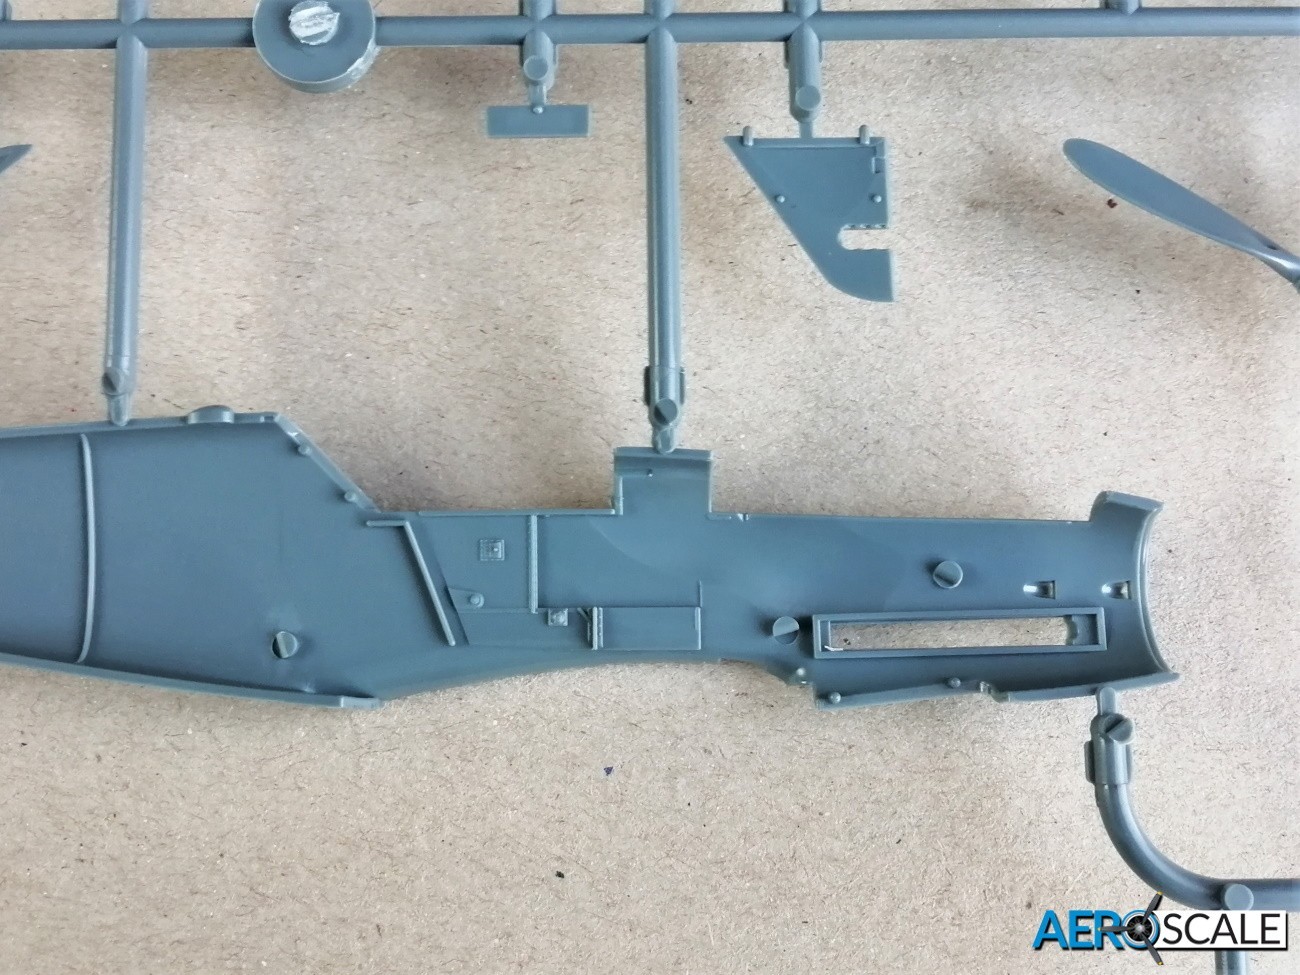
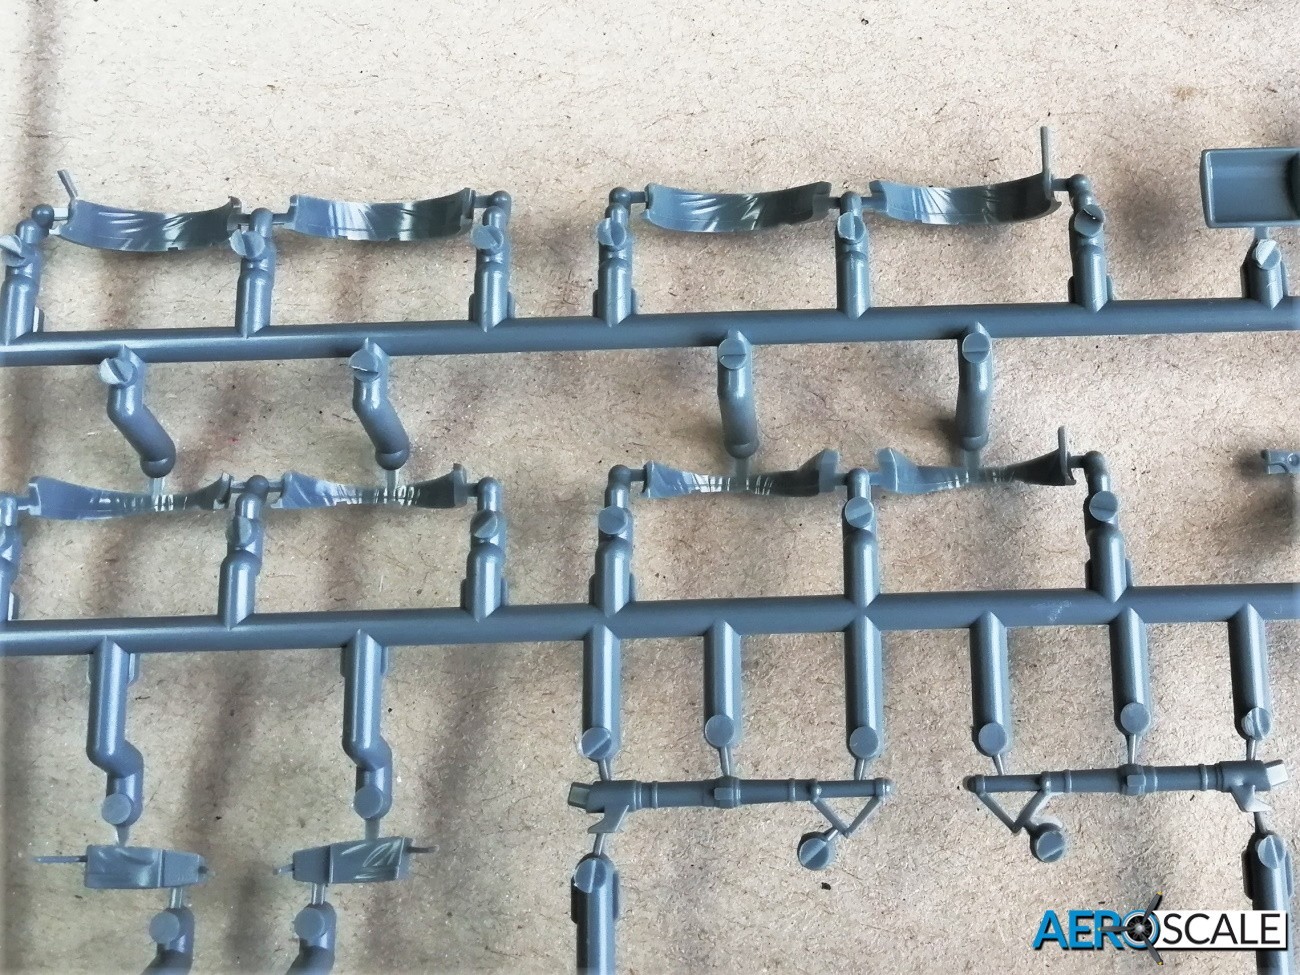
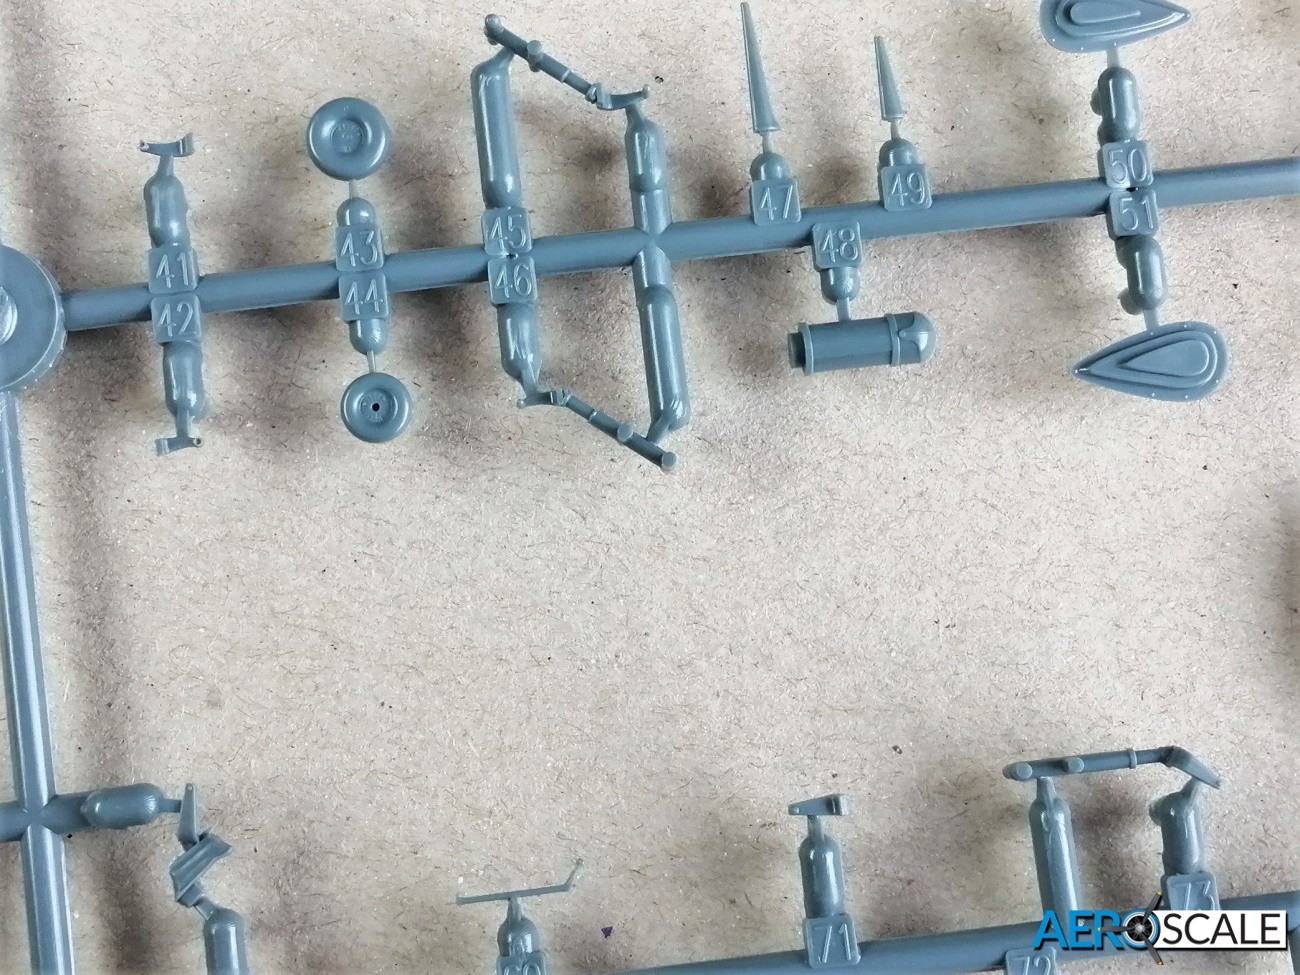
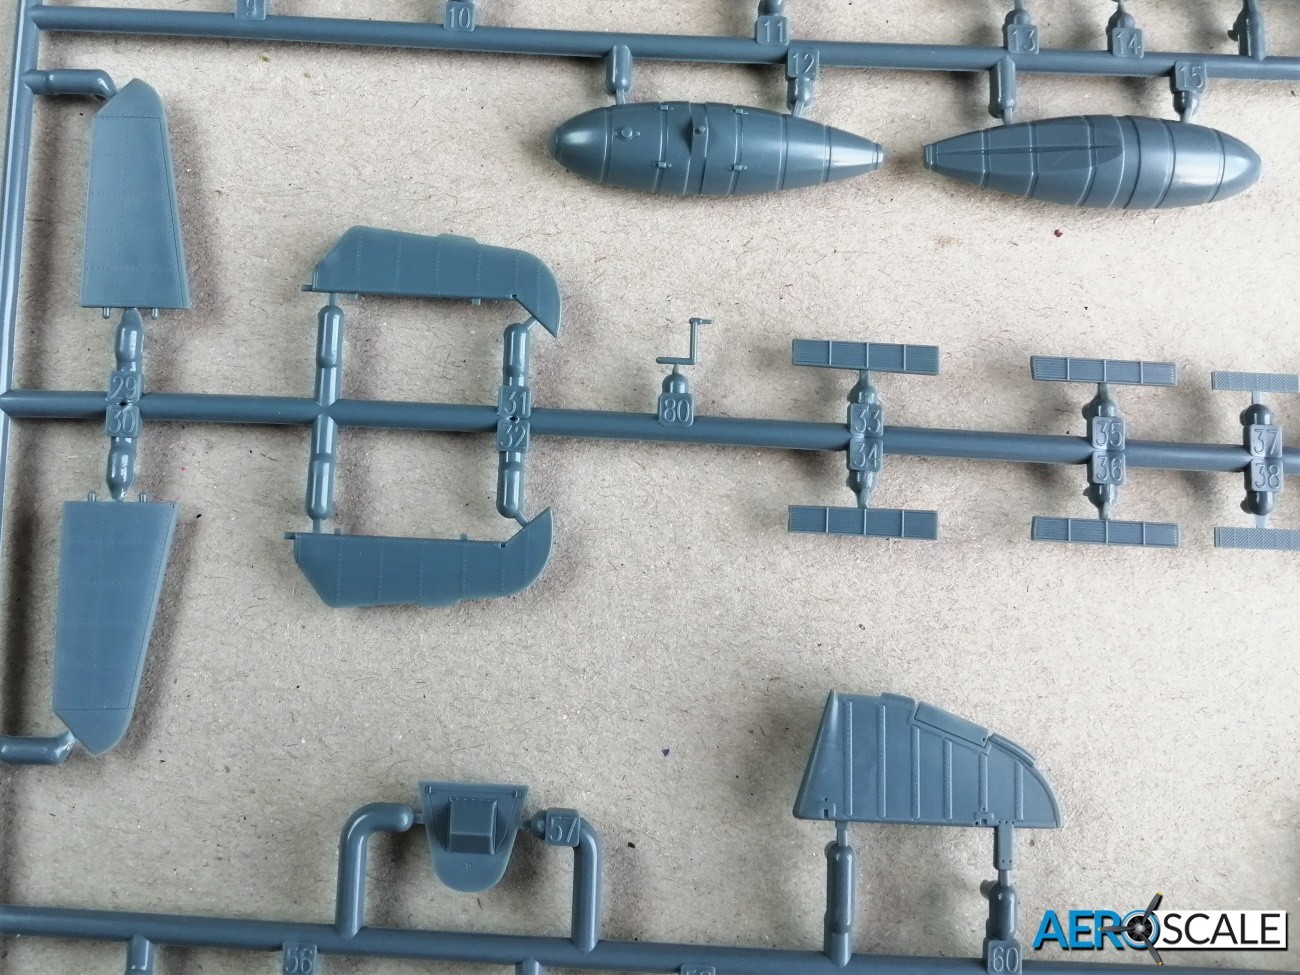
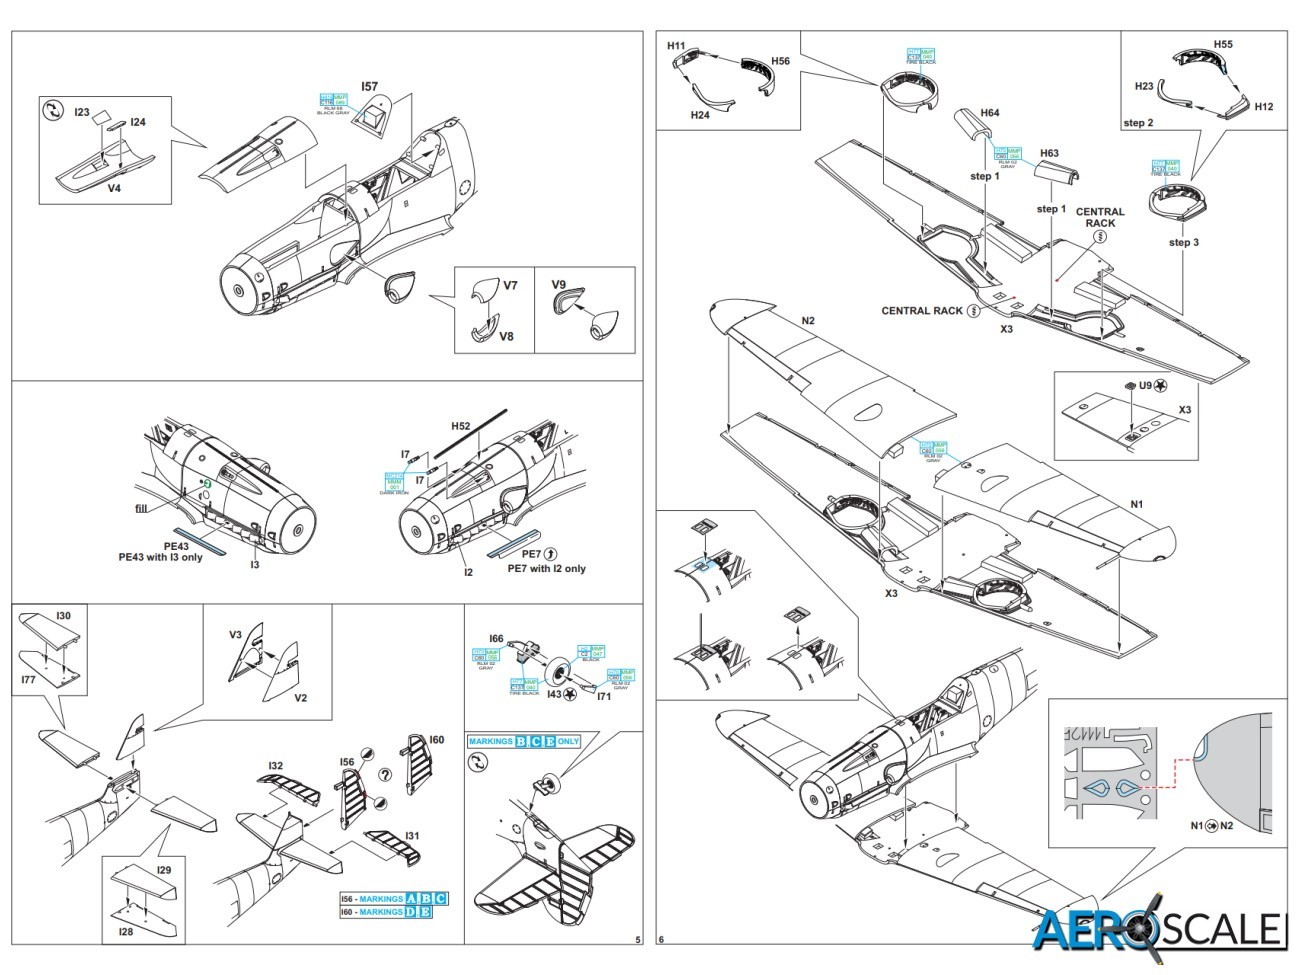
One thing worth noting is that there are no locating pins to aid positioning the two halves of the fuselage when gluing. The slightly bulbous cowling around the DB 605ASM engine is nicely represented. The panel with the gun troughs, the rudder and fin are separate parts. The taller vertical tail is two piece and there is a choice of two rudders depending on which marking option you go for. One of the rudders requires two of the trim tabs to be removed. The upper nose guns nozzles are separate and can be fixed into position after the gun cover is fixed in place. Included on the PE fret is a template to scribe a couple of small panels just in front of the windscreen. The chin radiator is also separate and features either photo etched or detailed plastic radiator faces. The large supercharger intake is created from three parts. The exhausts are separate and there are two types with or without the flare shield. There are PE flare shields if you want to depict it true to scale look. This edition allows you to use the impressively proportioned paddle prop, with separate spinner and back plate. From the inside of the fuselage the plastic forming the hatch for the radio compartment is much thinner. It makes it that much easier if you want to cut out the hatch and reveal the bay and the equipment inside.
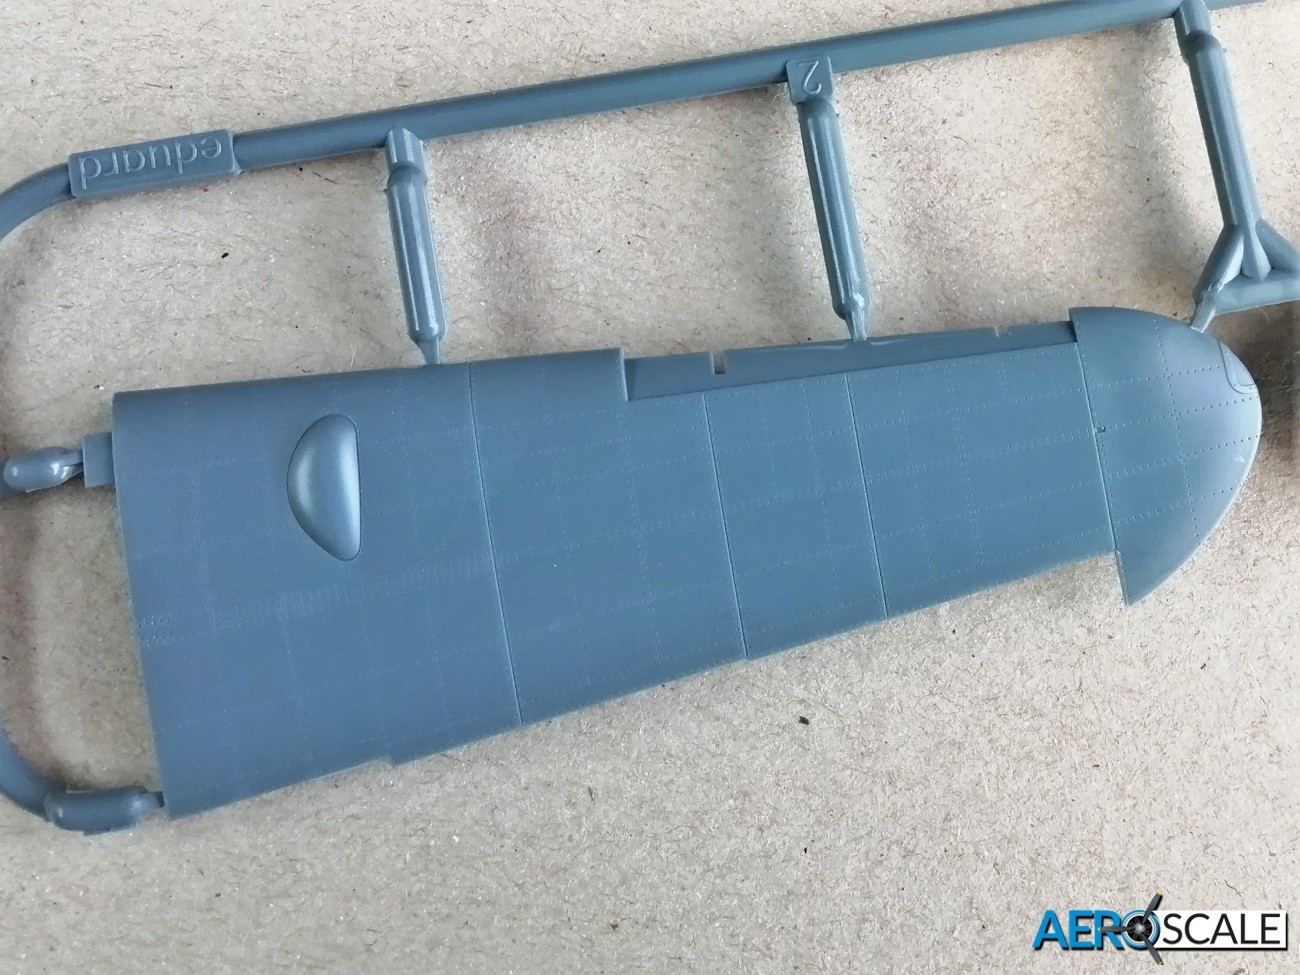
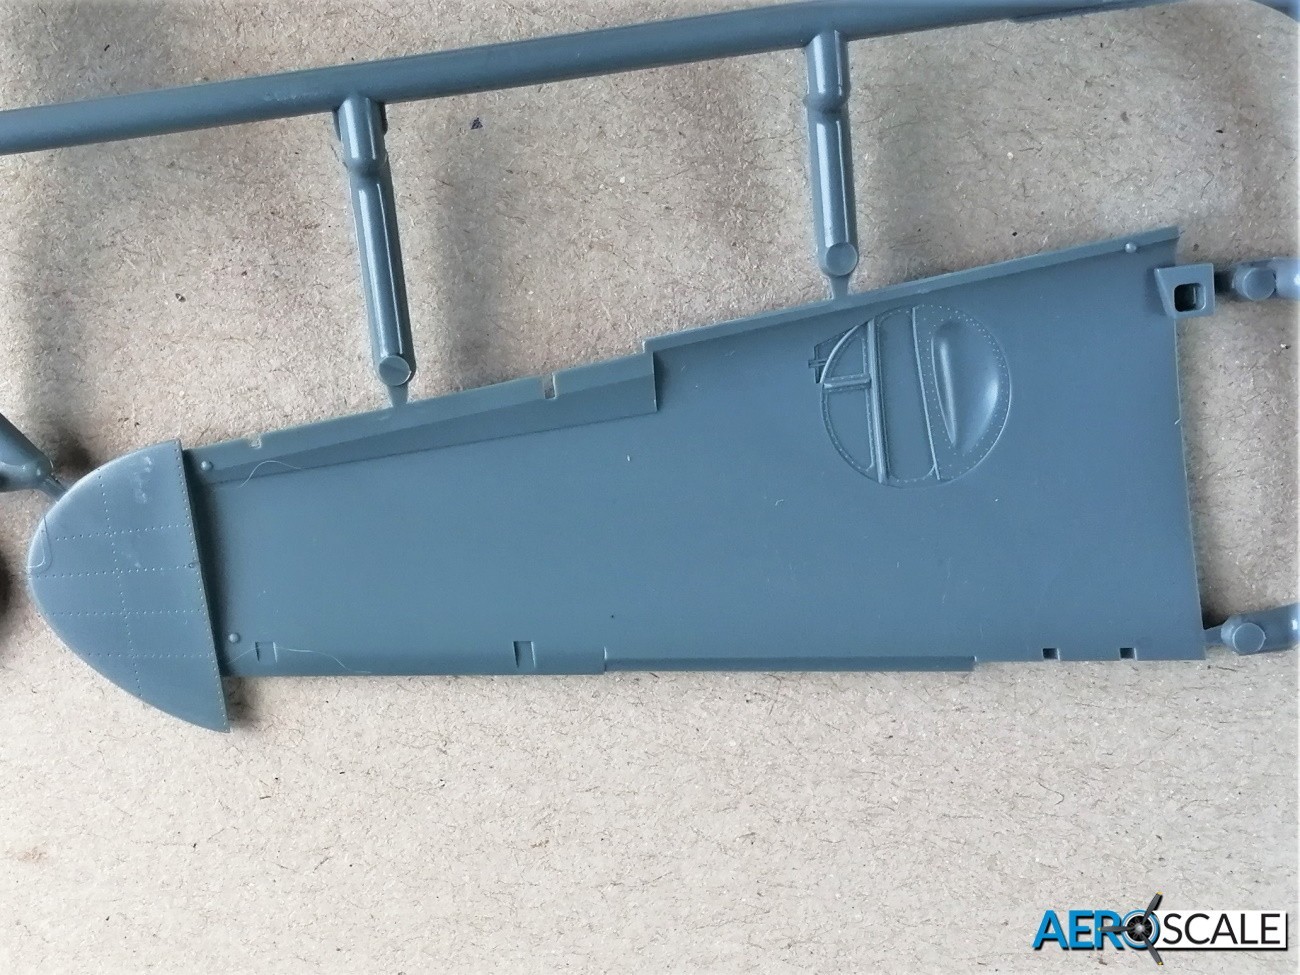
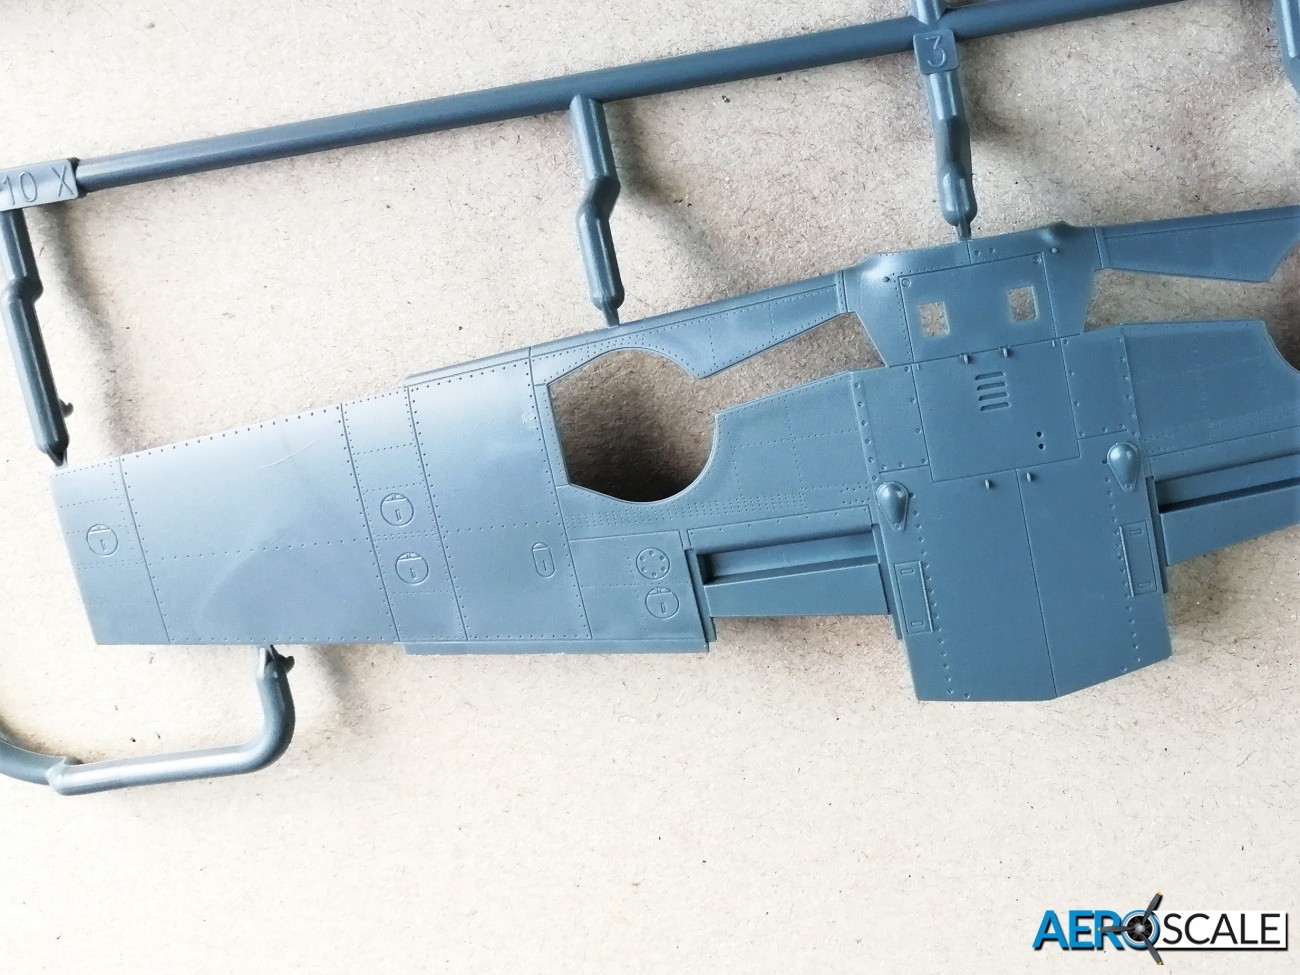
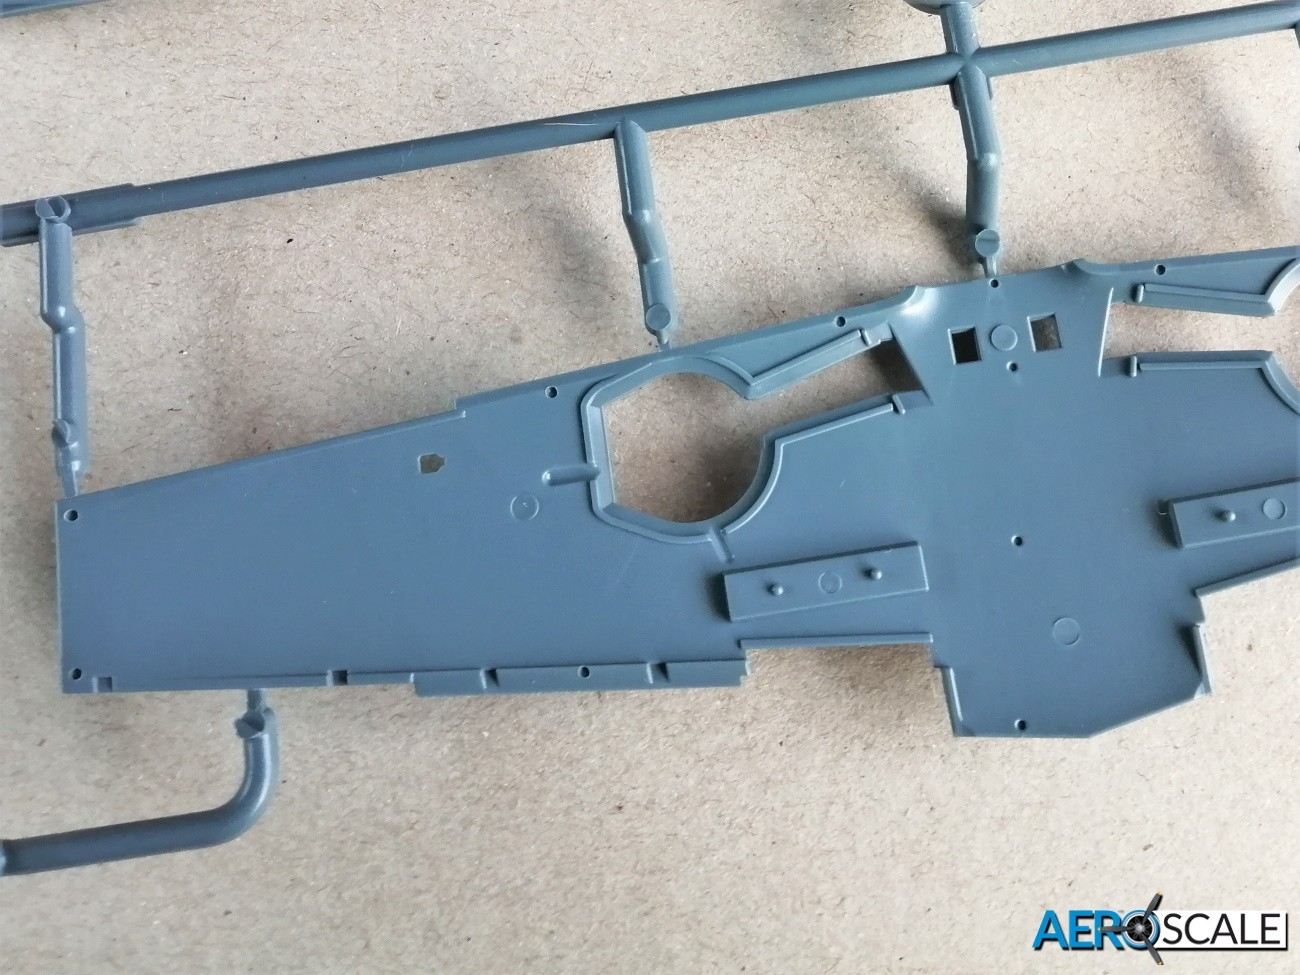
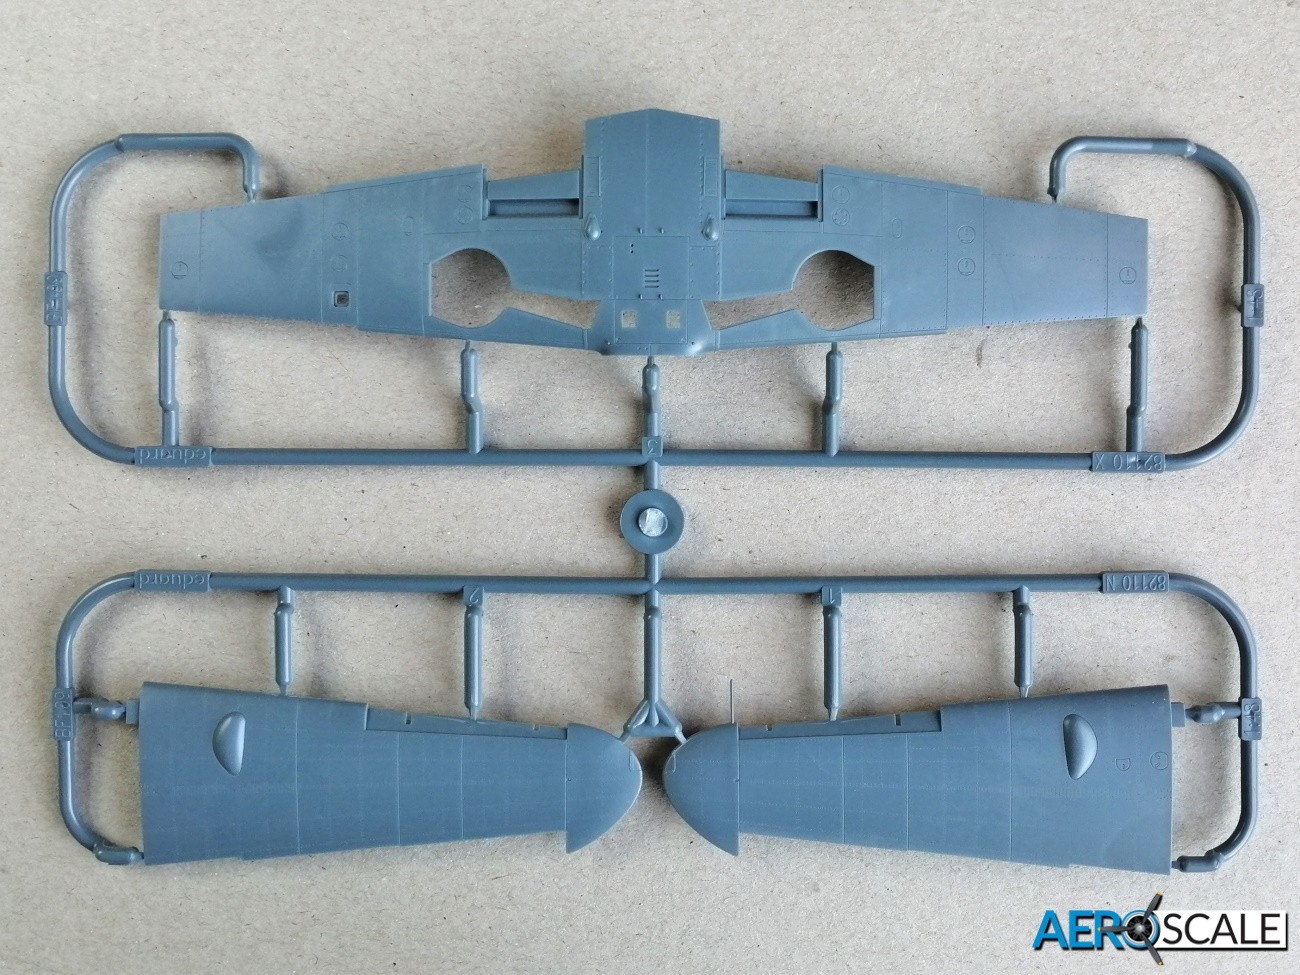
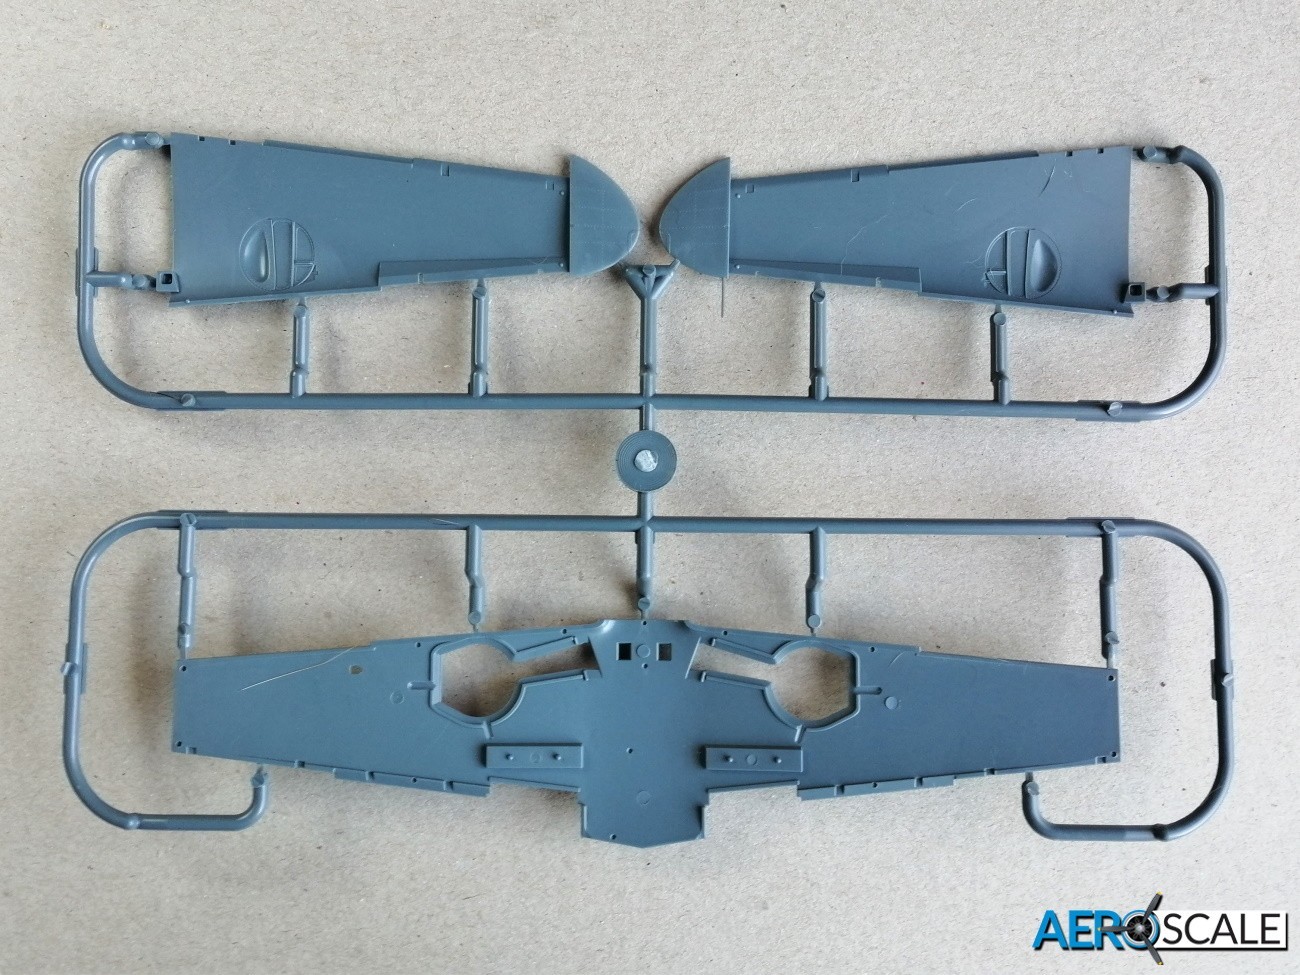
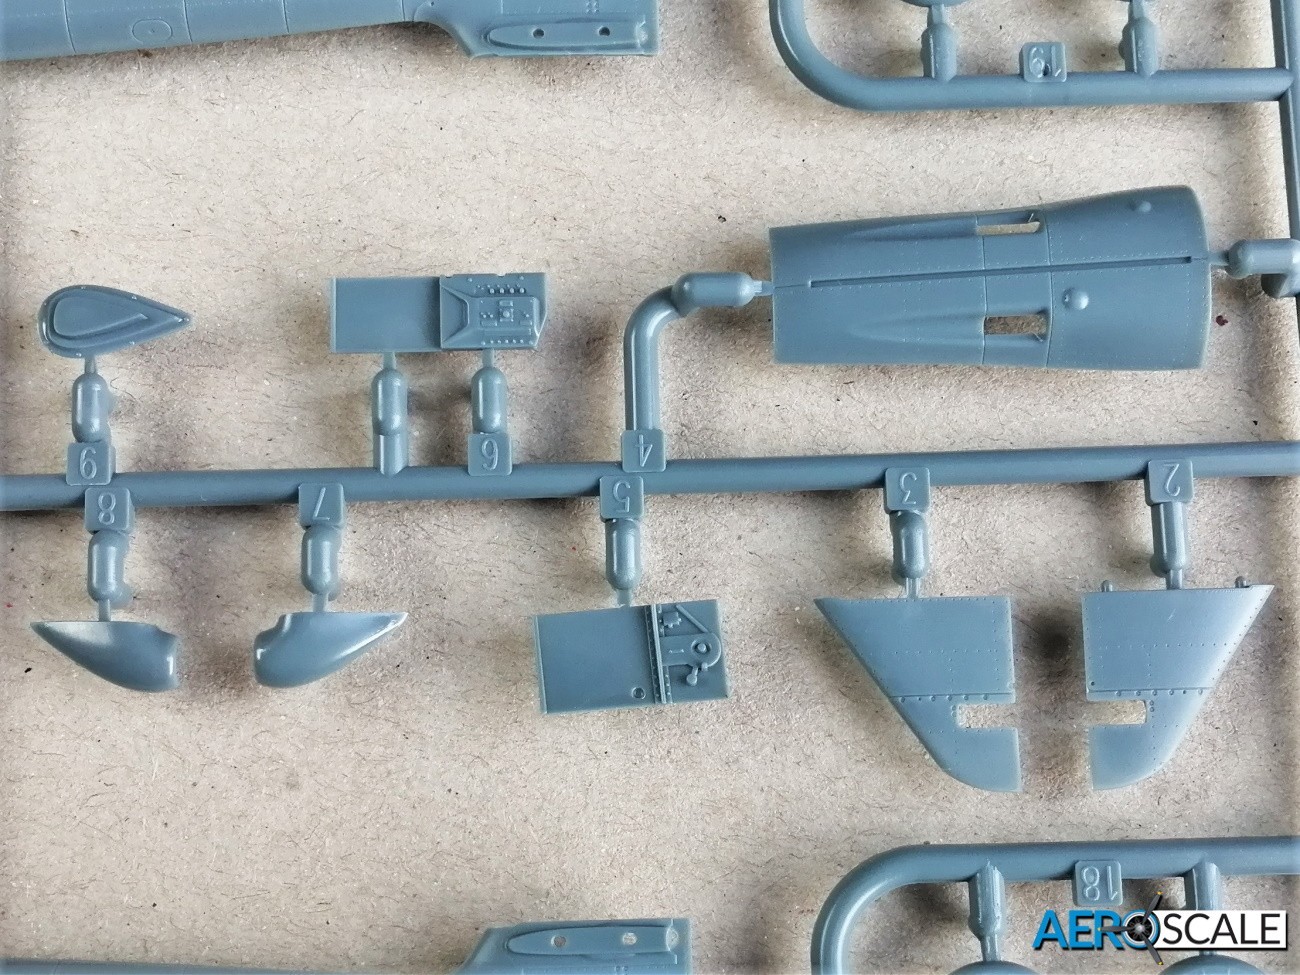
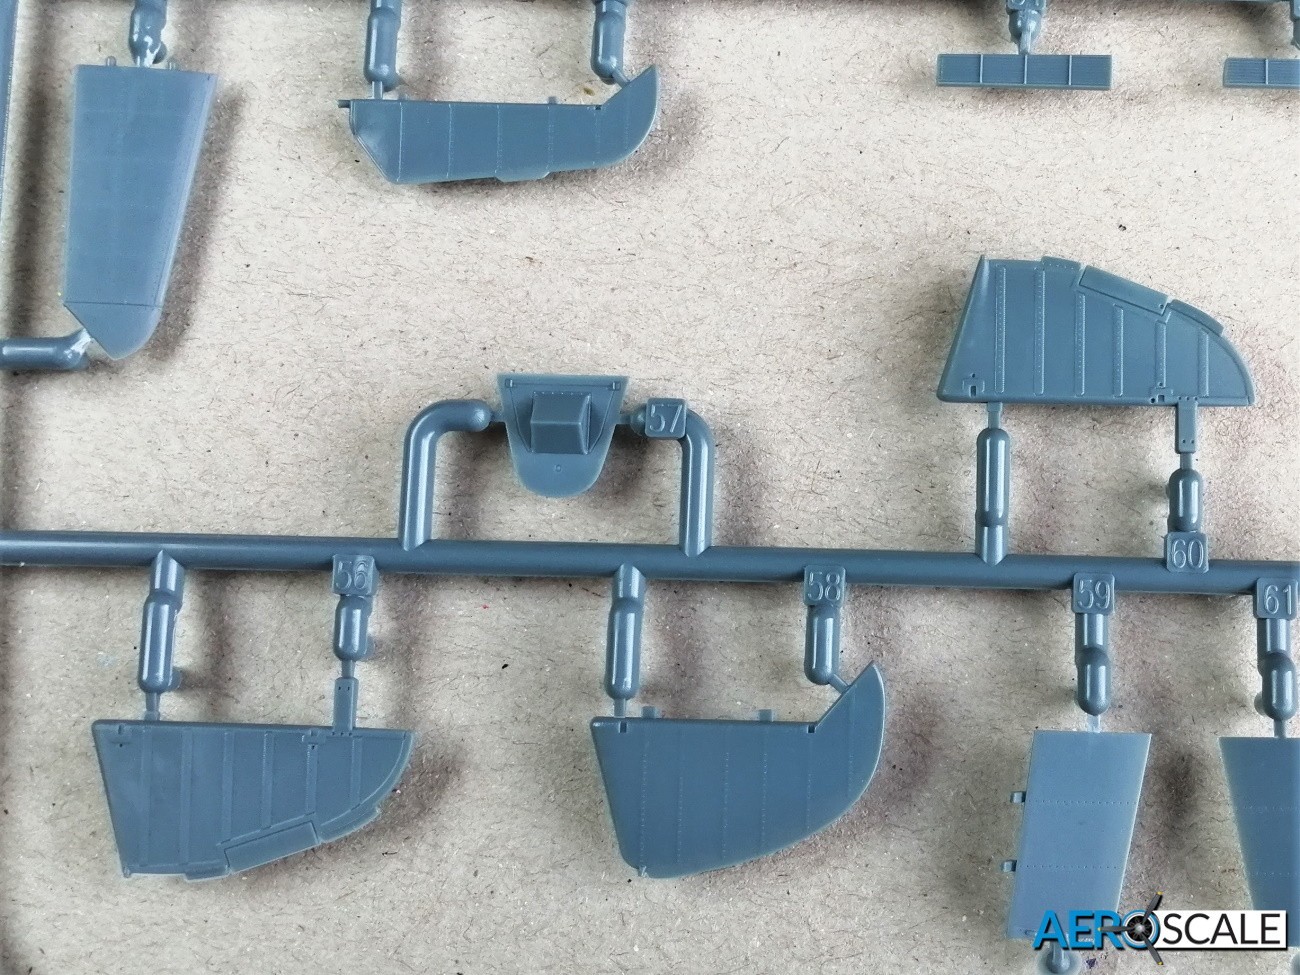
The wings feature a one-piece lower wing and the upper halves feature complete upper and lower wing tips. There are paint masks for the wing tip navigation lights. Unlike the fuselage there are locating pins included. The control surfaces: slats, ailerons and flaps are separate. The radiators are also separate and you have the option of using PE or the detailed plastic radiator faces. The separate radiator flaps are a nice touch. There is a small diagram in the instructions showing how to set the flaps of the radiator. The undercarriage bays are detailed and, each bay has four parts to create the walls. These fit very well together and the surface of the walls features folds replicating the leather that was used on the real thing. The tail wings are both made from two parts and the elevators are each one piece. The rear control surfaces feature raised detail. All the control surfaces have positive attachment points so a strong join can be achieved.
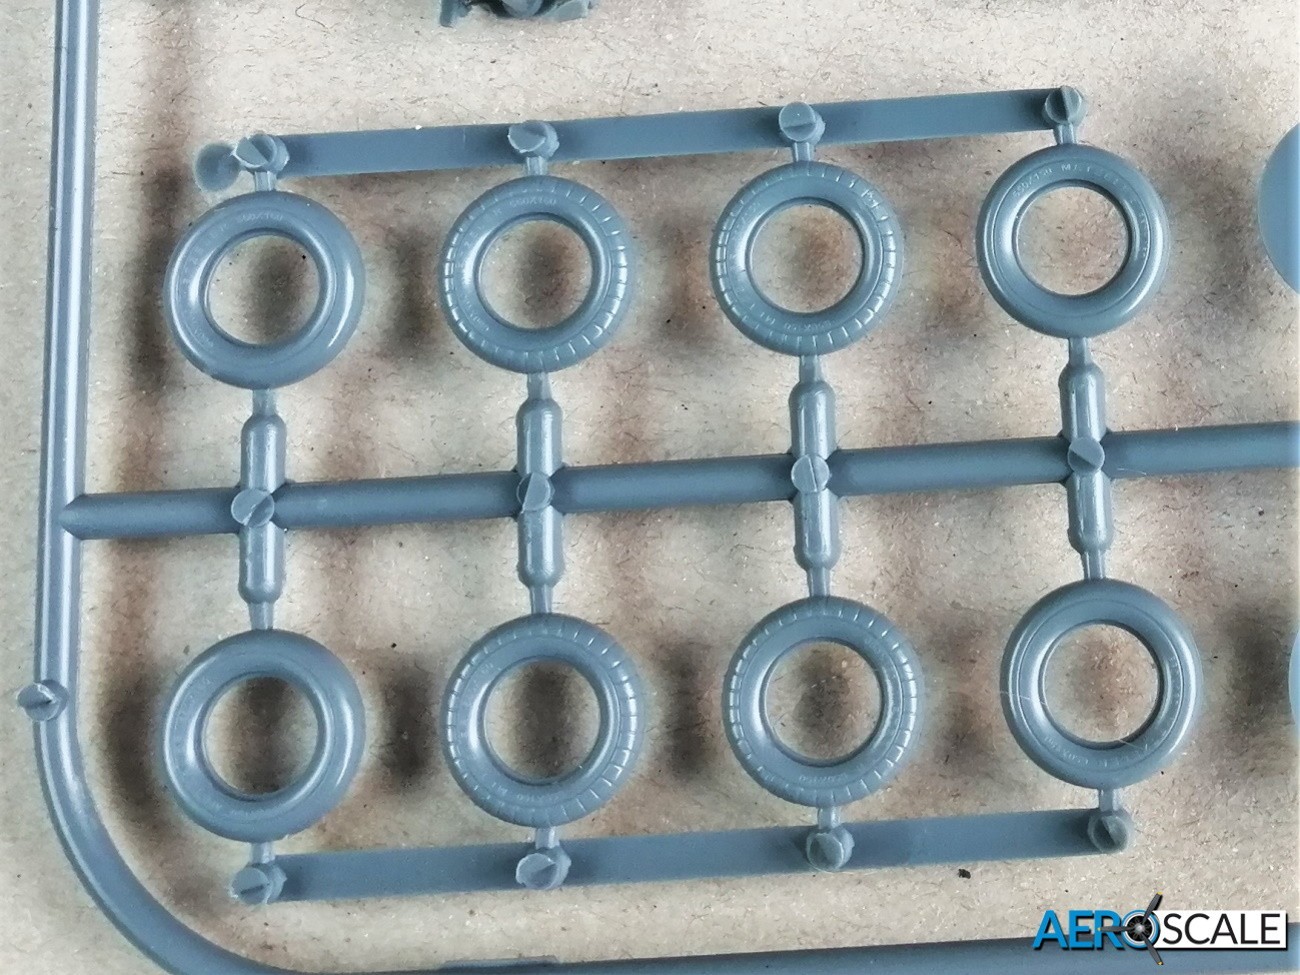
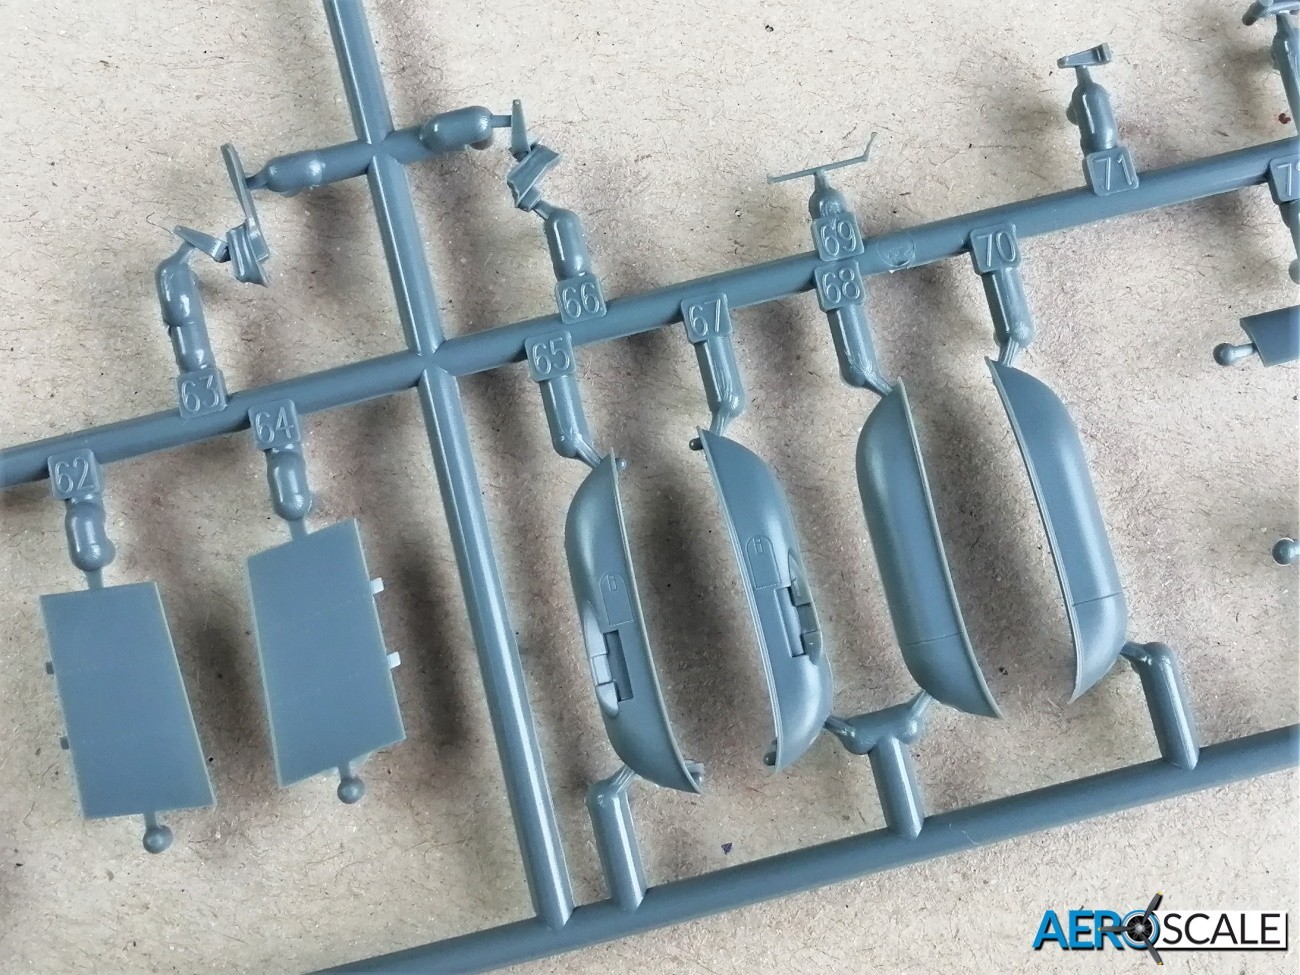
The undercarriage includes one piece treaded tyres with separate hubs. There are paint masks for hubs. There is a choice of two styles of tail wheel includes a one-piece wheel. The unit is fitted before the fuselage halves are joined.
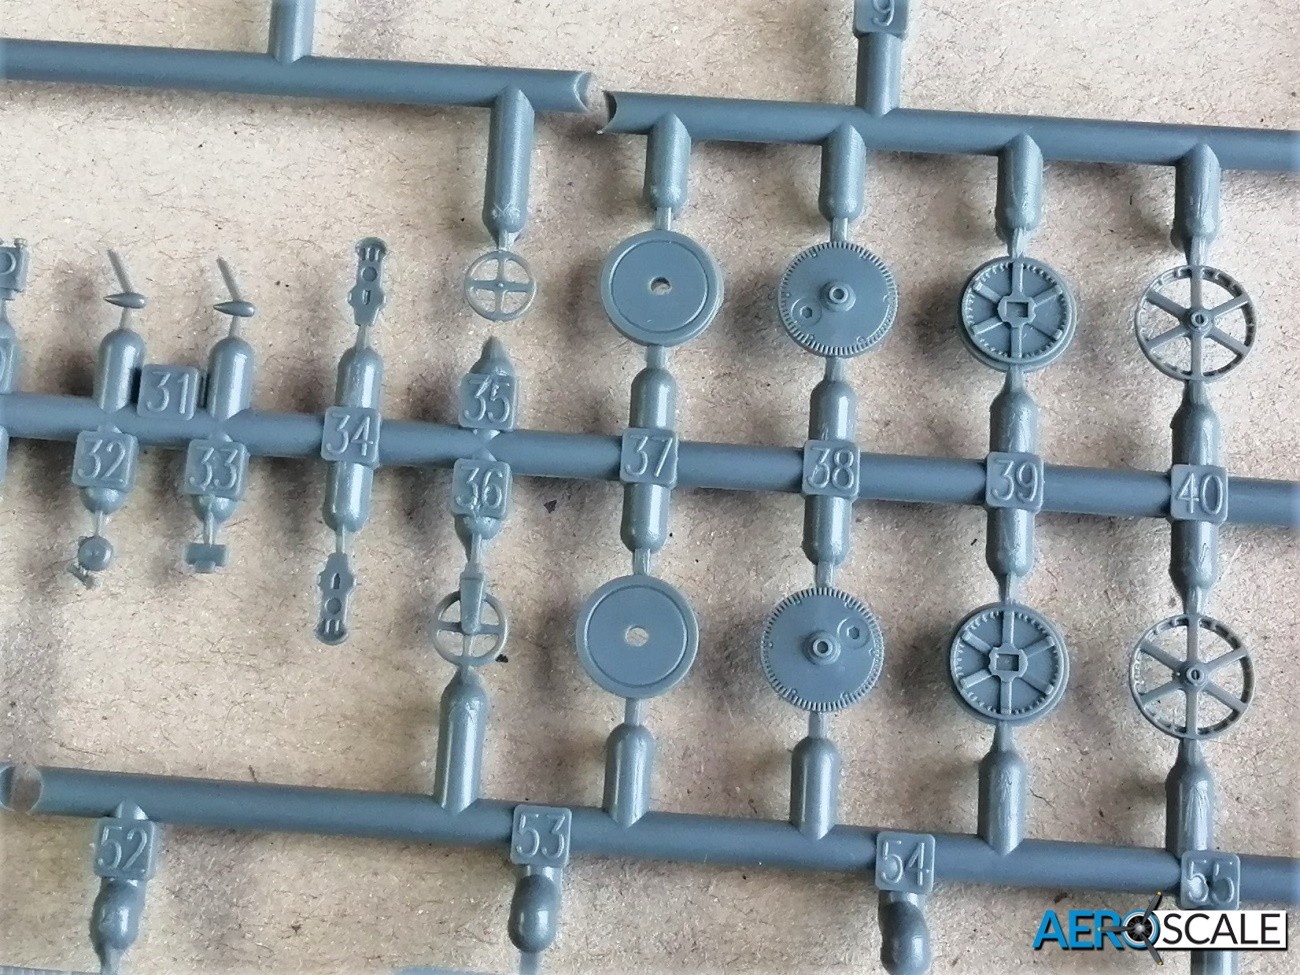
There are two styles of underbelly fuel tank included. There are numerous aerials to fit made from plastic or PE parts.
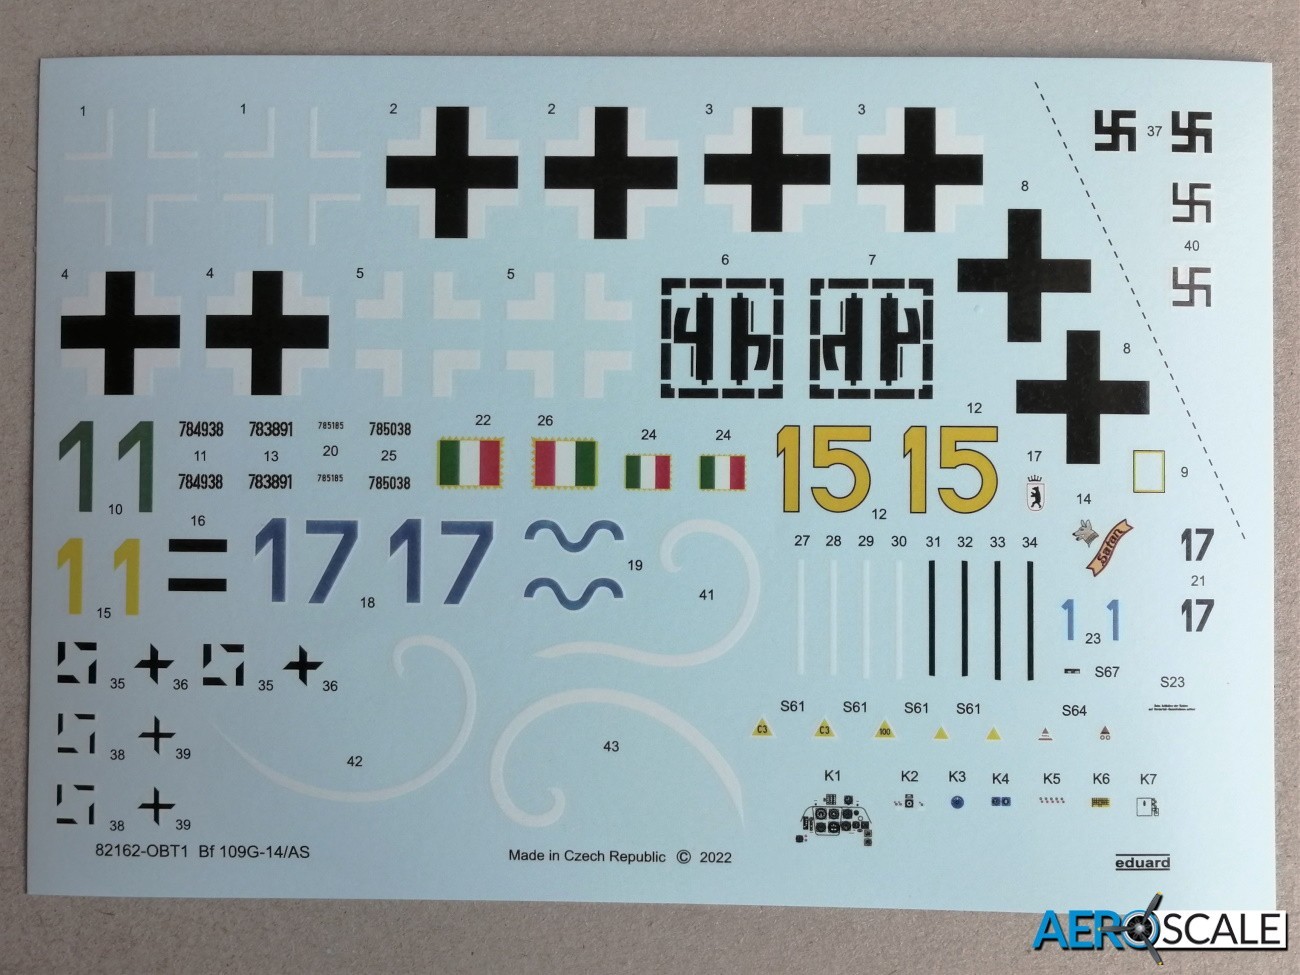
There are five marking options including:
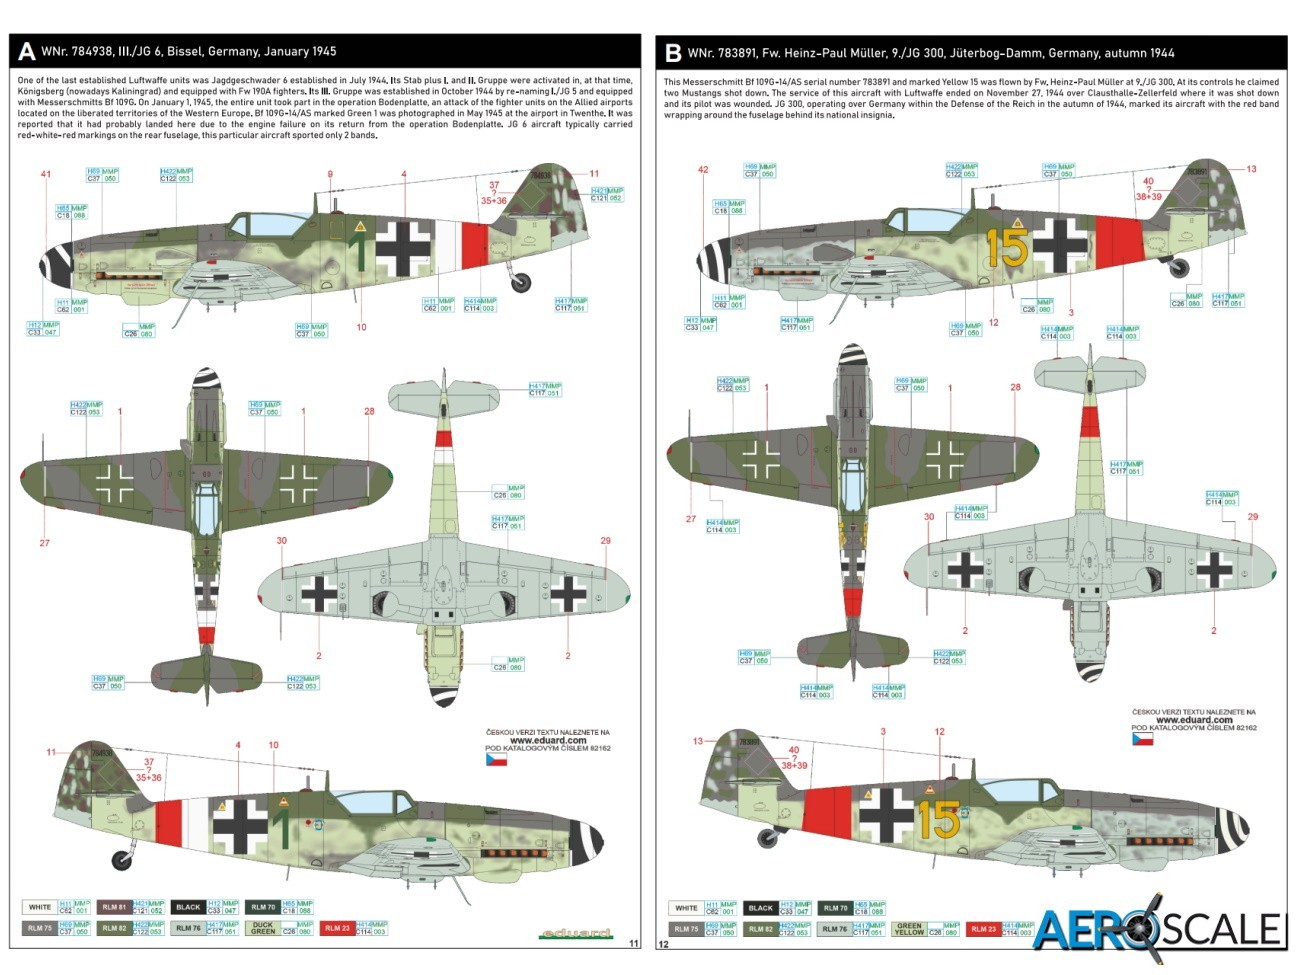
- [A] WNr. 784938, III./JG 6, Bissel, Germany, January 1945
- [B] WNr. 783891, Fw. Heinz-Paul Müller, 9./JG 300, Jüterbog-Damm, Germany, Autumn 1944
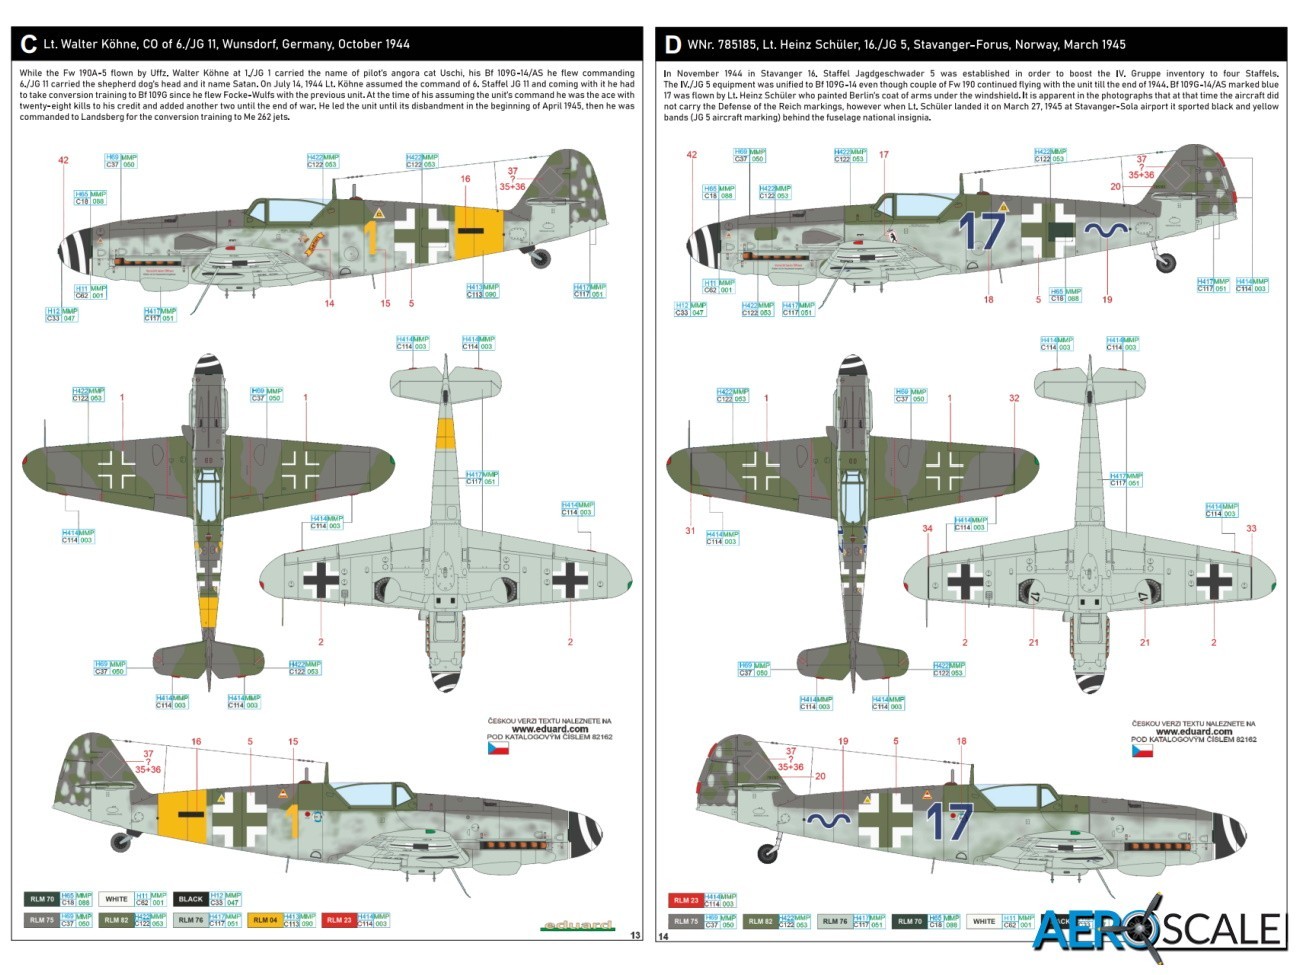
- [C] Lt. Walter Kӧhne, CO 6./JG 11, Wunsdorf, Germany, October 1944
- [D] WNr. 785185, Lt Heinz Schüler, 16./JG.5, Stavanger-Forus, Norway, March 1945
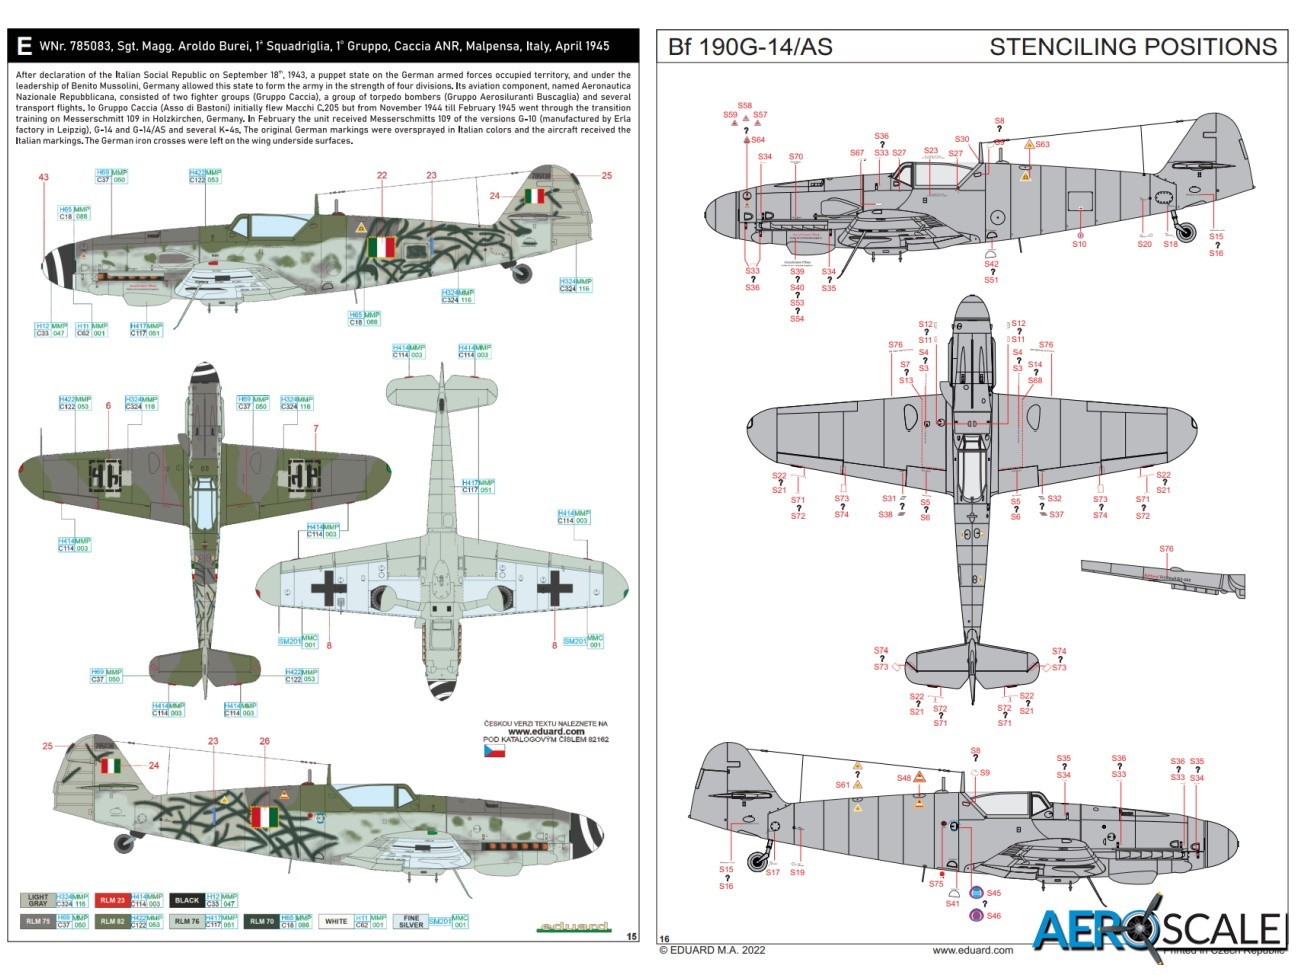
- [E] WNr. 785083, Sgt Magg. Aroldo Burei, 1° Squadriglia, 1°Gruppo, Caccia ANR, Malpensa, Italy, April 1945
Late war Luftwaffe camouflage colours and application is always an interesting subject. The choices here are no exception. The first two options have the light-coloured strip on the wing tip join as well as the two colour [RLM76 and duck egg green] lower surfaces and sides of the fuselage. Option ‘A’ also has a few splashes of RLM 81 to add extra interest. Option ‘E’ has the interesting fuselage streaks as well as the natural metal under wing panels.
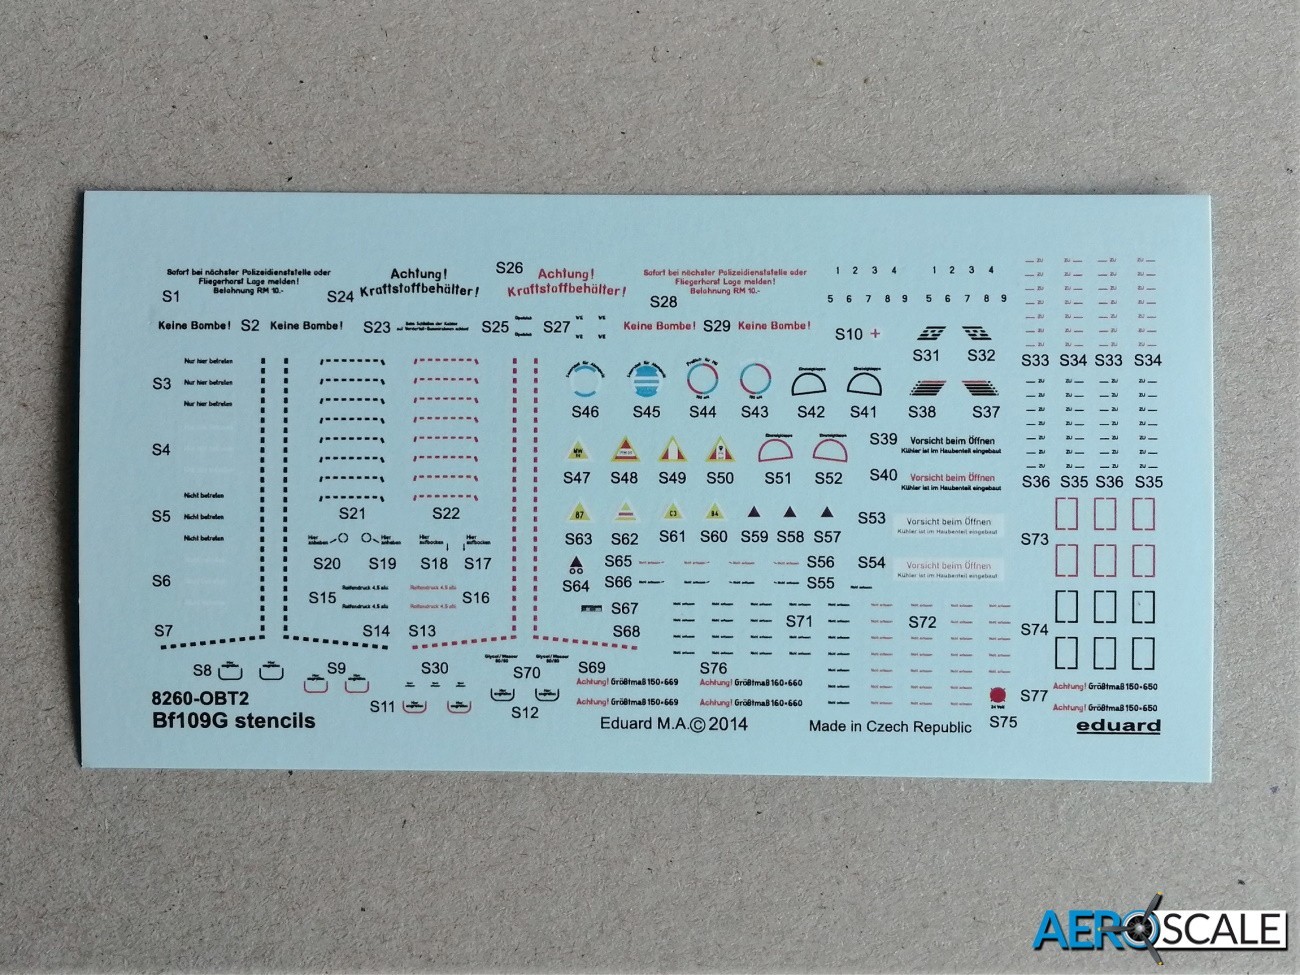
Decals are printed by Eduard. There are two sheets altogether, one of which is stencils. Markings for the aircraft are found on the larger sheet. Spinner spirals are included and on my sample full swastikas are also included. Colour and registration look very good and the carrier film is kept to a minimum.
The Kabuka paint masks are for the windscreen, canopy, armoured back rest, wheels, wing tip and navigation lights
The sixteen-page build guide is easy enough to follow, but you need to pay attention to the detail as aircraft vary somewhat. The coloured paint guide provides useful additional information on the aircraft chosen and the pilots that flew them. A page is devoted to the placement of stencils. Eduard use Gunze Sangyo and Mission Models paint brands as a guide to colours as well as using RLM colour references.
Conclusions
The Bf 109 G-14 is an interesting development and Eduard has captured the look very well. It is great to see the Bf 109G-14/AS released with its own edition rather than as a part of a duo combo. The cockpit is packed full of plastic and PE detail. The level of detail on the plastic both recessed and raised is superb. The fit of the components is very good indeed as I have built several of Eduard’s Gustavs. The price of this superbly detailed kit is worth noting and presents really good value for money.
Price: £20.41 from Eduard
Many thanks to Eduard for providing this kit for review.
82162 - Bf 109G-14/AS ProfiPACK– 1:48
Please remember, when contacting retailers or manufacturers, to mention that you saw their products highlighted here – on AEROSCALE.