The idea of representing rivets with decals isn't new, but the previous types I've used have simply been conventional decals with printed dots to apply over the final colour. Nevertheless, because they are 2-dimensional, they can be very useful for suggesting flush-rivets.
But what about simulating raised rivets? Eduard have taken things to the next level with a new system of 3D decals that you paint on top of to give the effect of raised rivets.
This has a lot of potential, because even generally flush-rivetted aircraft often have areas with raised rivets as well - the Spitfire is a classic example - and these are often missed on even the best modern kits.
Equally, vintage kits were often plastered with raised rivets which are lost as soon as you sand and smooth seams. In this instance, a way to replace them if you want to maintain the vintage look has obvious appeal.
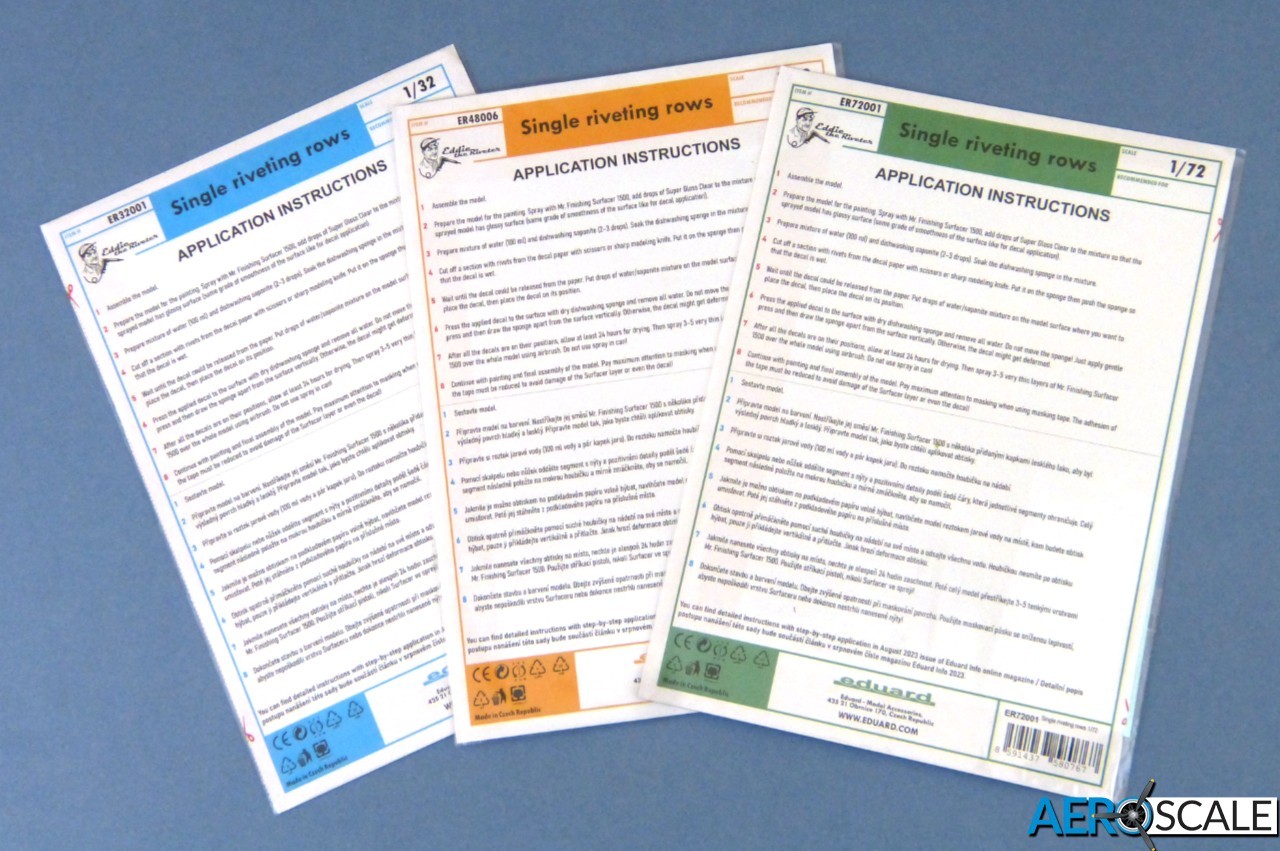
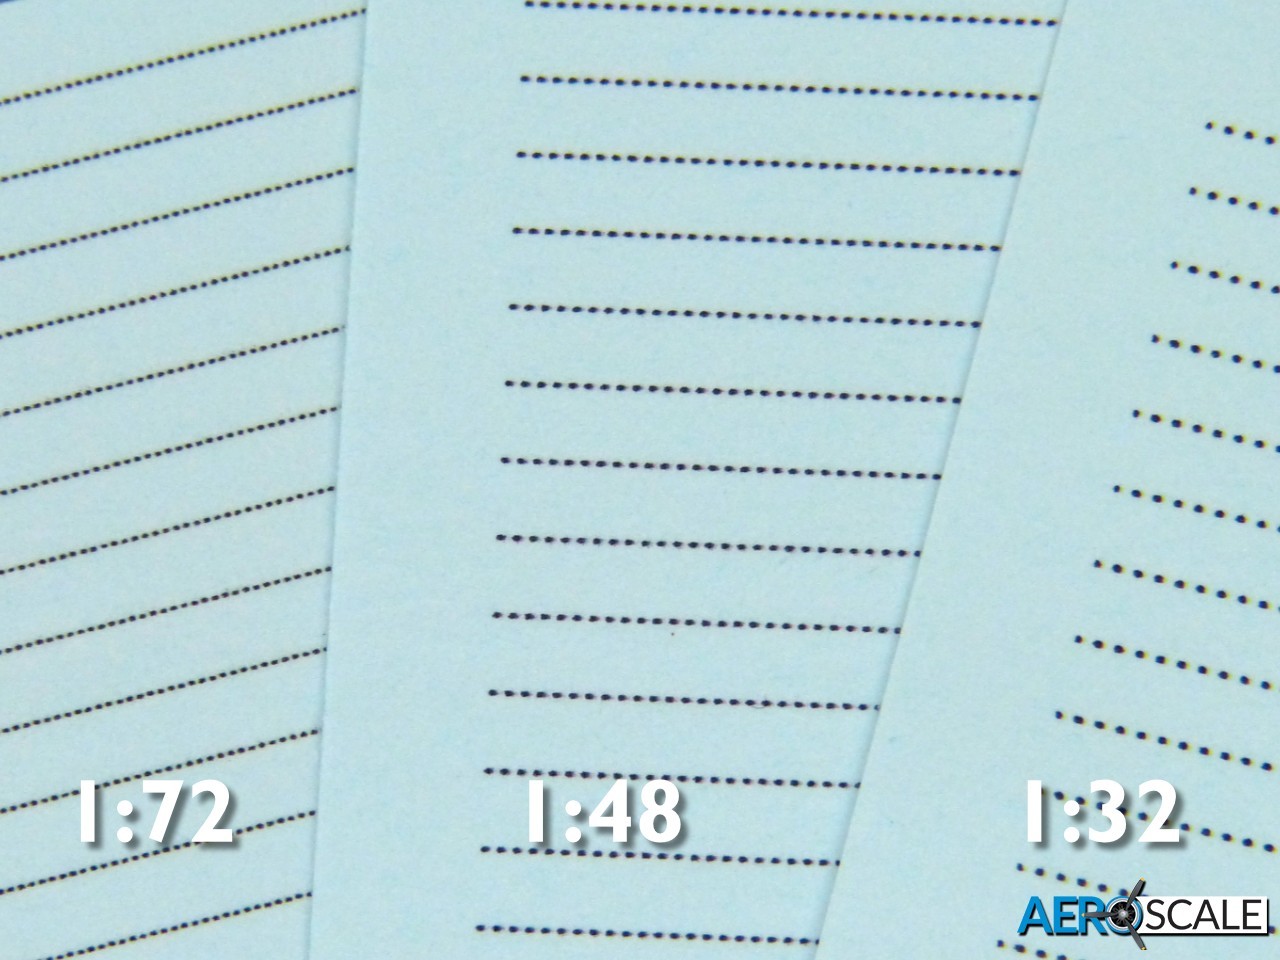
Eduard's new 3D rivets are currently available in three scales - 1:72, 1:48 and 1:32. The scale dictates the size and spacing of the dots but, seemingly, not the depth. This feels identical as you run your finger over them.
The sheets measure 18mm x 12.5mm, with each row of rivets measuring 17mm. There are 37 rows on each sheet.
The sets reviewed are for single-row rivets, but Eduard also have double- and triple-rows in the range.
The instructions suggest applying the decals over an undercoat of Mr Finishing Surfacer, but I think any gloss finish will work. The only thing to bear in mind is that you'll need a light-coloured background for the black dots to show up against.
The decals are printed with a continuous carrier film, so you need sharp scissors or a scalpel to cut out what you need.
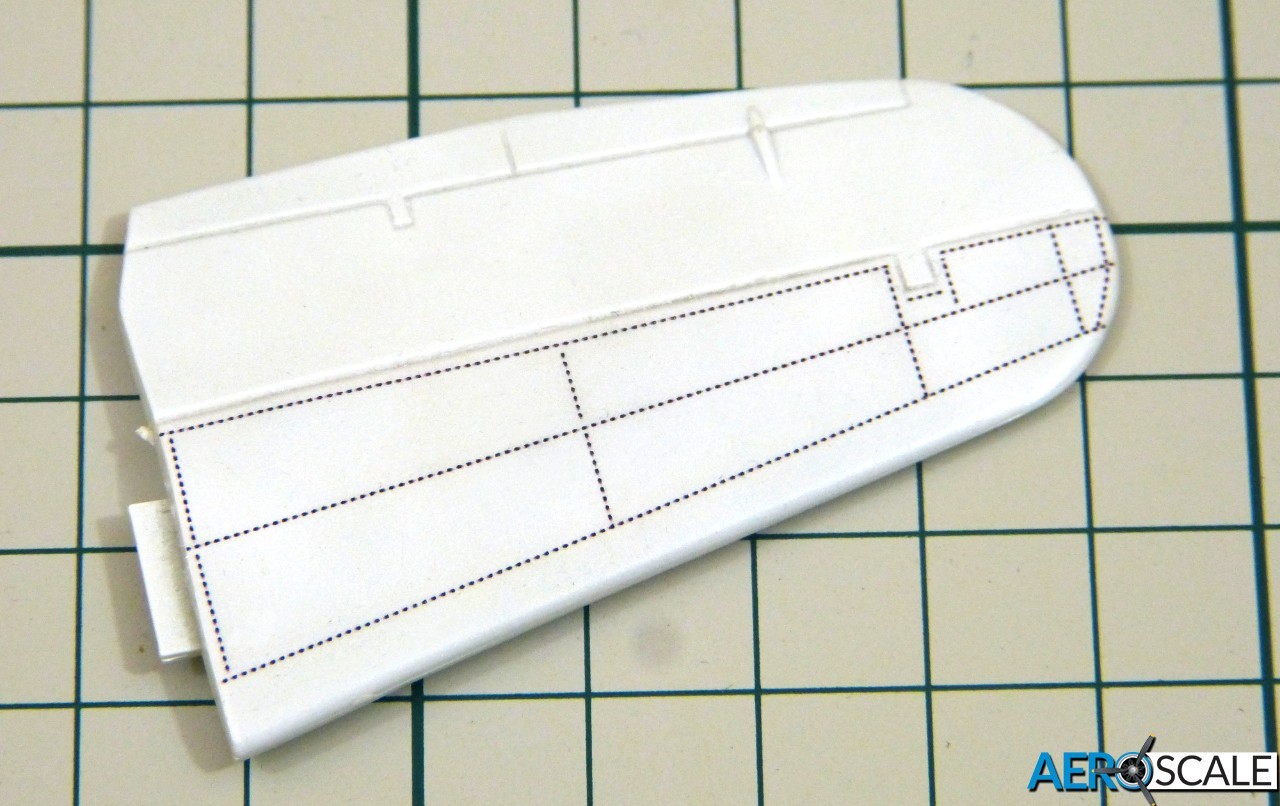
I tested the decals on a selection of items, applying strips to simulate traditional rows of rivets, plus a few individual dots to see if they would work as buttons for instrument panels etc.
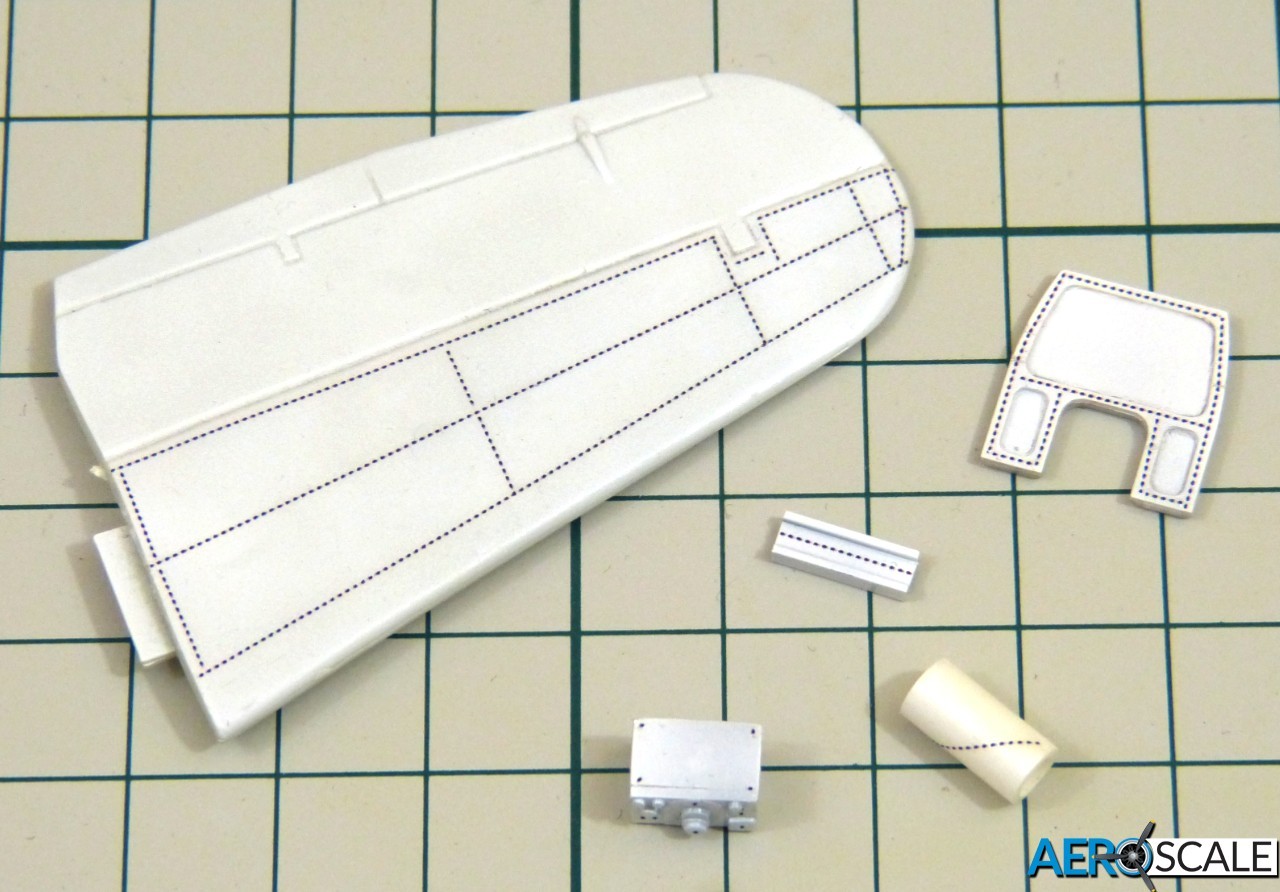
I thought it might be hard to keep the lines of rivets straight, but wasn't the case. In fact, they hold their shape very well. It's just about possible to coax them into gentle curves, but naturally the carrier film tends to bunch up if you're not careful. To answer this, I hope Eduard extend the range to include sheets with dots printed in curves of various radii.
After the decals were dry, I sprayed a coat of matte primer over them. The result was very good - with the rivets having a nice subtle appearance. Unfortunately, the matte grey made photographing the result very difficult, so I went back over things with gloss enamel to highlight the rivets - incidentally also highlighting just how coarse the matte paint underneath was!
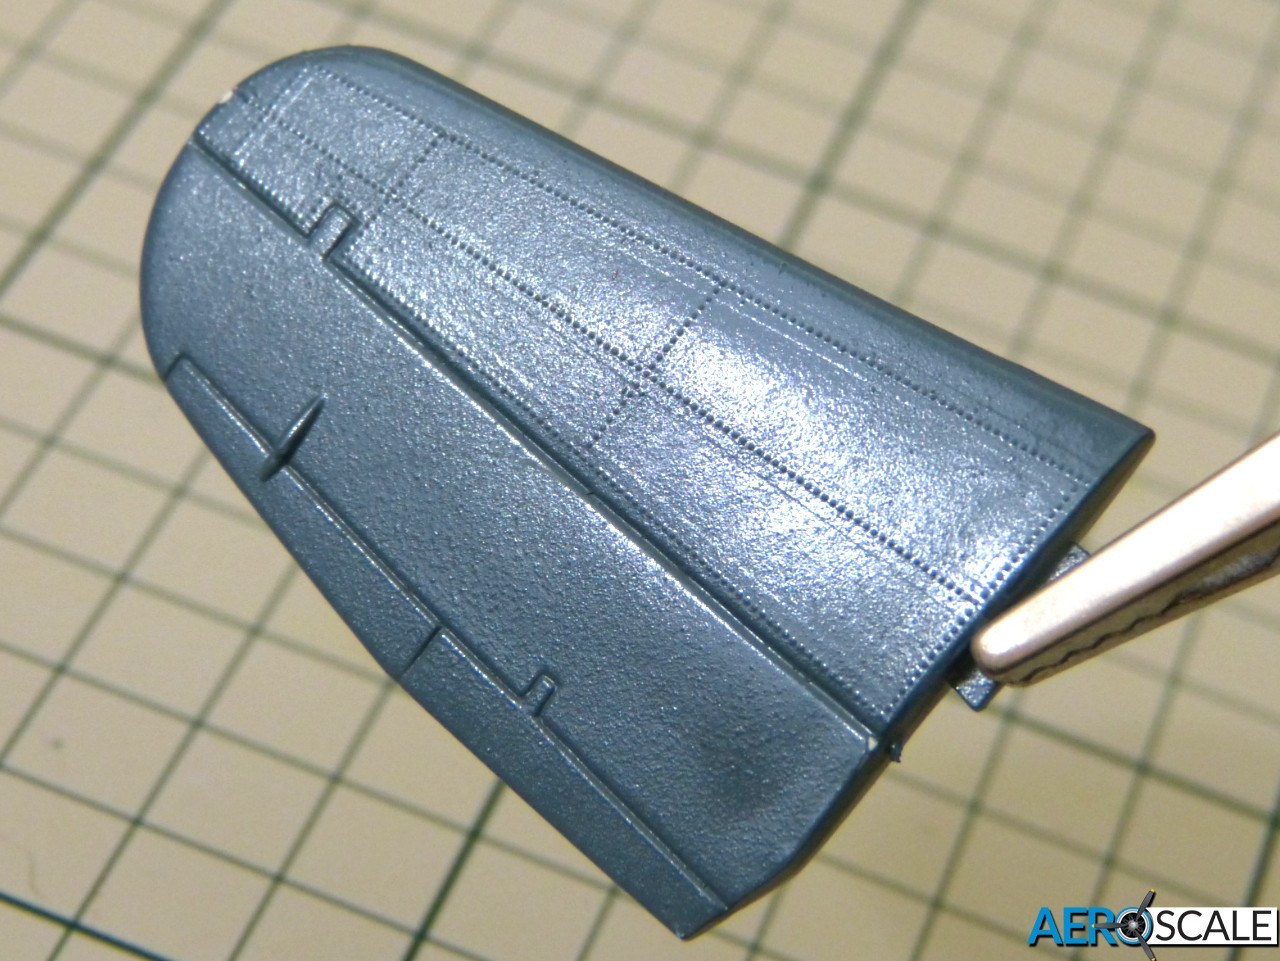
One thing that's apparent in the photo is that the edges of the carrier film are lightly evident. I guess this is inevitable because cutting out the strips causes a hard edge, not "feathered" like conventional decals. This will be lessened by additional coats of paint, but you could possibly use this to your advantage to give an impression of the underlying structure of an airframe.
An obvious further use for these decals would be to simulate rib tapes on fabric surfaces - especially if Eduard were to print sheets with dashes instead of dots.
Conclusion
Eduard's new 3D Rivet decals show a lot of promise and are definitely worth having handy in your workshop. With a bit of imagination, the decals could server a number of purposes beyond their primary intended use, and they a incomparably quicker and easier to apply than using a punch and die to create individual styrene dots.
The 3D Decals are available now from Eduard - Price: £7.51 per sheet.
https://www.eduard.com/eduard/3d-decals/triple-riveting-rows-1-32.html
Many thanks to Eduard for the review sample.
Please remember, when contacting retailers or manufacturers, to mention that you saw their products highlighted here - on AEROSCALE