Background
The Fokker D.XXI has almost legendary status in Dutch hearts - equivalent to the Spitfire and Hurricane in the UK. It stands as a symbol of the fierce Dutch resistance against overwhelming odds as it faced the Luftwaffe during the Nazi invasion in the spring of 1940.
The D.XXI first flew in 1936, and was designed from the outset to be simple and rugged. So, while it introduced such then-new features as a monoplane wing and an enclosed cockpit, it retained a conventional wood/metal structure that was partly fabric-covered, plus a fixed spatted undercarriage.
Entering service in 1938, the D.XXI represented a major in performance and sophistication over previous Dutch aircraft. It first saw combat in Finnish service during the Winter War and proved well matched against the Soviet fighters it faced.
In Europe, though, it was becoming increasingly obsolescent compared with the latest designs and developments. Despite this, the D.XXI gave a surprisingly good account of itself against the Luftwaffe, when just twenty-eight operational aircraft faced the numerically and technologically superior Messerschmitt Bf 109 and Bf 110. By the end of the brief campaign, only eight D.XXIs remained serviceable and their crews destroyed them to prevent them falling into enemy hands. Nevertheless, a few airframes were captured by the Germans and made serviceable for testing.
The Kit
Special Hobby first released their 1:72 Fokker D.XXI over 20 years ago, at a time when the company was still regarded as something of a "short-run" kit producer. Now they've taken their original kit and upgraded it with new parts and decals to give it a fresh lease of life.
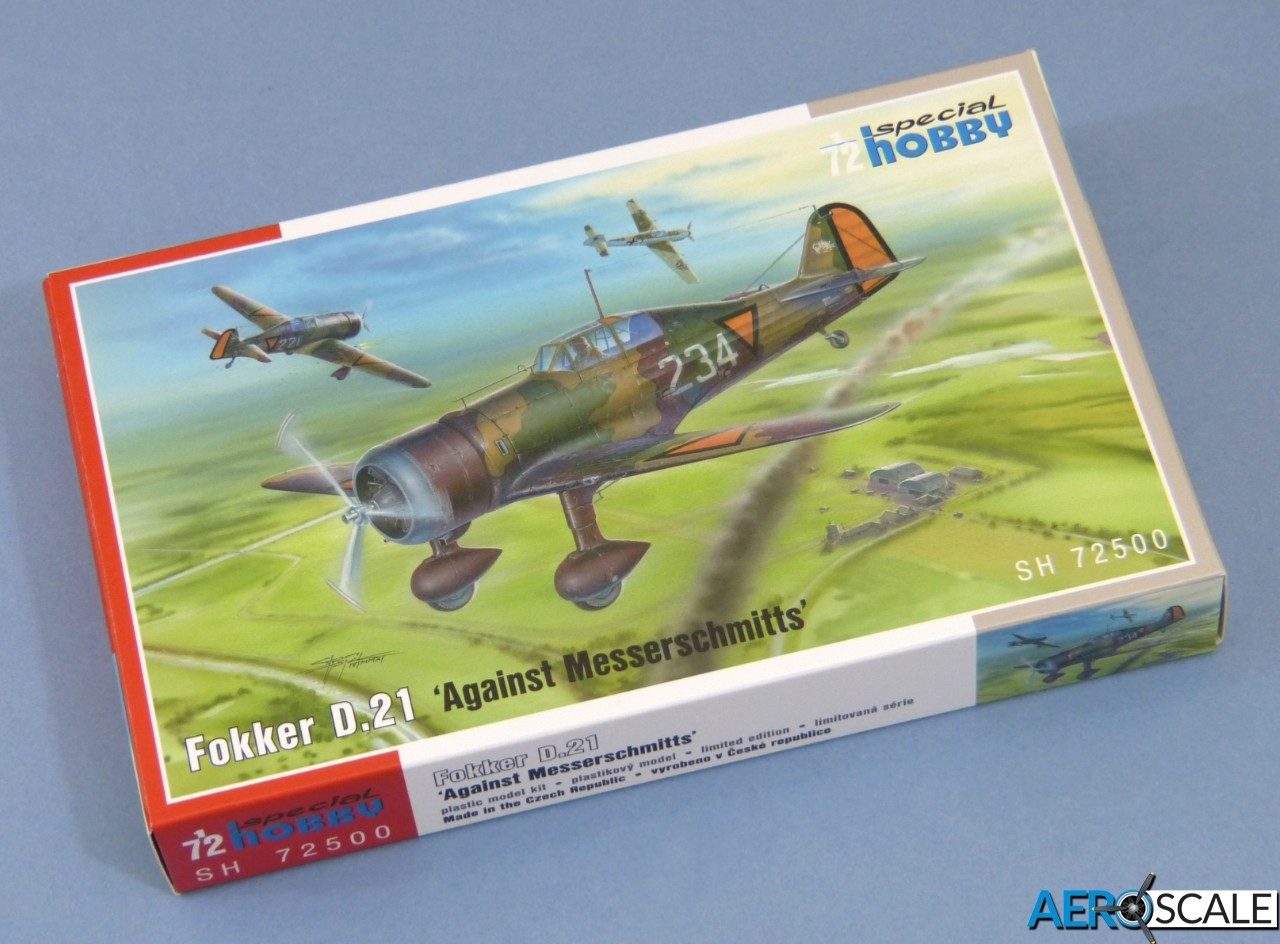
The kit arrives in an end-opening box that features colour artwork for the decal options on the back, with the parts and accessories bagged separately. One item (the aerial mast) had come adrift in transit in the sample model. The kit comprises:
45 x grey styrene parts (some of which are replaced by the new items)
3 x clear parts (plus 1 unused)
26 x photoetched parts (some pre-coloured)
3 x resin parts
7 x 3D-printed parts
Decals for 4 x colour schemes
The mention of "short-run" might ring alarm bells with modellers used to "mainstream" kits, but there's really nothing to worry about in this instance. The main parts are cleanly moulded, with little in the way of flash, and no signs of sink marks or other flaws. Ejector pins have been kept out of harm's way.
The surface finish is highly polished with engraved panel lines and embossed fasteners. Fabric-covered areas are neatly depicted for this scale and should look good under a coat of paint.
Test Fit
Dry-assembling the main pieces is encouraging. The fuselage halves and wing panels all line up precisely and the fit at the wing roots is good and tight. The tailplanes have single locating pins, and I'll drill the corresponding holes deeper for a firm fit. Overall, building the basic airframe looks to be very straightforward for anyone with a little modelling experience.
A Few Details
Construction begins with the cockpit, and the original styrene parts are completely replaced by new resin and etched items. The old "office" certainly wasn't bad for this scale, but the new version is a real gem. There's a one-piece resin cockpit floor with integral bulkheads and beautifully detailed sidewalls. Added to this foundation are excellent 3D-printed parts, including the seat, control column, a half-bulkhead and a delicate roll-bar.
Rounding things off are a pre-coloured photoetched "sandwich" for the main instrument panel, rudder pedals to fold to shape and a set of seatbelts. The completed cockpit would look great in any scale - and it's quite outstanding for a 1:72 kit.
Up front, by contrast, the radial engine seems a bit basic because it relies on the original part for the crankcase and cylinders. It should look OK with careful clean-up and painting, though, and a photoetched support inside the front of the cowling will add to the appearance. The propeller features separate blades that attach to an excellent new 3D-printed hub. The locations of the carburettor intake and exhaust are rather vague, but the instructions include info-views that will help.
The fixed undercarriage is sturdy and straightforward, with solid locations in the wings. The mainwheels have simple hub detail and are unweighted.
The clear parts are well moulded, with landing lamp inserts for the leading edges of the wings and a closed canopy that's thin and features crisp framing.
Special Hobby include an option for modifying the canopy to pose it open. This involves some careful surgery and is recommended for experienced modellers only. To complete the modification, there's a photoetched part to fold and curve to shape. This represents the cockpit door and the framing of the opening section of the canopy. To finish it, you'll need a piece of thin clear sheet (not supplied).
I'd advise building the open door first and only cutting the canopy once that's done successfully.
Instructions & Decals
The instructions are printed in colour as an A5 booklet. Construction is broken down into 9 stages and the drawings are pretty clear. You do need to pay close attention, though, because occasionally the diagrams still indicate the old styrene parts, not their new replacements.
Special Hobby provide colour matches for Gunze Sangyo paints.
The kit includes decals for four aircraft:
A. Fokker D.XXI s/n 5507, No.234, 1st Fighter Squadron, Royal Netherlands Air Force, April-May 1940
B. Fokker D.XXI s/n 5494, No.221, 1st Fighter Squadron, Royal Netherlands Air Force, April-May 1940
C. Fokker D.XXI s/n 5504, No.231, Royal Netherlands Air Force Pilot School, April-May 1940
D. Fokker D.XXI s/n 5504, No.231, as captured and repainted with Luftwaffe markings
The decals look to be very good quality - thin and glossy, and printed in precise register. The orange of the Dutch national markings is printed as ultra-fine dots which are invisible to the naked eye. It's quite dark, but looking online shows a myriad of variations (if you're going to err one way or the other, I always think it's best to go for a duller colour to avoid a toy-like appearance).
As with other recent Special Hobby decals the carrier film is quite pronounced, but I've found it snuggles down and disappears fine with standard decal solutions. As the decals are thin, take a little extra care to avoid them folding over on themselves.
Conclusion
Special Hobby have down a good job revamping their little Fokker D.XXI and it promises to be a very enjoyable build. I'd recommend having a little extra experience before tackling it because of the new mixed-media detail parts, but the finished model will sit well alongside more modern kits in any display.
Kit #SH72500 is available now from Special Hobby - Price: 21.90 Euros
Many thanks to Special Hobby for the review samples.
Please remember, when contacting retailers or manufacturers, to mention that you saw their products highlighted here - on AEROSCALE

