Background
The Cactus Air Force was a group of US Forces based on the island of Guadalcanal during the second half of 1942. Henderson Airfield [codename ‘Cactus’] was the principal base of operations. Guadalcanal the largest of the Solomon Islands where the Allies started to push back the advance of Japanese forces in the Pacific. On 7 August 1942, the US First Marine Division landed on Tulagi and Guadalcanal at Lunga Point.

Henderson Airfield, named after Major Lofton R. Henderson, the first US Marine pilot killed in WWII, was often an inhospitable place. Major Marion Carl described it as ...”the only place on Earth you could stand up to your knees in mud and still get dust in your eyes”…
Operating at Henderson was part of Marine Aircraft Group 23 VMF-223 with 18 F4F Wildcat fighter along with a dozen SBD Dauntless dive bombers of VMSB-232. These were joined shortly by 19 more Wildcats from VMF-224, and a dozen more SBD dive bombers from VMSB-231, also part of the Marine Air Group 23. The U.S. Army's 67th Pursuit Squadron [USAAF] had 5 P-400s on strength.
Japanese tactics were based on massive air raids, land attacks and shelling from the sea. Cactus Air Force pilots repulsed air raids, supported infantry operations by bombing Japanese positions, and fought enemy supply transports as far as possible. Subsequent USMC and USAAF units arriving on the island wore out quickly, their structure was blurred, and the healthy pilots at the time flew on available planes from all squadrons. The culmination came in a series of air-sea battles on November 11-14, 1942, when Japanese reinforcements being transported to Guadalcanal were repelled. From December 1942, the Japanese began withdrawing from the island. During this period, Cactus Air Force aircraft began actively attacking neighboring islands and shipping on the approaches to Guadalcanal. In April 1943, the enemy made the last attempt at a massive air offensive on the island, which ended in failure.
The primary Cactus Air Force fighters in the second half of 1942 were the F4F-4 Wildcats and the P-400/P-39D Airacobras. The P-400 an export version of the Airacobra, was mainly used as an interceptor utilising its better performance at higher altitudes. The P-39D was used in the ground-attack role. The 20mm or 37mm cannon was highly effective attacking ground targets.
USMC F4F Wildcats were mainly used to escort the dive bombers and torpedo planes. Or they would be tasked to attack the Japanese bombers frequently bombing Henderson Airfield and other targets of opportunity.
These aircraft were later supplemented with P-38 Lightning and P-40 Warhawk towards the end of 1942. The F4U-1 Corsair would arrive in the spring of 1943. However, the main weight of the fights in the hottest period rested on Wildcats and Airacobras.
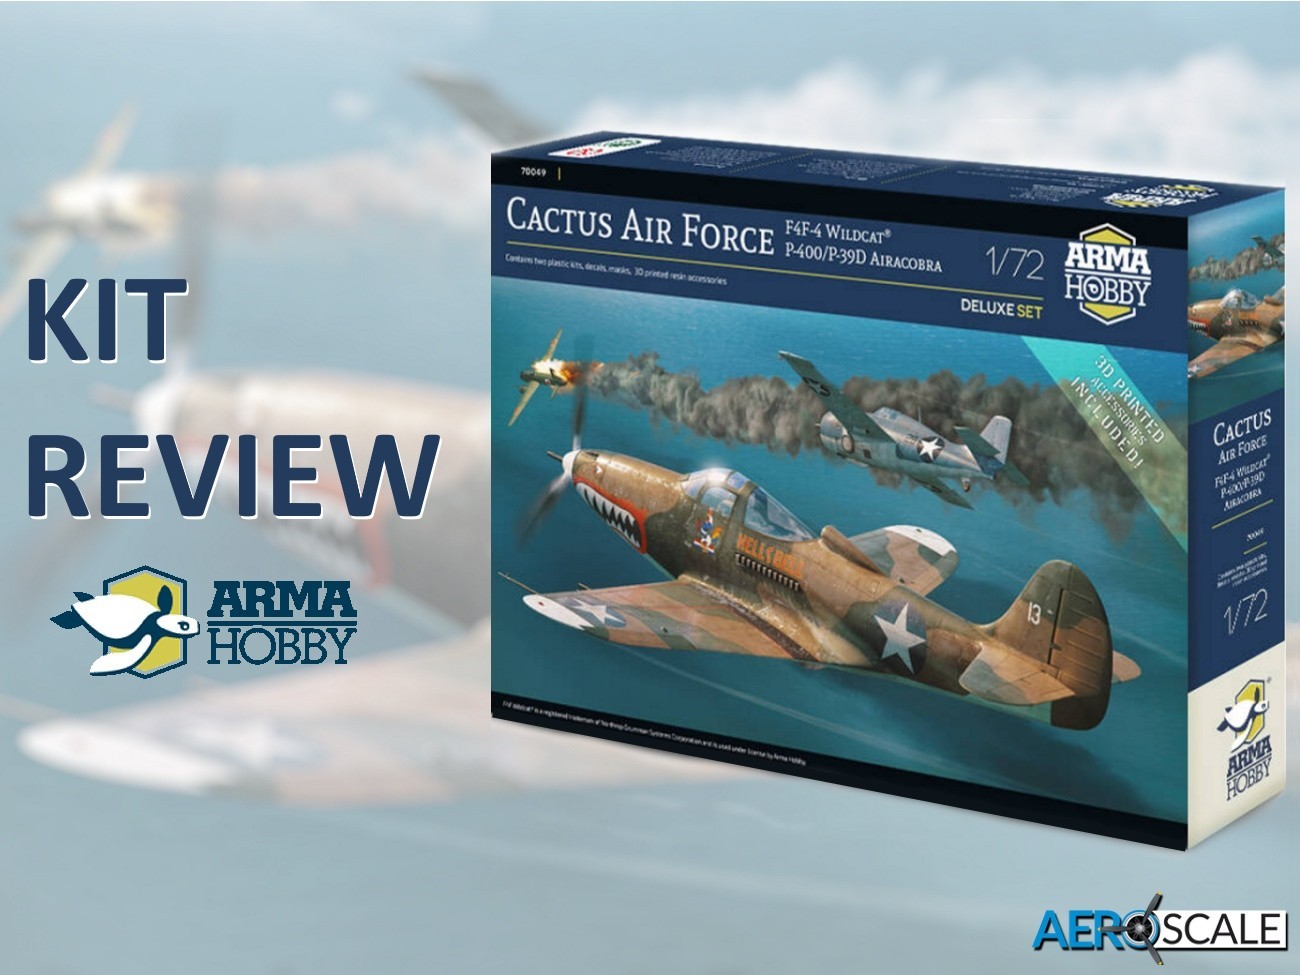
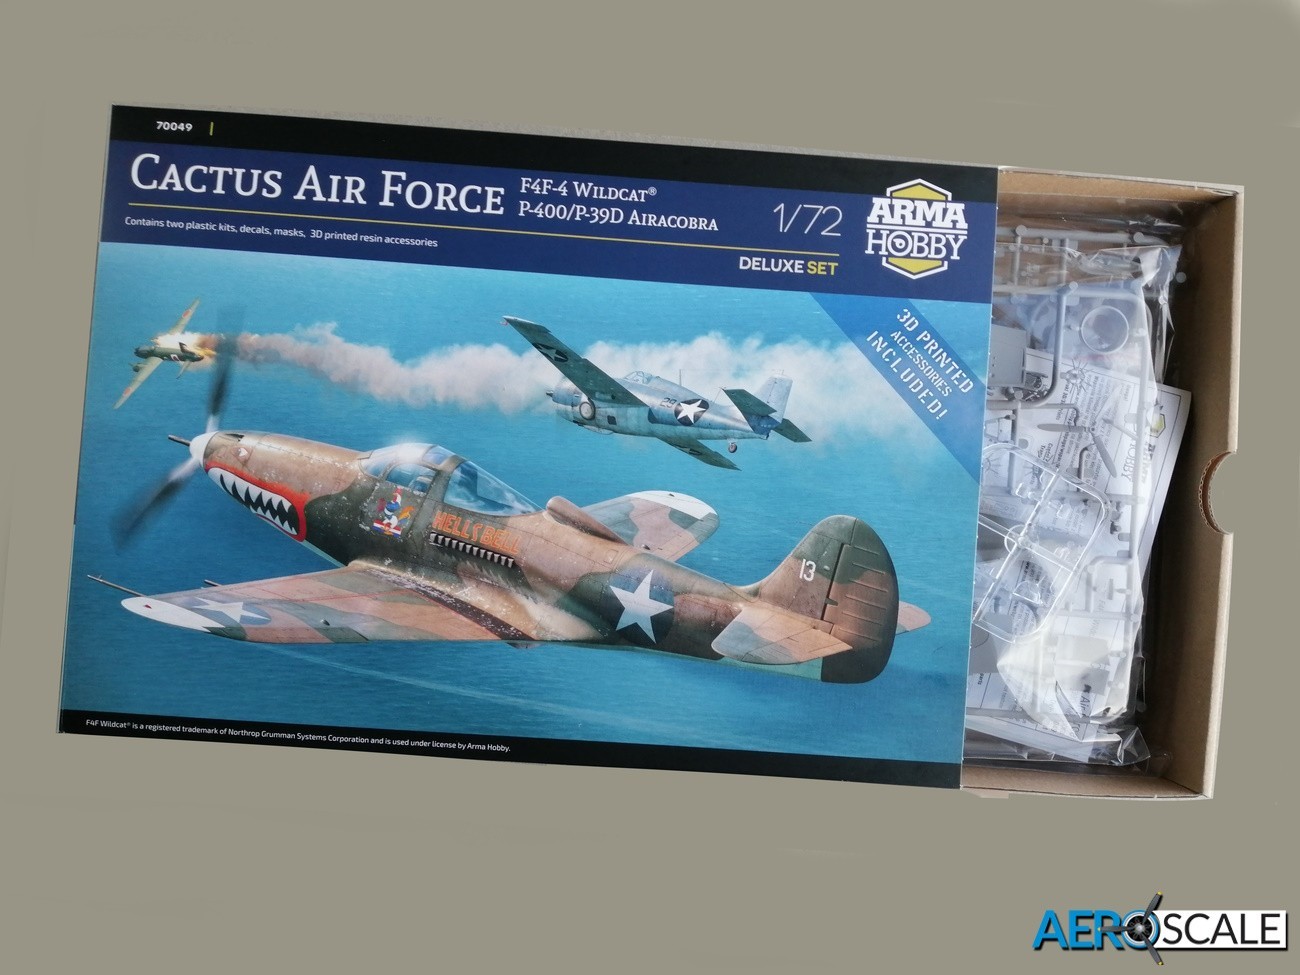
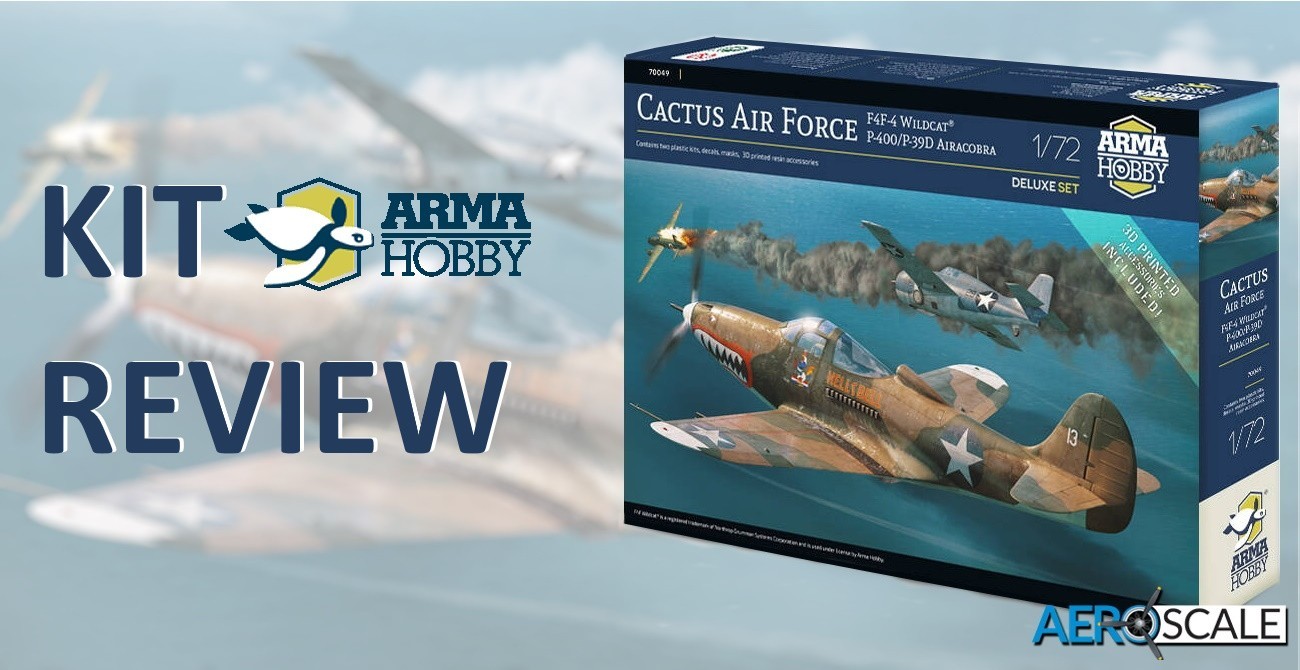
This Edition contains the two aircraft of CAF that were the based at Henderson during the second half of 1942: the F4F-4 Wildcat and the P-400/P-39D Airacobra. The box is end opening, though inside there is a stiff card tray that slides out. The two kits are in their own bags. As usual Arma Hobby has placed the decals and paint masks inside the instructions. Arma Hobby has included two sets of 3D printed parts adding to the detail. These are covered in bubble wrap for extra cushioning.
Grumman F4F-4 Wildcat
There are around eighty parts on the two grey plastic sprues. There are locating pins on all the major airframe components. The quality and consistency of the recessed and raised detail is quite superb. The look of the piano hinges of the access panels are worth a mention. The 3D parts for the F4F-4 Wildcat include:
- Seat with seatbelts
- undercarriage retracting chain mechanism
- exhaust pipes
- external 0.5-inch gun barrels
- bomb racks
- two 100 lbs bombs
- magneto spark ignition wiring ring
- throttle and undercarriage retracting levers
The detail on the plastic for the cockpit parts is again superb. Detailing on the frame for the seat, cockpit floor and instrument panel [IP] is very good. The additional 3D detail parts: handles and levers will also add some busyness to the cockpit, so some highlighting will pay dividends. The inside wall of the fuselage is also well detailed. The instrument panel has raised detail and there are decals representing the instrument faces. There are decals representing the instruments and placards on the side panels. One of the 3D printed parts is the seat and it has the seat harness included as part of the detail. Alternatively, you can use the plastic seat utilising the decal harness set.
The main undercarriage bay is worthy of a special mention. The design of the ten-part undercarriage provides a fair bit of strength. Detail as well is very good, particularly with the addition of the 3D printed cogs and chains. Arma Hobby has included a jig on the sprue to help set up some of the undercarriage structure. There are two choices of wheels: spoked or faired. The tyres look weighted and you can even just make out the tyre manufactures name on the sidewall. There are paint masks for the wheels. The instructions have multi view images of the various phases of construction of the complex gear, and it does look very impressive when completed. In contrast the two choices of tail wheel are both one piece.
The engine bay is just packed with detail including twelve parts making up the P&W Twin Wasp and that is not including the three-part engine mount. There is 3D enhancement in the way of an ignition harness. There is a choice of using the kits exhaust ports or use the two additional 3D printed exhausts. The nacelle is made up from three parts. The lip is separate and has the three air intakes moulded on. The prop is one piece with separate spinner.
Arma Hobby has captured the fuselage shape well. The separate one-piece rudder has generous sized tabs to slot into the fin. The moulded ID lights on the belly of the fuselage need to filled, as these were fitted onto the late mark F4F-4.
The four-piece wings have beautifully thin trailing edges. Holes need to be drilled in the wings where the external fuel tank shackles are attached. The bomb shackles [plastic and 3D printed] for the bombs are attached to raised pins on the outer part of the wing. The bombs are available as 3D printed or plastic kit parts. Other 3D items for the wings are the two machine gun barrels. The fairings over the oil coolers are separate. As mention previously there is a generous spar attached to the engine firewall to aid the attachment of the wings onto the fuselage. The horizontal tail has positionable one-piece elevators that fits into the one-piece horizontal stabiliser. The latter just slides into the rear of the fuselage.
The clear parts are crystal clear, the canopy and windscreen are separate parts. The two small windows in the belly can be fitted towards the end of the build. There is a small sill in the recess to stop the clear panels being pushed right through. There are Kabuki masks for windscreen and canopy.
The kabuki paint masks are for the windscreen, canopy, windows in the belly and wheels. Arma Hobby do not provide any guidance for positioning the masks.
Marking options for the Wildcat include:
- F4F-4 Wildcat black 29, pilot Lt. Samuel Folsom, VMF-121, Guadalcanal. Piloting this aeroplane Sam Folsom shot down two G4M1 Betty bombers on 12th November 1942.
- F4F-4 Wildcat white 2, pilot Major. Marion E. Carl, VMF-223, Guadalcanal, February 1943.
- F4F-4 Wildcat black F-12, BuNo. 5192, pilot Lt. James ‘Pug’ Southerland II, VF-5/USS Saratoga. On 7th August 1942, this aeroplane downed the first Japanese bomber over Guadalcanal before Saburo Sakai himself shot it down in epic lonely combat against a flight of Zeros
- F4F-4 Wildcat white 19, BuNo. 03417, pilot Lt. Stanley W. ‘Swede’ Vejtasa, VF-10/USS Enterprise. During the Santa Cruz Battle on 26th October 1942 Vejtasa shot down two dive bombers and five torpedo aeroplanes in one sortie.
Bell P-400/P-39D
Arma Hobby’s 1:72 scale P-400/P-39D contains:
- 2 x grey plastic sprues
- 1 x clear plastic sprue
- 1 x set of 3D printed parts
- 3 x steel ball bearings [nose weight]
- 1 x sheet of decals
- 2 x sheets of kabuki paint masks
- Instruction manual
Everything is packed into a single bag for security with the clear plastic sprue and ball bearings packed within their own bags. The decals and masks are placed inside the instructions. The surface of the grey plastic parts is matt in nature. The recessed detail is first rate and will take a wash if you want to highlight the panel lines and fasteners. There are locating pins and holes to help with alignment of the main parts. Parts are beautifully moulded and in scale, though some of the parts look very delicate. So, some care will be need removing them from the sprues.
The 3D parts include:
- Seat with seatbelts
- two small levers to the cockpit
- two styles of exhausts
- 37 mm cannon barrel
- 20 mm cannon barrel
- Cockpit fitted machine gun butts
- Wing machine guns barrels
The cockpit has thirteen plastic parts and four 3D parts making up for a detailed office. The inside surfaces of the fuselage have fine raised detail in the cockpit area. The instrument panel [IP] and central console has sharp detail and the instrument faces can be found on the decal sheet. A 3D set of gun butts slide into gaps in the IP. There are a couple of tiny 3D handles that fit to the right of the pilots seat. The prop shaft is incorporated with the cockpit floor. Part of the cockpit floor forms a section of the roof of the forward undercarriage bay. The kits seat has the harnesses made up from decals. Alternatively you can use the nicely detailed 3D seat that includes the harness. The decking to the rear of the pilot and covering the engine is nicely detailed. Arma Hobby advise drilling a couple of holes into the deck to fit the radio.
The canopy and windscreen are one piece with separate car style doors. The doors can be displayed open.
The fuselage is split vertically with separate vertical fin and separate rudder as well as alternate pieces for the nose armament. There is a 3D printed version, but this is used only on option 1 and 3. A thoughtful inclusion is the three ball bearing counter balances to prevent tail sitting of the model on its undercarriage. Included is a small plastic part that the weights fit into. There are two different styles of exhaust, both sets are available in plastic or 3D printed. The 3D items have the edge as there are shallow holes at the end of each pipe. The one-piece prop has a separate spinner and into the spinner goes one of two separate canon barrels in plastic or 3D printed. Arma Hobby point out that the recessed outline of an engine bay access panel on the right-side needs filing.
The main wings are made up from three pieces, with the lower wing being one-piece. The control surfaces and flaps are moulded in the neutral position. The gap between aileron and wing is correctly wider and deeper than the panel lines. The three vent flaps under the belly for the coolant and oil radiators are separate and presumably can be displayed open or closed. The detail moulded into the roof of the undercarriage bay is well done. There is no sign of shrinkage visible on the upper half of the wing caused by the detail. The lower wing needs holes drilling to fit the belly tank/bomb. Some of the detail on the wing does need changing. The ID lights under the wing tips to be filled and the four bulges on the belly need removing. There is a choice of plastic or 3D printed machine gun barrels for the wing.
The detail on the parts making up the undercarriage is superb. Particularly noteworthy is the detail in the wing, on the inside of the undercarriage doors and the separate walls of the forward undercarriage bay. The latter are attached to the cockpit floor. The oleos of the main undercarriage display enough compression so that the sit of the model along with the weighted one-piece wheels should look good. The tyre manufacturer Firestone features on the sidewall in low relief. Both forward and main undercarriage units can be left off until painting is completed.
Included are a 250lb and 500lb bombs as well as the almost permanently fitted fuel tank. These are fitted in the belly position.
The kabuki paint masks are for the windscreen, canopy, both sides of the doors and wheels. Again Arma Hobby do not provide any guidance for positioning the masks.
There are eight marking options including:
- P-400 Airacobra white 13 ‘Hells Bell’, BW151, 67FS/347FG, pilot Lt. Robert M. Ferguson, Guadalcanal, August-November 1942.
- P-39D-2 Airacobra white 12, ‘Beth’, Cpt. Paul Bechtel, 12FS commander, Guadalcanal, December 1942.
- P-400 Airacobra white 12, BW156, pilot Lt. Richard Johnson 67FS/347FG „Fancy Nancy”, Guadalcanal August-September 1942.
- P-39D-1 Airacobra yellow 56, 41-38400, 68FS/347FG, Guadalcanal, December 1942. Piloting this aeroplane Lt. Vernon Head of 67FS performed a bombing attack over New Georgia.
The decal sheet covers both the Wildcat and the Airacobra. It is printed by Techmod and looks comprehensive. As previously mentioned, there are IP and side panel instruments and seat harnesses for the cockpit. Also included is the art work, wing walkways and of course shark teeth for the Airacobra. The decal colour density looks good and glossy with good registration. Carrier film is kept to a minimum.
The 3D printed parts are an interesting inclusion, particularly the seats and seat belts. So, you have the option of using the 3D parts and decal seat belts to further detail the cockpit. The parts are finer and there is a little more finesse and detail on them. You do have to be careful separating the 3D parts from the matrix. Some do seem to have a life of their own when cutting them away. Just double check the instructions to make sure you have removed all the parts before disposing of the waste.
Instructions are A5 in format covering twenty-four pages. There is a double-sided supplement covering the 3D parts and where they are located on each model. The instructions have a lot of line drawings and CAD’s a great help for some of the more complex areas of the construction. The paint guides feature colour four view illustrations There are an extensive range of paint manufactures used as reference for the colours. They include Hataka, AK RC, Lifecolor, Ammo, Humbrol, Vallejo and Tamiya. Also included are the FS and Dupoint numbers too.
Conclusion
This is an interesting combination set featuring two of the Allied combatant aircraft of the ‘Cactus AF’ based on Guadalcanal. It brings together two of Arma Hobby’s latest releases with the added draw of the 3D printed parts. The two aircraft could not be more different and will look interesting together particularly on a suitable diorama. Detail for both is superb and the marking options particularly for the Airacobra are interesting. Due to the appalling conditions on the base some heavy weathering will not look out of place.
Thanks to Arma Hobby for this review sample
70049 - Cactus Air Force Deluxe Set – F4F-4 Wildcat® and P-400/P-39D Airacobra over Guadalcanal - 1:72
Please remember, when contacting retailers or manufacturers, to mention that you saw their products highlighted here – on AEROSCALE.

