

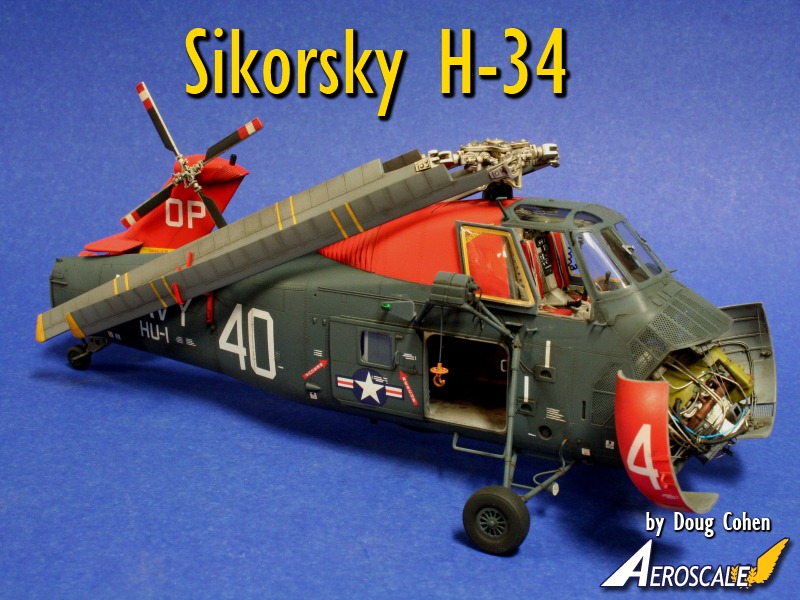
1⁄48Sikorsky H-34
5
Comments
history
Sikorsky sought to improve their very successful S-55/H-19 by giving it a larger engine and cabin while keeping the same general layout. The new S-58 was not appreciated at first by the USAF, and it fell to the Navy to bring it into service as the HSS-2 Seabat. The USMC used it for many years as their main transport helicopter, and finally being convinced by its success, the USAF bought large numbers. It was also quite successful in foreign service, being operated by several NATO countries.the model
The H-34 has not been well served for the 1/48 modeller. For many years the only option was the long out of production Revell kit, which itself was only introduced in the 1980s and became increasingly rare as time passed. Finally this glaring lack was answered by Gallery models. In the box, it is very impressive and this impression lasts throughout the build.building
I have been wanting to start a Gallery H-34 ever since it came out and so even though I have a few other projects going I started one.There are some puzzling aspects of this model:
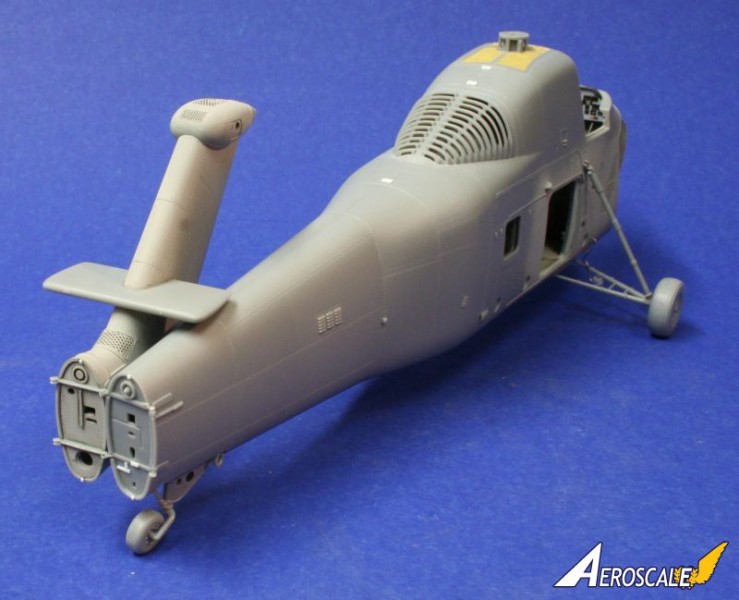
- 1.the intake screening on nose is open on only the lower side screens.
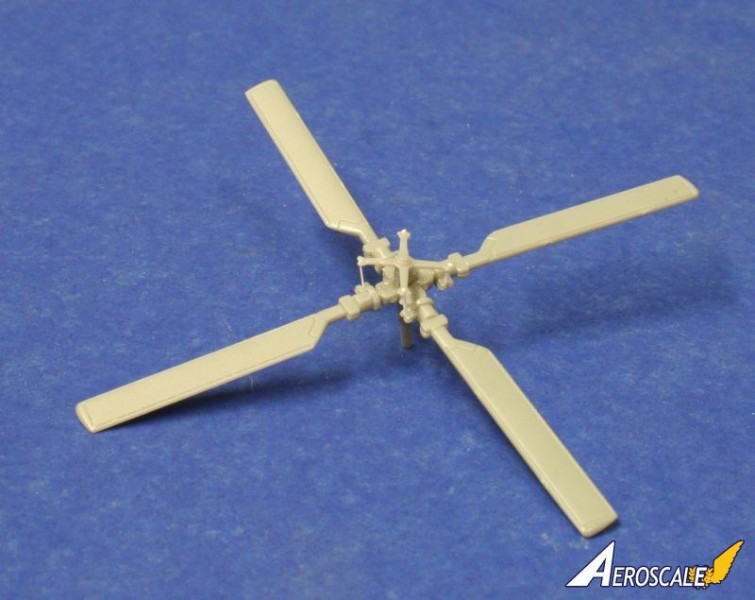
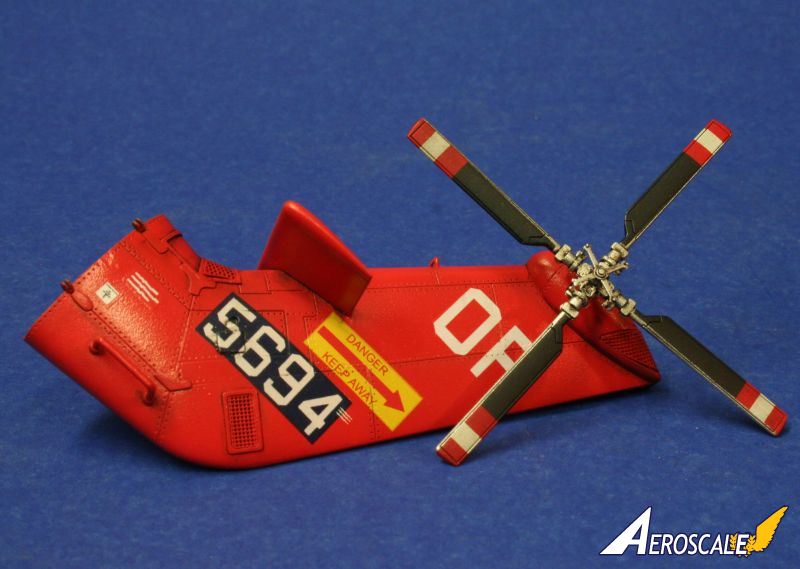
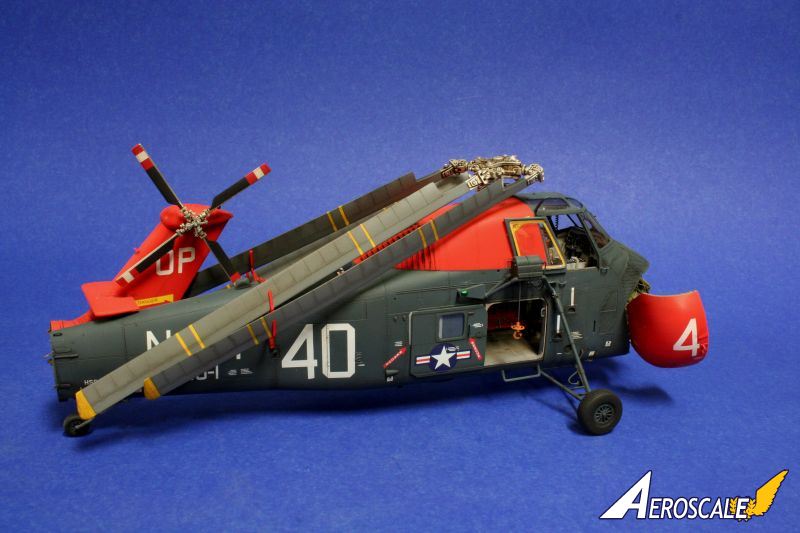
- 2. the tail folds but not the main rotors.
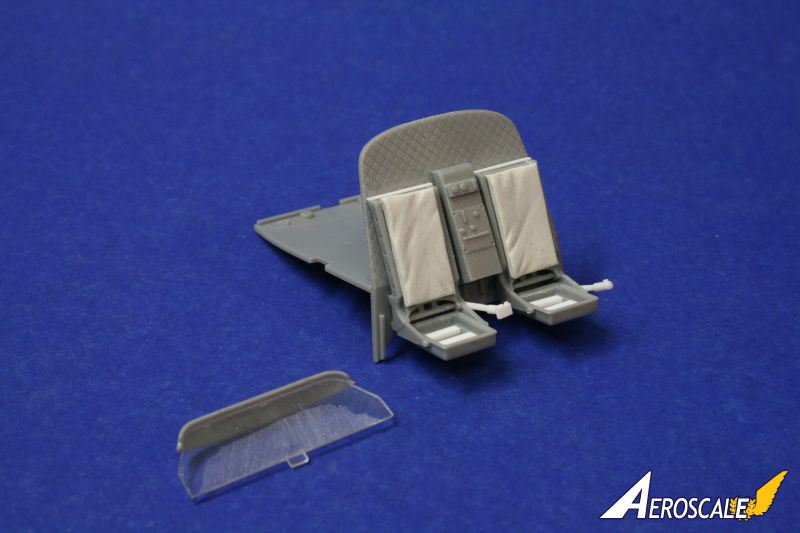
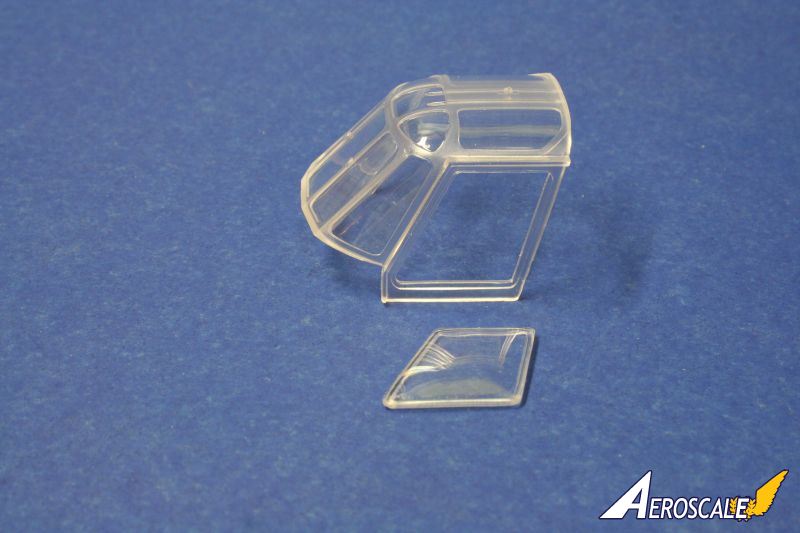
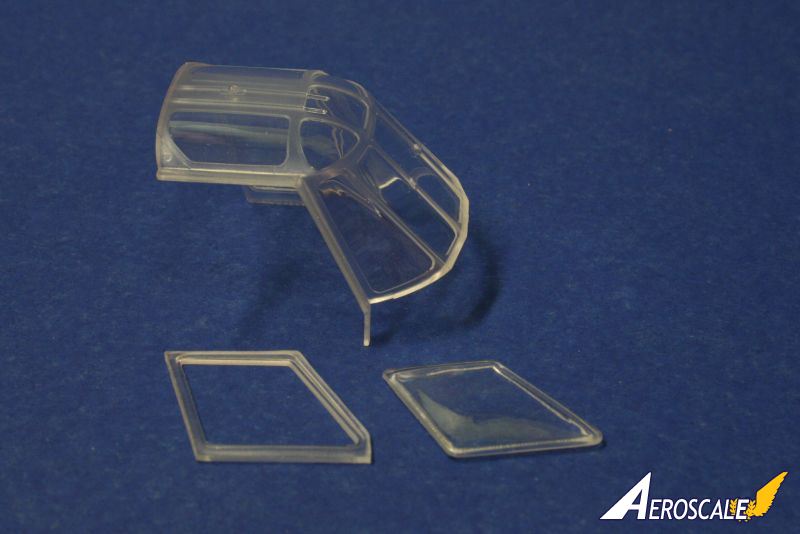
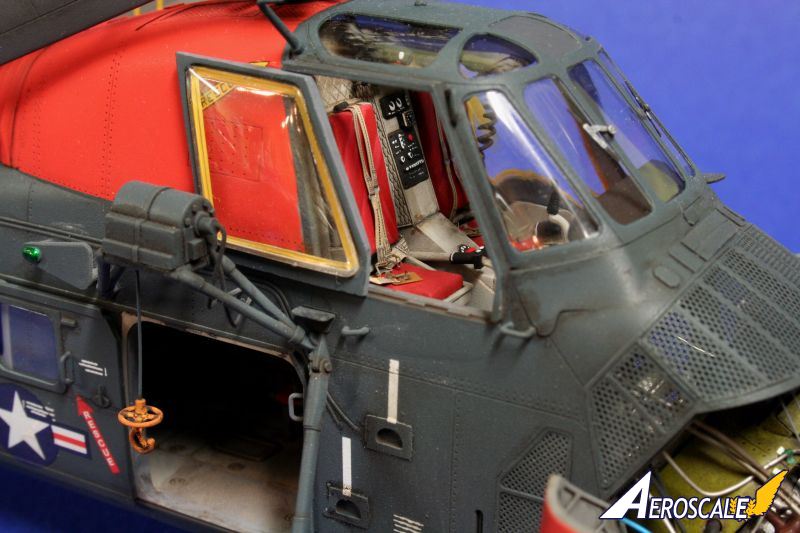
- 3.the side windows in the cockpit are moulded in place with the windshield frame.
- 4. the lack of cyclic controls.
I am also building the Revell H-34 and using a Cobra S-58T conversion nose on it so I am not opposed to doing some work when it is in front of me.
Gallery please don't take this as negative, and keep sending us such nice models of Helicopters to build.
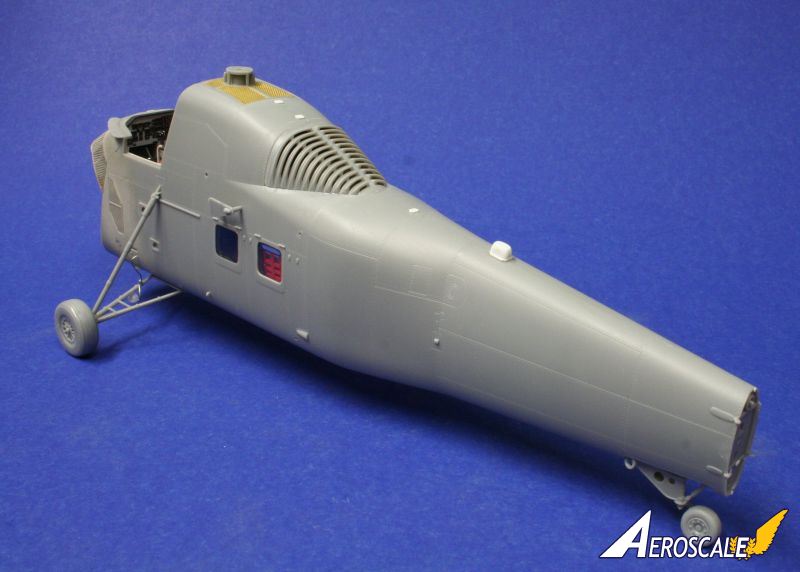
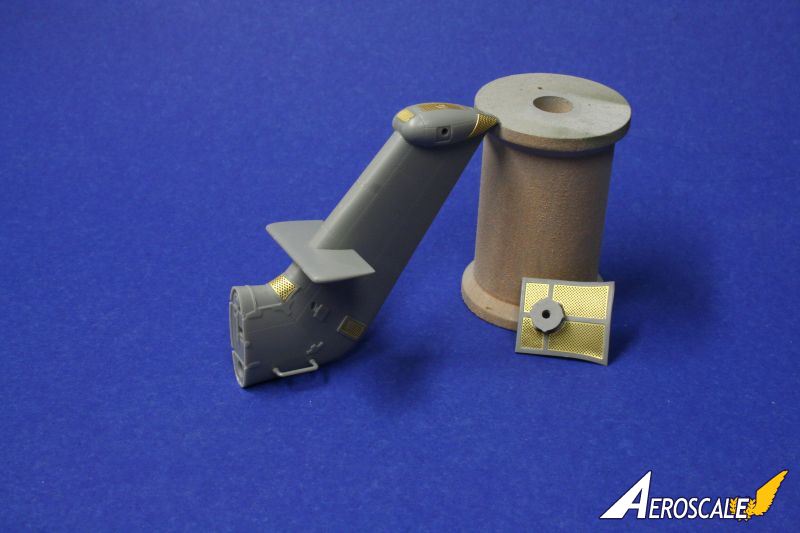
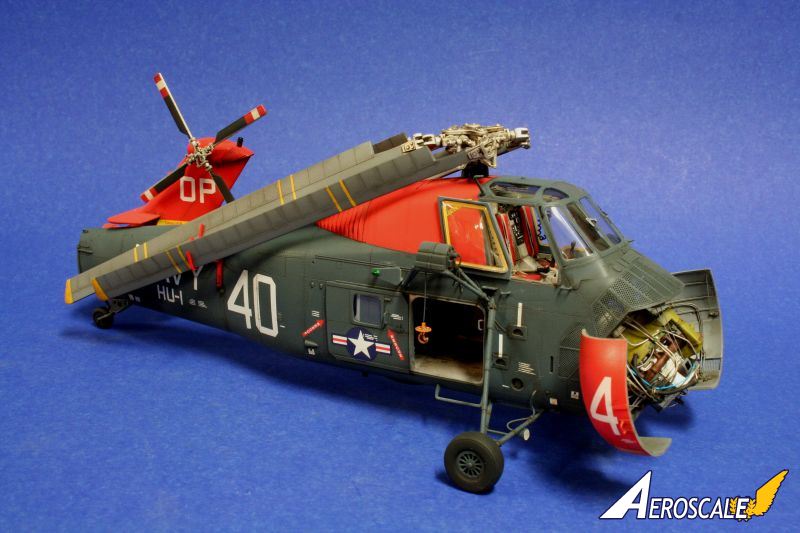
the first thing I wanted to tackle is the intake screening on the nose. Gallery have given us some great brass bits but they left the hole closed so almost the first thing I did was open up the holes and then glue the brass on. Even before this, one thing, however, you need to do is to pre-shape the brass on the nose prior to cutting out the hole to ensure that the shape is transferred over to the screening.
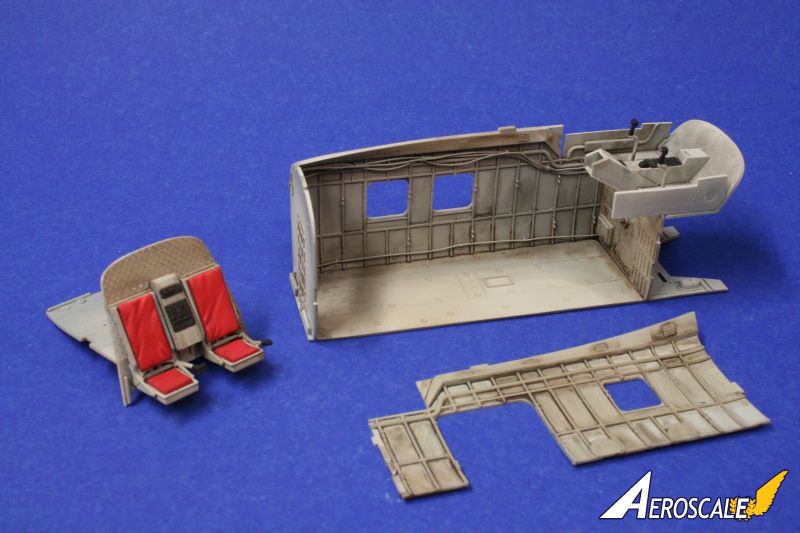
The nose and tail screens done, it was time to work on the cabin and cockpit. Gallery having chosen not to include the collective pitch controls, they were added from plastic stock.
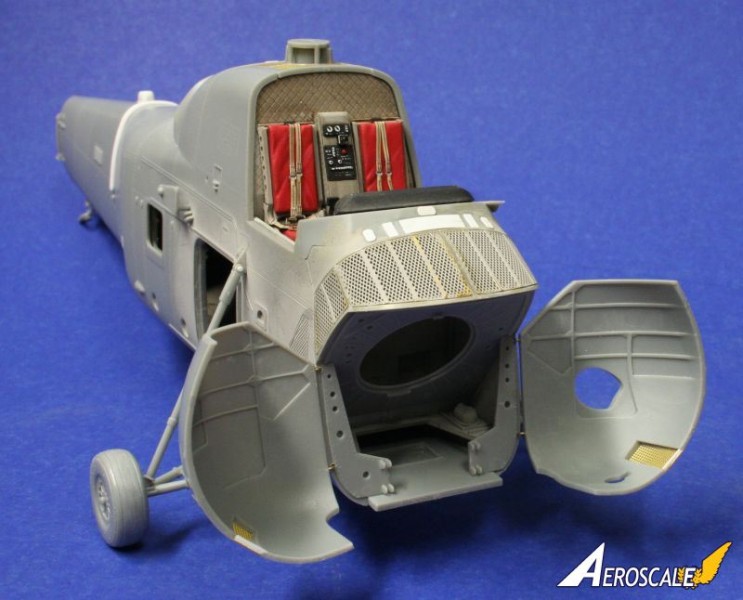
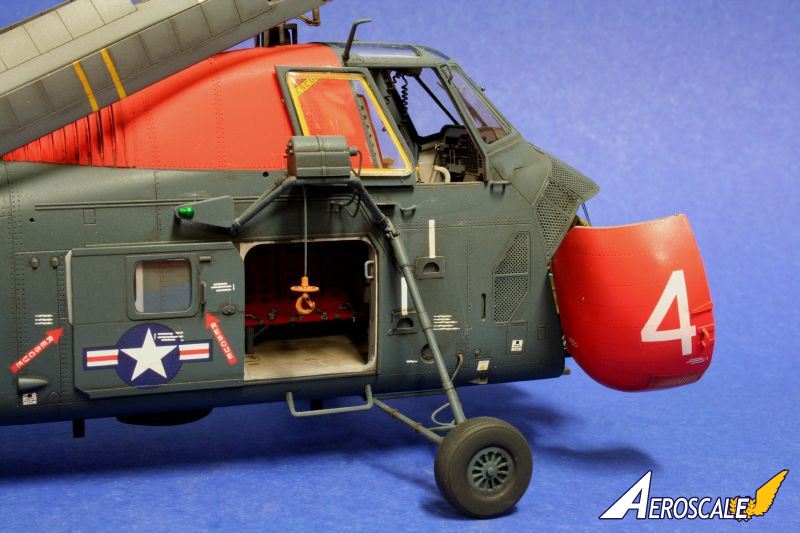
As previously mentioned, the cockpit side windows are moulded to the frame and the clear parts are separate so to have them open you must cut the frames out and then glue the clear part into it. I added back cushions to the pilots' seats with epoxy putty and the instrument panel was sanded down in preparation to use the Eduard set to detail the cockpit. The Eduard instrument panel is beautiful.
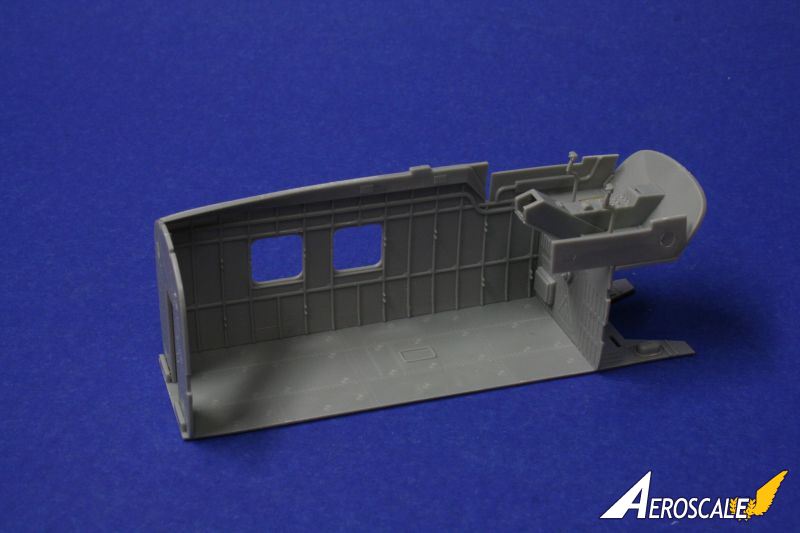
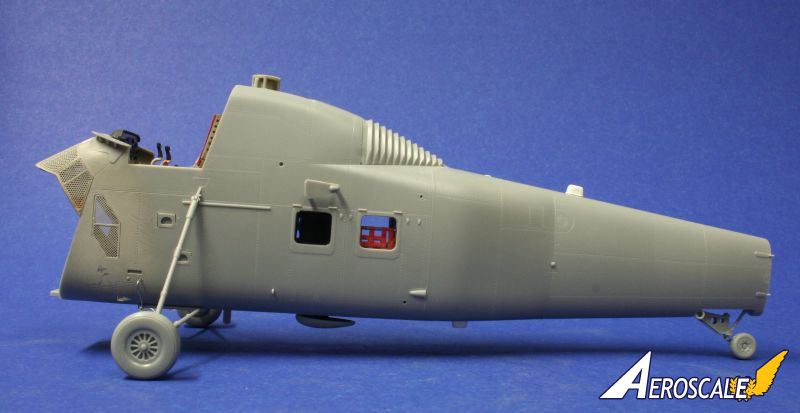
After adding some wiring detail on the cabin walls, it was time to begin painting the interior. Basic colours are overall light grey with red seat cushions and webbing. The interior assembles into a unit which then fits between the fuselage sides. The fit of this kit is incredible; very tight. The aft transmission doghouse is also incredible.
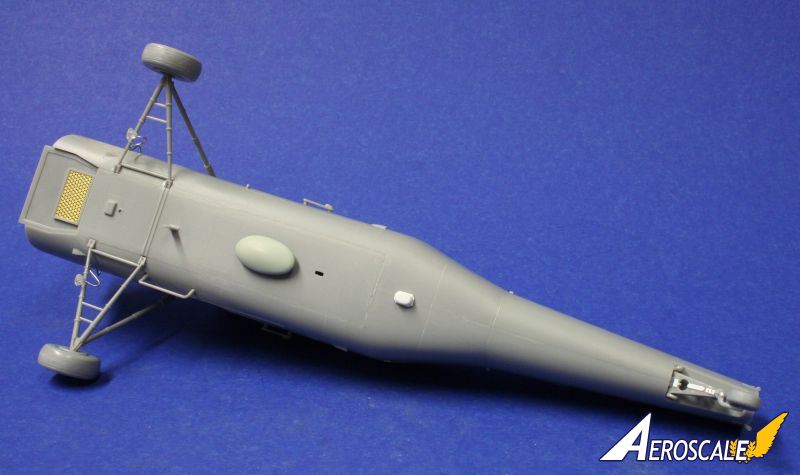
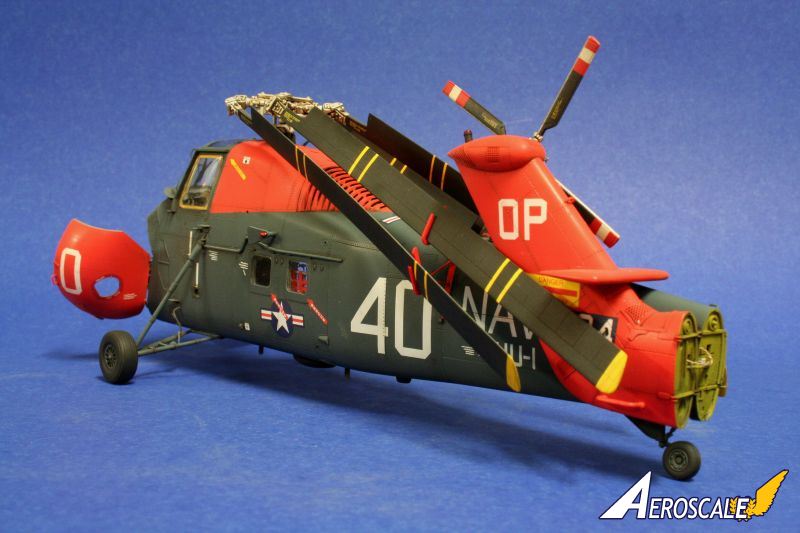
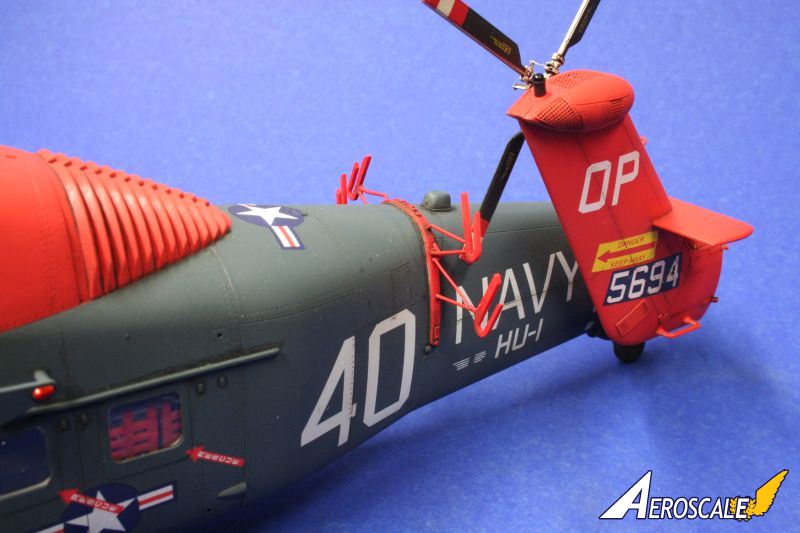
I chose to do a navy version so had to add some antennas that are not in the kit. These were fabricated out of various plastic blocks and strips cut and sanded to shape.
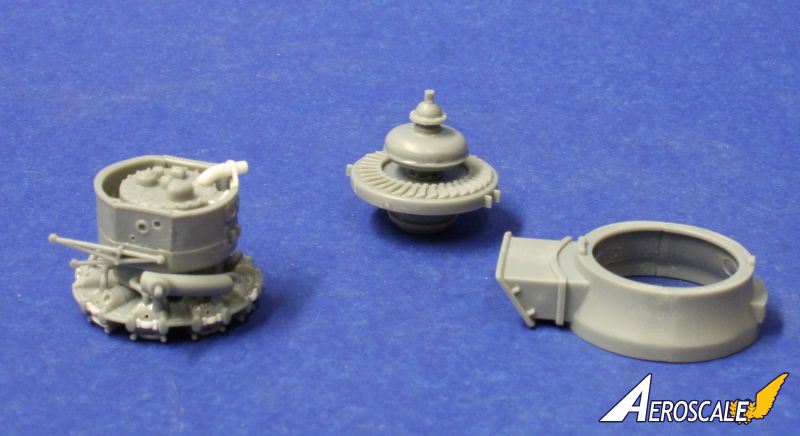
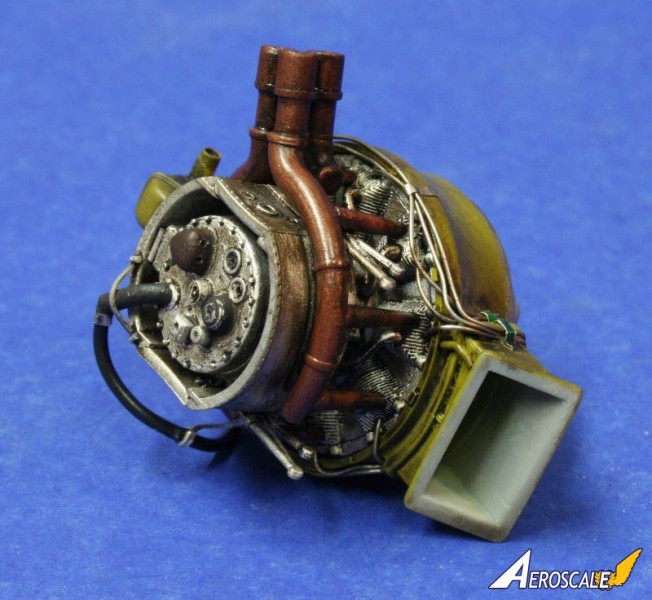
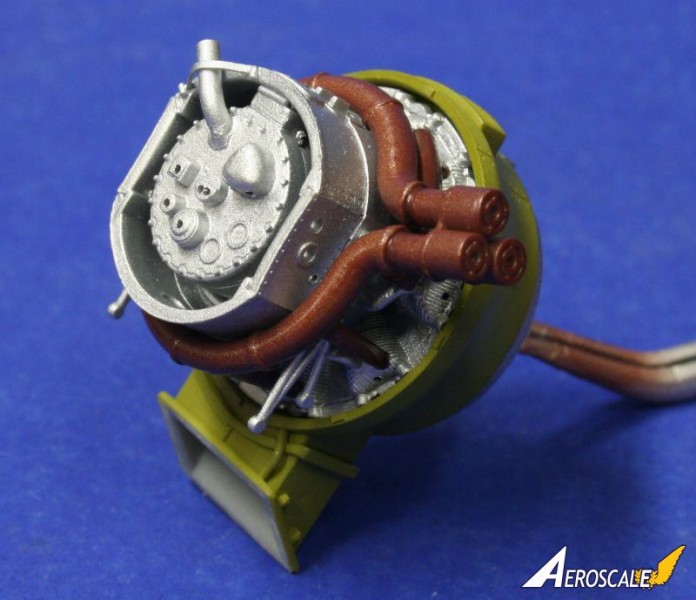
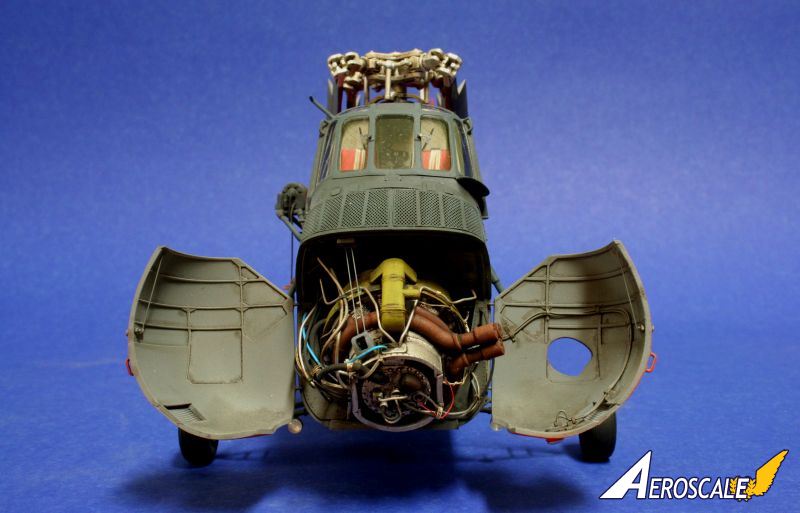
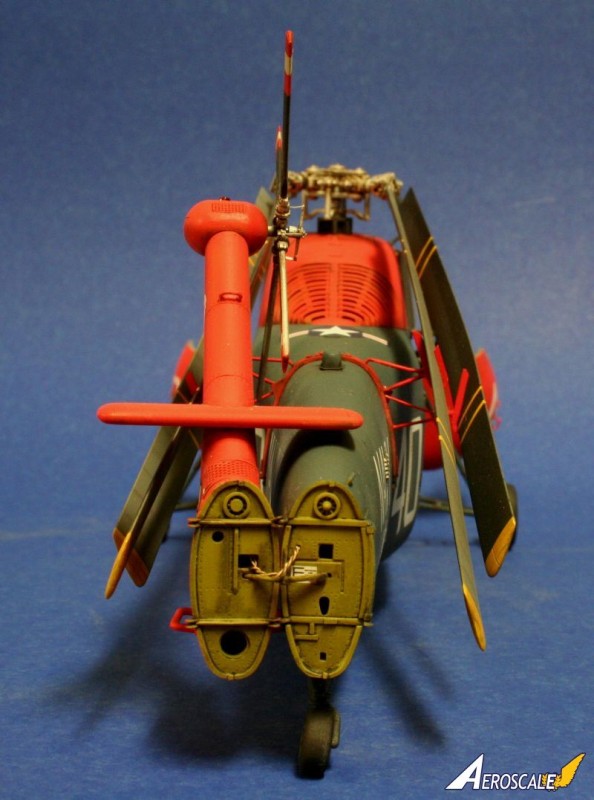
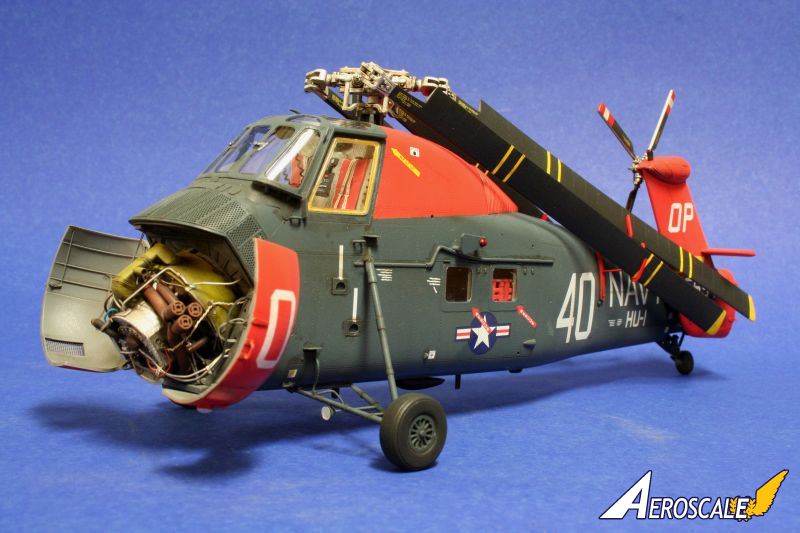
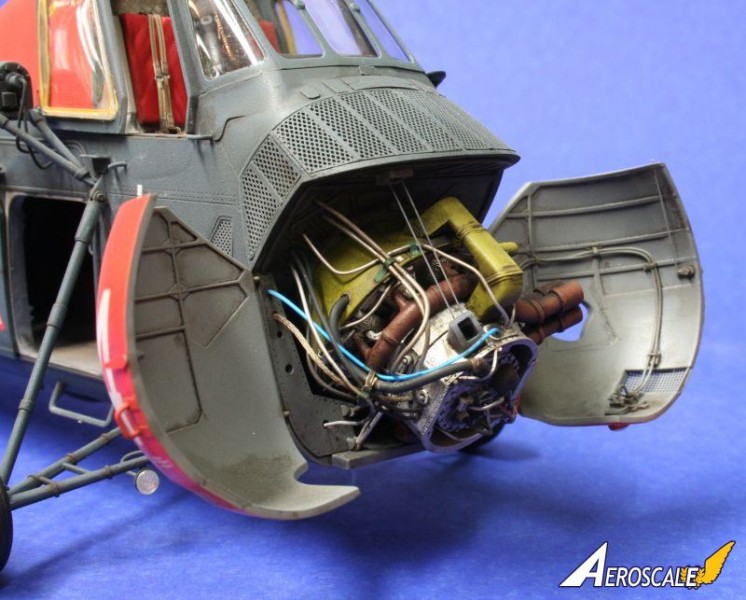
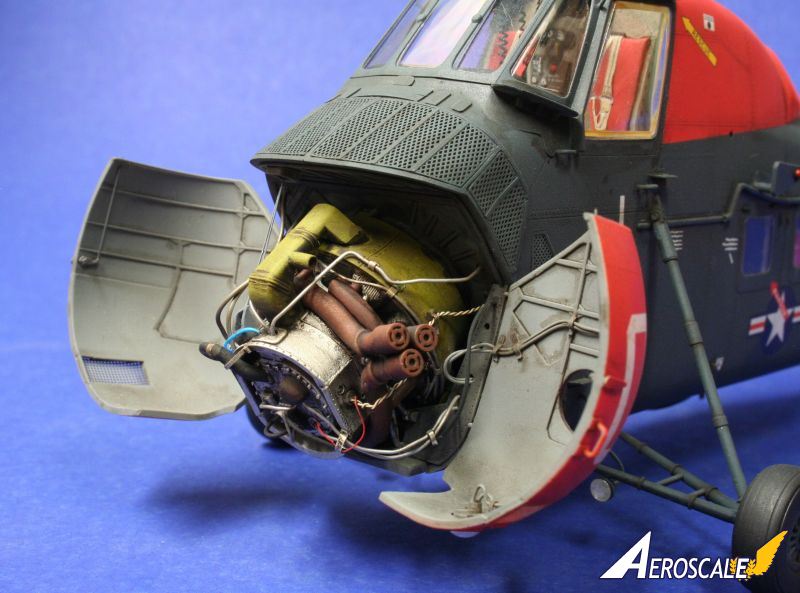
I planned on having the engine access doors open to display the engine so I added a considerable amount of detail to the doors and engine using plastic sheet, strip and wire.
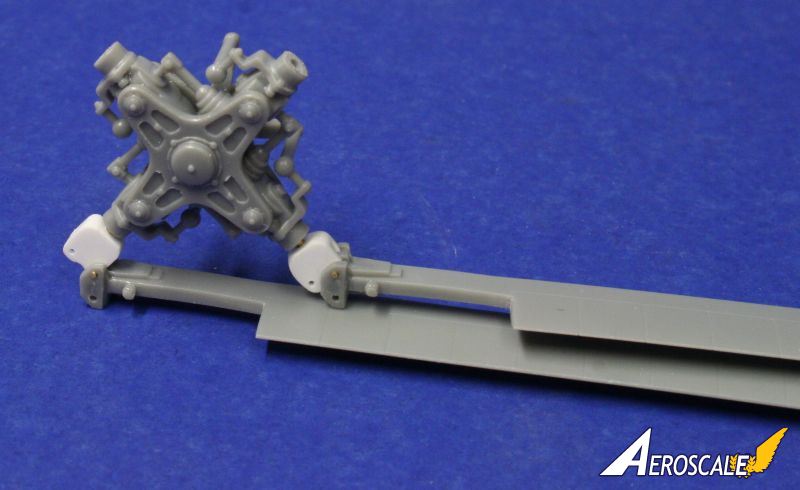
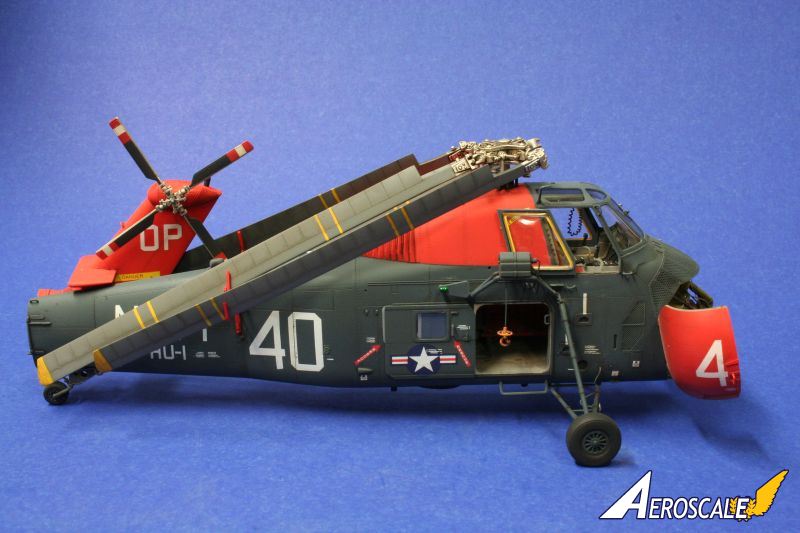
The main rotor blades are not designed to be posed folded, so I needed to add detail to the rotor head, and scratch build the hinge points using plastic blocks cut and sanded to shape, and brass wire for the hinge pins.
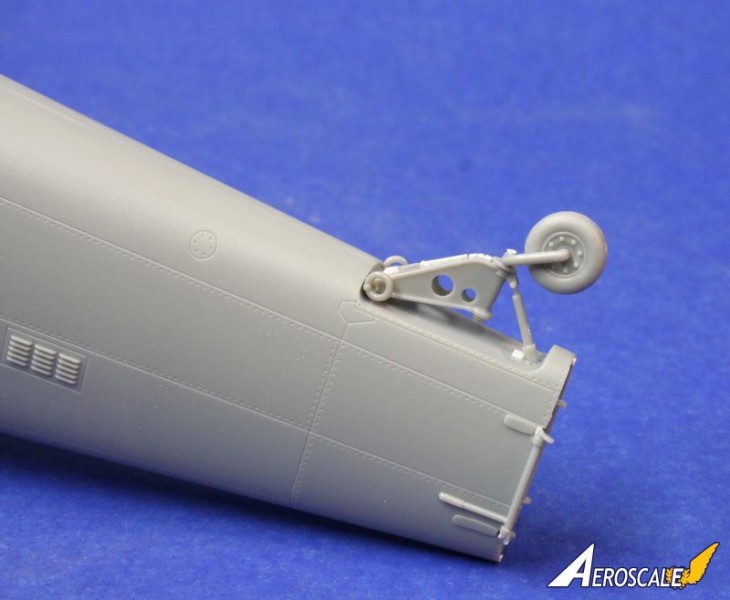
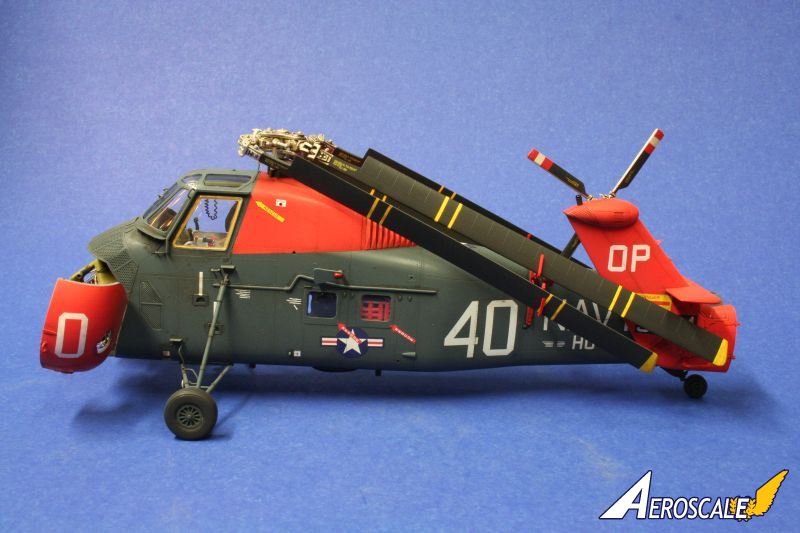
More brass wire was used for the exterior hand holds. I bent some plastic strip into a U shape and glued it into position on the rear fuselage to act as the main brace for the folded rotor blade crutches. Once the rescue hoist was detailed and assembled, it was time to paint.
The basic colour scheme was overall engine grey with day-glo orange panels on the nose, tail and doghouse. Once the decals were dry, all that remained was to bring all the elements of the build together.
conclusion
The Gallery H-34 is an excellent kit with a few surprising omissions, but none of these prevent it from being built into a very satisfying model.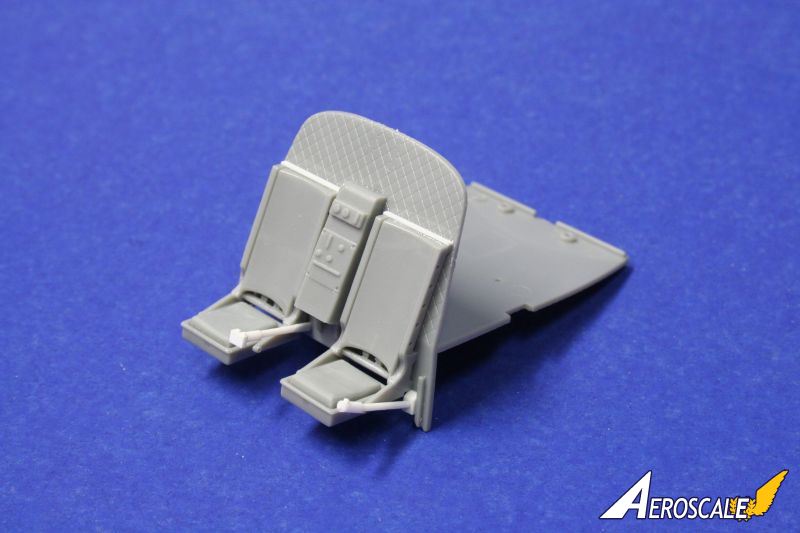


About the Author


Comments


Amazing build! Hopefully we'll eventually see this in 1/32nd along with an H-19. I'd love to see a CH-37 Mohave as well in both 48th and 32nd.
JUN 11, 2014 - 01:38 PM
Doug,
I followed your build from start to finish, and your level of building is right up there. Just outstanding detailing, and scratch building to create a really special one of model.
Joel
JUN 12, 2014 - 01:22 AM

Has this on the workbench and planned to finish it for the Helicopter Crossover Campaign but will run out of time. Will be using this for the template to finish mine. Great work!
JUN 20, 2014 - 09:48 PM
Copyright ©2021 by Doug Cohen. Images also by copyright holder unless otherwise noted. The views and opinions expressed herein are solely the views and opinions of the authors and/or contributors to this Web site and do not necessarily represent the views and/or opinions of AeroScale, KitMaker Network, or Silver Star Enterrpises. Images also by copyright holder unless otherwise noted. Opinions expressed are those of the author(s) and not necessarily those of AeroScale. All rights reserved. Originally published on: 2014-06-07 02:29:00. Unique Reads: 12280

WEB HOSTING BY


Copyright ©2021 AeroScale and Kitmaker Network, a subsidiary of Silver Star Enterprises
All Rights Reserved. Please read our Conditions of Use and Privacy Policy.
All Rights Reserved. Please read our Conditions of Use and Privacy Policy.