OFFICIAL: Bent Wing Birds Campaign

#041
Kobenhavn, Denmark
Joined: July 20, 2006
KitMaker: 10,069 posts
AeroScale: 3,788 posts
Posted: Friday, January 17, 2020 - 11:36 AM UTC
Thanks for the info, guys. I should have researched that a bit better before reaching for the glue. I think I will have to see if I can find that bomb rack in the stash or go back to the fuel tank.
More to follow.

Campaign'oholic - 252+ campaigns completed
#041
Kobenhavn, Denmark
Joined: July 20, 2006
KitMaker: 10,069 posts
AeroScale: 3,788 posts
Posted: Friday, January 17, 2020 - 11:46 AM UTC
Quoted Text
Jesper your office is looking good, the cockpits really do dissapear in these aircraft and Im sure yours is going to look the part very well. I think the bomb will be a great addition, have you thought about drilling the exhaust pipes out?
Cheers everyone!
-Eric.
Good idea, i Will dig out my reference books. The drilling probably needs to be at a certain angle.
Campaign'oholic - 252+ campaigns completed
MichaelSatin
 Campaigns Administrator
Colorado, United States
Joined: January 19, 2008
KitMaker: 3,909 posts
AeroScale: 2,904 posts
Posted: Saturday, January 18, 2020 - 02:34 AM UTC
Quoted Text
Thanks for the info, guys. I should have researched that a bit better before reaching for the glue. I think I will have to see if I can find that bomb rack in the stash or go back to the fuel tank.
More to follow.
It's in the Tamiya F4U-1 and -1A kits as I recall. Also, it's a pretty simple design and I expect it wouldn't be too hard to scratch build if you're into it.
Michael

On the bench:
Sorta depends on your definition of "on the bench"...
#041
Kobenhavn, Denmark
Joined: July 20, 2006
KitMaker: 10,069 posts
AeroScale: 3,788 posts
Posted: Sunday, January 19, 2020 - 06:04 AM UTC
Quoted Text
Quoted Text
Thanks for the info, guys. I should have researched that a bit better before reaching for the glue. I think I will have to see if I can find that bomb rack in the stash or go back to the fuel tank.
More to follow.
It's in the Tamiya F4U-1 and -1A kits as I recall. Also, it's a pretty simple design and I expect it wouldn't be too hard to scratch build if you're into it.
Michael
I could not find one - and scratch building it is not my strength

It will get the kit supplied drop tank.
Campaign'oholic - 252+ campaigns completed
Indre-et-Loire, France
Joined: May 23, 2011
KitMaker: 651 posts
AeroScale: 181 posts
Posted: Tuesday, January 21, 2020 - 10:18 PM UTC
Hi all,
here is my entry for this campaign.
I think i won't begin before mid-february.

Cheers
Nico
#491
Missouri, United States
Joined: April 06, 2016
KitMaker: 602 posts
AeroScale: 43 posts
Posted: Wednesday, January 22, 2020 - 04:27 AM UTC
Just want to double check. On the Enlistment thread it was decided an F6F Hellcat counted. Is that still the case?
Currently working on: Multiple Campaigns :P
California, United States
Joined: December 06, 2004
KitMaker: 3,694 posts
AeroScale: 163 posts
Posted: Wednesday, January 22, 2020 - 04:58 PM UTC
I, for one, am experiencing the joys of a real old kit, although the P-11c isn't as bad as the I-16 where nothing seems to fit. Flash is excessive but that's to be expected. One of the struts for the Horizontal stabilizer seems to be missing one end due to a short shot. Mostly just sanding (the engine right now to make it fit) and noticing sink marks to be filled someday.
#041
Kobenhavn, Denmark
Joined: July 20, 2006
KitMaker: 10,069 posts
AeroScale: 3,788 posts
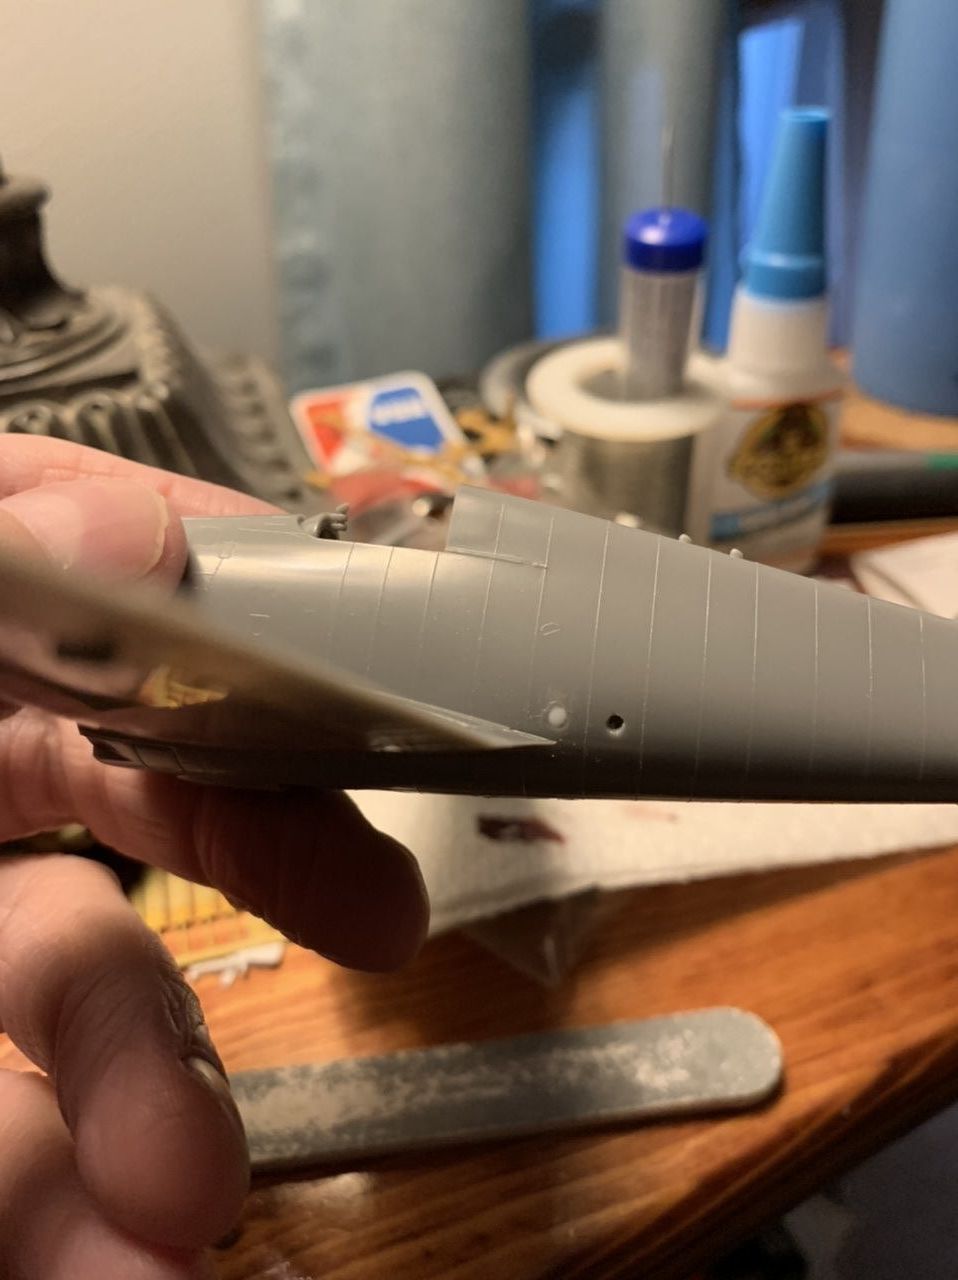
Posted: Saturday, January 25, 2020 - 11:44 AM UTC
Based and ready for camouflage.
More to follow

Campaign'oholic - 252+ campaigns completed
British Columbia, Canada
Joined: October 16, 2006
KitMaker: 480 posts
AeroScale: 67 posts
Posted: Saturday, January 25, 2020 - 11:59 AM UTC
Primer finally down, took a few hits to chase the seams down properly and reprimer but I think Im happy with it now. Not a fan of how Tamiya designed the wings, but I think ill nail it next time (I hope) and I can live with how they turned out for this round.
Did some work on the engine, added an ignition ring out of brass and punched some discs for the wire rings.

Primer down, the unpainted parts are the control surfaces and are getting a lighter treatment for the cloth. Im going to do a 3 layer chipping effect on the wings near the fueselage so Ill update as it goes.

Cheer, Eric.
#041
Kobenhavn, Denmark
Joined: July 20, 2006
KitMaker: 10,069 posts
AeroScale: 3,788 posts
Posted: Saturday, February 01, 2020 - 02:05 AM UTC
Looks good, Eric. I am also doing a chipping effect with chipping fluid.
What is a 3 layer effect? You do chipping in three layers? I am not sure I understand that. Can you enlighten me?
Campaign'oholic - 252+ campaigns completed
British Columbia, Canada
Joined: October 16, 2006
KitMaker: 480 posts
AeroScale: 67 posts
Posted: Saturday, February 01, 2020 - 01:21 PM UTC
Sure can Jesper, its exactly that. I went with a layer of Alclad (or MRP?) aluminum, then chipping fluid, sprayed chromate primer on top, chipped it mostly away, sealed it, sprayed chipping fluid again, layer of black for my base (I prefer to black base and mottle on my aircraft) sprayed some light mottling with MRP blue grey, then layer down my final coat of MRP. Since its a lacquer it dries almost instantly so I hit it with some water and worked some small chips out revealing both aluminum and some traces of chromate primer, creates a nice depth. And as Mike Rinaldi taught us, you can never have too small a chip!
Good luck with your wear and tear!
Eric.
#041
Kobenhavn, Denmark
Joined: July 20, 2006
KitMaker: 10,069 posts
AeroScale: 3,788 posts
Posted: Sunday, February 02, 2020 - 06:12 AM UTC
Thanks for the insights, Eric. Very elaborate chipping method - I am sure it will look awesome.
I am sticking to one layer since it is the first time I use AKs chipping fluid.
Looking forward to see your chipping results! I am sure it will look great!
Campaign'oholic - 252+ campaigns completed
#041
Kobenhavn, Denmark
Joined: July 20, 2006
KitMaker: 10,069 posts
AeroScale: 3,788 posts
Posted: Sunday, February 02, 2020 - 08:13 AM UTC
Ready for base colors - metallic and chipping fluid applied.
More to follow

Campaign'oholic - 252+ campaigns completed
North Carolina, United States
Joined: April 29, 2014
KitMaker: 1,112 posts
AeroScale: 67 posts
Posted: Monday, February 03, 2020 - 12:55 AM UTC
Interested to see how the chipping turns out.
My entry, 1/72 Haseagawa F6F-3/5 built as a F6F-5P of VMF-512 first aboard the CVE-107 USS Gilbert Islands April 1945 as EE70 before the unit added the carrier markings. I am saving that for a larger scale. My main research comes from
http://www.adamsplanes.com/VMF-512.htm 
My understanding is it is a simple conversion. One hole for the one camera port side, one panel over from the back of the wing. I did that but forgot about the flaps. Doh!
For my closed cockpit of which you cannot see much, Tamyia XF-67 Nato Green is close enough for me.

#439
Washington, United States
Joined: November 05, 2005
KitMaker: 4,950 posts
AeroScale: 3,192 posts
Posted: Tuesday, February 04, 2020 - 06:57 PM UTC
Progress on my Corsair.

Only a little bit of filling has been required.

Hanger Queens in Waiting:
Monogram 1/72 F8F-1
Corsair the Sky Pirate - 1/72 Ace A-7D
Century Series - Airfix 1/72 F-105G
Anti Shipping - Academy 1/72 PBJ-1D
Academy 1/72 F-84E
British Columbia, Canada
Joined: October 16, 2006
KitMaker: 480 posts
AeroScale: 67 posts
Posted: Thursday, February 06, 2020 - 09:30 AM UTC
hoooo boy! finally got full time internet back (the island I live on in western Canada has a radio link to the mainland that was damaged in hurricane force winds about a week ago) so this will be a big jump on the Corsair build.
so here we go, 3 layer dip... er, chipping.

some aluminim Alclad

then the XF-4 primer

black base

]
MRP blue grey lightened with some white

and beat up!

as it sits now, pretty much ready to start decaling, Ill be using the Barracuda decals Birdcage corsair part 1 and am modelling an early bird "Tojo Eats [auto-censored]" its a filthy, filthy mess of an aircraft and should be quite fun to weather. Also full disclosure I can cheat as Doogs did such a fantastic build of this aircraft using the Tamiya 1/32 kit.
Cheers everyone!
Eric.
England - East Midlands, United Kingdom
Joined: February 07, 2004
KitMaker: 911 posts
AeroScale: 415 posts
Posted: Friday, February 07, 2020 - 12:05 AM UTC
"Nelson be damned.......Lets get the hell out of here!"
#041
Kobenhavn, Denmark
Joined: July 20, 2006
KitMaker: 10,069 posts
AeroScale: 3,788 posts
Posted: Saturday, February 08, 2020 - 06:42 AM UTC
Great chipping, Eric. Looks very cool and realistic.
Looking forward to see more
Campaign'oholic - 252+ campaigns completed
British Columbia, Canada
Joined: October 16, 2006
KitMaker: 480 posts
AeroScale: 67 posts
Posted: Saturday, February 08, 2020 - 11:00 AM UTC
thanks guys, its coming along. Lazy saturday here, roads are too snowed in to go fishing, and theres no surf, so in between waiting for the hockey game to start this evening and finding things to do other than clean the drain in the sink I decided to mask off the walkways. Of course I forgot to do this before the decals went down so Ive carefully worked around them as decal lift is just the worst.

Cheers!
Eric.
British Columbia, Canada
Joined: October 16, 2006
KitMaker: 480 posts
AeroScale: 67 posts
Posted: Thursday, February 13, 2020 - 04:15 PM UTC
getting filthy around here

#041
Kobenhavn, Denmark
Joined: July 20, 2006
KitMaker: 10,069 posts
AeroScale: 3,788 posts
Posted: Sunday, February 16, 2020 - 03:22 AM UTC
Wow! That looks awesome, Eric! Fantastic weathering. Great inspiration for my build although I do not think I can reach your level.
Looking forward to see more!
Campaign'oholic - 252+ campaigns completed
British Columbia, Canada
Joined: October 16, 2006
KitMaker: 480 posts
AeroScale: 67 posts
Posted: Sunday, February 16, 2020 - 05:40 AM UTC
thanks Jesper, though I dont believe that, Ive got faith you're pulling off a great build. Have fun with the chipping medium, its a powerful tool when used well. Most of my staining is just windsor&newton oils built up in layers over time, great stuff to work with as it has such a long drying time.
Looking forward to seeing your bent bird come together as well!
Eric.
British Columbia, Canada
Joined: October 16, 2006
KitMaker: 480 posts
AeroScale: 67 posts
Posted: Sunday, February 16, 2020 - 05:51 AM UTC
just thought Id post the reference photo Im working off of here, may inspire some others to get filthy!

#041
Kobenhavn, Denmark
Joined: July 20, 2006
KitMaker: 10,069 posts
AeroScale: 3,788 posts
Posted: Monday, February 17, 2020 - 09:01 PM UTC
Thanks, Eric. We will see - I will do my best.
The photo is very blurry - at least on my PC - maybe a photobucket issue. Would love to see the real picture if it is good inspiration for my chipping and weathering. Maybe upload with Imgur is possible?
Campaign'oholic - 252+ campaigns completed
AussieReg
Associate Editor #007
Victoria, Australia
Joined: June 09, 2009
KitMaker: 8,156 posts
AeroScale: 3,756 posts
Posted: Monday, February 17, 2020 - 09:28 PM UTC
Quoted Text
The photo is very blurry - at least on my PC - maybe a photobucket issue.
Here you go Jesper, I have the image in my reference file as well. It's certainly one beat-up bird!

Excellent progress on the weathering Eric, looks great!
Cheers, D
ON the bench
Revell 1/24 '53 Corvette (building as '54)
Revell 1/24 BMW 507 Coupe and Cabrio
Italeri 1/48 Me262 B-1a/U1 Nightfighter
Monogram 1/24 '57 Chevy Nomad
Dragon 1/350 USS Frank Knox DD-742