_GOTOBOTTOM
World War II: USA
Aircraft of the United States in WWII.
Hosted by Rowan Baylis
Vintage Fighters 1/24 P-47 Thunderbolt
AussieReg
Staff MemberAssociate Editor
AUTOMODELER
#007
_VISITCOMMUNITY
Victoria, Australia
Joined: June 09, 2009
KitMaker: 8,156 posts
AeroScale: 3,756 posts
Posted: Friday, July 19, 2019 - 03:50 AM UTC
Hi folks. I have been lurking and dropping the odd comment here on Aeroscale for a while now, while I focus on a few Car builds and admin duties over on Automodeler. The time has come now to revive a build that I started back in 2009! 10 years, where has the time gone?

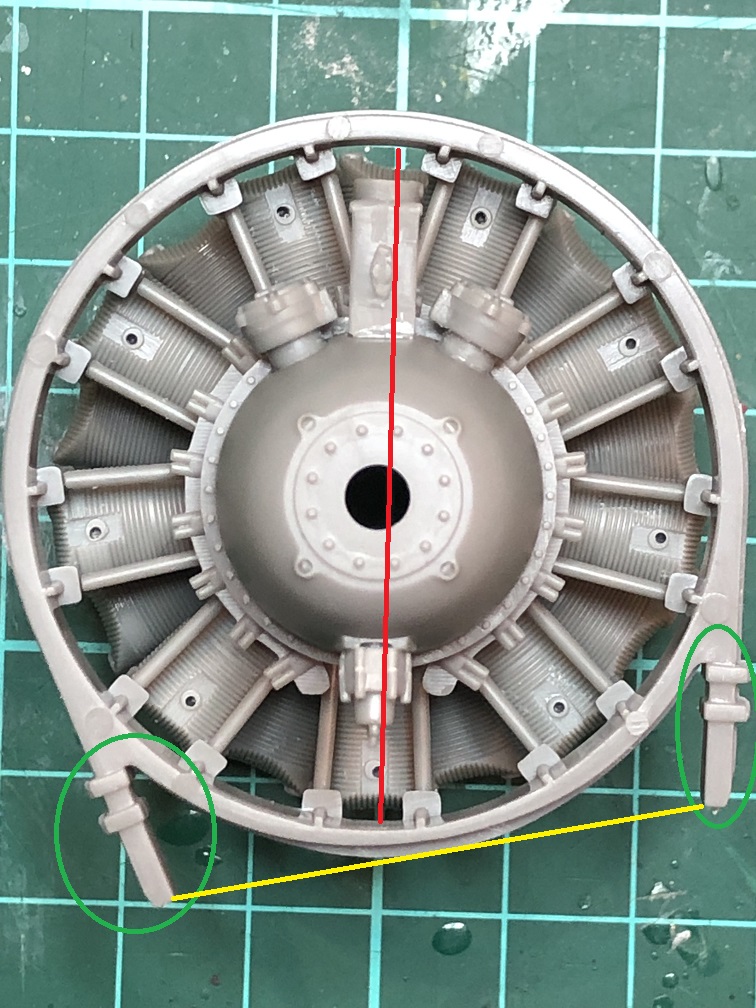
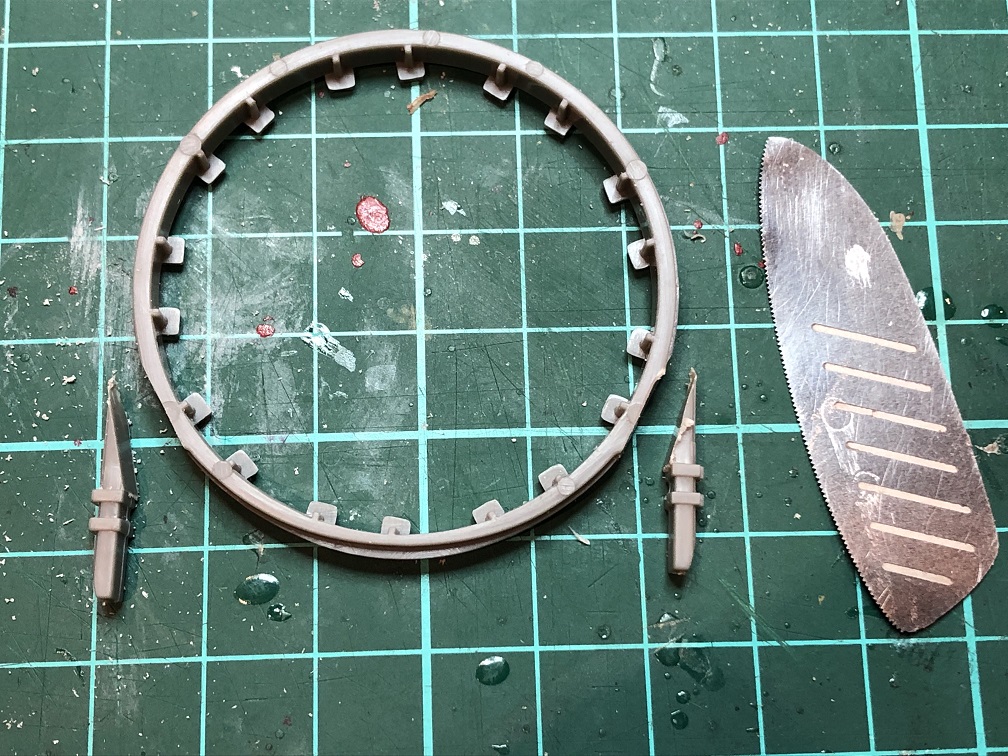
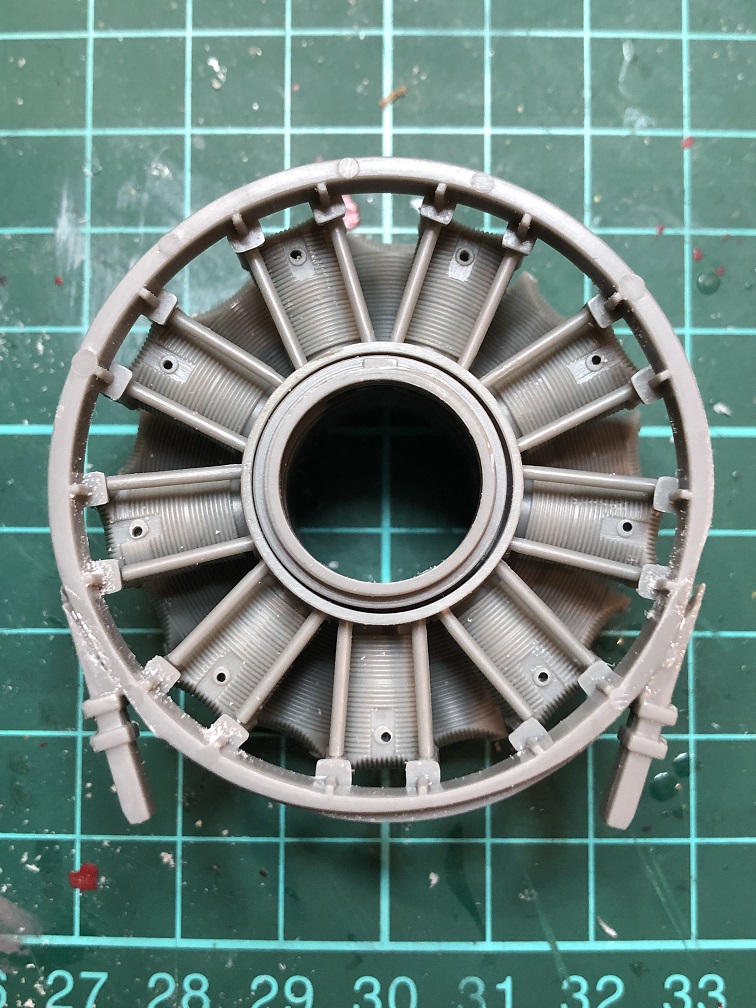
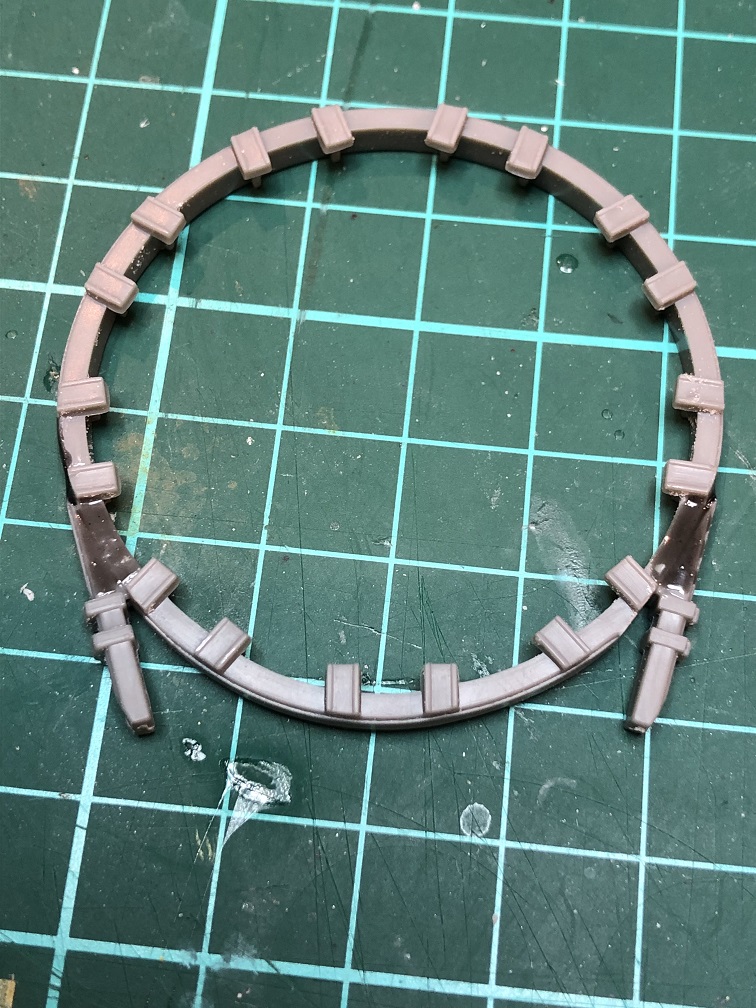
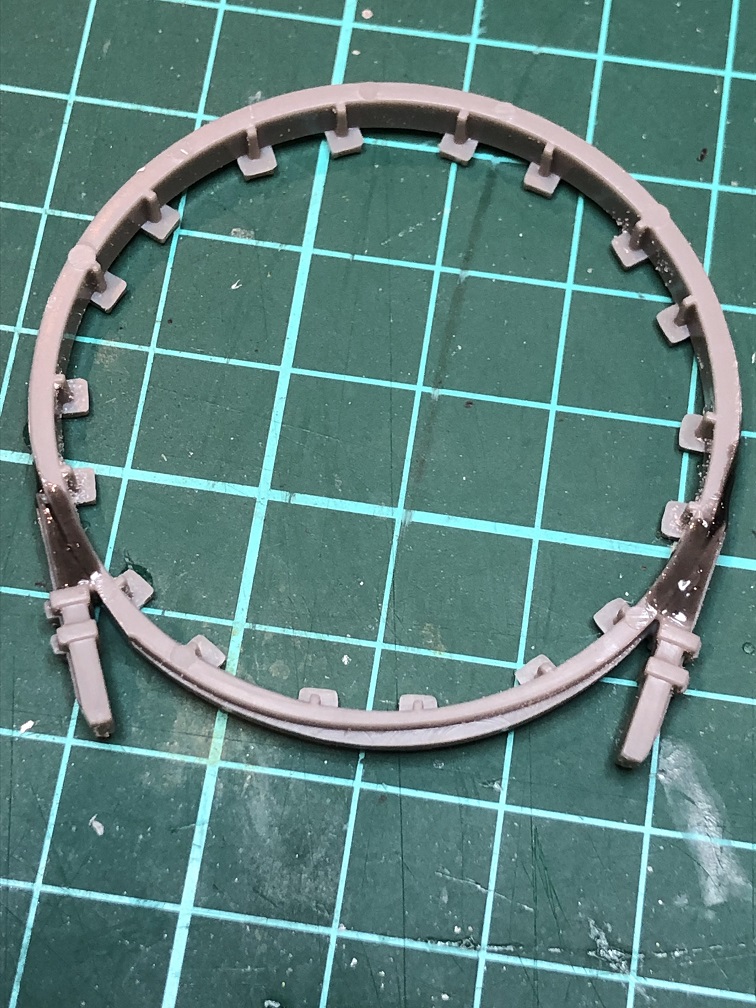
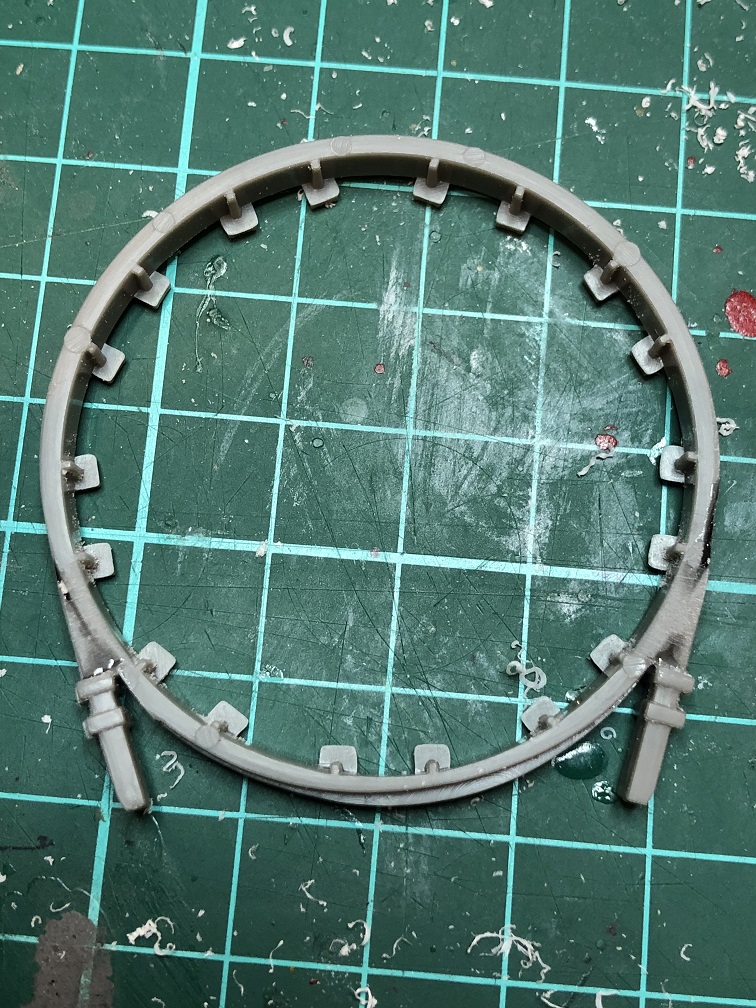
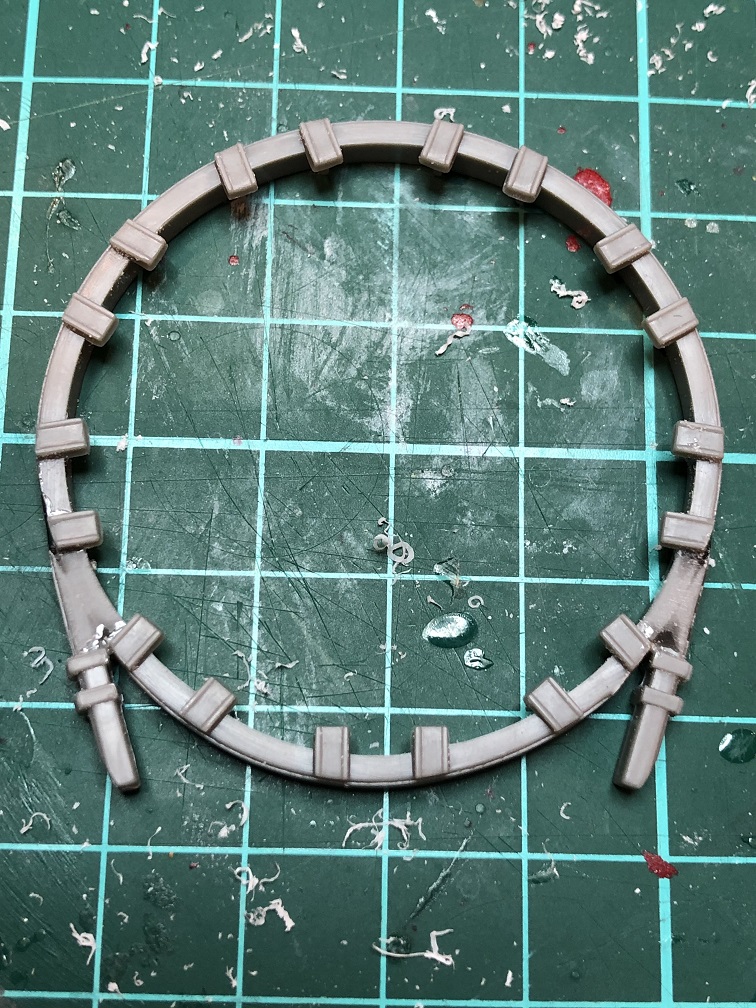
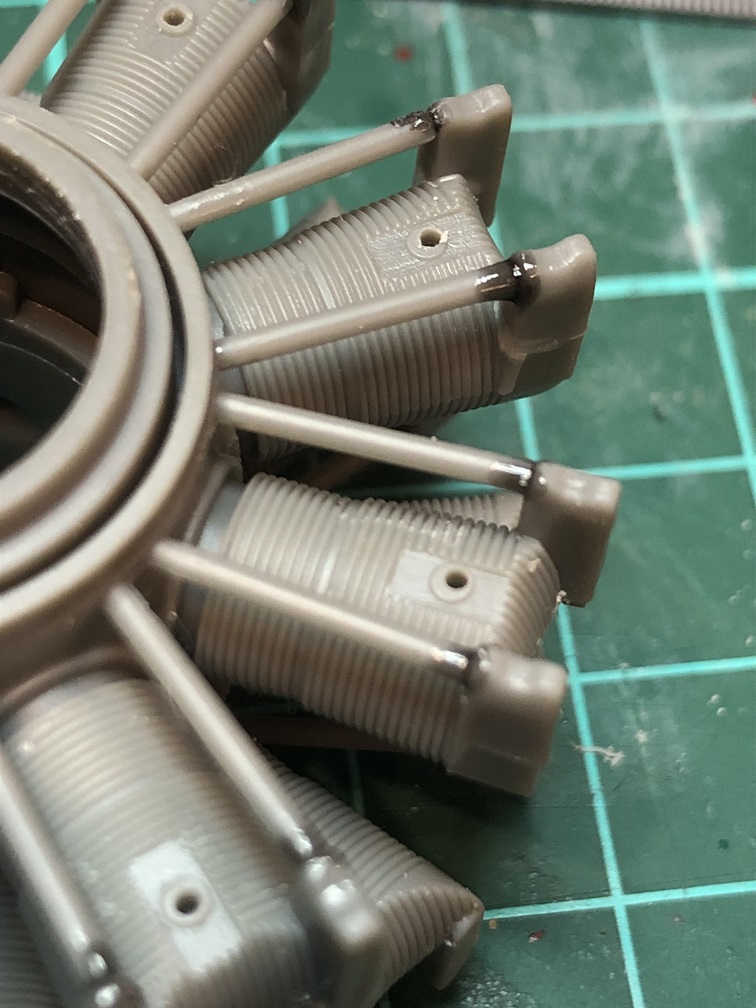
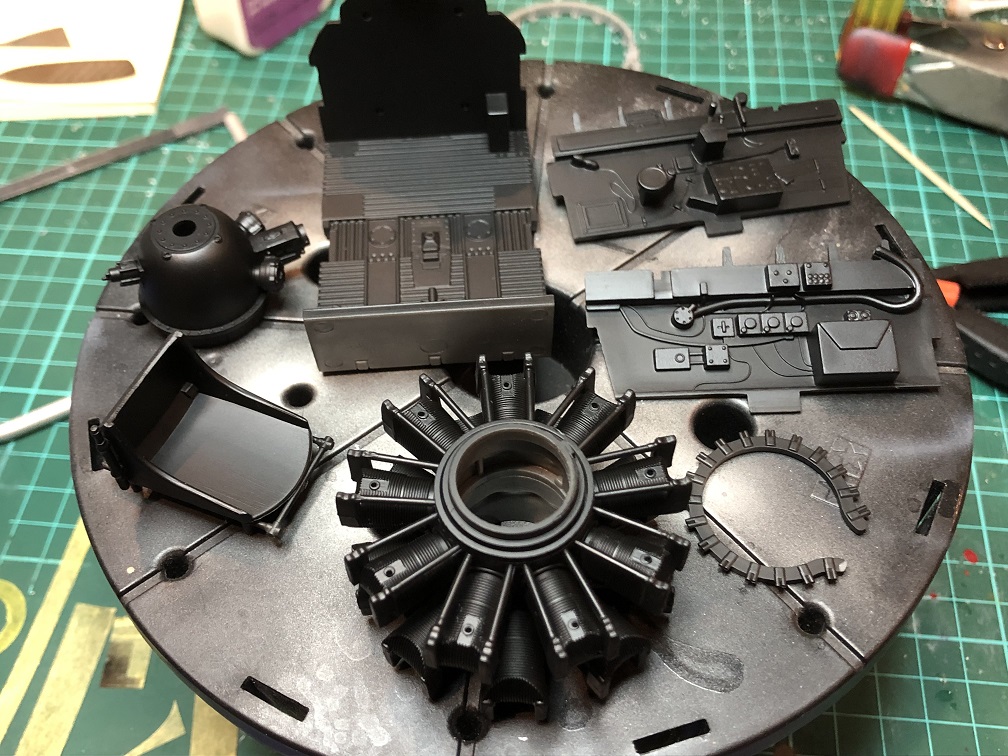
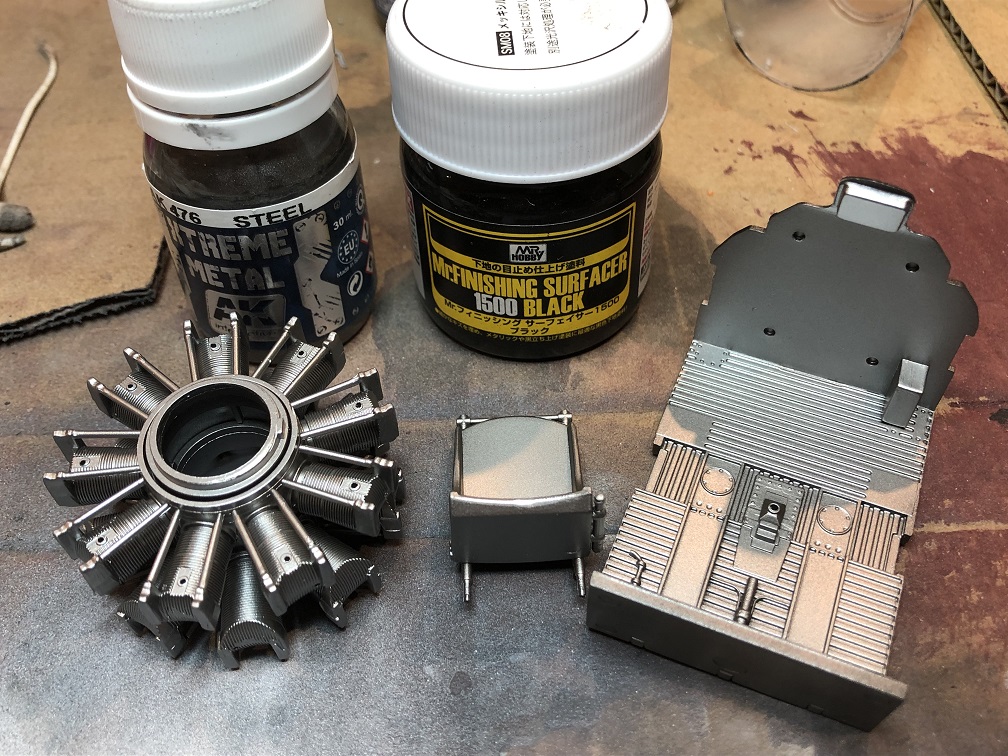
The kit is the Vintage Fighters Series P-47D Thunderbolt in 1/24th scale, and it has been covered in a couple of build logs here and in other forums, but I am going to run another detailed build log here as I am going to be using a few weathering techniques and products to try to show a fairly "war-weary" subject.


Here are a couple of shots I took back in 2009 when I tinkered with a few of the sub-assemblies. There is a 1/72 Revell P-47D sitting amongst the 1/24 parts to get a concept of the scale.


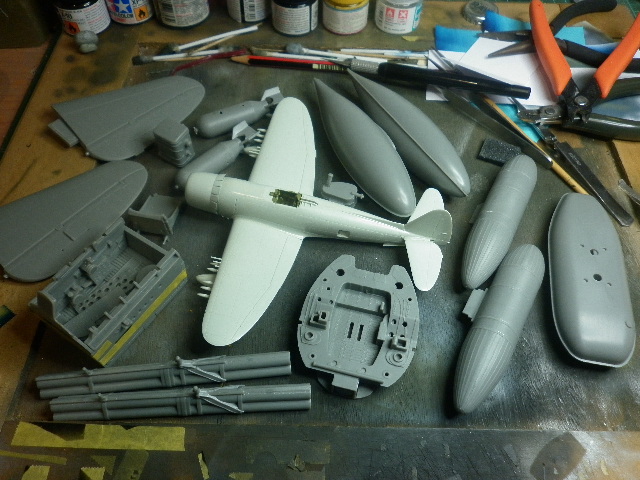
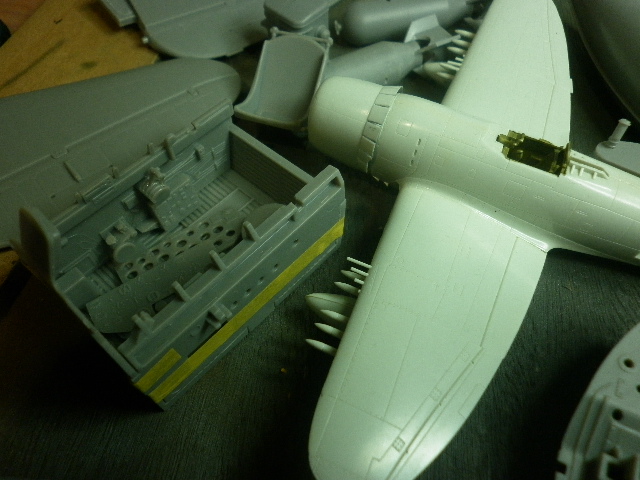
I started a build log back then, but it has been severely "Photobucketed" and I'm not going back to try to fix it as the scope of the build has changed.

As always, I welcome any and all comments, critique, suggestions and advice. I'm here to learn on every kit I start, and I hope that others will benefit from my rambling builds and commentary!

Cheers, D
AussieReg
Staff MemberAssociate Editor
AUTOMODELER
#007
_VISITCOMMUNITY
Victoria, Australia
Joined: June 09, 2009
KitMaker: 8,156 posts
AeroScale: 3,756 posts
Posted: Friday, July 19, 2019 - 04:04 AM UTC
The engine cylinder banks and push rods have been assembled, so the first task is to attend to the issue of the alignment of the engine and front and rear cowl rings.

When installed, the P&W engine has a cylinder vertically oriented at the 6 o'clock position in the front bank and in the 12 o'clock position in the rear bank. This is shown by the red line in the following image.


The locating tabs on the gear reduction housing have it lining up perfectly with the cylinders, but the front cowl support ring is well out of alignment. The task is to remove the lugs (circled green) and reattach them in the correct alignment while maintaining correct spacing (yellow line).

I cut them off with a fine razor saw and reattached them while the support ring was dry-fitted to the engine assembly, and once the cement had cured I set about rebuilding the attachment points between the lugs and the ring itself using 'Sprue-Goo" in several applications with a couple of hours curing time in between each application. The aim here was to give the strongest possible bond between the filler and the part. It's at the point now where I am happy with the rectification works and it's ready for a final clean-up and primer.


Cheers, D
AussieReg
Staff MemberAssociate Editor
AUTOMODELER
#007
_VISITCOMMUNITY
Victoria, Australia
Joined: June 09, 2009
KitMaker: 8,156 posts
AeroScale: 3,756 posts
Posted: Friday, July 19, 2019 - 04:12 AM UTC
The next little issue was easier to deal with. The push rods are attached to a central ring, and they are all a tad short and don't meet up with the rocker covers on the outer end of the cylinders. I dabbed a drop of "Sprue-Goo" on each one to provide a strong bond and support, but neatness and clean-up isn't a high priority as this point of the push rod will be covered by the cowl support ring once installed.


Once this was cured the engine assembly and cockpit sections got a spray with Mr Surfacer 1500 Black Primer, thinned at about 50:50 with Mr Levelling Thinner. The engine then got a coat of AK Xtreme Metal Steel, as did the seat and cockpit floor section which will both be going through a hairspray chipping process.


Cheers, D
M4A1Sherman
_VISITCOMMUNITY
New York, United States
Joined: May 02, 2013
KitMaker: 4,403 posts
AeroScale: 254 posts
Posted: Saturday, August 03, 2019 - 09:14 AM UTC
Hi, Damian!

I've been following your build, even though I'm a "1/4-Scaler" (1/48), through and through. I like to sometimes follow along on builds that may be out of my "interests-range". Your building of this huge model of the P-47D-25 has sparked my interest, in that I have always loved "ANYTHING P-47"!

It never hurts to "watch" other modelers' techniques, either! How do you like using the AK INTERACTIVE XTREME METALS products..? I'm thinking of trying them out, myself...

GREAT WORK!!!
 _GOTOTOP