Thank you,
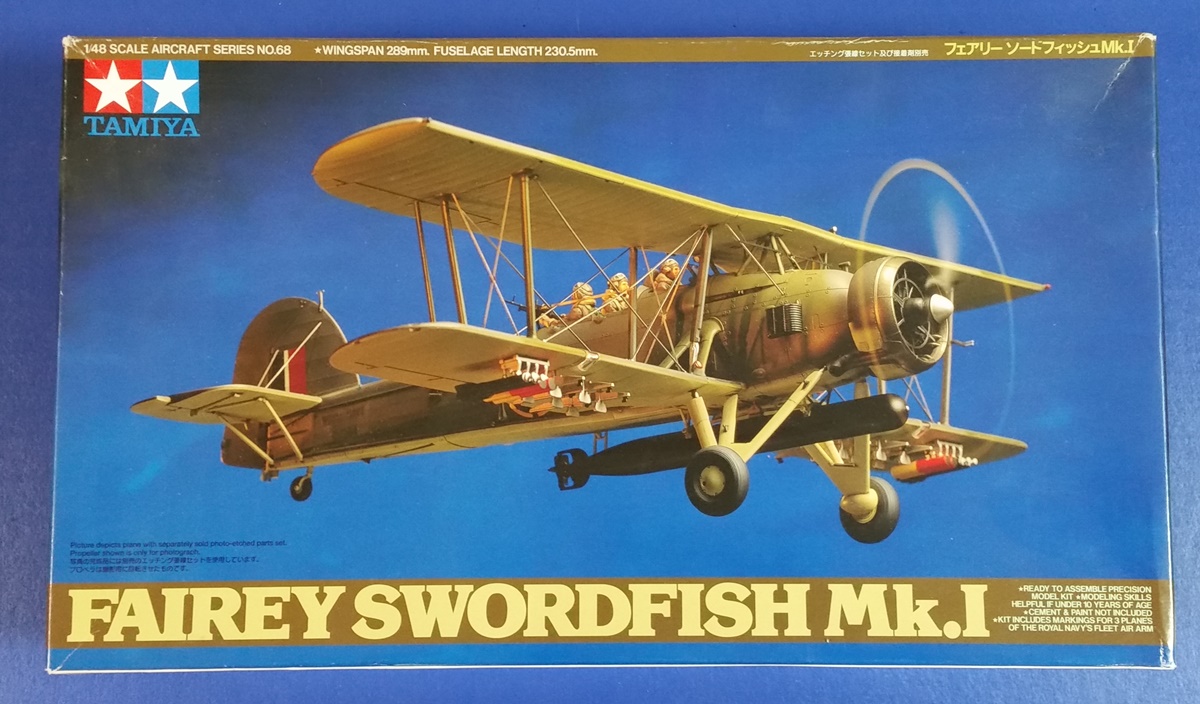
Stephen! I don't find the kit all that bad, despite its age. It could have been a good kit actually, if not for the fuselage fitting issues and some crude detail, most noticeable the rear MG and the seats.
The Stukas that attacked and sunk
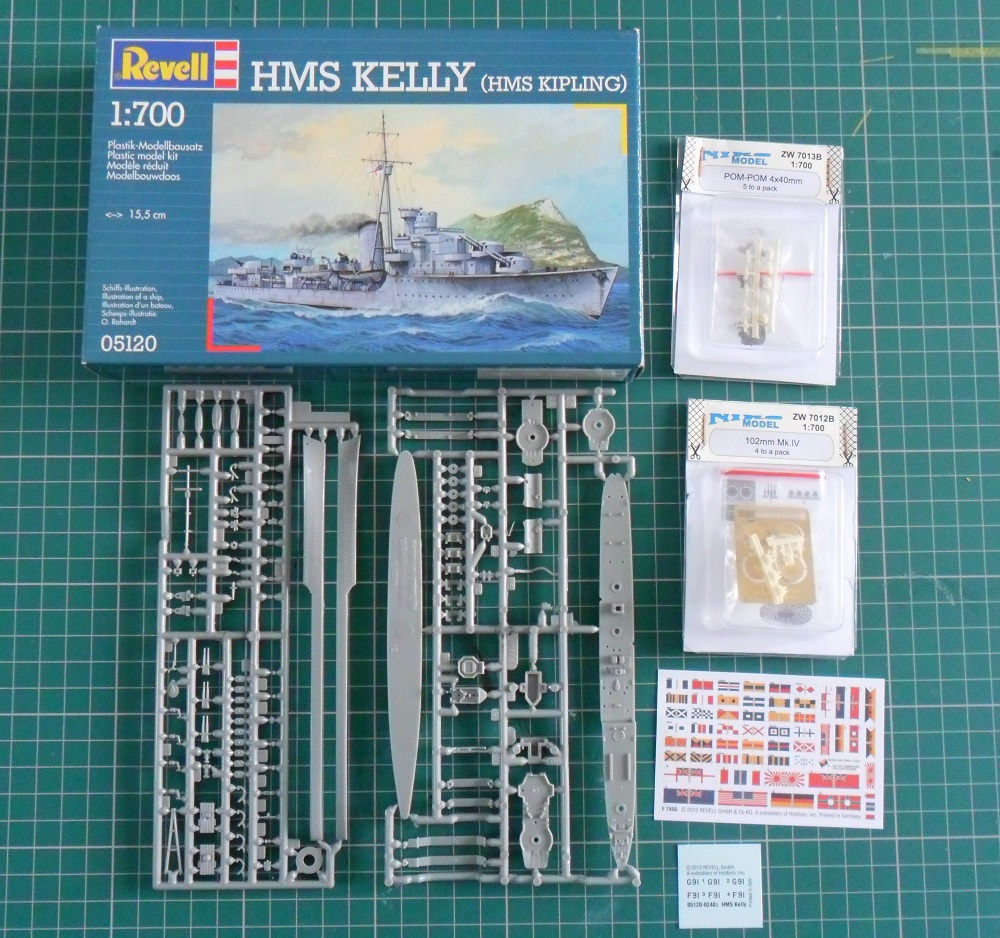
Kelly were Italian or German? I'm doing an Italian one and the decals show some three ships sunk by this aircraft, from 97th Group, 219th Squadron. I am delighted to see a 1/700 ship in the campaign, as I am summoning my courage for a Trumpeter 1/700
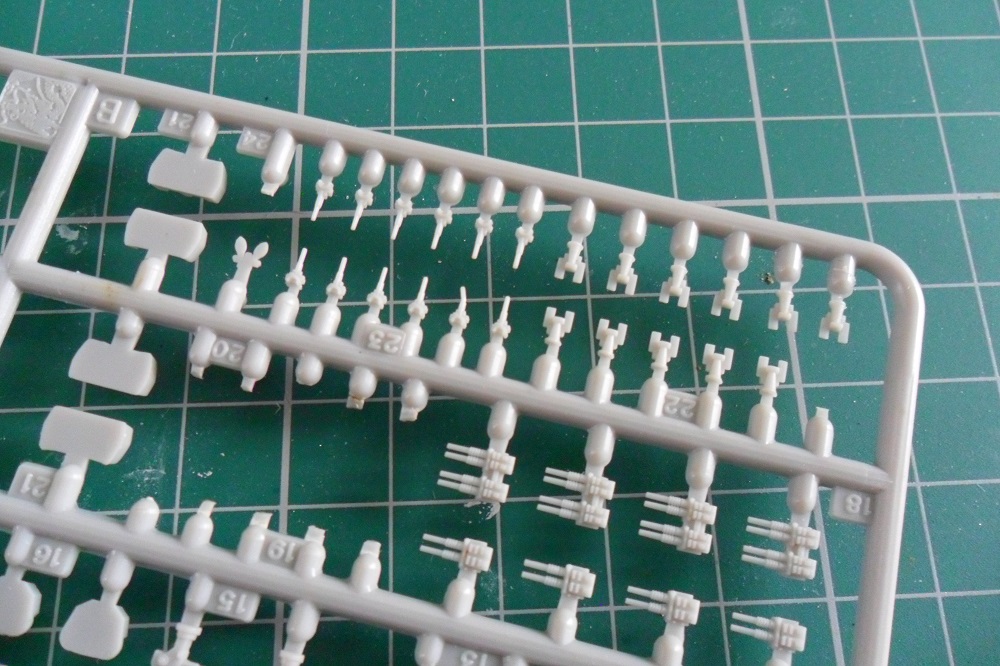
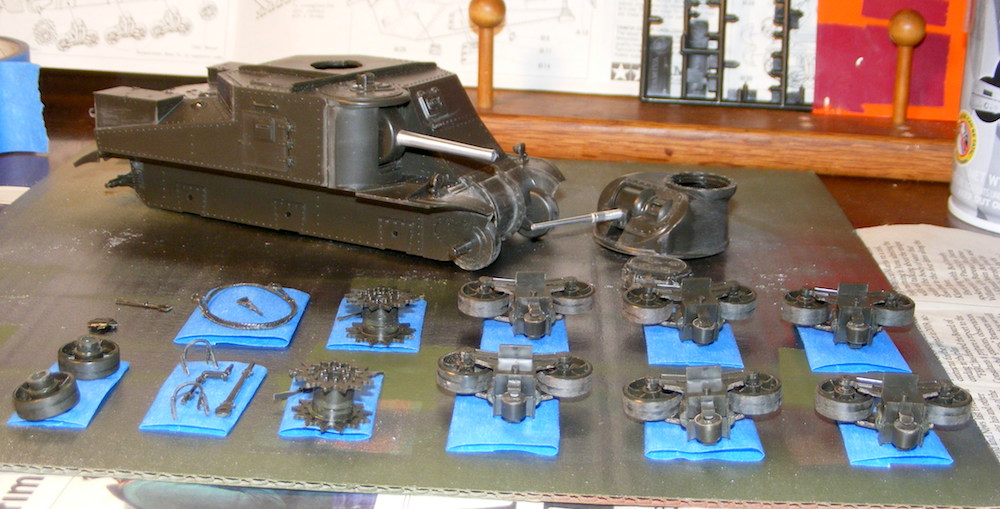
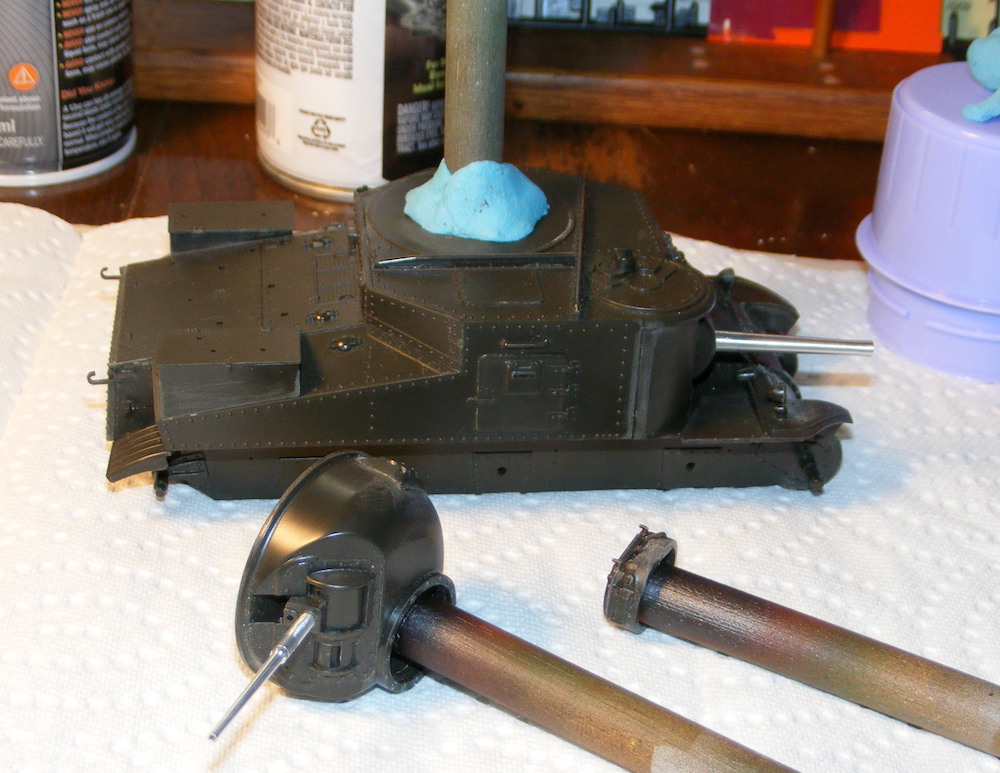
Jeremiah O'BrienUPDATEI am using the "peripherals" to test my combination of paint / weathering / clear coats. The first one to fall victim to the weathering was the propeller, which have seen some chipping with the sponge method:

The bomb embraced the same fate:

To add some diversity to the build, I chose to weather extremely one of the external fuel tanks and to keep as good as new the other one:

More weathering follows for all those above parts: oil washes, oil staining... so on
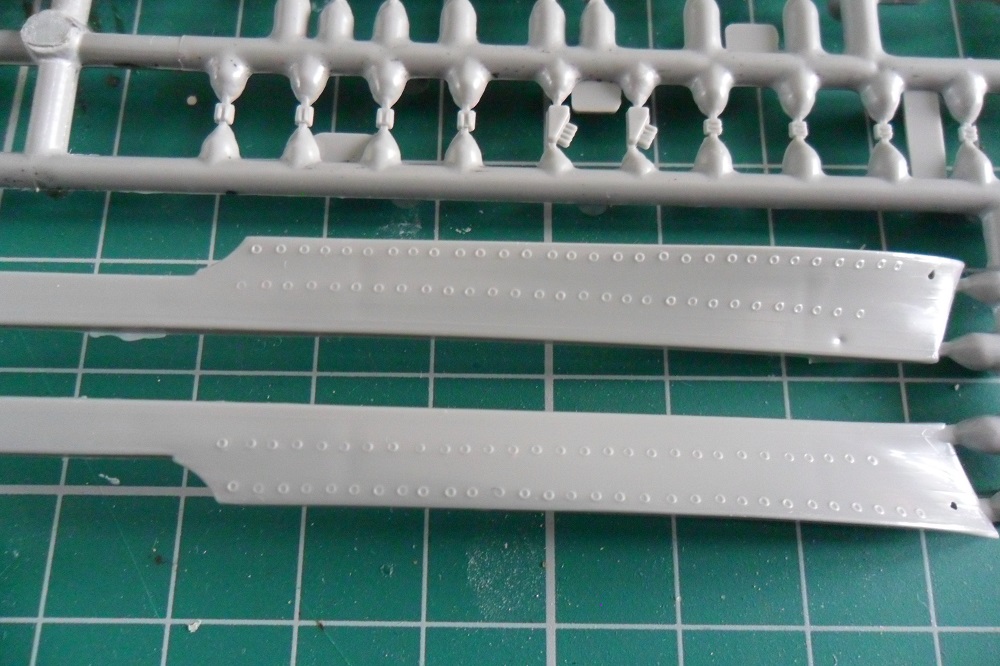
As said in the previous post, the fuselage fitting is bad. The following picture shows the underside of the fuselage between the sanding sessions, the "step" between halves being already eliminated, and so the riveting detail


The worst problem is here, around the oil cooler intake: I installed the intake too early and now I don't have full access to the join line - I'm afraid I can't do too much in that spot:

In complete defiance to the fuselage problems, the wing halves fit superbly, with the tiniest amount of flash to be removed. No putty was needed there. The landing light glass was also installed:

In the same note with the wings, the horizontal stabilizers are just too easy to assemble


I am going to use silver enamel for this build as primer and here are the wheels being prepared for round two. Actually the fit of the wheel fairings halves is not as bad as the picture indicates - it was just a hairline join line which I failed to see it on bare plastic - another advantage of priming with silver!

Here's the rear half of the canopy masked. That expoit stretched my skills to maximum but in fact I realized that I cannot glue it in place because the MG isn't ready. And dealing with the machine gun took me the whole of this evening session, because the part is in this edition of the kit a big chunk of flash...

Looking forward to sealing the cockpit and priming the fuselage. On this build I am going to apply the primer on the fuselage before adding the wings, because I am still anticipating sanding and puttying...
Cheers!
Gabriel