

Tom,
Looking forward to see your build. Like ive mentioned earlier, the Havoc family are great looking planes, and superb models have been made from that mould.
Cheers
Pedro
Air Campaigns
Want to start or join a group build? This is where to start.
Want to start or join a group build? This is where to start.
Hosted by Frederick Boucher, Michael Satin
OFFICIAL: The Night Shift Campaign

rochaped

Joined: August 27, 2010
KitMaker: 679 posts
AeroScale: 669 posts

Posted: Thursday, January 11, 2018 - 03:25 AM UTC

md72

#439

Joined: November 05, 2005
KitMaker: 4,950 posts
AeroScale: 3,192 posts

Posted: Friday, January 12, 2018 - 11:30 AM UTC
OK, I'm at a difficult spot. Next up is wiring the engine.

Any sage words of advice? Multiple doses of 5 min epoxy, lotsa superglue?

Any sage words of advice? Multiple doses of 5 min epoxy, lotsa superglue?


c4willy
#305

Joined: February 01, 2006
KitMaker: 1,673 posts
AeroScale: 1,517 posts

Posted: Friday, January 12, 2018 - 04:44 PM UTC
Hi Mark super glue and kicker is my recommendation. Glue the harness to the ignition manifold hit it with kicker then let it cure for an hour or so. Then glue each individual lead down with a drop of super glue followed by a drop of kicker when in the correct place working systematically around the engine. Or alternatively drilling holes and using copper wire as per my harness on the 1/32nd scale Zero.

mrockhill
Joined: June 17, 2009
KitMaker: 566 posts
AeroScale: 507 posts

Posted: Saturday, January 13, 2018 - 08:34 PM UTC
The cockpit of my 1/72 F6f-5n is ready for paint now that Ive finished adding some details. My first step was to improve the pilot seat and bulkhead. In the seat I added a scap of .010 styrene sheet that is cutout to simulate the reinforcement across the lower back side. I also added a lever to the left side that I see in photos. I have no idea what it is or where it attaches but there it will go and should look the part. On the bulk head I rebuilt the "towel bar" with some stretch sprue and added some strips of Tamiya tape to simulate the harness ends going behind the seat. I also opened up the upright ends of the seatframe.

Next I decided to tackle the left side console with all of its levers. I added some razor saw cuts to the throttle quadrant hoping to catch some of the dark wash to come later. Some touch ups to the area were naturally required. I then drilled for the levers using a #80 bit.

For my levers I used stretched sprue that was glued into the holes, trimmed to length, bent into position and given a coat of tamiya extra thin to help them hold shape. To these I added blobs of micro kristal clear for the knobs and handles. A little tough to see here unpainted.

My next stop was to detail the dasboard which should have a radar display of sorts. So using the Squadron in action book on the Hellcat I fabbed up this display using a piece of .040 rod a 1.1mm punched disc of .020 sheet and stretched sprue.

I also took the opportunity to spruce up eduard's rubbish Mk.VIII gunsight. Instead of a semi shaped bit clear plastic theyve opted to give us a pillar of opaque grey to represent the combining glass and all(seen here on the unused alternate PE base dash piece). Using a razor saw and my trusty xacto I removed the glass portion leaving some side pieces to support a clear piece to be added later.
Naturally after I finished this effort I got a hold of this reference shot showing the nightfighter specific equipment

and another link with more details here
Great stuff for those interested the operation of US WWII night fighting radar. So I learned I actually had built a display for an earlier AN/APS-4 radar and not the proper AN/APS-6 which looks much less conspicuous. So Eduard's treatment, by adding nothing more than an orange circle on the instrument decal, is pretty fair in this scale. Still I needed to correct mine and add the control boxes to the cockpit, built and wired with scrap bits of styrene. OCD commands it.


Now for some paint, finally!!!
Next I decided to tackle the left side console with all of its levers. I added some razor saw cuts to the throttle quadrant hoping to catch some of the dark wash to come later. Some touch ups to the area were naturally required. I then drilled for the levers using a #80 bit.
For my levers I used stretched sprue that was glued into the holes, trimmed to length, bent into position and given a coat of tamiya extra thin to help them hold shape. To these I added blobs of micro kristal clear for the knobs and handles. A little tough to see here unpainted.
My next stop was to detail the dasboard which should have a radar display of sorts. So using the Squadron in action book on the Hellcat I fabbed up this display using a piece of .040 rod a 1.1mm punched disc of .020 sheet and stretched sprue.
I also took the opportunity to spruce up eduard's rubbish Mk.VIII gunsight. Instead of a semi shaped bit clear plastic theyve opted to give us a pillar of opaque grey to represent the combining glass and all(seen here on the unused alternate PE base dash piece). Using a razor saw and my trusty xacto I removed the glass portion leaving some side pieces to support a clear piece to be added later.
Naturally after I finished this effort I got a hold of this reference shot showing the nightfighter specific equipment
and another link with more details here
Great stuff for those interested the operation of US WWII night fighting radar. So I learned I actually had built a display for an earlier AN/APS-4 radar and not the proper AN/APS-6 which looks much less conspicuous. So Eduard's treatment, by adding nothing more than an orange circle on the instrument decal, is pretty fair in this scale. Still I needed to correct mine and add the control boxes to the cockpit, built and wired with scrap bits of styrene. OCD commands it.
Now for some paint, finally!!!
md72
#439
Joined: November 05, 2005
KitMaker: 4,950 posts
AeroScale: 3,192 posts
Posted: Saturday, January 13, 2018 - 09:28 PM UTC
Mike, looks like the rod and cover in your first try is accurate for an F6F-3N. The F6F-5N used the flat screen you ended up with. 
Of course, I put the post style on what turns out to be a -5N Since I added the -3 rear window, I might get away with it...
Of course, I put the post style on what turns out to be a -5N
Since I added the -3 rear window, I might get away with it...
Pave-Hawk

Joined: May 05, 2006
KitMaker: 900 posts
AeroScale: 200 posts

Posted: Tuesday, January 16, 2018 - 02:10 PM UTC
Finally made a start on my FW190s, the cockpits went together pretty quickly, just need paint before I attach the colour photetch parts.

md72
#439
Joined: November 05, 2005
KitMaker: 4,950 posts
AeroScale: 3,192 posts
Posted: Saturday, January 20, 2018 - 10:37 AM UTC
Thanks guys! I tackled the wiring job. A few days ago I superglued the wiring harness to the crankcase.

Finally screwed up the courage and dove in. Laid out a couple of puddles of Superglue and zip kicker. Bent each pair into place, applied the SG to the cylinder head, then pressed it home with a pencil lead dipped in the accelerator.

I guess now I can get back on track.

Finally screwed up the courage and dove in. Laid out a couple of puddles of Superglue and zip kicker. Bent each pair into place, applied the SG to the cylinder head, then pressed it home with a pencil lead dipped in the accelerator.
I guess now I can get back on track.
Pave-Hawk
Joined: May 05, 2006
KitMaker: 900 posts
AeroScale: 200 posts
Posted: Saturday, January 27, 2018 - 12:48 PM UTC
Fuselage and wings built


rochaped
Joined: August 27, 2010
KitMaker: 679 posts
AeroScale: 669 posts
Posted: Sunday, January 28, 2018 - 01:03 AM UTC
Nice to see some work going on here, really hoping to see more finished night fighters models.
Now, a couple of days ago Mal posted a few photos of his work using his self-made masks and it was a joy to behold the sharpness and cleanlyness he achieves.
Today I managed to start on the Hinomarus and other insignias applied in the Gekko I'm building. It was fun alright, but the outcome had some unexpected side effects - Overspray! just like it happens on real size stenciling


a minor nuisance, but yet another detour to go before the model gets completed. No bench work until next weekend
Cheers
Pedro
Now, a couple of days ago Mal posted a few photos of his work using his self-made masks and it was a joy to behold the sharpness and cleanlyness he achieves.
Today I managed to start on the Hinomarus and other insignias applied in the Gekko I'm building. It was fun alright, but the outcome had some unexpected side effects - Overspray! just like it happens on real size stenciling
a minor nuisance, but yet another detour to go before the model gets completed. No bench work until next weekend
Cheers
Pedro

b17-peter
#392

Joined: January 09, 2013
KitMaker: 696 posts
AeroScale: 608 posts
Posted: Sunday, January 28, 2018 - 02:22 AM UTC
Hi mates,
just hopped on board of this campaign. Liked the first one a few years ago , so I decided to join in.
Here's my entry
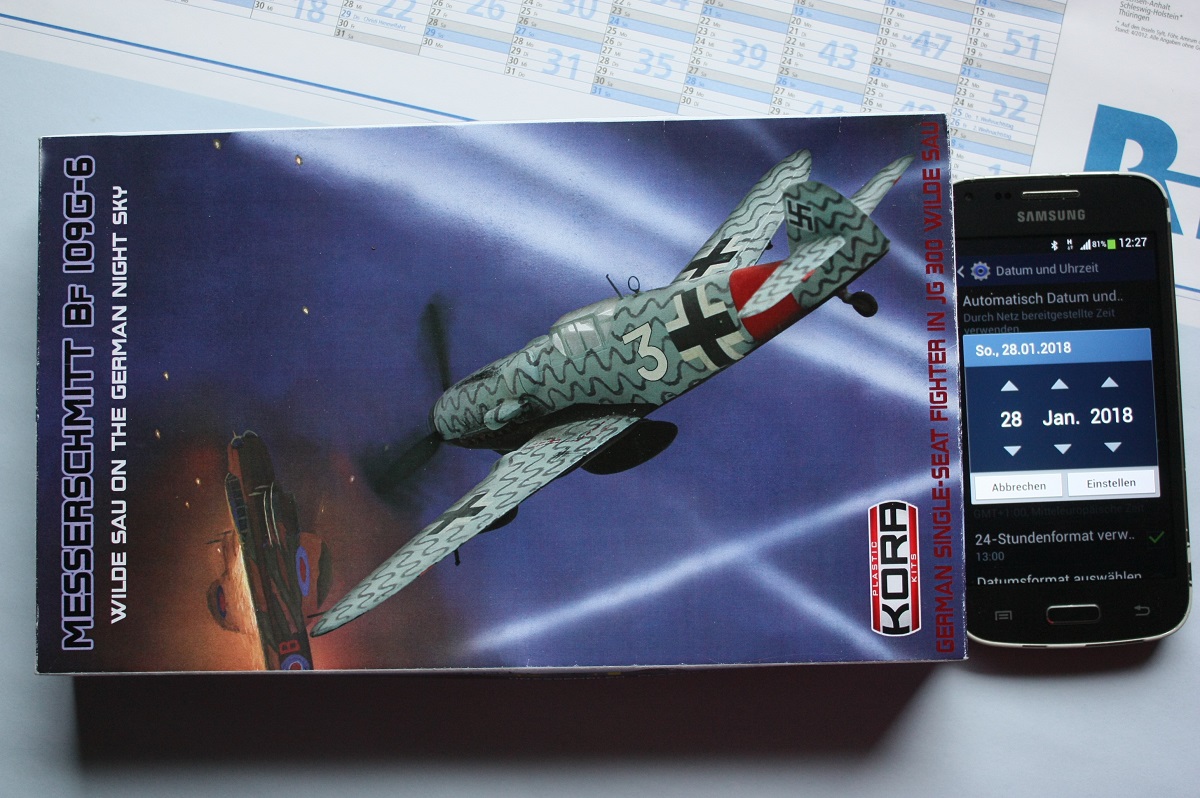

I tend to build the variant C or E
BTW, you guys have some beautiful models on your benches so far
just hopped on board of this campaign. Liked the first one a few years ago
, so I decided to join in.Here's my entry
I tend to build the variant C or E
BTW, you guys have some beautiful models on your benches so far
rochaped
Joined: August 27, 2010
KitMaker: 679 posts
AeroScale: 669 posts
Posted: Sunday, January 28, 2018 - 03:21 AM UTC
Peter,
Thats a hard choice to make my friend
The E option is unusual, as a matter of fact never saw it before.
Either option will be stunning
Cheers
Pedro
Thats a hard choice to make my friend
The E option is unusual, as a matter of fact never saw it before.
Either option will be stunning
Cheers
Pedro
mrockhill
Joined: June 17, 2009
KitMaker: 566 posts
AeroScale: 507 posts
Posted: Sunday, January 28, 2018 - 06:18 AM UTC
Cool kit Peter! I havent seen this jg 300 boxing from kora before! Its got all the schemes Id want to build too. I almost chose to build a jg 300 bf 109 myself using eaglecals for your marking option E but this kit would have me second guessing my choice the whole build.
b17-peter
#392
Joined: January 09, 2013
KitMaker: 696 posts
AeroScale: 608 posts
Posted: Sunday, January 28, 2018 - 12:45 PM UTC
@Pedro and Mike - Thanks for motivating me further!
I bought that kit last autumn at the E-Day in Prague(CZ), was probably new then.
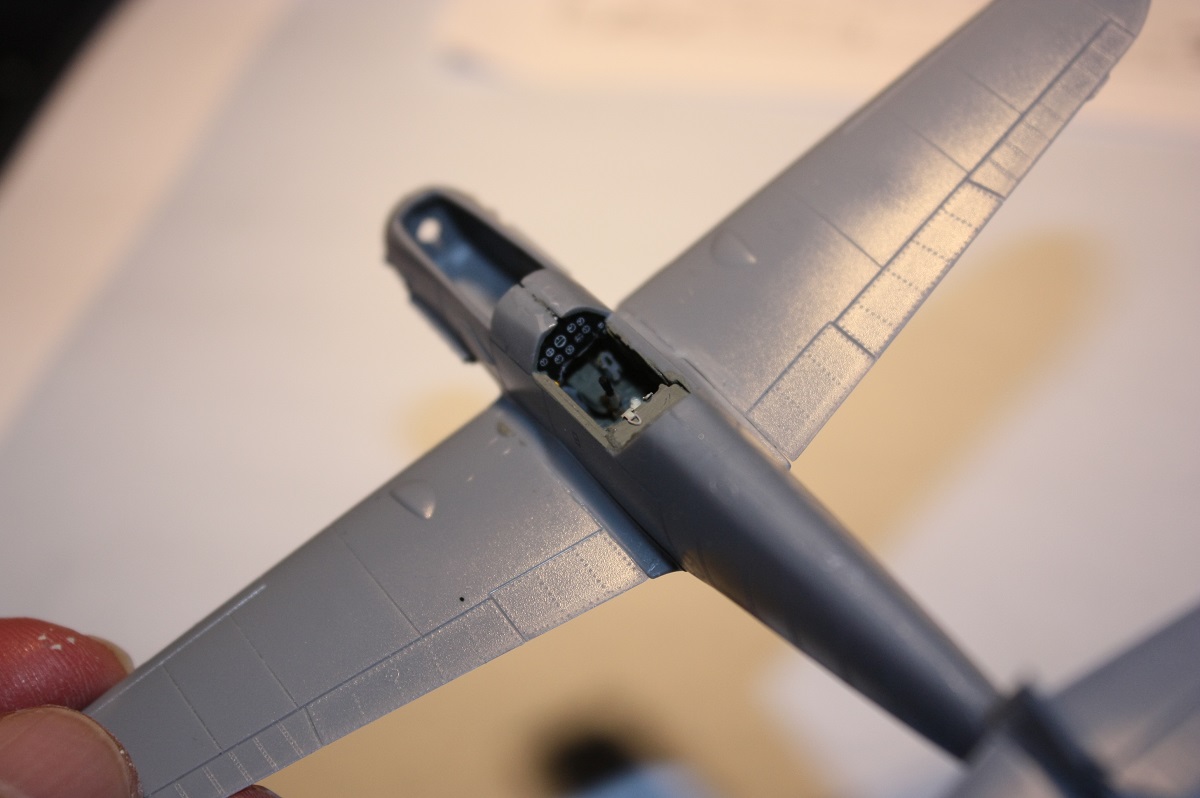
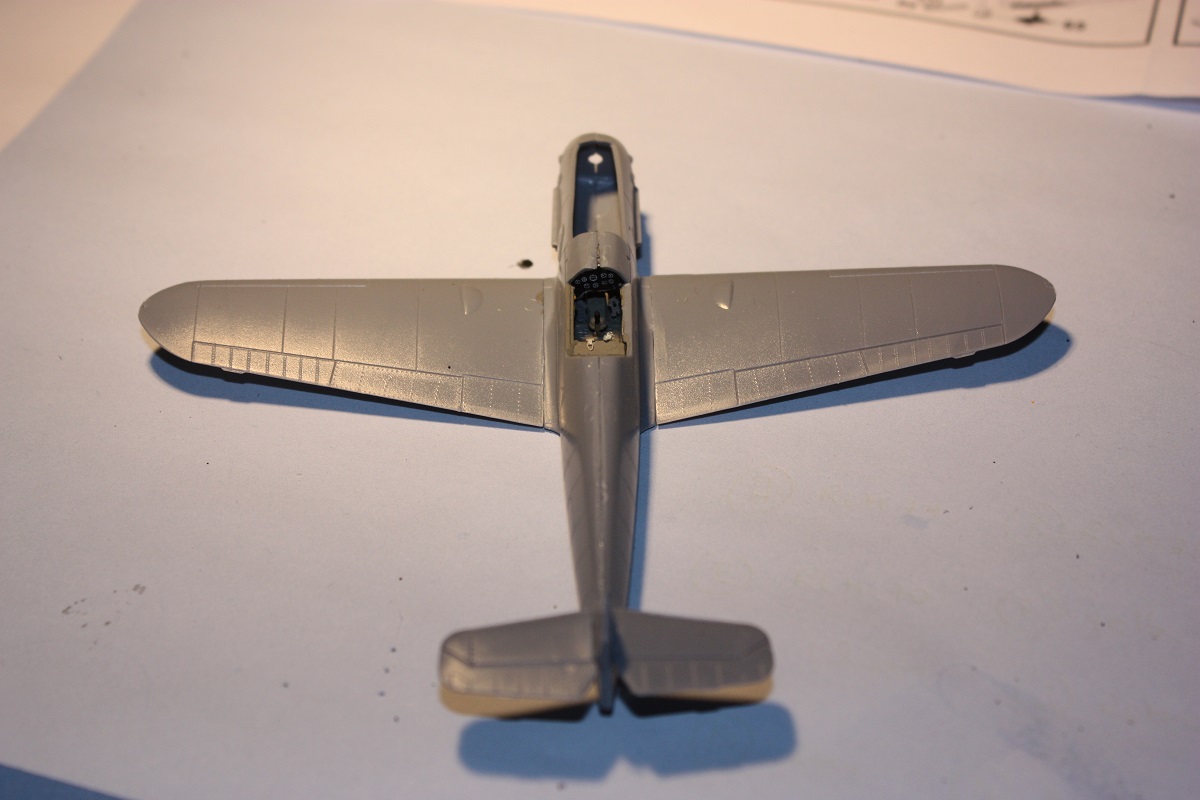
First plastic is cut and some minor parts and interior now painted
I bought that kit last autumn at the E-Day in Prague(CZ), was probably new then.
First plastic is cut and some minor parts and interior now painted
Pave-Hawk
Joined: May 05, 2006
KitMaker: 900 posts
AeroScale: 200 posts
Posted: Wednesday, February 07, 2018 - 01:15 PM UTC
Finally at paint, and have the bottom, and the first upper colour on.


rochaped
Joined: August 27, 2010
KitMaker: 679 posts
AeroScale: 669 posts
Posted: Wednesday, February 07, 2018 - 04:55 PM UTC
Looking mighty fine Iain! Looking forward to see it completed

eMan
#298

Joined: August 08, 2002
KitMaker: 1,182 posts
AeroScale: 351 posts

Posted: Thursday, February 08, 2018 - 01:48 PM UTC
Late start, I'II build the Finemoles 1/48 D4A3 Judy for the campaign.

c4willy
#305
Joined: February 01, 2006
KitMaker: 1,673 posts
AeroScale: 1,517 posts
Posted: Friday, February 09, 2018 - 07:42 AM UTC
Okay guys I'm all done with Saiun. Here are a few pics for you edification.
 IMG_2045 by Chris WIlson, on Flickr
 IMG_2046 by Chris WIlson, on Flickr
 IMG_2049 by Chris WIlson, on Flickr
 IMG_2051 by Chris WIlson, on Flickr
IMG_2045 by Chris WIlson, on FlickrIMG_2046 by Chris WIlson, on FlickrIMG_2049 by Chris WIlson, on FlickrIMG_2051 by Chris WIlson, on Flickr
PasiAhopelto

Joined: October 01, 2016
KitMaker: 514 posts
AeroScale: 239 posts
Posted: Friday, February 09, 2018 - 12:09 PM UTC
Nice heavy weathering on the Saiun. Have to try something similar myself some day.
Meanwhile Mosquito is about painted.

Have weather it still and apply flat finish. Also antennae and transparent parts are missing. I think this will be ready next weekend.
Meanwhile Mosquito is about painted.
Have weather it still and apply flat finish. Also antennae and transparent parts are missing. I think this will be ready next weekend.

dcandal

Joined: September 07, 2006
KitMaker: 918 posts
AeroScale: 688 posts

Posted: Saturday, February 10, 2018 - 05:17 AM UTC
Hi,
I'm going to begin this campaign with a Hobbyvoss 1/48 P-61C,

I'm going to begin this campaign with a Hobbyvoss 1/48 P-61C,

dcandal
Joined: September 07, 2006
KitMaker: 918 posts
AeroScale: 688 posts
Posted: Monday, February 12, 2018 - 10:06 PM UTC
Well, I'm going to begin with the P-61,


b17-peter
#392
Joined: January 09, 2013
KitMaker: 696 posts
AeroScale: 608 posts
Posted: Tuesday, February 13, 2018 - 01:42 AM UTC
@Chris - Great job, I also like that weathering
@Pasi - Cool-looking Mossie!
@Daniel - Good luck
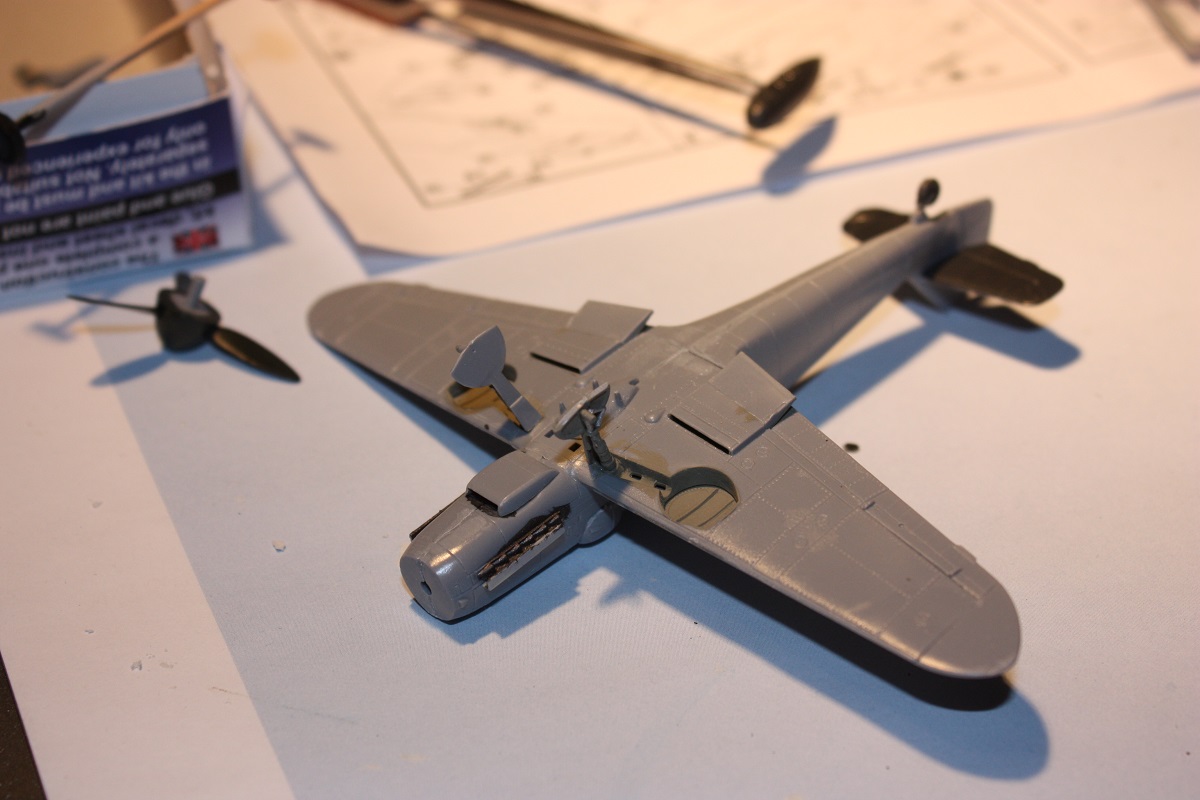
And here some pictures of my actual modeling
Hope to start and finish painting the upcoming weekend
Have fun, mates!
@Pasi - Cool-looking Mossie!
@Daniel - Good luck
And here some pictures of my actual modeling
Hope to start and finish painting the upcoming weekend
Have fun, mates!
b17-peter
#392
Joined: January 09, 2013
KitMaker: 696 posts
AeroScale: 608 posts
Posted: Wednesday, February 14, 2018 - 01:33 AM UTC
Started painting today
Most parts are glued...
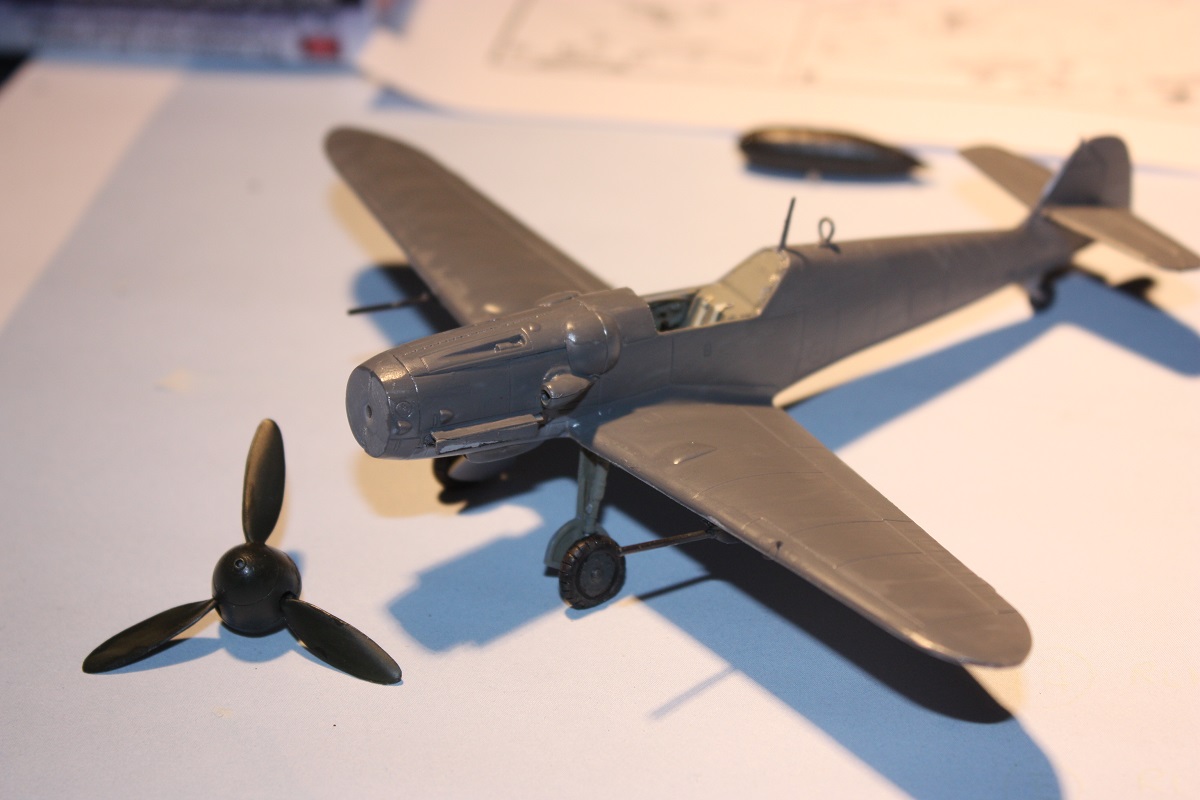
Most parts are glued...
md72
#439
Joined: November 05, 2005
KitMaker: 4,950 posts
AeroScale: 3,192 posts
Posted: Wednesday, February 14, 2018 - 01:46 AM UTC
Good for you! I've got most of the glue up done, now I'm on sanding detail, next up paint! 
PasiAhopelto
Joined: October 01, 2016
KitMaker: 514 posts
AeroScale: 239 posts
Posted: Friday, February 16, 2018 - 12:43 PM UTC
And Mosquito's done: 
and an additional picture is in the gallery.
Honestly, I'm not happy how the paint job turned out. It's too messy and tires look like plastic. Have to get more practise with really dark single colour subjects. The kit was quite nice, but decal seat belts would need to be replaced.
Anyway, it's done and it's my 2nd completed model in 2018. Last year did 7 and at least that many failed without getting completed, so looking better.
b17-peter
#392
Joined: January 09, 2013
KitMaker: 696 posts
AeroScale: 608 posts
Posted: Friday, February 16, 2018 - 02:00 PM UTC
Congrats Pasi,
I like the overall look of your Mossie, it looks just the right amount of used. Maybe you can fix the tyres still?
Great job!
I like the overall look of your Mossie, it looks just the right amount of used. Maybe you can fix the tyres still?
Great job!
 |

WEB HOSTING BY


Copyright ©2021 AeroScale and Kitmaker Network, a subsidiary of Silver Star Enterprises
All Rights Reserved. Please read our Conditions of Use and Privacy Policy.
All Rights Reserved. Please read our Conditions of Use and Privacy Policy.