Logan, let us know what you think of the kit. My Monogram P-51B/c turned out to be a re-boxing of the Pro-Modelers kit.
Jessica, ouch

good luck with that
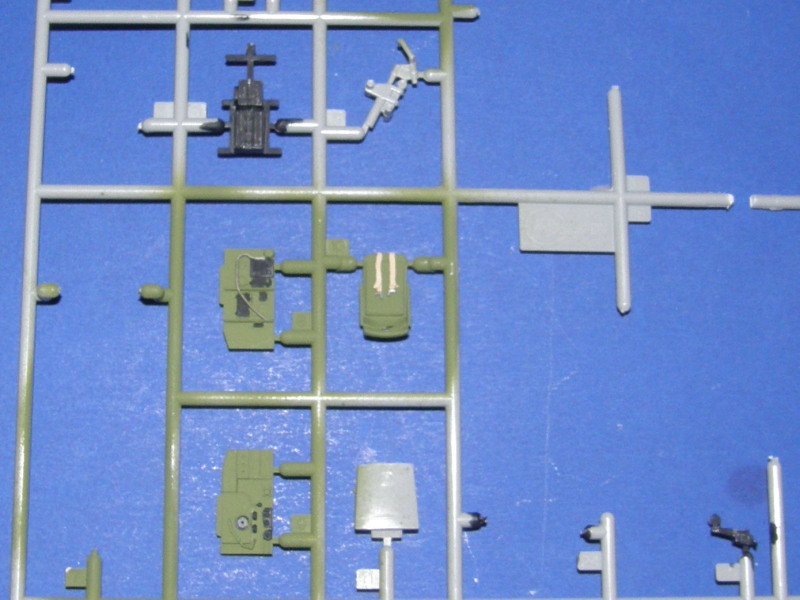
Well, after some time off for emergency surgery, I got back to the workbench (since the doctor won't let me back to work until Wednesday).
This is the reference picture I am going to use be using for my early Mustang. Altho it looks pretty beat up, it is in fact a brand new aircraft.
Mustangs were shipped over to Europe on anything big enough to carry them. They where wrapped in heavy oiled paper to protect them from the sea air. When the tape was removed to unwrap the planes in England, a lot of the camouflage paint came off with it. National insignia and unit markings where, of course, applied once the planes had arrived at their destinations.
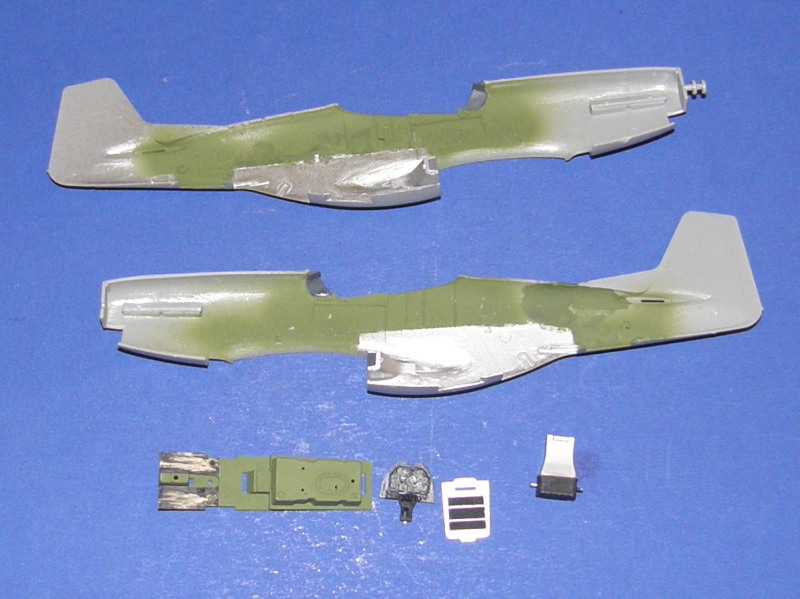
The P-51B that I am doing is B6*R, the second plane in the photo, since it still has it's NAA canopy. I'll be using KitWorld P-51 markings for camouflaged aircraft for the Group and individual a/c numbers. The decal sheet also supplies numbers in yellow for the serial number.
Lastly, using B6*W as my guide, I tried to replicate the paint loss from the packing tape.
Now to finish decaling and then to Dullcote, and hopefully it will come out, looking okay.


Well, that's all for now
Later


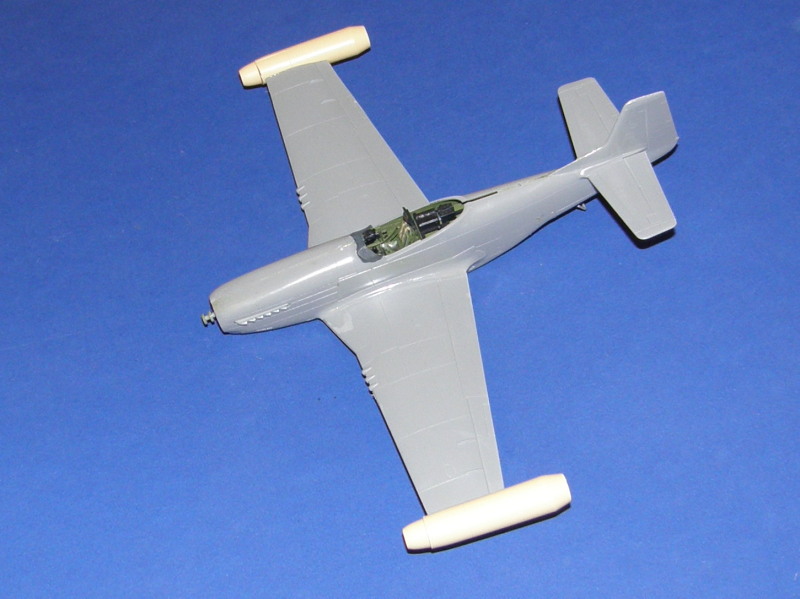
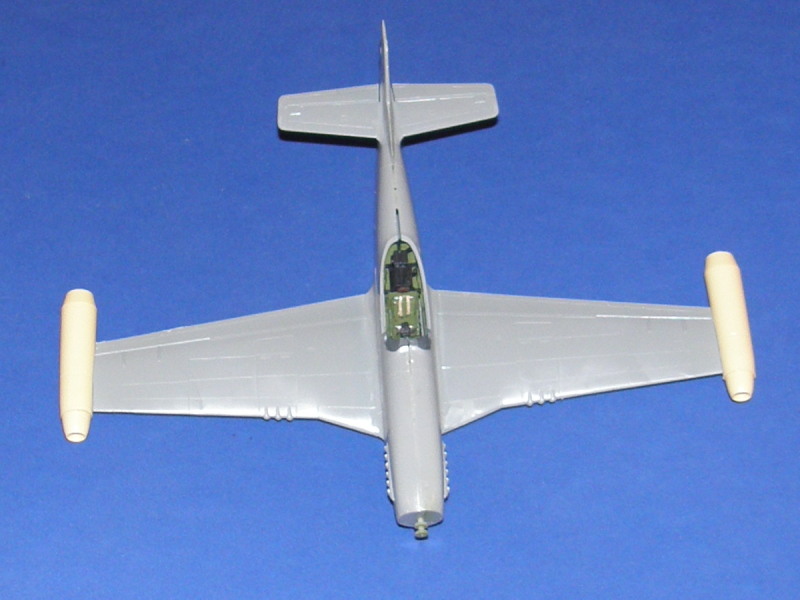
 Excited to get some work started on it. It'll be an RAF bird, to do something a little different, with the Malcolm hood. First Mustang, first RAF plane, first camouflage paint scheme... Let's see how this goes!


 Twernt nothin' ma'm