

Yeah, the Alby looks to be a fiddly build and the plastic is thin in places. I've had to scan and scale down a set of 1/48 plans for it. The ones in the kit were a bit on the small side.
The Skywarrior does give me everything. The plastic rod is meant for the refueling probe. It's even cut to the correct length already. Some square section for the spares might have been included, but buying it second hand they might have gone AWOL at some time. Not to worry as I have plenty of stuff that will work. Great thing about this kit is the inclusion of optional parts to build a tanker, recce or electronic surveillance birds. I'll be building it as a tanker.
Air Campaigns
Want to start or join a group build? This is where to start.
Want to start or join a group build? This is where to start.
Hosted by Frederick Boucher, Michael Satin
OFFICIAL: Vac and Resin Campaign

phantom_phanatic309

#372

Joined: March 10, 2010
KitMaker: 2,568 posts
AeroScale: 1,619 posts

Posted: Monday, February 16, 2015 - 03:47 AM UTC


Bigrip74

Joined: February 22, 2008
KitMaker: 5,026 posts
AeroScale: 2,811 posts

Posted: Monday, February 16, 2015 - 05:19 AM UTC
@Jonathan: thanks for the help with that abrasive I have been searching for it here and still came up empty so looks like an online product for me.
@Mike: I should have used a heavier marker as you have, like the subject.
@Stephen: I also would go with the A3, it will be an awesome looking build.
Bob
@Mike: I should have used a heavier marker as you have, like the subject.
@Stephen: I also would go with the A3, it will be an awesome looking build.
Bob

Jessie_C


Joined: September 03, 2009
KitMaker: 6,965 posts
AeroScale: 6,247 posts

Posted: Monday, February 16, 2015 - 12:29 PM UTC
Quoted Text
my DC7 has plain butt joints for the tail plane, and Ive already determined to add a spar to that, so we will have much discussion of airframe engineering in the coming weeks, me thinks.
If you haven't sanded out the tailplanes, you can make tabs out of the waste plastic by simply sanding around it, and cutting slots in the fuselage halves.

JClapp
#259
Joined: October 23, 2011
KitMaker: 2,265 posts
AeroScale: 1,715 posts

Posted: Monday, February 16, 2015 - 04:11 PM UTC
The tailplane is really too thin for that approach, but I think that is what Densil is suggesting in the instructions for the wings on the KC-135, which I have just been reading.
for the very thin tail section with almost no stiffness, I'm going to go right across with a bit of .020" brass strip stock. I have .125" and .250" widths.
for the very thin tail section with almost no stiffness, I'm going to go right across with a bit of .020" brass strip stock. I have .125" and .250" widths.


tinbanger
Joined: February 04, 2008
KitMaker: 2,507 posts
AeroScale: 1,814 posts
Posted: Wednesday, February 18, 2015 - 06:16 AM UTC
Looks like I am the only resin build so far!
Here is my entry:-


The seaplane will be my build.

Here is my entry:-
The seaplane will be my build.

JClapp
#259
Joined: October 23, 2011
KitMaker: 2,265 posts
AeroScale: 1,715 posts
Posted: Friday, February 20, 2015 - 05:51 AM UTC
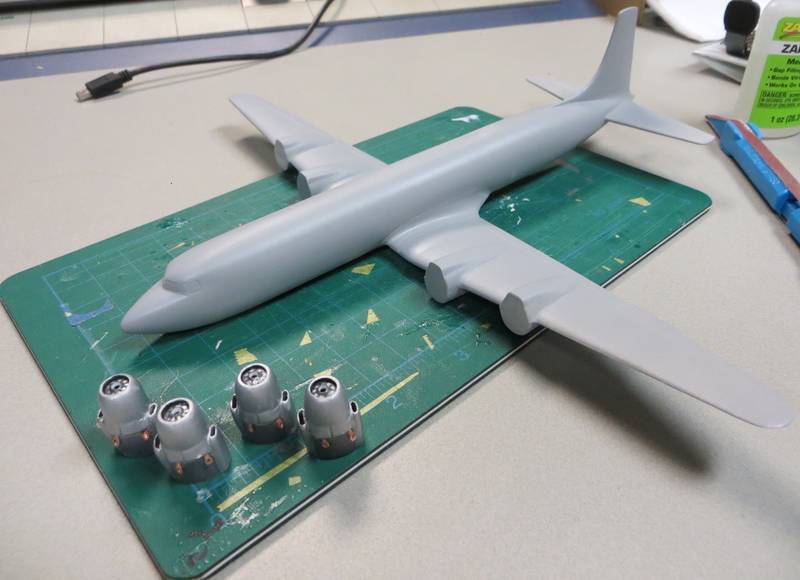
Today I made up a couple of the engines.


They'll look better with some paint on them, and the intakes opened up.
They'll look better with some paint on them, and the intakes opened up.

b17-peter
#392

Joined: January 09, 2013
KitMaker: 696 posts
AeroScale: 608 posts

Posted: Saturday, February 21, 2015 - 09:39 PM UTC
Hello mates,
I'm joining here with my first full resin kit. Still wondering what to do when it comes to the rigging, leave it or tackle it
@ Richard Now you're not longer the only resin-builder
I'm joining here with my first full resin kit. Still wondering what to do when it comes to the rigging, leave it or tackle it
@ Richard Now you're not longer the only resin-builder
JClapp
#259
Joined: October 23, 2011
KitMaker: 2,265 posts
AeroScale: 1,715 posts
Posted: Thursday, February 26, 2015 - 05:42 AM UTC
Hallo Richard and Peter, nice looking resin kits good to see more boxes opened, good fortunes! 
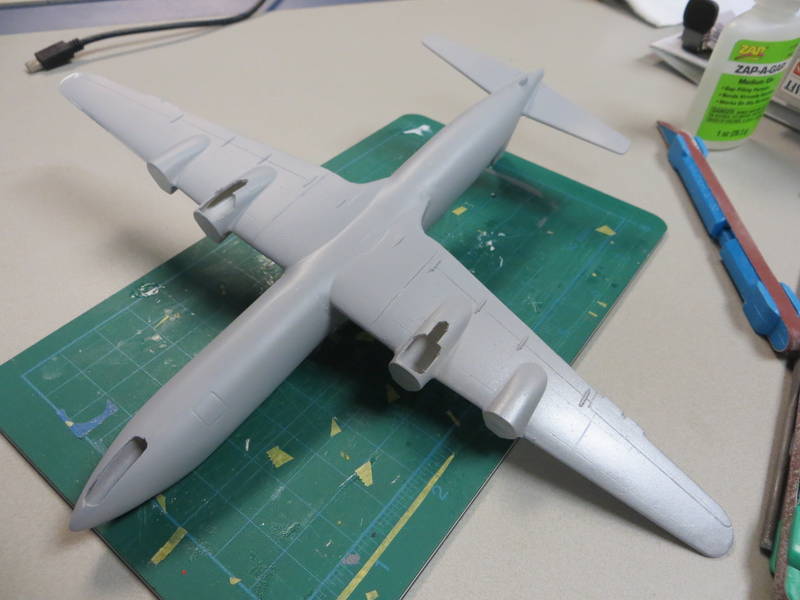
After days of filling and fairing, the Welsh Vac DC7 is almost ready for primer.

this weekend I will have the opportunity to do some painting.
anybody else working on their stuff?
After days of filling and fairing, the Welsh Vac DC7 is almost ready for primer.
this weekend I will have the opportunity to do some painting.
anybody else working on their stuff?
Jessie_C
Joined: September 03, 2009
KitMaker: 6,965 posts
AeroScale: 6,247 posts
Posted: Friday, February 27, 2015 - 08:11 AM UTC
Jonathan, it's looking wonderfully good. You've got farther than I got on that kit 
So anyway, what kind of campaign leader am I if I neglect my own campaign? Here's what I'm going to do
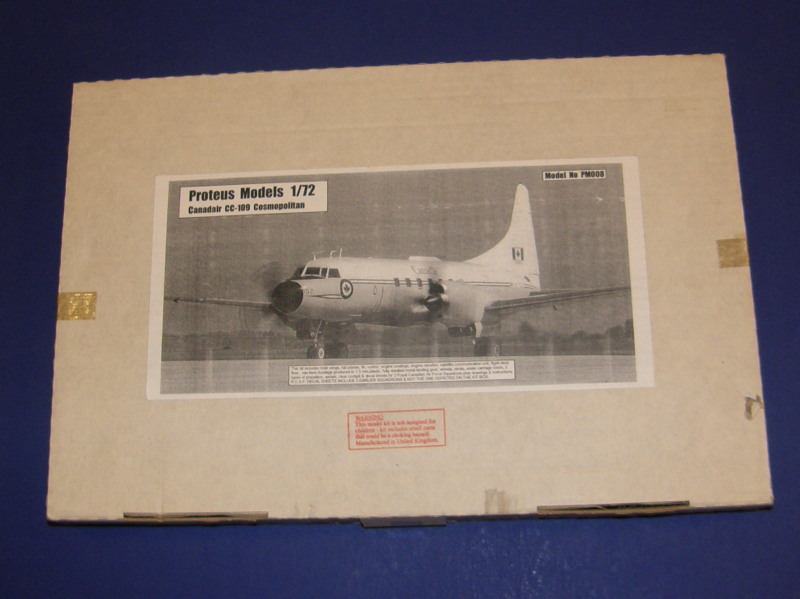
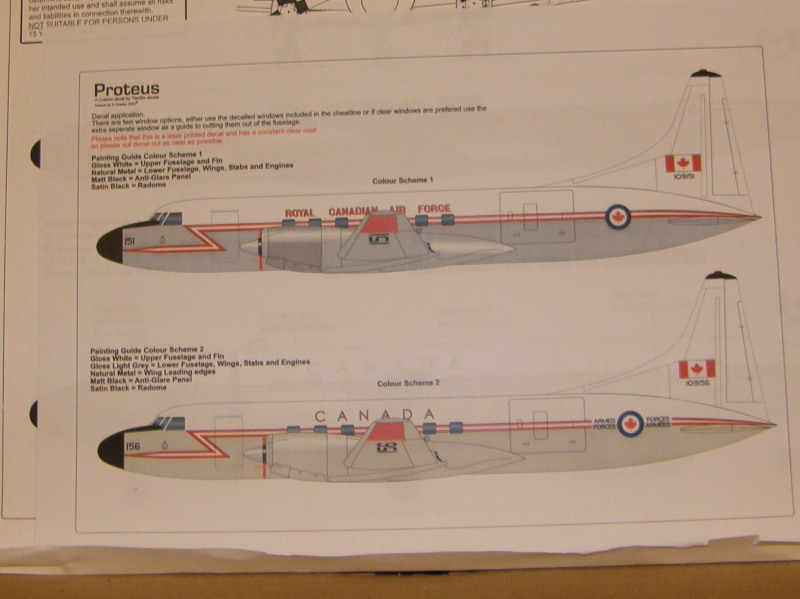
This is the 1/72 Welsh/Proteus Canadair Cosmopolitan, with two different RCAF schemes.
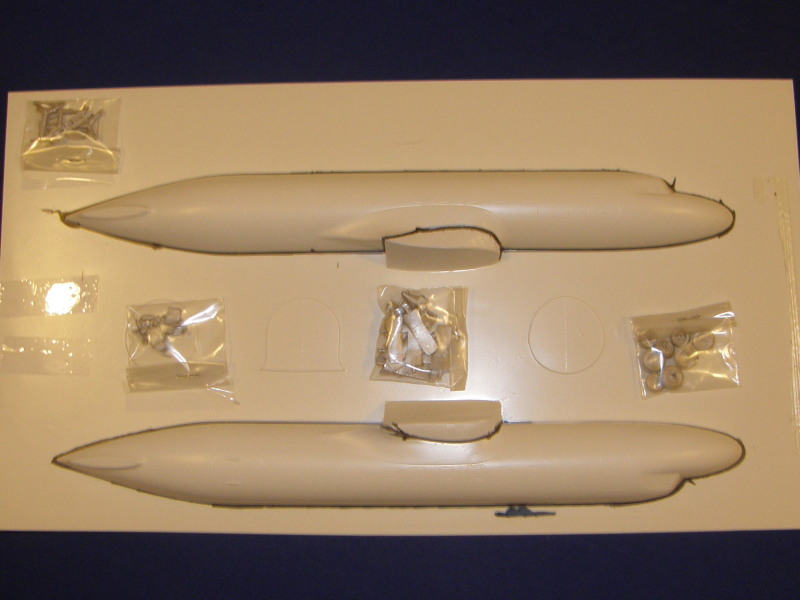
Inside the box you find a bag of resin, some white metal detail parts and a vac fuselage.
Decals
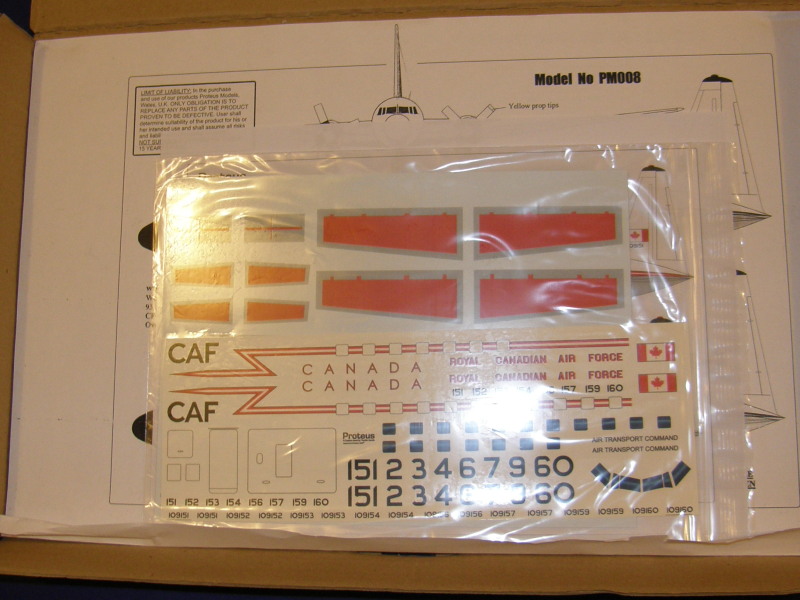
And typically basic Welsh style instruction sheets
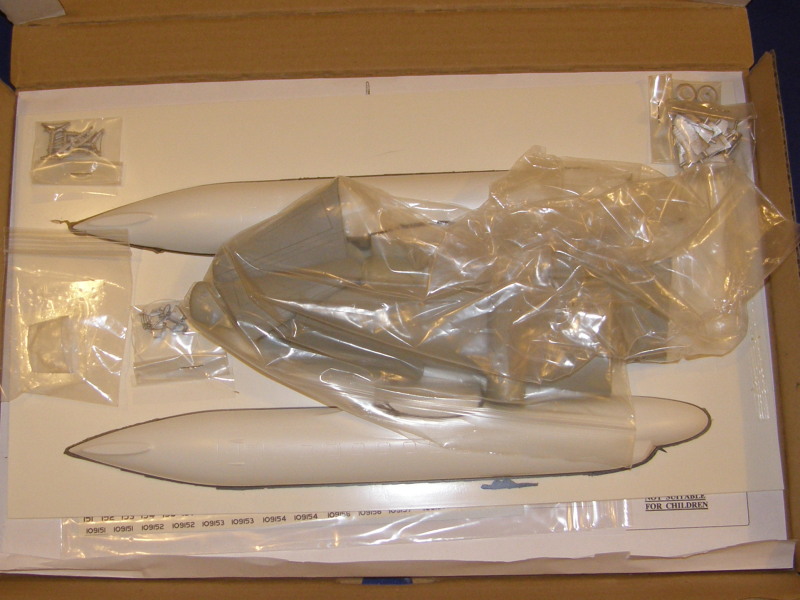
Since this is a vac and resin campaign it's only fitting that my kit is both vac and resin in one! The vac parts
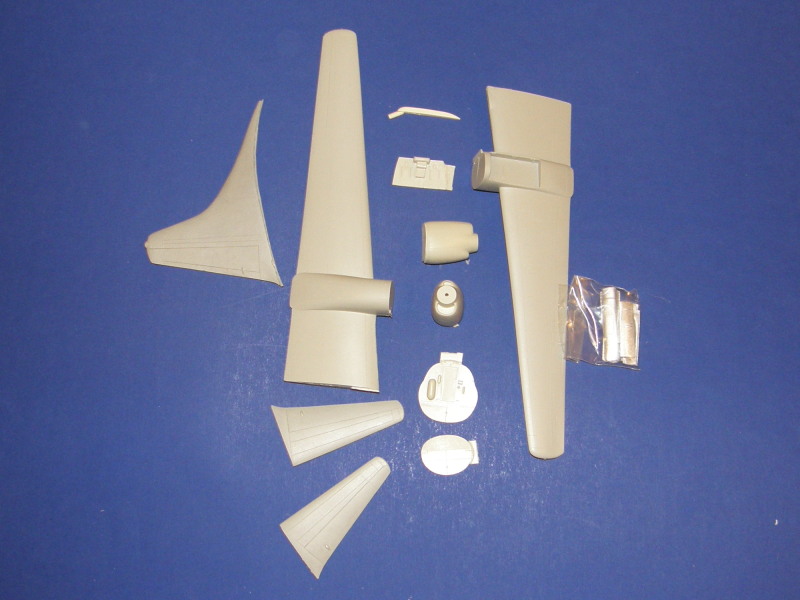
and the resin parts
So anyway, what kind of campaign leader am I if I neglect my own campaign? Here's what I'm going to do
This is the 1/72 Welsh/Proteus Canadair Cosmopolitan, with two different RCAF schemes.
Inside the box you find a bag of resin, some white metal detail parts and a vac fuselage.
Decals
And typically basic Welsh style instruction sheets
Since this is a vac and resin campaign it's only fitting that my kit is both vac and resin in one! The vac parts
and the resin parts
Removed by original poster on 02/28/15 - 18:21:09 (GMT).

Ranger74
Joined: April 04, 2002
KitMaker: 1,290 posts
AeroScale: 87 posts
Posted: Friday, February 27, 2015 - 11:25 PM UTC
Here are my choices for this build:
Resin; CMR A-8 and A-10 Shrikes
Vac: Boeing B-9, Northrup N1M and Westland-Hill Pterodactyl


Resin; CMR A-8 and A-10 Shrikes
Vac: Boeing B-9, Northrup N1M and Westland-Hill Pterodactyl
tinbanger
Joined: February 04, 2008
KitMaker: 2,507 posts
AeroScale: 1,814 posts
Posted: Friday, February 27, 2015 - 11:39 PM UTC
Jessica the side flash and window decals look like they will be fun to apply!
JClapp
#259
Joined: October 23, 2011
KitMaker: 2,265 posts
AeroScale: 1,715 posts
Posted: Saturday, February 28, 2015 - 10:31 AM UTC
Hi Jessie, I'll accept your calling me Joel as a compliment.
The airframe is complete, and I've had about enough of fairing the wing root joints.
I also finished the engines. the vacuform part just had little nubs to represent the exhausts. Ive been looking at pictures of DC-7 engines, and they have cool looking obliquely cut exhaust pipes, so I cut up some bits of 1/16 dia copper tubing, and drilled holes for them. they look ok, I think.
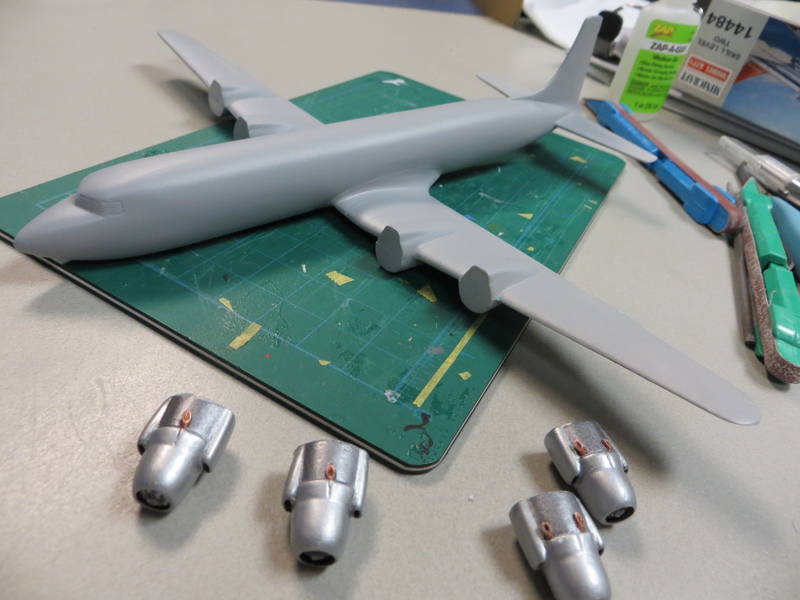
got out my Minicraft DC-6s which are getting passed again.
"Hi guys, I'm a DC-7!"
"uh huh. enjoy your turbos. see ya."
The airframe is complete, and I've had about enough of fairing the wing root joints.
I also finished the engines. the vacuform part just had little nubs to represent the exhausts. Ive been looking at pictures of DC-7 engines, and they have cool looking obliquely cut exhaust pipes, so I cut up some bits of 1/16 dia copper tubing, and drilled holes for them. they look ok, I think.
got out my Minicraft DC-6s which are getting passed again.
"Hi guys, I'm a DC-7!"
"uh huh. enjoy your turbos. see ya."
Bigrip74
Joined: February 22, 2008
KitMaker: 5,026 posts
AeroScale: 2,811 posts
Posted: Sunday, March 01, 2015 - 01:10 AM UTC
@ Jonathan: you are really going to town with that DC7 and I am still having trouble finding a good abrasive just to start removing the edge material.
@ Richard: nice looking resin kit of the R3C.
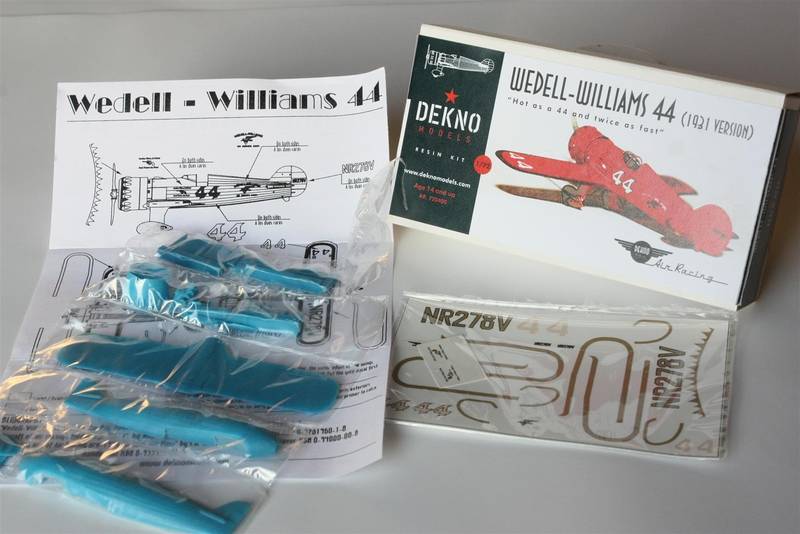
@ Peter: could you give your impression of the Wedell Williams 44 Kit, I love Golden Age Racing a/c.
@ Jessie: where did you come by the Proteus Canadair Cosmopolitan? you always seem to find interesting subjects.
Bob
@ Richard: nice looking resin kit of the R3C.
@ Peter: could you give your impression of the Wedell Williams 44 Kit, I love Golden Age Racing a/c.
@ Jessie: where did you come by the Proteus Canadair Cosmopolitan? you always seem to find interesting subjects.
Bob
2002hummer
#257
Joined: October 11, 2011
KitMaker: 812 posts
AeroScale: 458 posts

Posted: Sunday, March 01, 2015 - 11:25 AM UTC
I too picked the Canadair CC109 Cosmopolitan. I took the Welsh Models 1/144 scale kit.
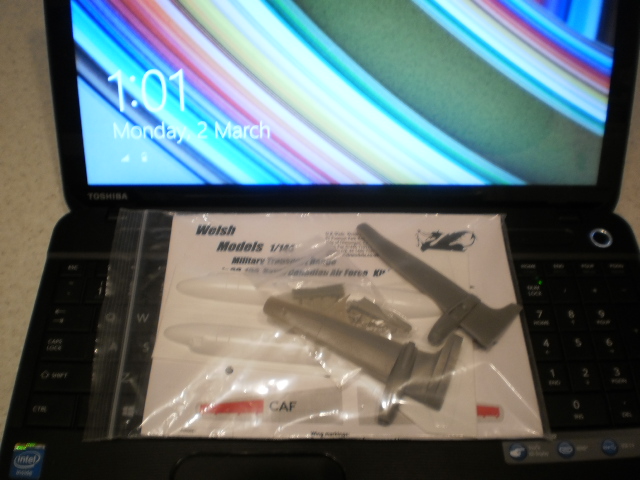
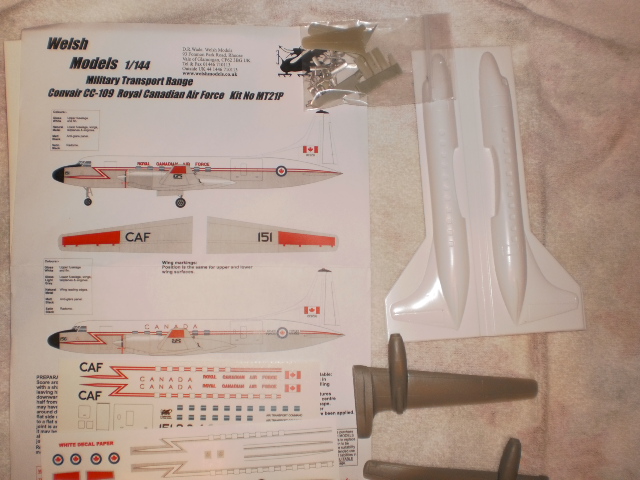
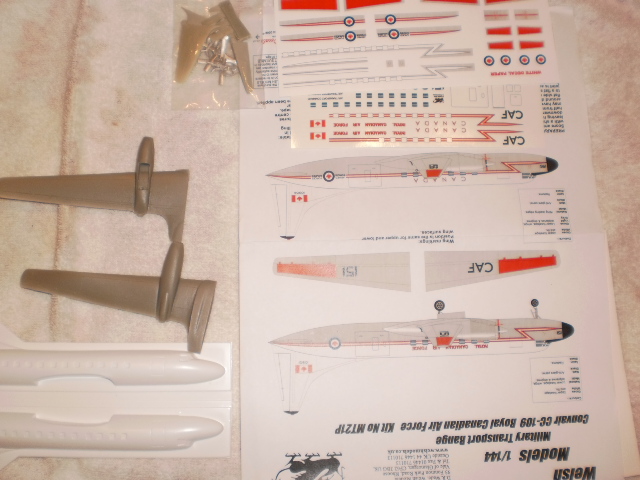
The kit contains a vac fuselage resin wings and tail along with metal props and landing gear.
I should be starting soon.
The kit contains a vac fuselage resin wings and tail along with metal props and landing gear.
I should be starting soon.
b17-peter
#392
Joined: January 09, 2013
KitMaker: 696 posts
AeroScale: 608 posts
Posted: Monday, March 02, 2015 - 01:51 AM UTC
Quoted Text
@ Peter: could you give your impression of the Wedell Williams 44 Kit, I love Golden Age Racing a/c.
Hi Bob,
will do it gladly, the kit looks decent enough, but I haven't unpacked the parts from their bags yet. It still needs a little while to get on my bench I think, but I'll take some start photos soon.
Cheers Peter
BoiseBlade

#523
Joined: February 28, 2014
KitMaker: 342 posts
AeroScale: 250 posts

Posted: Wednesday, March 04, 2015 - 06:39 AM UTC
Hi All,
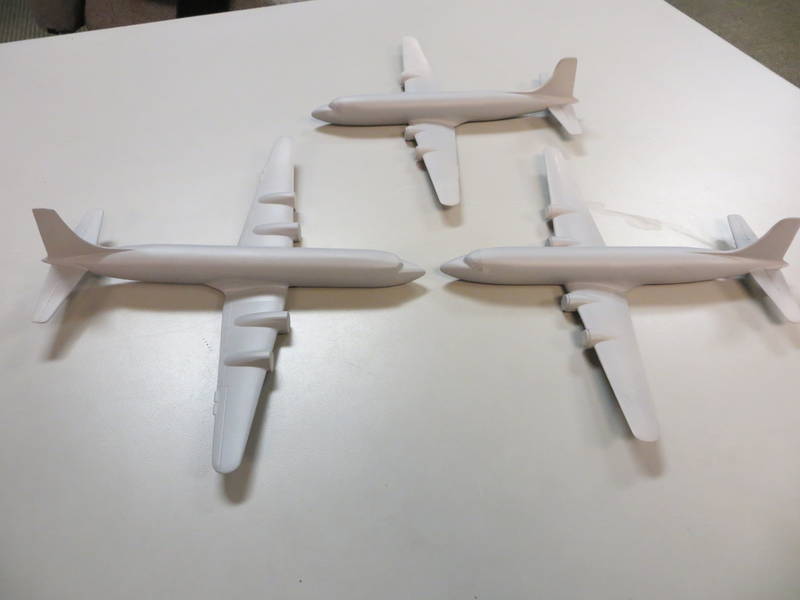
Here is my started work. I marked them awhile back but finished cutting and sanding just last weekend.

Here is my started work. I marked them awhile back but finished cutting and sanding just last weekend.
JClapp
#259
Joined: October 23, 2011
KitMaker: 2,265 posts
AeroScale: 1,715 posts
Posted: Wednesday, March 04, 2015 - 06:43 AM UTC
Hi Jeff, yer off to a good start!
Today I built the props for the DC7. possibly the most difficult vacuform task,


sanded out the vac parts,
welded some .030 half round to the backs of the blades,
added a disc of .040 to the back of the spinner,
drilled .064 hole through the centers,
inserted 1/16" dia rod.
I have started to sculpt the resulting spinner tips to a point. bit of work left there.
Today I built the props for the DC7. possibly the most difficult vacuform task,
sanded out the vac parts,
welded some .030 half round to the backs of the blades,
added a disc of .040 to the back of the spinner,
drilled .064 hole through the centers,
inserted 1/16" dia rod.
I have started to sculpt the resulting spinner tips to a point. bit of work left there.
BoiseBlade
#523
Joined: February 28, 2014
KitMaker: 342 posts
AeroScale: 250 posts
Posted: Wednesday, March 04, 2015 - 06:47 AM UTC
Thanks Jonathan.
I am debating if I want to use the Vac propeller or mold one myself.
It looks kind of weird to me.......
I am debating if I want to use the Vac propeller or mold one myself.
It looks kind of weird to me.......

magnusf

Joined: May 02, 2006
KitMaker: 1,953 posts
AeroScale: 1,902 posts
Posted: Wednesday, March 04, 2015 - 12:14 PM UTC
Jonathan! Thanks for enlightening me: I never thought the props in vacforms were for actual use, I have always had the impression that they were included as patterns only !

Magnus
! Magnus
JClapp
#259
Joined: October 23, 2011
KitMaker: 2,265 posts
AeroScale: 1,715 posts
Posted: Wednesday, March 04, 2015 - 11:30 PM UTC
Even provided with a pattern, I could not possibly fabricate a better looking prop, much less four identical ones.
The props on this C-47 were also cut from the vacuform sheet.
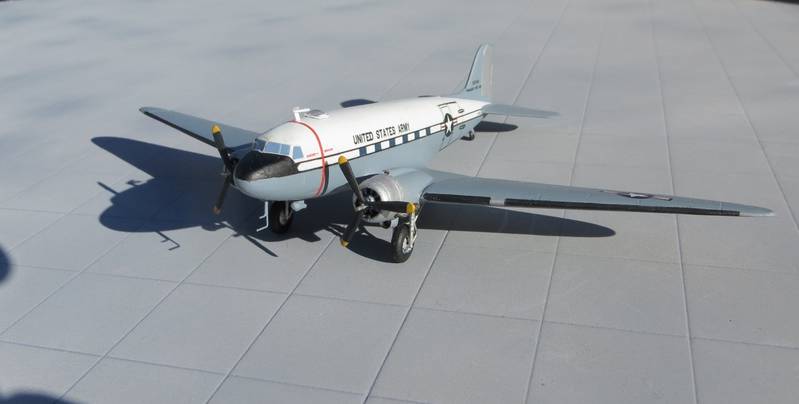
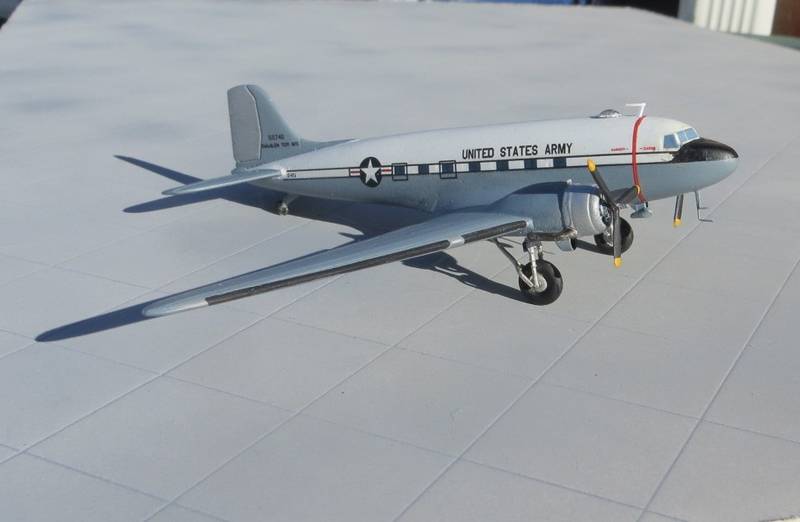
The props on this C-47 were also cut from the vacuform sheet.
Ranger74
Joined: April 04, 2002
KitMaker: 1,290 posts
AeroScale: 87 posts
Posted: Friday, March 06, 2015 - 01:58 AM UTC
Jonathan,
With the vac props, you just sand away everything that is not a prop? Do you do any thing else other than shape them. My Boeing B-9 kit has the vac props, so I was wondering. The other vac kits on which I worked had metal props.
Jeff
With the vac props, you just sand away everything that is not a prop? Do you do any thing else other than shape them. My Boeing B-9 kit has the vac props, so I was wondering. The other vac kits on which I worked had metal props.
Jeff
Jessie_C
Joined: September 03, 2009
KitMaker: 6,965 posts
AeroScale: 6,247 posts
Posted: Friday, March 06, 2015 - 02:05 AM UTC
You may find that you need to fill in the rear of the blades with epoxy putty to give them a little thickness, especially if the plastic is thin and flimsy. Otherwise yes, just sand away everything which doesn't look like a propeller
JClapp
#259
Joined: October 23, 2011
KitMaker: 2,265 posts
AeroScale: 1,715 posts
Posted: Friday, March 06, 2015 - 05:15 AM UTC
I welded styrene half-round strong backs on to the backs of the blades, and sanded them down a bit toward the tips. the solid disks had a cross filed in to them before welding.
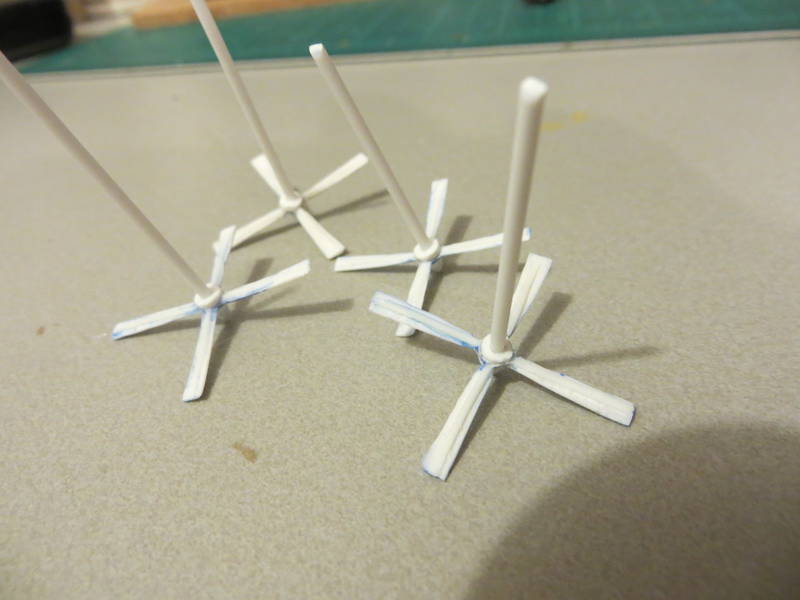
this is quite sturdy. I'll do some more filling and fairing before painting.
These 1/144 scale blades sanded out completely flat on the back.
Sometimes the sanded out part will actually be concave on the back - ie., thicker than the sheet. In that case you can weld in half-round with the round part in the groove. If you flood the groove with solvent, you can back-blade with the tip of the exacto knife, and sculpt the semi-soft styrene filler material into a fair shape before it sets up.
Jeff - I was hoping you would go with the B-9. The Curtis Shrikes are wonderful too, but the B-9 is a really rare beast. If the B-9 goes quick enough, hopefully you can build the Shrikes too.
JClapp
#259
Joined: October 23, 2011
KitMaker: 2,265 posts
AeroScale: 1,715 posts
Posted: Friday, March 06, 2015 - 05:30 AM UTC
Ive cut out and mounted this air intake, for the APU I guess. thats the last of the parts from the vacuform sheets.
everything else needed must be scratch built from scrap and the Evergreen stash.
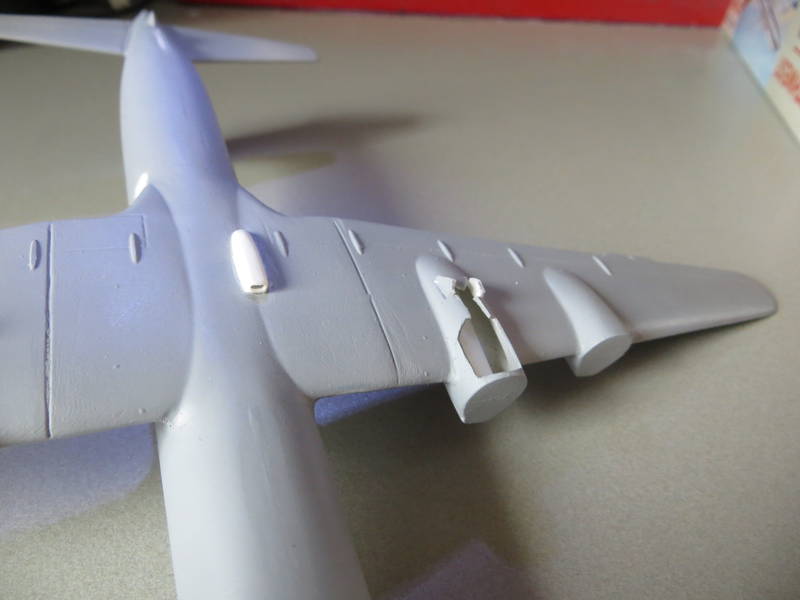
Ive started building up some interiors for the main gear wells.
everything else needed must be scratch built from scrap and the Evergreen stash.
Ive started building up some interiors for the main gear wells.
 |

WEB HOSTING BY


Copyright ©2021 AeroScale and Kitmaker Network, a subsidiary of Silver Star Enterprises
All Rights Reserved. Please read our Conditions of Use and Privacy Policy.
All Rights Reserved. Please read our Conditions of Use and Privacy Policy.