Quoted Text
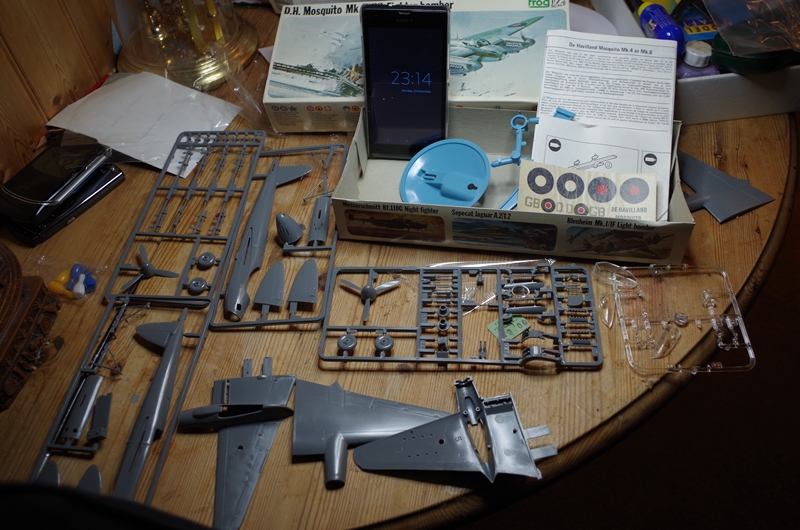
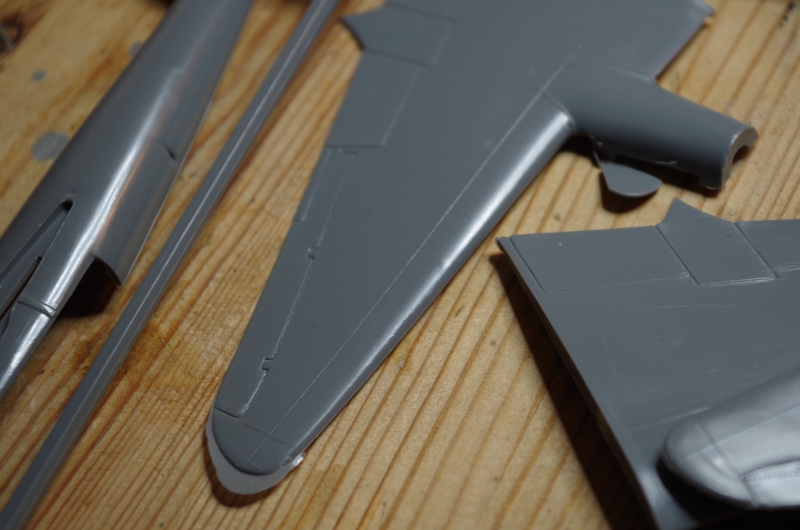
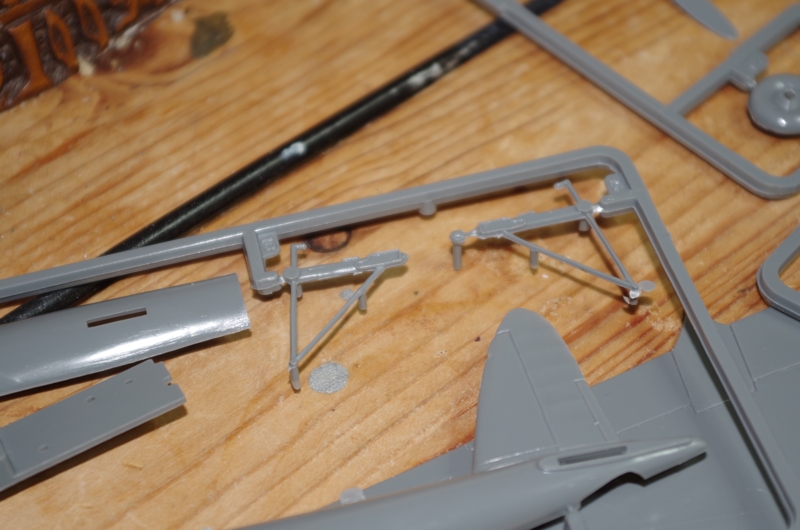
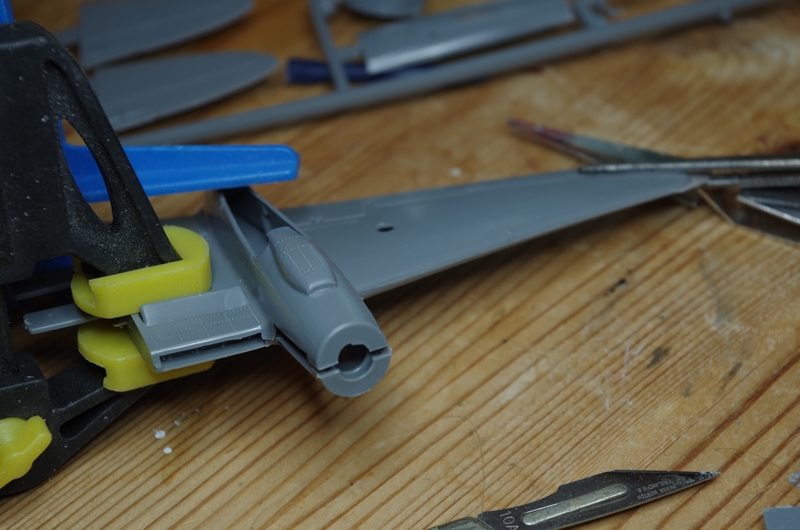
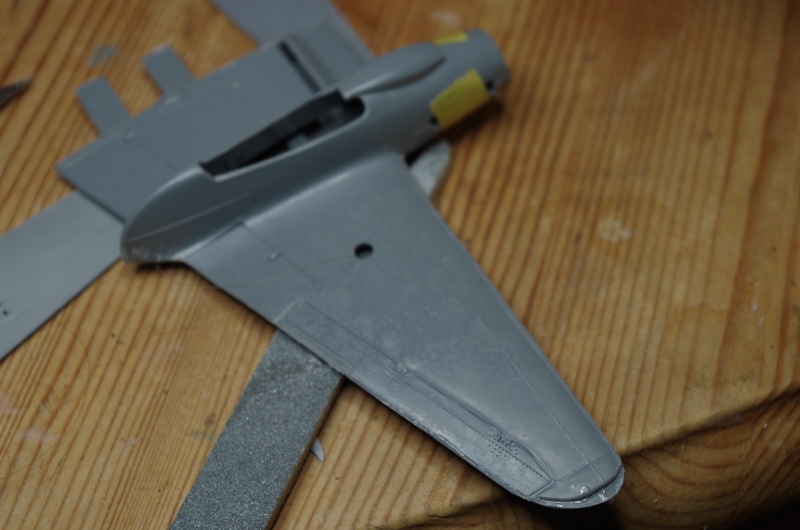
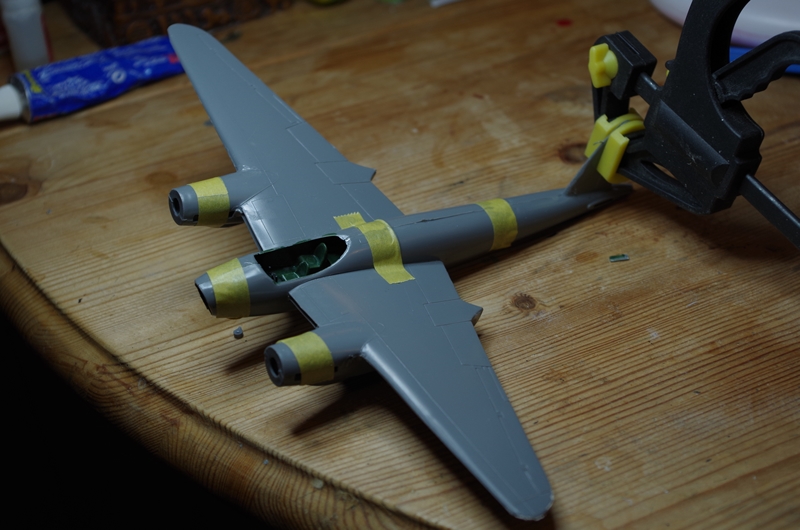
So FROG stands for Flies Right Off the Ground does it? Well mine must be a FRIB.. Flies Right Into the Bin. I am afraid the wing fit problem is going to take far more time to fix than this kit is worthy of. If it was a rare subject, like the Blackburn Shark, I might persist, but their is a lovely Hasegawa kit out there of this plane so I am not wasting anymore time on this piece of sh... rubbish.. It is not like me to give up on a kit but this is just... junk...
bare in mind, that is not a FROG original, but a copy made with the best 1970's Soviet toy making technology.
I cant object to sending it the bin.
I bought a Polish version of the 707 that Im not even going to try to build, for historical interest only.