The deHavilland DH-121 (Later Hawker-Siddeley HS-121) Trident was the most advanced airliner in the world when it was first produced. It was the first production aircraft in the world capable of auto-landing in 0-0 visibility, and the world's first airliner to have a moving map display in the cockpit.
First impressions Very little flash for a 45 year old kit. Fine raised panel lines that are out of scale for 1/144 and will be obliterated by all the sanding that will be necessary. Open doors but nothing to put inside them. This box includes a set of airstairs which will be useful for a diorama or vignette display.
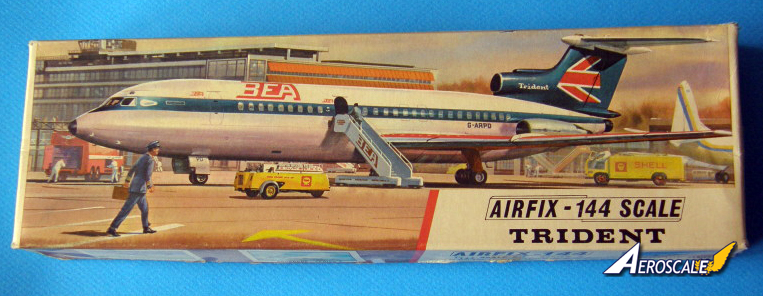
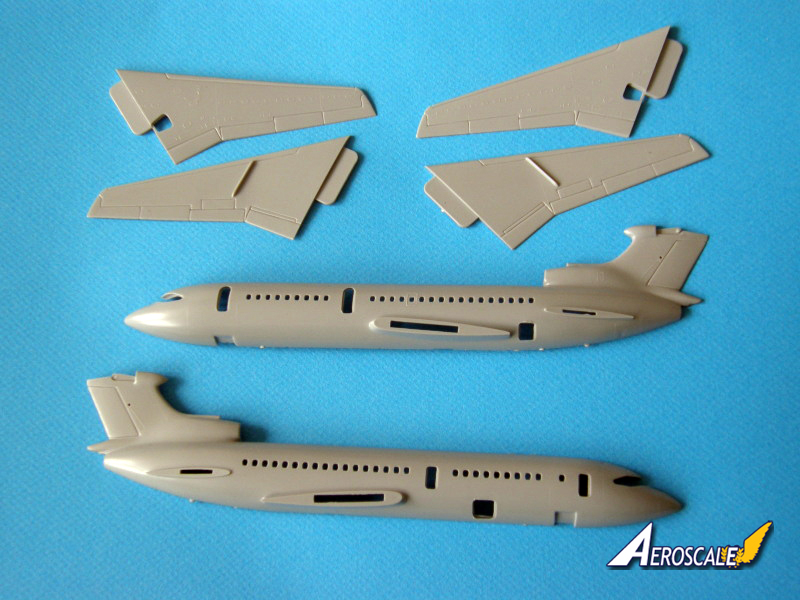
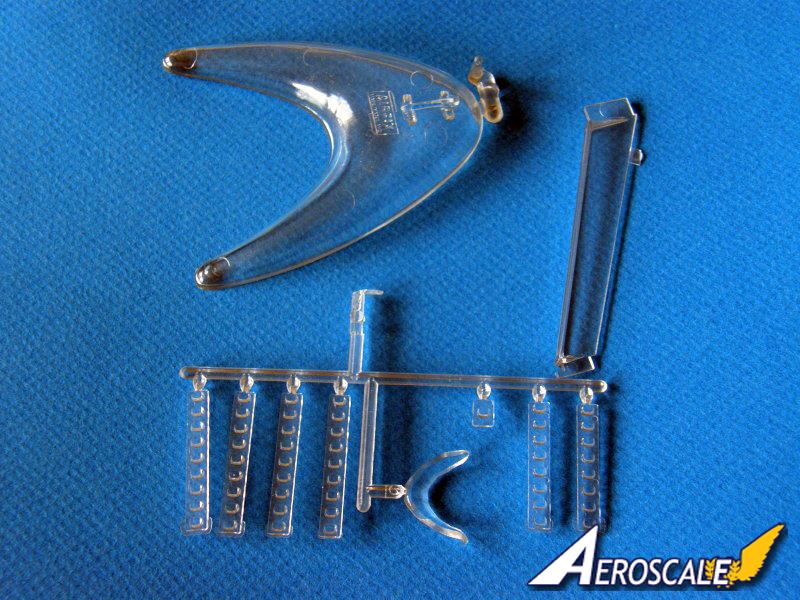
Fuselage The fuselage is two halves from nose to tail. The cabin windows are open, with no clear parts provided for them in the more recently released kits. The first issue in 1966 had clear parts to insert in the windows but they were so thick and distorted nothing could be seen of the interior anyway so it's just as well that there's nothing provided. Either fill them and use decals or Krystal clear/Clearfix the windows; decal film alone just won't do it. The cockpit windows are a single piece strip that is easy to either break or lose within the fuselage. Its fit is less than precise. The poorly-fitting clear part leaves quite a large gap around the frames which will take a fair bit of work to eliminate without destroying the windows. This is especially prominent at the rear of the transparency where the teardrop windows are. The large gap makes blending in the frames difficult. The Trident has two small eyebrow windows above the windscreen which are represented by raised lines, and black decals in the newer issues. Both of these problems may be solved easily by using decal windows. There is a cockpit bulkhead which prevents the see-though look and makes for a good place to put the nose weight. The instructions do not indicate the need for nose weight but from long experience I know it's needed. If you chose to leave the windows clear, the interior should be painted black to prevent it from looking toy-like. Airfix chose to mould the cabin and baggage doors separately for nearly all their airliners. Unfortunately they have never fit very well, and will need to be puttied and sanded after they are installed. All the sanding needed with this kit means that the raised panel lines will be obliterated. Perhaps this is a good kit to practise re-scribing on. There are sink marks above some of the alignment pins which will need to be filled.
Wings The wings are two pieces each. The trailing edges could benefit with a little thinning. Again most detail is raised, but it will generally escape the sandpaper. The fit is not good enough to enable the wings to be attached after painting; they will have to be done first and masked off. The wing fences are thick, and should extend further towards the leading edge of the wing. They should be cut off and replaced with plastic card. Airfix missed the wing root fairings so they will have to be added with milliput or similar epoxy putty. Be careful to note that the fairings were shaped differently on each wing. The starboard trailing edge fairing extended in a sweeping line almost up to the engine pylon. Check photos on Airliners.net to see the shapes involved.
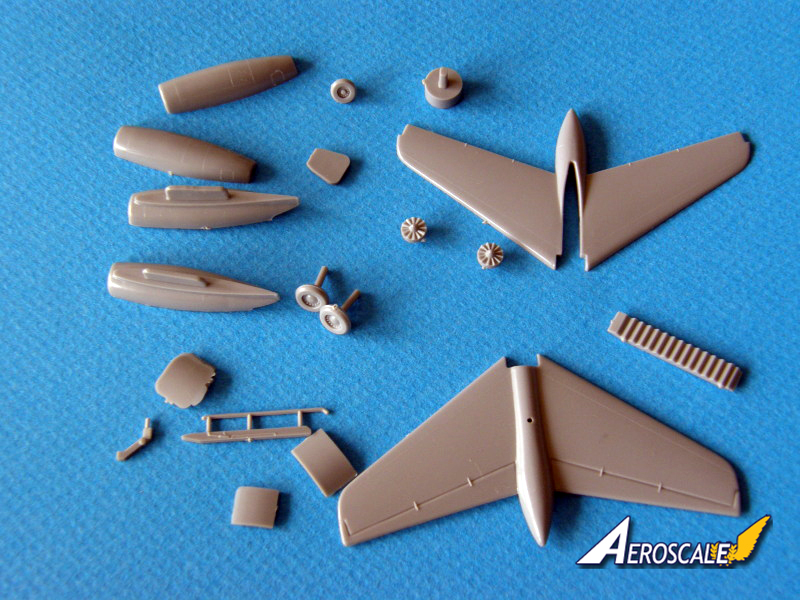
Empennage The tailplanes are two piece mouldings complete with the aft portion of the tailplane bullet fairing. They have to be assembled over a pair of pins at the top of the vertical stabiliser after the fuselage is assembled, and are intended to be movable. There are many photographs showing parked Tridents with their tailplanes in the full nose-down position so the modeller may glue the tailplane either in neutral or nose down and be correct. If the modeller so desires, the pins may be trimmed off to allow the tailplane to be fitted after assembly and painting. The vertical stabiliser leading edge is slightly too curved, about 3mm too narrow in chord, and the tip of the fin bullet is too blunt. These problems can be fixed with a little milliput or plastic added to the leading edges and filed to shape.
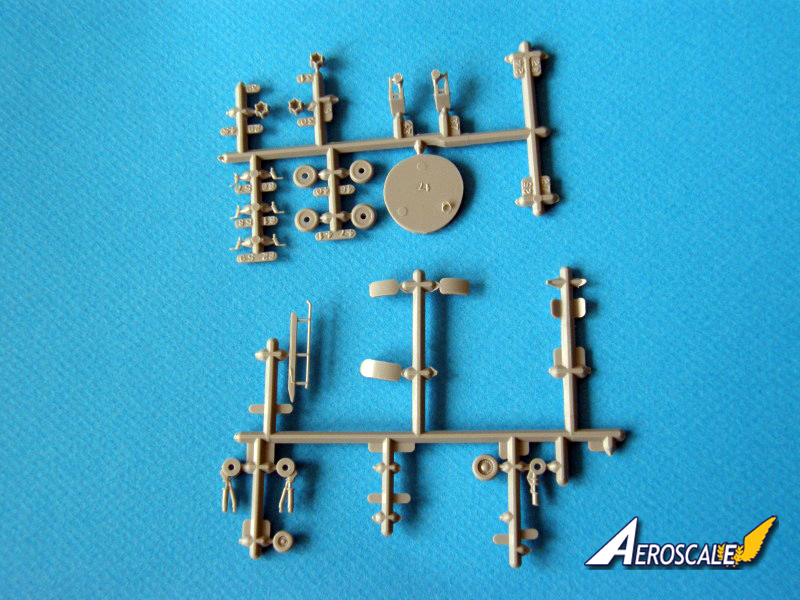
Engines The #1 and 3 engines are two halves plus intake fan wheels and exhausts. They come with half the pylon, which makes for a tricky seam cleanup job. The #2 engine has an exhaust but nothing but a gaping void in the intake. At the very minimum it needs to be blanked off and the adventurous may attempt to represent the curved intake trunking. The exhaust pieces are very shallow with no interior detail.
Landing gear The landing gear struts and wheels are basic. They could use some brake lines and whatever else the modeller likes, but will look acceptable without. The wheels are designed to roll, thus the inaccurate holes at the ends of the gear legs. They will be difficult but not impossible to correct. Since they're not very visible on the finished model, I don't consider the amount of work to be worth the effort. There is an option for raised gear, but no stand is provided in the current issue. Earlier issues had one of Airfix' famous clear plastic stands as shown. There is no detail in the wheel wells. The nose gear leg is supposed to be offset to port, but Airfix does not make this clear in the instructions. The starboard nose gear door should hang open when the gear is lowered. Airfix did not provide much gluing surface here, so drilling and pinning the door would help matters. As with all 1/144 kits, the gear doors are overly thick and may be replaced if the modeller wishes.
Accuracy I don't compare models to drawings or published measurements. When assembled it looks like a Trident. After a little work, it looks much more like a Trident : )
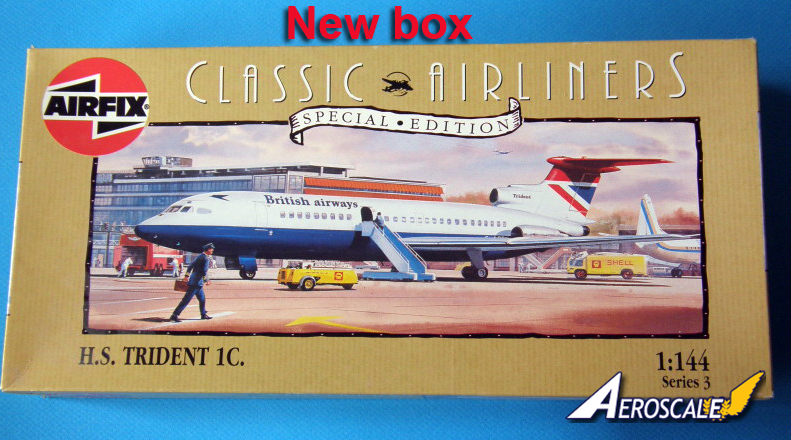
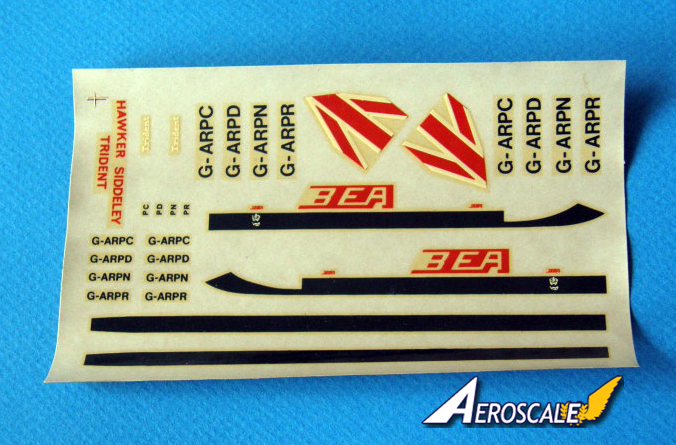
Decals and markings The decal sheet is basic, with only the airline markings and most prominent stencils provided. The sheet in my copy is dead, so I will have to use aftermarket. The cheatline does not have window openings. Airfix intended it to be applied to the pre-painted fuselage halves before gluing, and included a punch tool to open the windows after it dried. No mention is made about protecting the paint and decals when the fuselage seam is dealt with. The British Airways sheet is typical of 1990s Airfix: thick, brittle, very matte and out of register. Luckily Two Six decals produces modern versions of both schemes. If you don't like the kit decals there are many different choices provided by the aftermarket industry. No window decals are provided. Modellers wishing to apply decal windows must source them separately.
SUMMARY
Highs: The only Trident 1 currently available. Fairly good shapes and wide variety of decal schemes available.Lows: Raised detail that will be sanded away due to the poor fit. Some accuracy issues.Verdict: If you must have a Trident 1 it's the one to get.
This one brings back memories. I built this at the age of ten. After having a few models under my belt, I realised that brush painting the white was a no no. So I sprayed it with car paint. The poor kit melted before my eyes Hey ho. lesson learned. Great review Jess.
All the best.
tim


Comments