Building the Hellcat
Cyber-Hobbys first US aircraft release is due out in July. A inbox review of the kit can be found
here.
The cockpit
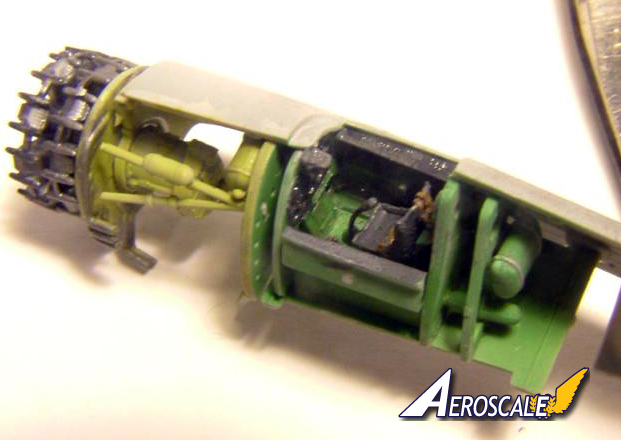
As normal with any aircraft build the cockpit is the first order of business. Cyber-Hobbys Hellcat cockpit is well detailed, without getting complicated by additional P.E parts. In fact the only P.E to be found is the four piece seat harness.
The cockpit is made up of 13 plastic parts. Most of these are painted in interior green, with the side consoles, main instrument panel, seat, and control column painted in black. Extra detail can be added to this area, if you so wished, but even with the canopy open, you can't see a great deal.
A mistake in the instructions (there are a couple along the way), gives you the paint colours for the instrument panel, in a side box, which then points to the rear bulkhead. Speaking of which, the kit comes with two rear bulkheads, one of which has the seat headrest, with the second holding a couple of parts, placed behind it. The second piece is completely unseen once the fuselage is closed up, so you can save time by not bothering to paint this bit (I did paint mine lol).
With P.E harness's I normally glue these to the seat, then bend them to conform to the seat, but the P.E harness's supplied in this kit are possibly made of Iron, as they do not like to bend. Heating them first should help soften them.
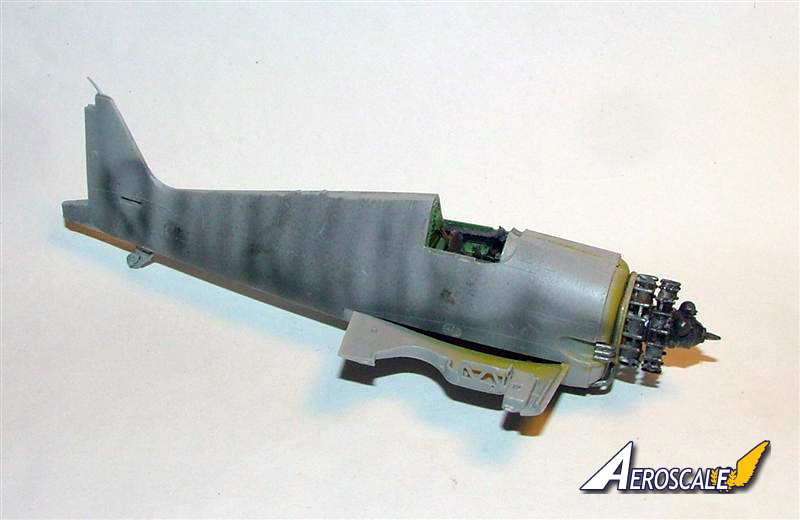
The engine
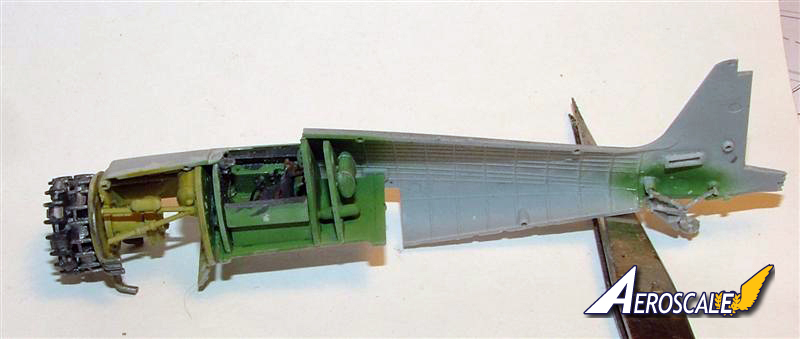
The front cockpit firewall has the engine mounting points, as well as a couple of other parts (starter motor and oil sump, I think), then the engine firewall. These parts I painted Zinc Chromate (Tamiya XF-4 Yellow-Green), but you can paint them pink for all the good it will do, as once the fuselage is closed up, not a bit of it can be seen.
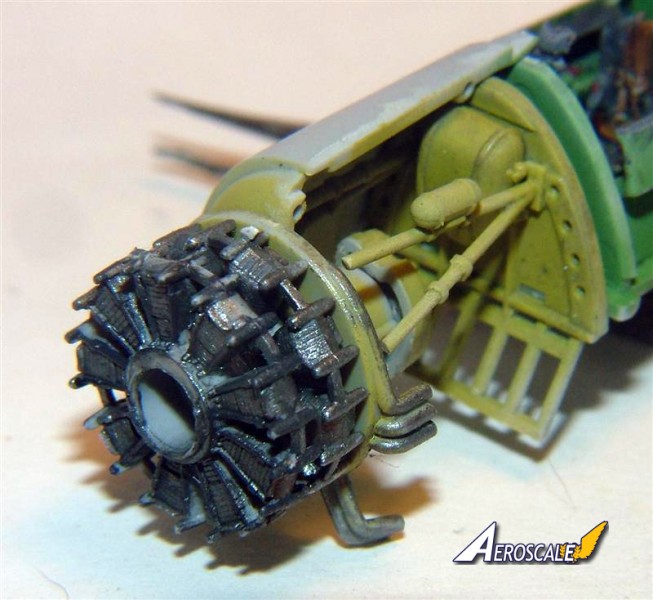
The engine has some nice raised and recessed detail moulded onto the two part cylinder banks, but once again when the cowling is closed up only the front is seen, but painted it I did, in Steel, then a heavy wash of Lamp Black, followed by dry-brushing the details with white, to pop out the raised areas.
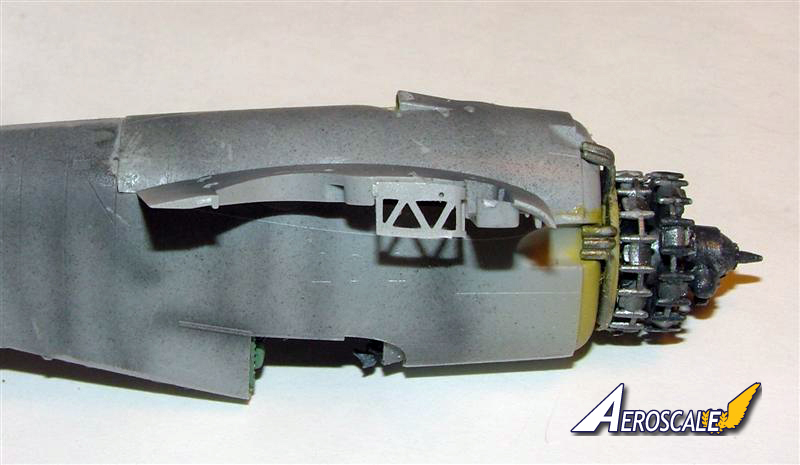
If you felt so inclined this could end up a super detailed build, as having the parts there and your feeling brave, you could cut out some of the inspection panels, to show off the internals.
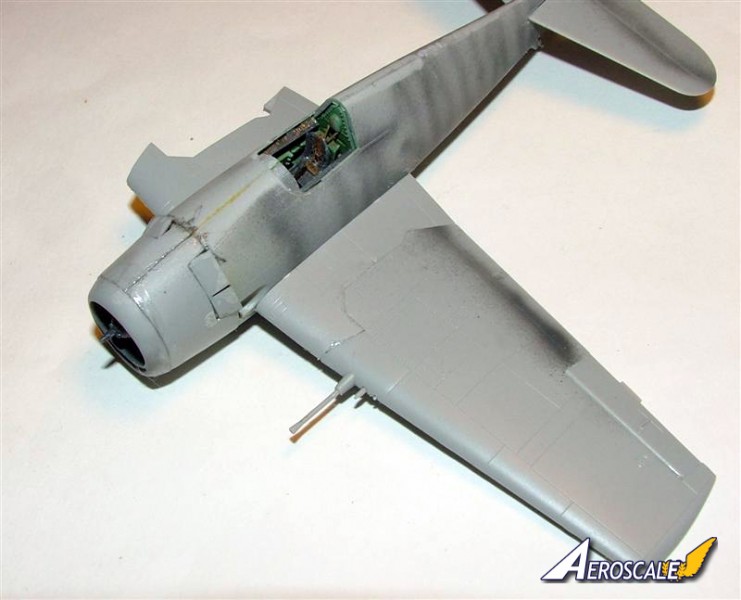
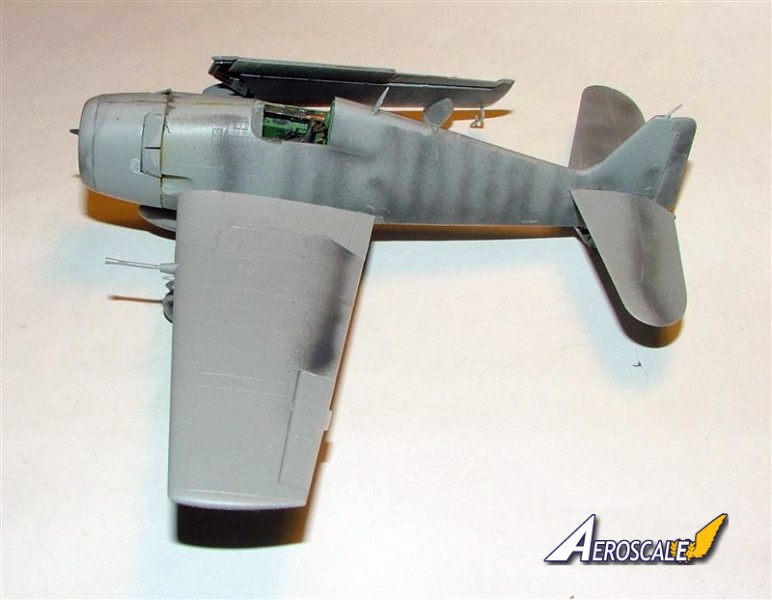
Once the engine and cockpit are complete the fuselage is closed up, but remembering to add the tail-wheel first, which I nearly forgot lol.
The wings
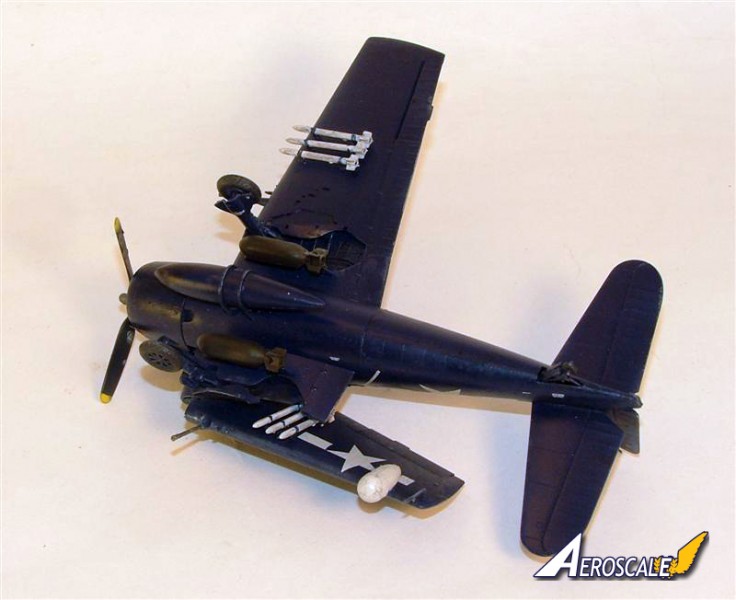
Due to the kit having the option of folded wings, the wings are split into several parts. The main section of the lower fuselage has the wings up to the fold join. The piece has two inserts fitted, then the upper wing sections. This part also holds the undercarriage legs, bomb racks and central fuel tank. The instructions state to add all the "hanging off" parts at this stage. I found it easier not too lol.
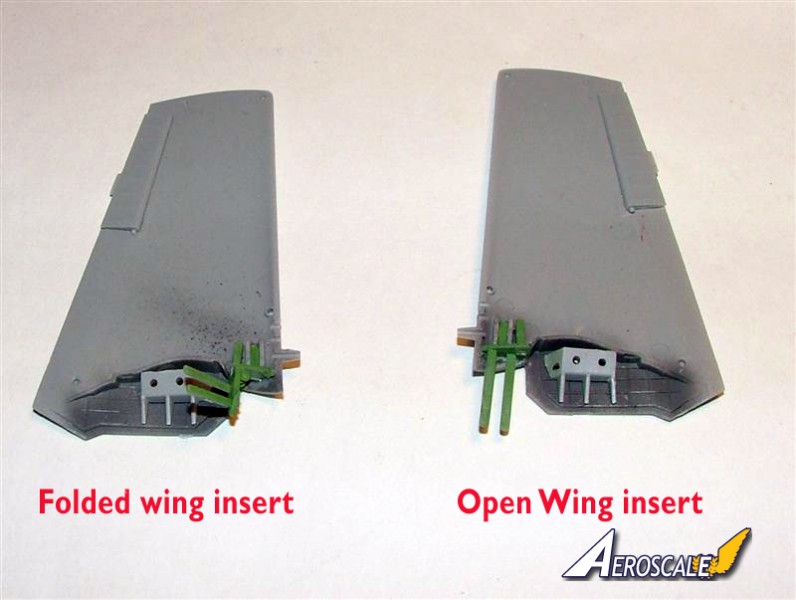
Once the middle section of the wing is joined to the fuselage, the outer wing parts are built. This is the part of the build where you have to choose between the folded or open wings, and the positioning of the wing ailerons.
Two different types of wing spars for the wing options are inserted into the upper and lower wing halves. One of the spars is simply straight with the other spar bent at about a 90 degree angle for the folded wing. I went with one folded and one open.
The ailerons are a very tight fit, and do require a little light sanding.
The machine gun and cannons are fitted along with a undercarriage bay part, then the wing halves are closed up. The instructions state to add the 6 HVAR's to the lower wings, which I didn't. Later on when I went to add them, the HVAR's have guide pins for attaching to the wings, but there are no guide holes, and the instructions don't state to open any up. To tell the truth I don't actually remember seeing any "holes" to drill out on the lower wing halves.
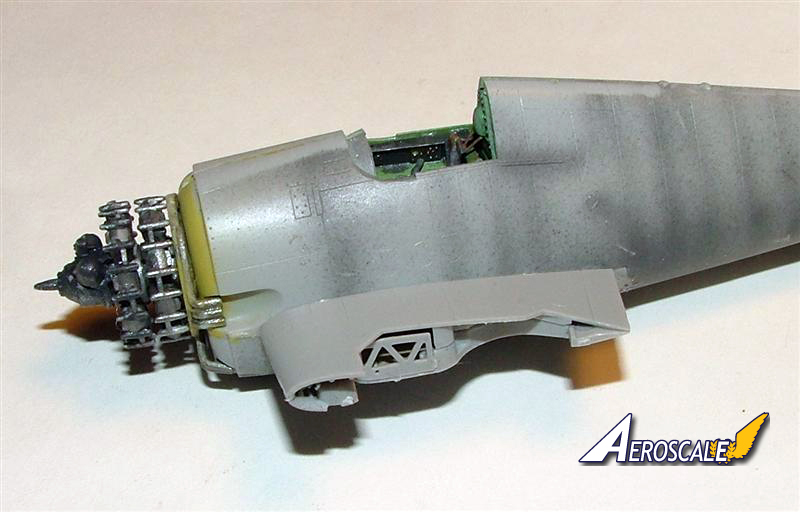
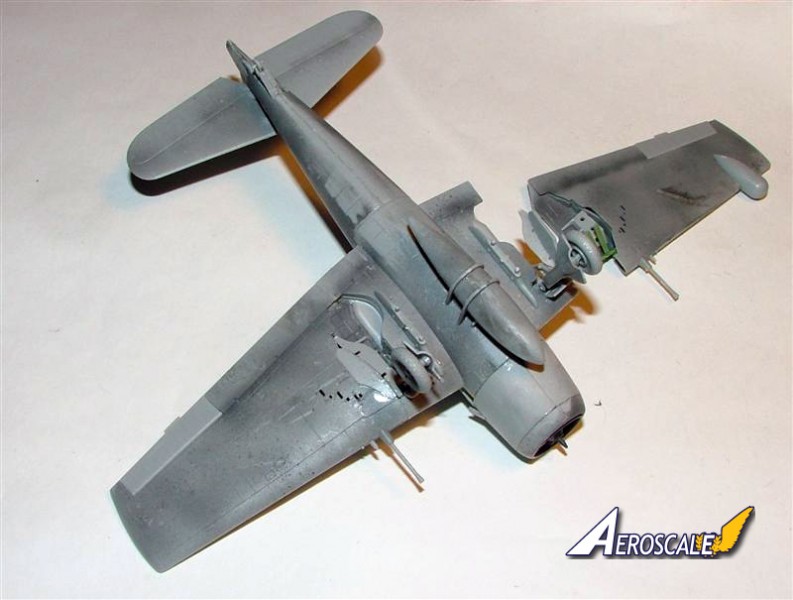
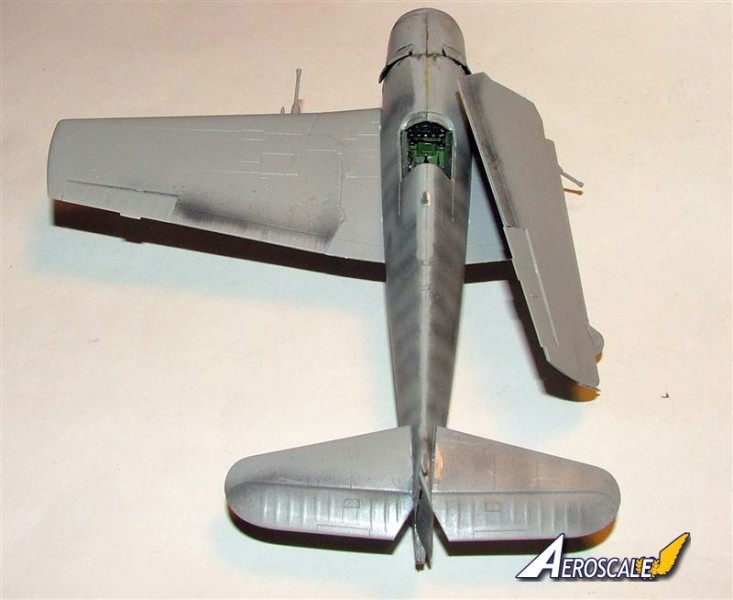
Now is the time to fit the wings to the fuselage/wing part. The open wing slots into the join quite easily but, on the first dry run the gap is horrendous, but worry not, once you actually start to glue the wing together it all fits very well, with a little force to hold it together. Both options have a couple of small wing pieces too add to the lower halves. For the open option, the two parts just glue into the resulting gap, and the folded option has a small piece hanging down. The mating surface for this part is very small, but it did hold surprisingly well only using polystyrene cement.
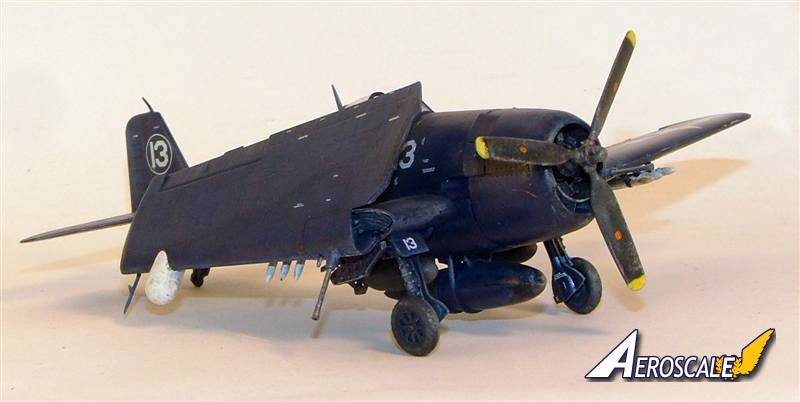
The folded wing I decided not to glue at this point, as painting it would be a little difficult. But in my impatience to see what the aircraft looks like with both wings attached, I just slid the wing into its corresponding hole, which is a tight fit. I then spent ten minutes trying to get the thing back off without breaking it. Lesson learned, "patience is a virtue" lol.
One thing of note, looking at the photo's of Jean-Lucs review of the 1/48th Hobby Boss Hellcat, Cyber Hobby have near enough copied HB's way of modelling the wing fold and wing build assembly.
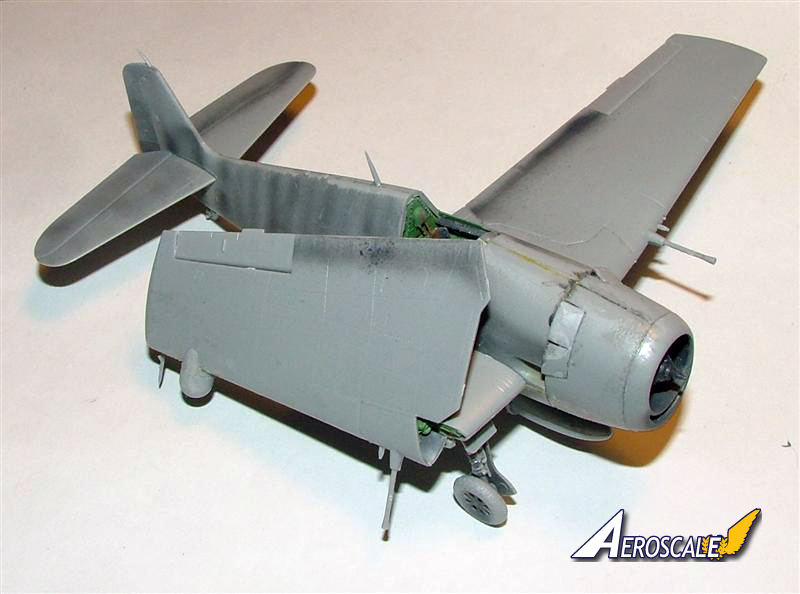
The rest of the build
The rudder can be glued into whatever position you desire, so I went with a just off center. The rear stabilizers are attached, but they do need positioning to the correct dihedral.
The bomb racks, central fuel-tank and the engine cowling was installed.
Very little seam work is required as the fit of the parts is very good, a little light sanding along the fuselage and cowling was really all that was needed.
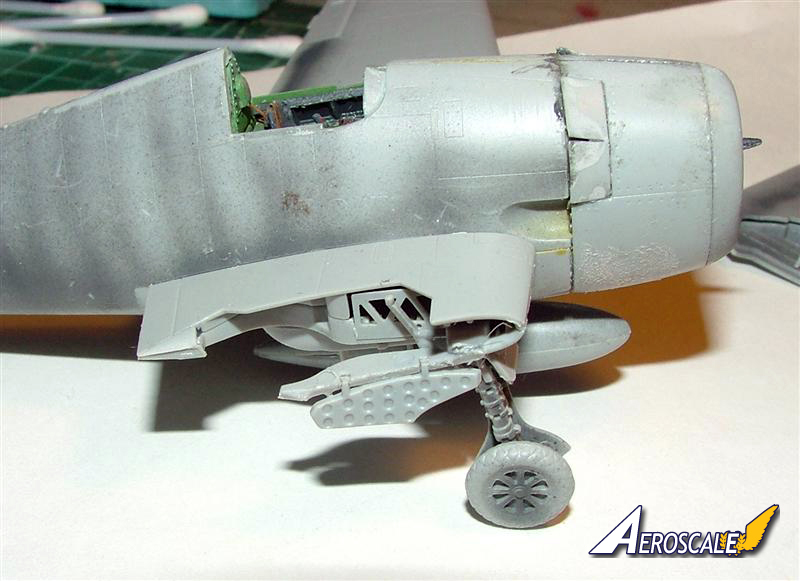
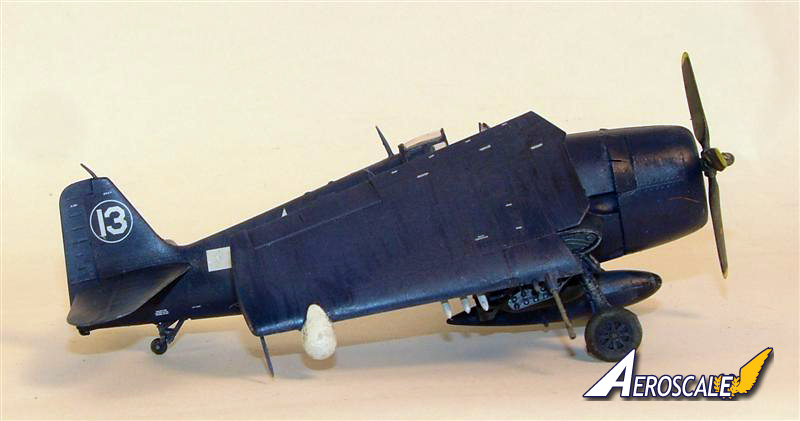
Now normally with aircraft the undercarriage is the last thing that I attach, normally because they are a different colour, but late war US naval aircraft, the undercarriage legs and bays are the underside colour. The undercarriage legs are very sturdy for the open wing option, but for the folded wing, the legs have to be glued, positioned and left to dry, as the rear leg support doesn't connect to the bays, due to the nature of the wing fold. Once dry the legs are very sturdy. In the inbox review I did state that there are pin marks in the wheel wells that might have to be filled, but these are hidden by the undercarriage legs, so its not necessary to do anything with them. So apart from the rockets, bombs and the canopy, everything else is attached.
Painting and decaling
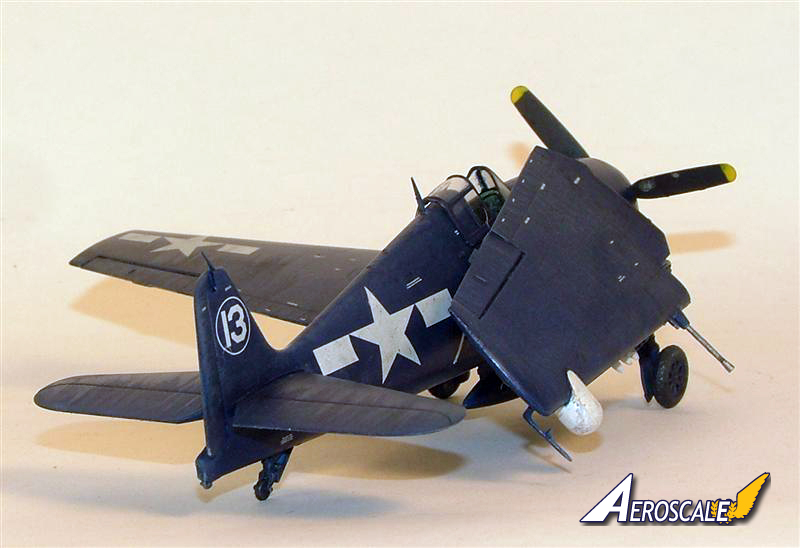
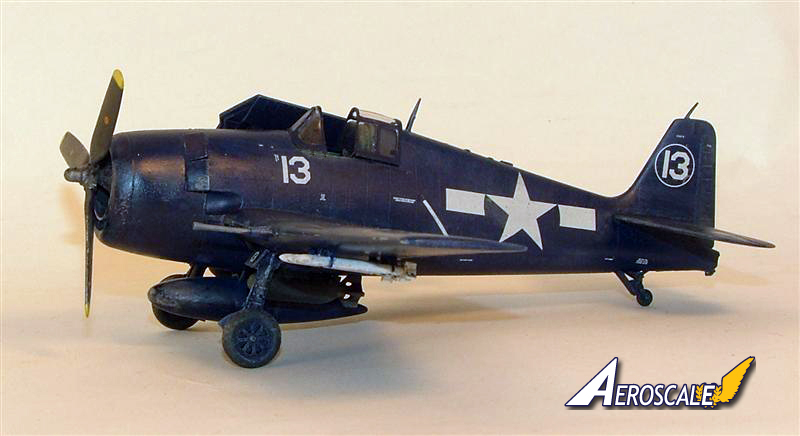
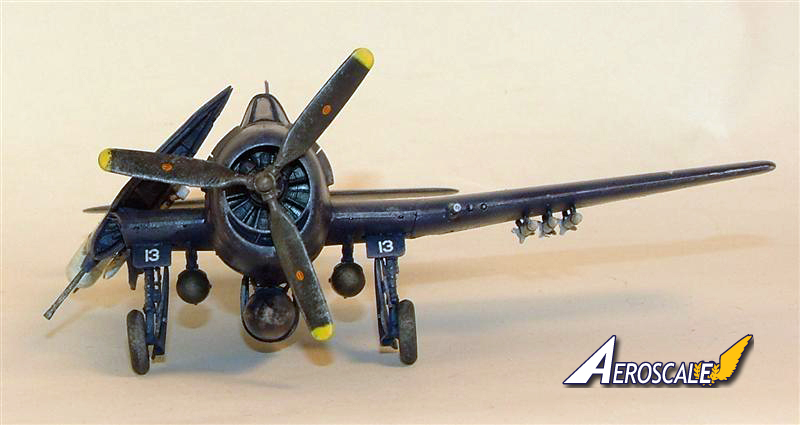
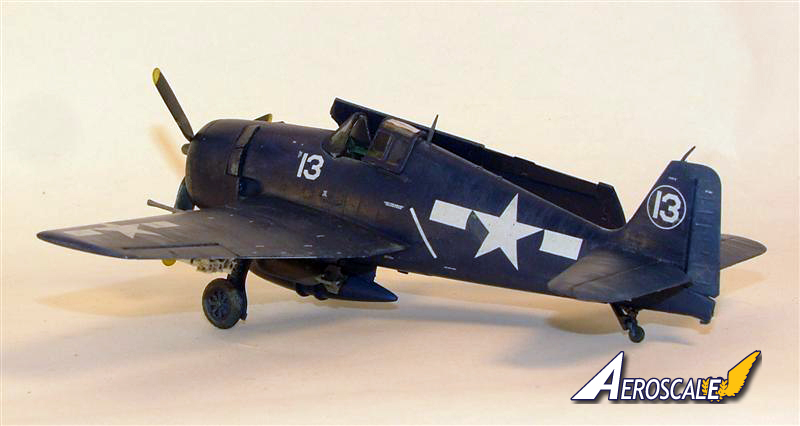
The F6F-5N colour scheme is very easy, the whole thing is Gloss Sea Blue. Now not having a bonafide Gloss Sea Blue, in my eyes, it is not a "return the build to the box" until I get some, as I always seem to find I actually never have the colour I need lol (even though I do have a quite large selection of paints). So looking on IPMS Stockholms excellent colour charts, I got a FS sample of the colour chip, and found that Vallejo Dark Prusia Blue matches quite well.
The whole aircraft was sprayed then sealed with a coat of Klear (Future) ready for the decals.
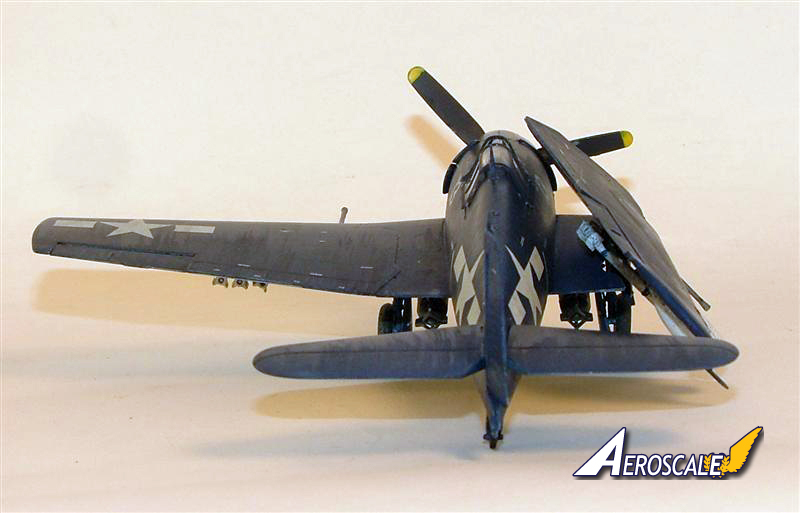
I decided to go with the markings of VF9N)-41 Squadron, U.S.S Independence, 1945, because the AN/APS-6 radar is white, and breaks the wing colour up.
The decals were added as per instructions and settle down very well over any details with a little decal solution.
A further gloss coat was then added to seal the decals.
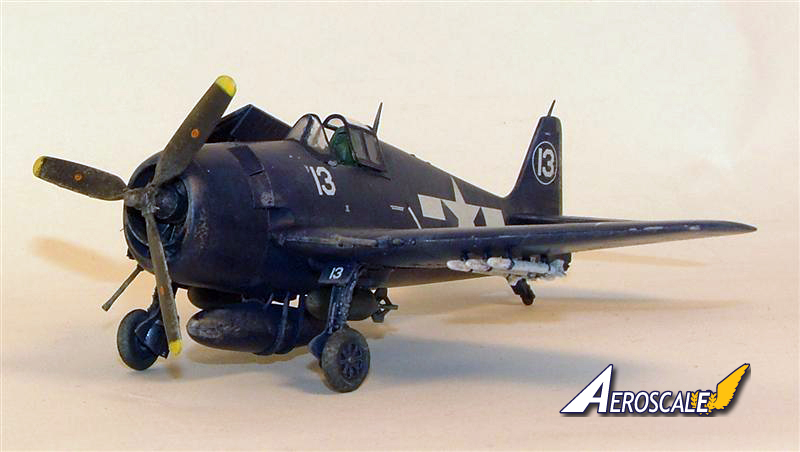
Any parts that were not Gloss Sea Blue, were painted their correct colour, such as the tyres, propeller and cannons. The HRAV's were added to the underside of the aircraft.
Weathering consisted of a light black wash, with a little chipping here and there.
Whilst browsing the web I read somewhere that the Hellcats didn't actually stay glossy for long, so I decided to matt coat the aircraft, then picked out parts with a gloss coat to break up the mono tone colour a little.
The last thing to add was the canopy. I decided the open canopy looked better for an aircraft that is being folded up. The canopy was hand-painted in the fuselage colour, and is actually one of my better attempts, probably because I decided I should wear my glasses (getting old the eye sights going lol).
Conclusion
Cyber-Hobbys F6F-5N Hellcat is a very enjoyable build, which goes together quickly and with a fair amount of ease, in fact the entire build, minus the painting and decaling, only took a day.
The only concern over this kit is the price, the P.E harness, and a couple of mistakes in the instructions, which aren't head scratching but more comical.


Comments