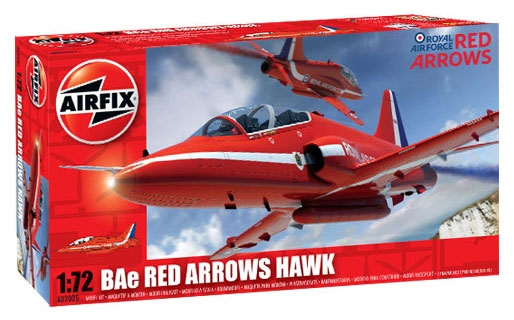
One of only a handful of modern jet aircraft to have been ordered into production 'from the drawing board', the British Aerospace (Systems) Hawk (or as it was originally designated, the Hawker Siddely 1182) first flew in August 1974. Conceived for the dual roles of advanced pilot and tactical weapons training, it is a tribute to the soundness of the design that very few external modifications to the aircraft were necessary.
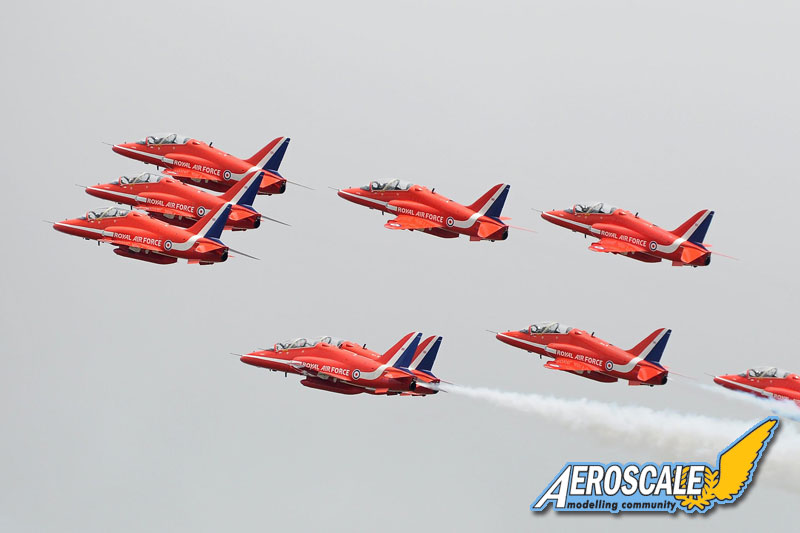
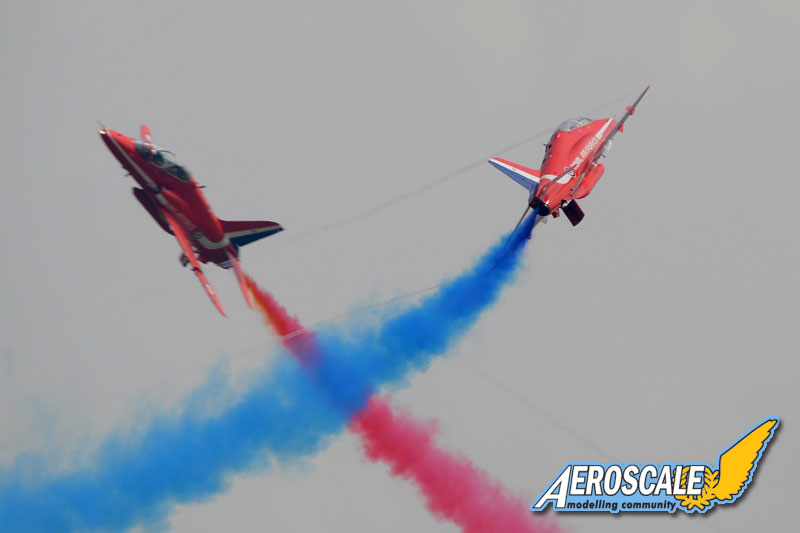
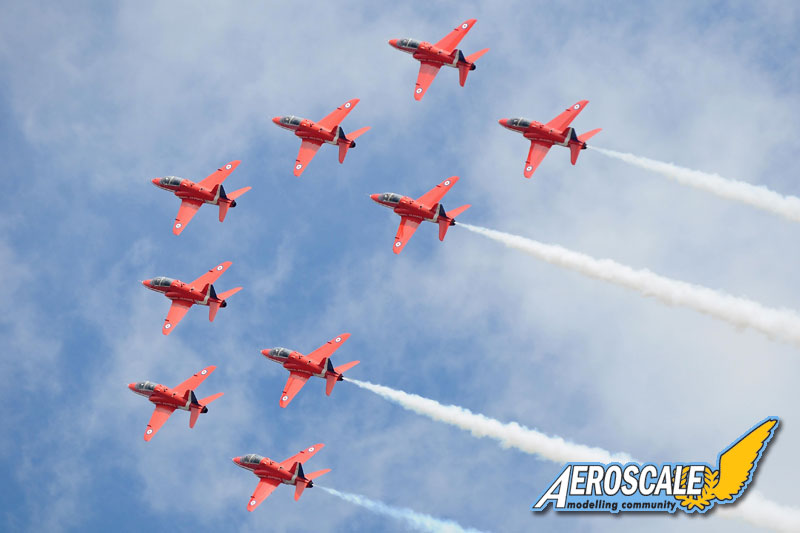
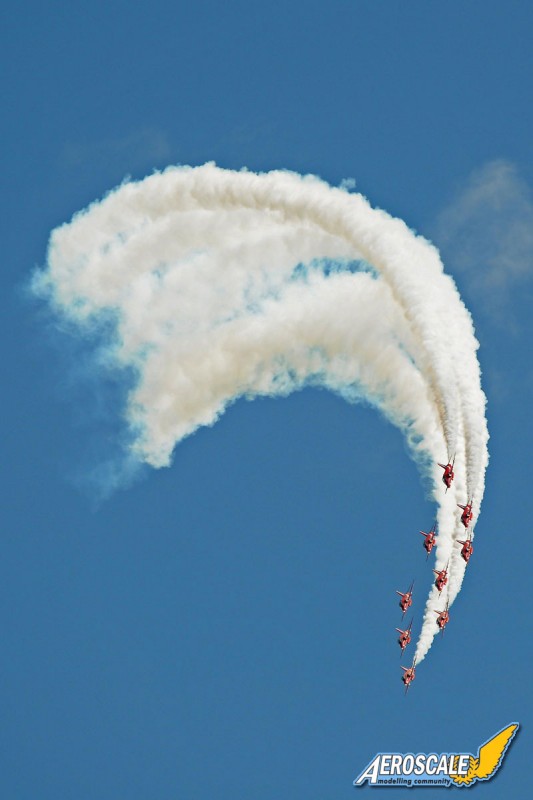
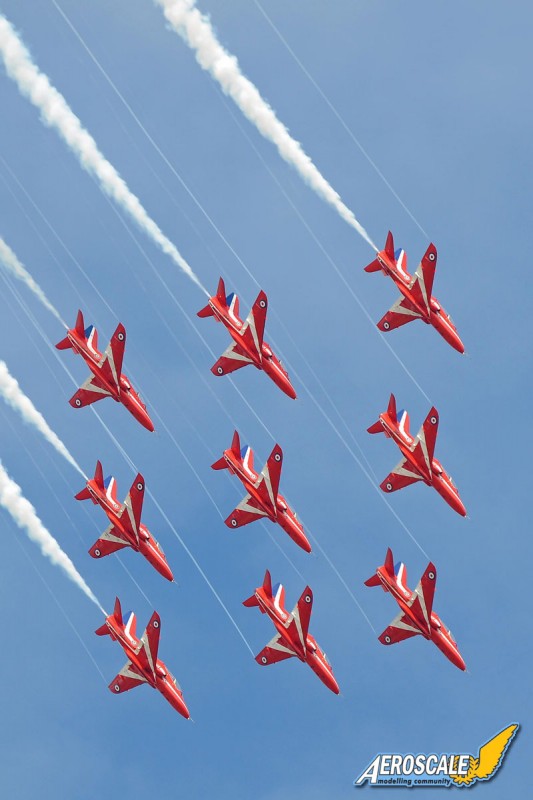
Not surprisingly there have been a plethora of export orders for both twin and single seat training and operational Hawks. Arguably Britian's most successful jet aircraft (unless you are a Harrier fan!), the Hawk -built in collaboration with McDonnell Douglas as the Goshawk T-45- is the US Navy's current carrier jet trainer. Powered by a Rolls Royce Turbomeca Adour Mk 151 turbofan, the RAF's Hawks are capable of speeds in excess of 1,000 km/h (646 mph at sea level) and the armed version can tout a 30mm Aden gun pod as well as rockets, bombs and/or drop tanks slung under the wings. In late 1979 the Hawk replaced the HS Gnat trainer in the RAF's iconic aerobatic display team the Red Arrows. The Red Arrows have subsequently flown thousands of displays in fifty countries worldwide. Their aircraft is essentially the same as those flown by RAF Advanced Training students, with the exception of smoke generators and a slightly uprated engine.
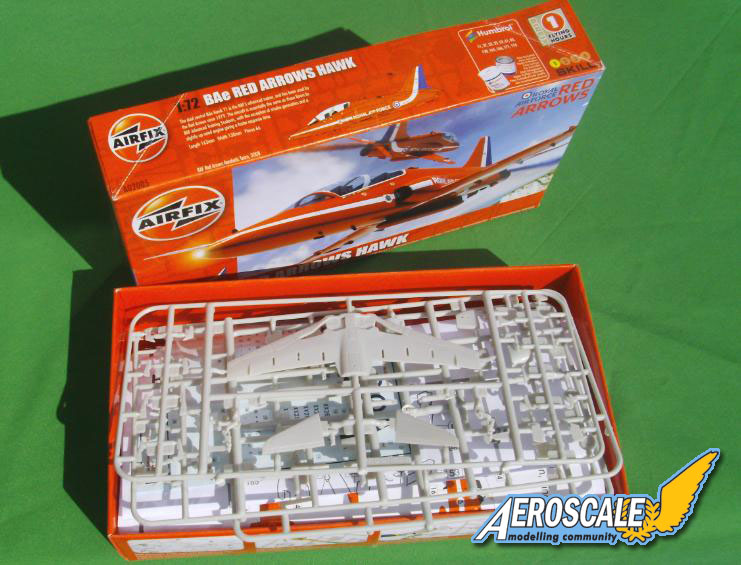
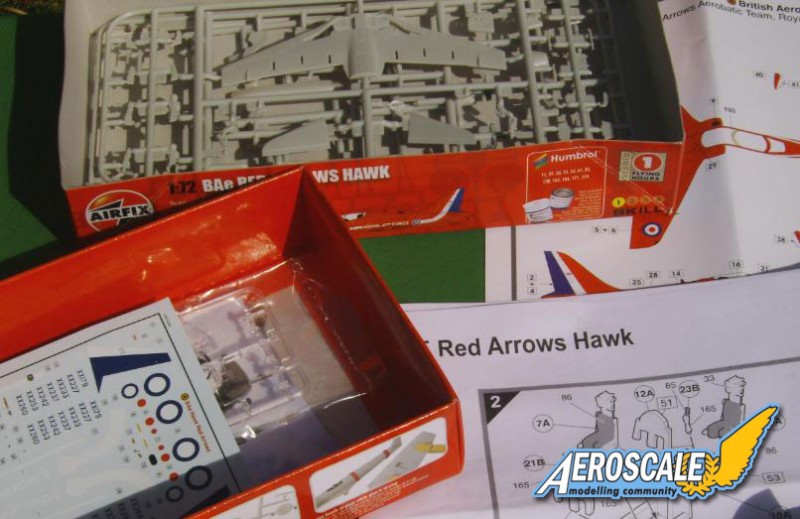
The kit
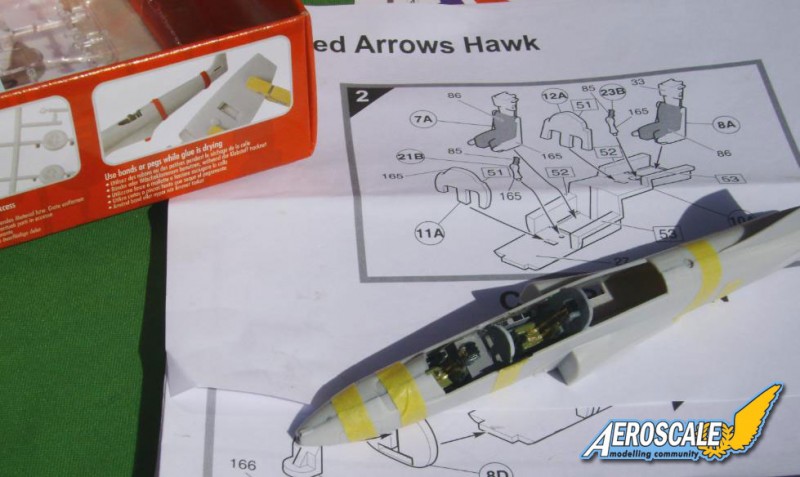
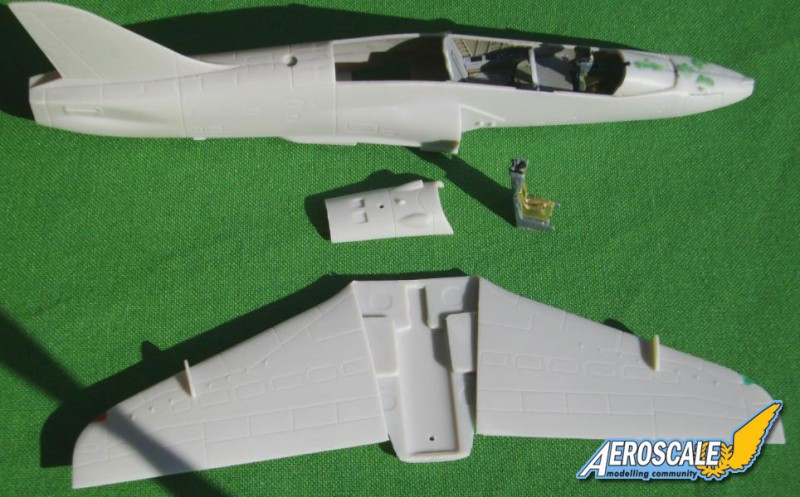
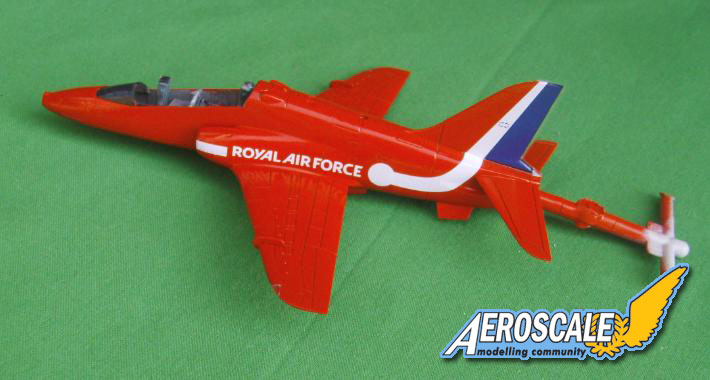
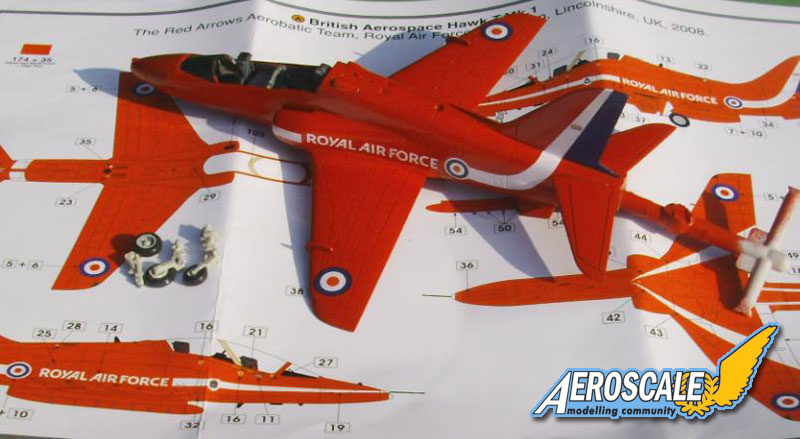
While the Hawk T1 may be the best jet trainer in the world, as an aircraft it has always left me personally a little cold and while there are several nice Hawk kits around, I have never built any of them. However all that may be about to change with this latest Airfix offering - the Hawk t1 as flown by the RAF's Red Arrows. This is surely one of the most impressive kits the company has produced thus far. Comprising 66 parts, superbly moulded in soft grey plastic, construction starts with the nicely rendered cockpit tub. Airfix supply decals for both instrument panels and side consoles and there is some decent side wall detail. There is also a gunsight which is not required for an Arrows Hawk. I managed to get the instrument panels the wrong way round and back to front and had to sand down to fit. While Airfix suggest fitting the nose gear and the jet pipe into the fuselage halves before cementing these together, I opted to fit these at a much later stage - the gear fits snugly into the well and clips into the front cockpit wall. The same is valid for the jet pipe which needs thinning down with a round file or similar. However the space for the nose weight is miniscule - in fact the instructions suggest cramming 5 grams into the wheel well. The fuselage panel aft of the cockpit fits badly since the cockpit back wall sits a little too high and some sanding down of this part (9A) is required to get a good fit.
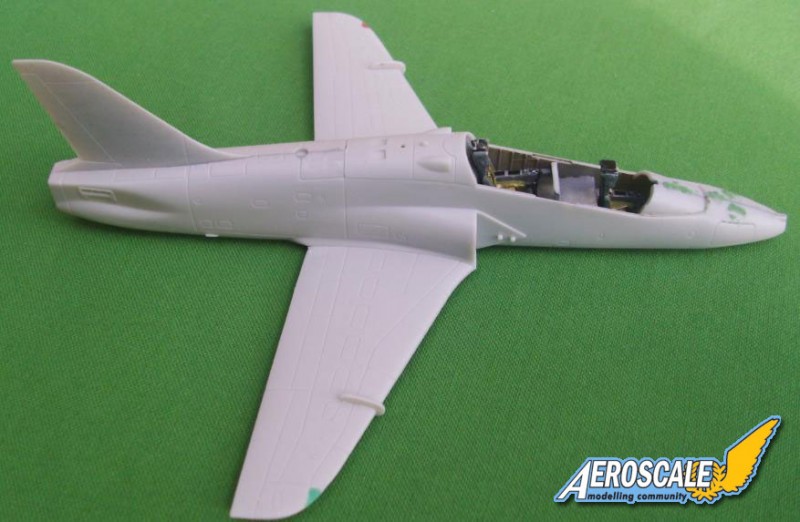
Attempts at fitting the wing resulted in a step on the underside (front and back) and again quite a bit of sanding was required. The panel lines in this area remained intact as they are of sufficient depth not to be obliterated by light sanding - mind you, the same is true for the whole airframe. There will be plenty of modellers who will think that the surface detail is overdone. In fact I ended up filling some of the more prominent 'trenches' on the rear fuselage and around the intakes. There is no engine fan detail whatsoever and a scratch intake cover may be a good option here. Although detailed, the main gear wells are very shallow, while the wheel hubs themselves require some sanding so that they do not sit proud of the tyres
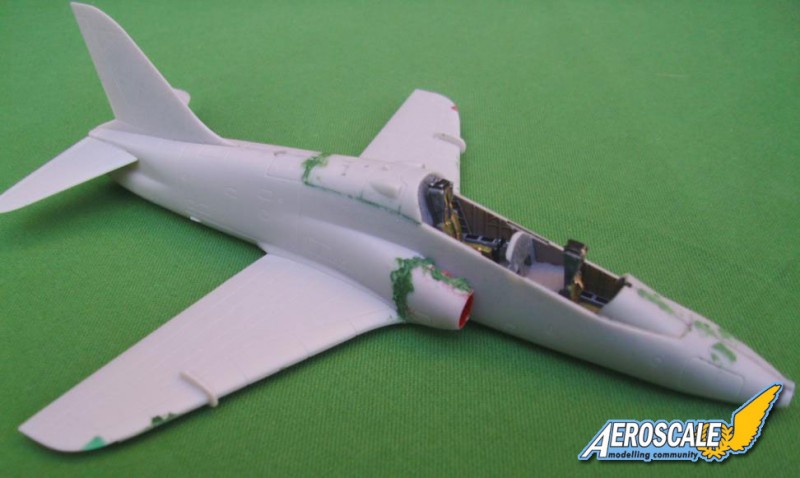
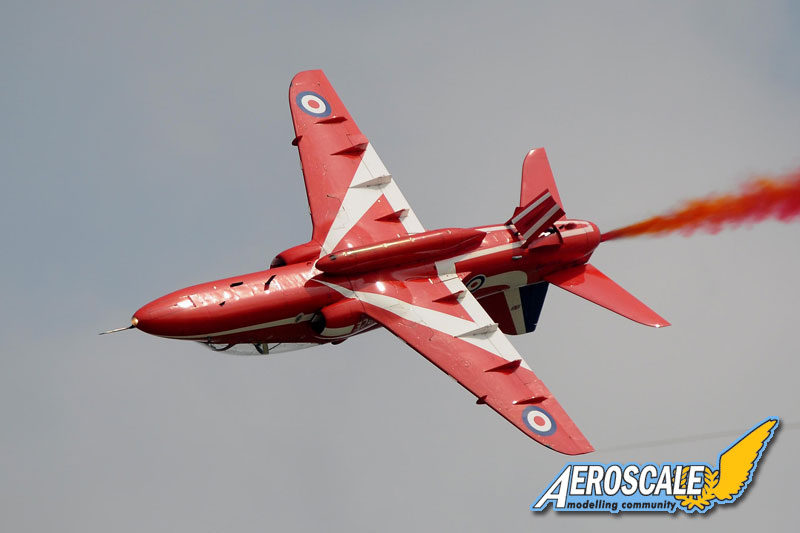
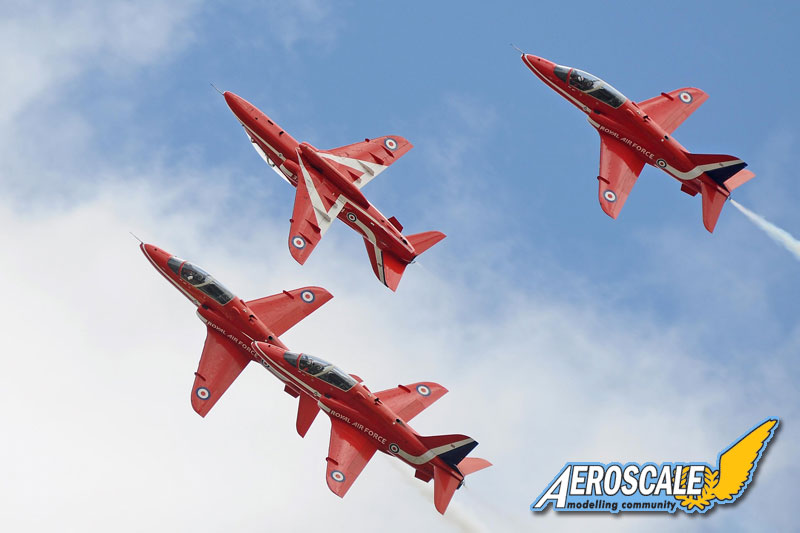
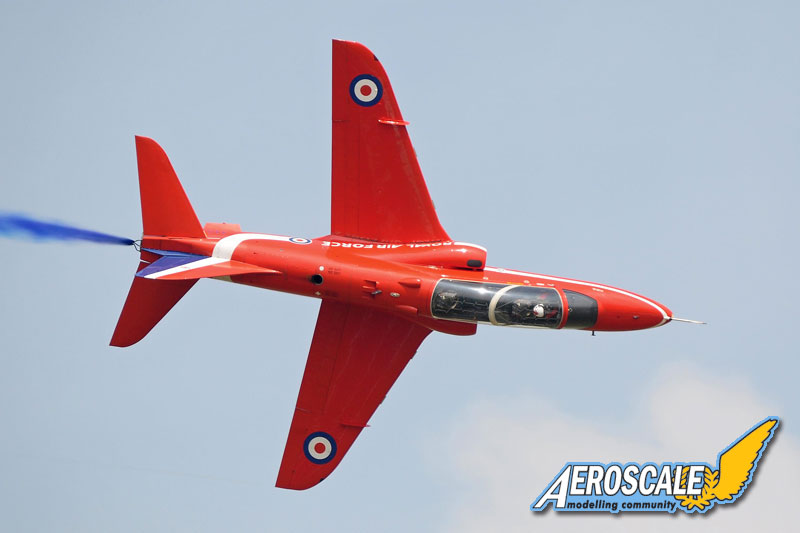
At this stage I primed and painted. There is a distinct lack of colour info - in fact the actual colours are not even referenced; Airfix merely supply a list of Humbrol paint numbers. Red is red, right ? - I used Halford's BMW red (automative spray cans) and on reflection it is perhaps a little dark. The decal sheet has over fifty items for the single Red Arrows option in the kit, including the current team serial numbers. Decal placement info is a little vague and there is no mention that the underwing strakes need to be left off until after decal application. In fact you can usefully leave off the main gear until after the decals have been applied too. Incidentally the main gear covers (parts 10B and 14B) look suspiciously undersize. The extensive areas of white striping go on slightly translucent but dry to a solid white. Applying the decals is a long and painstaking process, made a little easier by generous applications of Klear/Future both before and after. Good references will help enormously with decal placement. A friend of mine, Nico Charpentier, kindly supplied the superb photos accompanying this article taken at this year's Fairford IAT show which should help here.
It has been suggested that there is a problem with the windscreen shape, but it looks fine to me. Two things to note here; there is no demarcation on the glazing to represent the cream-coloured reinforcing tape that goes on the inside of the canopy at the location of the blast screen between the two cockpits. The simple solution is to paint around the screen edge or apply your own thin strip of tape to the area. I also used some white decal strip to represent the white surround to the main canopy frame. Airfix has conveniently etched in the outline of the canopy detonation cord and some thinned acrylic in an off-white colour can be run into the groove easily enough.
In conclusion
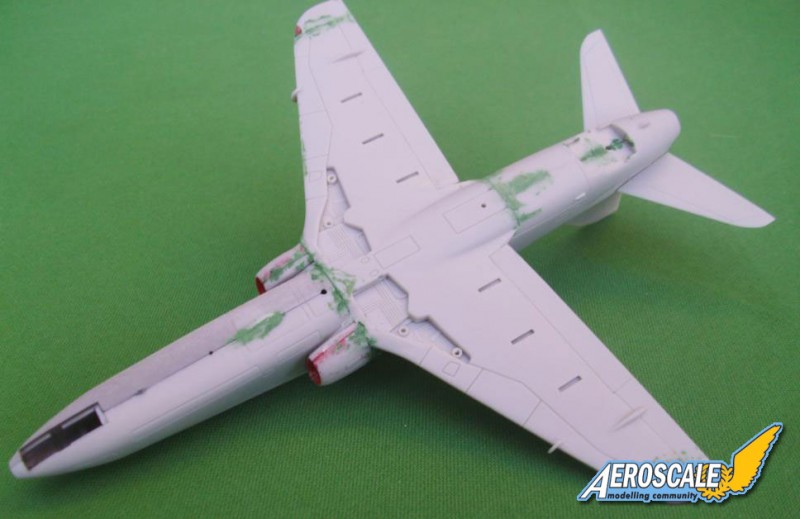
Although I'm still applying the decals on mine, I have to say that this kit looks great when built and painted . I suspect it would look even better suitably mounted in flying attitude. I certainly intend to build some more; there are plenty of aftermarket-decal sheets available and the RAF's gloss black Hawk trainers look stunning.
Please remember, when contacting retailers or manufacturers, to mention that you saw their products highlighted here - on AEROSCALE.
SUMMARY
Highs: Superb presentation and packaging in a sturdy red box. The box features a photographic 'how-to-build-this-kit' montage. Excellent detail parts, a large decal sheet and great value for money. Lows: Didn't assembly quite as easily as expected. and required some filler. Only one decal option (I would have liked to have been able to do a black Hawk). Surface detail is rather over-done. Verdict: With this latest release Airfix have attained a level of quality on a par with the best in the business.
About Neil Page (FalkeEins) FROM: ENGLAND - SOUTH EAST, UNITED KINGDOM
Aircraft enthusiast & 'basic modeller'. I spent my formative years on the base at RAF Marham (my dad worked Victors). I was an Air France dispatcher for 8 years on B737, A320 & F100 types. My first article for Scale Aircraft Modelling was published in March 2001 (a fifteen-page research feature on...