The Mi-26 Helicopter is the heaviest and largest helicopter is service today. It was designed to replace the earlier
Mi-6 and Mi-12 heavy lift helicopters. Production begin in the seventies and was introduced by the soviet army in 1981. The Mi-26 is the perfect transport helicopter for fast troop deployments and saw extensive use by the Russian Army Air Force during the first and second Chechnya war.
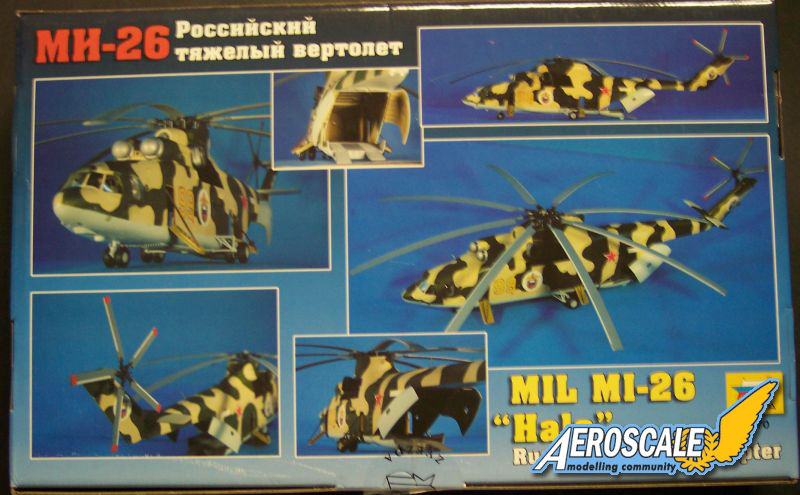
Today the Mil Mi-26 HALO remains the largest helicopter to ever have been produced. There are 15 variants from Civil cargo/freight transport, fuel tanker to a radio relay version, and is still in active service across the globe.
The passenger transport version of the Mi-26 can carry a maximum combat troop load of 150 soldiers though 90 is the accepted load.
I only have one word describe once the box lid was opened Wow! I was really impressed at the size of the fuselage parts, four in total. My second thought was where this huge model would be shelved once its built.
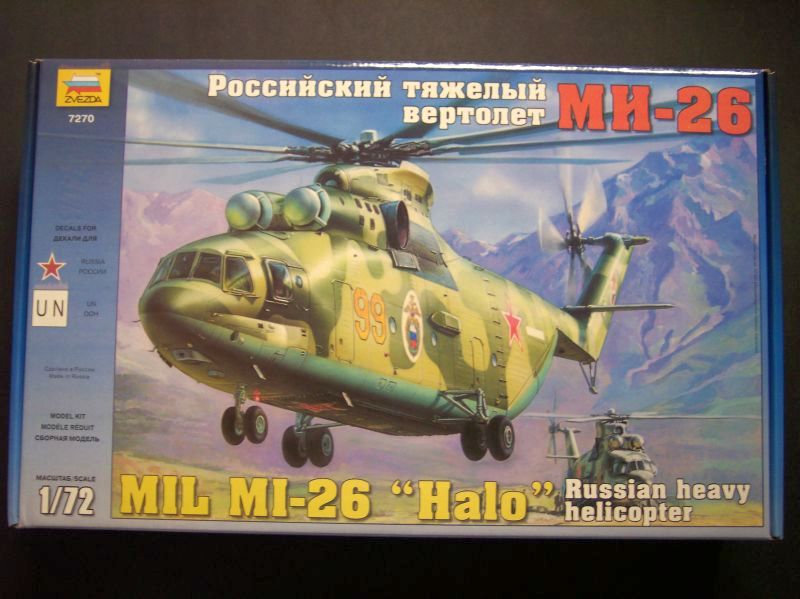
What am I talking about you ask well its the new 1/72nd scale Mil Mi 26 Russian Halo Helicopter made by Zvezda.
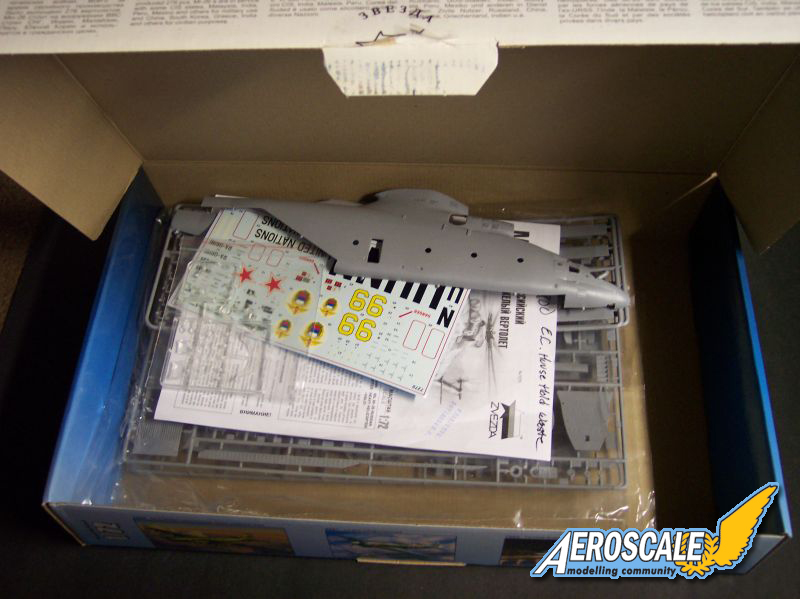
The kit made in Russia is packed in a fairly large sturdy box with a flip top lid not typical of the other model boxes. Kit is molded in medium gray soft plastic and the detail is crisp. I found no sink holes and most of the ejection holes are well hidden.
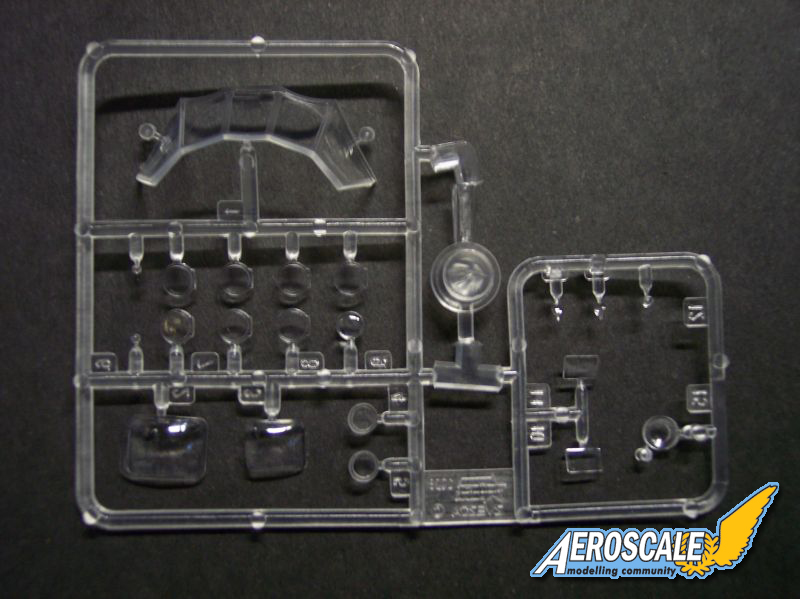
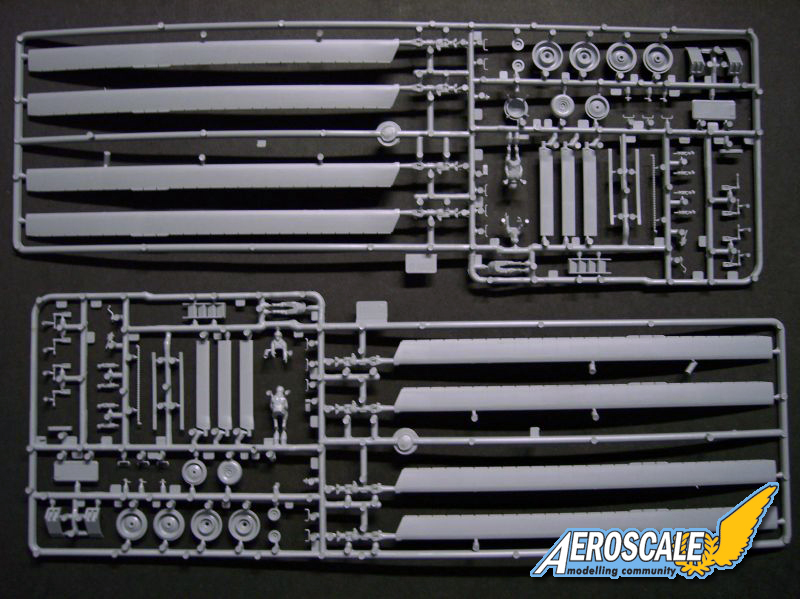
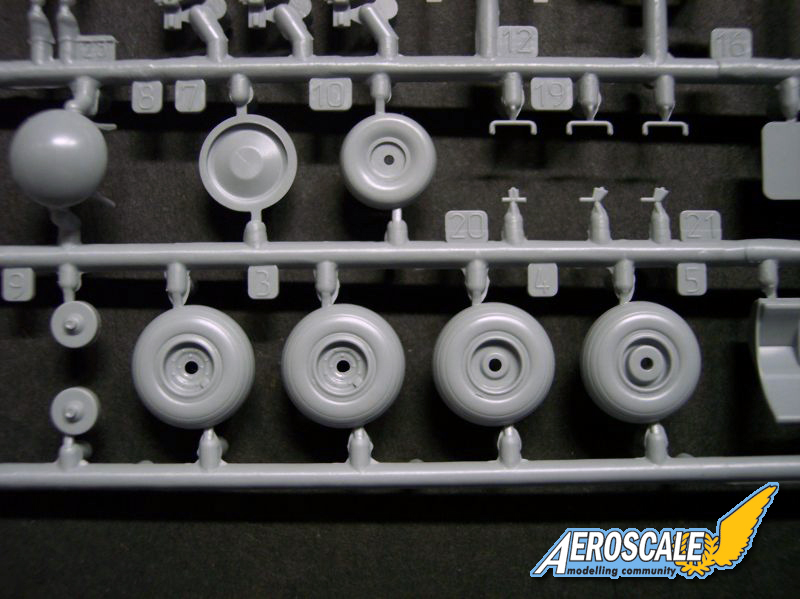
Inside the sprues are individually packaged in open bags while the clear parts in a zip lock baggie. Instruction sheet was found at the bottom with the decals stuffed in-between the pages. There are six sprues, all molded in light gray making up a total of 238 parts.
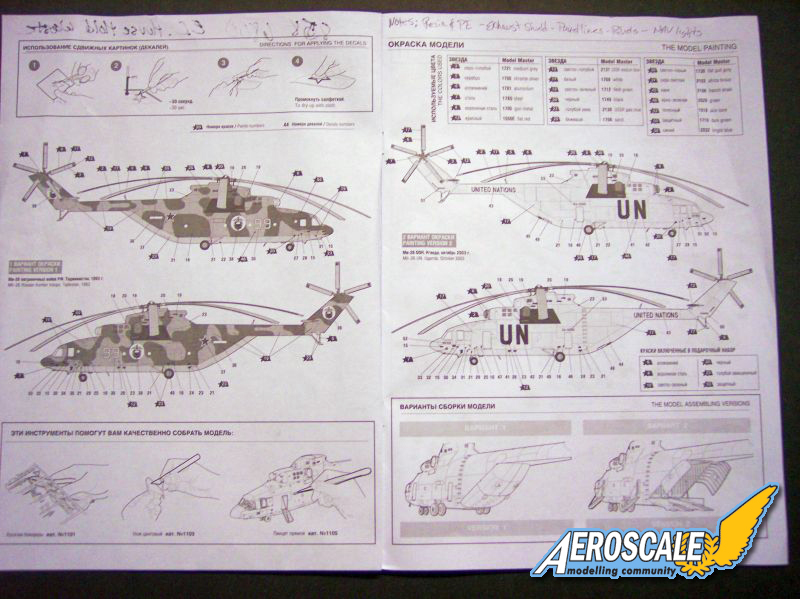
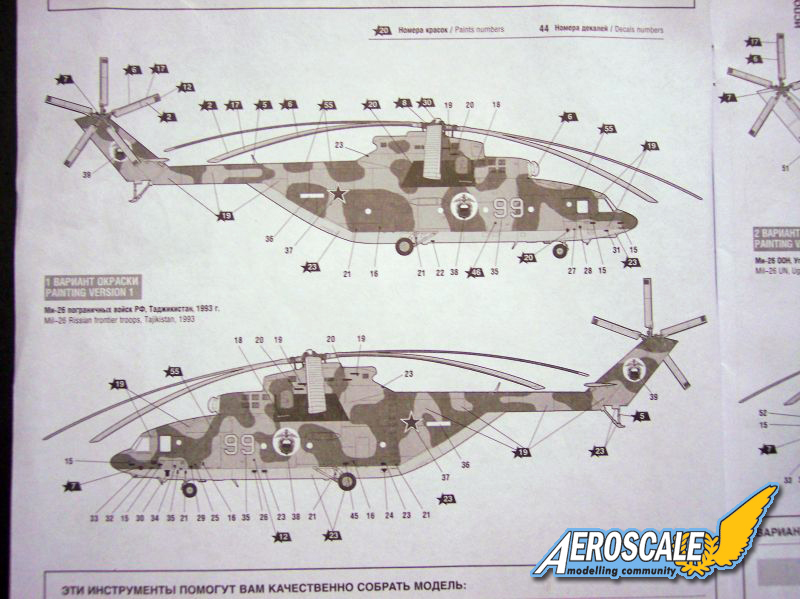
The instructions are in a booklet form containing12 pages with 33 steps. All the steps in the instruction sheet are clearly written and easy to follow. First two pages cover the overall painting and decaling followed by the rest of the construction steps. The steps are written in Russian and English and calls out using Model Masters paints.
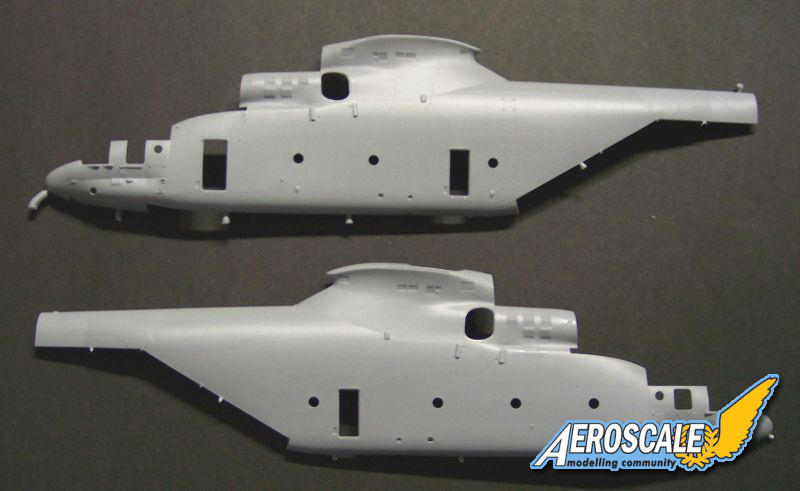
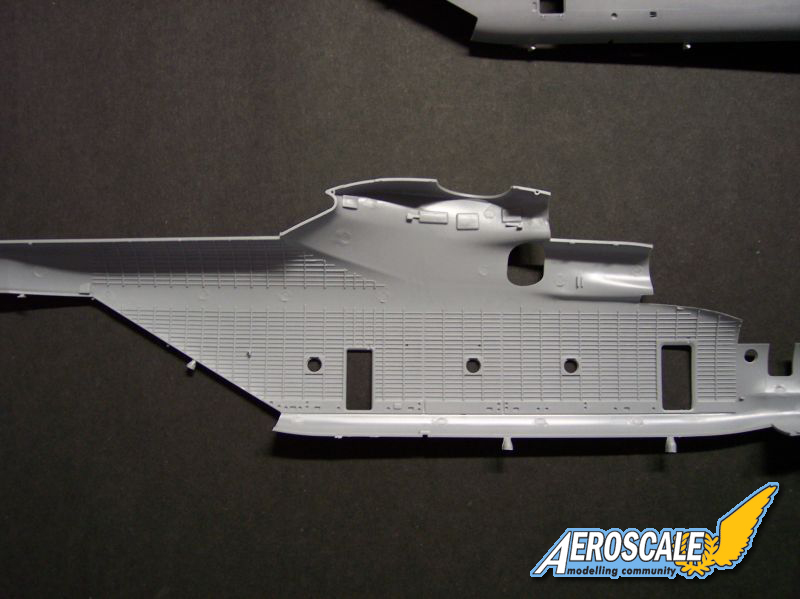
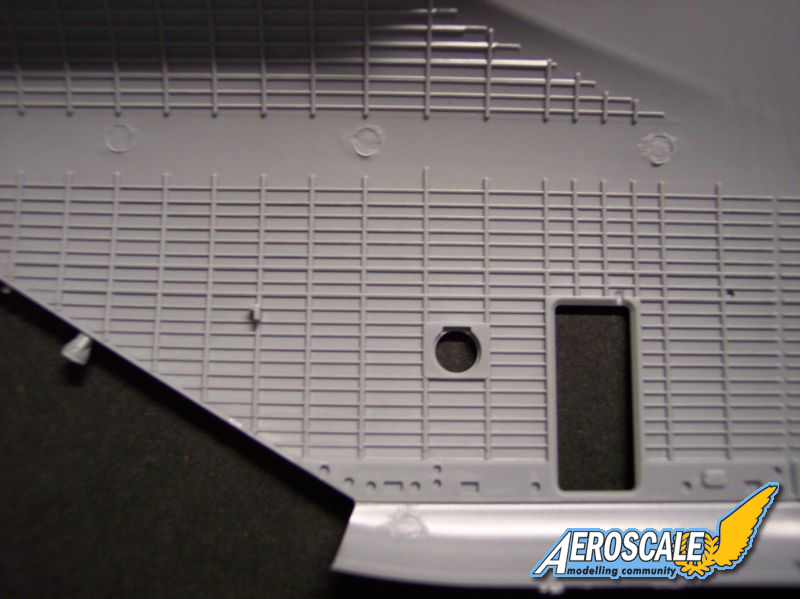
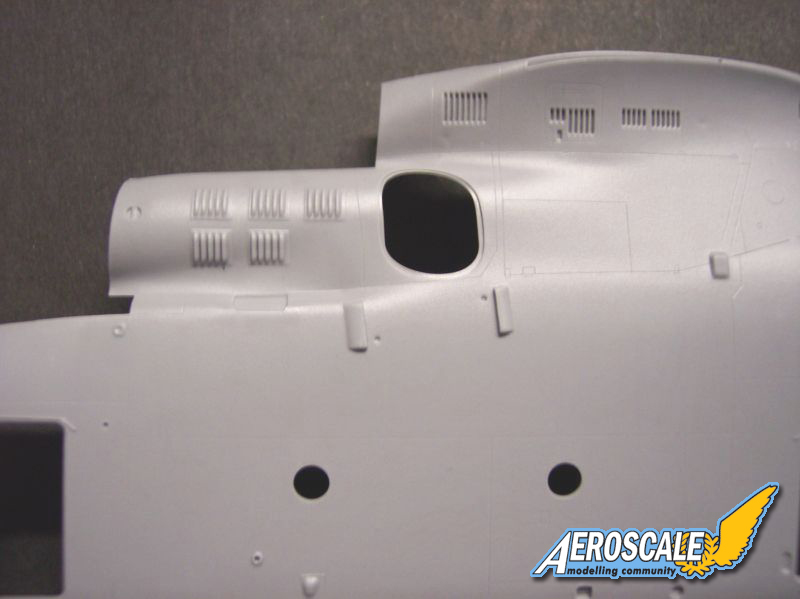
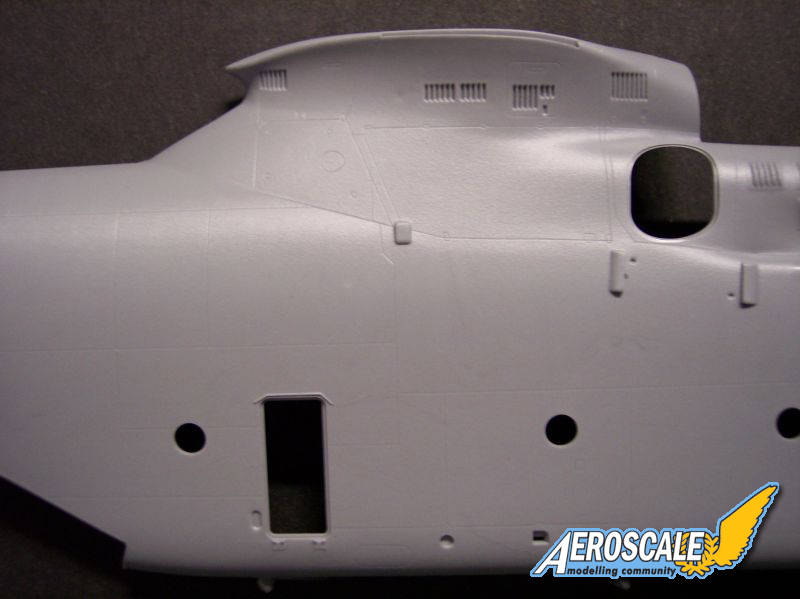
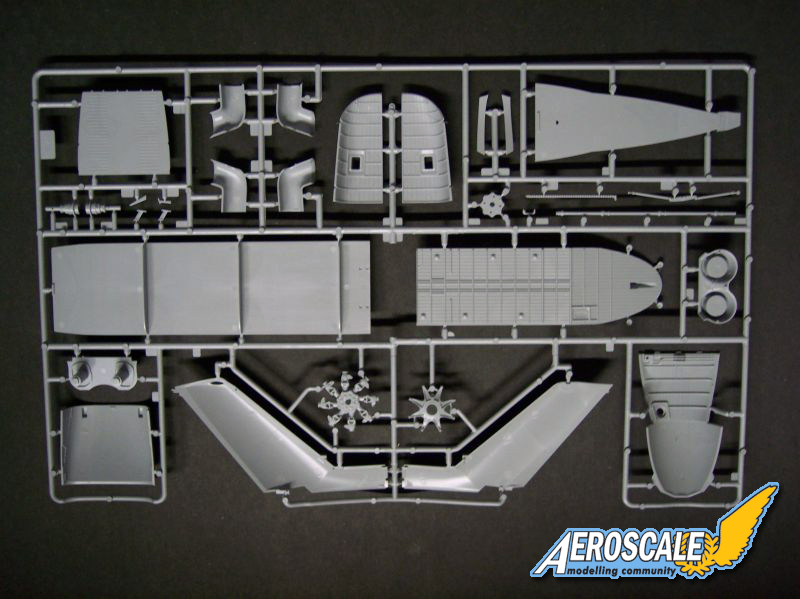
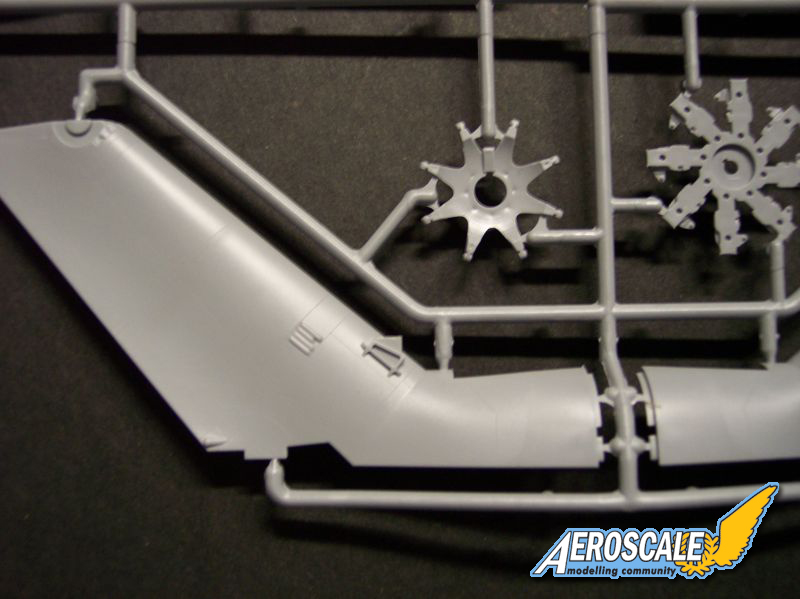
Sprue A carrys the two large fuselage halves. Attachment points are thick, like those found on Trumpeter kits, run along the bottom of the fuselage. There are no sink marks or blemishes that I saw. All the panel lines are lightly engraved, and the level of detail is great. The inner walls of the fuselage have the frame structures molded in, there also a number of push out pins hole. Great thing is that you dont have to worry about filling and sanding them in as there are pieces that go over them and are hidden. The instruction has you drilling out a few holes so youll need to watch for them.
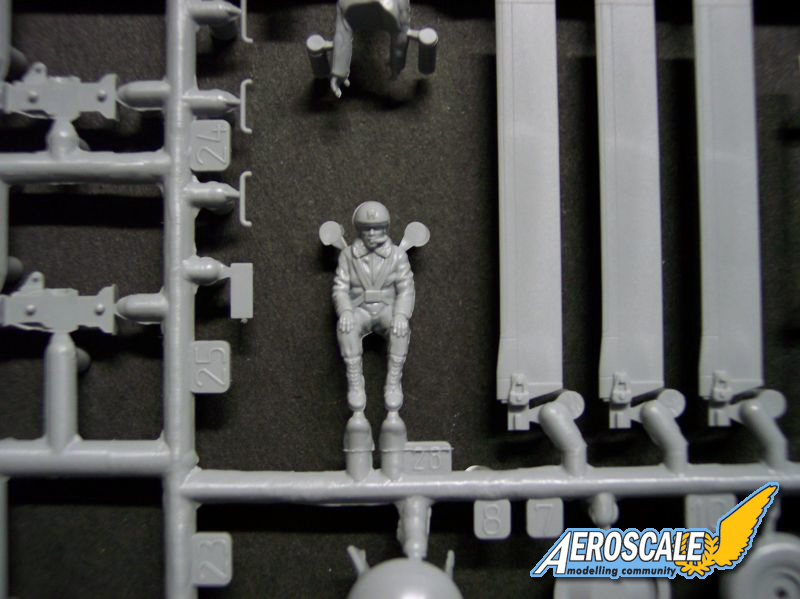
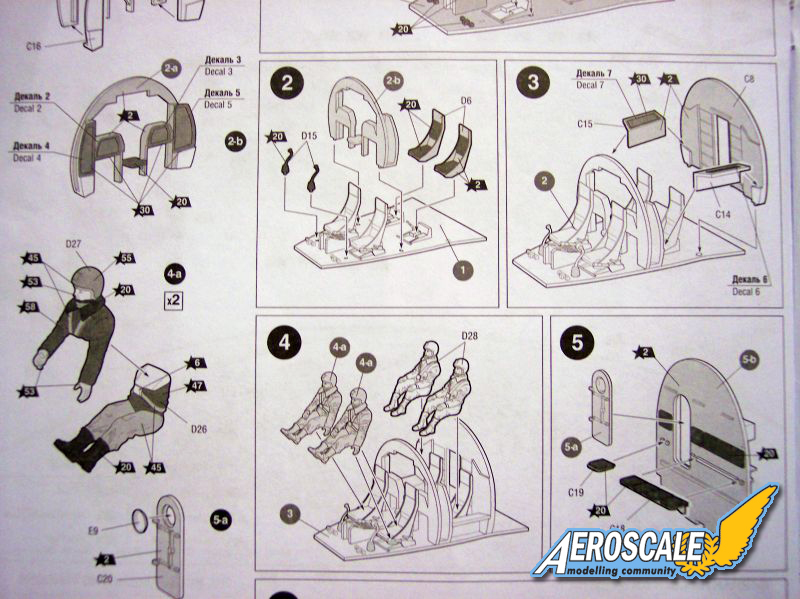
Steps 1 thru 6 are the construction of the cockpit bay; there are 26 pieces in the process not including the 4 pilots. The detail is simple and basic; the seats lack any of the frame work around them and have no safety harness or lap belts. Also included are both the cyclic and collective controls for the cockpit. There are no dials, gages or even any of the knobs found through out any of the cockpits instrument panels. These are represented in decal form.
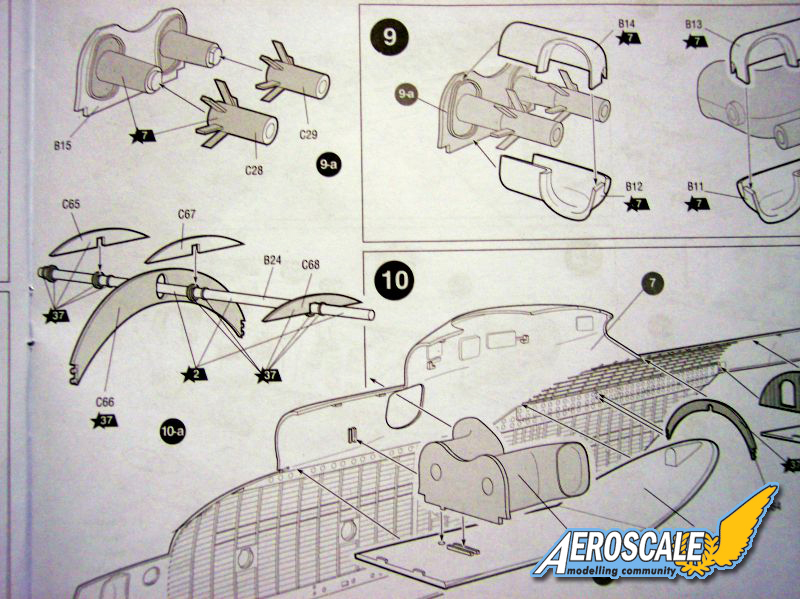
Steps 7 thru 12 are the interior pieces which are broken down into subsections. Starting of with the engine you have a face plate that has two turbo bladed shafts glued onto it, and are correct just like on the real Halo. These are covered up with a two piece exhaust for each engine. The only problem I saw was to file and file the seam line on the insides of the exhausts.
This section is now glued onto the cargo ceiling and glued into place. You then move onto the overhead support structure. These are the arched ribbing sections that support the drive shaft for the rear tail rotor. Detail is pretty good, though its one piece it had the molded in soft points where the joints come together.
Next is the main rotor shaft assembly, three pieces in all with no detail. No big worries here as the massive rotor head will cover up this section.
Once these sections are set they are glued into the fuselage along with the cargo floor then followed by the second half of fuselage and glued together. There are two other pieces that are added next, the bottom section of the main fuselage and a top section thats goes over the cockpit.
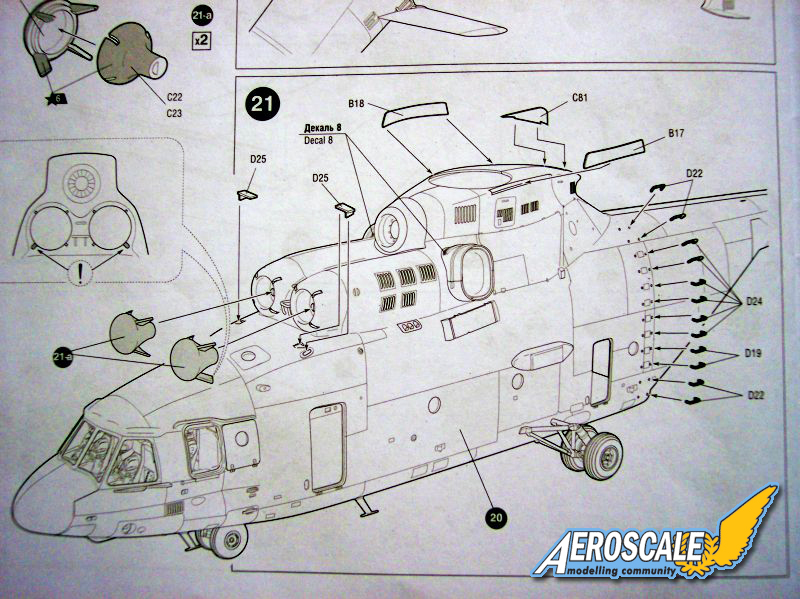
Steps 14 thru 21 cover most of the exterior parts and pieces and the large tail section. Also during this time is the construction of the landing gear and wheels. Landing gear struts are pretty basic with minimum detail. There is no brake or hydraulic lines so check your reference. The rims, wheels and hubs are molded together, each wheel are molded in two pieces. I suggest skip installing the landing gear and wheel to last, first itll make it easier to paint and second parts (C41 & 42) rear landing support struts dont seam that sturdy. The detail between the joints seam thin. Even after the model is built caution and care will be needed.
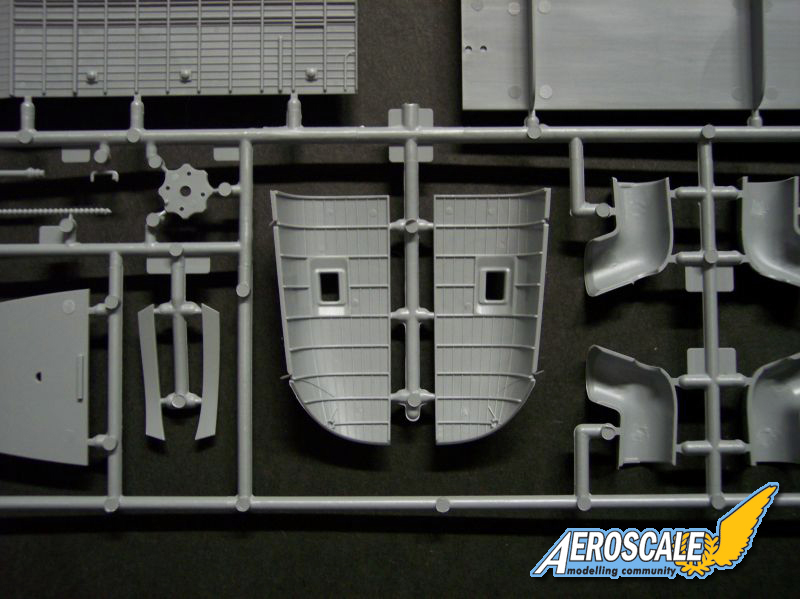
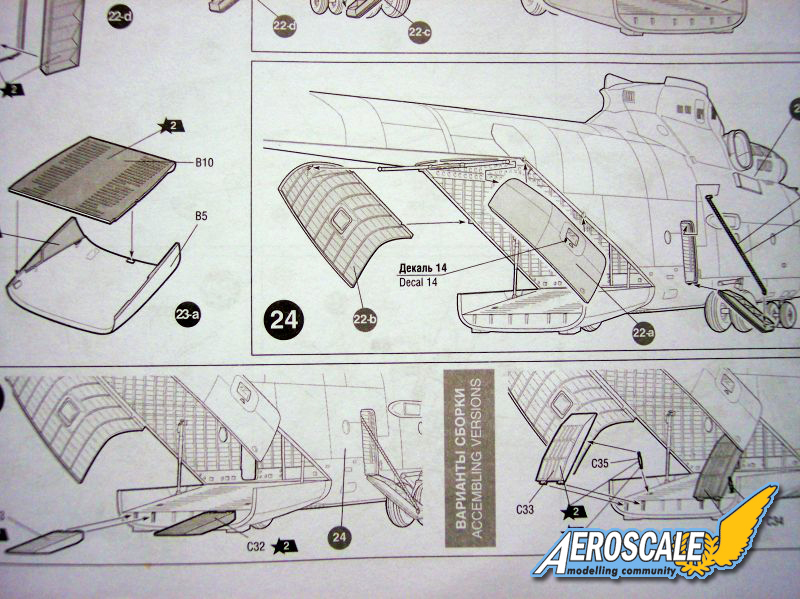
Steps 22 thru 25 cover the side fuselage entry doors and the rear cargo ramps. During these steps you have a decision to make, doors and ramps open or closed.
The entry doors have the boarding steps molded in separate pieces and have the hinge detail. Parts D13 & B26 are the support ropes for the doors in the down and open position. They look more like beaded pull chains than rope and out of scale, closer to 35th; I suggest replacing them with your favorite scale rope.
The detail of the rear ramp and overhead cargo doors are decent, however there are five small ejection pin marks on each of the overhead doors.
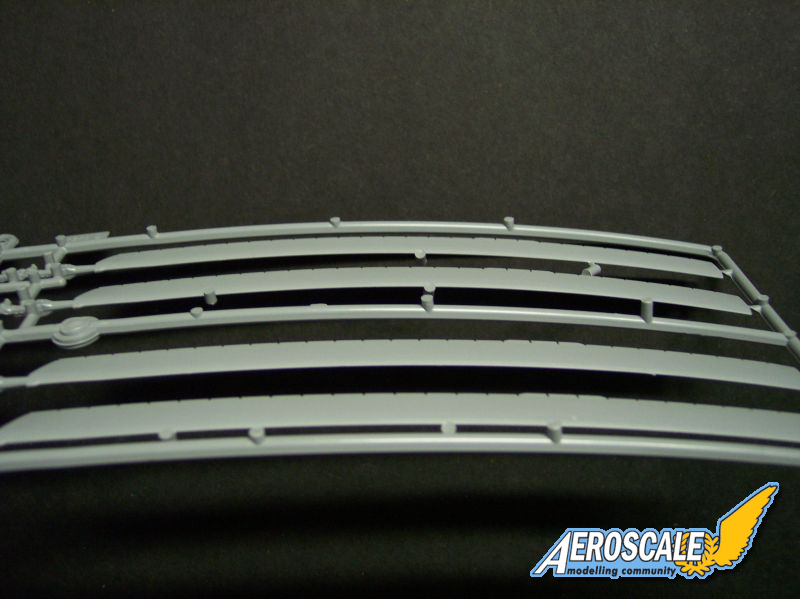
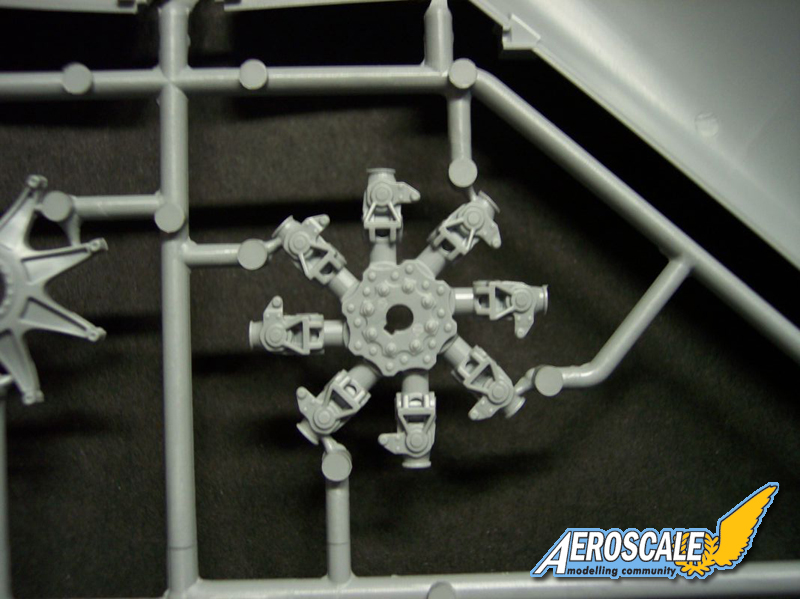
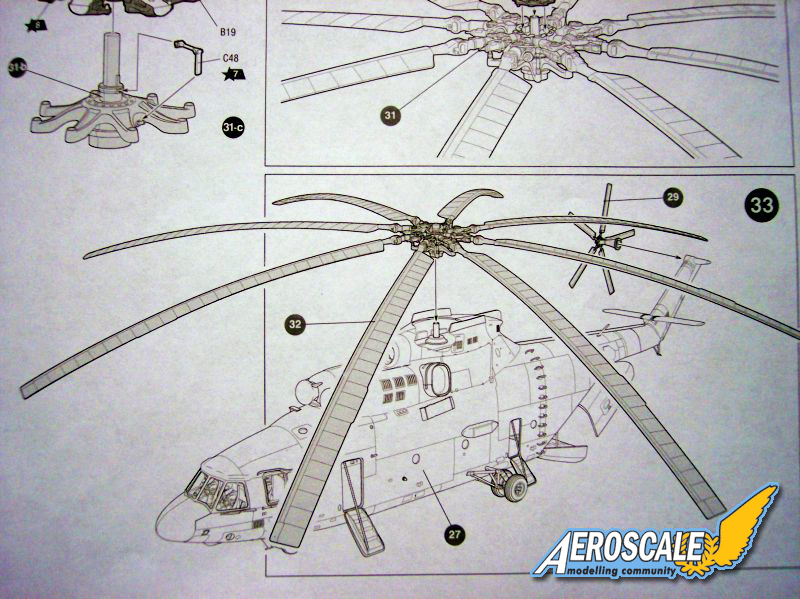
Steps 28 thru 33 are the installation of the blade antennas, navigation light followed by the rear and main rotor blades. Main rotor head assembly looks great, crisp defined detail. There is very little flash that will need to be tended to. A very nice touch is that the rotor blades have been molded with the droop evident when the rotor is not spinning. The eight main blade roots have molded on torque linkages and attached to them and missing are the hydraulic and electrical heating cables, an easy fix using stretched sprue.
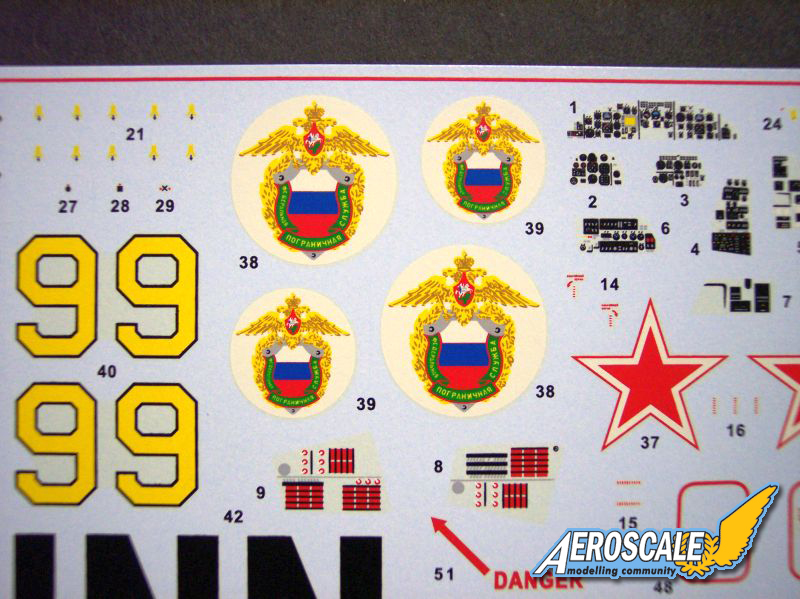
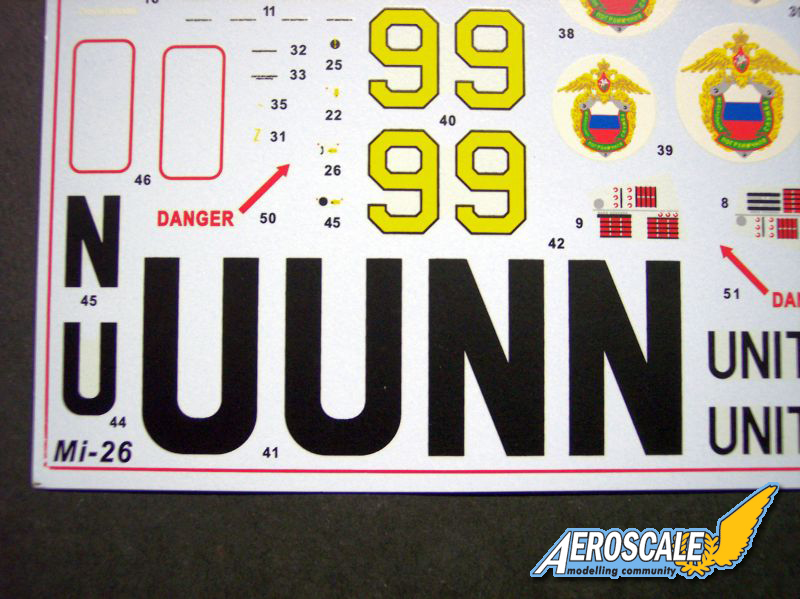
The decals are well printed in a dull mat like finish and contain stencils, door outlines, and instrument panel faces.
Decals options for two aircraft:
United Nations, Uganda October 2003
Russian Frontier troops at Tajikistan, 1993
Conclusion
Overall, I am quite impressed with this kit. The price is very reasonable for with an average price of about $40. Not only is it massive it is one of the nicest Mil Mi-26 Halo kits produced in 1/72nd scale. The molding quality is excellent and features some great detailing with soft scribed panel lines. Straight out of the box the Mi-26 would look quite nice sitting along side your aircraft collection. There are no challenging steps presented in the instructions, and is recommended to builders of all skill levels.
Please remember, when contacting retailers or manufacturers, to mention that you saw their products highlighted here - on AEROSCALE.
SUMMARY
Highs: It is very nicely molded with soft detail.
Lows: Would have been to see more interior cargo parts added to the kit. Thin wheel struts may pose a problem. Verdict: All in all this is a great kit, straight from the box it will make into a nice model. Im sure it wont be long before some of the aftermarket companies come out with some interior/exterior sets in resin and photo-etch.
Our Thanks to Dragon USA! This item was provided by them for the purpose of having it reviewed on this KitMaker Network site. If you would like your kit, book, or product reviewed, please contact us.


Comments