HISTORY
The first major production model of the Mirage series, the Mirage IIIC, first flew in October 1960. It was a single-seat interceptor, with an Atar 09B turbojet engine, featuring an "eyelet" style variable exhaust, which gave it a top speed of 2230km/h (Mach 1.95) and a range of 2500km.
Armed with 2 x 125 round DEFA cannons, fitted in the belly with the gun ports under the air intakes, it also had 5 wing pylons on which it could carry a wide range of external stores: Sidewinders, Matra R-511, R-530, AS.20, AS.30 missiles, MK 82 bombs or JL100R rocket launchers.
The Mirage IIICJ was the designation given to the Israeli Mirage III C's. With the Israelis' outstanding success with the Mirage IIICJ, scoring kills against Syrian Mikoyan-Gurevich MiG-17s and MiG-21 aircraft and then achieving a formidable victory against Egypt, Jordan, and Syria in the Six-Day War of June 1967, the Mirage III's reputation was greatly enhanced. The "combat-proven" image and low cost made it a popular export success.
The Mirage IIIC was also exported to South Africa as the Mirage IIICZ, and to Switzerland as the Mirage IIICS, in which case one was sold in preparation for license construction.
THE BUILD
An Inbox review of this kit can be found
here.
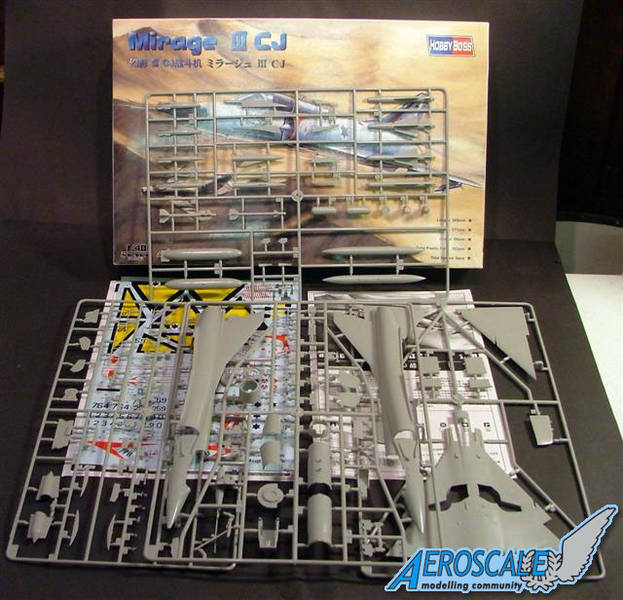
I have decided to build this kit completely out of the box, so nothing has been added that Hobby Boss hasn't supplied.
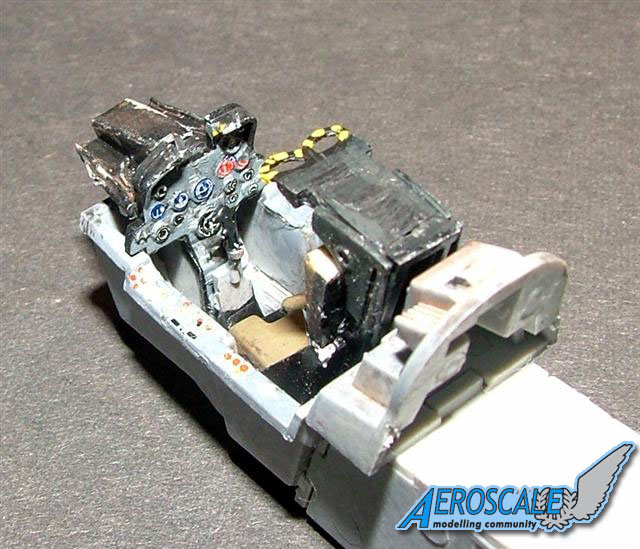
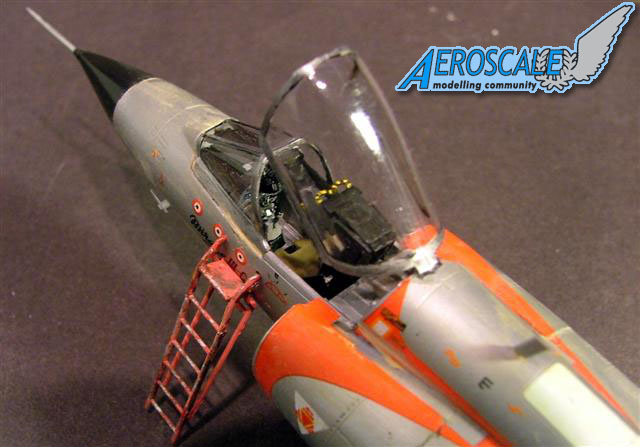
The build as usual starts with the cockpit. The ejection seat makes up from seven pieces, but doesn't come with any harness's, but adding either P.E or scratch built belts wouldn't be too hard even for the inexperienced modeller. The cockpit tub has the two pedals, joystick, instrument panel, HUD and the instrument hood. The decal sheet has decals for the side consoles and instrument panel, but at no point in the instructions are you told to apply them! Once applied and a setting solution is used they look pretty good.
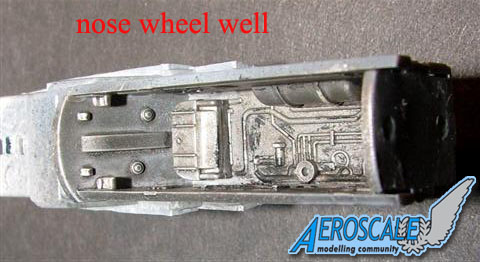
The nose wheel well is built up and sits on the back of the cockpit. I painted the interior of the well before I glued anything together, since painting it after would be a bit of a tight squeeze because it's fairly deep. The instructions tell you to use metallic black, but as I didn't have any I used Alclad steel instead. Personally I think it looks better then black would have done. Pipes and servos were dry brushed black. Once dry, the wheel well was given a wash of black, then another wash of burnt umber to simulate dirt and grime.
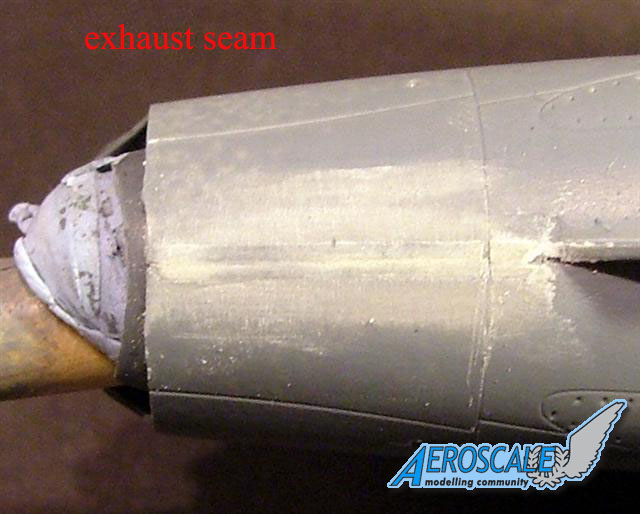
The exhaust tube was also sprayed with steel, and the fan blades were painted silver, then put together.
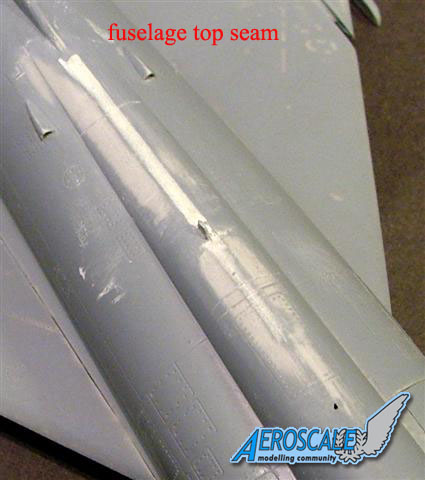
The cockpit and exhaust tube now fits into the fuselage. This is the point I usually hate, closing the fuselage up. Why? - because at this point you get to see how much seam filling you have to do. The two halves go together pretty well and there is only a trace of seam filling to do, but I decided to leave this until after the wings were installed as the wing roots are bound to need some filling.
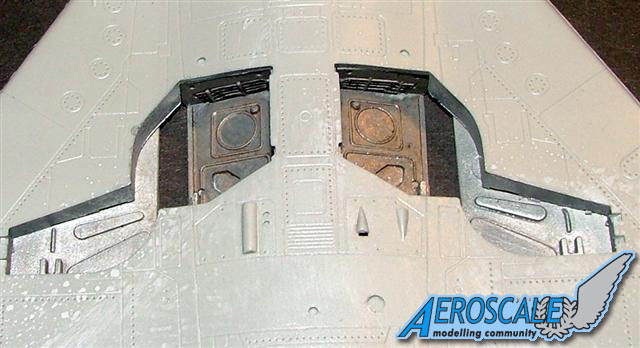
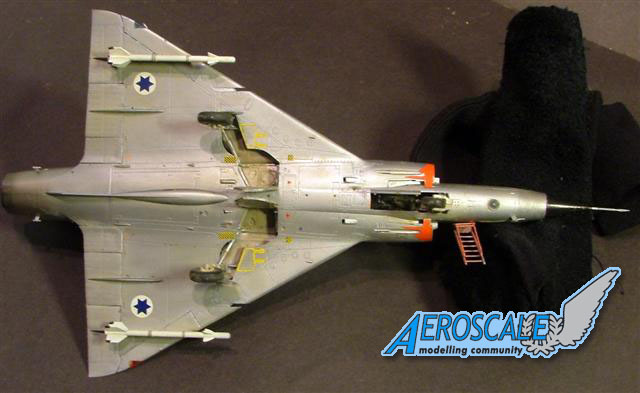
The wings are split into one lower and two upper parts with part of the wheel well floor and sidewalls sandwiched in the middle. The wheel wells were painted aluminium and given the same wash treatment as the nose wheel well. You also need to paint the bottom of the fuselage, where the wing sits, as it makes up part of the wheel well floor. The instructions tell you to install the clear navigation lights, but you are best to leave these off until after the model has been painted.
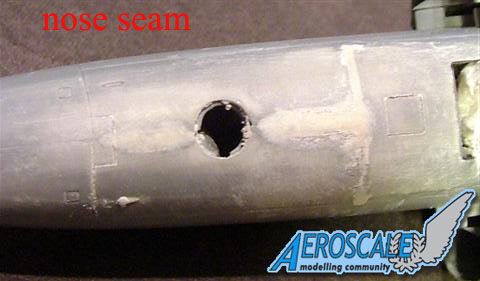
The wings now fit onto the bottom of the fuselage. The fit is pretty tight, but with a bit of fiddling about it all clicks into place. The only part that needs any attention for filling is where the wing section goes around the nose wheel on the forward fuselage. I tackled that area and the little seam work on the fuselage at the same time. By using the "nail varnish remover" method, in a well ventilated area, the filling took me about 15 minutes.
The side intakes and intake covers were primed and the insides sprayed in aluminium then attached to the fuselage.
The rear ailerons are attached to the wings. There is a little play in this, so they can be raised or dropped a little. With some work they could be positioned at steeper angles.
Now this is where I deviate from the instructions. The rest of the main fuselage parts are glued into place, including the outer weapon pylons. All the undercarriage, aerials and sensors are left off until after the main body has been sprayed. The plane and everything left on the sprues was sprayed with primer and left to dry.
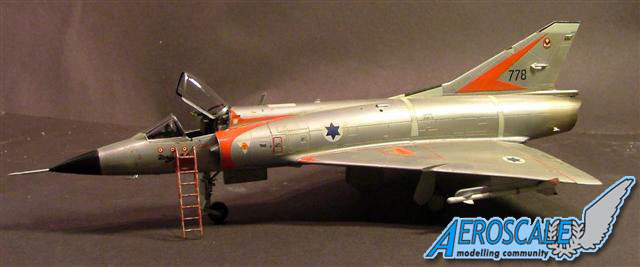
At this point I had to decide which marking option I was going to do. The option number 3 looked the best to do, as it is in a three colour camo scheme with light blue undersides. That option quickly disappeared after checking my paints as I realised I didn't have 2 of the colours I needed, and being somewhat lazy, option 1 in a Natural Metal Finish won the day. The plane, aerials and sensors now received a coat of Alclad 2 aluminium and the undercarriage legs and doors were sprayed with Alclad 2 dark aluminium.
The undercarriage was built and added, but the inner main gear doors were left off as a couple of decals need to go on them.
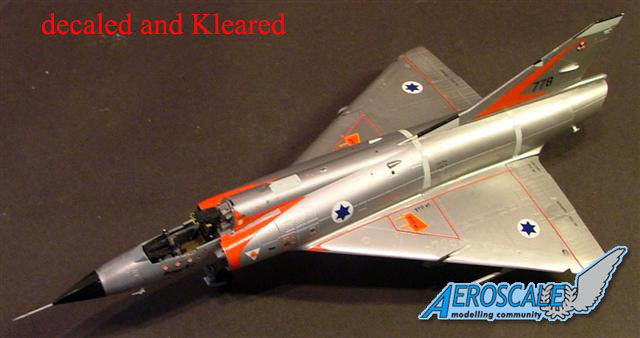
A coat of Klear (Future) was hand brushed over the entire kit ready for the decals.
The canopy was dipped into Klear and left to dry. Once dry the frames were painted inside in black and aluminium on the outside. I did this all by hand as the frames aren't that complicated to paint.
DECALING
I always tackle the decal process in 4 stages, starting with the underside then topside, starboard and finally port-side. With most of the stencils being repeated on all sides I usually apply these to the whole aircraft in one sitting and mark them off the decal placement sheet as they are applied.
The decals go on with out any problems, settle well and with some setting solution contour nicely into the panel lines and rivets.
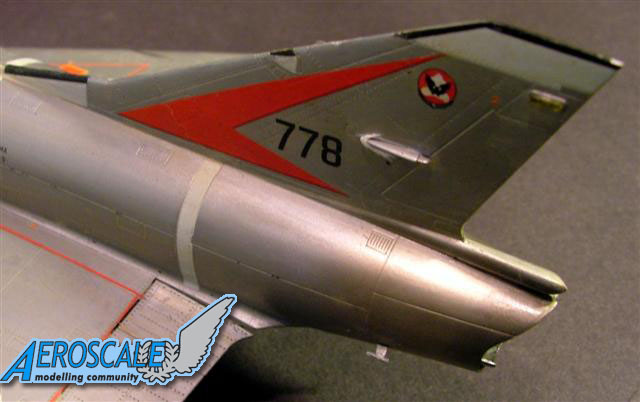
Now there are a couple of things to look out for when decaling and that is Hobby Boss has got a couple of the decal numbers wrong (well on option 1 they have ), the picture is correct but the number is wrong. One case in point is the unit insignia for the tail, the decal placement sheet says to use decal No 71 where in fact the decal is No 73, the picture even shows you No 73.
Another slight annoyance is where a decal is clearly marked on the placement sheet but no number is mentioned for it. Both these problems are easily remedied with a bit of cross checking and common sense. Once everything was decaled another coat of Klear (Future) was applied by brush.
WEATHERING
Once everything is dry, the undercarriage doors aerials and sensors are glued into position. The tail pipe and about half an inch of the rear fuselage is sprayed with Alclad 2 jet exhaust and then pale burnt metal is blended over the top and roughly an inch along the rear of the fuselage.
The whole plane was given a slight oil wash of Payne's Grey, left for 15 minutes and then wiped off in the direction of the airflow. Now as I wanted this aircraft to look well used and dusty, another heavier wash of Gulf War Sand MiG pigments, mixed with white spirit was then applied. This was also left to dry for 15 minutes and then wiped off. This wash is probably more of a filter then a wash as you are left with a yellowish tinge to the metal. After being left to dry for a few hours a coat of satin was sprayed on.
I then attached the canopy and the boarding ladder.
The last part is too attach the external weapons. I decided to have only the Sidewinder missiles on the outboard pylons only as I wanted to keep the clean lines of the Mirage free.


Comments