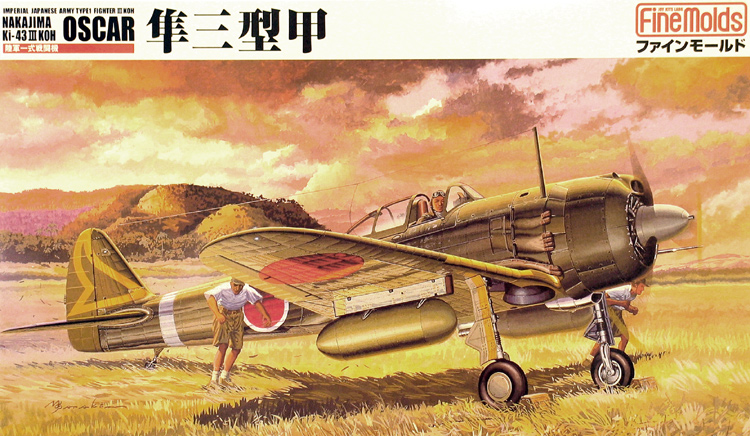
Background
The Ki 43 Hayabusa (Allied codename Oscar) was the most numerous of all the Imperial Army's warplanes, fighting from beginning to end in WW2 despite it's increasing obsolescence. Designed around the Japanese aviation doctrine of the period that placed agility above other considerations, the Hayabusa was very lightly built and armed and could easily outmanoeuvre every Allied fighter it faced. On the downside, it often simply disintegrated under .50 calibre fire, and later models introduced some armour and self-sealing fuel tanks. The initial armament proved far too light to do much damage to its opponents and was steadily improved, rising from a pair of rifle-calibre machine guns mounted in the fuselage, to a pair of 20mm cannons in the final versions.
The model
Finemolds' Ki 43 III consists of:
65 x pale grey styrene parts spread over 5 sprues
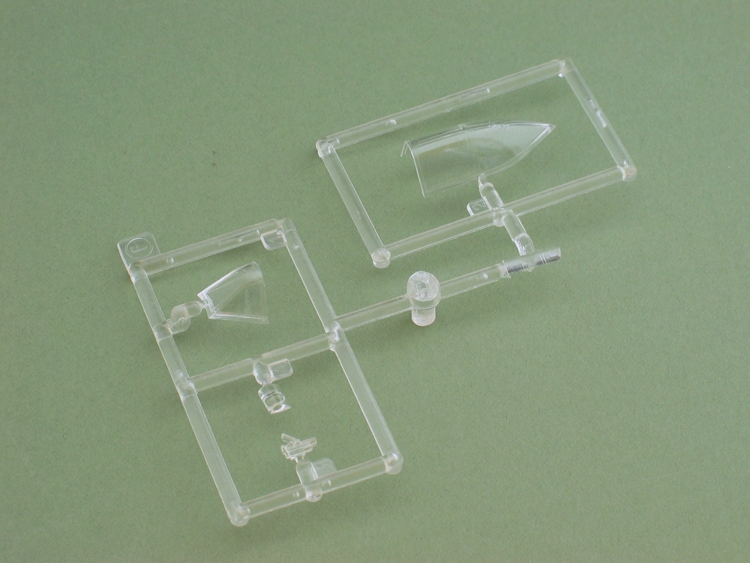
4 x clear parts
decals for 6 colour schemes
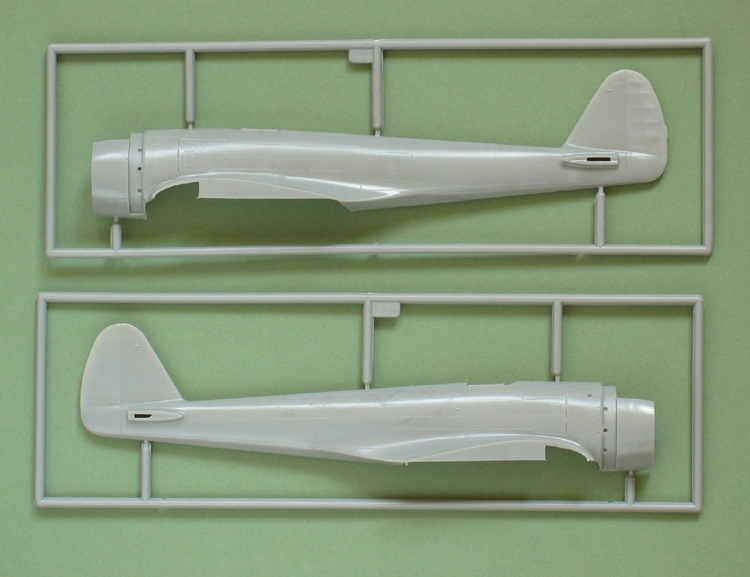
The first impression is very good indeed. The Ki-43 was one of FineMold's earliest kits, but the moulds have held up very well over the years and the detail is still well up to today's standards. The parts are cleanly moulded in quite hard plastic and feature exceptionally fine panel lines along with some restrained raised panels details and subtle fabric effects for the control surfaces. There is next to no flash and the the relative small number of parts promises a nice simple build.
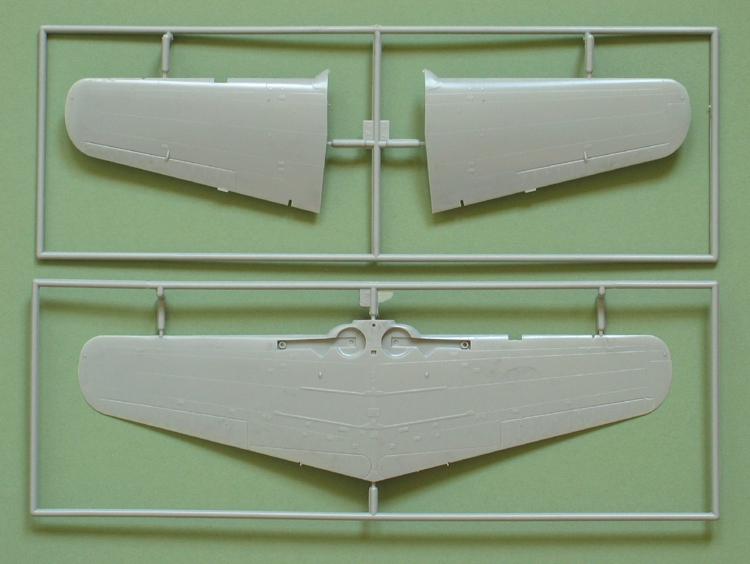
This is countered slightly by a quick test-fit of the major parts; the fuselage halves and wing tops and bottom are a rather sloppy fit and require a bit of adjustment. On the plus side though, once you get things lined up, the trailing edges are impressively thin. The stabilizers need a little work to get a neat fit because their tabs are thicker than the corresponding slots in the fuselage and, even after careful line-up, the wingroot looks like it will require some filler. Part of the problem here is because the trailing edge of Part A5 - the one-piece wing bottom - has a kind of moulded-in "spar" to ensure the correct dihedral. A good idea in theory, but the wing sits a little proud of the fuselage, so some deft trimming on the inner face to remove the "spar" and give a little flexibility will probably help ensure a good fit. At the front edge, the protruding wheel-well fairings will need filling and sanding.
Details and construction
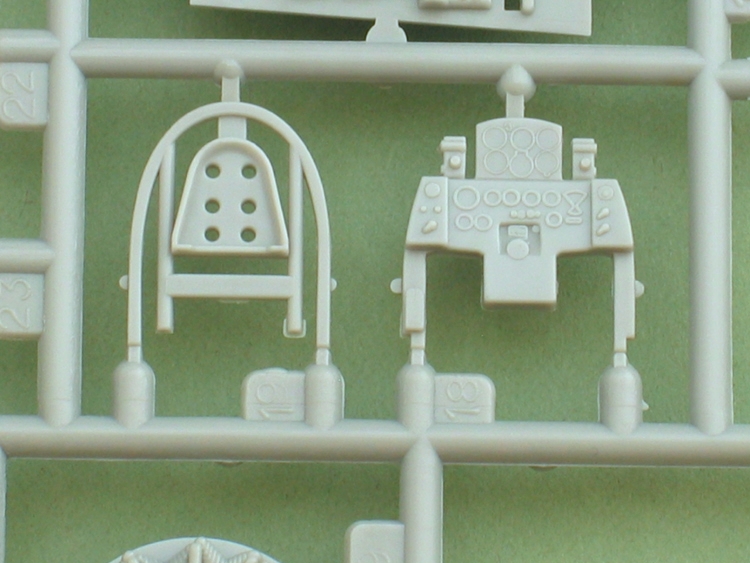
Work begins with the cockpit, which is simple but nicely kitted out with details which should repay careful painting. The cockpit floor has well moulded consoles and the seat is made up of two parts - a base with a moulded-on cushion and harness and a perforated back which is attached to the rear cockpit frame. The instrument panel is a little basic, with simple raised circles to represent the bezels, but a nicely printed decal is provided for the faces of the dials. The instructions are almost entirely written in Japanese, but colour names are included in English here and there, along with numbers for Gunze Sangyo paints.
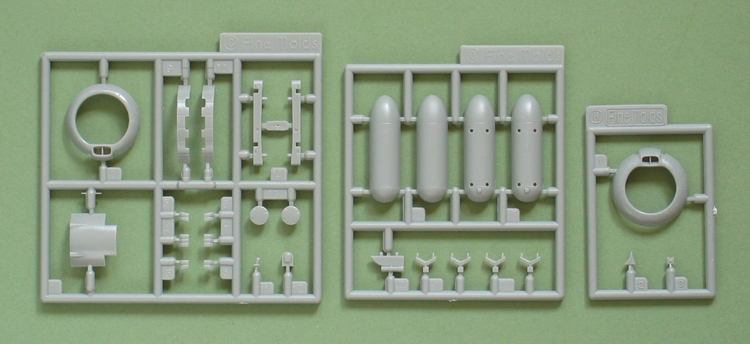
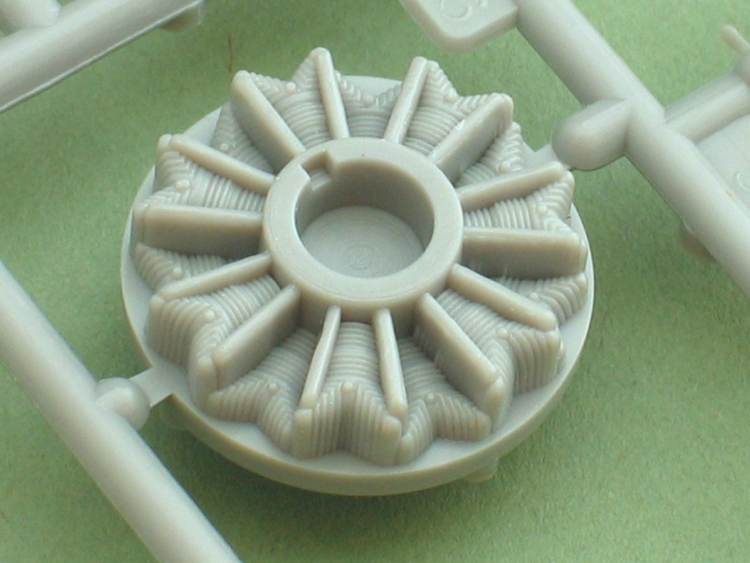
Stage 2 turns to the engine which is very simple, consisting of just a double-row of cylinders and a separate crank case which holds the propeller spindle. The cylinders themselves are good with delicate cooling fins, but the push rods are a bit heavy. Nevertheless, the engine is quite closely cowled, so it should look fine with the addition of some simple wiring.
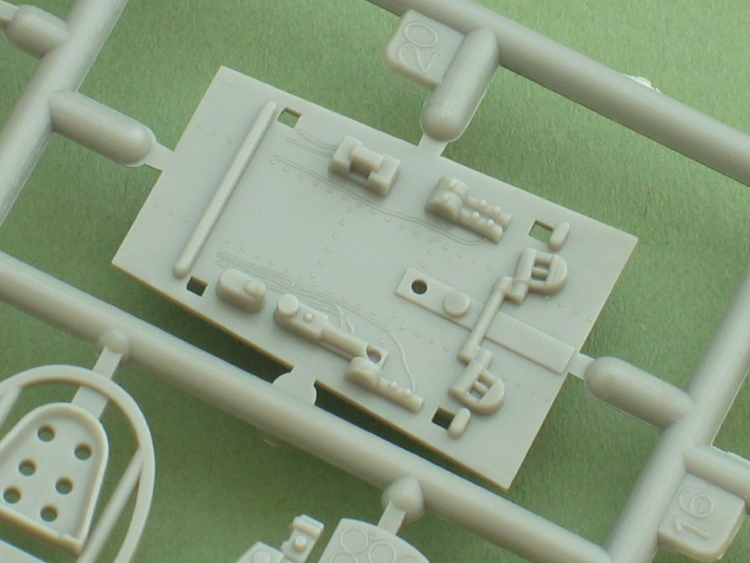
Stage 3 includes colour notes for the impressive moulded-on cockpit sidewall detail, before the engine and cockpit "tub" are fitted and the fuselage closed.
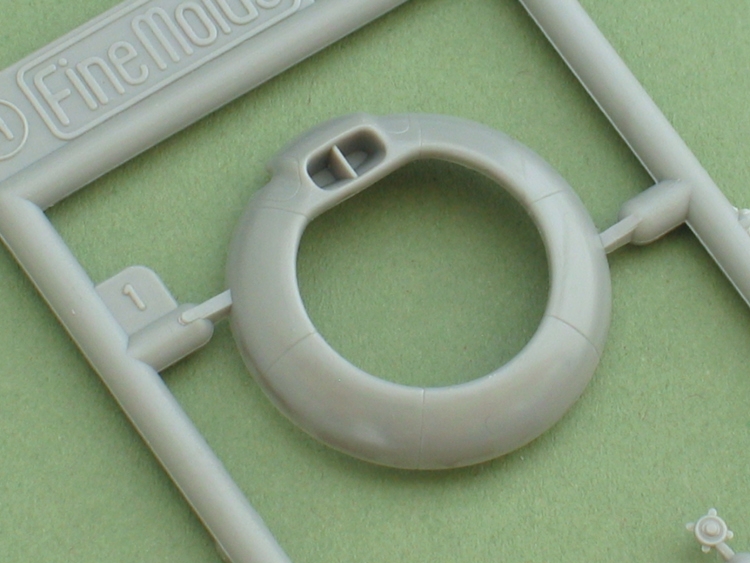
Stage 4 is a little confusing and I am indebted to Rod (MightRhinox) and Aimi Lenz for kindly translating the Japanese instructions for our benefit. The stage covers the construction of the cowling and exhausts and a small extra sprue of new parts and an additional instruction sheet are included. What isn't clear is whether the new cowling face (Part H1) is intended as a replacement or an alternative. Thanks to Rod and Aimi, I can say that H1 is the piece needed for all the colour schemes - and the old cowling front (Part C2) an be consigned to the spares box. Stage 5 is included on the side bar and shows the carburettor intake.
Stages 6 & 7 cover the construction and fitting of the wings and tail and look very straightforward on paper but, as note above, these will definitely repay some extra care to ensure a good fit.
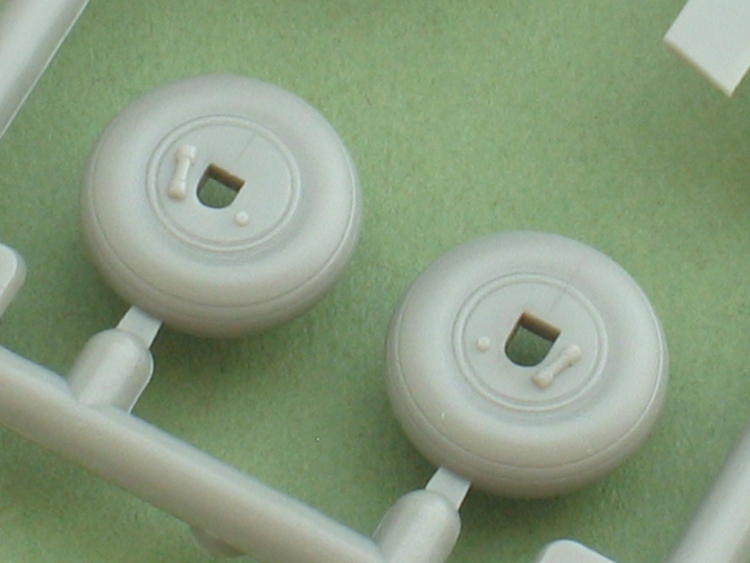
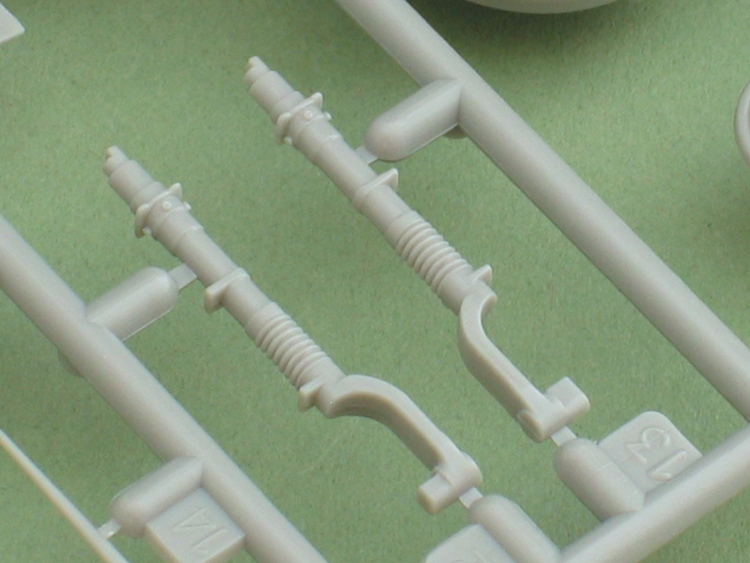
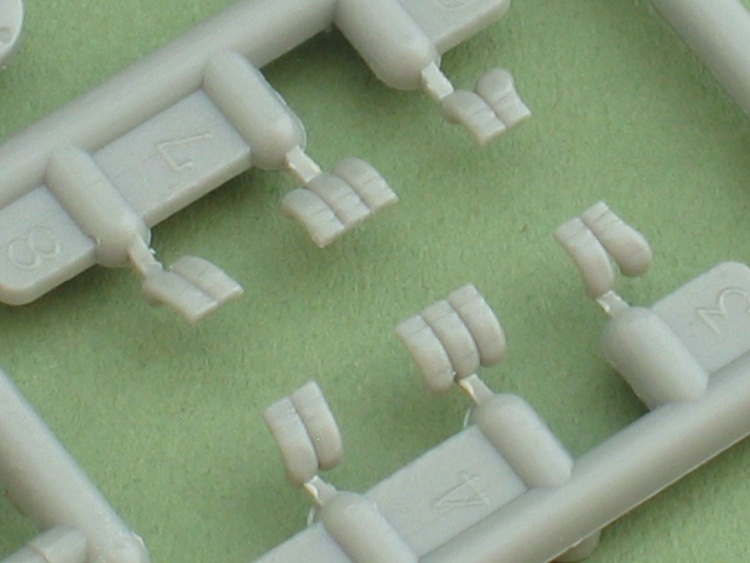
Stage 8 deals with the main undercarriage which is nicely represented with separate oleo scissors and some good detail on the wheel hubs.
Stage 9 covers the propeller which is made up of individual blades attached to a backplate. Each blade has a locating pin to ensure the correct angle, and the instructions include painting notes with dimensions for the yellow warning markings on the tips of the blades.
Stage 10 and 11 cover the fitting of the undercarriage and a pair of drop tanks which come complete with sway-braces for their racks. The wheel wells are a bit disappointing because they are very shallow, but these will be hidden for the most part on the finished model.
Once again Rod and Aimi come to the rescue concerning a small part shown on the supplementary instruction notes - Part H2 is optional because they were apparently not always fitted on the full sized aircraft. You'll need to fill the square hole if you choose not to fit it.
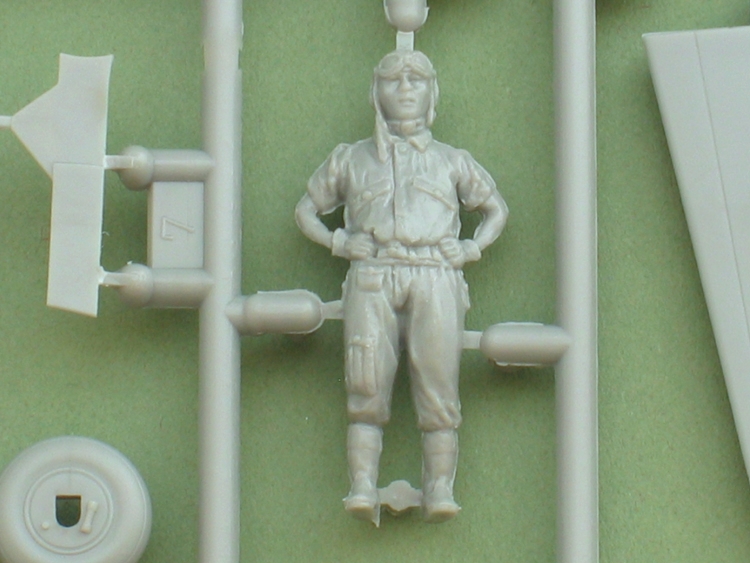
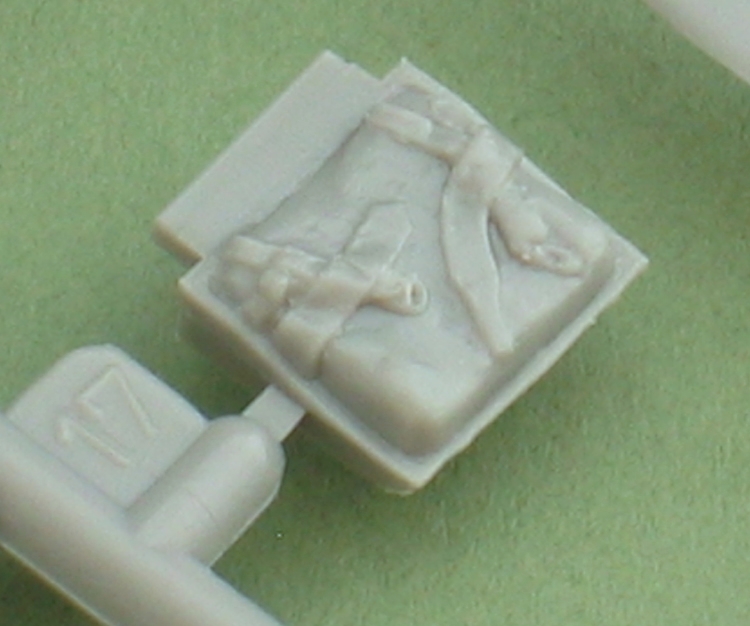
Finally, Stage 12 sees the propeller attached along with the canopy etc. to complete the construction. The 2-part canopy is thin and very clear. Last but not least, Finemolds include a neat standing pilot figure in a relaxed pose. The arms are perhaps a little undernourished, but the figure includes some very good details on his flying suit and equipment.
Instructions
As will be clear from the above, any difficulties are purely down to the instructions being written in Japanese. The lack of an English translation is a real shame, because its clear that Finemolds' instructions are actually far more comprehensive than those included with, for instance, Hasegawa kits. There's a separate sheet which appears to include comprehensive details of the pilot and armament, along with a nicely drawn annotated cutaway illustration of the cockpit and major systems. Still, even without the benefit of these extra notes, the construction should present few problems for the average English-speaking modeller.
Painting and decals
Rod and Aimi have kindly translated the basic painting instructions which apply to all the decal options (Paint numbers # indicate Gunze Mr Color paints):
"In late 1944 (Japanese year Showa 19), the IJA decided to standardize all aircraft colors. The Ki-43 began production before this so early aircraft were a different color. To this end the underside was unpainted. Please use Alclad products for best result.
Top, side, cowling, antenna support, canopy frame:
Dark Brown, American army olive drab is close (#12 olive drab is close).
Underside: natural metal, #8 silver or Alclad lacquer.
Wing rack: #8 silver, forward edge #43 wood brown.
Auxiliary tank: Yellow green No. 7 - #60 RLM 02 grey is close.
Spinner: Grey-green (#52 field grey is close). Early model was Red Brown (#131 Red Brown).
Body was also sometimes same colour. Spinner was also sometimes painted
squadron color."
One point I'd add is that the painting guide shows the entire undersurfaces as "silver" (natural metal) including the fabric covered ailerons and elevators. It's more likely that these were painted pale grey.
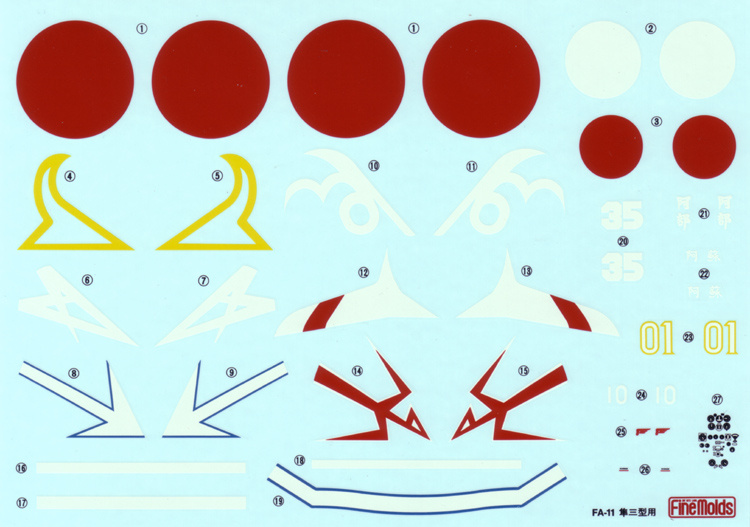
National markings are included for one aircraft and individual insignia for 6 aircraft:
1. Ki 43 III Koh flown by Maj. Hideo Miyabe, Hiko Sentai Commander, 64th Hiko Sentai, Krakor, Indo-China, May 1945.
2. Ki 43 III Koh flown by 1st Lt. Hitoshi Yamamoto, Sentai Commander, 3rd Chutai, 33rd Hiko Sentai, Bireum, Sumatra, Otober 1944.
3. Ki 43 III Koh flown by Cap. Hiroshi Murakami, Hiko Sentai Commander, 204th Hiko Sentai, Matsuyama, Formosa, Summer 1945.
4. Ki 43 III Koh flown by Sgt. Sou Okabe, 1st Chutai, 48th Hiko Sentai, Nan King, China, August 1945.
5. Ki 43 III Koh flown by 1st Lt. Hideyo Kimura, 39th Kyoiku Hikotai, Yokoshiba, Japan, June 1945.
6. Ki 43 III Koh, 65th Hiko Sentai, Metanaba, Japan, August 1945.
Schemes 3 & 4 are shown with some heavy weathering (especially the former), so they'll present an ideal opportunity for some salt or latex "paint chipping".
In common with many Japanese manufacturers, the decals are a little thick, but are printed in excellent register. The Hinomarus are presented in a nice dull red and the sheet includes some quite colourful tail markings for some of the aircraft above.
Conclusion
All in all, Finemolds' Ki 43 III Koh is a neat little kit of the final major version of an important fighter. The kit won't exactly "build itself", but the delicate surface details more than compensate for the little extra work needed. Modellers of average ability upwards should have no trouble completing the kit and it's well worth tracking down by fans of Japanese WW2 aircraft. Finemolds kits aren't as widely distributed as some Japanese manufacturers' models and can often be expensive in Europe. I purchased my Oscar from
Hobby Link Japan, where the price of just £11.34 (+p&p) makes it excellent value for money.
Please remember, when contacting retailers or manufacturers, to mention that you saw their products highlighted here - on
ARMORAMA