History
The
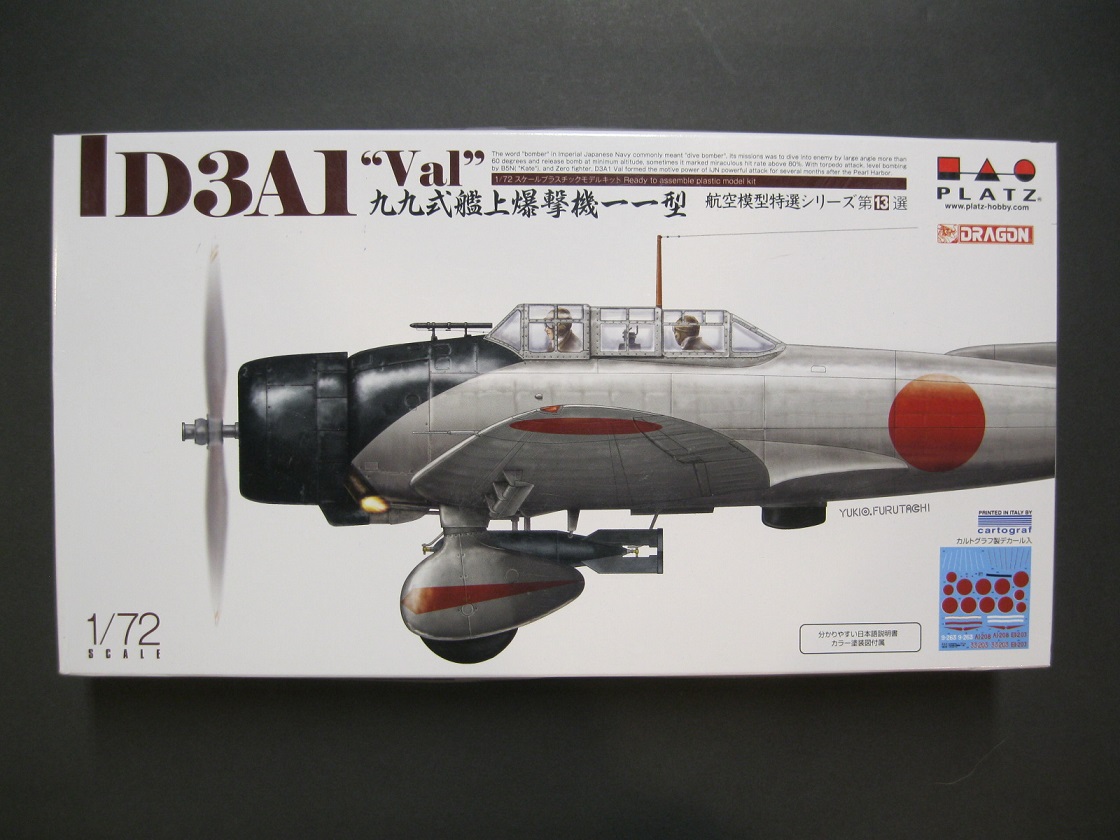
Aichi D3A1 was a dive bomber used by the Imperial Japanese Navy during the second world war. Accepted for duty in 1939 (2499 in the Japanese Calendar) it was given the name of "Navy type 99 Carrier Bomber model 11. The allied reporting name assigned was "Val". The D3A1 was used extensively throughout the war, being credited with dropping the first bomb on a US target.
This kit was first released under the
Cyber-Hobby label in 2012 as the "
Aichi D3A1 type 99 Dive Bomber" and was reviewed by Tim Hatton previously here
Aichi Val Dive-Bomber. The kit was released again with new decals under the label "Midway 1942" and was again released earlier this year with a new set of decals covering a wide time range.
The kit
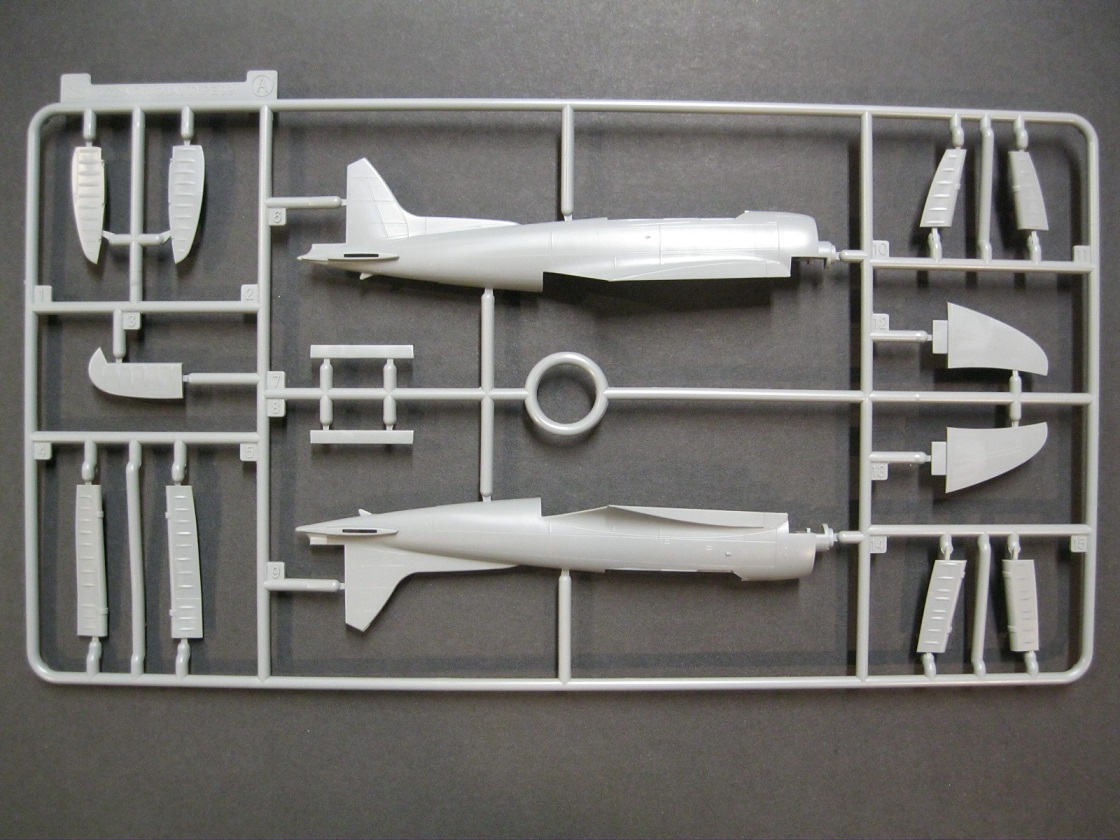
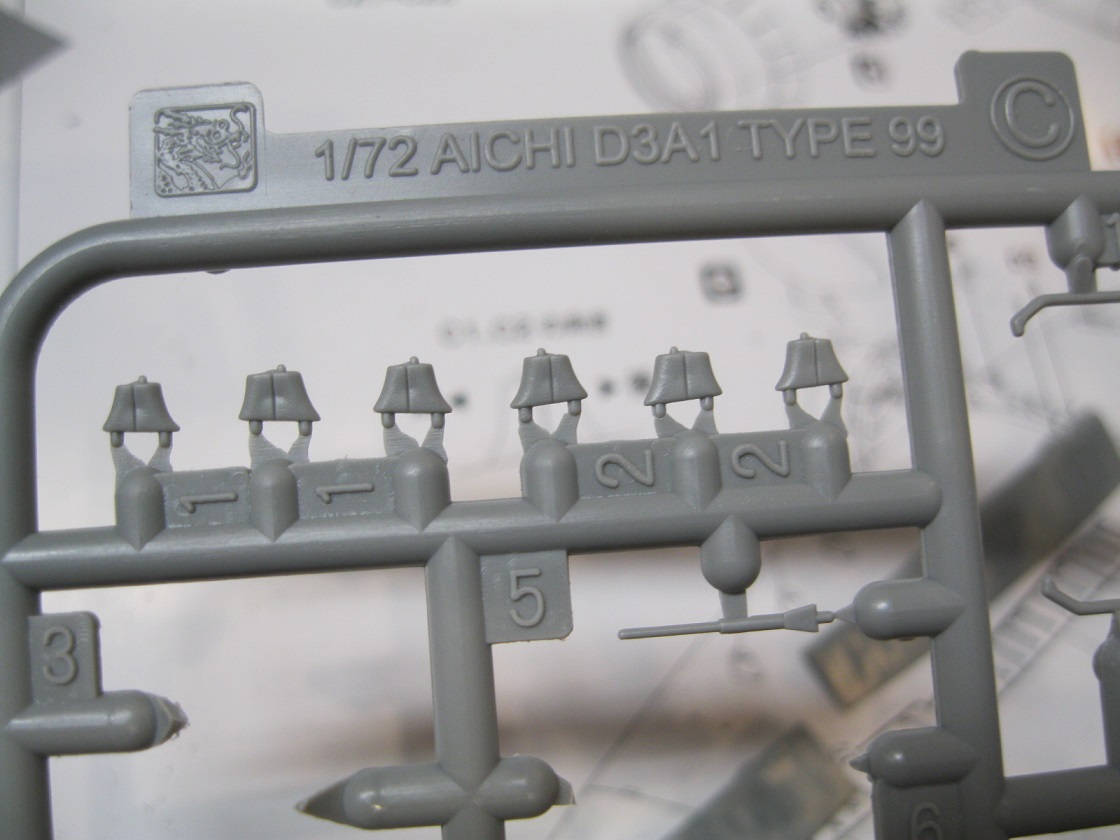
The kit comes in a top opening box that is somewhat large for the parts, meaning you can open it up and close it again. All parts are enclosed in a single sealed cellophane bag, which resulted in some parts being knocked off the sprue but visibly undamaged. No sink marks were readily visible though there was some minor flash on a few parts. The styrene is a medium gray color, hard and holding decent detail, but will split and tear at the sprue gates if you try to trim with a dull hobby knife, or try to remove too much material at once. The parts breakdown is as follows:
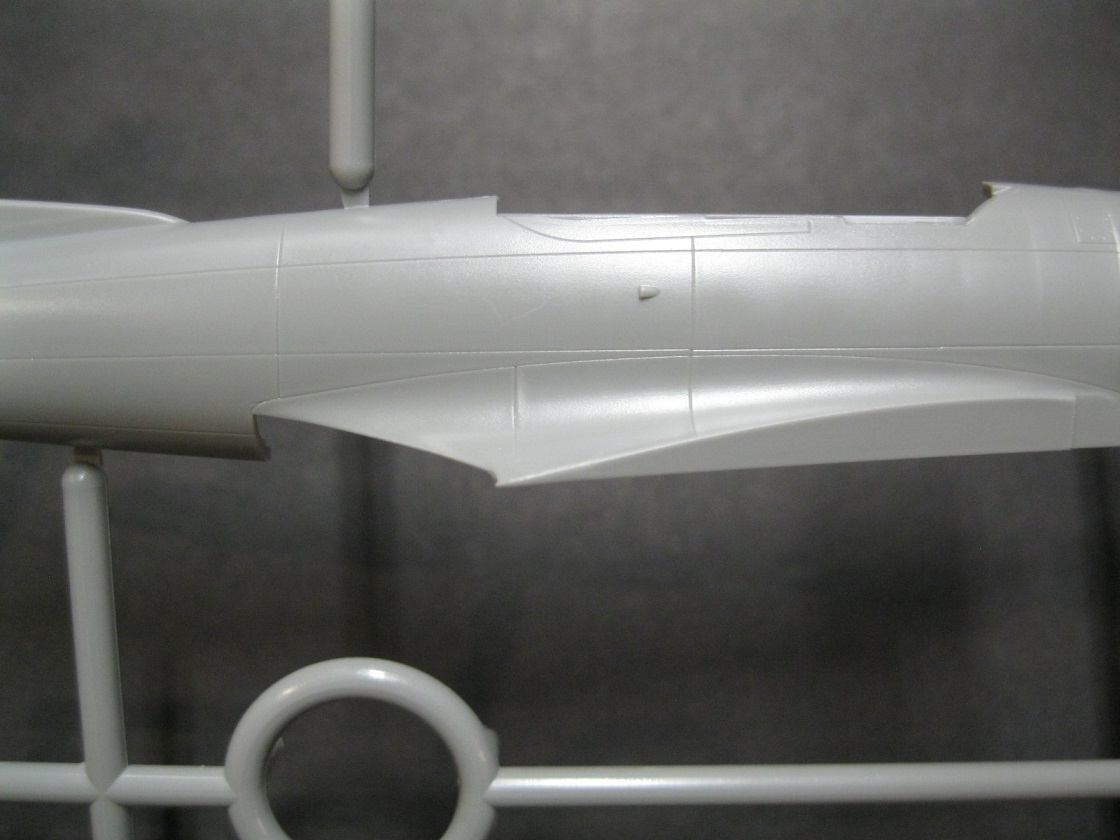
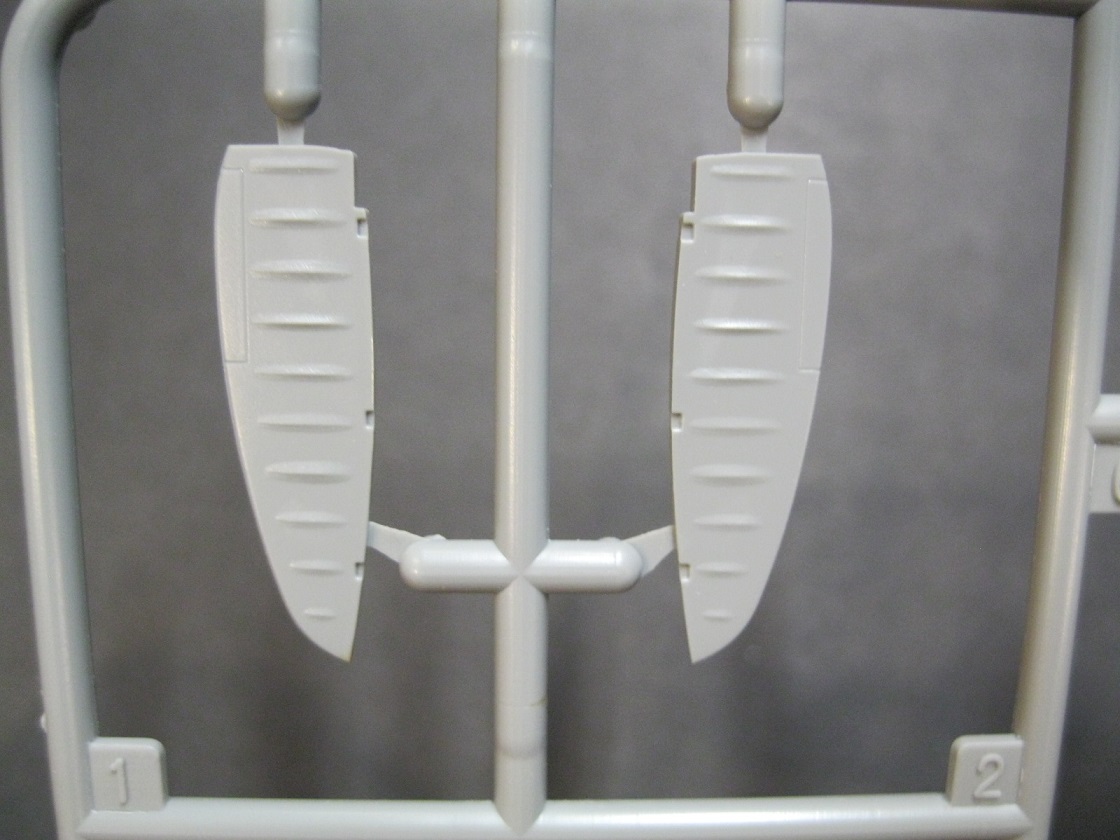
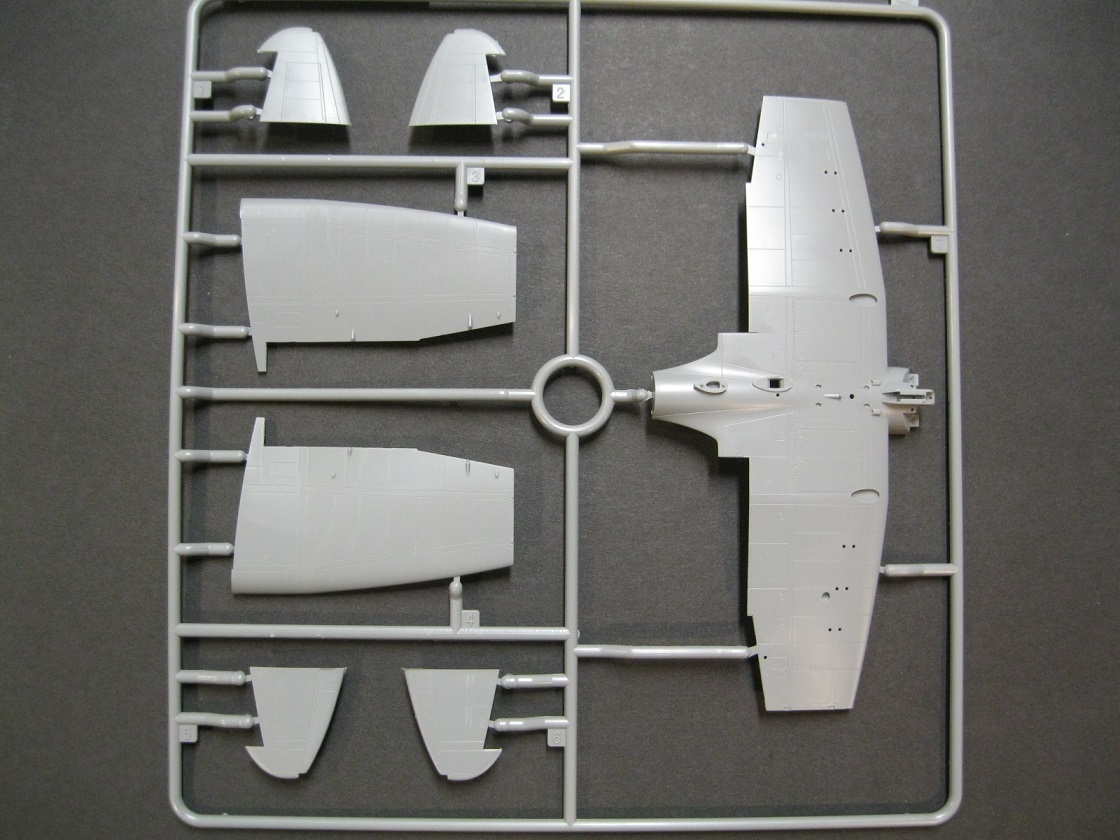
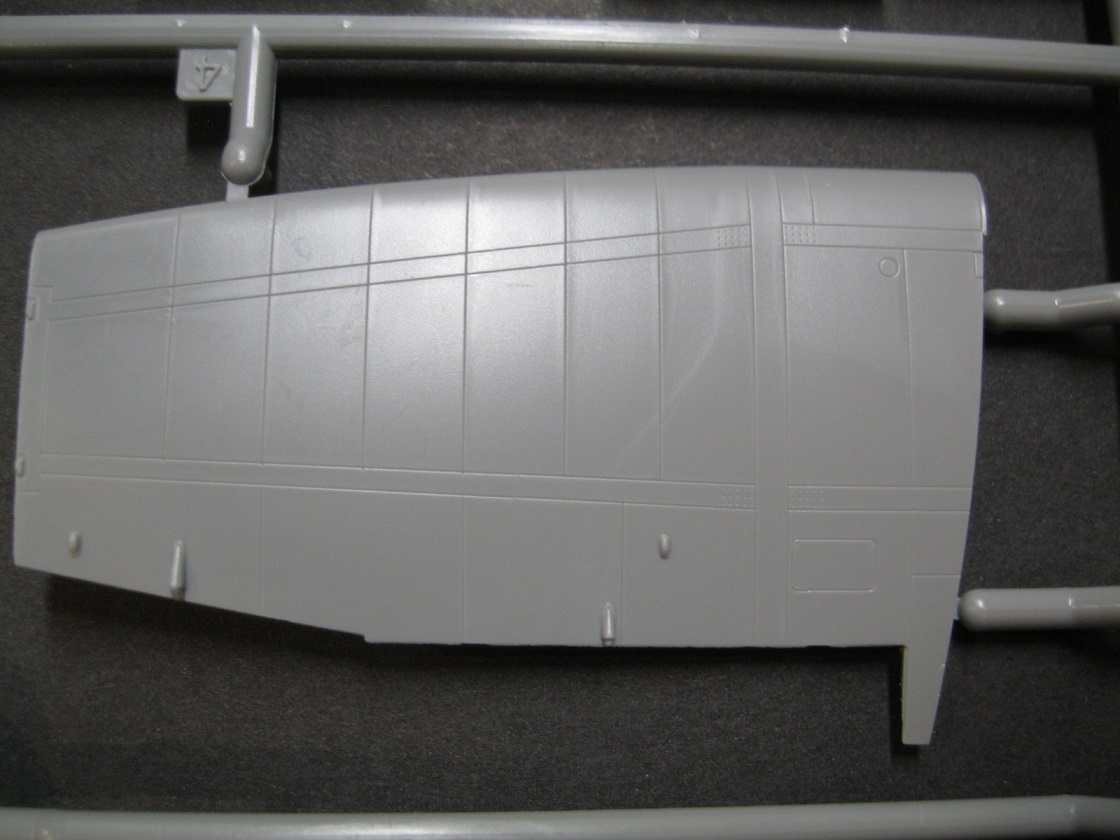
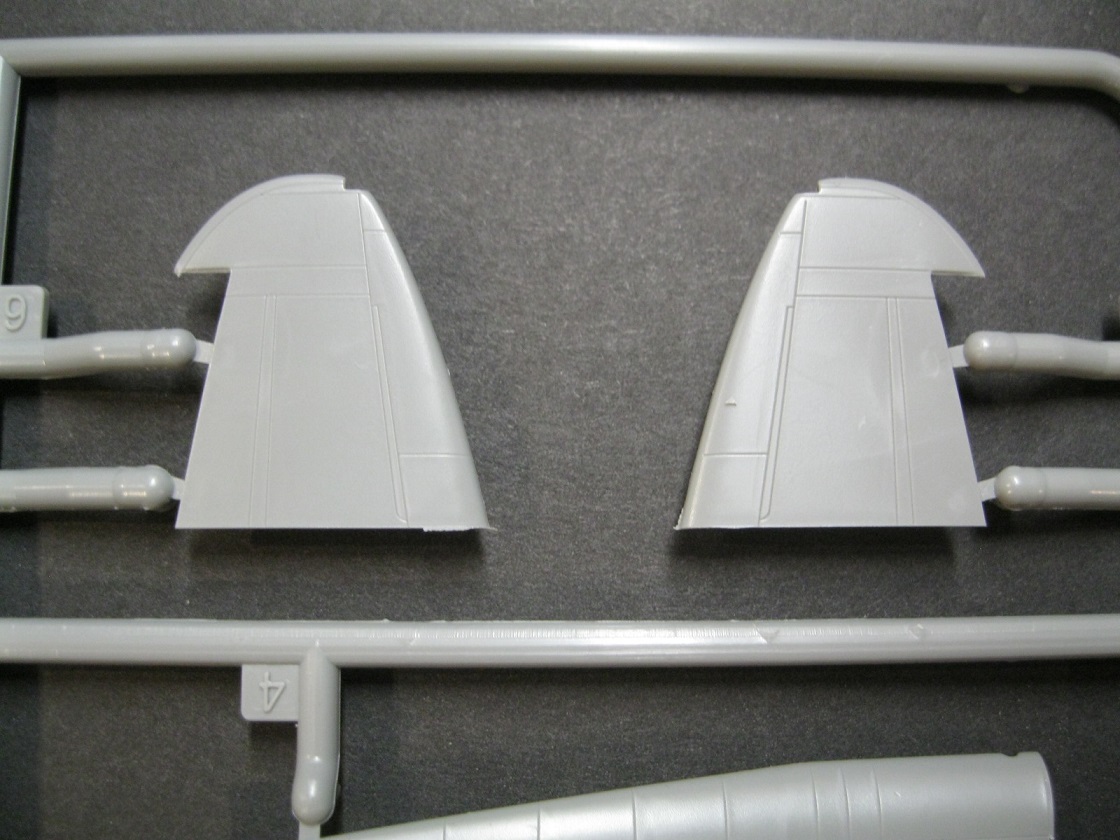
"A" sprue: Main fuselage sections, tail planes, control surfaces and rudder. The control surfaces have raised ribs in an effort to replicate the fabric covering but the appearance is exaggerated and they will need to be carefully sanded down. Panel lines are engraved.
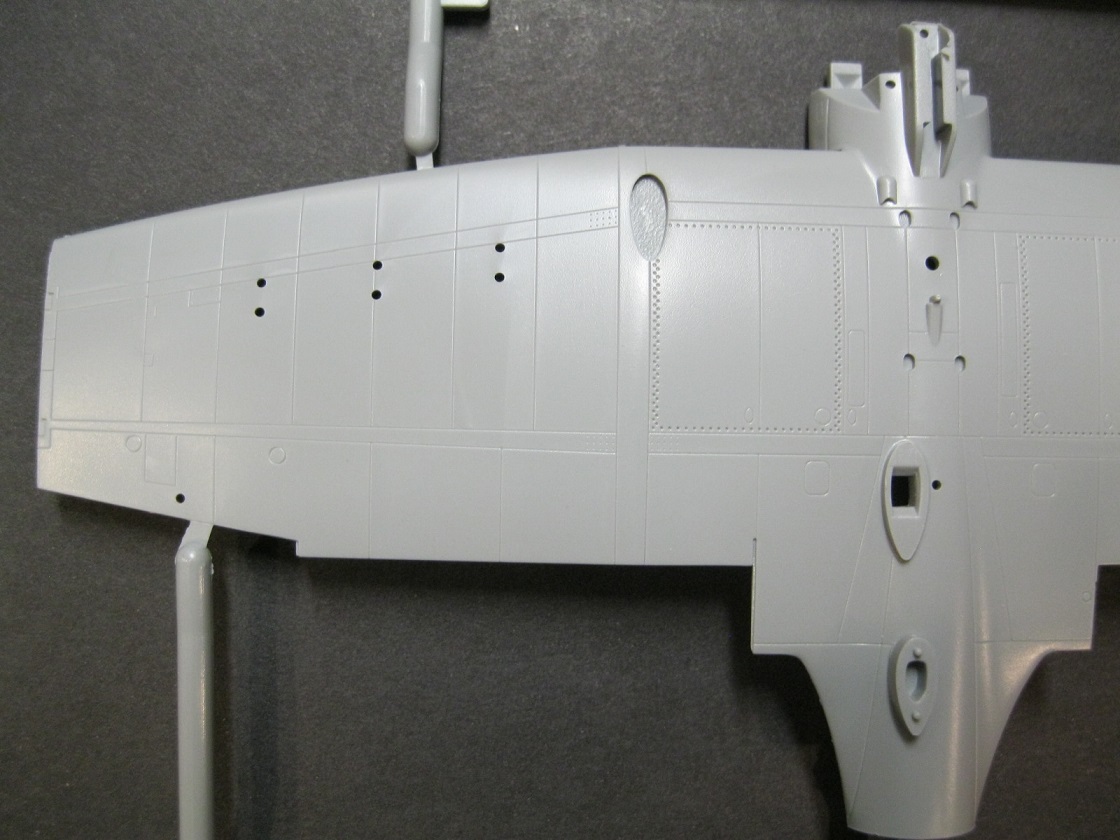
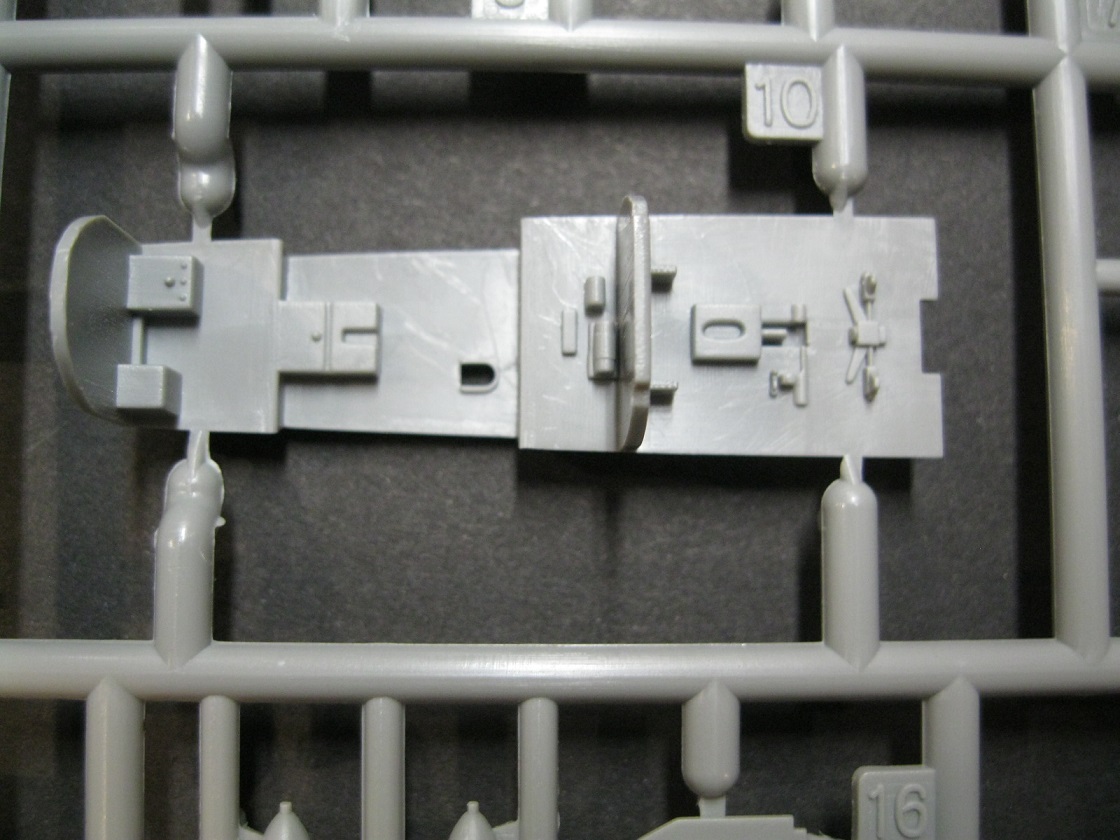
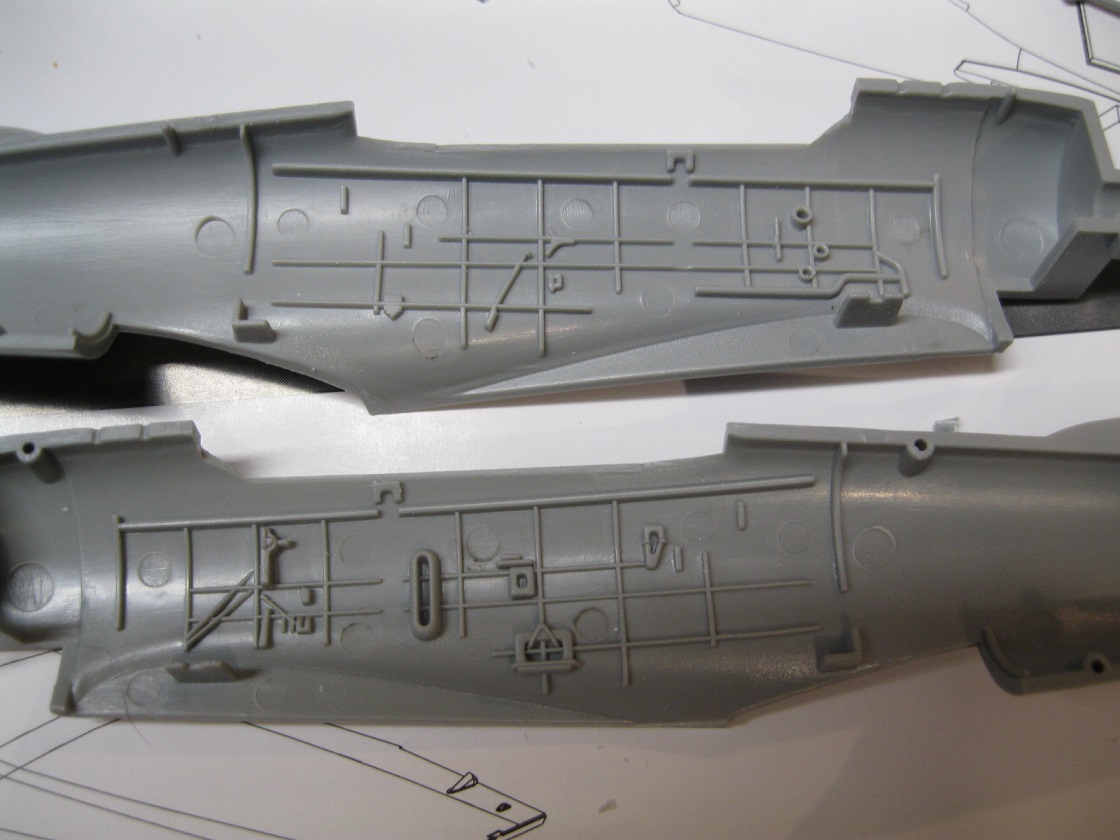
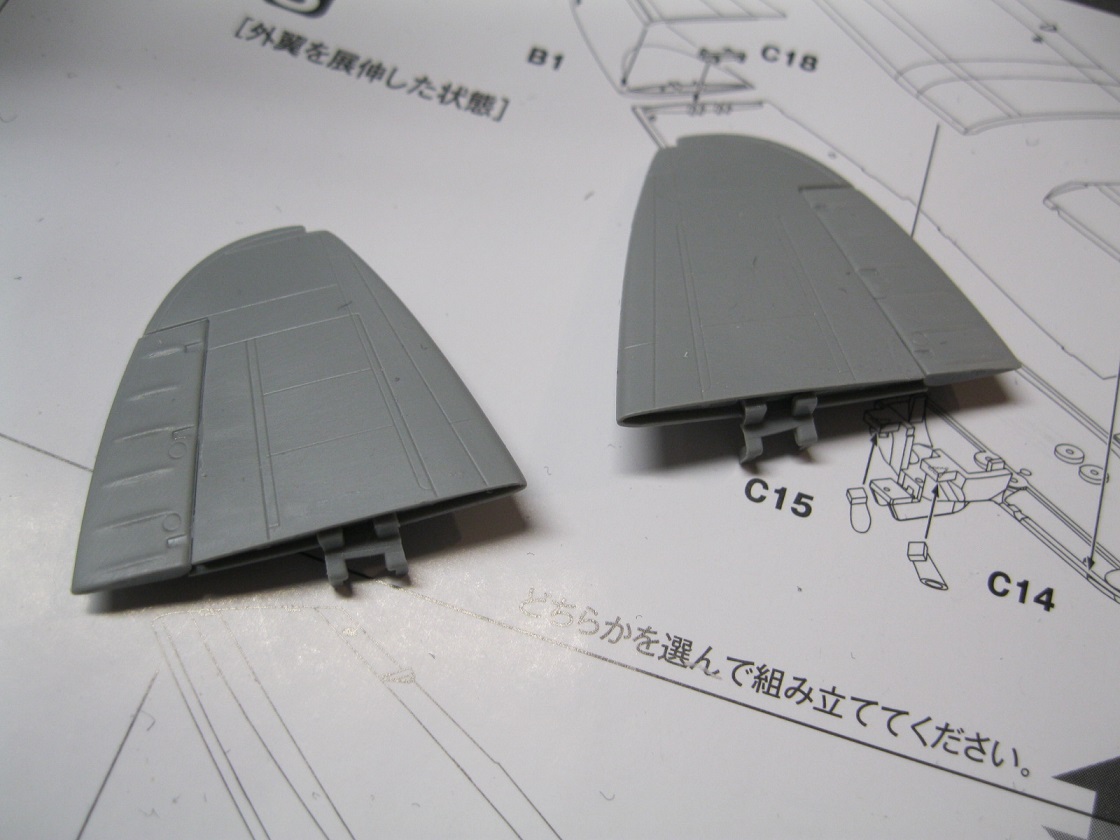
"B" sprue: Upper wings, lower wing and fuselage and separate wing tips to depict folded wings if you desire.
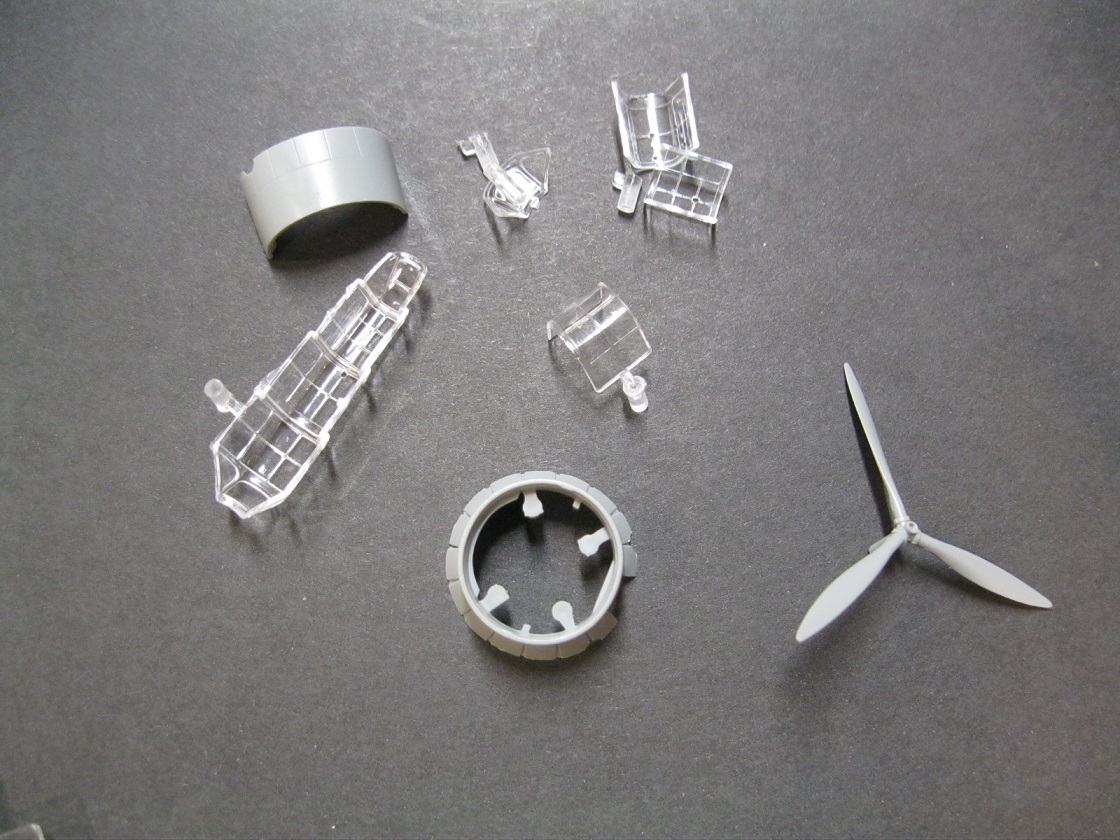
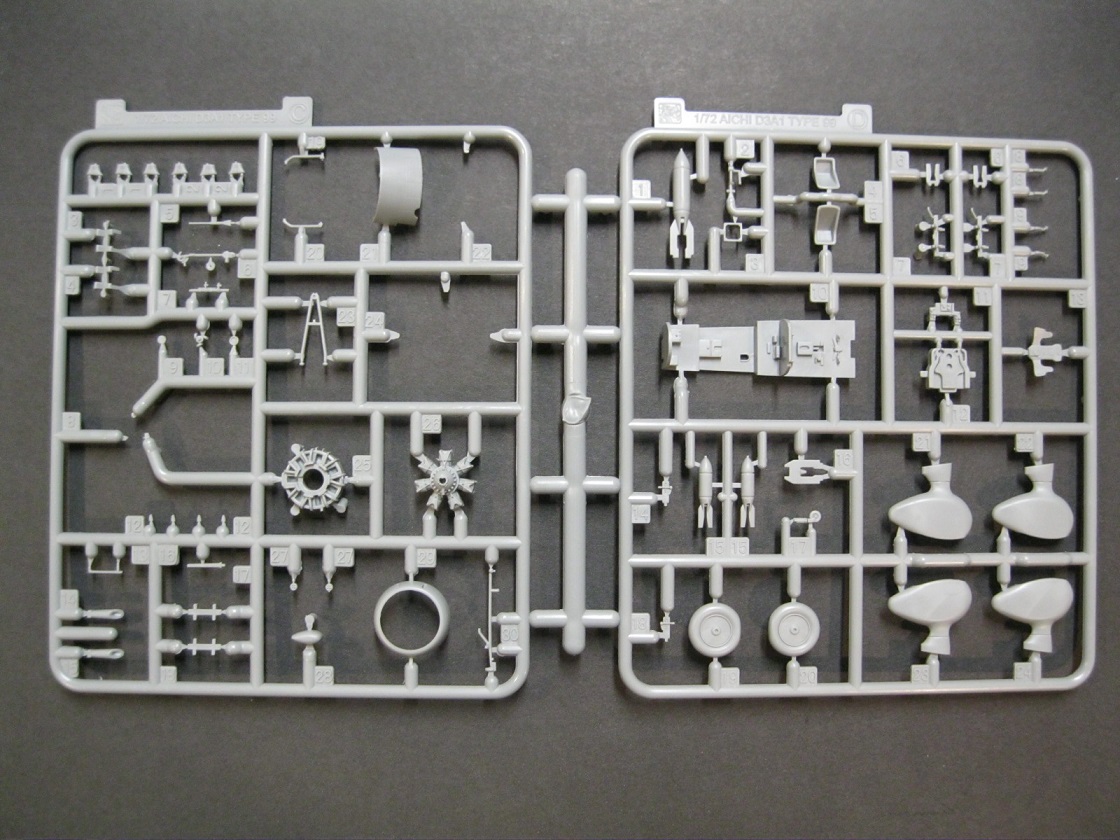
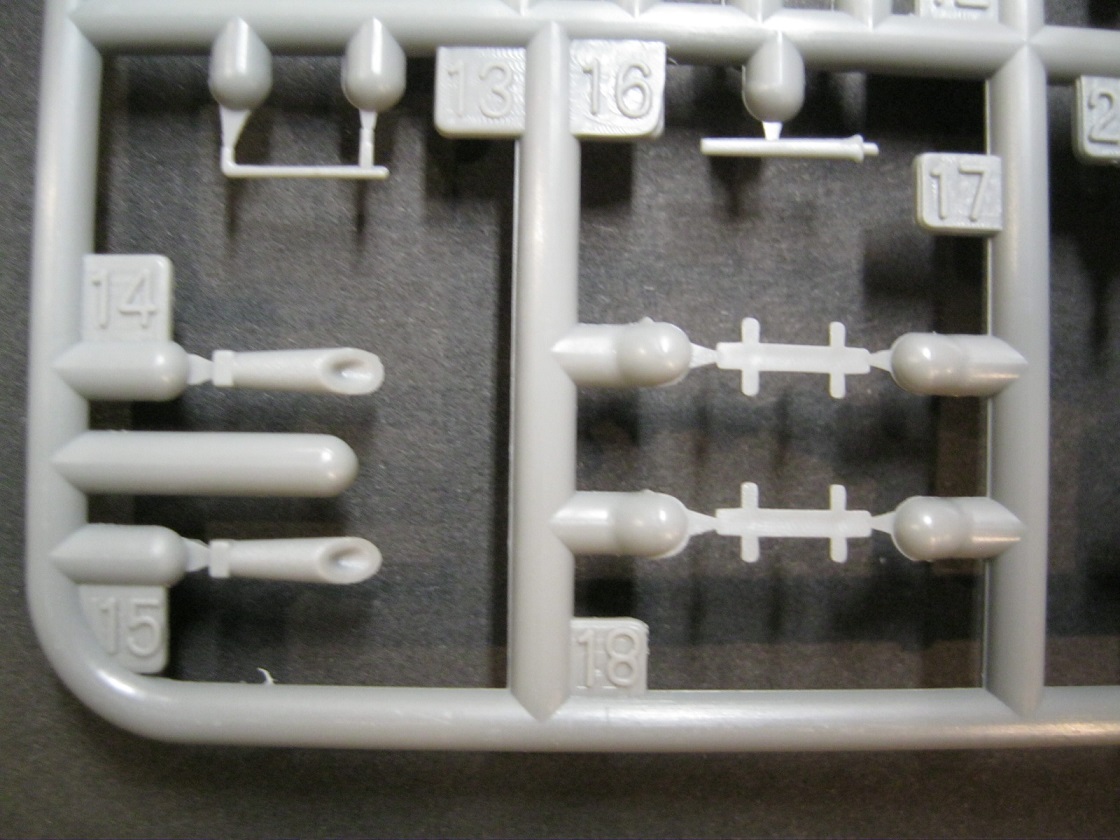
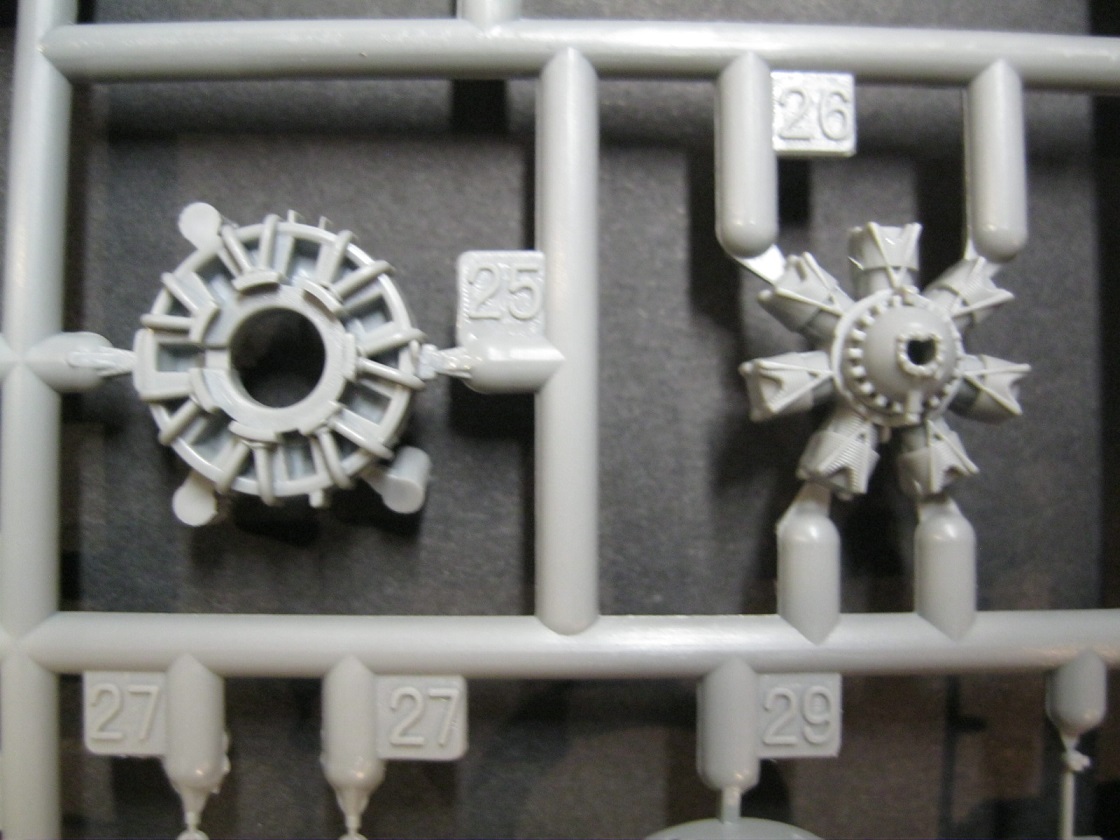
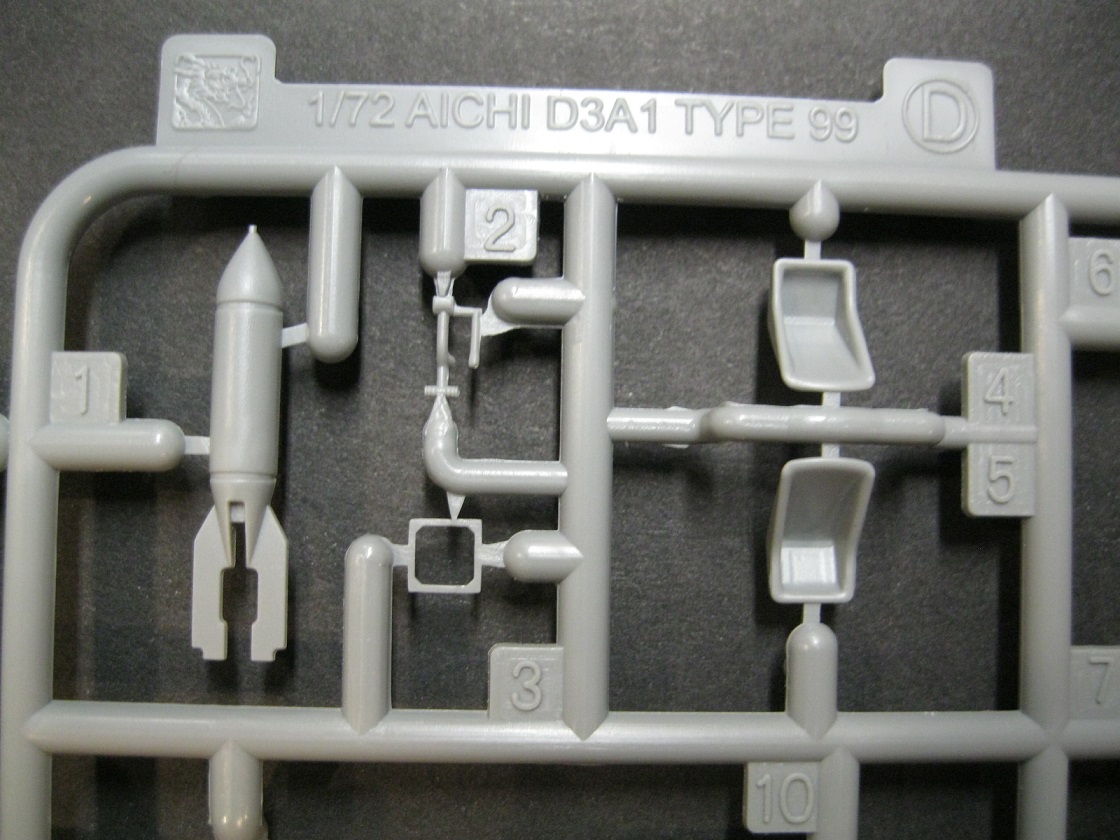
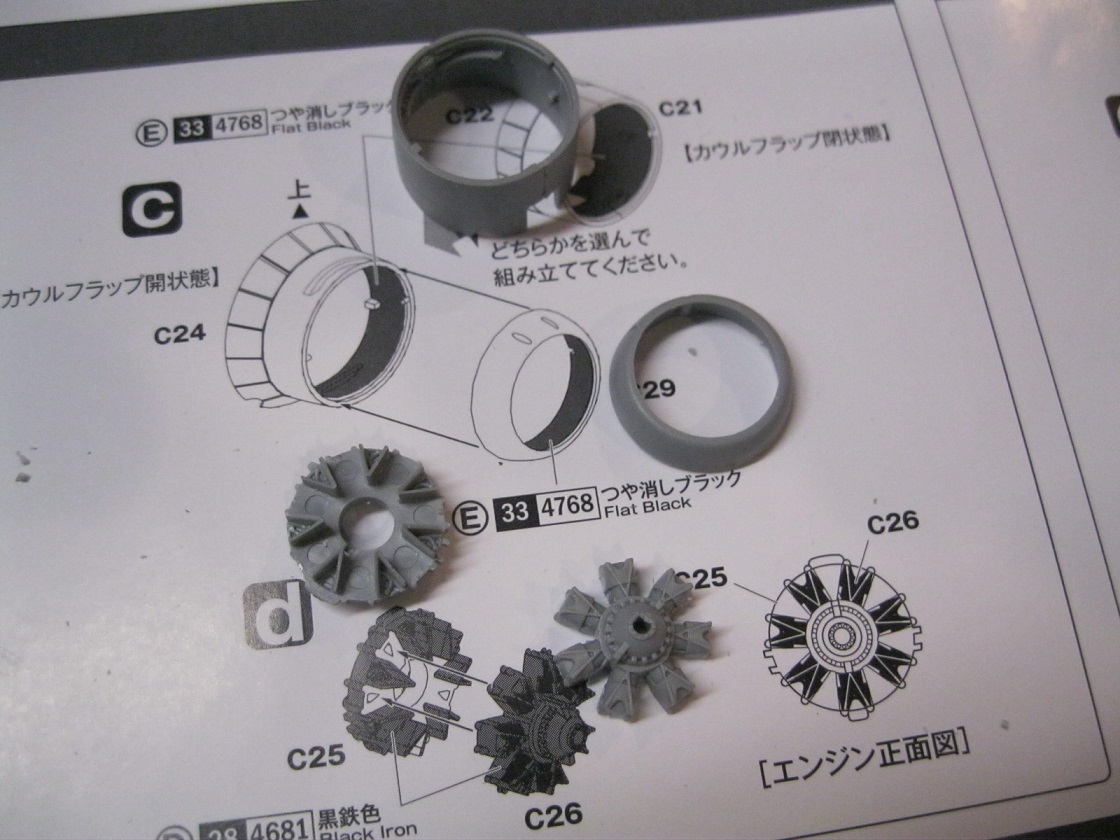
"C" and "D" sprues: Connected as a single unit, they contain all other parts except the cockpit canopy. There are two cowlings present, a once piece with extended cooling flaps and a two piece cowling with the flaps closed. Detail on the parts is generally very basic.
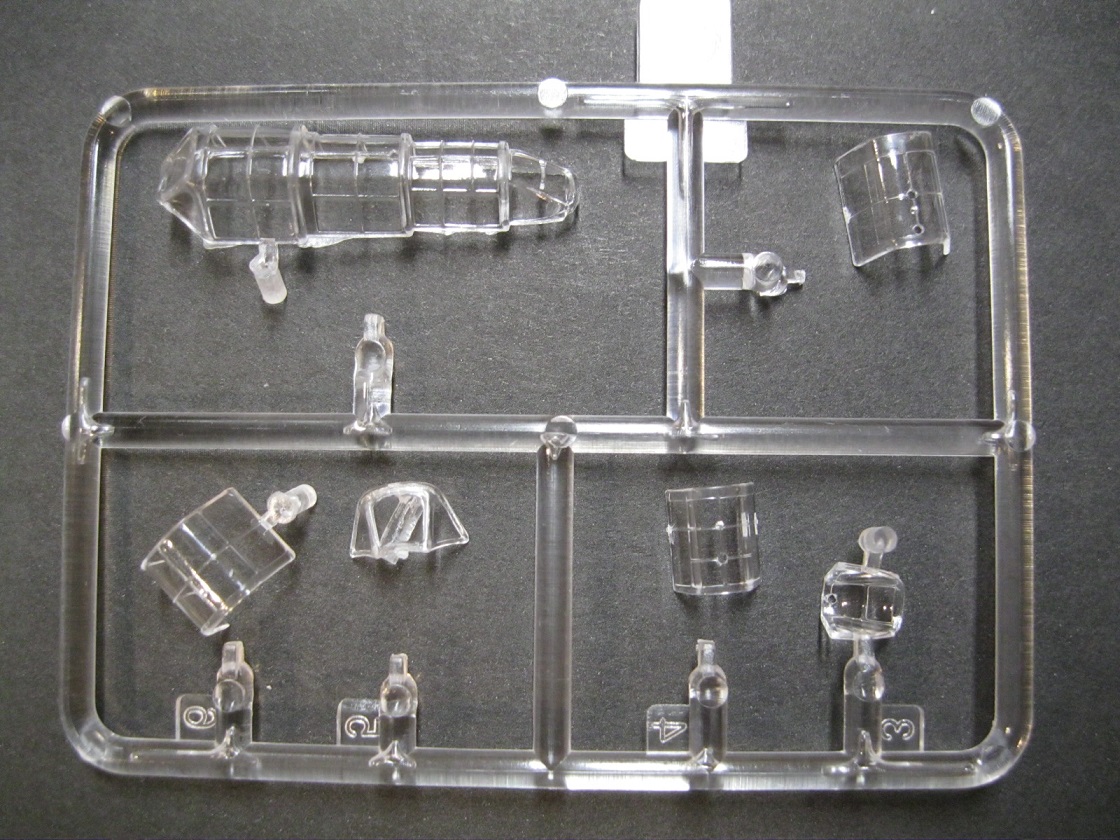
"E" sprue: Optional single piece canopy or multi part canopy sections.
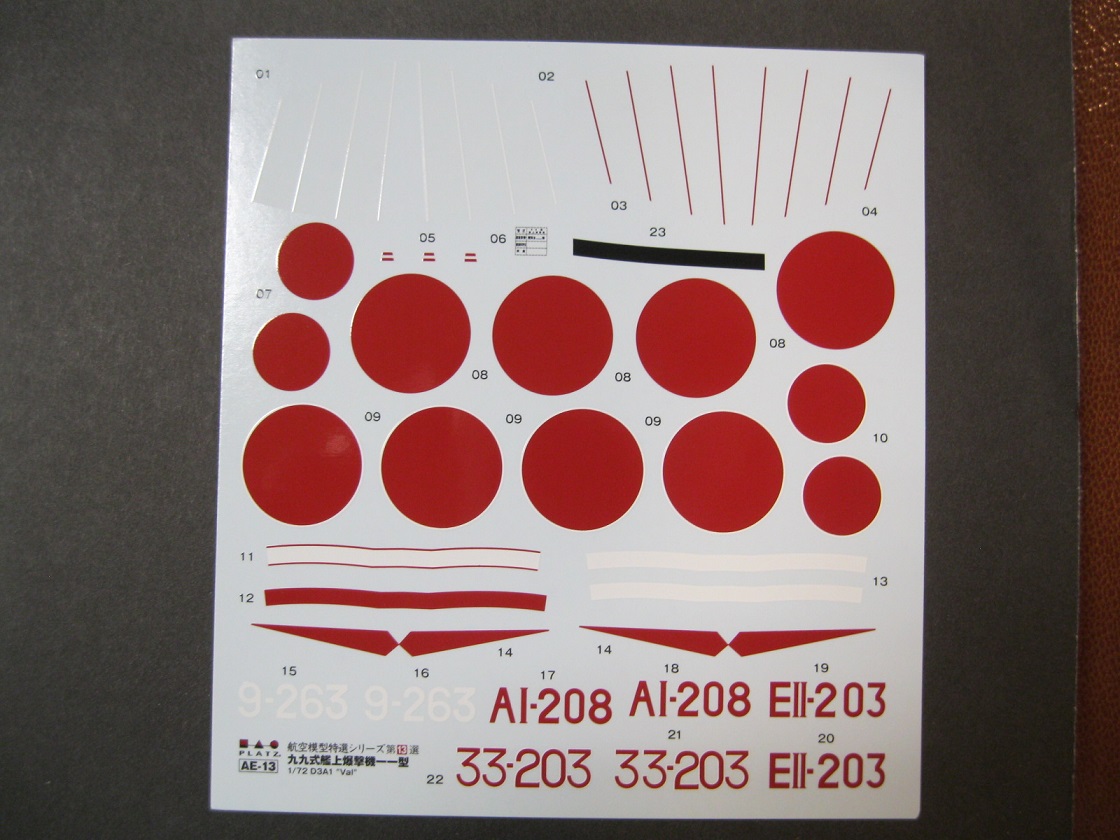
A decal sheet is packaged in a separate cellophane sheet with a wax paper insert for protection. The decals appear to be well detailed and clear.
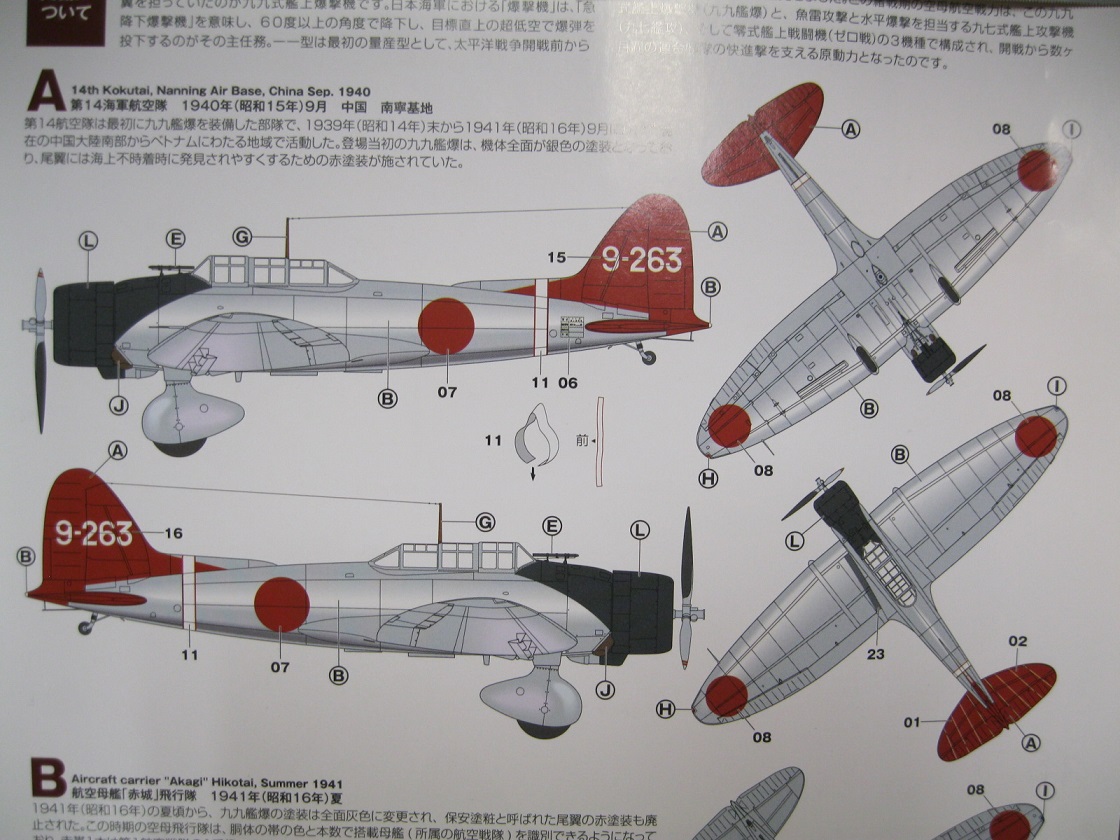
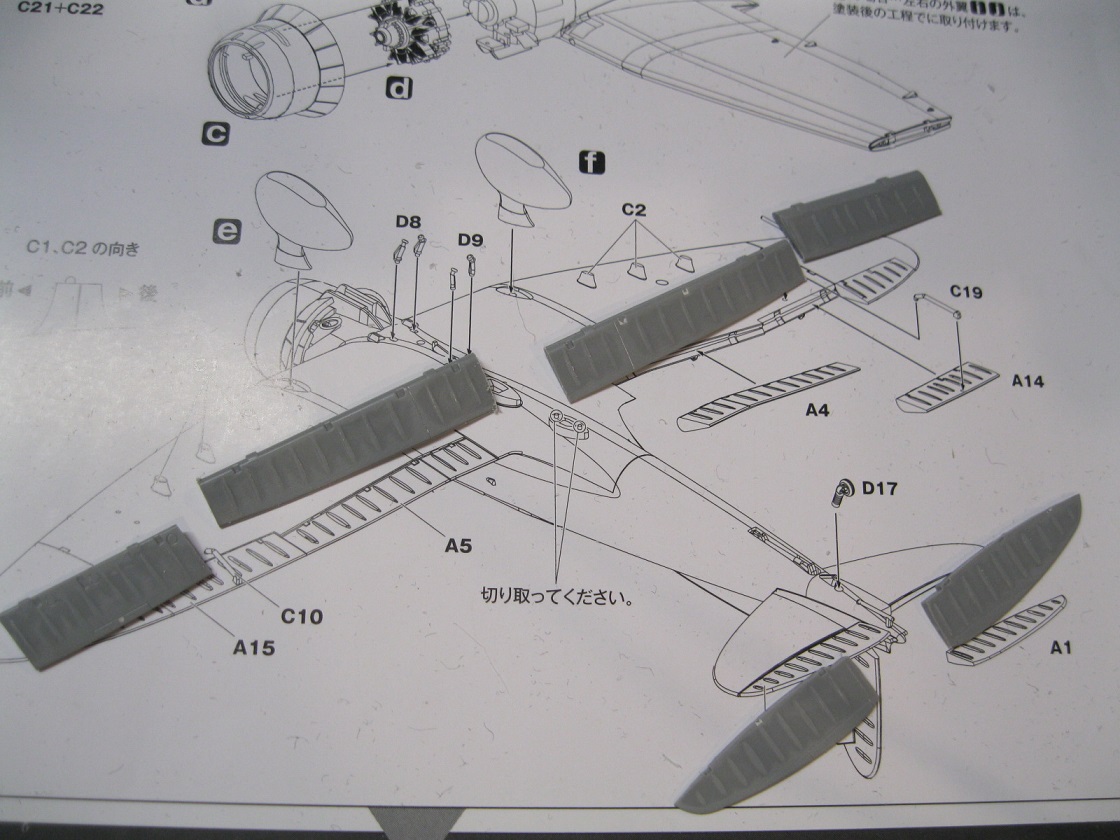
The instructions are printed on glossy paper in a fold-out pamphlet style. A major gripe with the original release was that the instructions showed the wrong parts and details and were generally terrible to follow. In this kit things have been improved, showing parts that match what is provided in the kit. They are in standard line drawings with part numbers and arrows showing where parts are installed. Some color call-outs are provided for interior parts. Steps are called out alphabetically from A to N, or 14 steps. Decals and paint guides are provided for four separate aircraft which are:
14 Kokutai 9-263, Nanning, China, September 1940, Silver with black cowling and red tail.
Akagi Hikotai AI-208, Akagi Summer 1941, Light Gray overall, black cowling.
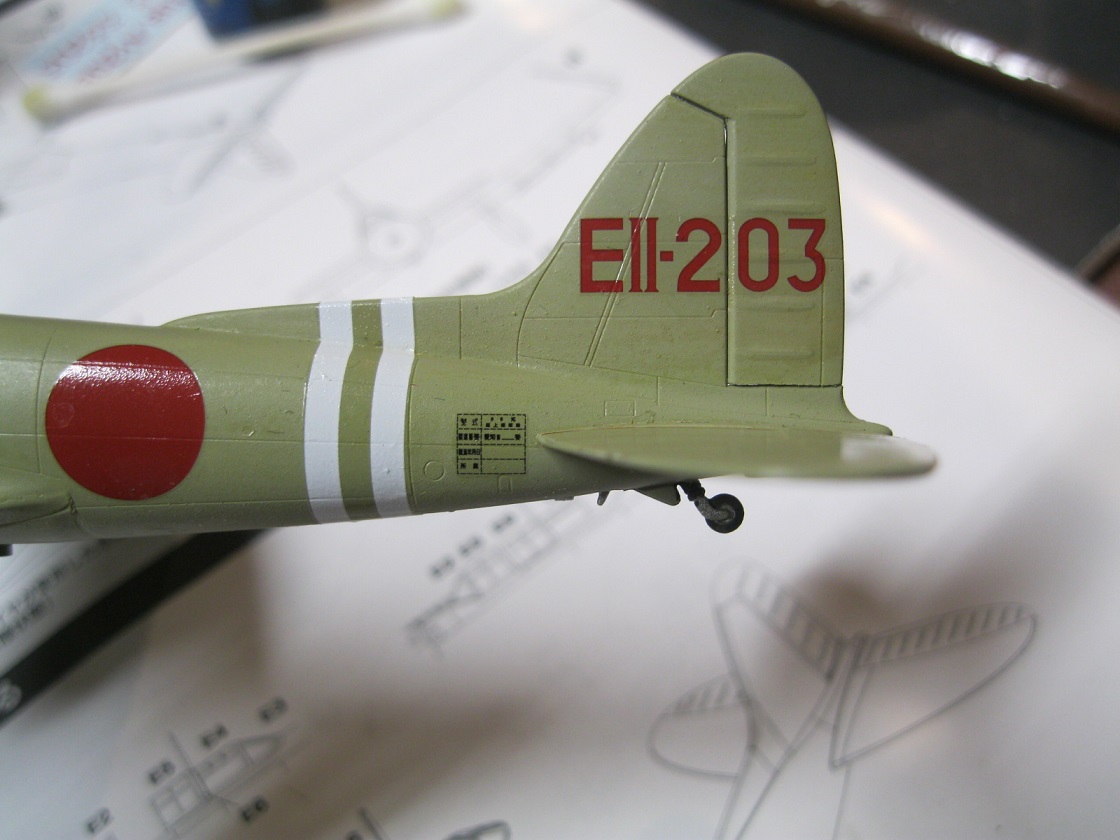
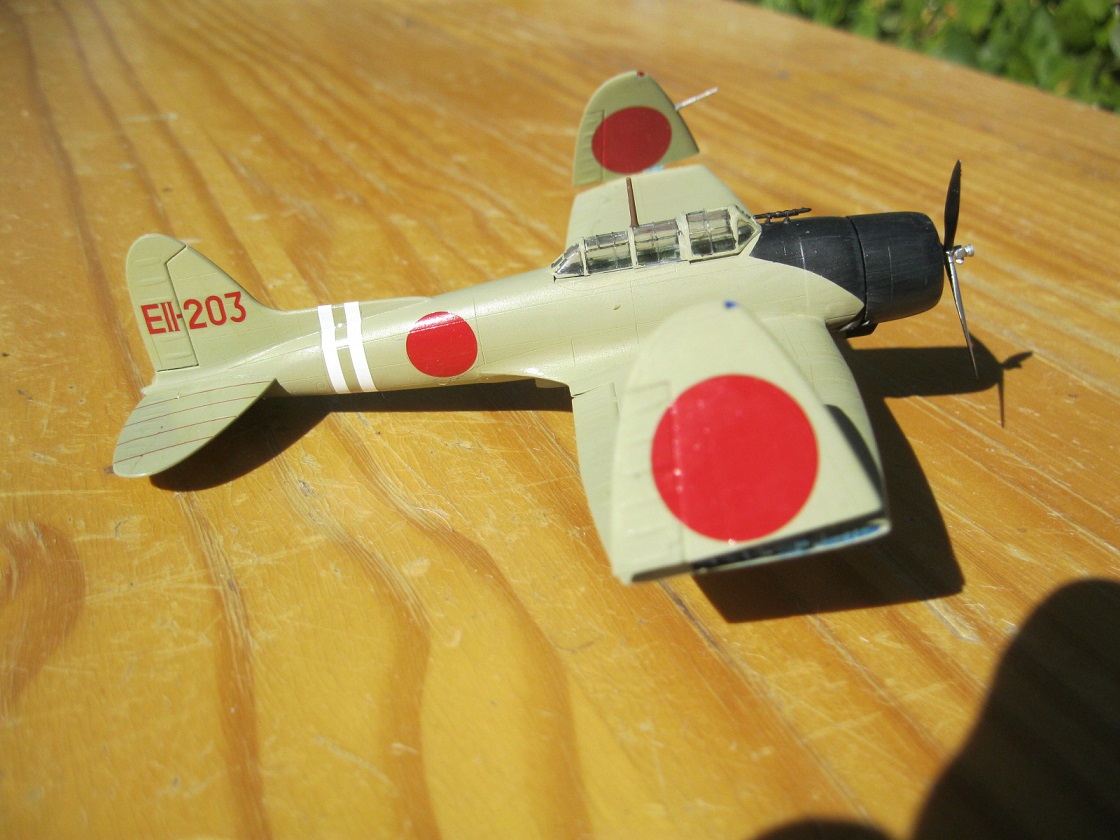
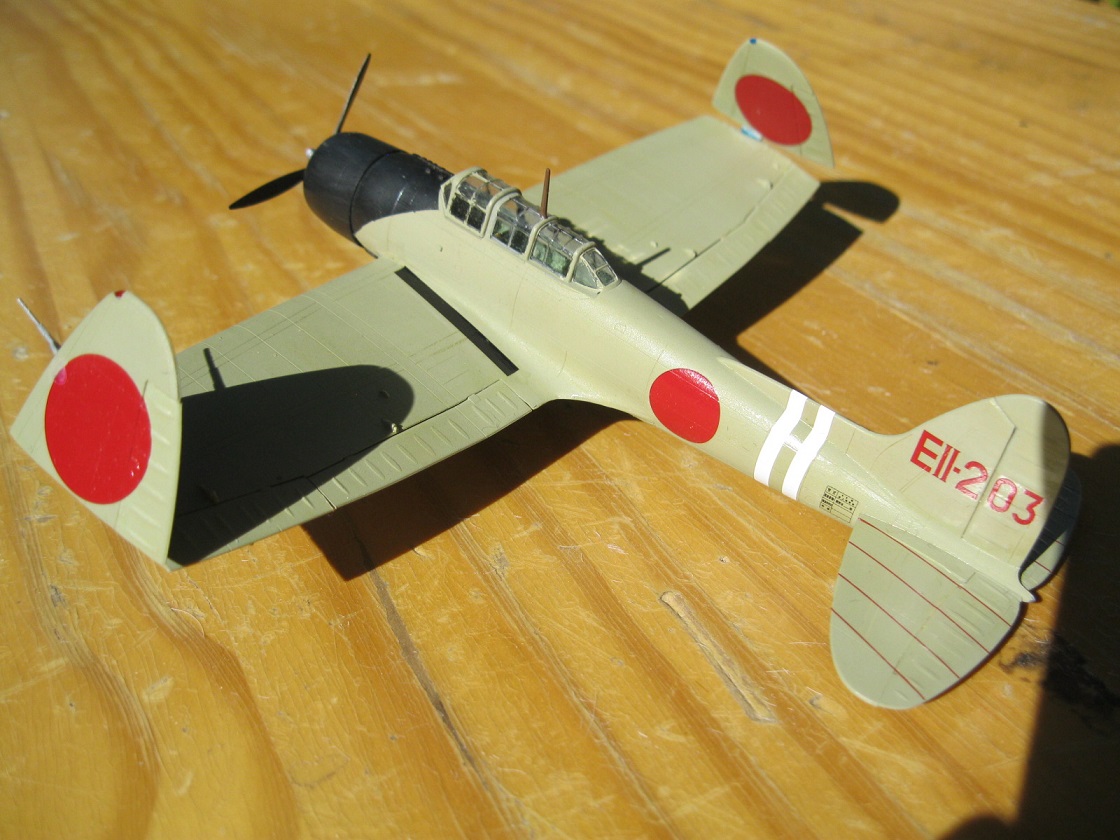
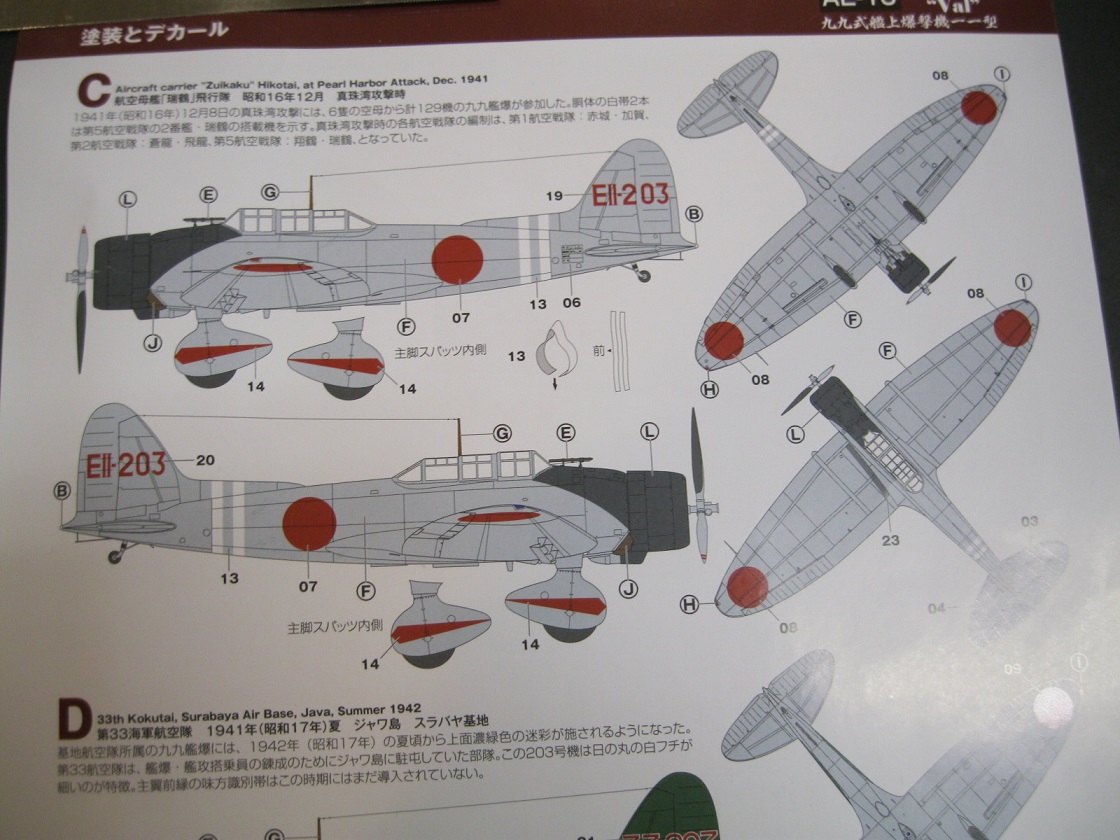
Zuikaku Hikotai EII-203, Pearl Harbor Attack, Light Gray overall, black cowling
33 Kokutai 33-203, Surabaya, Java, 1942, Dark Green over light gray
The Build:
As I did this kit as a build, I will explain detail on parts as part of the assembly process.
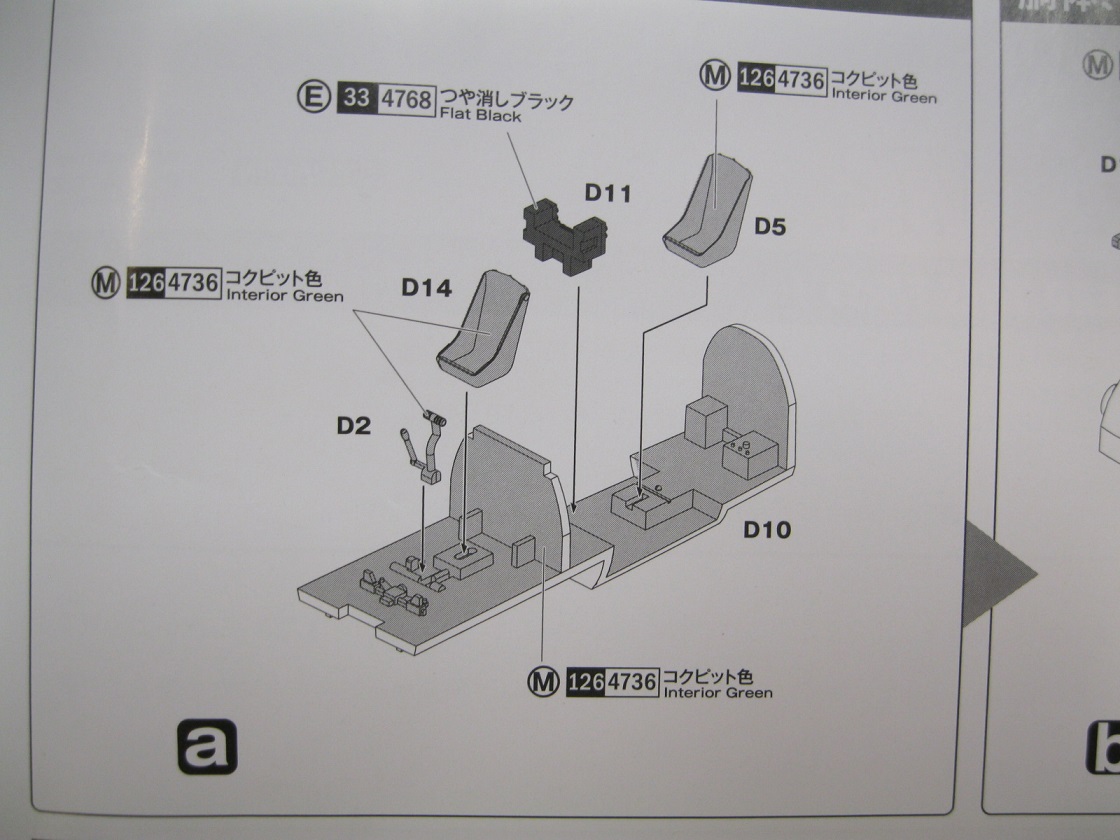
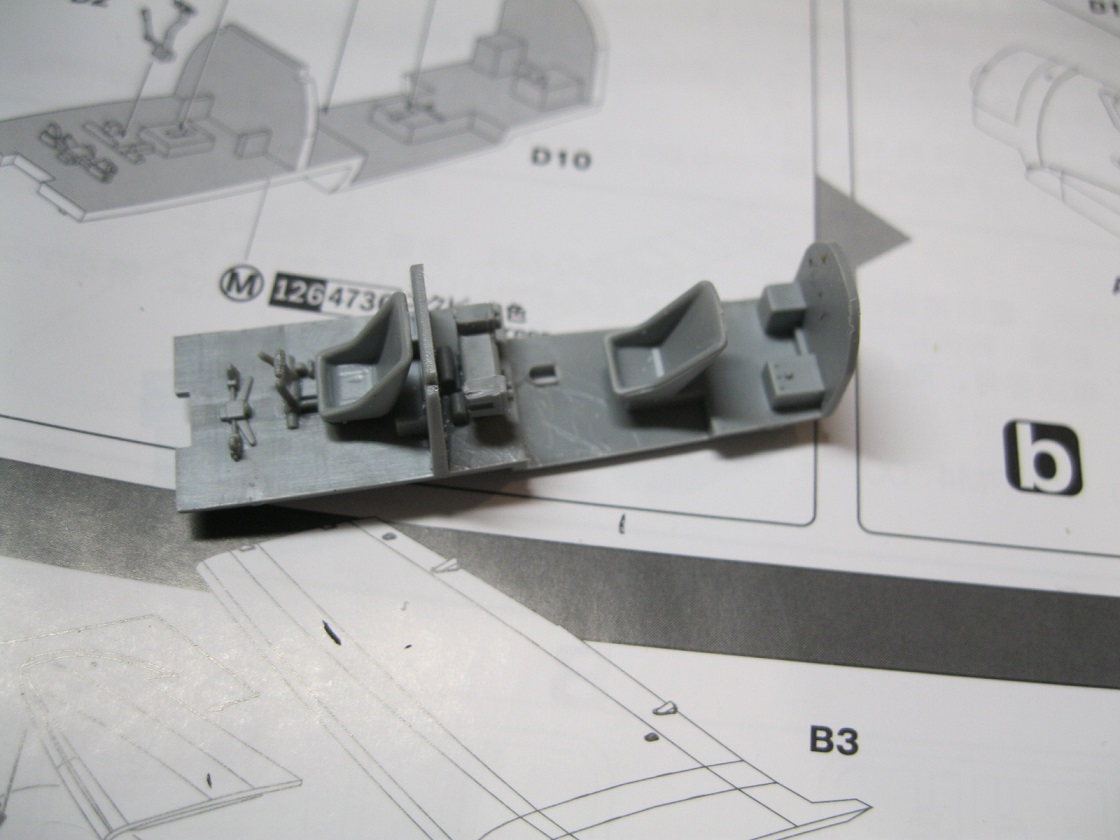
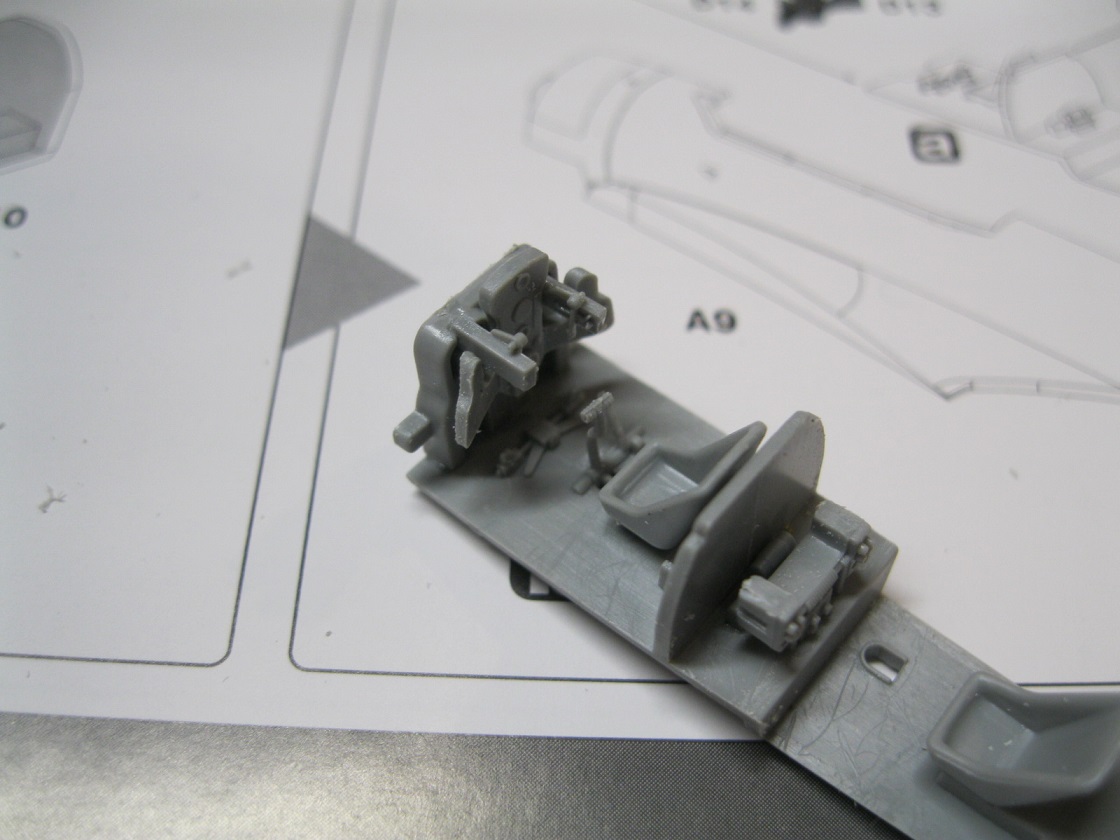
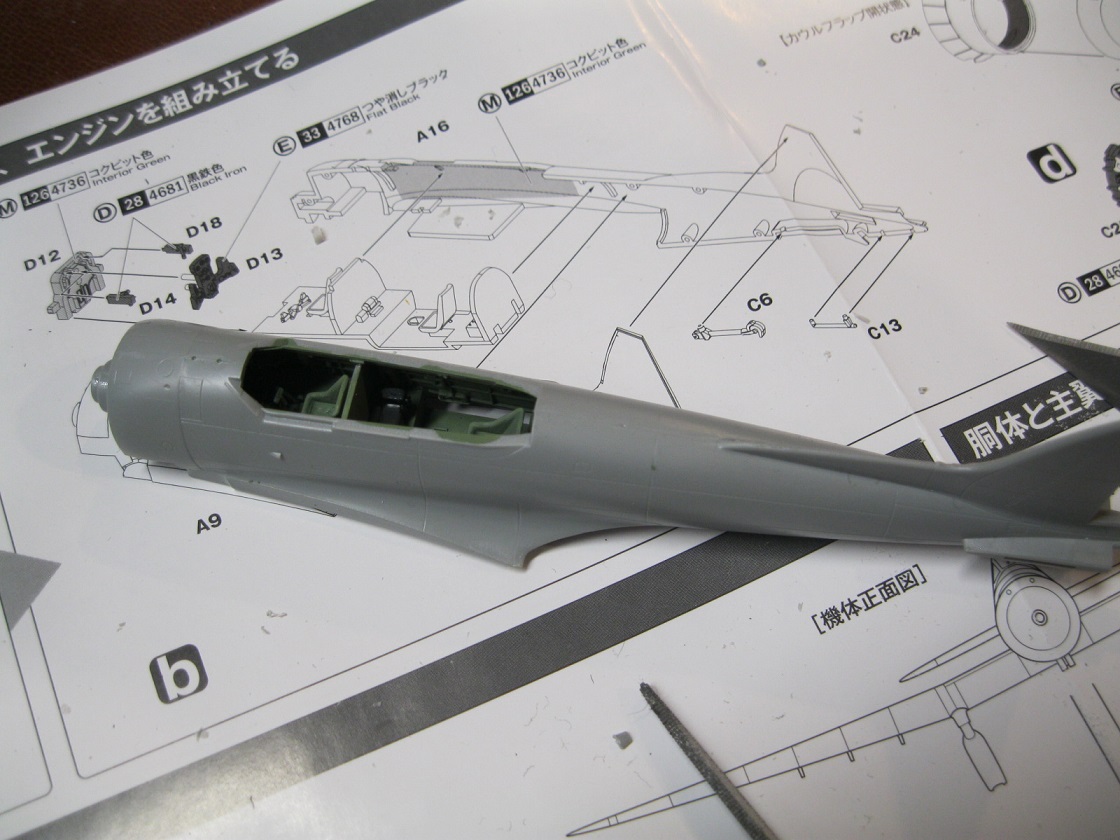
Step A is the cockpit assembly. The cockpit is fairly basic with a single piece floor and molded in firewall separating the pilot and radio operator. Two simple seats with no detail are provided; the front seat is part D4, not D14 as indicated. A control stick is present and the radio for the rear is there but again very basic. While shown in the box art, the bomb aiming device that would mount on the radio is not present, nor is there a defensive MG for the rear. Parts are painted interior green with a black radio. If the cockpit canopy is posed open you will need to accept the lack of detail or start looking to source as much as you can.
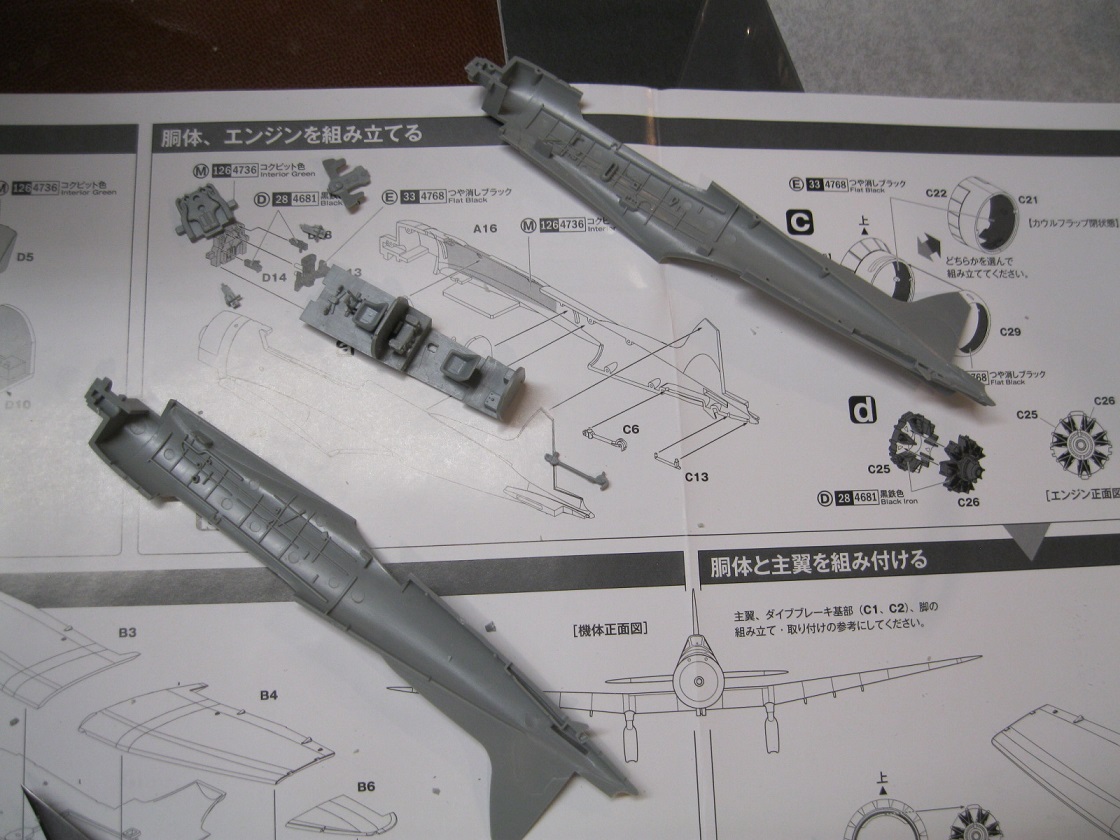
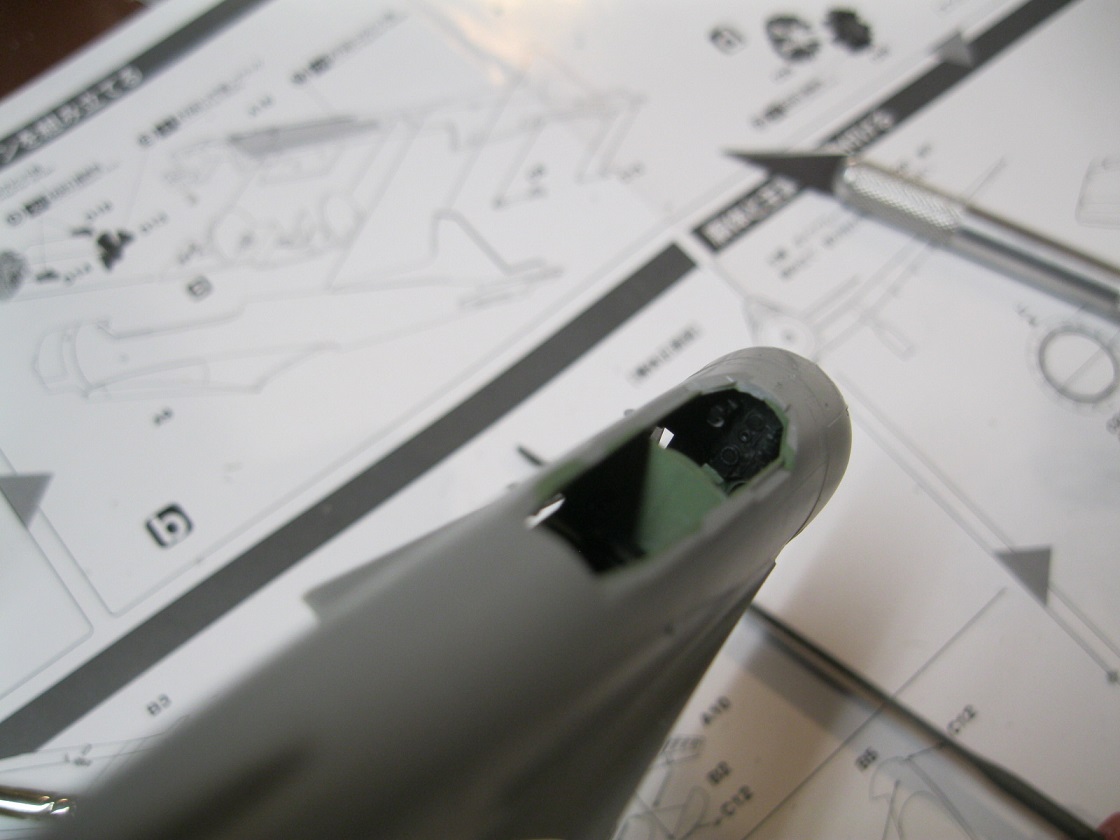
Step B places the cockpit assembly in the fuselage halves, with the main instrument panel mounted to the firewall along with the breech/received end of the two cowling machine guns. Again, interior green is used for the side walls and firewall and the instrument panel is black. I attempted to provide some detail with dry brushing and paint but not much will be seen inside. I also made my own seatbelts.
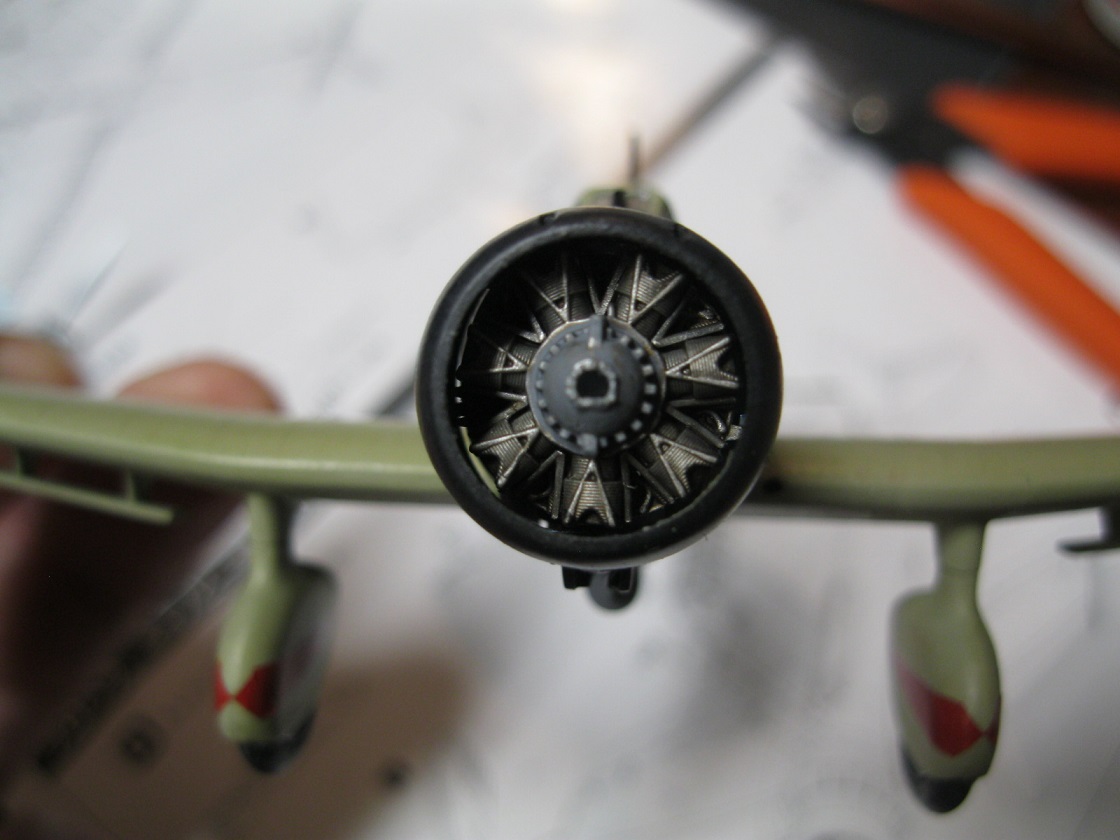
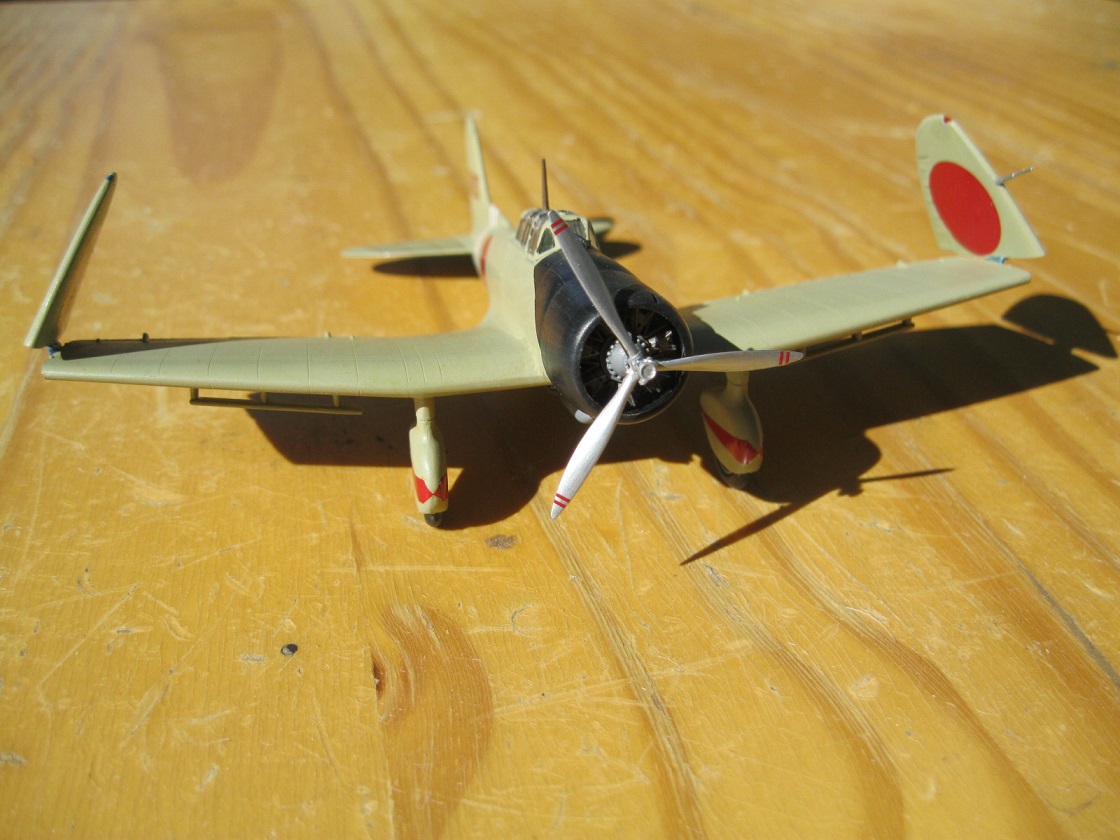
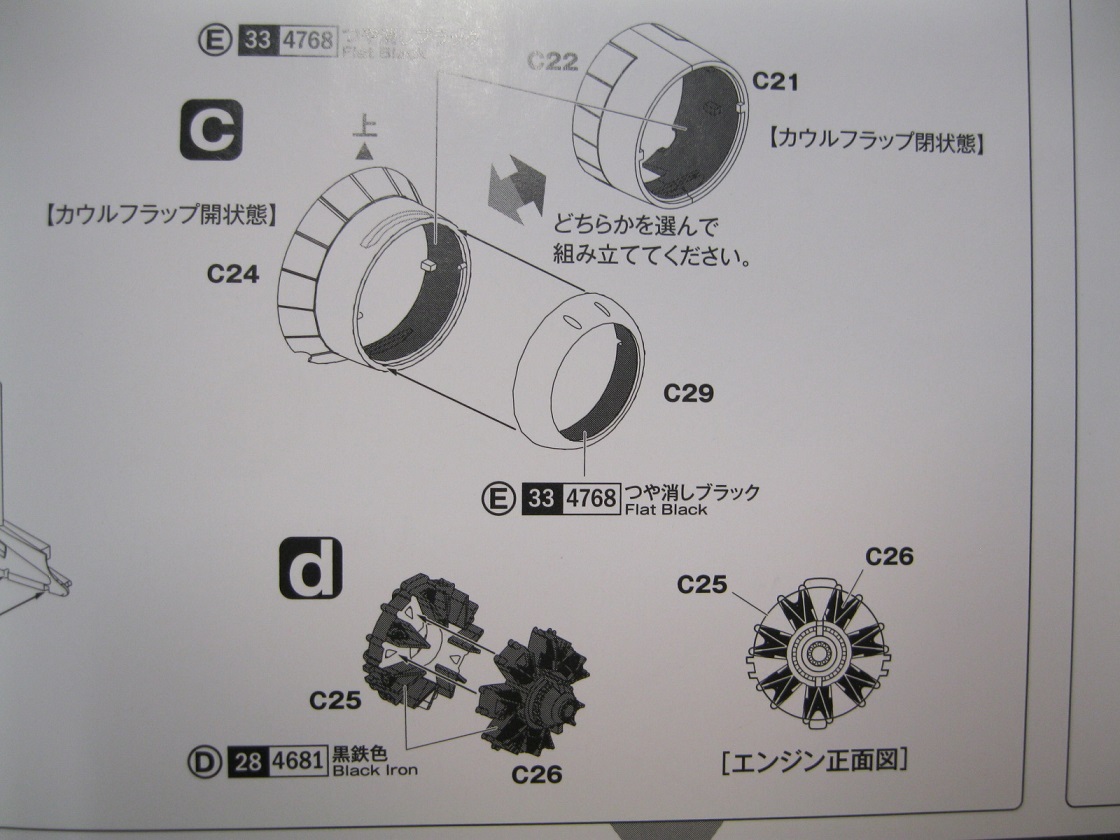
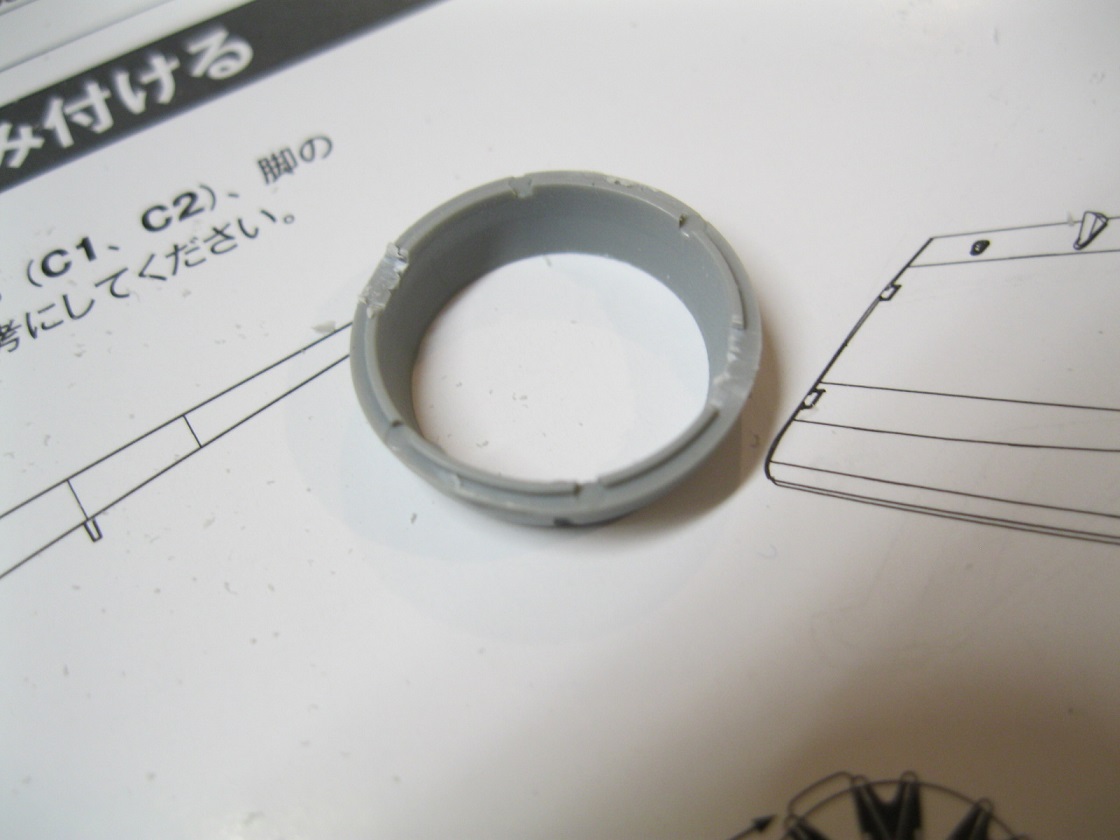
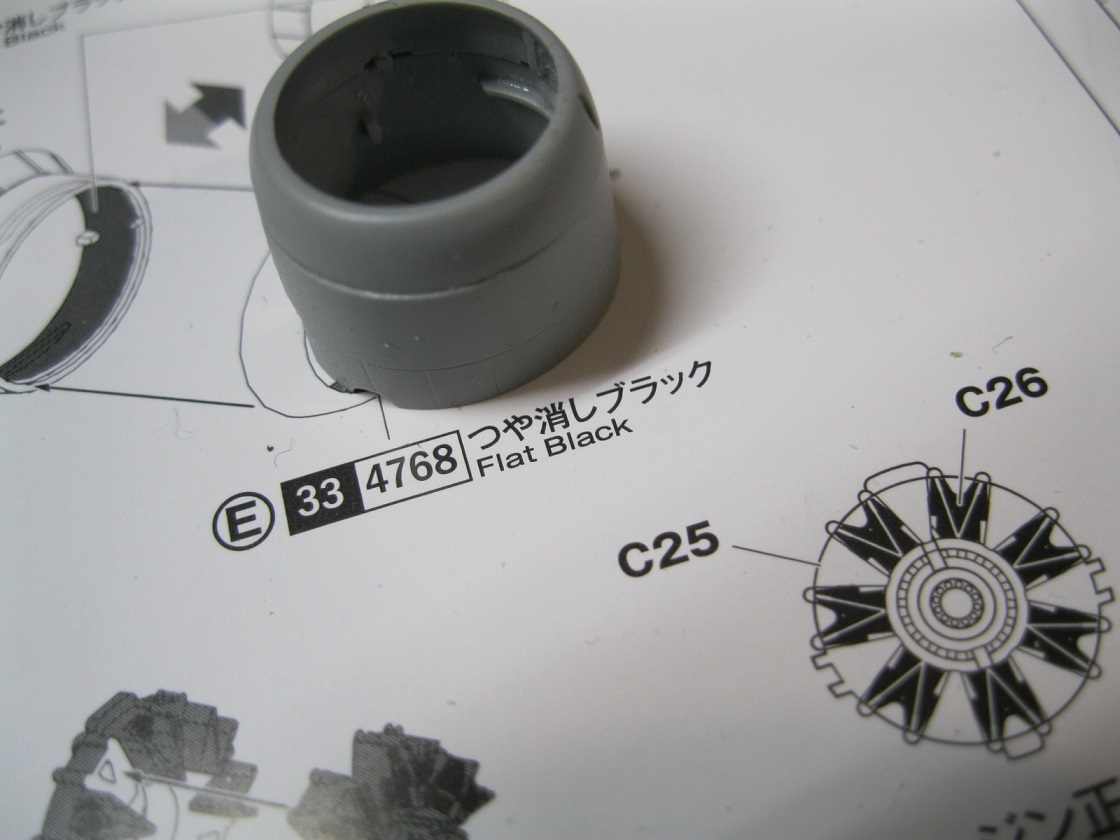
Steps C and D are the cowling and engine assembly. The two part cowling doesn't line up very well and would have been much better as a single piece. I don't know whey they did it in two halves. The engine is in two parts with the front cylinder bank fitting into the rear section. I had to carefully trim the sides of the front bank to get it to fit but once in it looked nice. The detail visible from the front is quite good. The inside of the cowling is painted flat back and the cylinder banks burnt iron per the instructions.
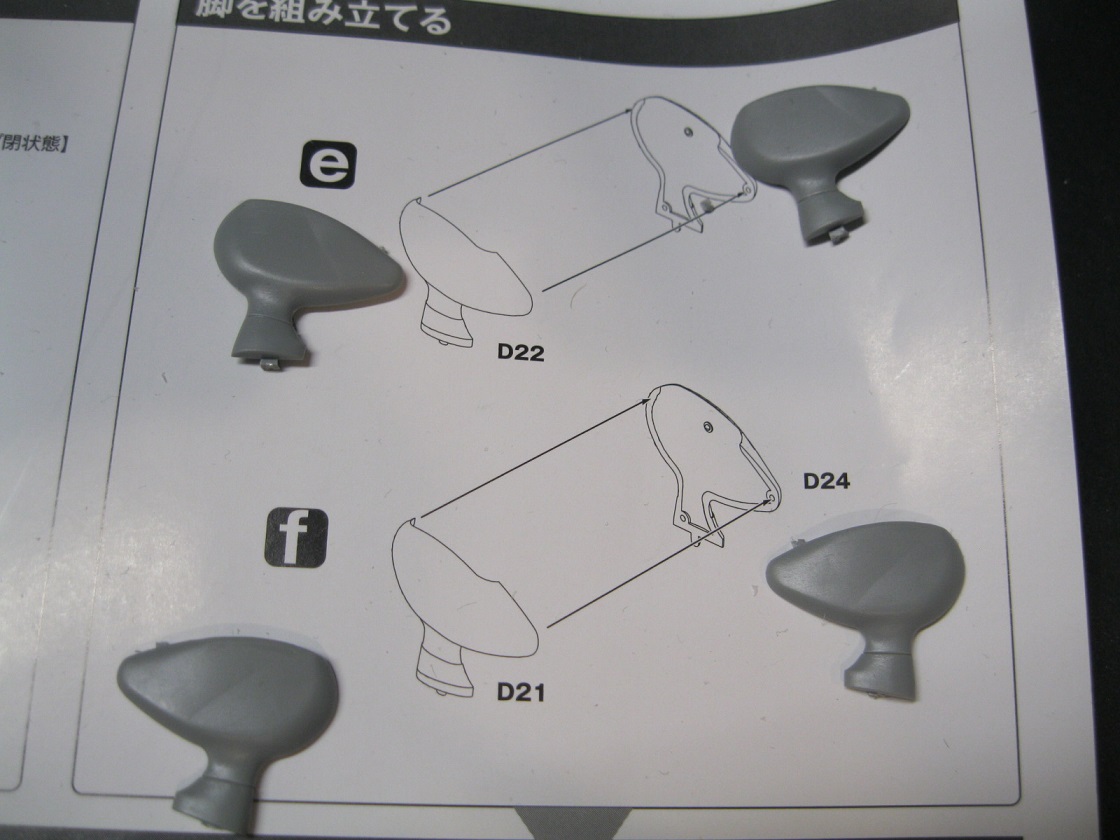
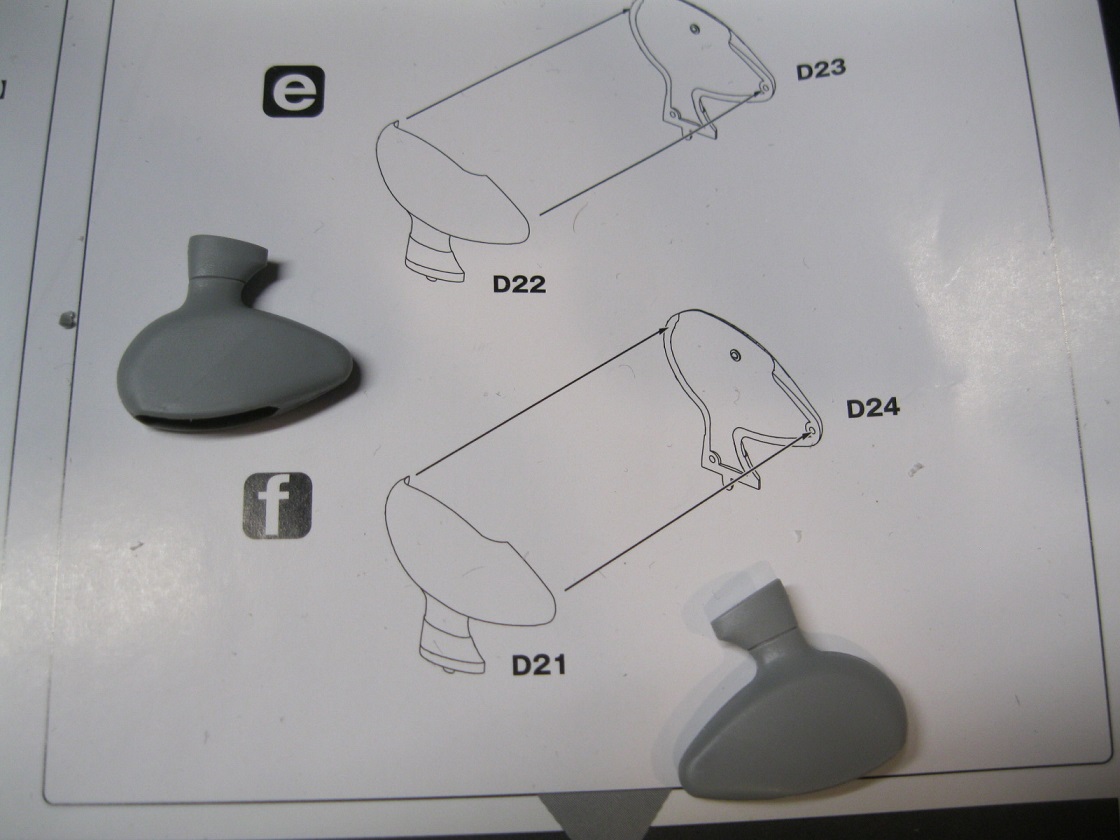
Steps E and F and the fixed landing gear sections. This is simple as long as you get the right parts together. There was a bit of flash to clean up on the wheel opening.
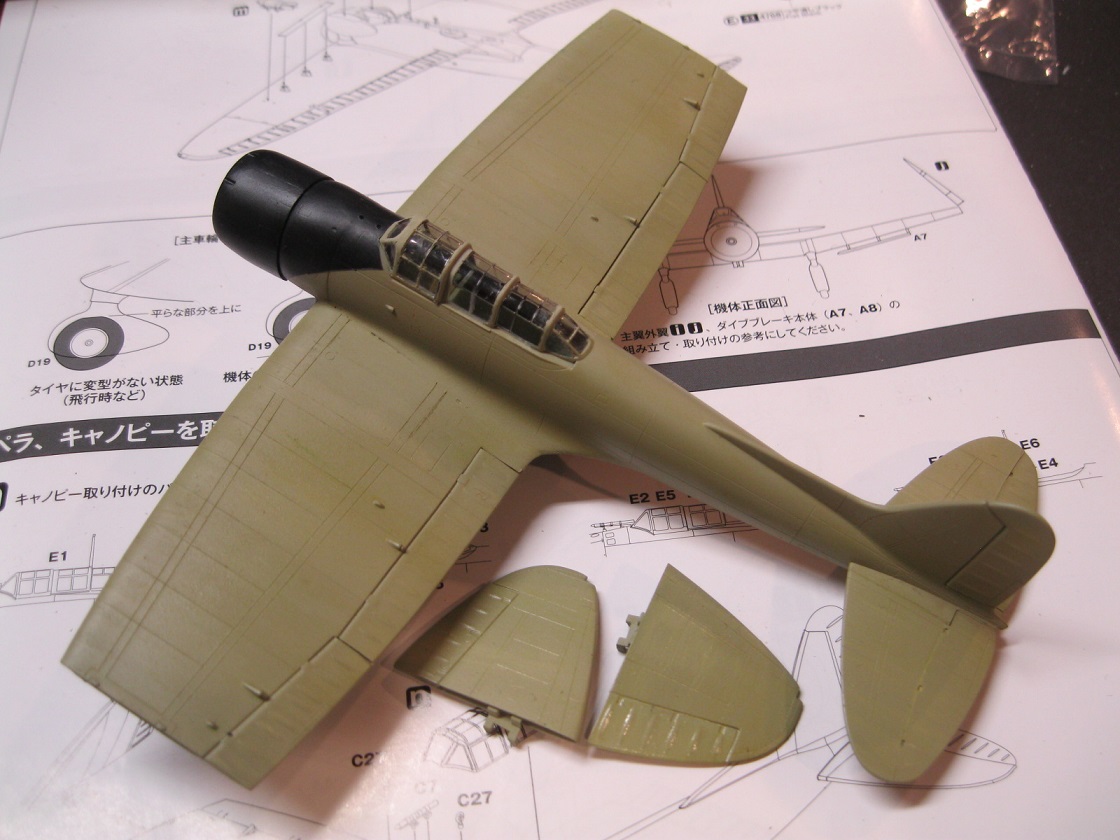
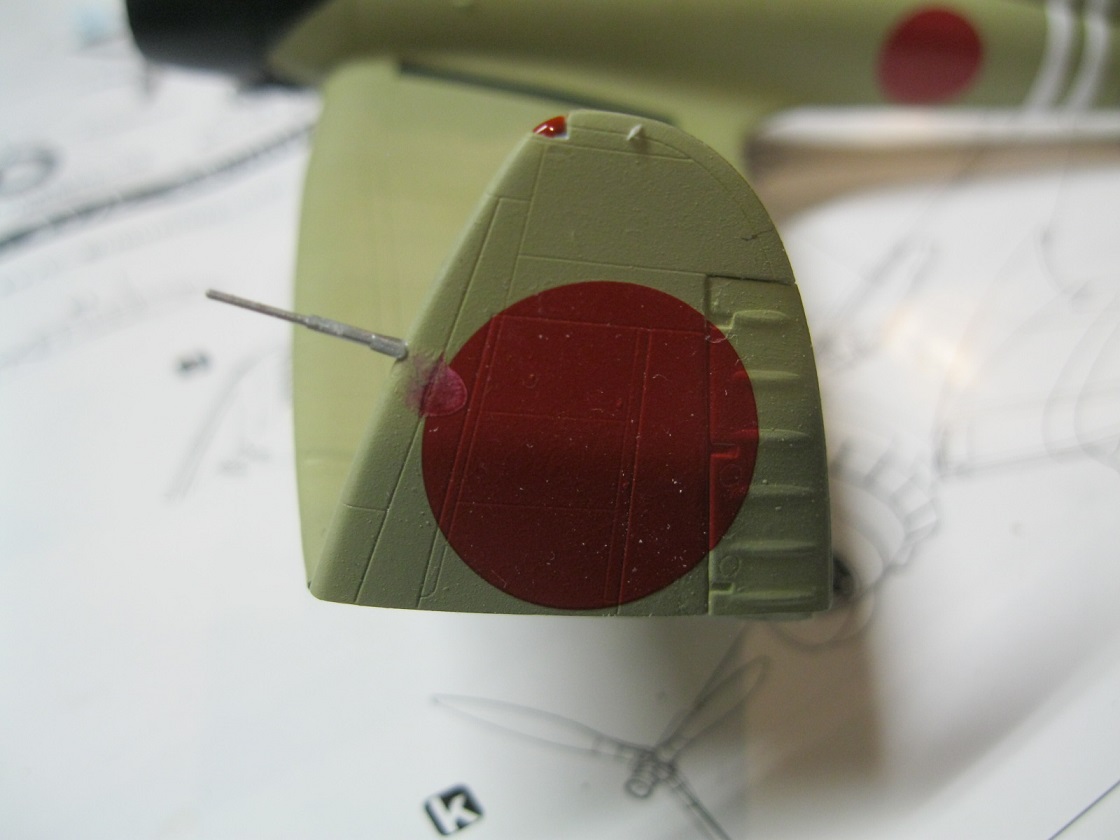
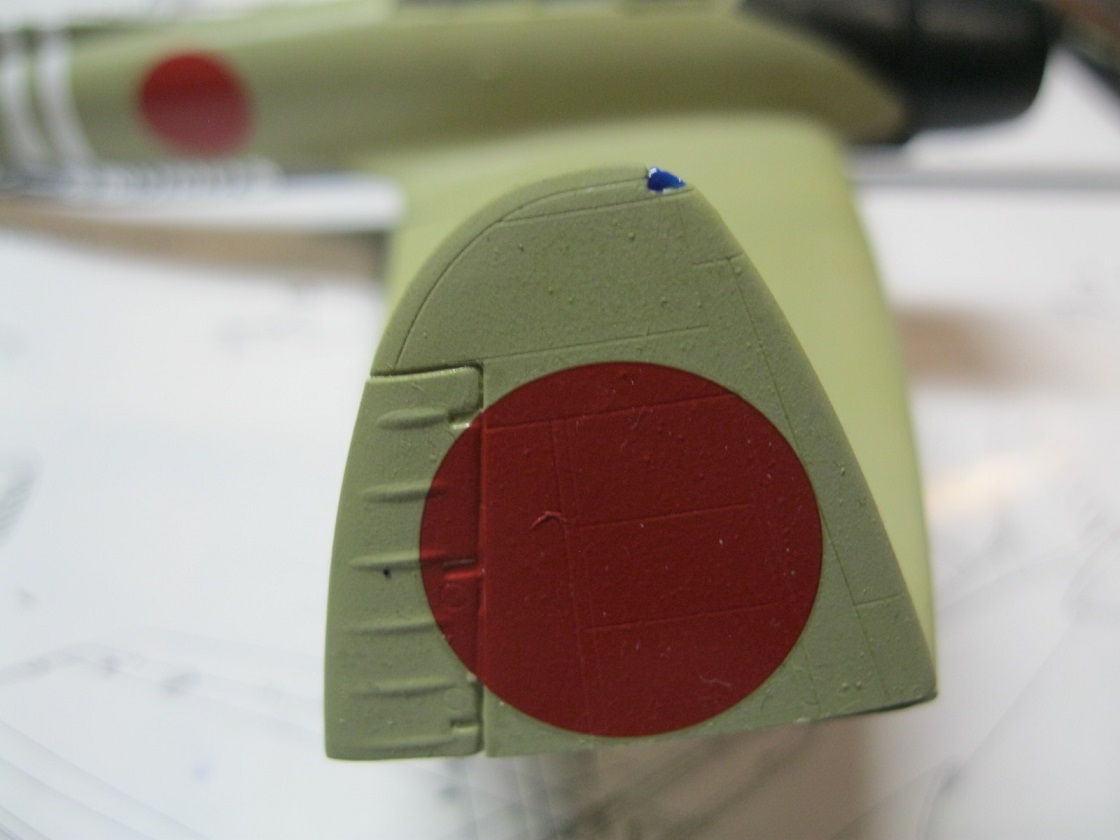
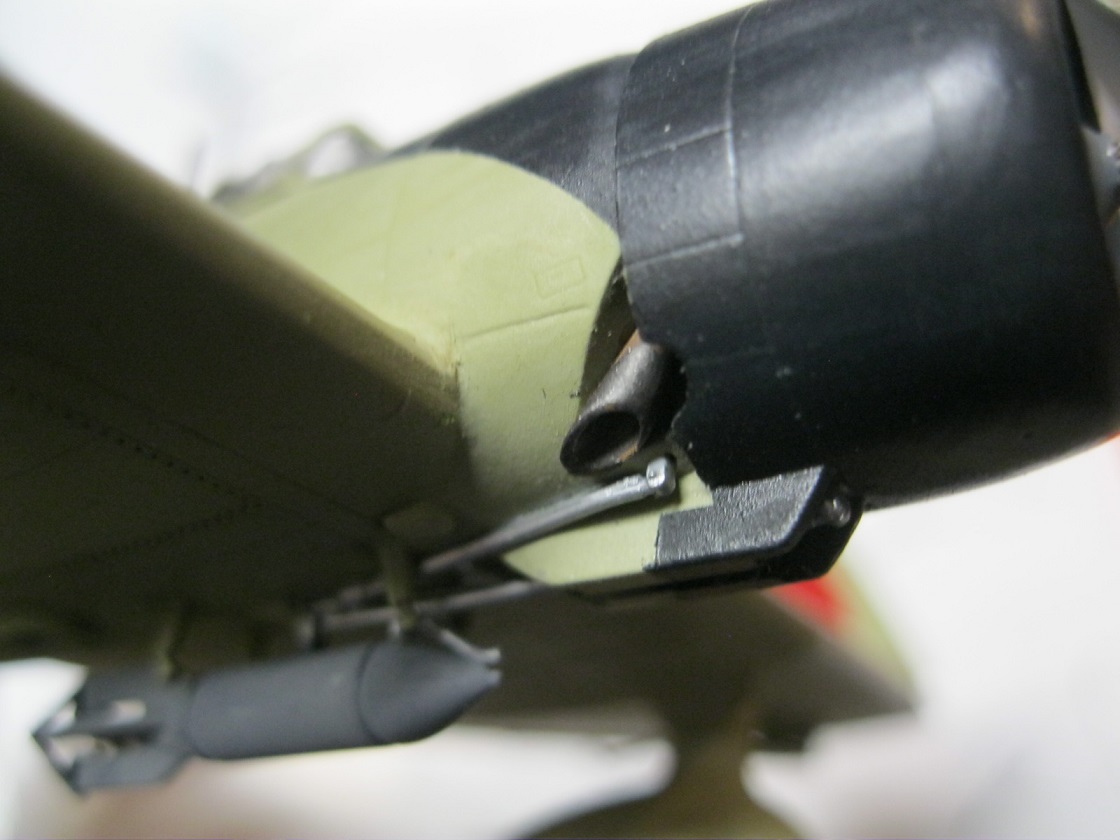
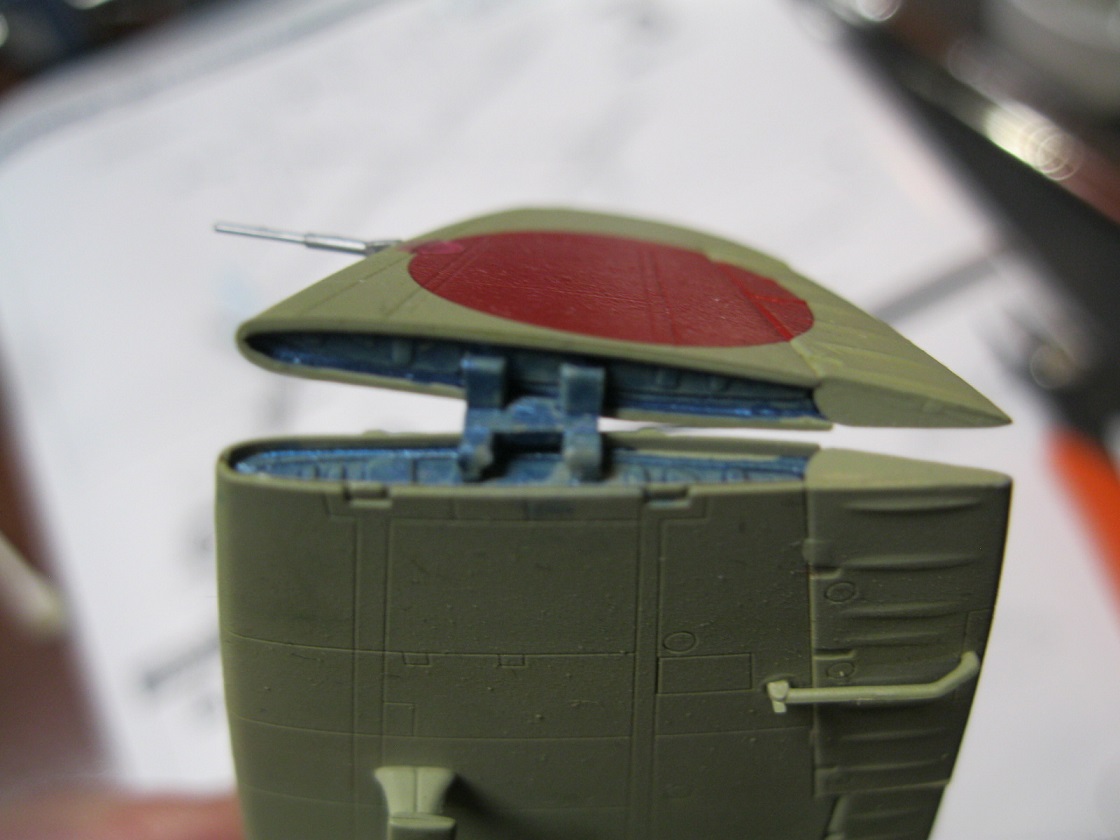
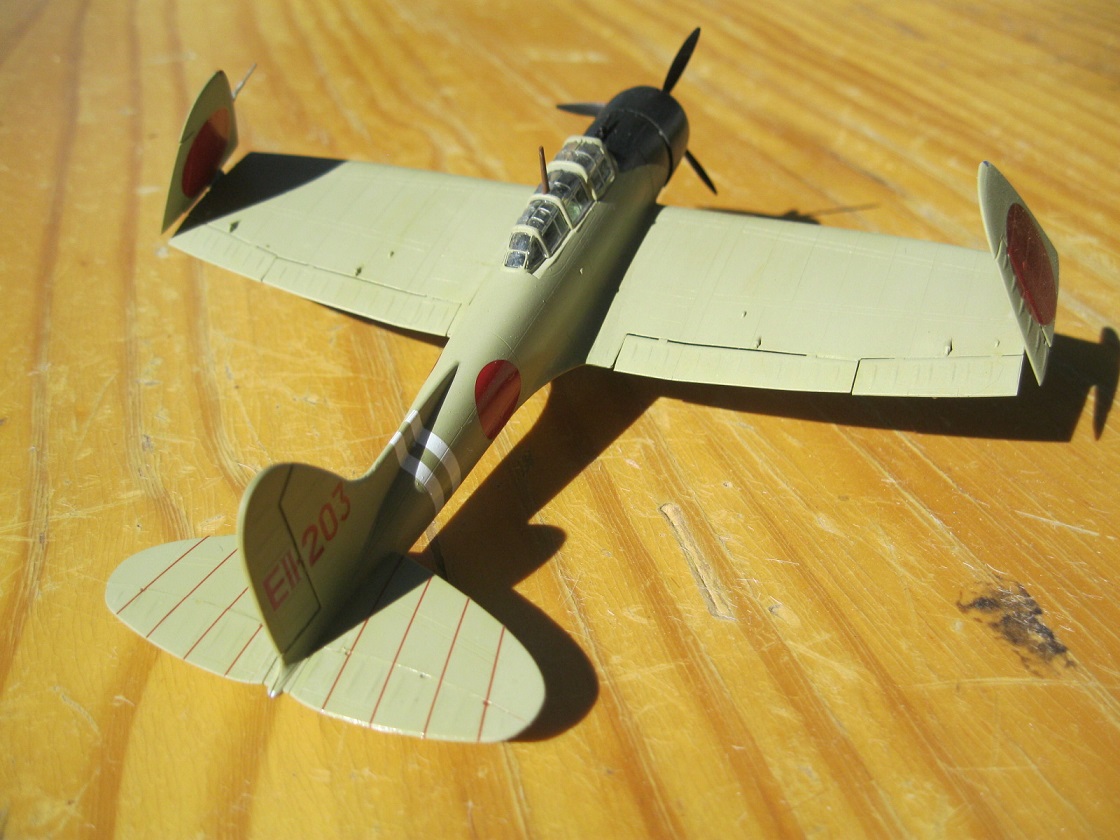
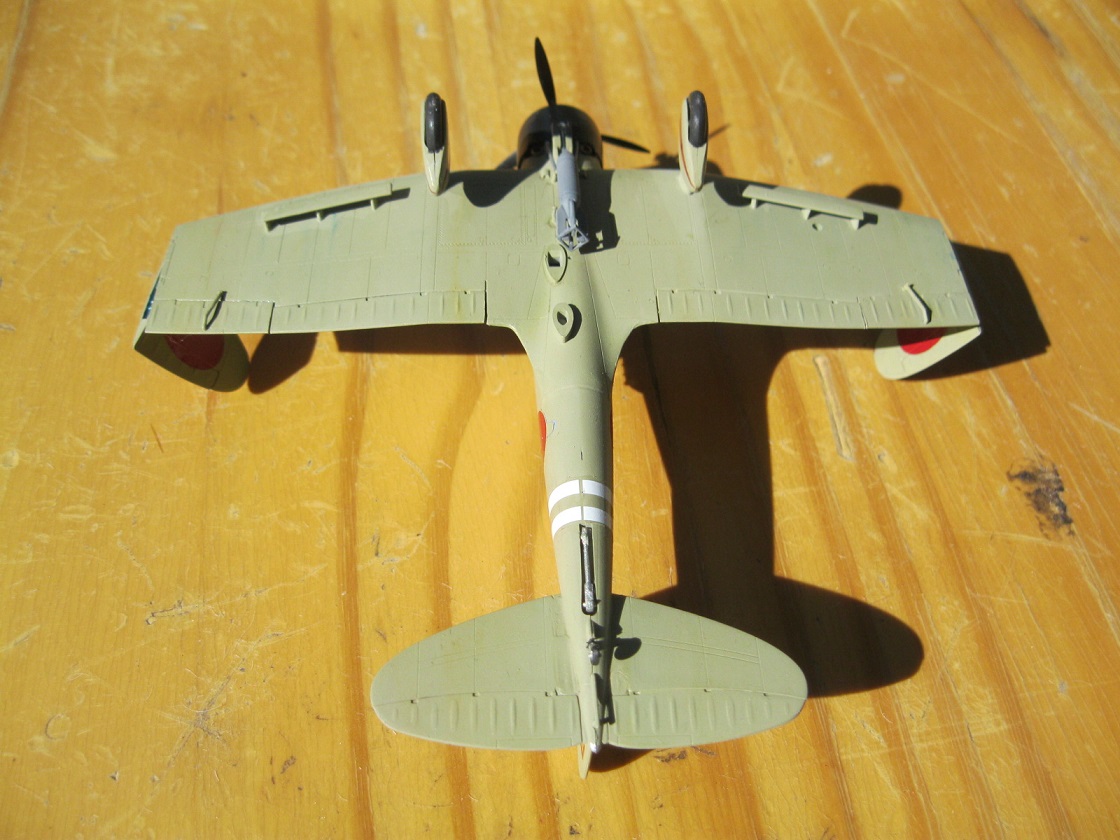
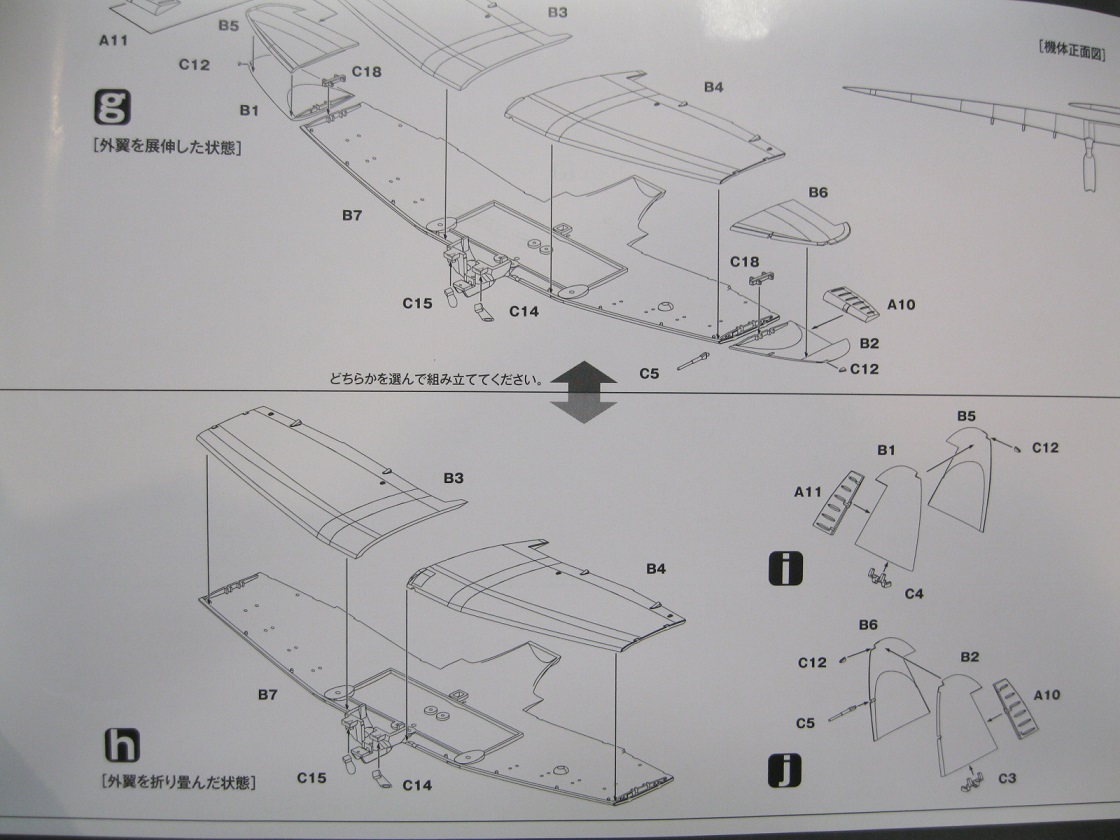
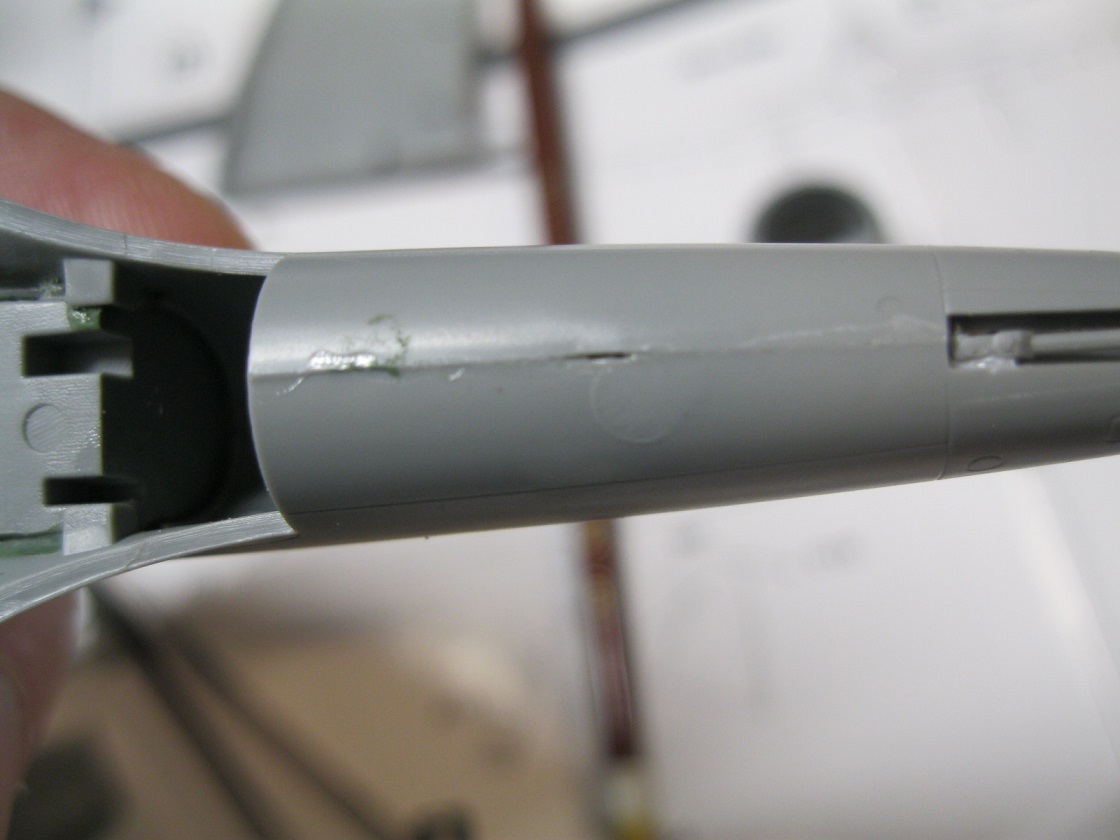
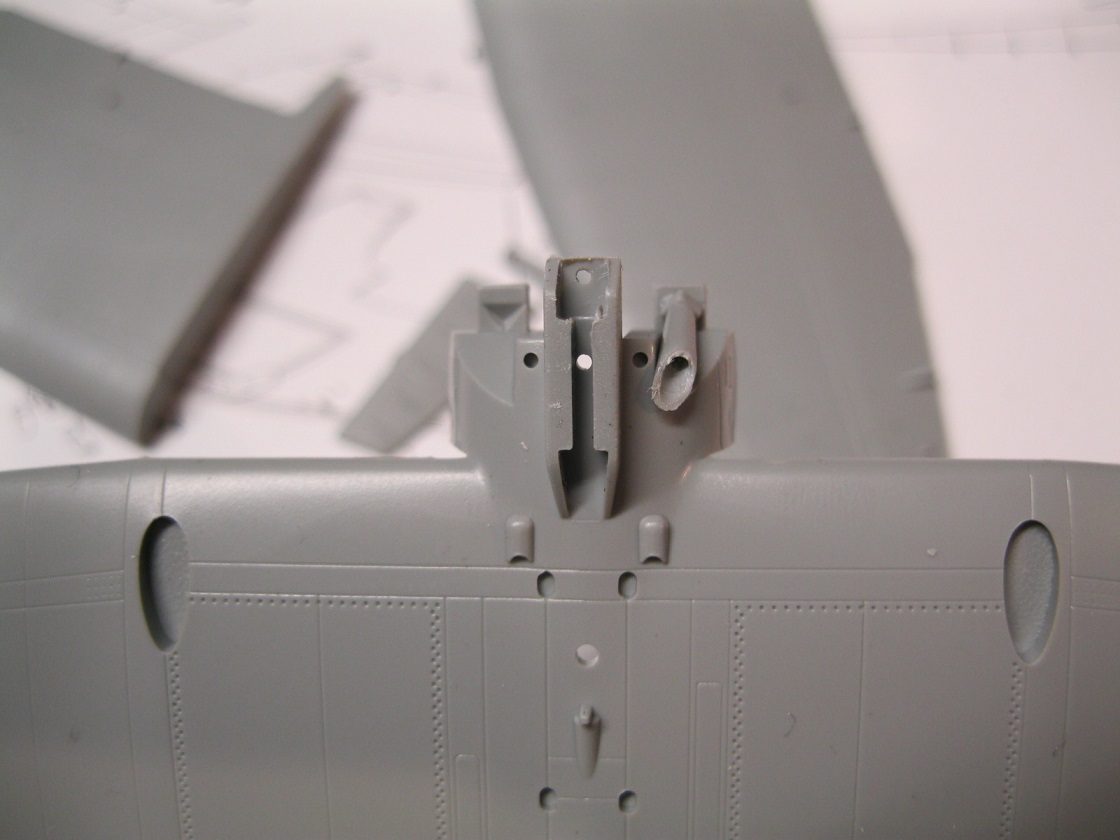
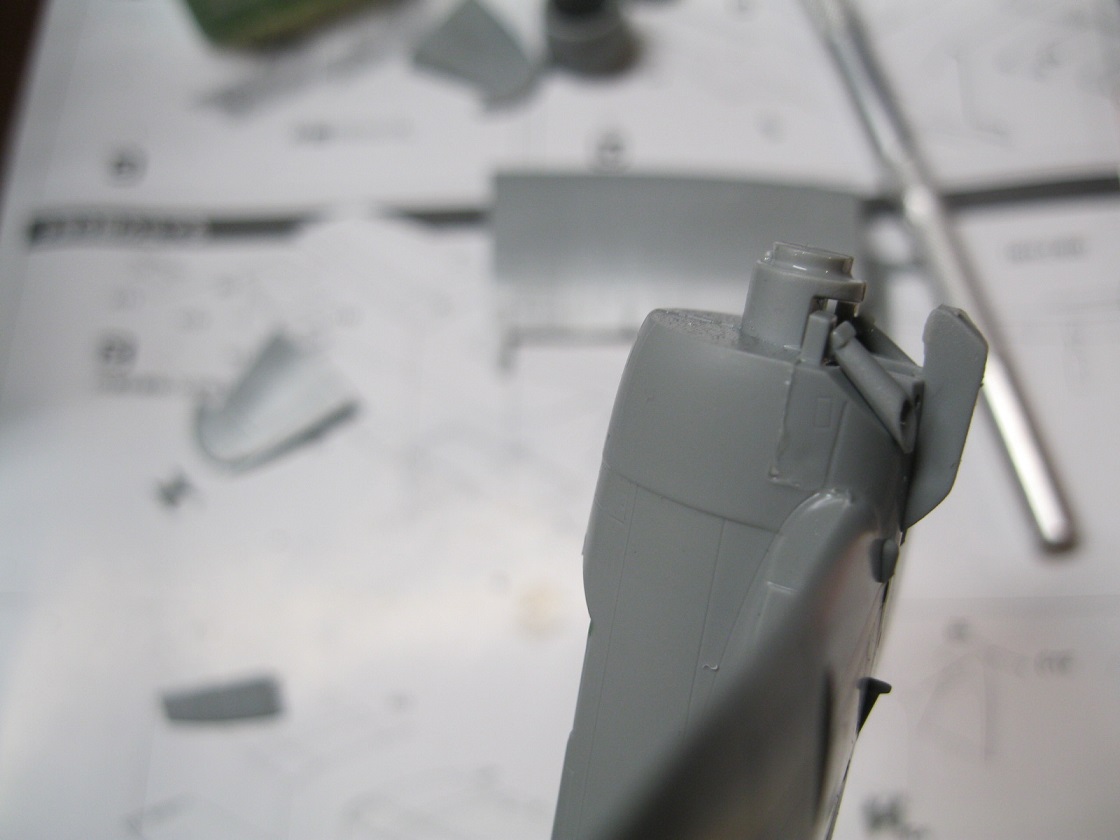
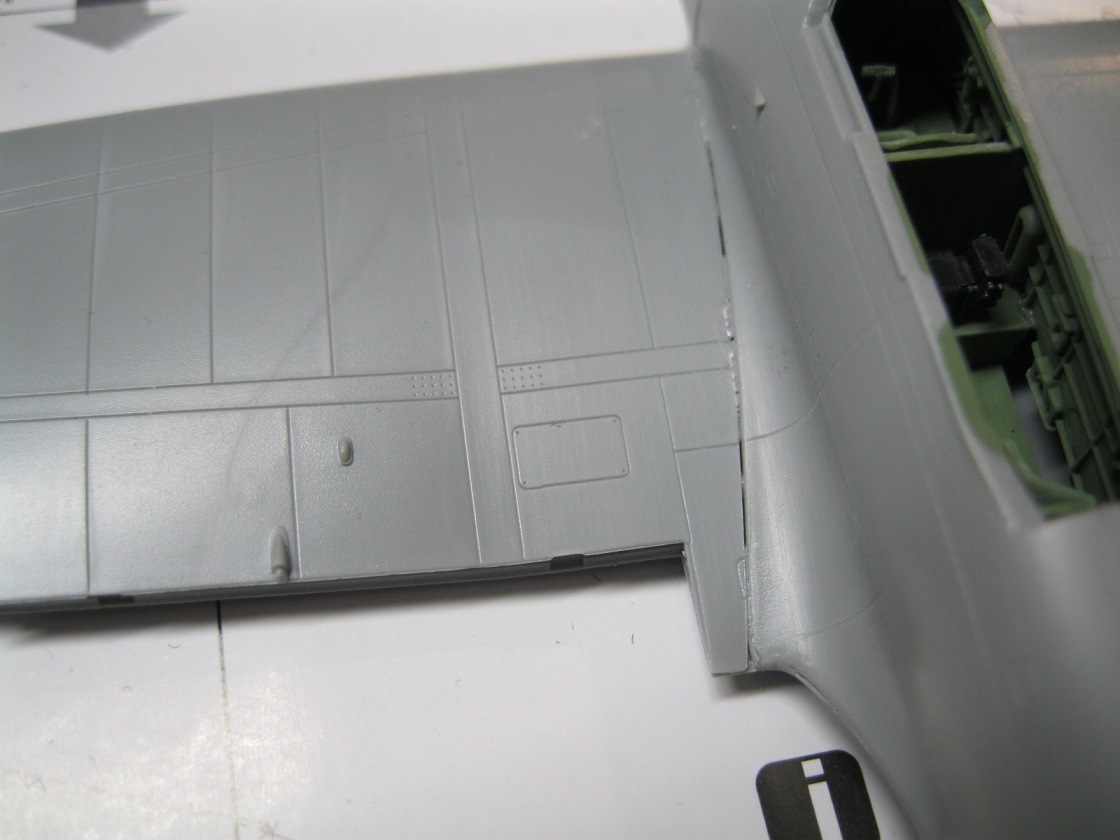
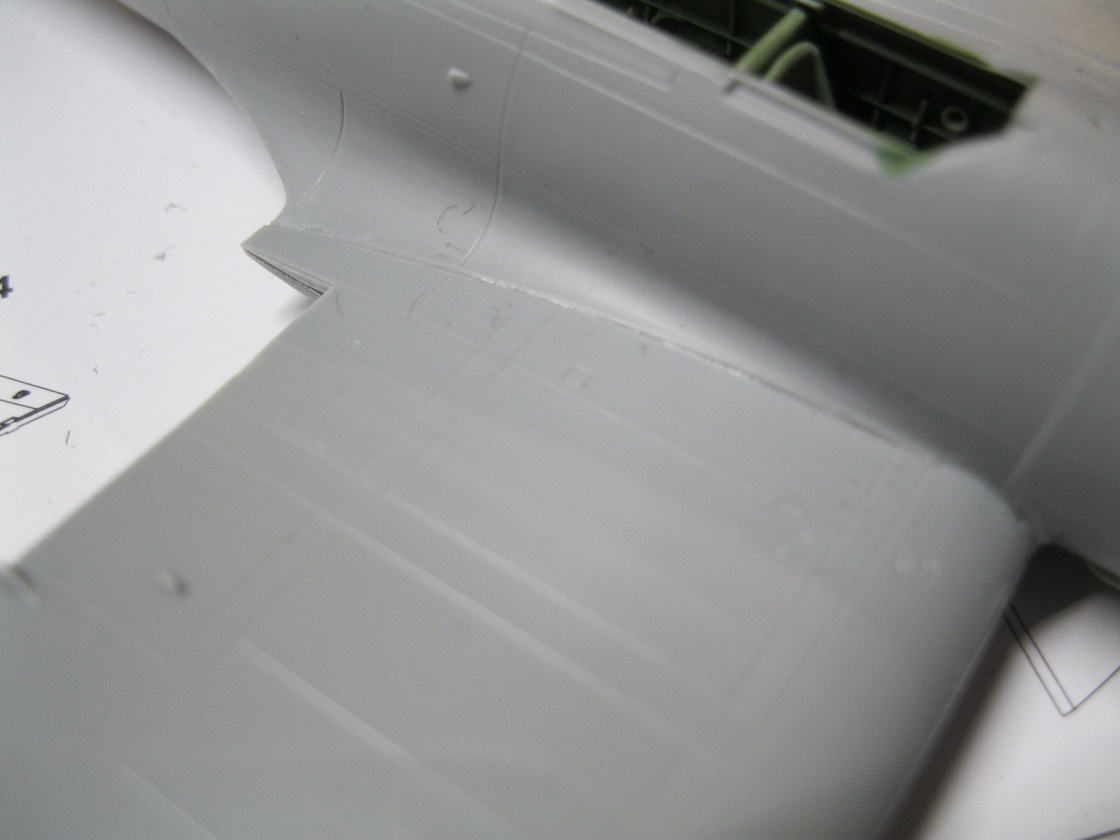
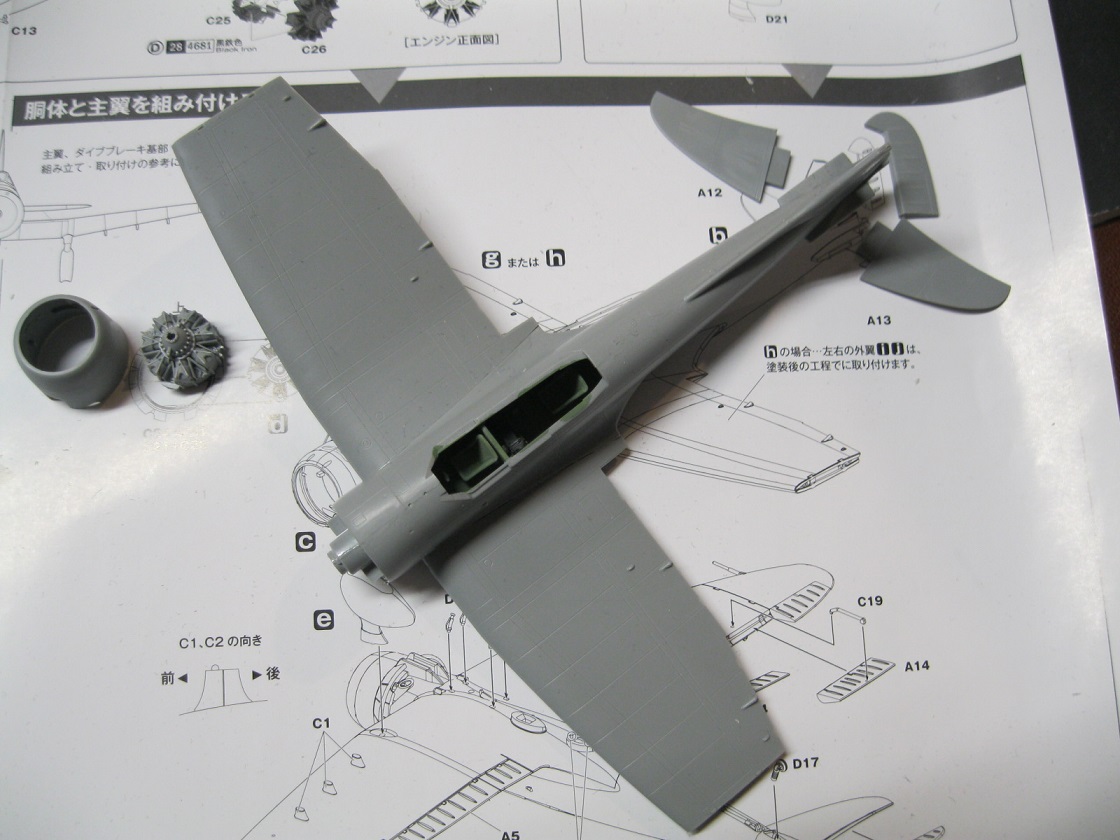
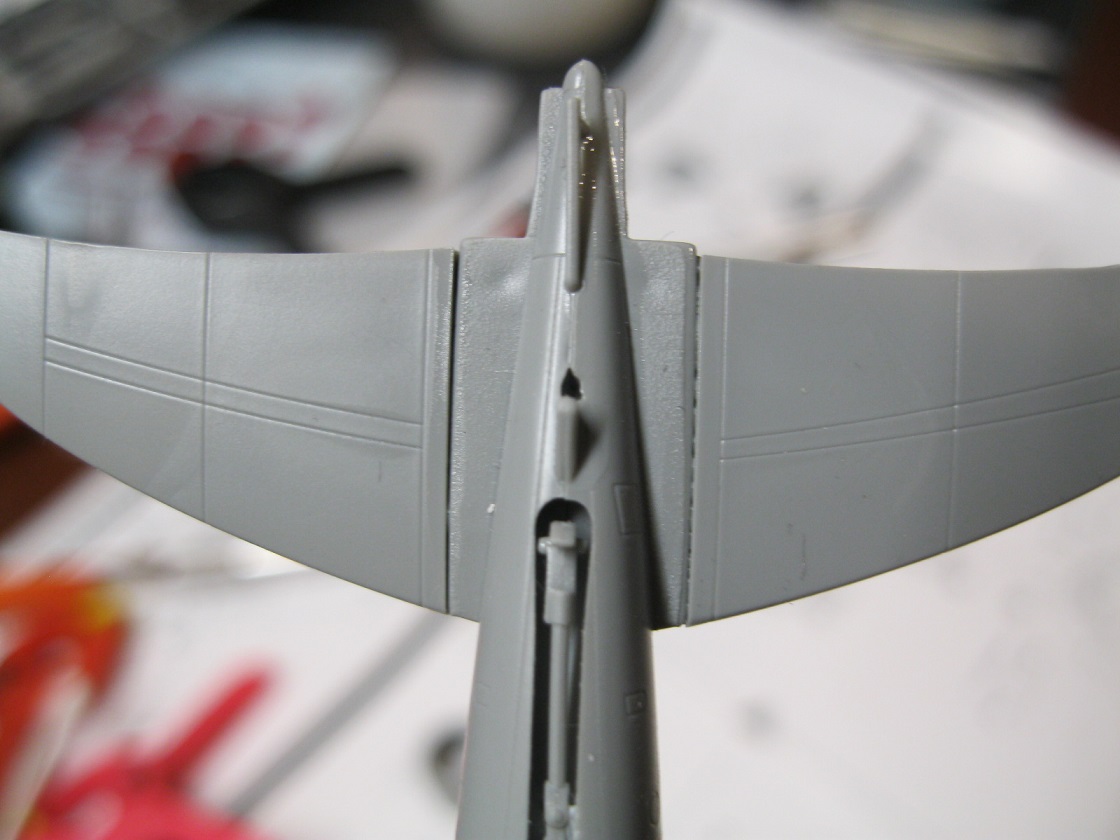
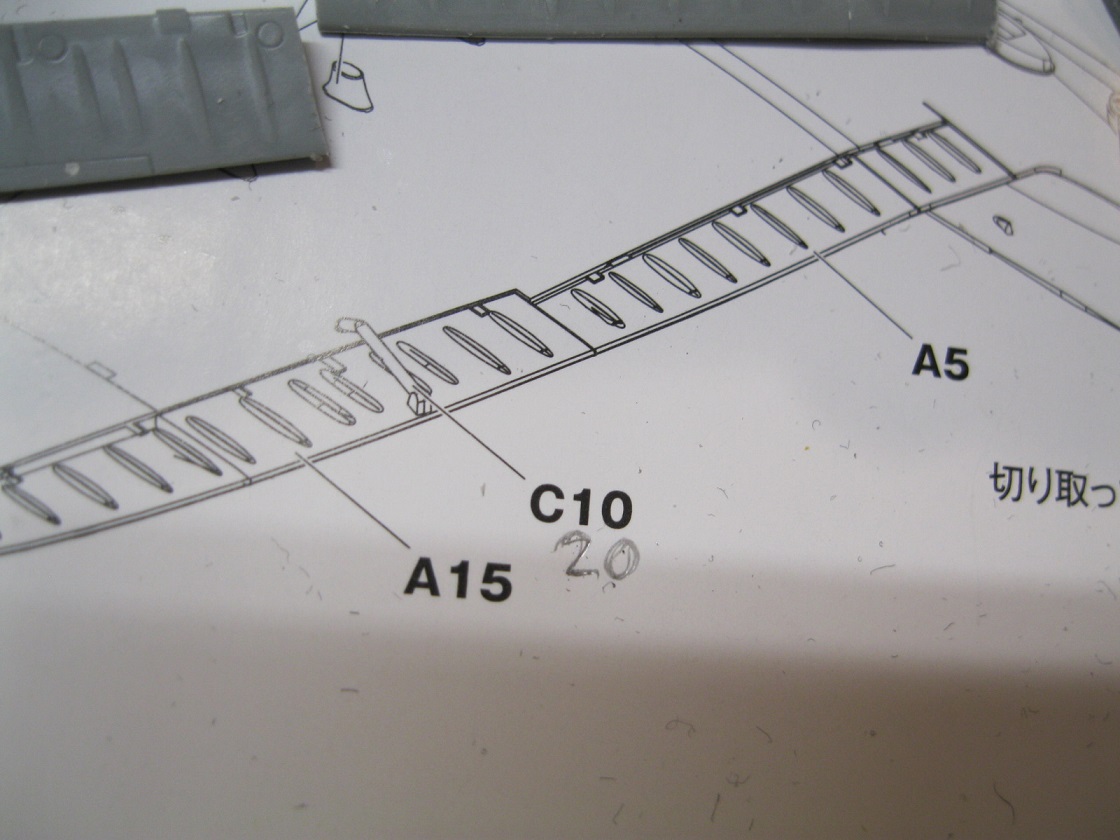
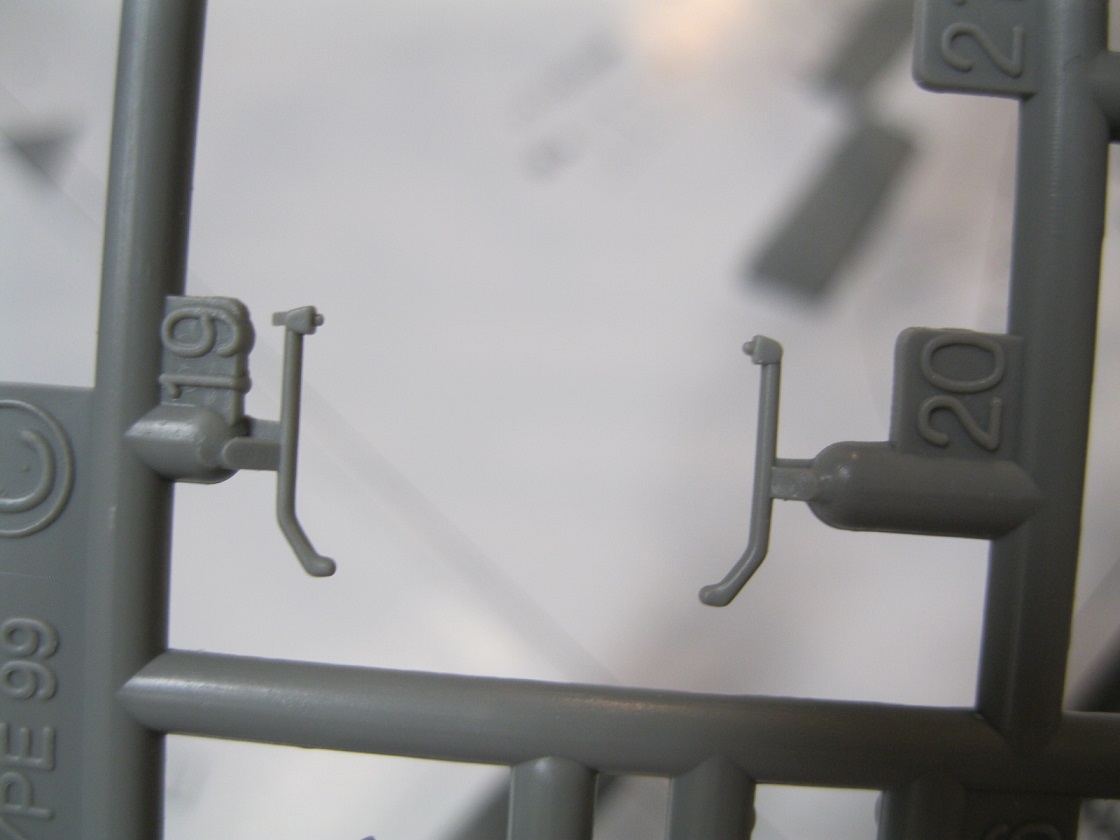
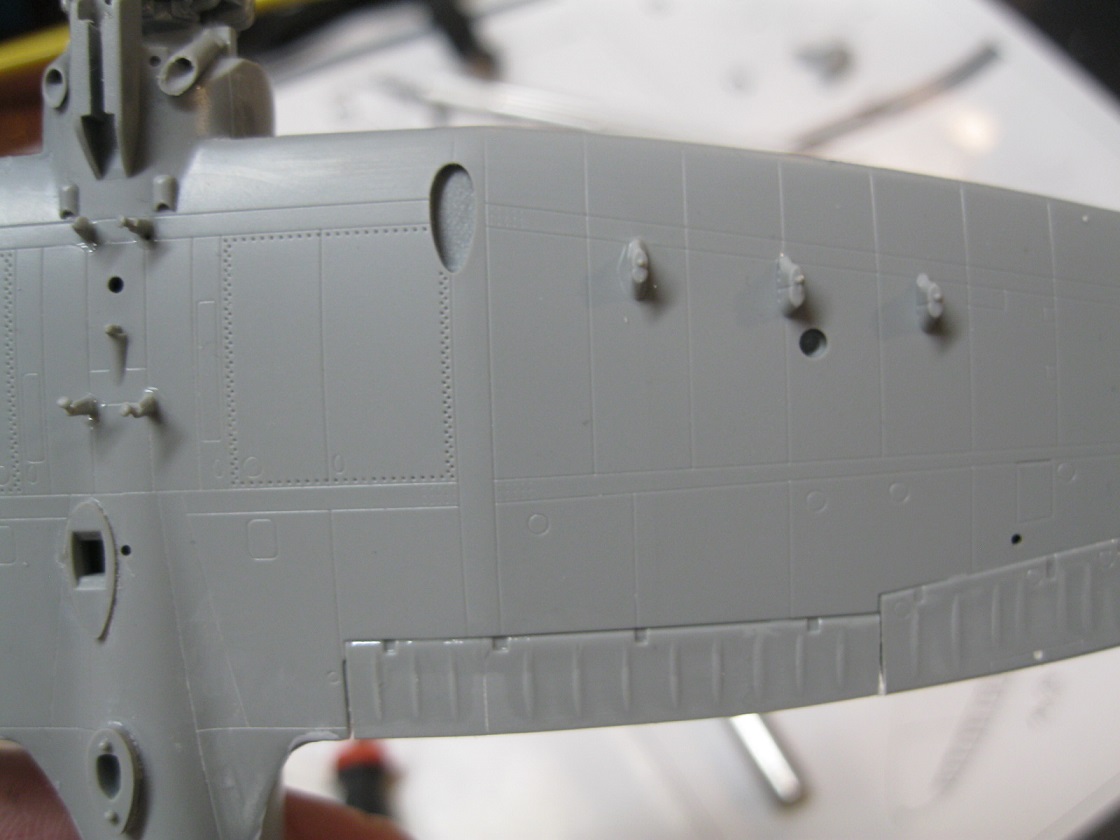
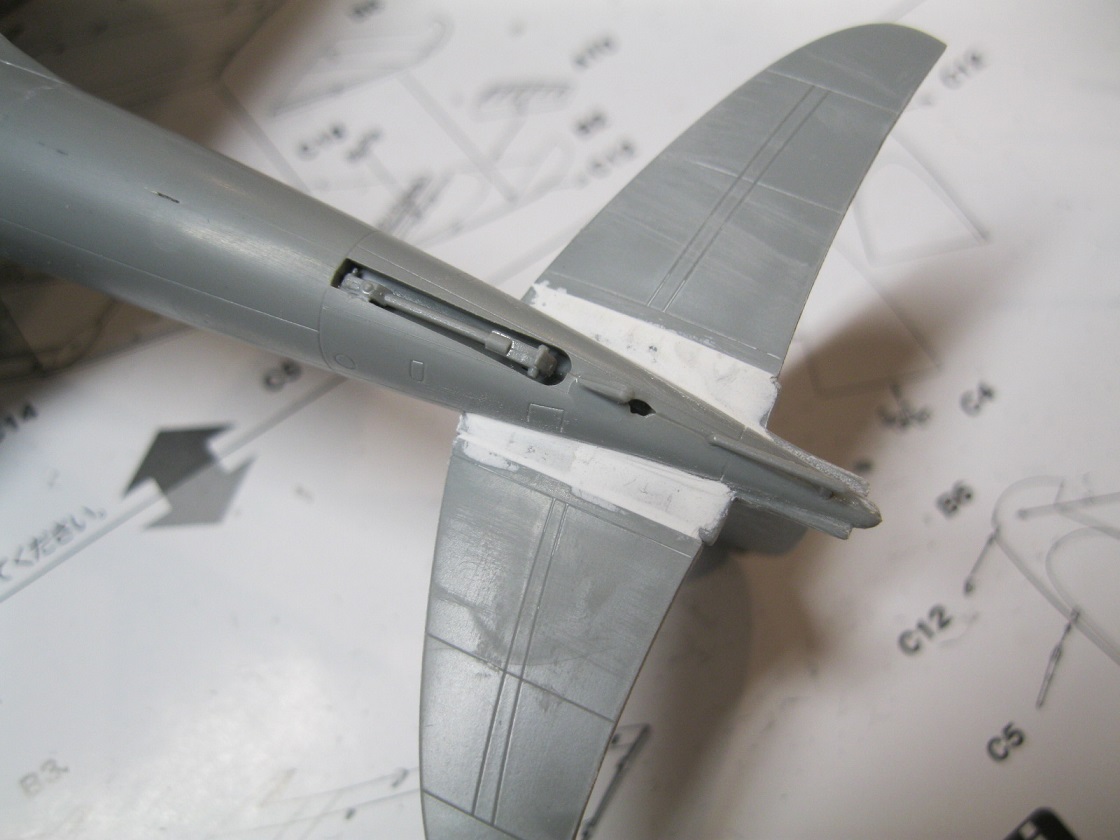
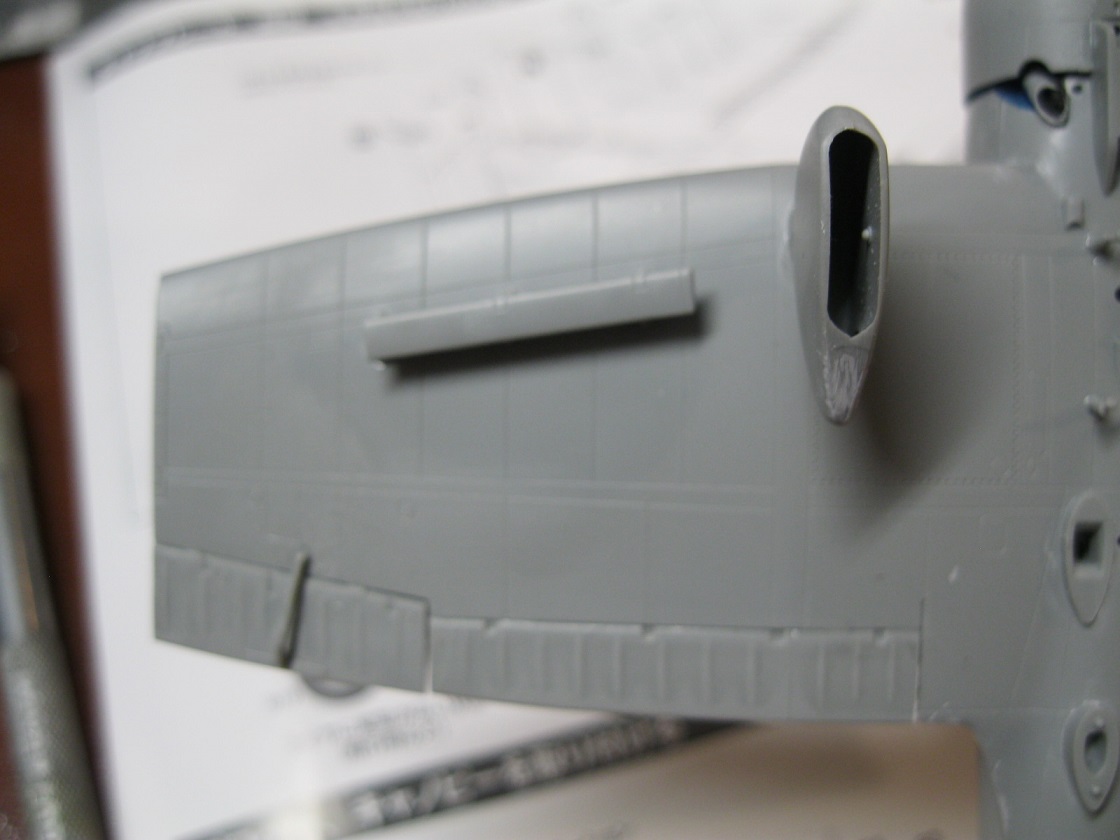
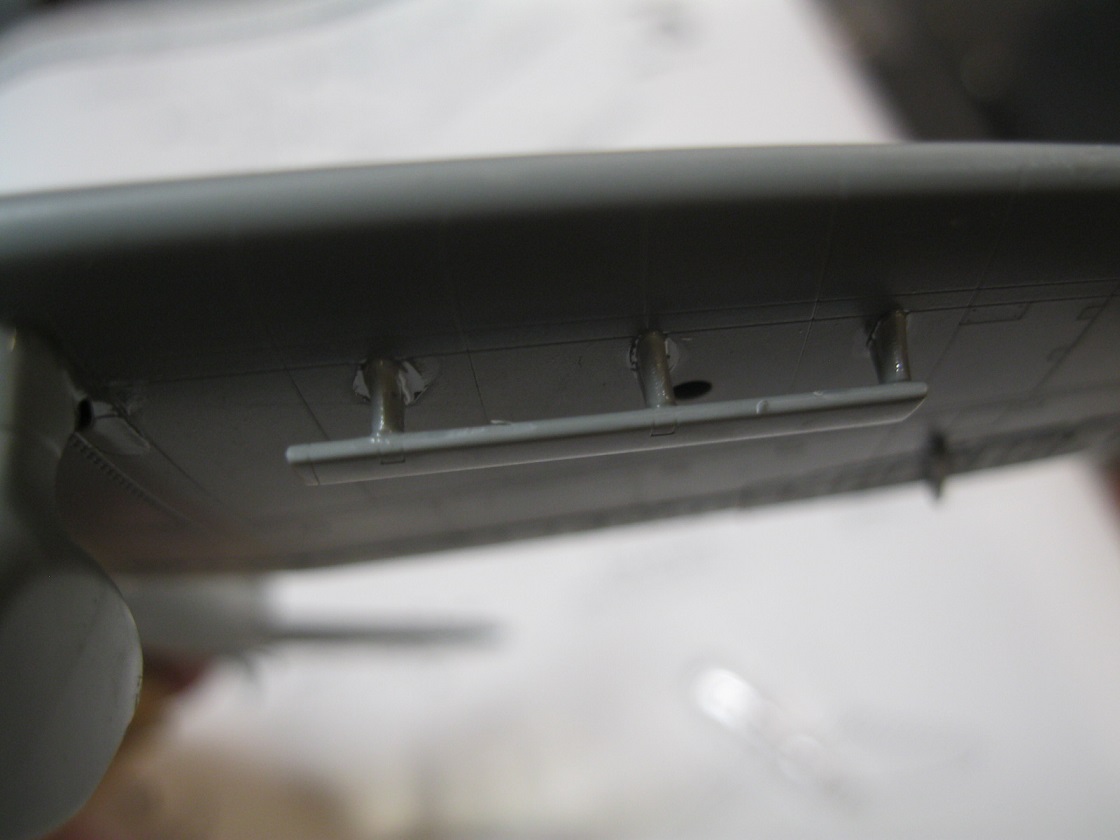
For steps G and H you will have to decide if you are doing the wing tips folded or extended. I opted to do them folded for a change. There are two different insert parts that connect the tips to the main wing span. Also, you will need to drill out the holes to mount the two smaller wing mounted bombs and the wing tip opening for the pitot tube. I didn't realize they were not opened until near the end of the build when I looked to see where the bombs would go. As a result, they are not included in my build. Also, the exhaust tubes, C14 and 15, show a general idea as to placement, so it is up to you to decide just where they belong. For better appearance, the exhausts will need to be drilled out on the end as well. Then the sub assemblies are all attached in a separate, unlettered step. Wings, engine, cowling, flaps and dive brake stubs are all placed. The control arm part C10 is actually C20. The fixed landing gear fits into an opening on the bottom of the wing but may need some putty around the sides. There were significant gaps at the wing to fuselage and tailplane to fuselage join which I filled with perfect putty. The downside to perfect putty is that it can crack and fall out as it doesn't have any adhesion reaction with the styrene. I noted this in a couple of very small places after it was painted.
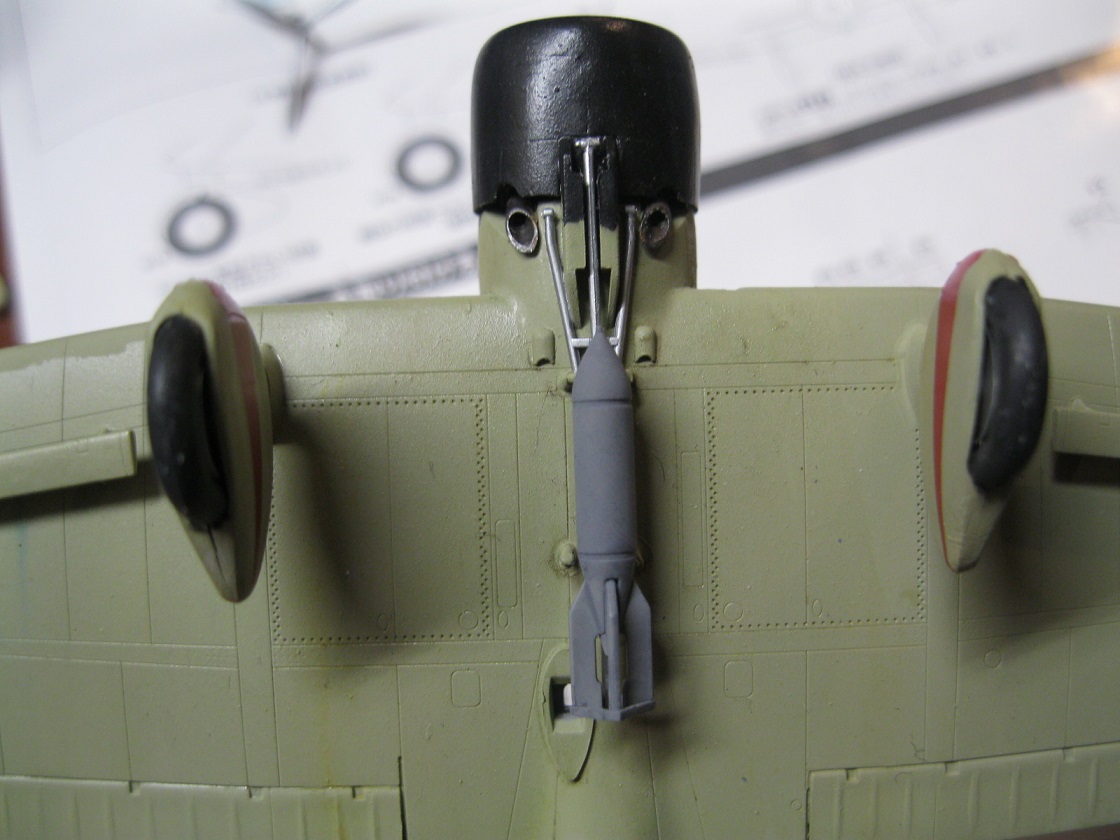
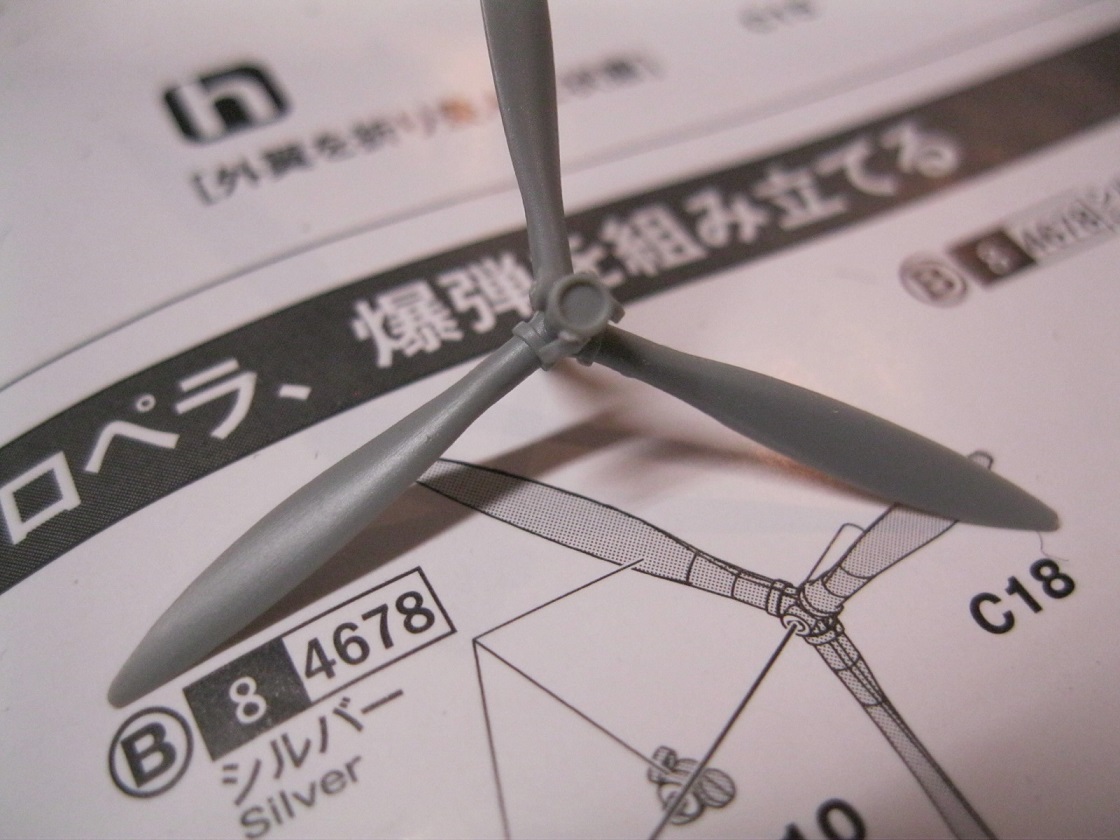
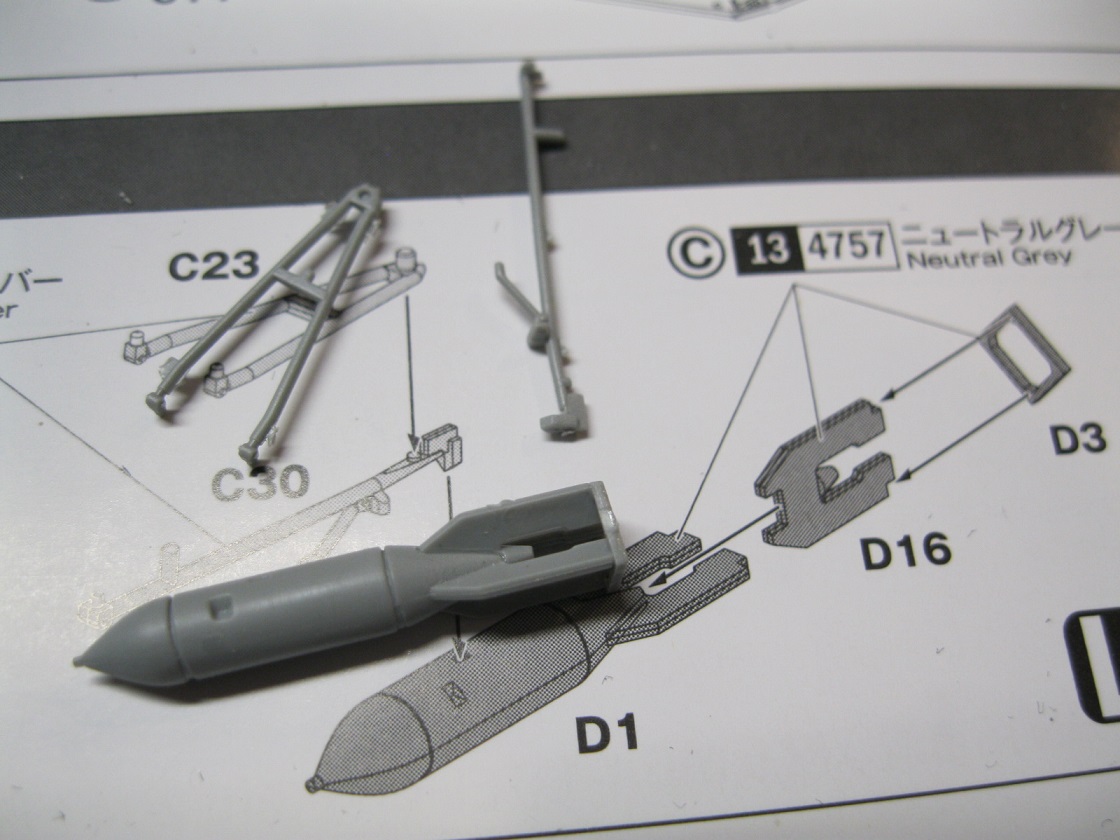
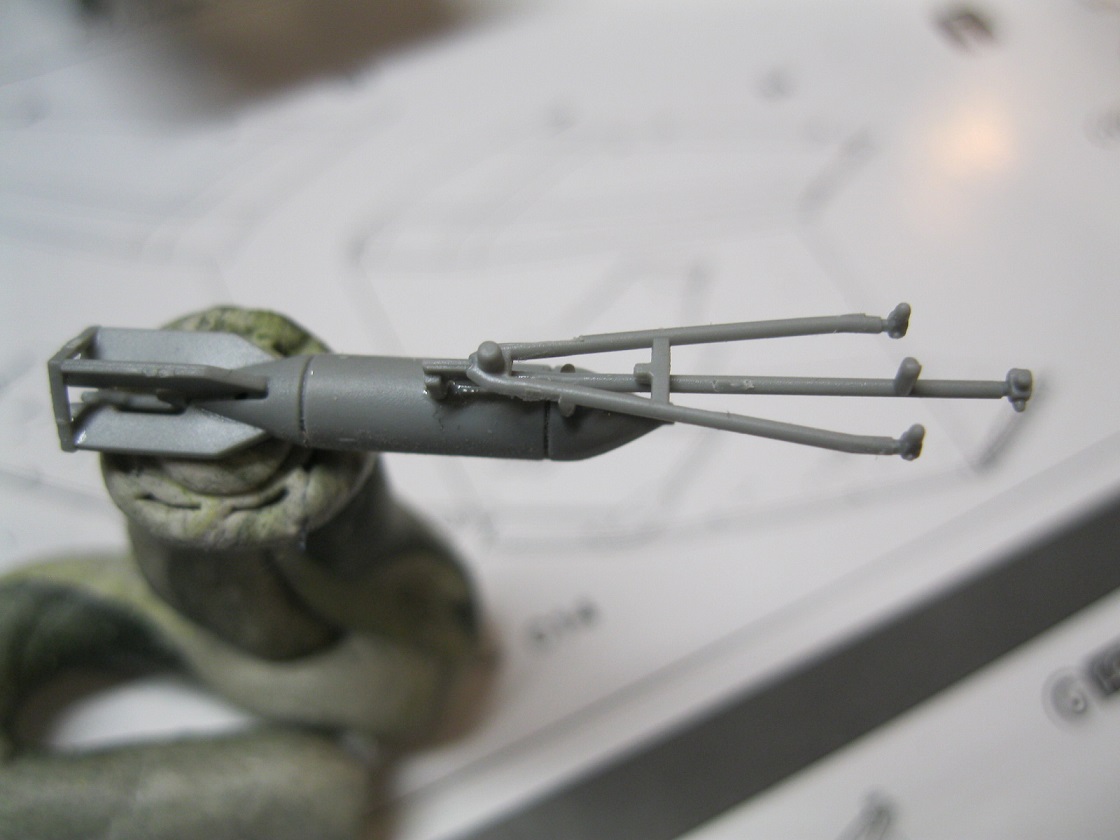
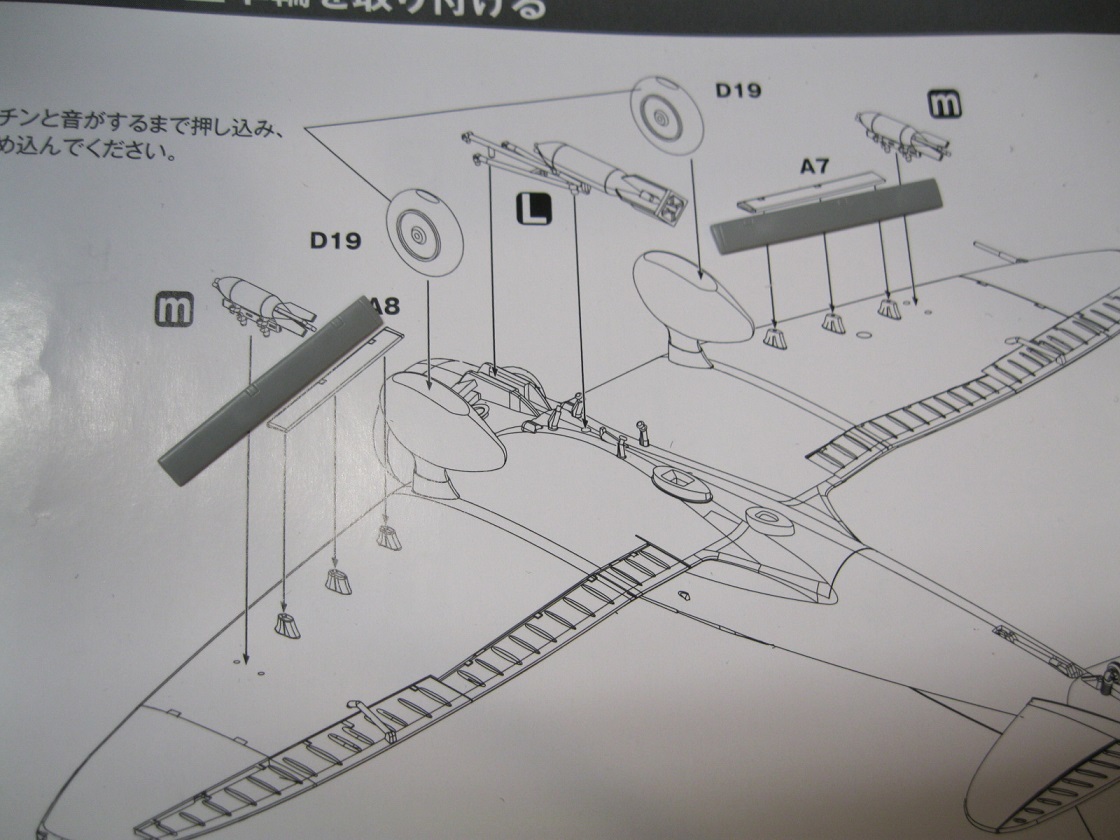
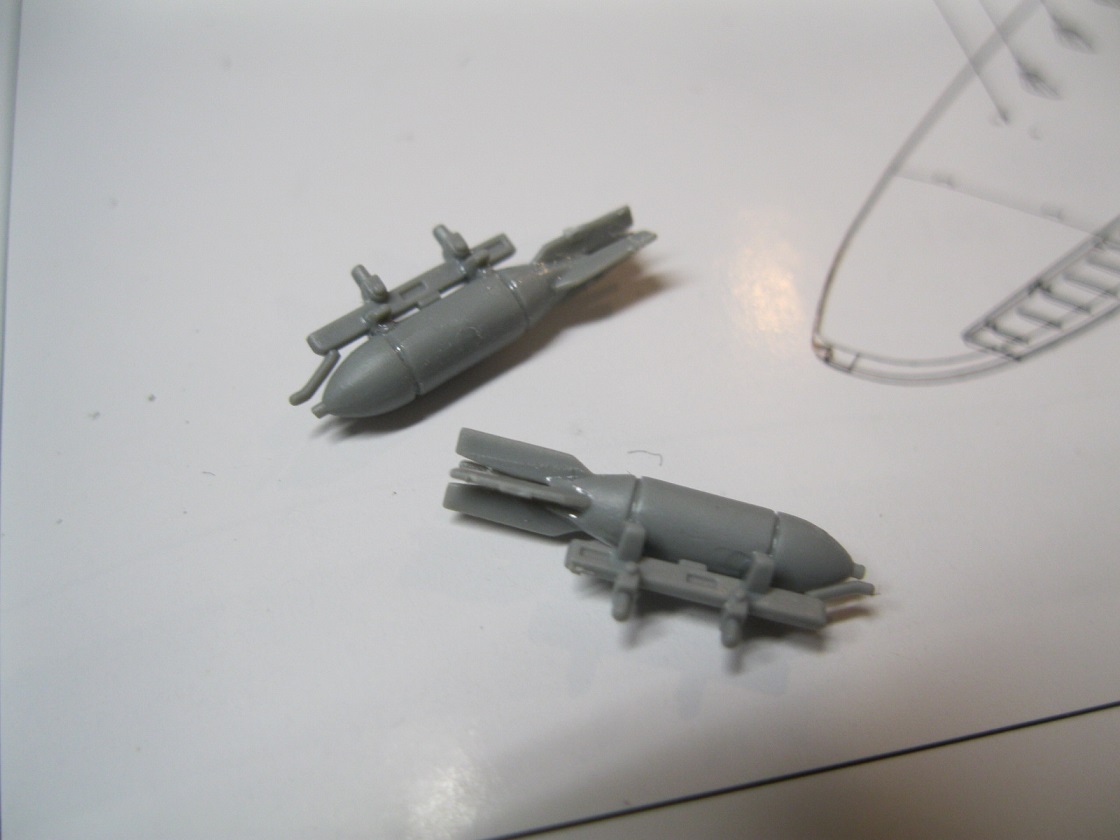
Steps K, L and M are sub assemblies of the propeller, main bomb and swing arm and the two small wing mounted bombs. The propeller has two small parts that attach to the front. The swing arm assembly is fairly delicate and needs care to remove it without breaking. Likewise the square base ring for the main bomb, which broke when I thought about removing it. These show to be added in the next unlettered step on the following page, along with the dive brakes and wheels. I left these items off until after painting so I wouldn't knock them off.
Painting and Decals
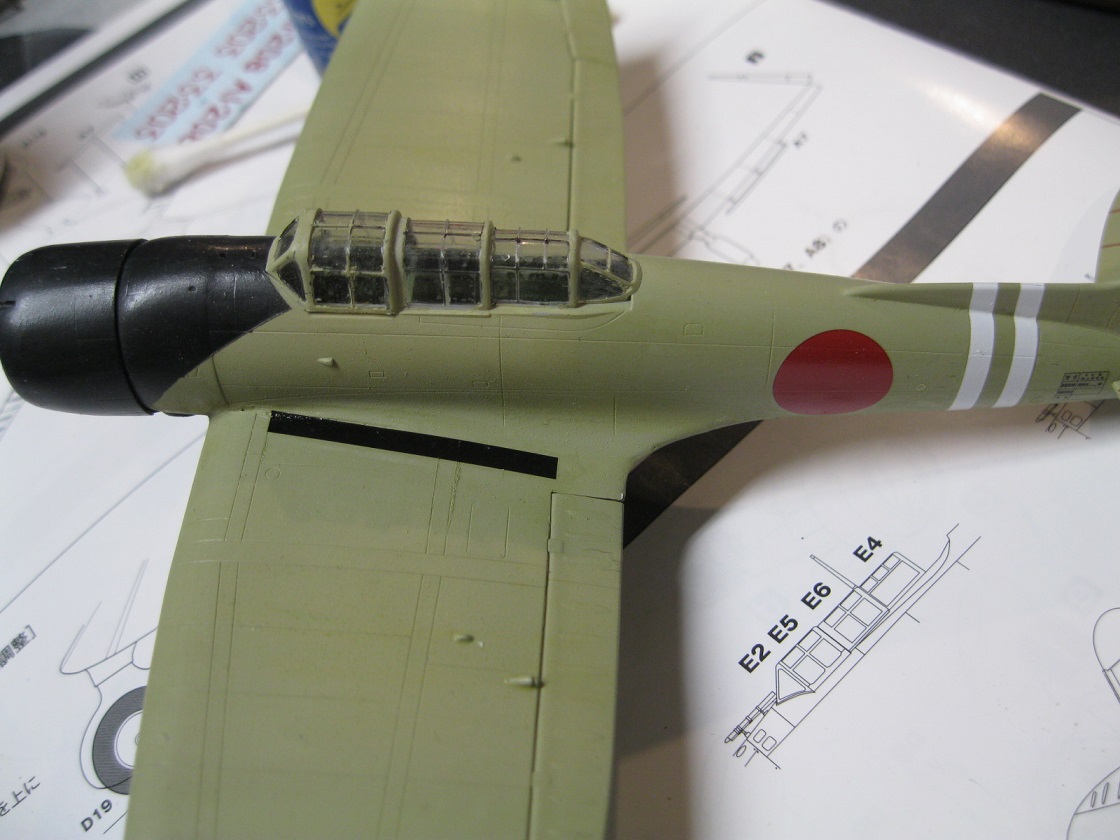
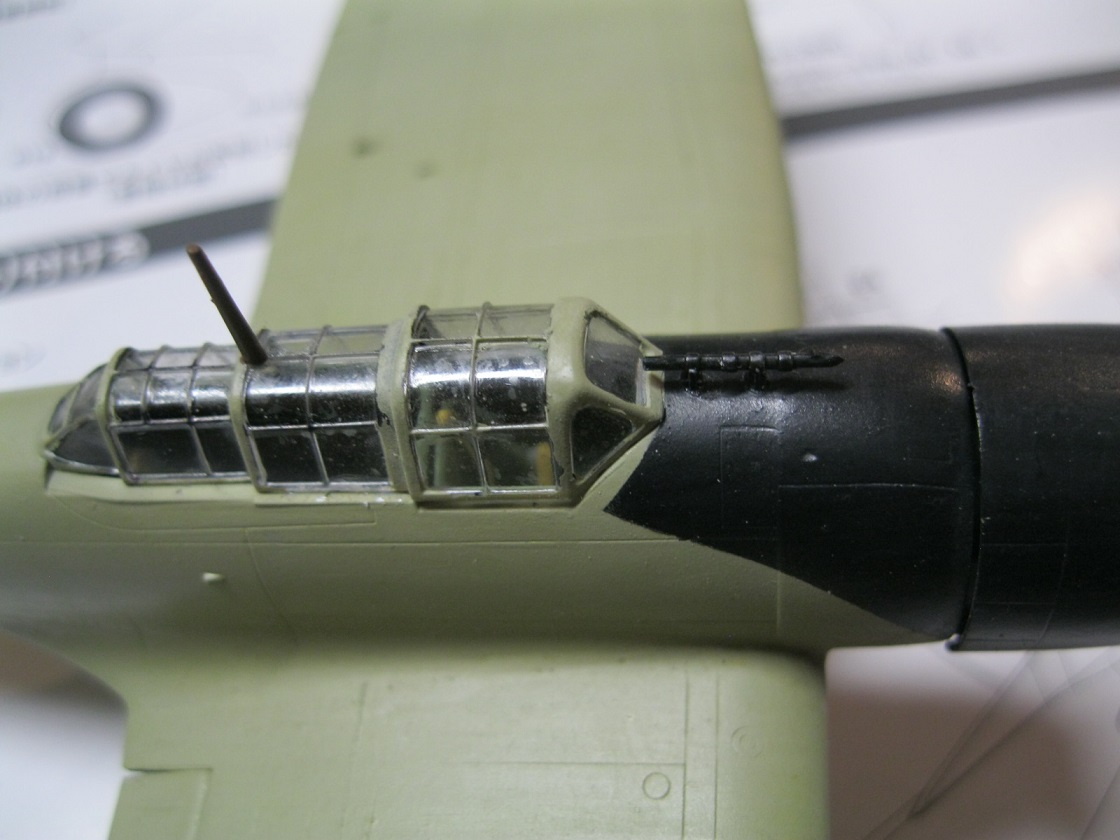
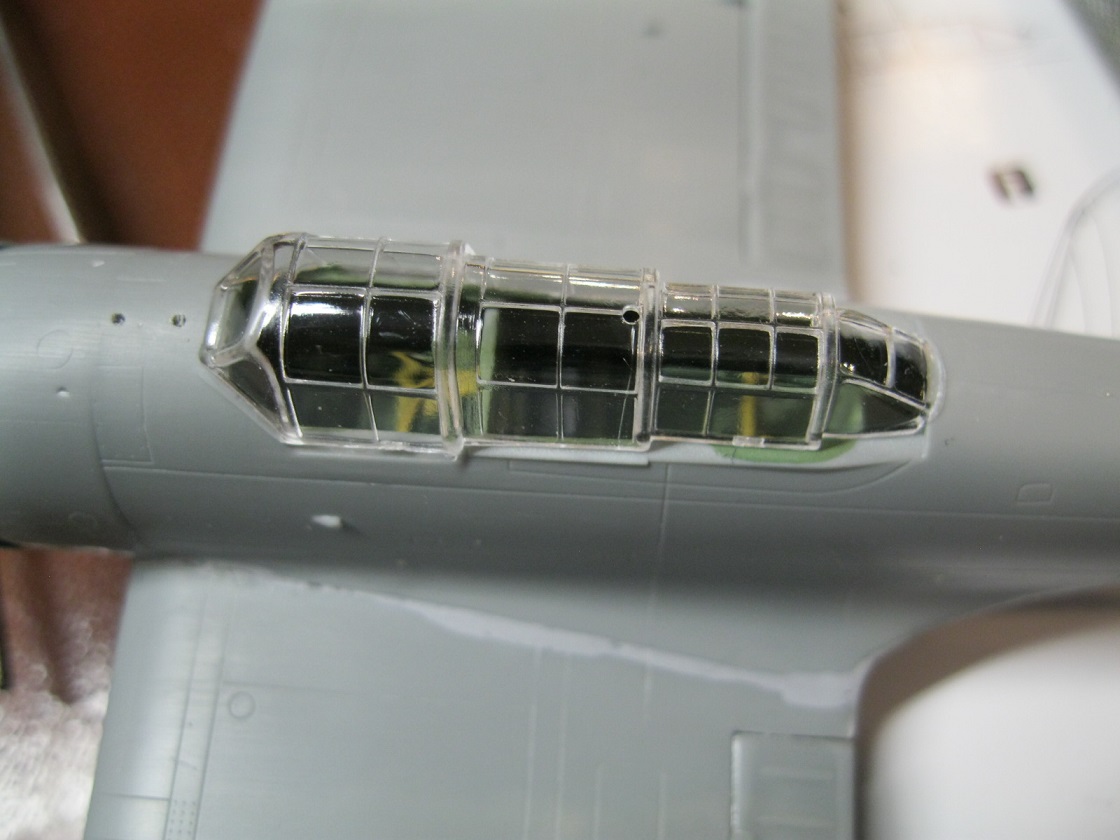
Reliable sources now agree Japanese aircraft were not painted light gray. Amiero is a caramel gray color. The formula to mix the proper Amiero color from the Tamiya paints I use was provided by Imperial Japanese aviation authority, modeler and author Nicholas Millman. This was applied and I did some oil dot blending for variation. I went with the one piece canopy which as over-exaggerated steps between the canopy sections, mainly because of the lack of detail on the interior. I attempted to mask wit tape and liquid frisket but the smaller canopy sections are almost triangular in shape in that the canopy frame is very thin and angled at the top and difficult to paint.
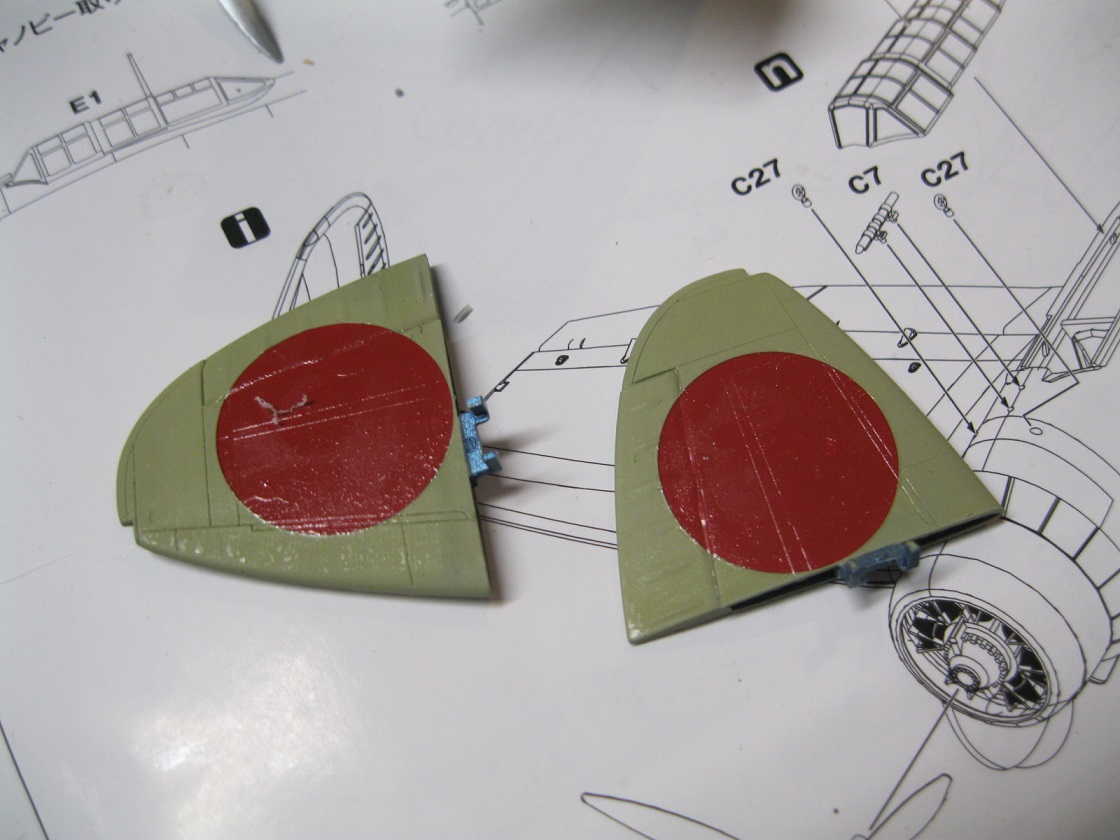
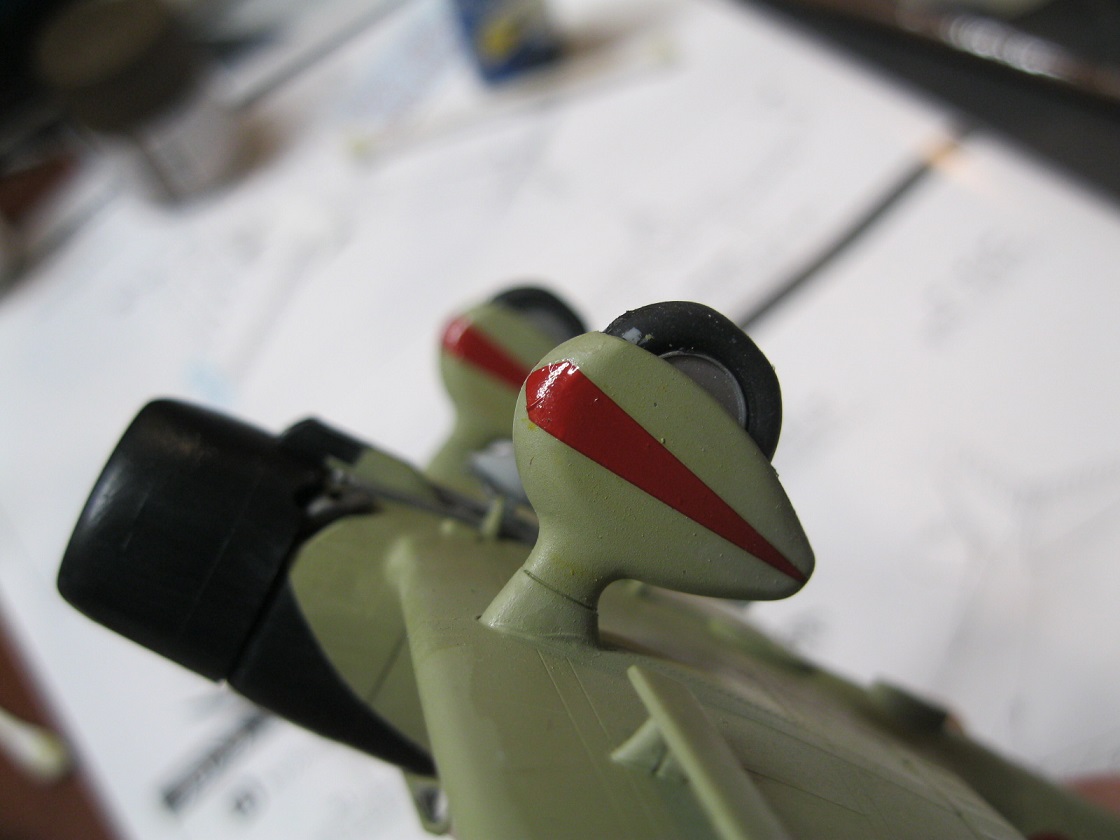
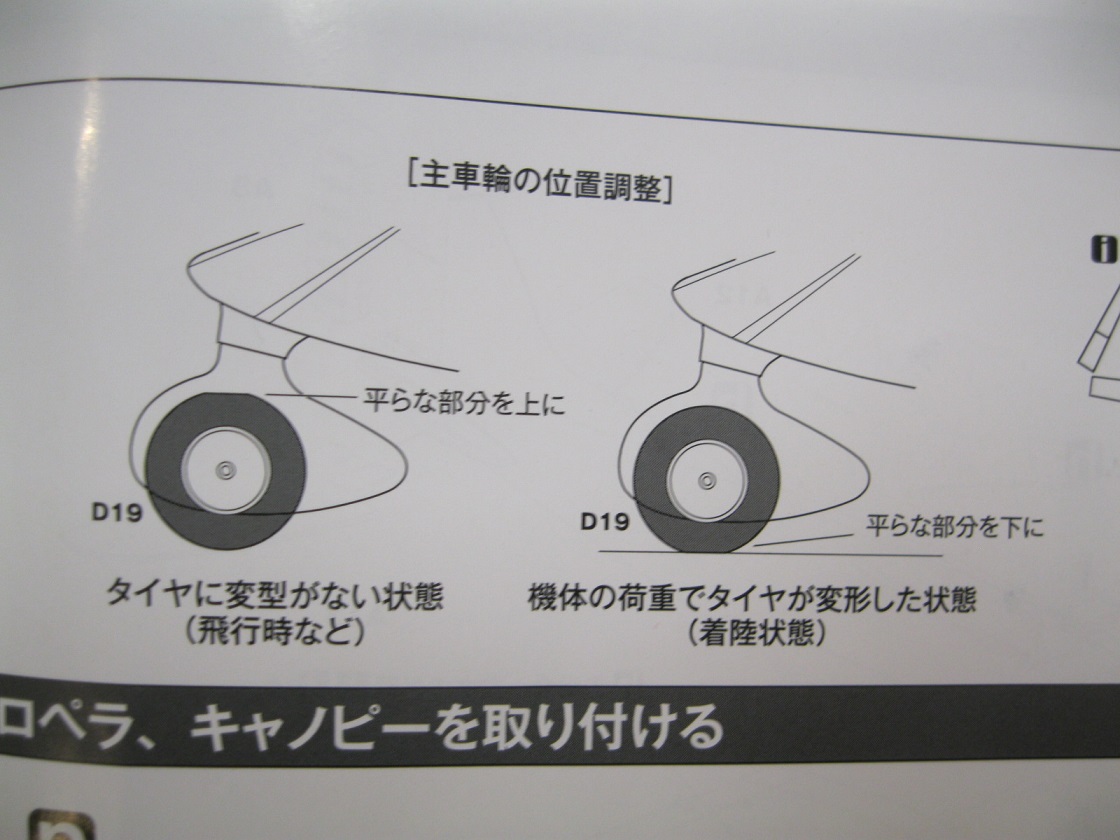
Once the paint was dry I applied the decals. Going off the instructions I placed the Hinomaru on the wing tips. Placement put them out past the wing fold. I have read that the wing fold is too far inboard by about 5mm. All the decals settled in quite well with Microsol/set. The only issue I had was with the small decals for the propeller tips that kept turning sideways. Once the decals were set I added the sight, antenna, wheels and propeller. The wheels have one side flattened if the aircraft is resting on a surface or can be rotated if it is in flight. Fit into the fixed gear legs was very tight. I used a light coat of metallic blue to simulate the Aotake finish on the wing fold.
Conclusion
Overall the kit builds into a nice representation of the D3A1 but as mentioned there is a lack of detail in the cockpit and the wing fold is too far in. There may be other minor shape issues but I lack the references to verify. I am satisfied that it looks the part. I don't think this is a kit that has been represented very often or very well in this scale so there isn't a lot to choose from.
I have looked online and prices for this kit vary but tend to be rather high, over $30 US. That seems a lot for what is provided. If you have an interest in Japanese Aviation, this is a kit for you to look into.
Historical information in this review is referenced from online sources including Wikipedia, Warfactory and J-aircraft. Issues with the wing fold come from discussions on J-aircraft.


Comments