Background
Well the Mirage IIIC takes me back to being a nine year old watching
Les Chevailler du Ciel on the BBC. It did not matter about the dodgy plots. Looking at some of the episodes again there are some really useful images of the Mirage B and C and some of the operational procedures.
The Mirage IIIC was the first major production model of the Mirage III family. It first flew in October 1960. The Mirage IIIC was fitted with an Atar 09B turbojet engine, featuring an eyelid type variable exhaust. The Mirage IIIC was armed with twin 30 mm DEFA cannon fitted in the belly with the gun ports under the air intakes. Early Mirage IIIC production had three stores pylons, one under the fuselage and one under each wing. Another outboard pylon was soon added to each wing, for a total of five. The inner wing pylon generally carried a supersonic tank which also had bomb-carrying capacity. The outboard pylon was intended to carry an AIM-9B Sidewinder air-to-air missile. Later the Sidewinder was replaced by the Matra R550 Magic. The radar guided Matra R530 Missile was carried on the centre line pylon.
A total of 95 Mirage IIICs were obtained by the French Air Force (Armée de l'Air, AdA), with initial operational deliveries in July 1961.[23] The Mirage IIIC remained in service with the AdA until 1988. The largest export customers for Mirage IIICs built in France were Israel, their principal variant being the Mirage IIICJ. Israel received 70 Mirage IIICJ between April 1962 and July 1964. South Africa was amongst the earliest export customers for the Mirage IIICZ, having initially ordered a batch of 15 Mirage IIIC for low-level ground attack operations, for which they were armed with the Nord Aviation AS-20
The Kit
The box is packed full with sprues, hardly a spare centimetre to spare. Inside you will find:
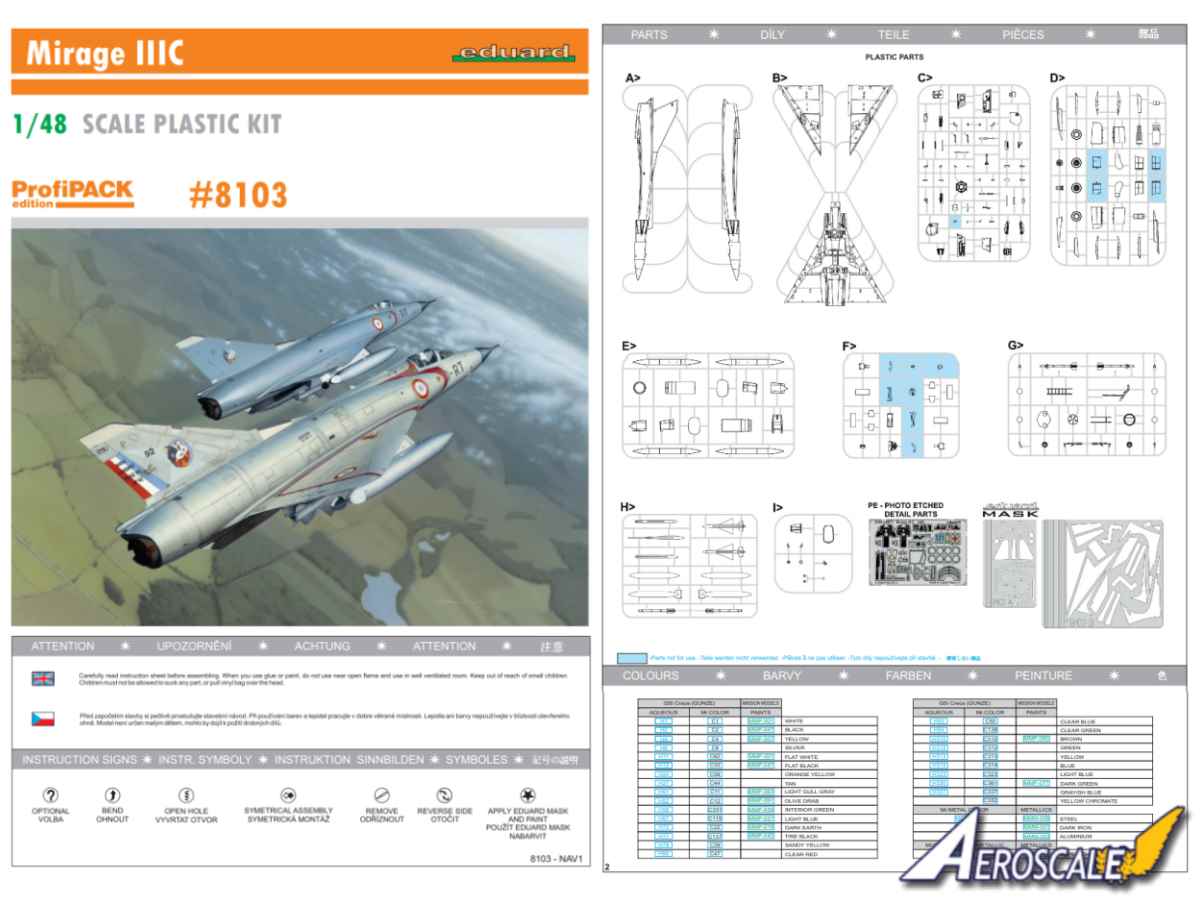
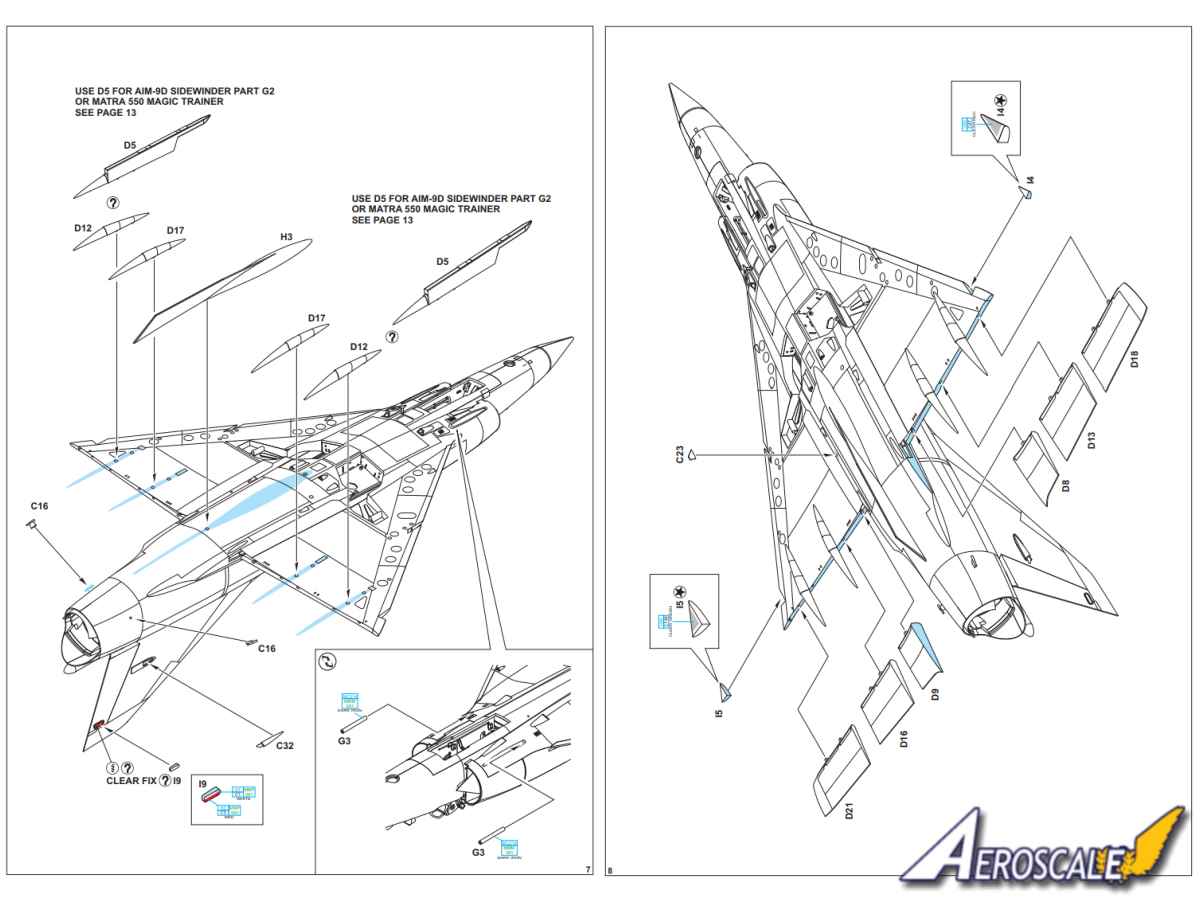
●1 x 20 page A4 instruction booklet.
●1 x clear plastic sprue.
●8 x dark grey plastic sprues.
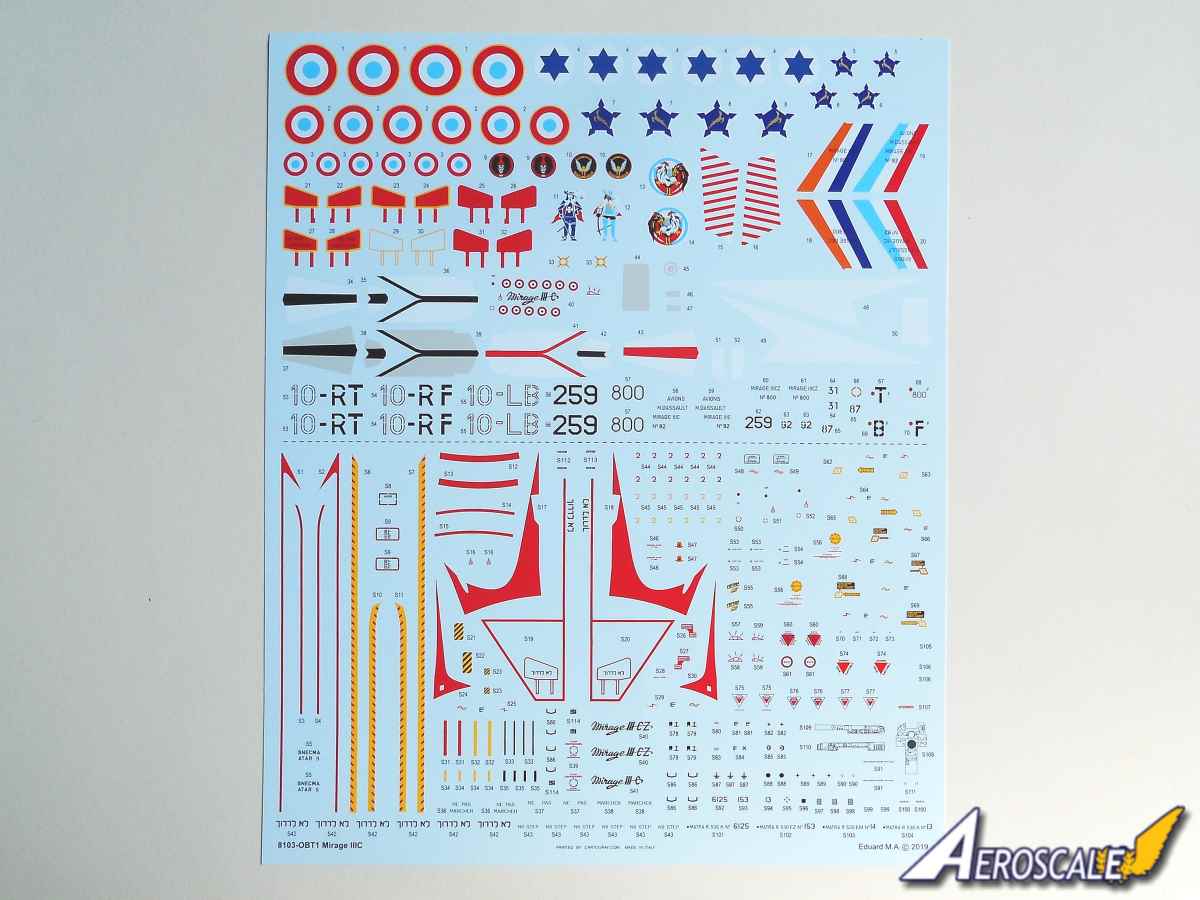
●1 x decal sheets.
●1 x pre-coloured PE fret.
●2 x paint masks.
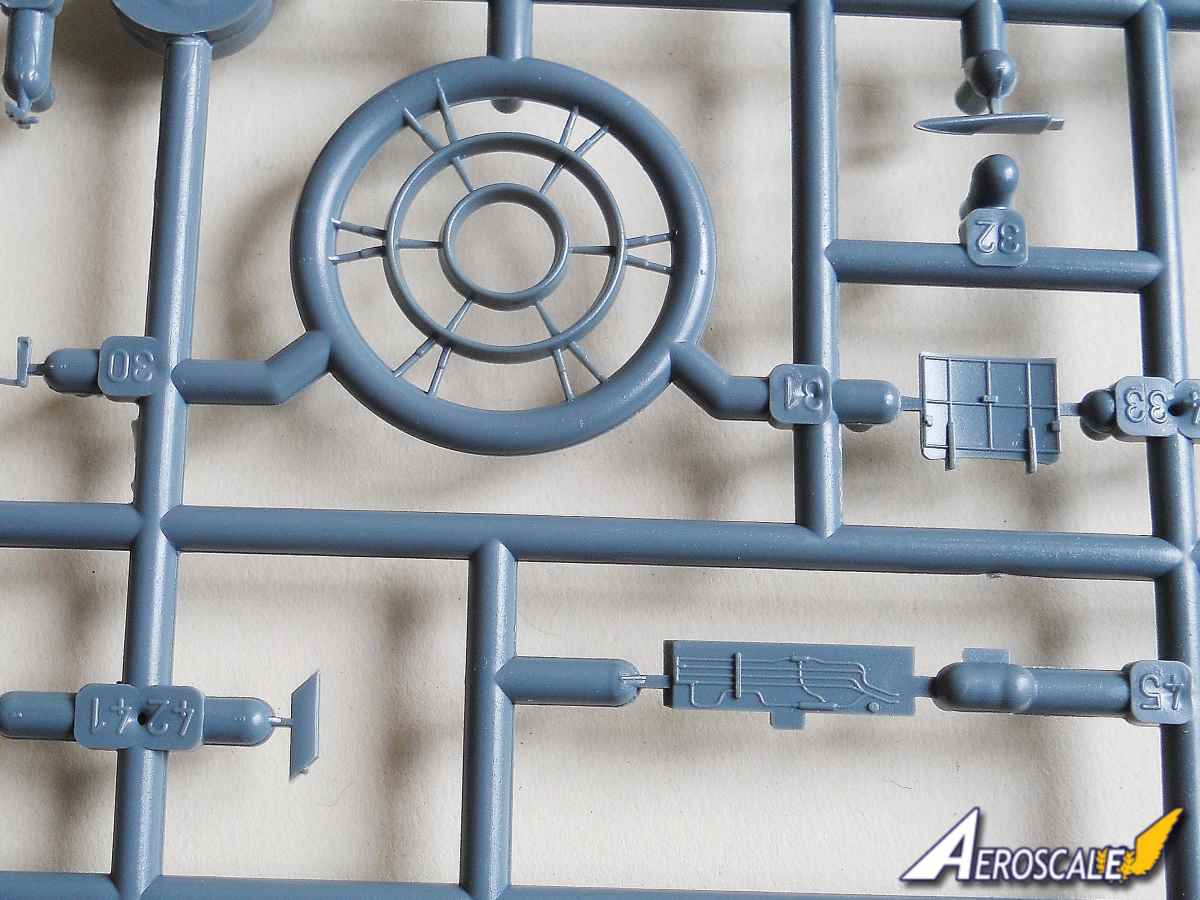
The kit dates back to 2004 and was a new tool by Eduard. Its interesting comparing the surface detail compared to present day releases from Eduard. Surface detail is still very good despite the moulds being 15 years old. There are no locating pins to aid the lining up of parts when gluing. Something to bear in mind if you if you are new to the hobby. Eduard has provided markings for five aircraft, one in natural metal and the other four are camouflaged. This edition is offered as a Profipack, included with the injected plastic parts are PE items, paint masks and decals from Cartograf.
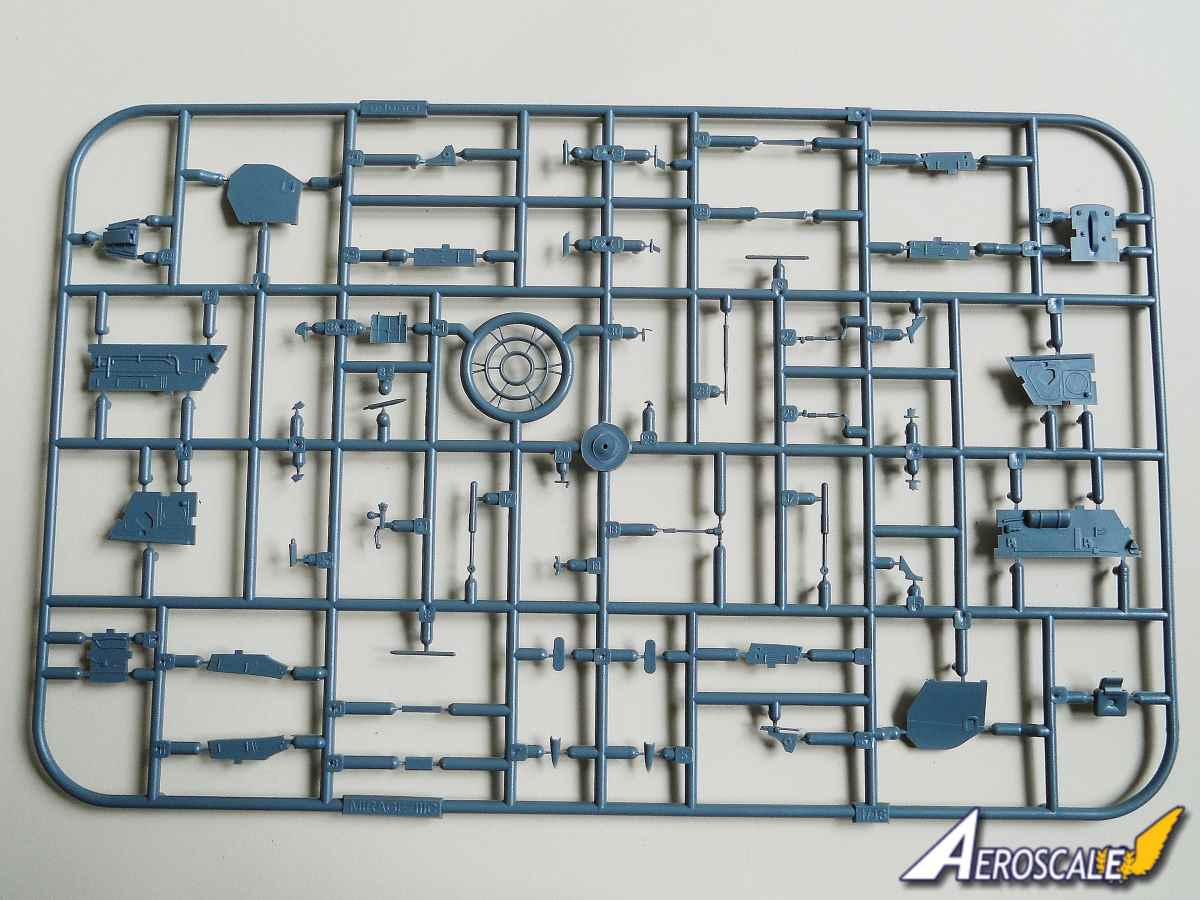
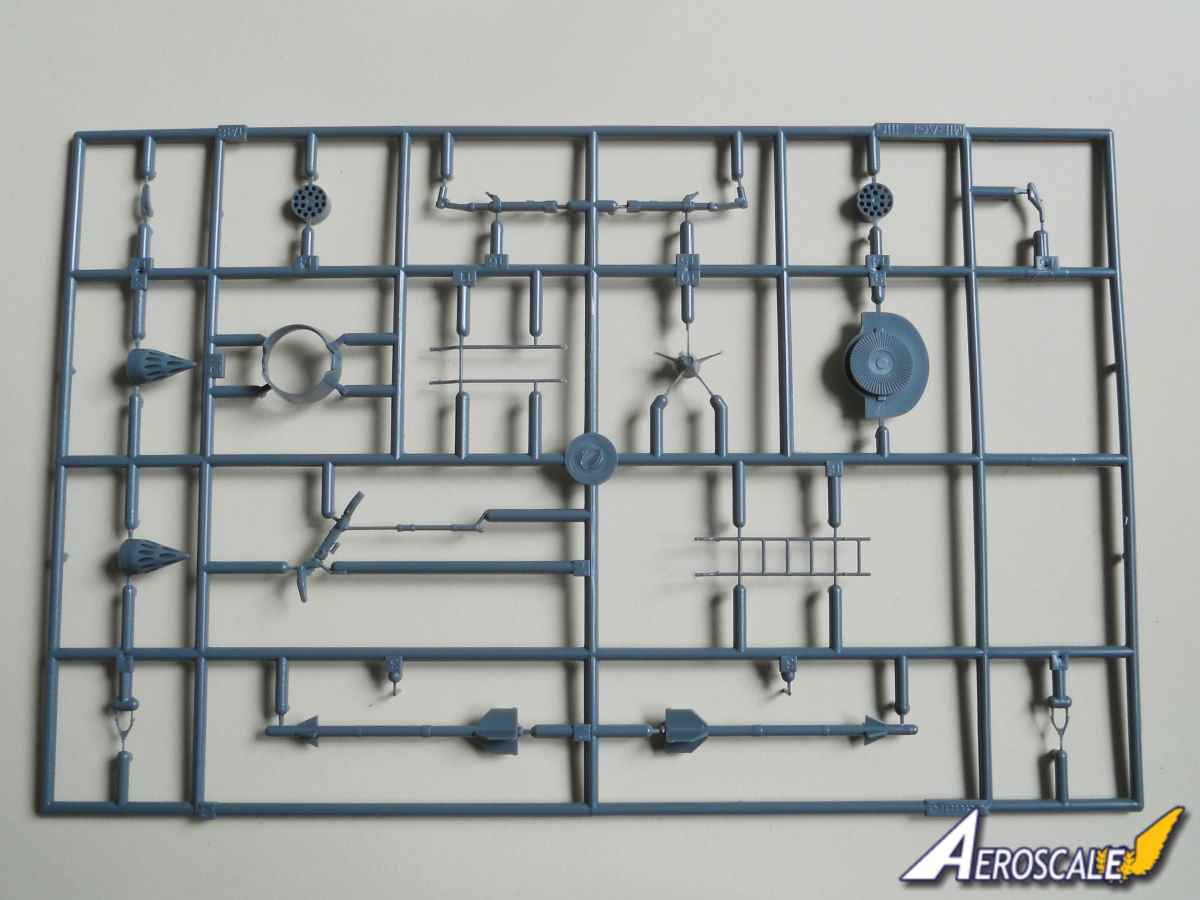
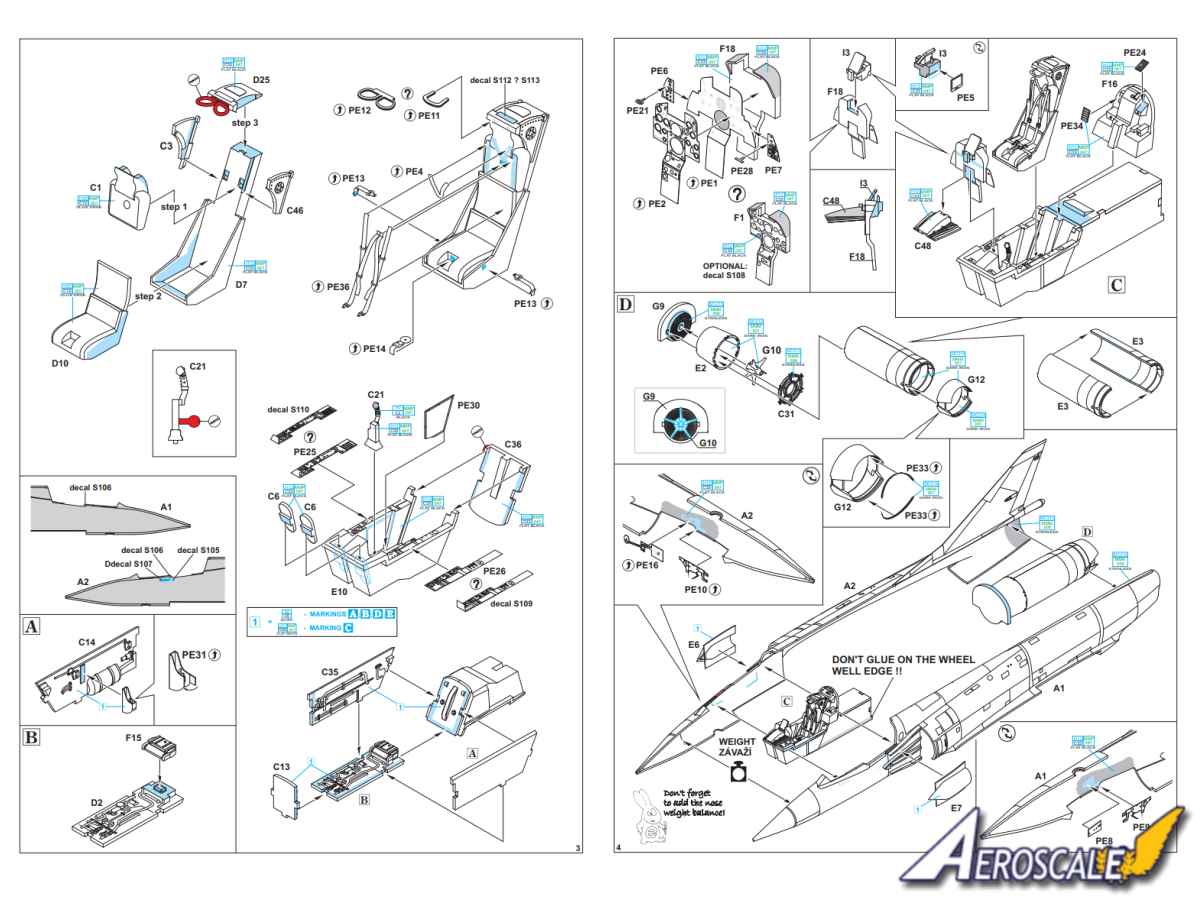
The cockpit is built up from eight plastic parts, fifteen pre-coloured photo etched [PCPE] parts and three decals. As with any ProfiPACK Edition from Eduard there are three ways of detailing the cockpit: PCPE parts, decals and raised plastic detail. The cockpit is created around a tub and this is then fitted to the front undercarriage bay before fitting into the fuselage. The cockpit interior is painted black as was the style in the sixties and seventies. The instrument panel has five PCPE parts or single decal. Each side console has one PCPE or one decal. Plastic parts include rudder pedals, control stick, tub, instrument panel, HUD, rear panel with electrical boxes and the coaming with cable detail in front of the HUD. There are also four PCPE parts to fit on the inside of the cockpit walls. The seat looks rather good and it takes six parts to build it. There are eight PCPE items to attach including harnesses. There are alternate PCPE parts to replace the moulded seat activation cord on top of the seat. There is even a decal to add to the seat. So with all these components the cockpit should look stunning.
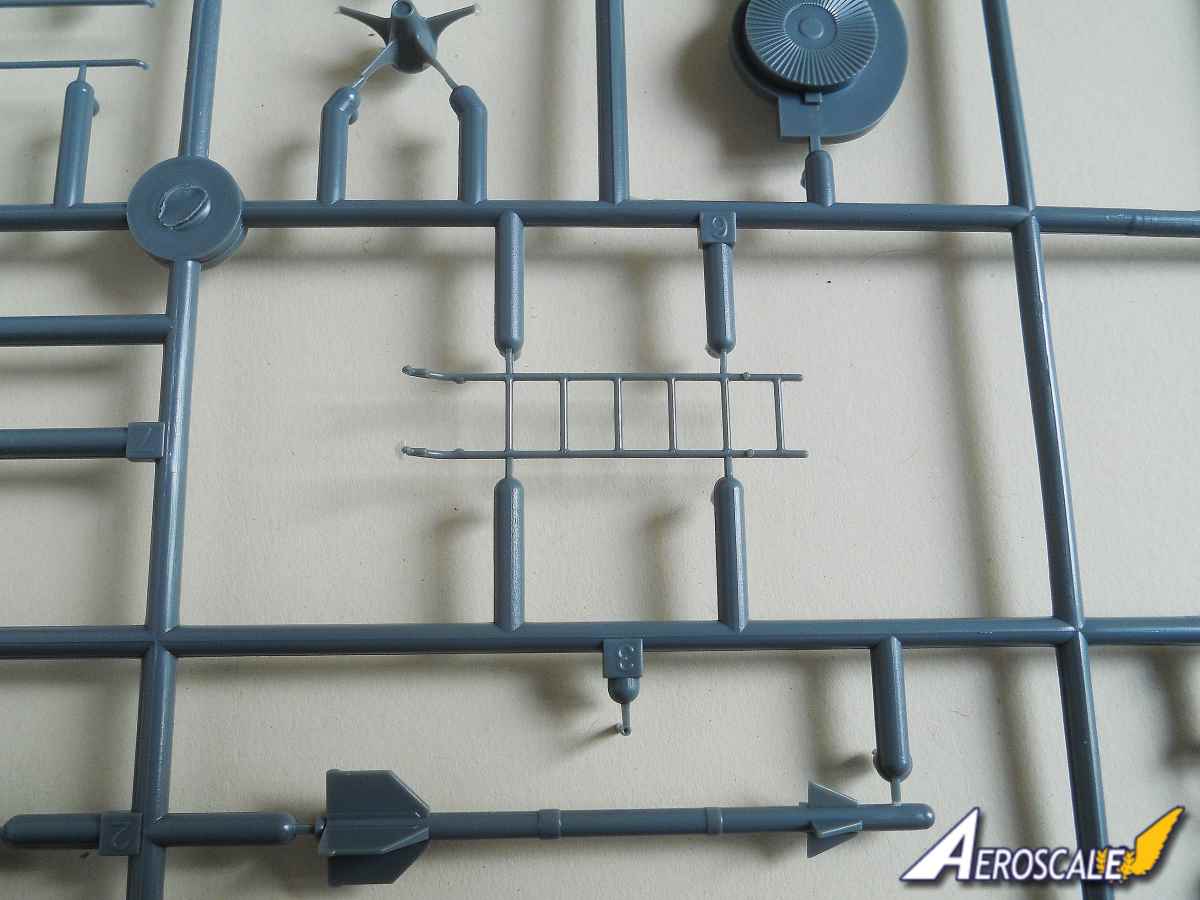
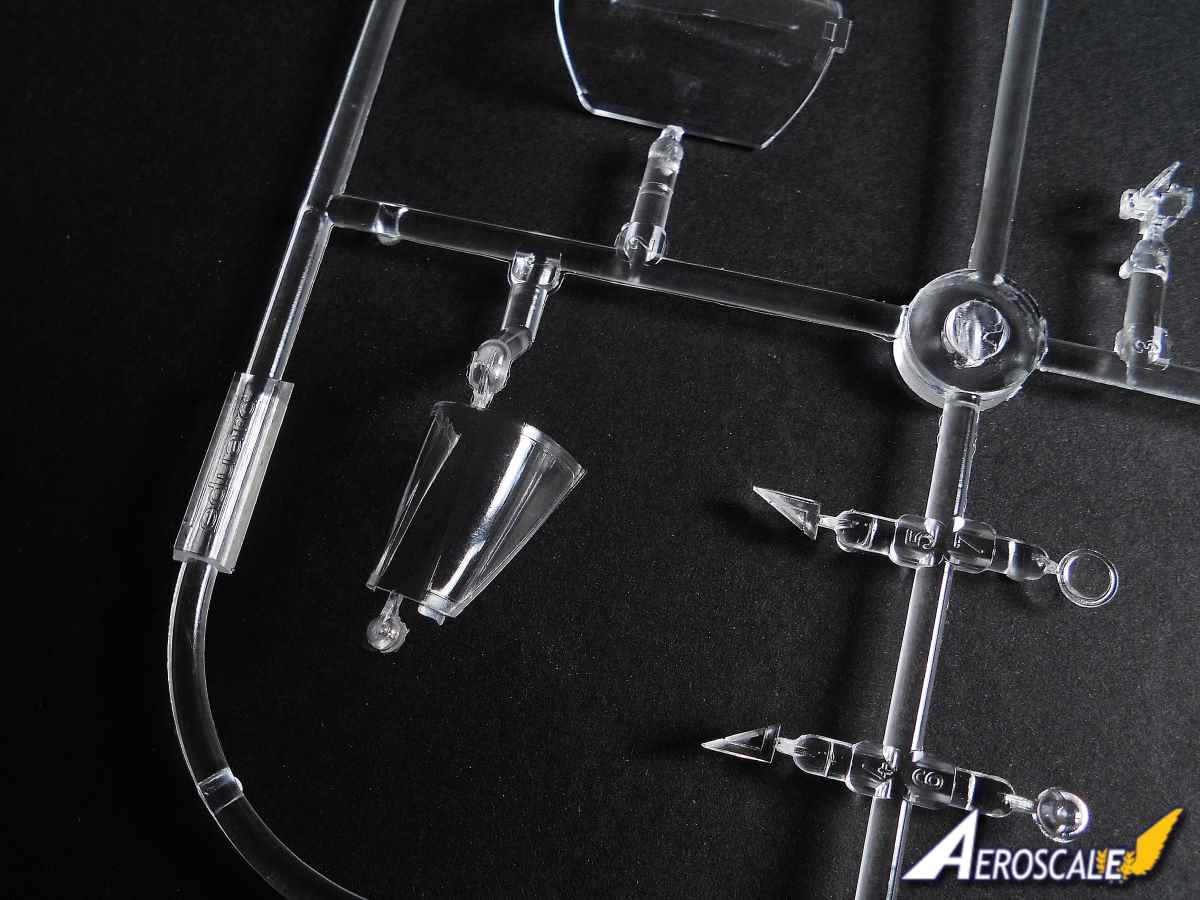
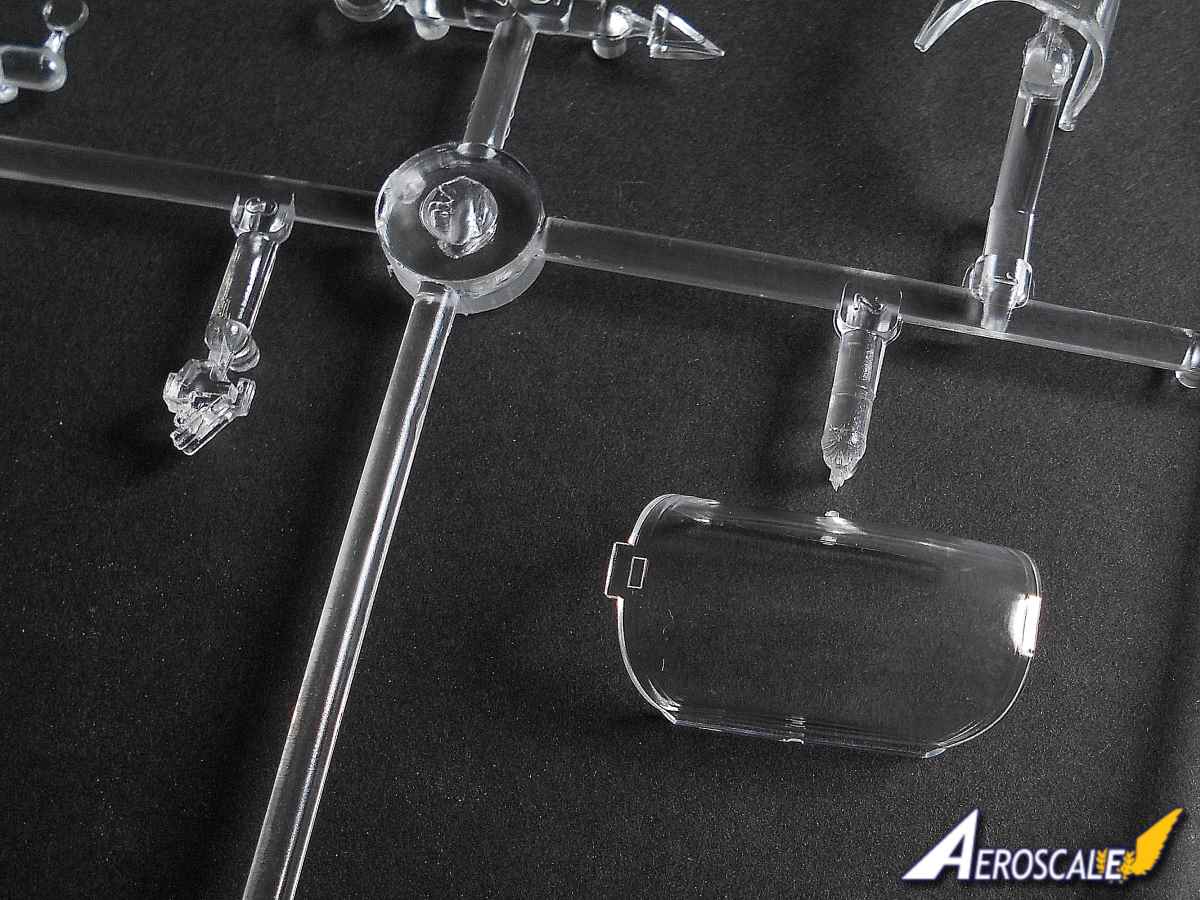
The canopy and windscreen are separate so the canopy can be displayed open. Two PCPE instruments need to be added to the frame of the windscreen. Theres three PE parts to add to the inside of the canopy including a mirror. Eduard has included paint masks for both the canopy and windscreen. A nice touch from Eduard is the boarding ladder which is made up from four parts. There is a little flash on the rungs that need to be carefully removed. There is also a standing pilot though there is no reference to it in the instructions. The figure has six parts and theres a separate helmet.
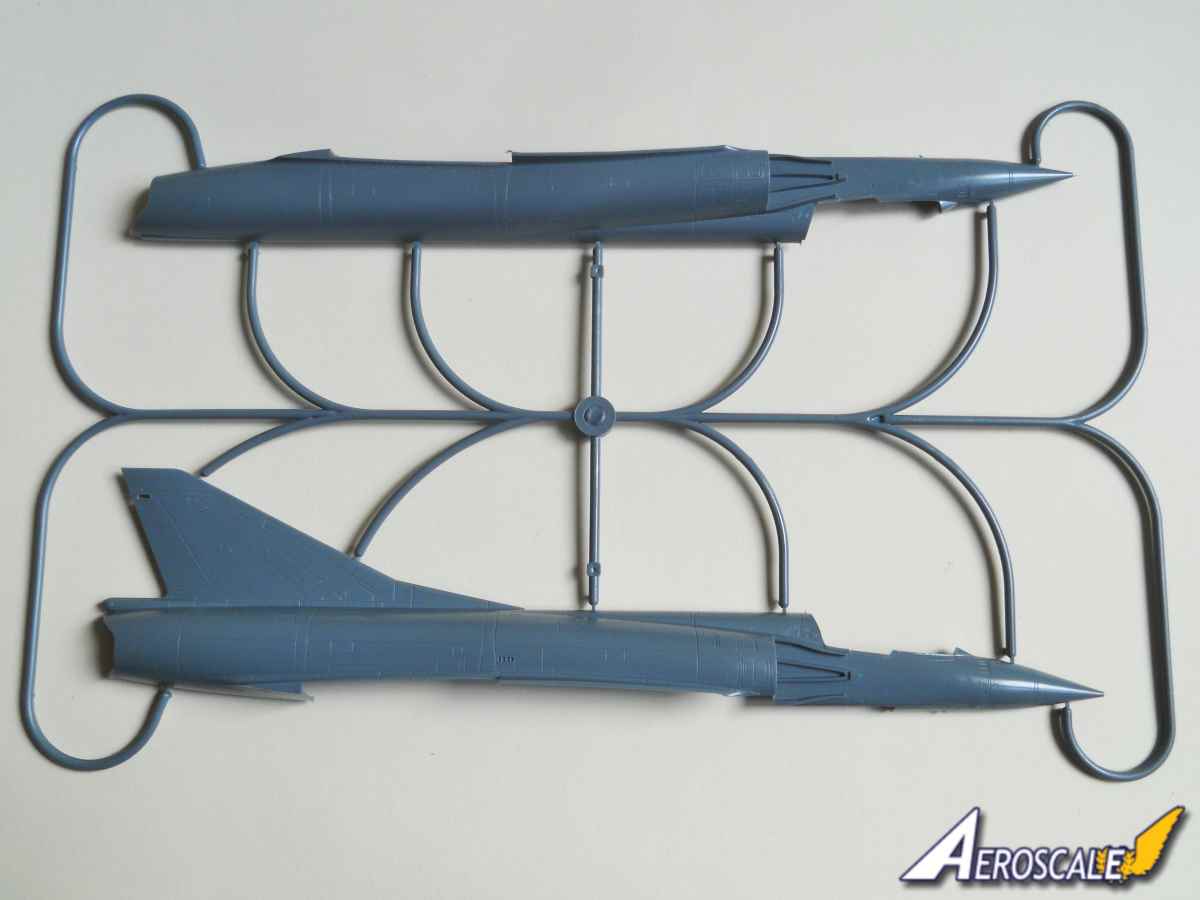
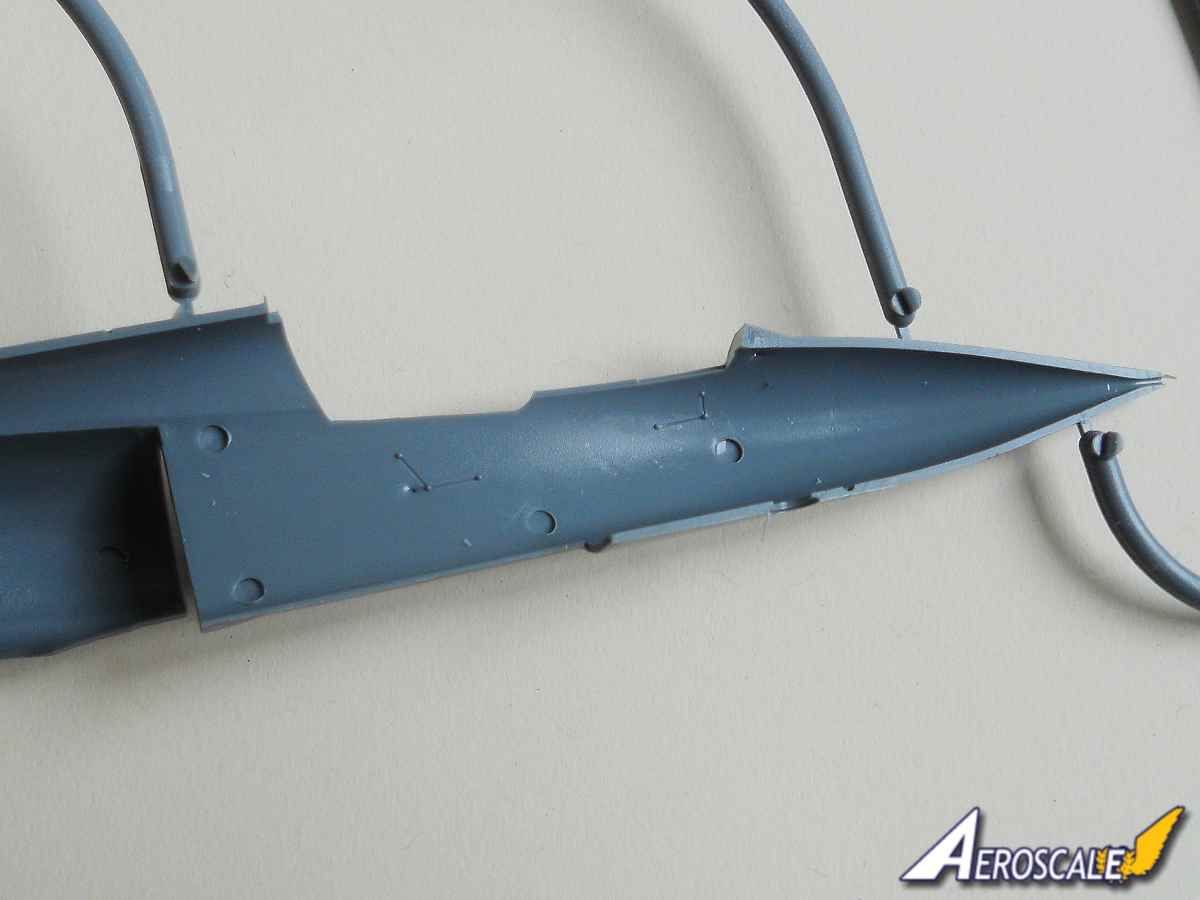
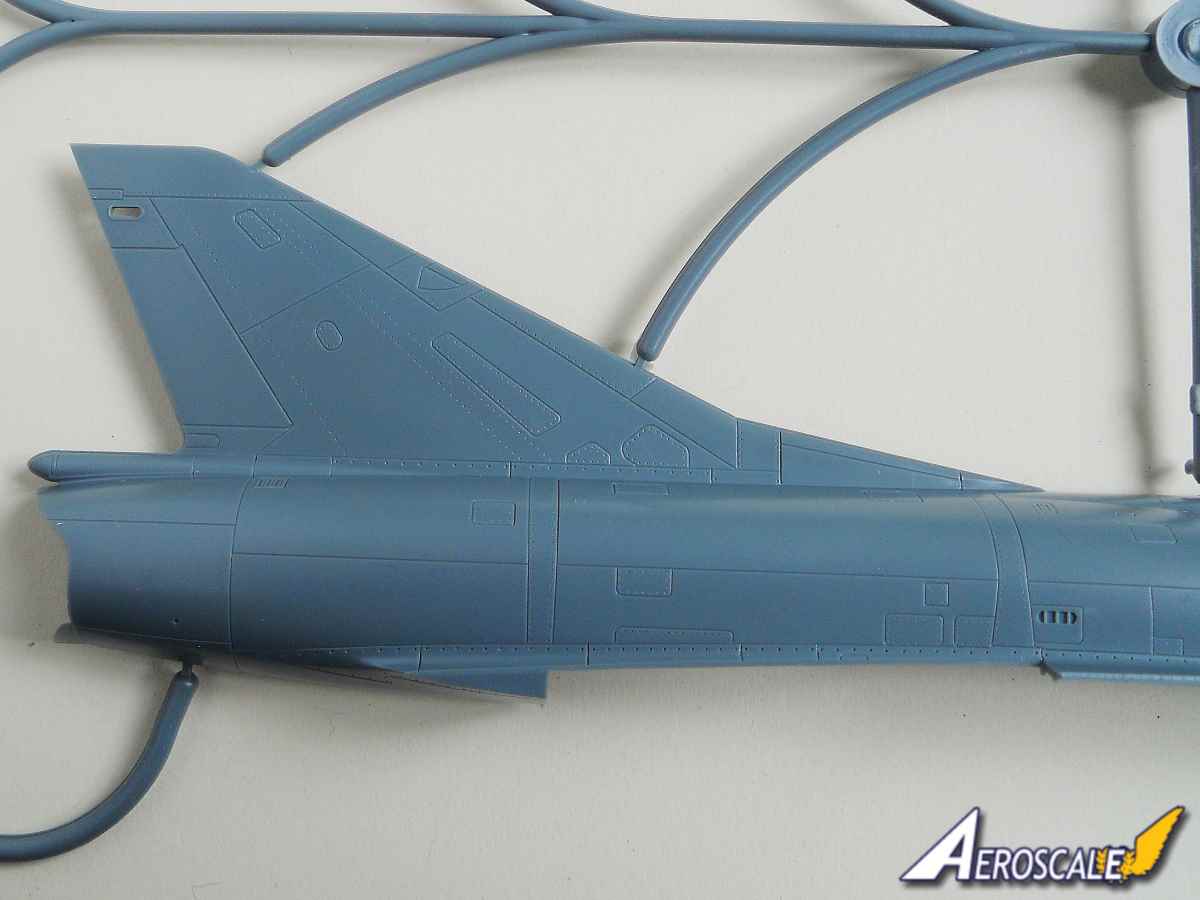
The fuselage is split traditionally forming left and right sides. The complete fin and rudder is attached to the left fuselage. There is some slight shrinkage evident in the fin, nothing serious, you could put it down to stressed skin. The nose is also part of the fuselage so there will be few joins to clean up once the fuselage halves are joined.
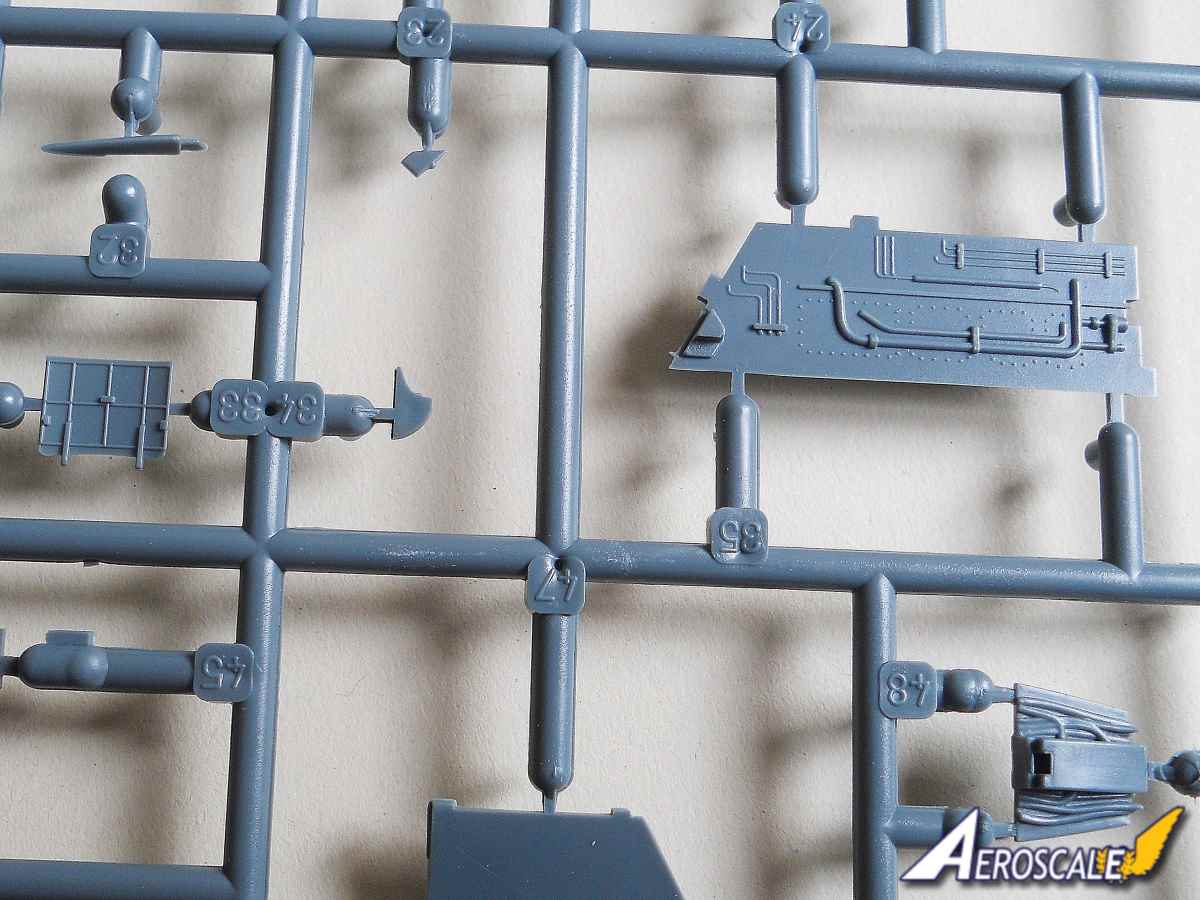
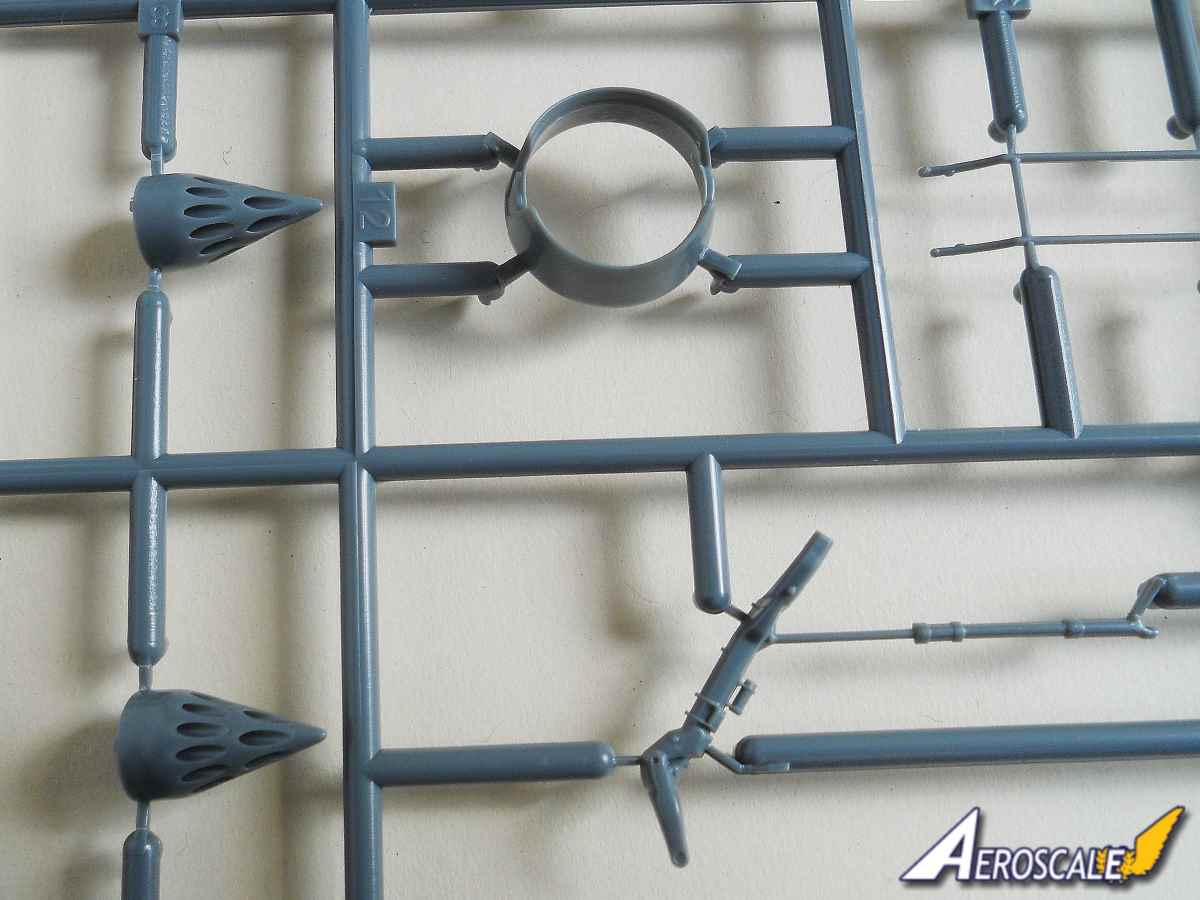
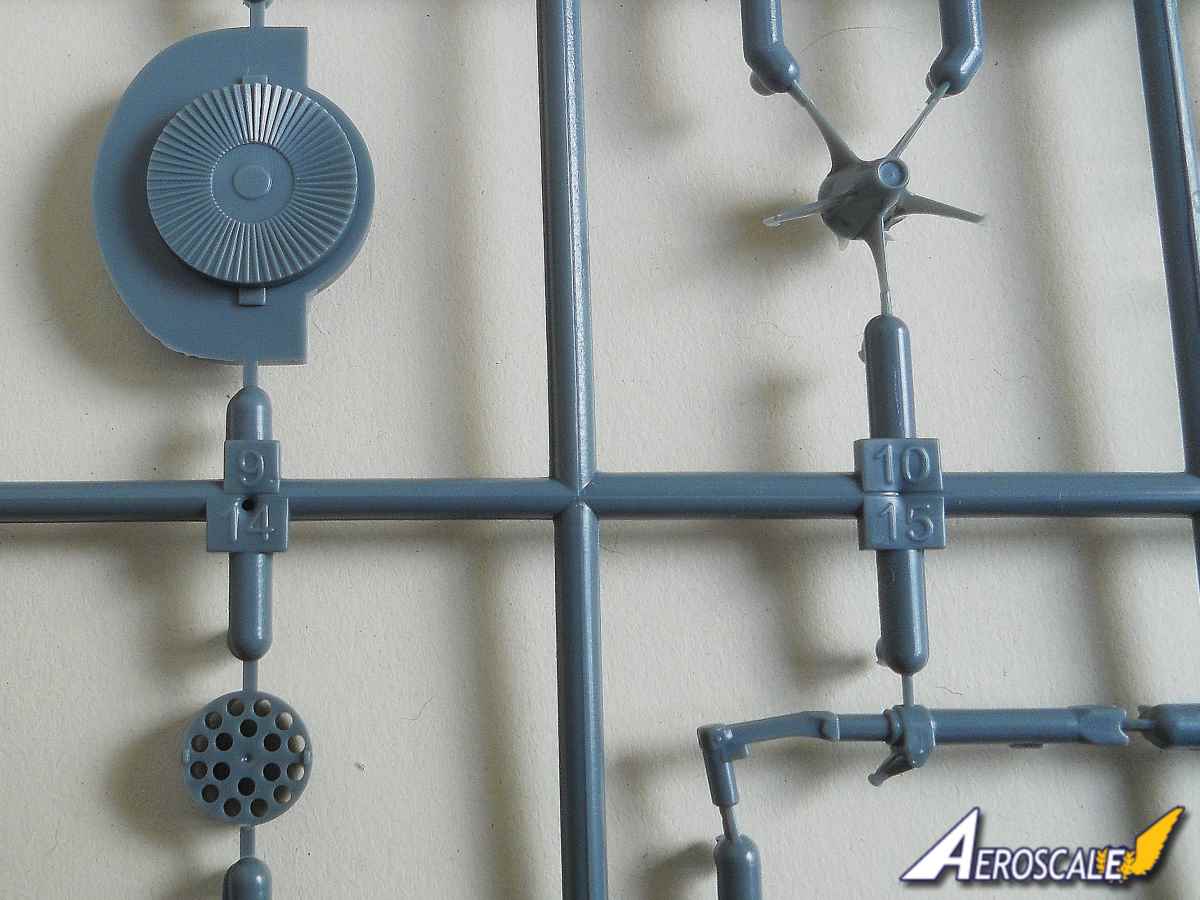
The jet pipe comes in two halves. There are four recessed ejector marks inside the jet pipe that will need filling and sanding. The detail around the rear of the engine is pretty good. The rear fan and re-heat matrix are finely moulded, though you need to be careful removing the matrix from the sprue as the lattice work is quite fine. The wall of the jet nozzle is nice and thin, there are a couple of PE items to attach to the edge.
The cockpit/front gear bay and engine nozzle must be fitted before the fuselage halves are joined. There is a two part piece that is fitted behind the intakes that prevents you being able to see into the fuselage through the intakes. The intakes are each made up from two parts.
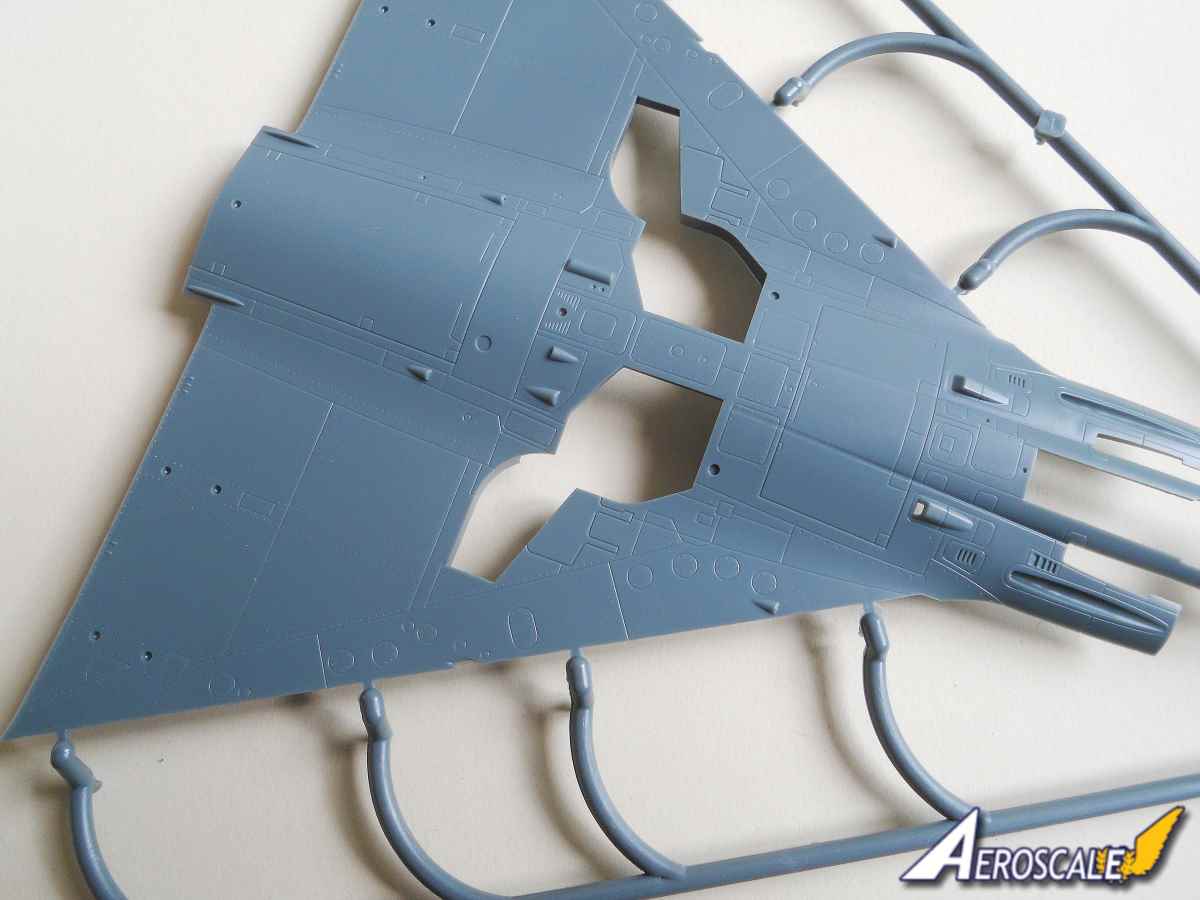
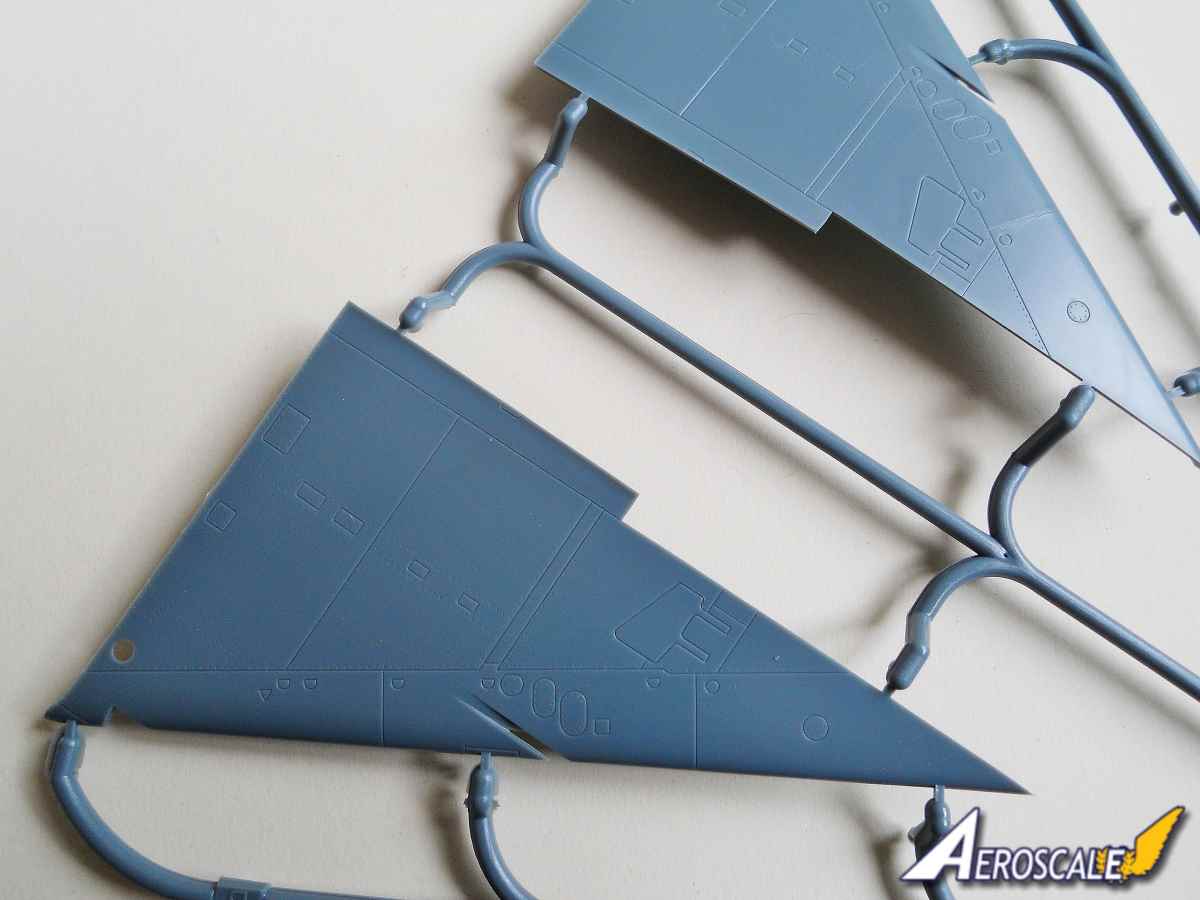
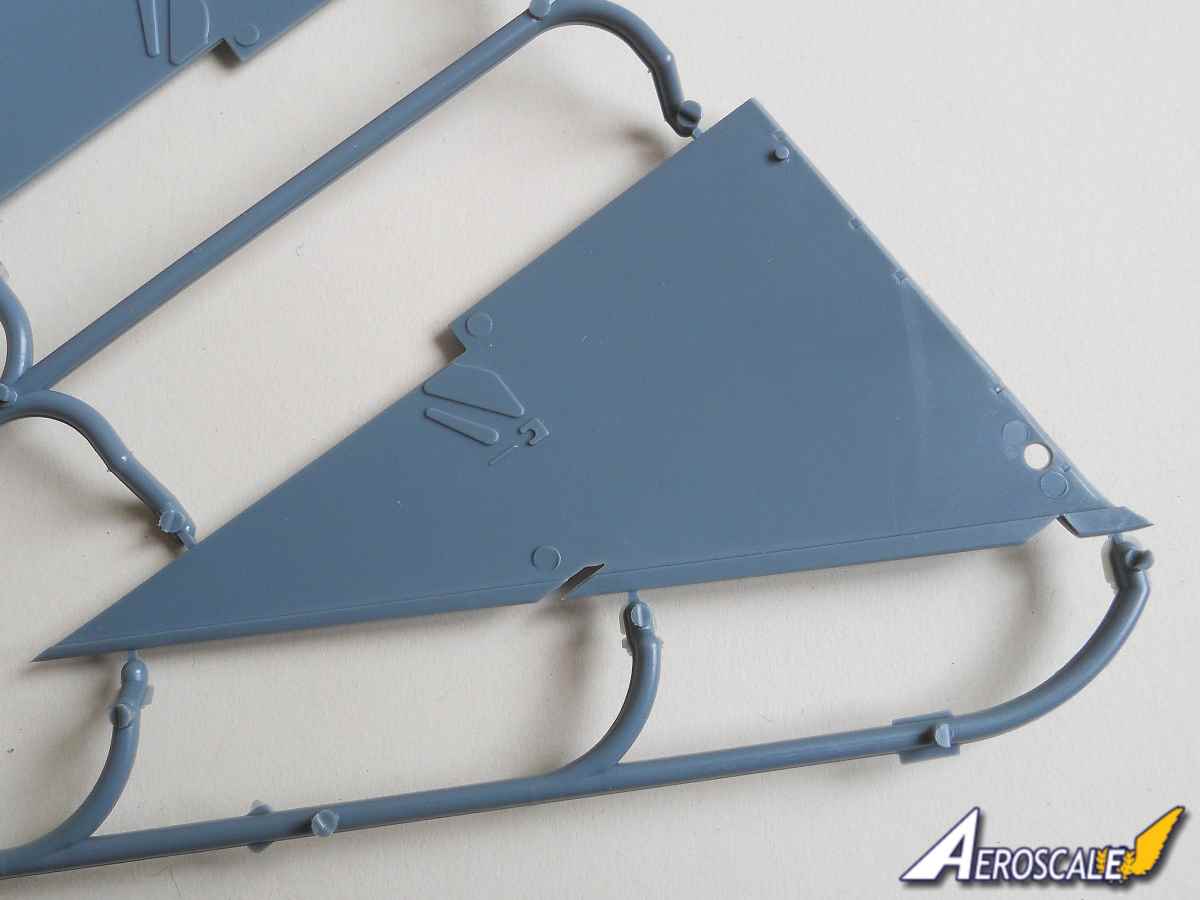
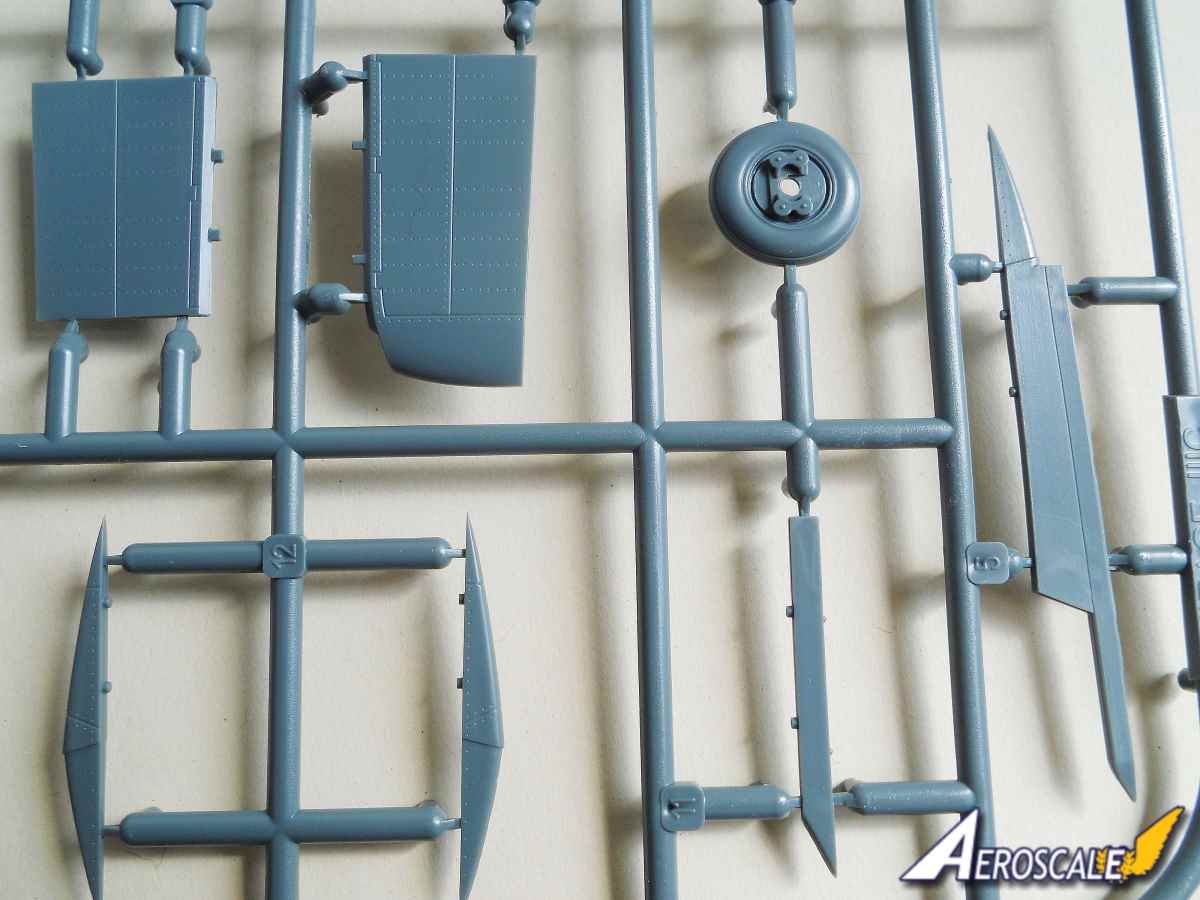
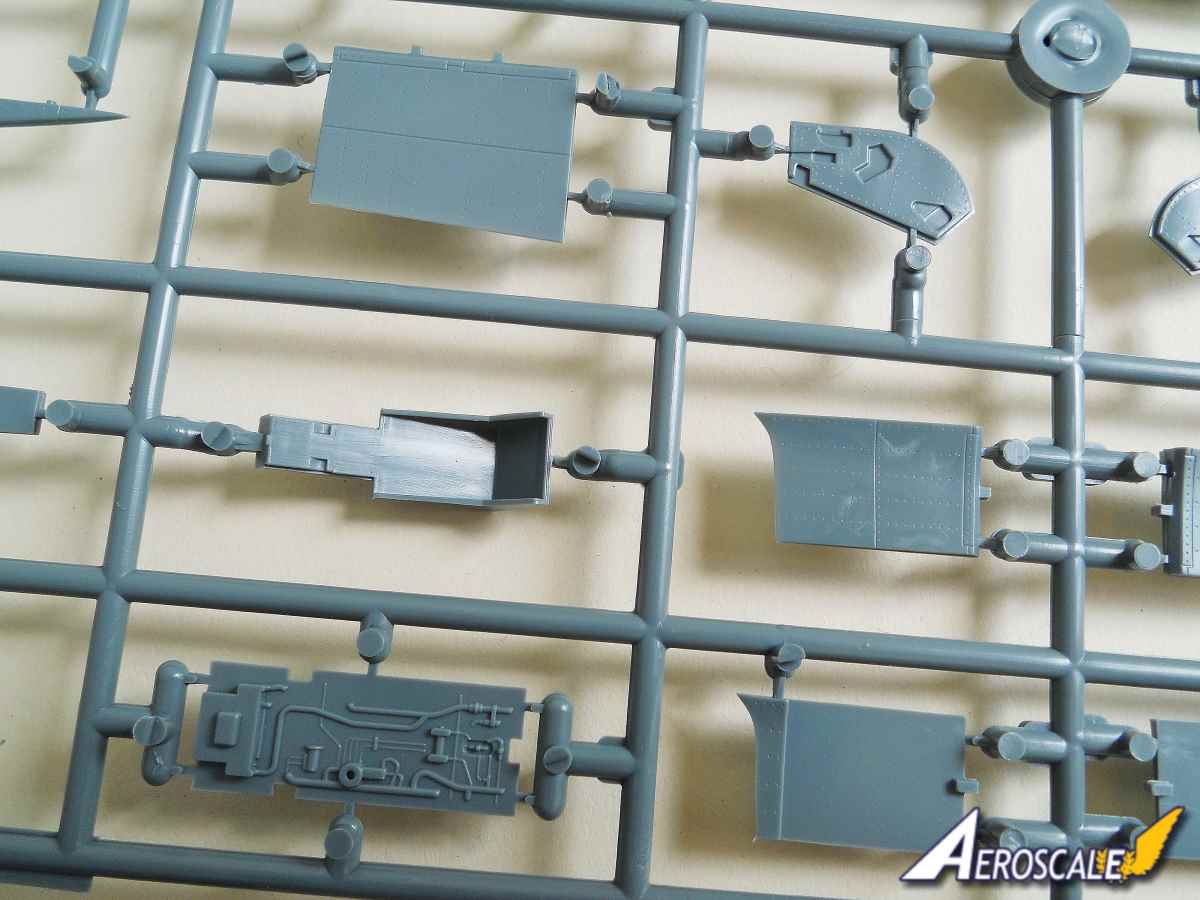
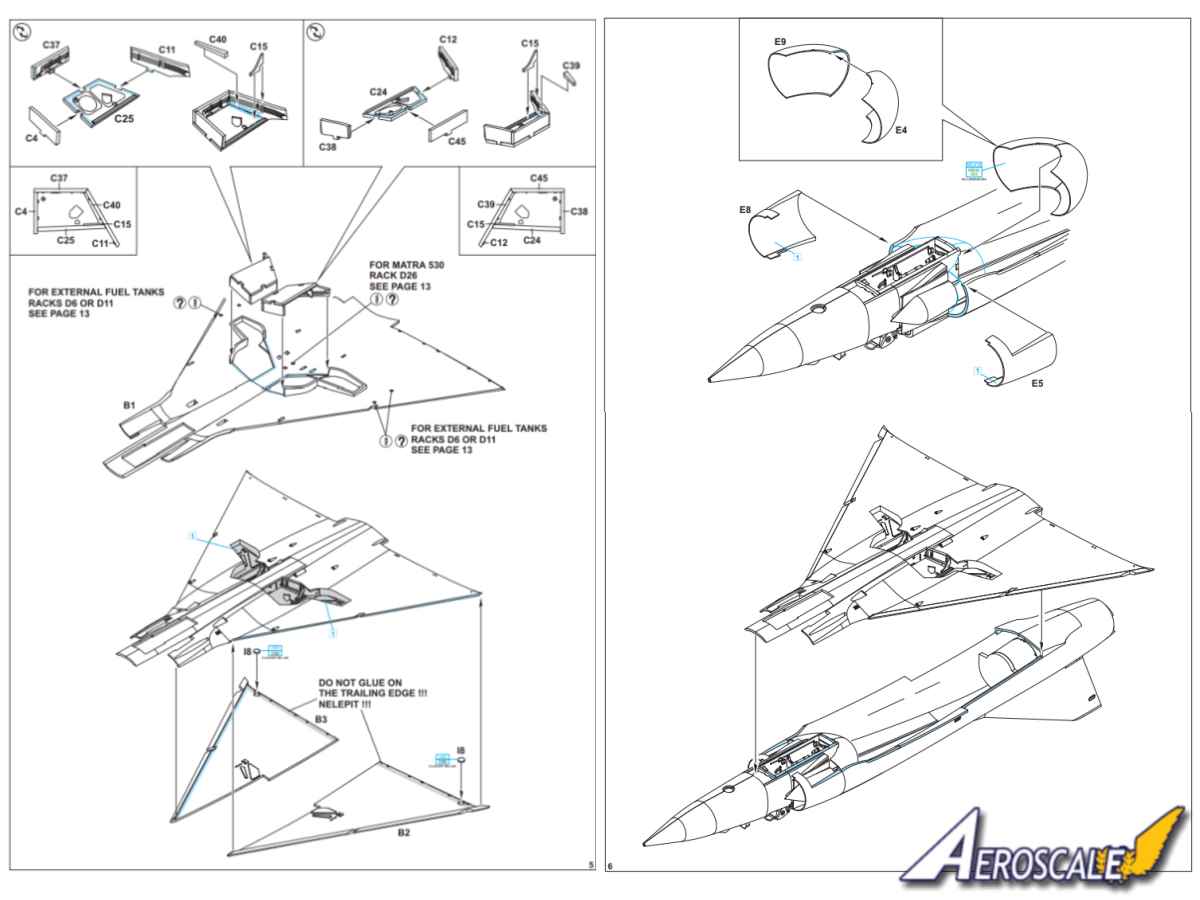
The detail on the wing is very good. The cannon troughs are nice and deep. The various small vent openings are not represented so you could open them up if you wish or just give the illusion of the openings with paint. The lower wing half is one piece and you will need to drill out the holes if you want to fit fuel tank and weapon pylons. The upper wing halves have the complete leading edge moulded on, so the seam is just aft of the leading edge. The main part of the undercarriage bay where the wheels fit are each made up from six plastic parts with no PE detail. The detail on the plastic is pretty good though. The walls where the oleo fits when retracted are moulded into the wing. The control surfaces are separate, but they are not designed to be shown other than in the neutral position. If you wanted to show the flaps dropped then you would have to do some surgery on the flap activation housing. Not a difficult task though. There is a little shrinkage on the inner flaps, which might be noticeable if going for the natural metal finish.
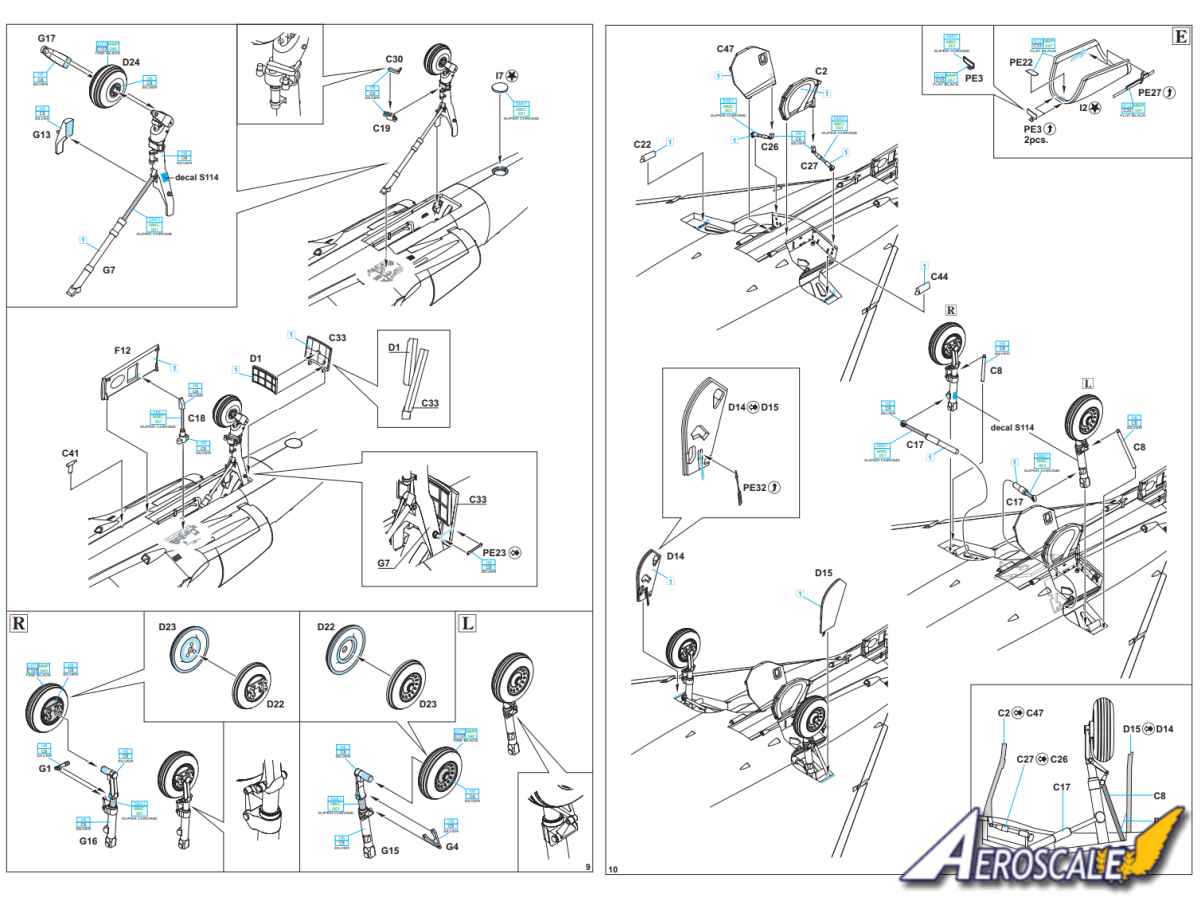
Front undercarriage bay is made up from six plastic parts. The walls and roof have some raised detail. As mentioned previously the bay is attached to the completed cockpit before being installed in the fuselage. The undercarriage looks very good with detailed parts making up the legs. The main gear legs are both made up from four parts while the front has five parts. The undercarriage doors have some fine low relief detail on the inside. There are activation arms on all the doors mostly made of plastic, though there are a couple of PE items. Each of the two main wheels is in halves and the front wheel is one piece, all have good detail on the hubs. There are masks included for the hubs.
There are various aerials and small intakes to add to the airframe once construction is finished. Just pay attention as the aerials differ depending on the marking option.
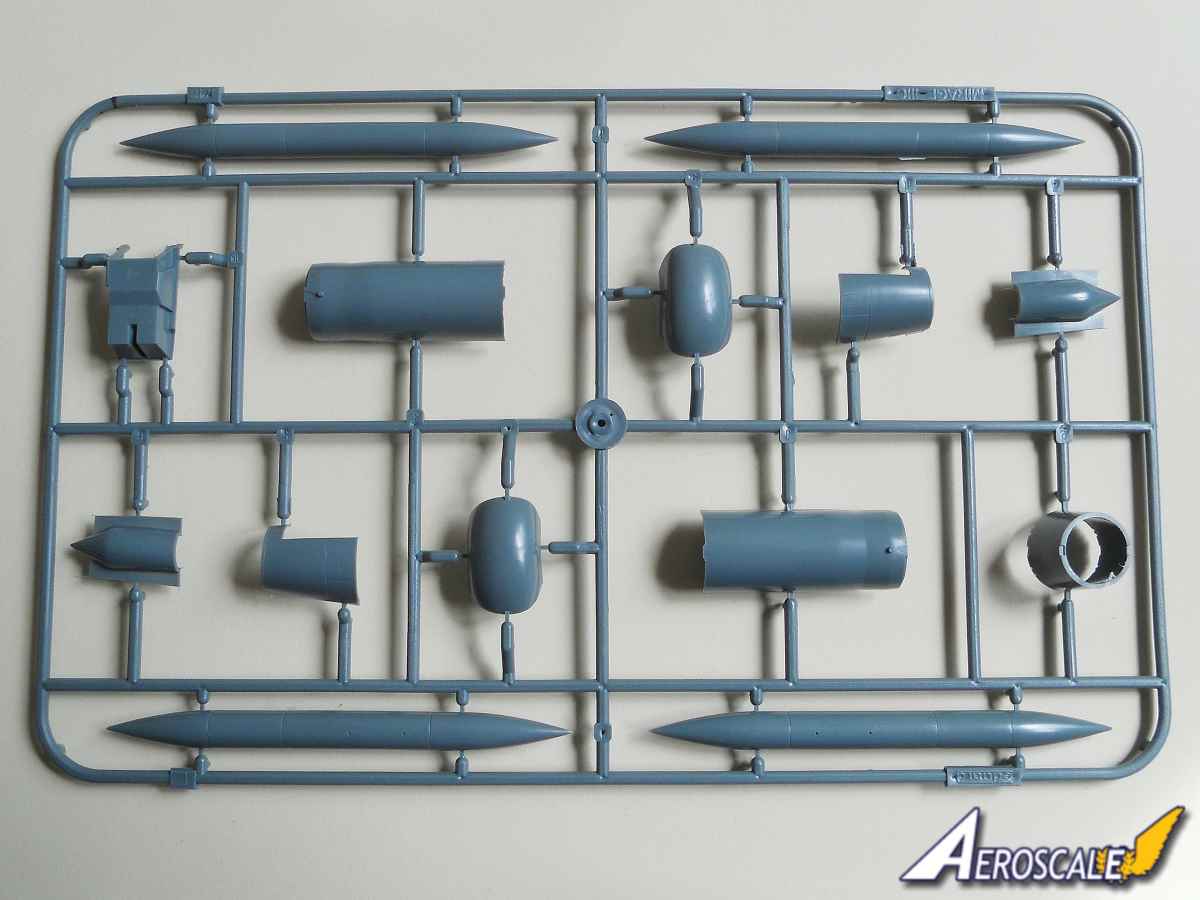
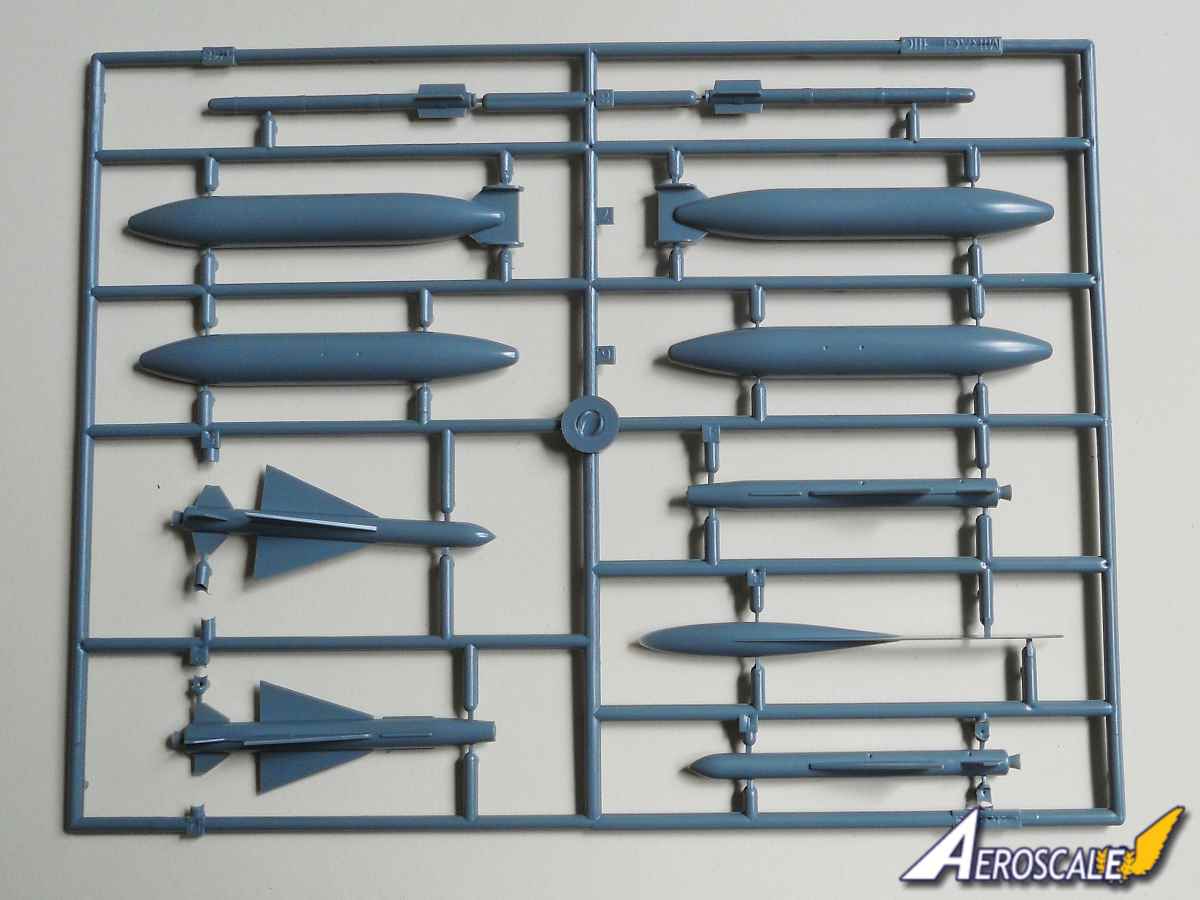
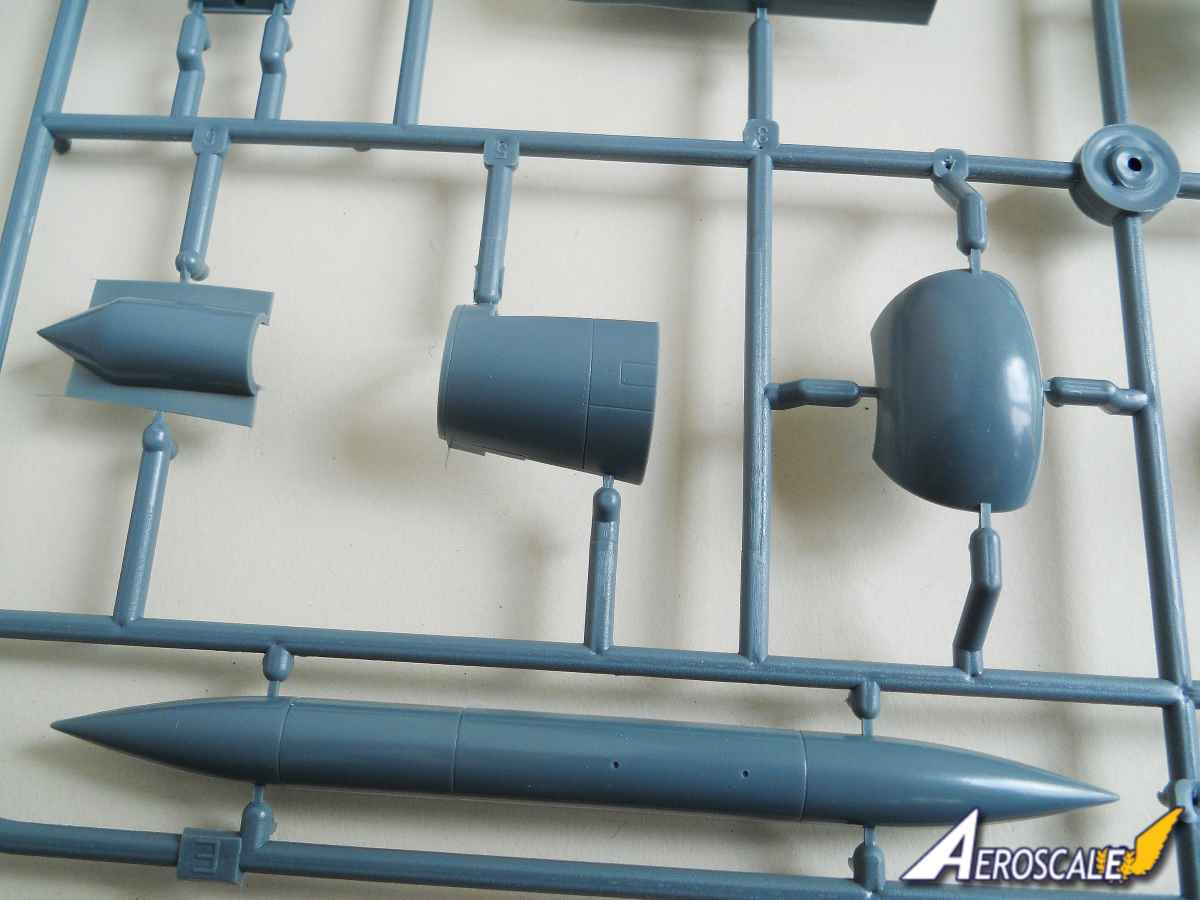
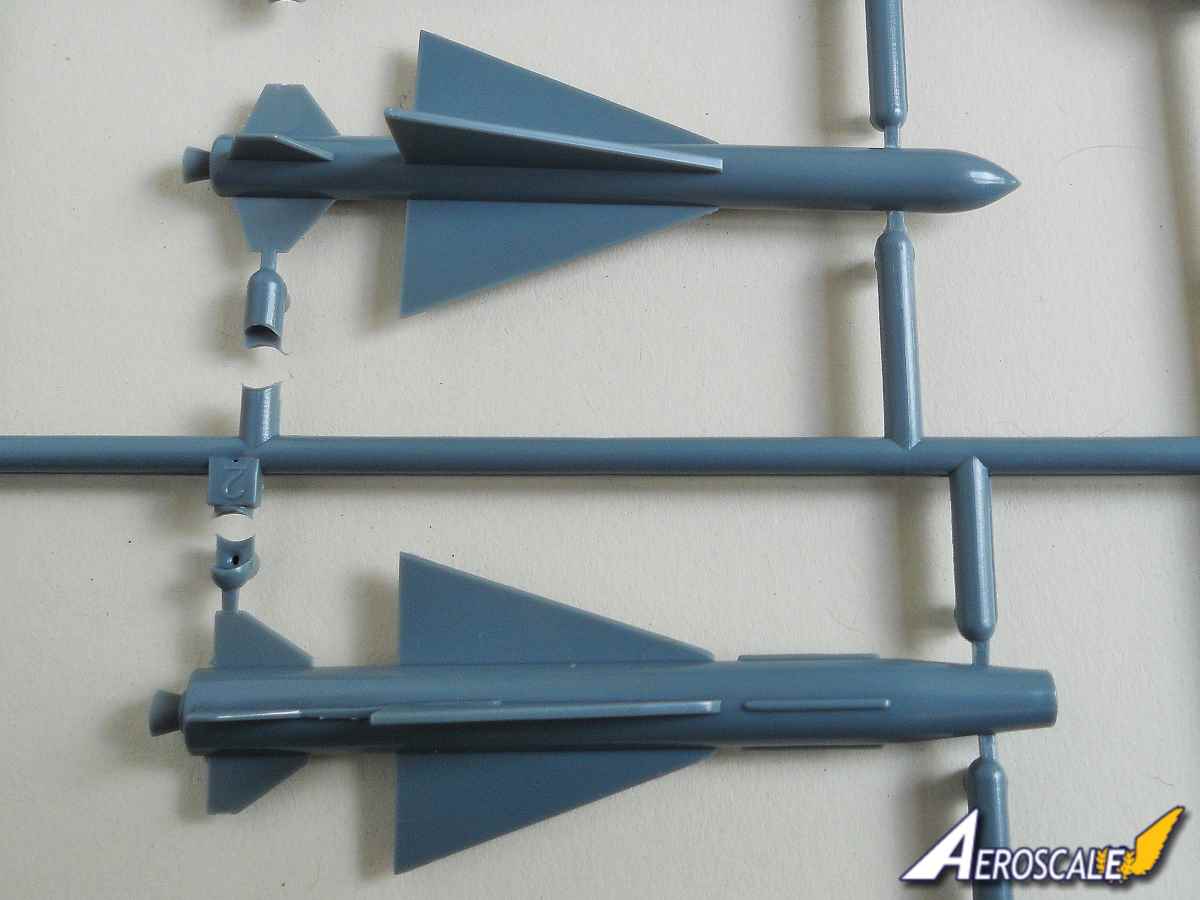
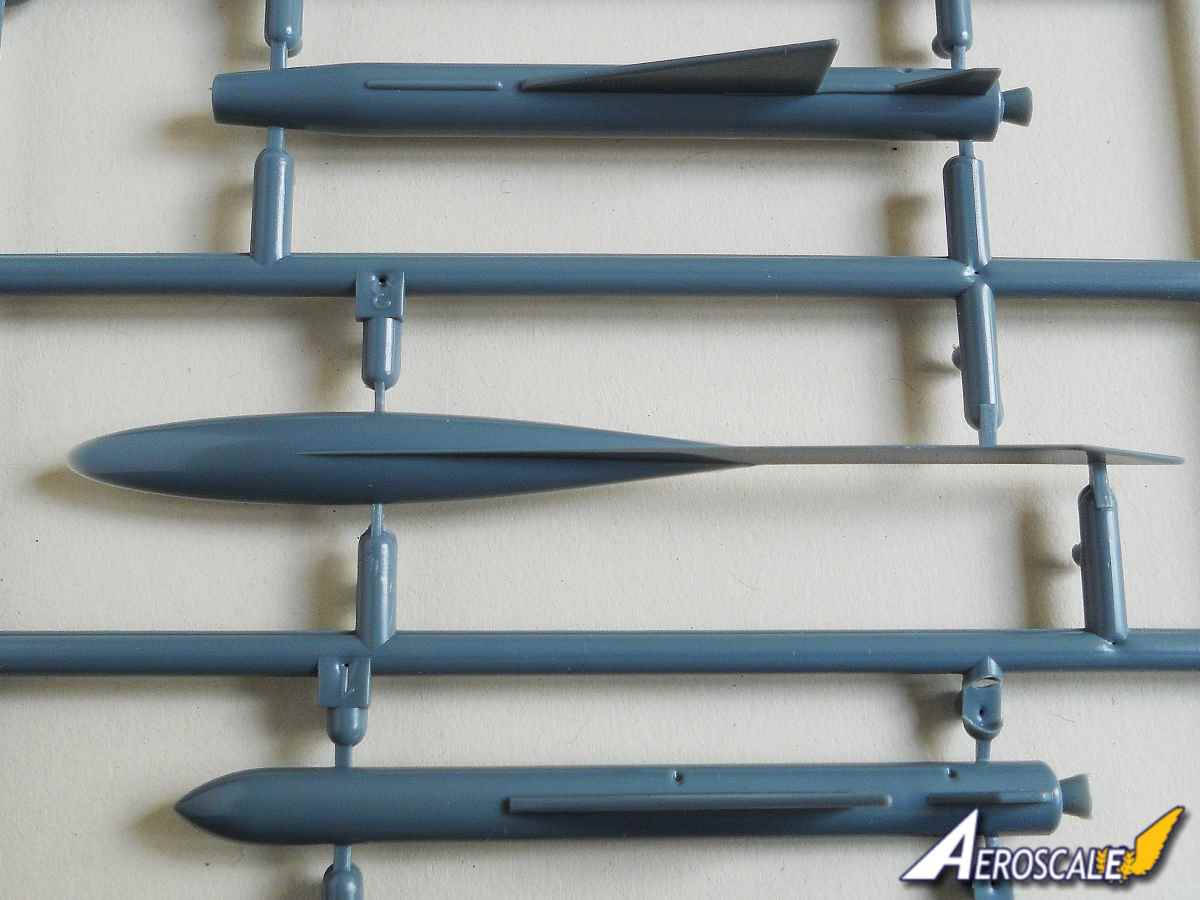
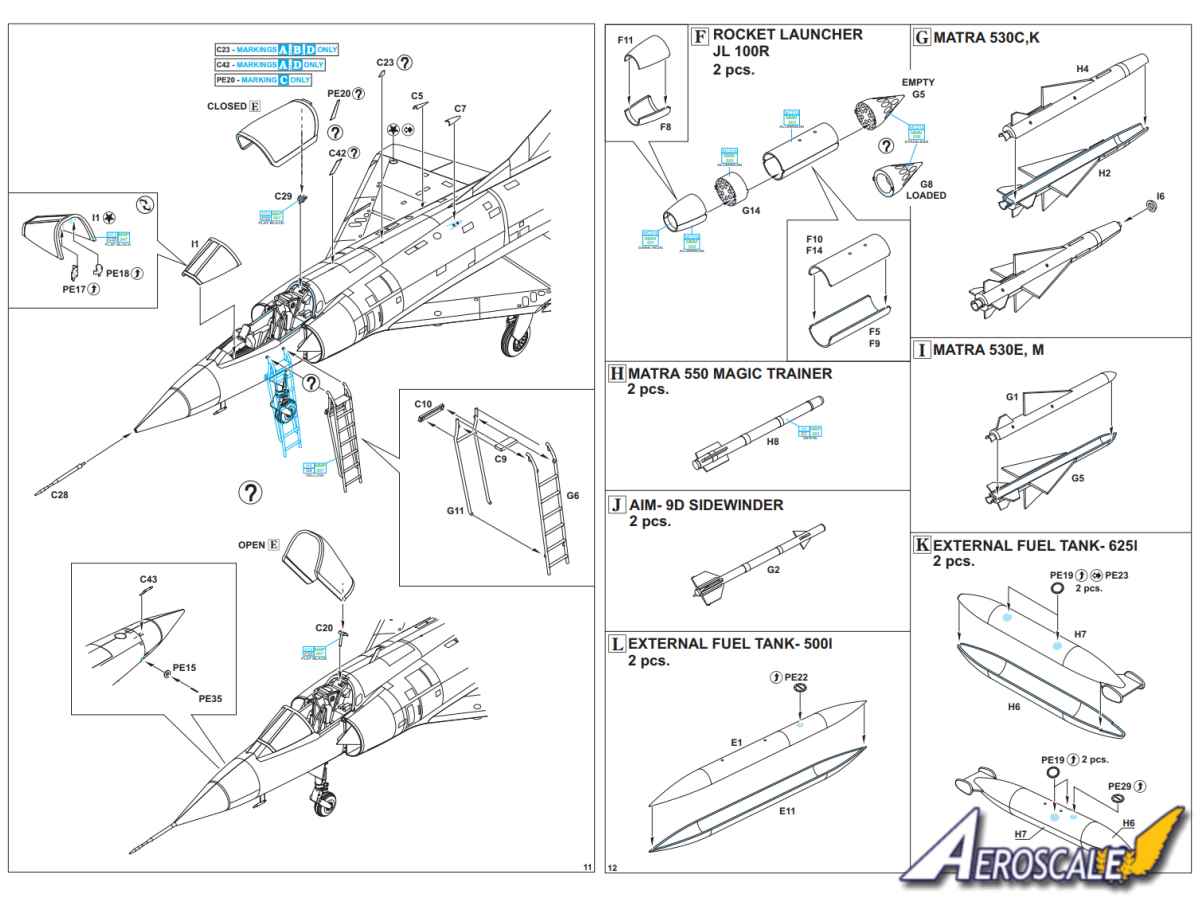
Underwing and fuselage stores include:
●1 x Matra 530C, K
●1 x Matra 530E, M
●2 x 500L fuel tank
●2 x 625L fuel tank
●2 x JL 100R rocket launchers [not applicable]
●2 x AIM-9D Sidewinders
●2 x Matra Magic training rounds
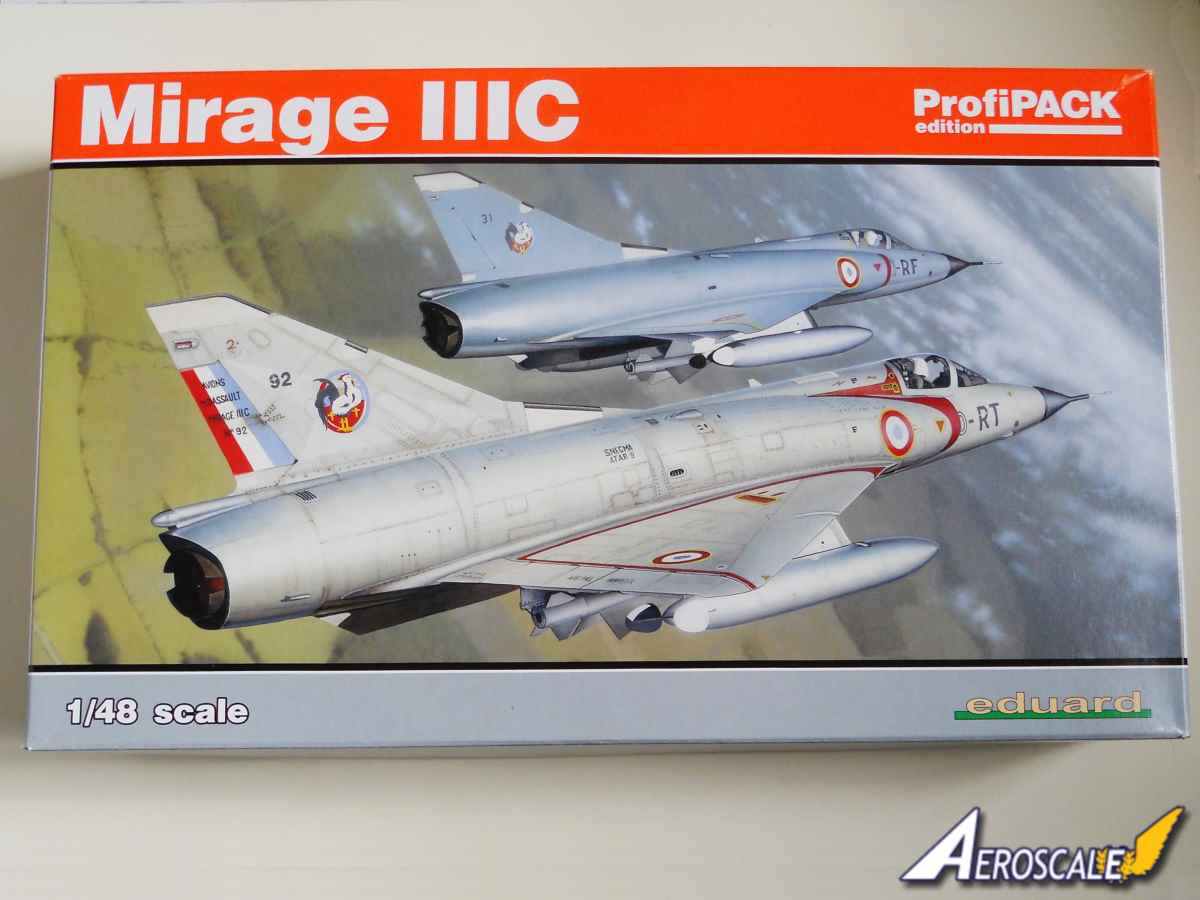
Marking options with this release includes:
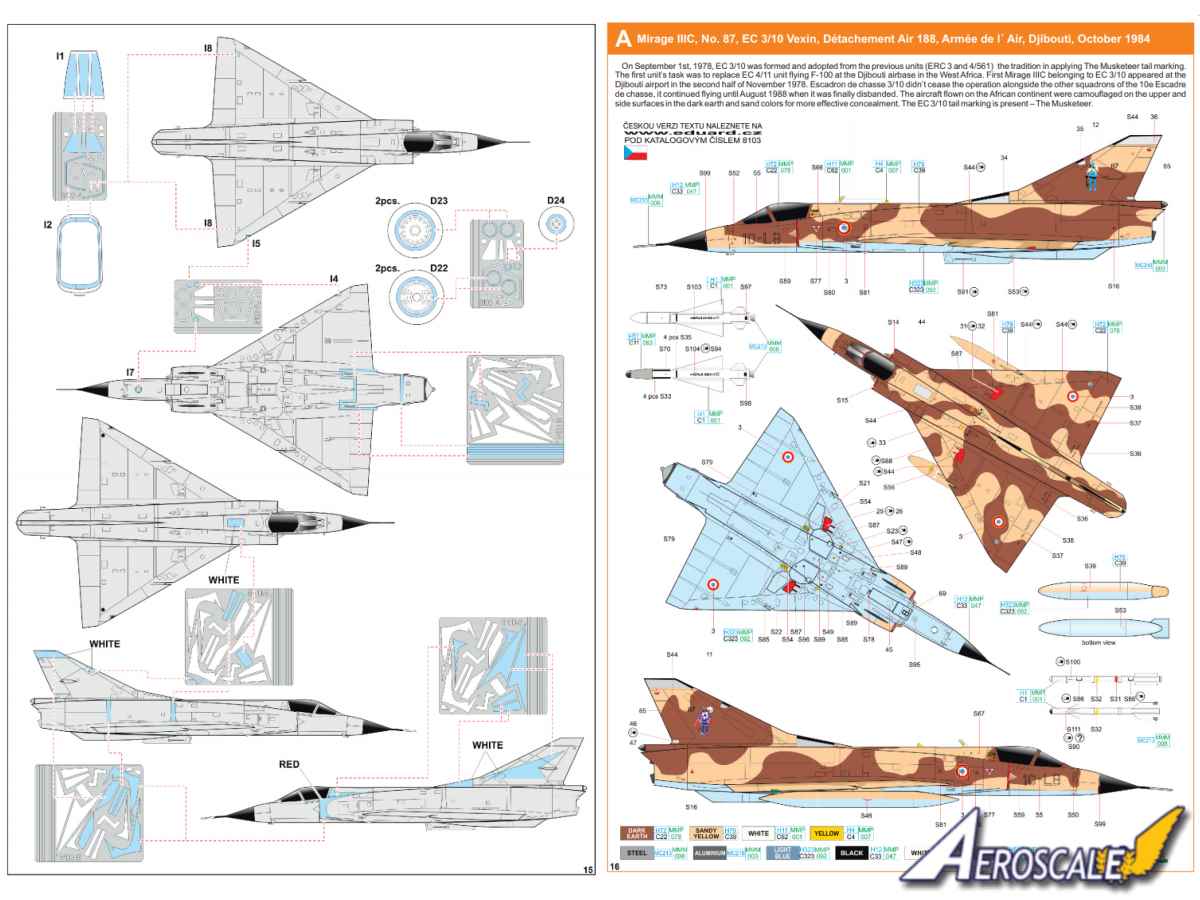
A Mirage IIIC, No. 87, EC 3/10 Vexin, Détachement Air 188, Armée de l´ Air, Djibouti, October 1984
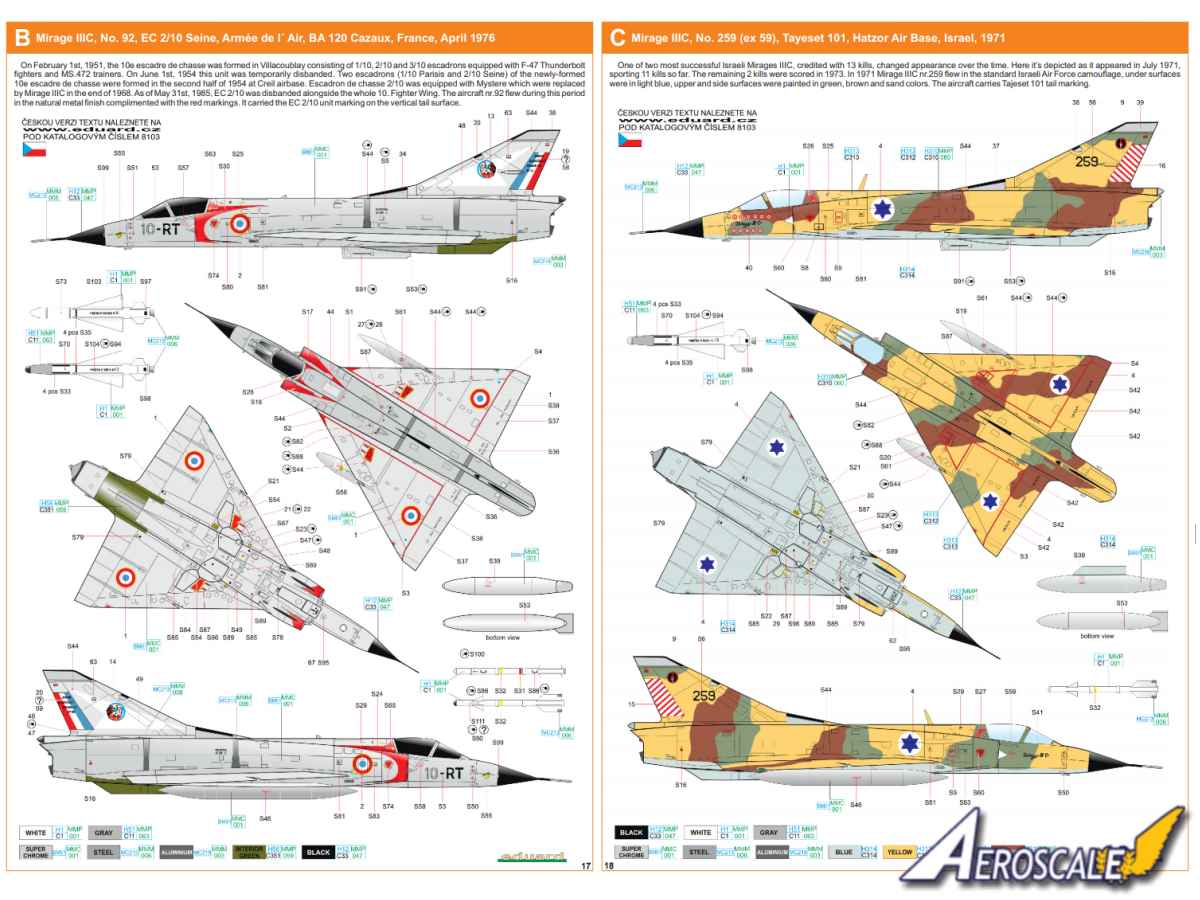
B Mirage IIIC, No. 92, EC 2/10 Seine, Armée de l´ Air, BA 120 Cazaux, France, April 1976
C Mirage IIIC, No. 259 (ex 59), Tayeset 101, Hatzor Air Base, Israel, 1971
D Mirage IIIC, No. 31, EC 2/10 Seine, Armée de l´ Air, BA 110 Creil, France, May 1978
E Mirage IIICZ, No. 800, No. 2 Squadron SAAF, Waterkloof Air Base, Republic of South Africa, 1982
Just the one option [B] is natural metal overall, and [D] has super chrome under surfaces, the rest are camouflaged. Option B has additional paint masks for the markings, the distinctive areas on the fuselage of the different alloy skin used and di-electric panels.
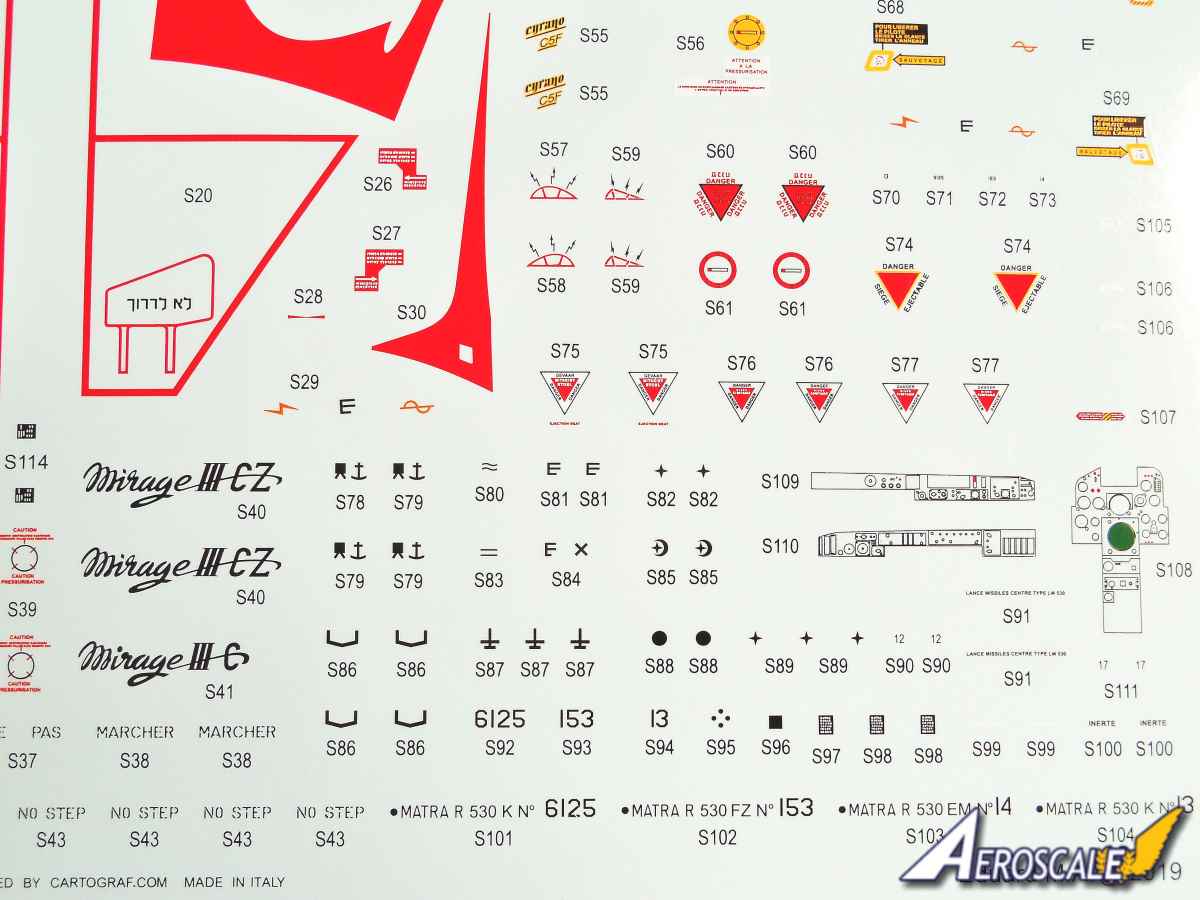
The large decal sheet is printed by Cartograf. So you wont be too surprised to learn how good the quality of the decals are. The colour and registration is excellent and each decal has minimal carrier film. The definition is superb, even the smallest stencils are legible.
The A4 format twenty page instruction booklet is very good. The mainly black lined diagrams are clear to follow; they dont leave much to the imagination. The gluing areas are even highlighted in blue. The ordnance guide is a useful inclusion. The painting guide is in colour with four views of each marking option. Paint references used are for Mr Hobby
Conclusions
This is an excellent kit from Eduard, the addition of the photo etched parts, masks and the exceptional decal sheet from Cartograf should help you produce a stunning quarter scale replica of the Mirage IIIC.


Comments