The Heinkel He 219 Uhu (Eagle-Owl) was a night fighter serving in the later stages of World War II with the German Luftwaffe. The requirement for an advanced night fighter was issued in 1942 and the He 219 was the product of this programme. A relatively sophisticated aircraft, some speculate that had the Uhu been available in quantity it may have had a significant effect upon the strategic bomber offensive of the Royal Air Force. However very few of the aircraft saw service and the He 219 had no appreciable impact upon the course of the war.
Production models, equipped with radar, began arriving in the Luftwaffe in October 1943. The capable He219 had an enviable reputation as a Mosquito-killer, but production was never sufficient to have a significant impact on the air war. The later He219B model was fitted with 2500hp Jumo 222A/B engines, giving the Uhu a maximum speed of 700km/h. It also featured a lengthened wingspan for better high-altitude performance.
The He 219 A-0 version was initially used for pre-production aircraft but became the first major production version with 1,750 PS DB 603A engines, 104 built as of 30 November 1944.
In the box This kit of the He219A-0 Uhu was released way back in 1991 by Dragon, and then released by Hasegawa in 2000, and the molds show no sign of wear and tear.
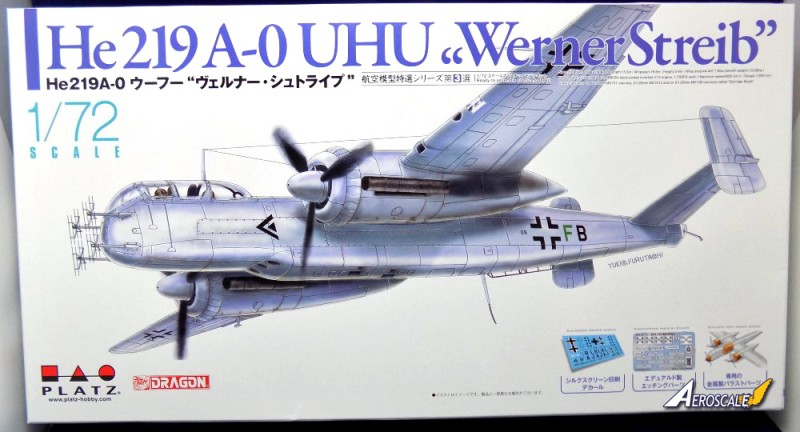
The kit is packed in a top opening box with a rather good artists impression of the Uhu in flight on the box top. The majority of the text other then the product name is all in Japanese, which does continue onto the instructions.
Inside the box you will find -
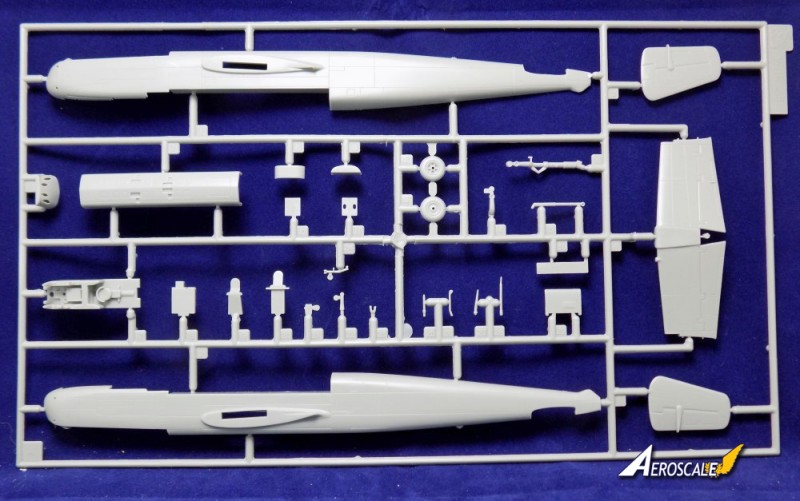
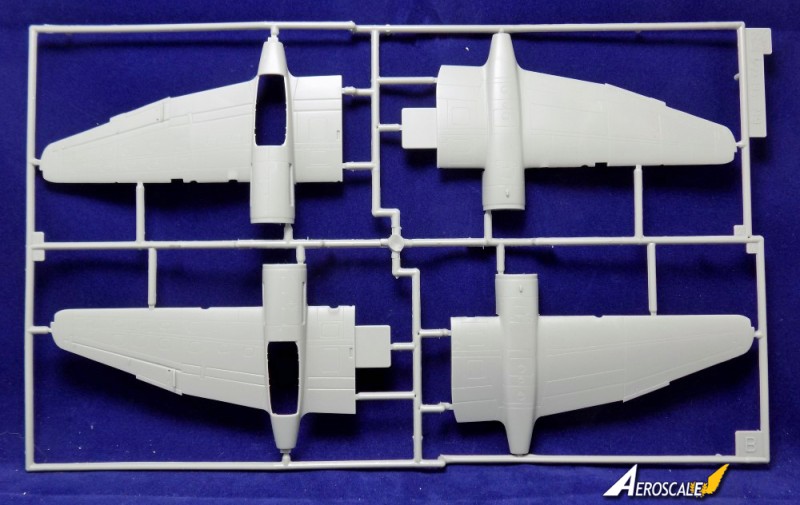
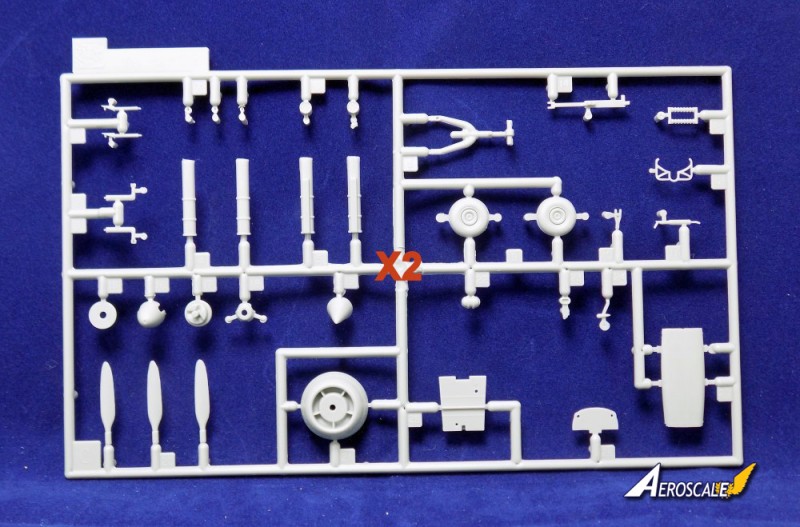
4 light grey injected plastic sprues
1 clear injected plastic sprue
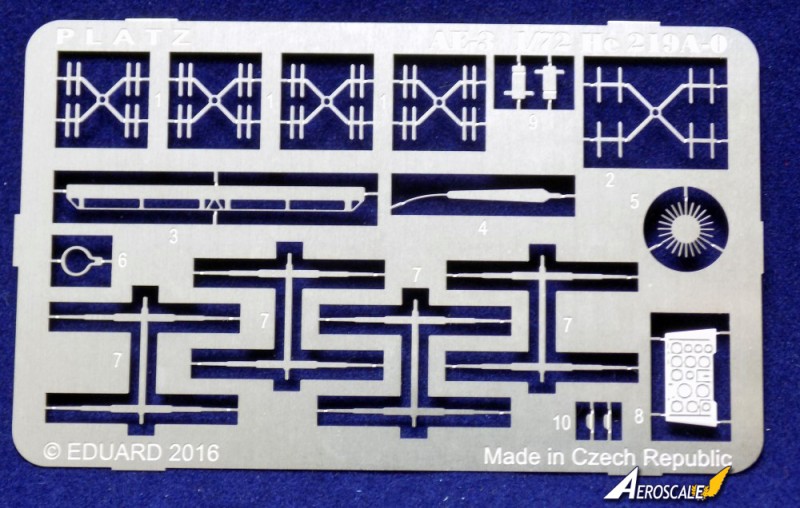
1 small photo etch
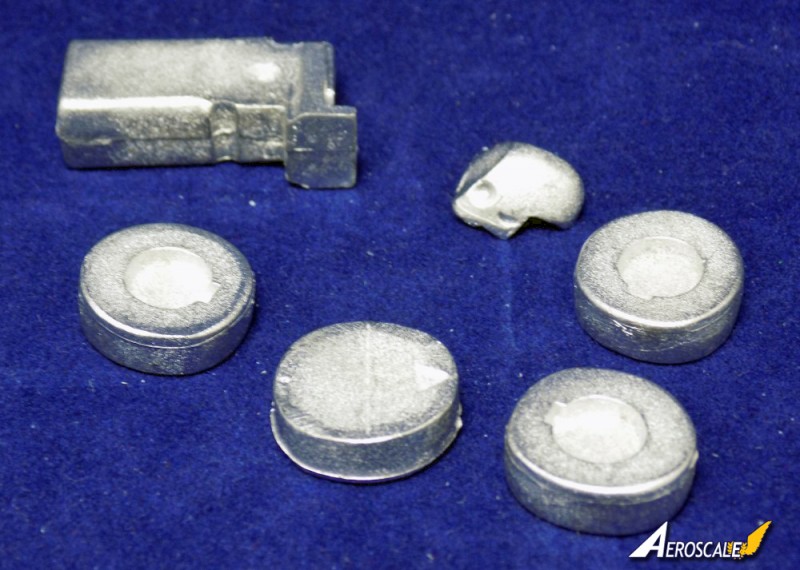
A set of six weights
1 small decal sheet
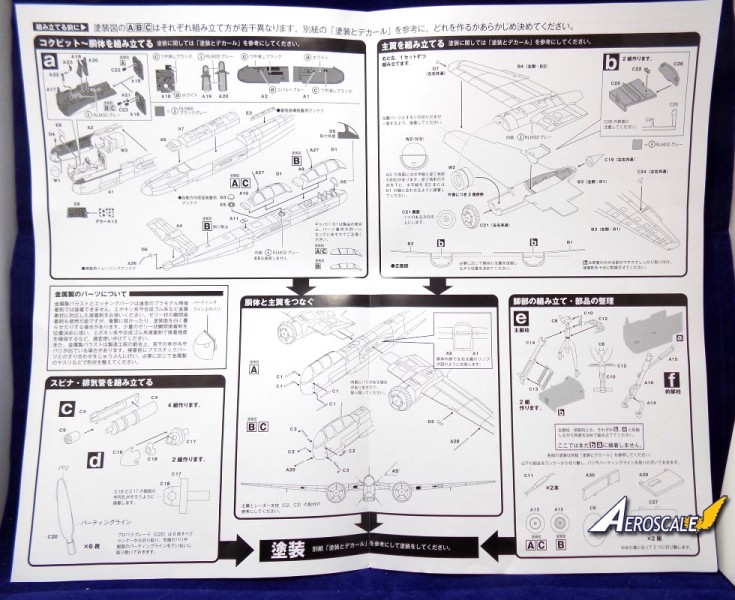
An instruction booklet
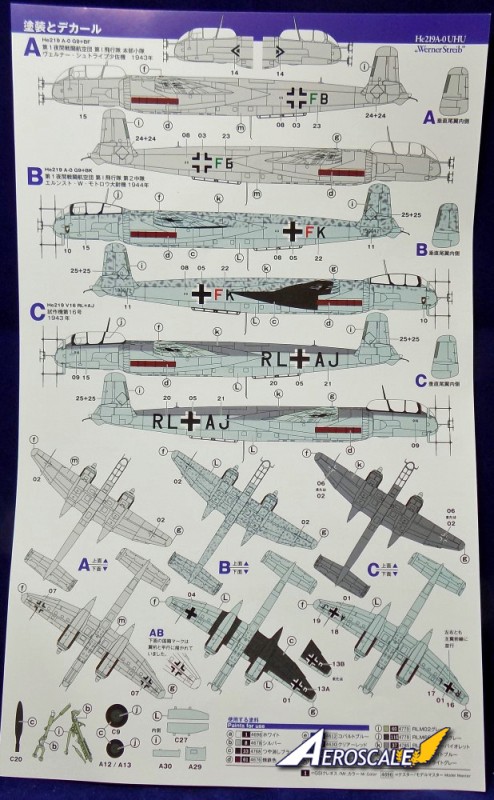
1 painting and decal guide
Packaging is top notch with the sprues bagged in pairs in clear bags, then all bagged together. The clear parts have their own bag, so scratching should be non-existent. The P.E sheet and decal sheet are bagged with a cardboard insert in-between.
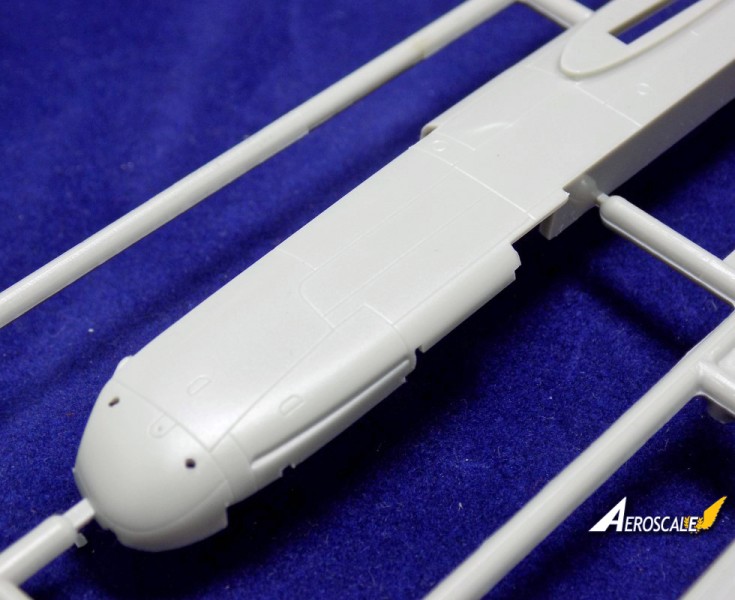
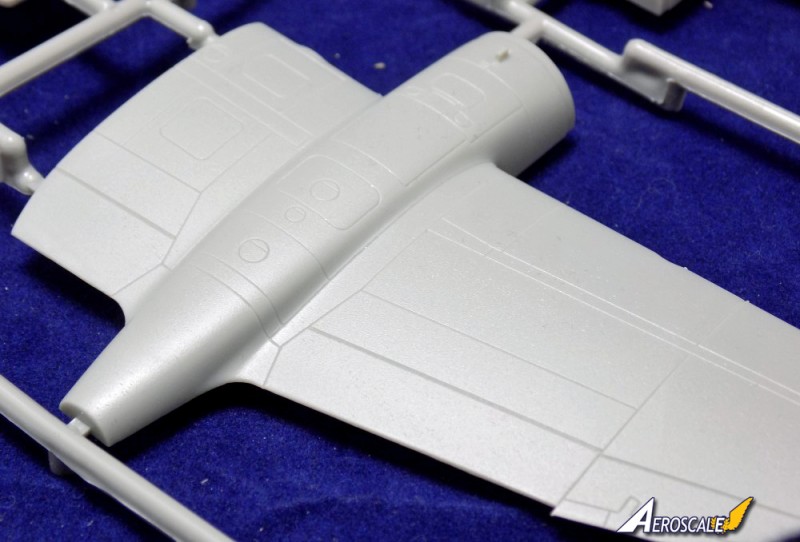
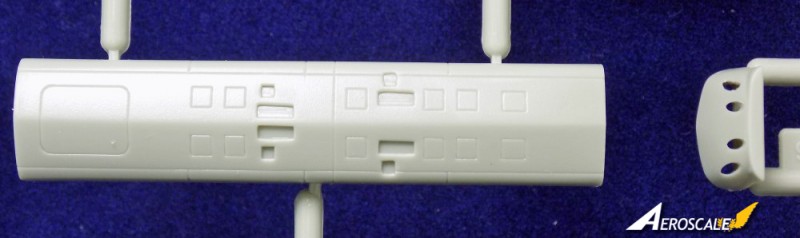
The kit has some very nice and fine engraved panel lines and access hatches on the wings and fuselage, with the control surface joins slightly more exaggerated.
The underside of the fuselage has a gun pack to attach in the recessed area.
Two different types of antenna are supplied with one version having the FuG 212 radar antennas, with the other two versions having the FuG 220 versions used by Streib's plane.
All the antennas are supplied as photo etch parts. These may lack the depth, but are a lot better then the too thick plastic injected parts you would normally get.
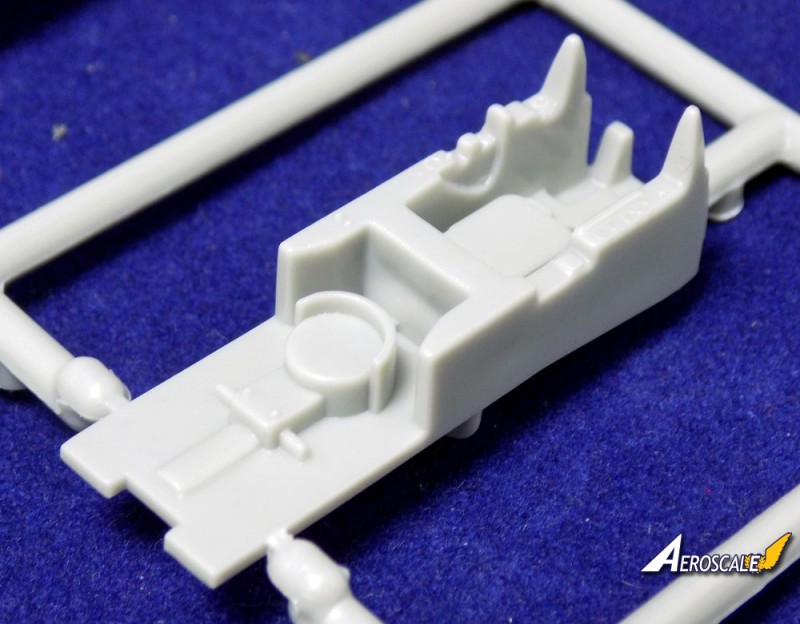
Interior detail is pretty good considering the scale, and gives a nice busy look to the cockpit.
The cockpit has the seat bases already moulded onto the floor with the backs being separate parts. The front of the seats have a couple of shallow pin marks on them. No harnesses are moulded on them or supplied, but with a wealth of separate A.M items on the market adding them will improve the look of them.
The various radar, radio consoles and side consoles have raised areas, that should look quite decent when painted, and with some dry brushing it should really ping the detail out.
The main instrument panel is a P.E part and has a small decal for the dials, which fit over the top of the P.E part.
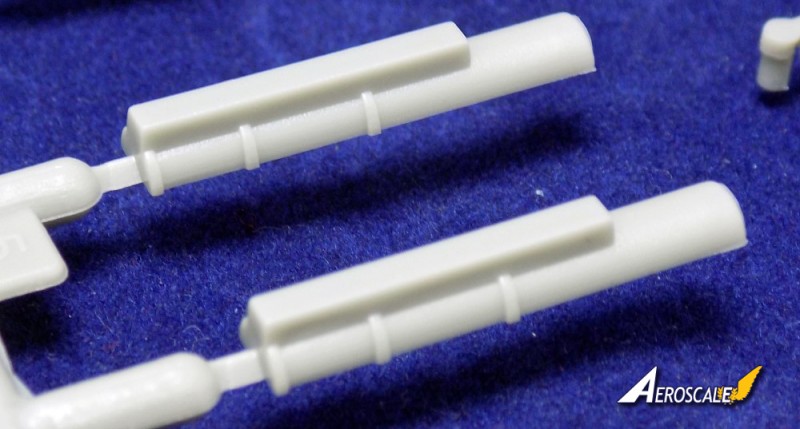
The engine nacelles feature open cooling gills and nicely detailed exhaust shrouds.
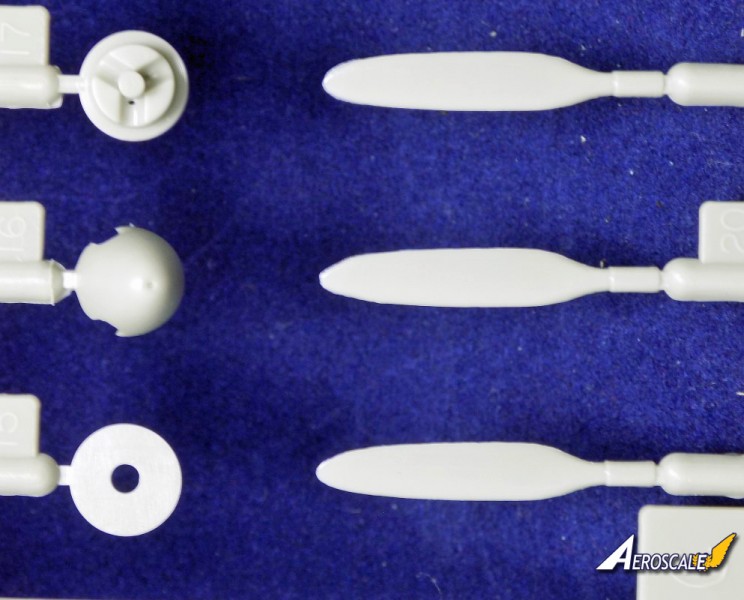
The propellers are separate and fit into the prop hub, but there is no locating pins as such to set them at the same angle as each other.
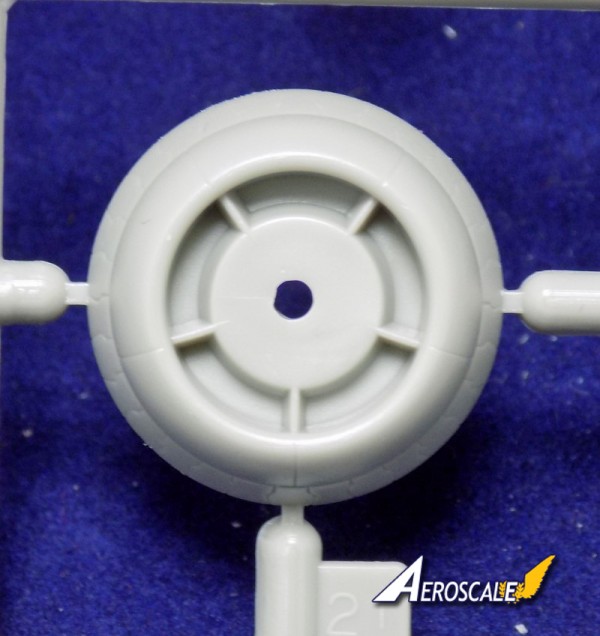
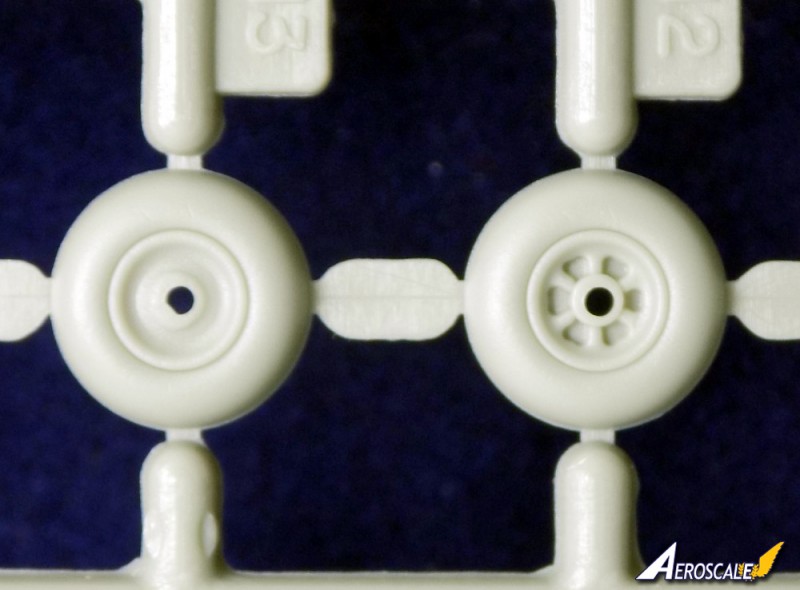
The undercarriage bays are a bit devoid of detail but the undercarriage legs and wheels are well detailed and comprising of three piece nose gear and eight piece main gear. Two different types of nose wheel are supplied depending on which marking option you are building.
The clear parts are very, eerr, clear with no distortion visible. The frames are nicely replicated and raised. The frames have a frosted look to them, so painting the correct part is easier to do.
Two different canopies are supplied, one is the smoothly taper type aftwards on their upper profile, with the other having the rear "step", for the deleted rearwards-firing armament.
Platz have really thought about this kit being a tail sitter and have added several metal weights to add to the nose, behind the cockpit and engine nacelles. I wish more manufacturers would do this, as it is really helpful, especially on aircraft where space is at a premium in the interior.
Another nice add on is a cardboard cut out found on the bottom of the box which folds up into a jig to align the wings and fuselage to the correct angle whilst the glue dries.
Instructions and decals
The instructions are printed in the black line drawings we are all familiar with but all the helpful building tips are in Japanese, so unless you can read Japanese you are a bit stumped. The build is pretty easy to follow anyway, but you will have to check and double check to make sure you are not missing anything as the build does look a little haphazard the way its set out on the pages, with boxes within boxes for sub assemblies.
A tree part guide is supplied with each sprue having a different letter assigned to it. The plastic parts go from A to D with the etch having "E" assigned and the weights a "W".
Internal colours are given along the way, but only as letters in a circle, so you will have to cross check with the separate painting guide for the colour.
Colours are given for the Model Color and Model Master paints.
The decals are well printed, in register and have the Swastikas as two parts each. Nowhere in the instructions or the box artwork are the Swastikas shown, they are only shown as a square shape, but at least they are in there.
Three marking options are supplied which are - 1 - Heinkel He 219 A-0, Wehrmacht Luftwaffe (German Air Force 1935-1946), Stab 1./NJG 1 G9 FB (Maj. Werner Streib), Venlo, 1943. RLM77 overall. 2 - Heinkel He 219 A-0, Wehrmacht Luftwaffe (German Air Force 1935-1946)
2./NJG 1 G9 FK (Hauptmann Ernst-Wilhelm Modrow), Venlo, 1944. RLM76 with RLM75 mottles. The right underside of the wing painted black. 3 - Heinkel He 219 V16, Wehrmacht Luftwaffe (German Air Force 1935-1946)
RL AJ, 1943. RLM76 lowers and sides with RLM75 uppers.
Please remember, when contacting retailers or manufacturers, to mention that you saw their products highlighted here - on AEROSCALE
SUMMARY
Highs: Well detailed, nice touch with the added weights and jig.Lows: Instructions are in Japanese, which is a bit of a pain if you cant read Japanese.Verdict: A nice and well thought out kit of this important night fighter of the Luftwaffe.
Our Thanks to Platz! This item was provided by them for the purpose of having it reviewed on this KitMaker Network site. If you would like your kit, book, or product reviewed, please contact us.
About Andy Brazier (betheyn) FROM: ENGLAND - SOUTH EAST, UNITED KINGDOM
I started modelling in the 70's with my Dad building Airfix aircraft kits. The memory of my Dad and I building and painting a Avro Lancaster on the kitchen table will always be with me. I then found a friend who enjoyed building models, and between us I think we built the entire range of 1/72 Airfi...
I built the original Dragon kit 2 years ago...for the second time. I was a kid the first time...
I had to weight behind the radiators as well as every nook and cranny in the forward fuselage and ventral gun bay. So I'm glad to see some lead parts!
The white metal PE was a nightmare and I ended up breaking so many of the aerials that I scratch built the dipoles from stretched sprue.
That being said, when I was a kid, and two years ago, it was a putty eating build. Make sure you have lots of sandpaper.
Still, it's an Uhu in 1/72 scale. Depends on your values, I guess.
I too had the original boxing, but lost that when I split from the Ex (along with pretty much most of my stash, insert plenty of swear words here lol), and was quite impressed with the contents, but never got too build it, so its nice too know how it goes together.
The photo etch is produced by Eduard so its going to be good quality.
The inclusion of the weights is outstanding, especially in aircraft where there isn't any room to put any, so top marks for Platz for that.
Andy
The PE is really...ugh...
The FuG 220 aerials are too broad front to back and the FuG 212 aerials broke on me when I tried to bend and twist them to the correct angles.
Maybe annealing them would have helped. I'm still pretty new to PE and am determined to be able to build any radar dipole with soldered brass rod. The flat cross-section of the FuG 220 aerials really put me off.


Comments