Background
The history of the Brewster Buffalo is one of extremes. Chosen by the US Navy initially over the Grumman Wildcat in 1939, it was already facing obsolescence by the time America entered WW2. The RAF recognised that it was clearly unsuitable for combat against the Luftwaffe (test pilots recommended that it would make an excellent advanced trainer) and shunted it off to what was assumed to be the quiet backwater of the Pacific. Here, in company with US Navy Buffalos, they suffered a terrible mauling at the hands of Japanese fighters. Only the Dutch, flying a lightened version compared with their Allied counterparts, were to enjoy a modicum of success with the Buffalo against the Japanese.
For the Finns it was a totally different story. Facing the VVS during the Winter War and Continuation War, Finnish pilots racked up impressive scores against a vastly numerically superior foe. Flying the tubby little Buffalo well into 1944, long after it had been retired elsewhere, the Finnish Air Force claimed 459 enemy aircraft shot down for the loss of only 15 Buffalos - a kill ratio of over 30:1!
The Kit
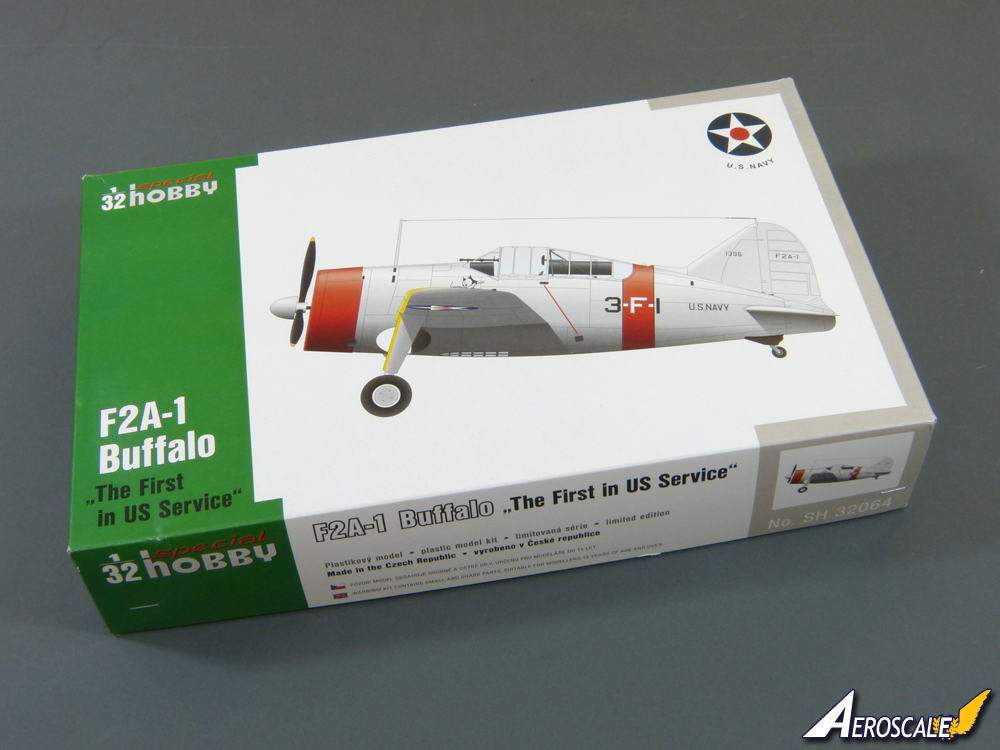
Special Hobbys Buffalo arrives in a very solid top-opening box, with the sprues and accessories bagged separately. The overall presentation is very nice and the kit comprises:
84 67 17 168 x grey styrene parts (24 unused)
12 x clear styrene parts (3 not needed)
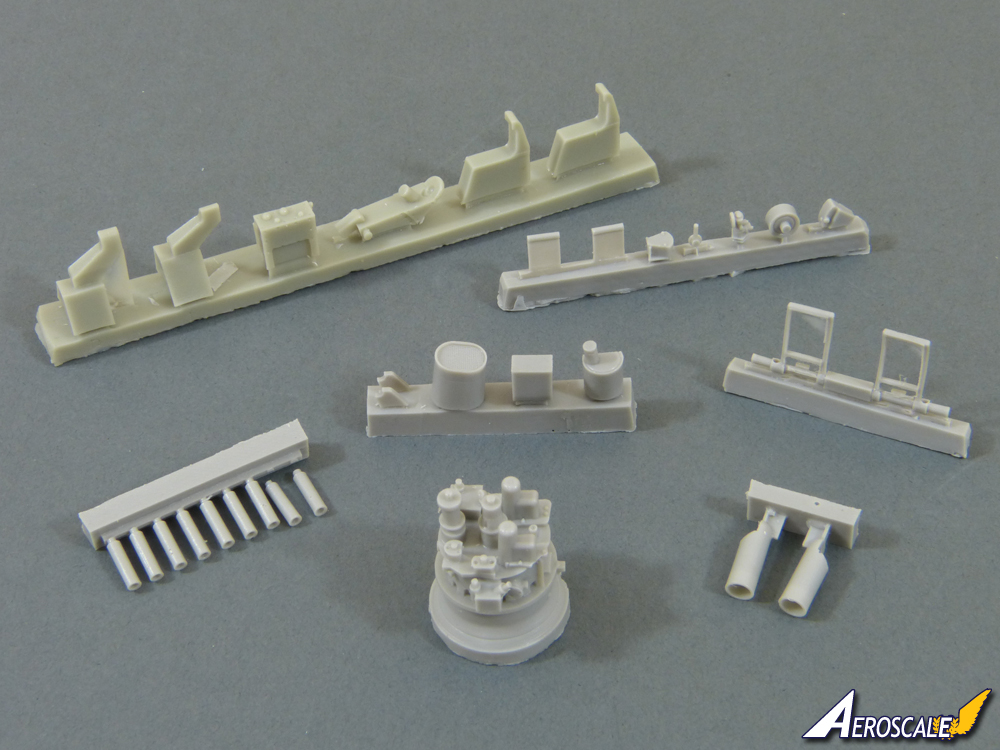
30 x grey resin parts
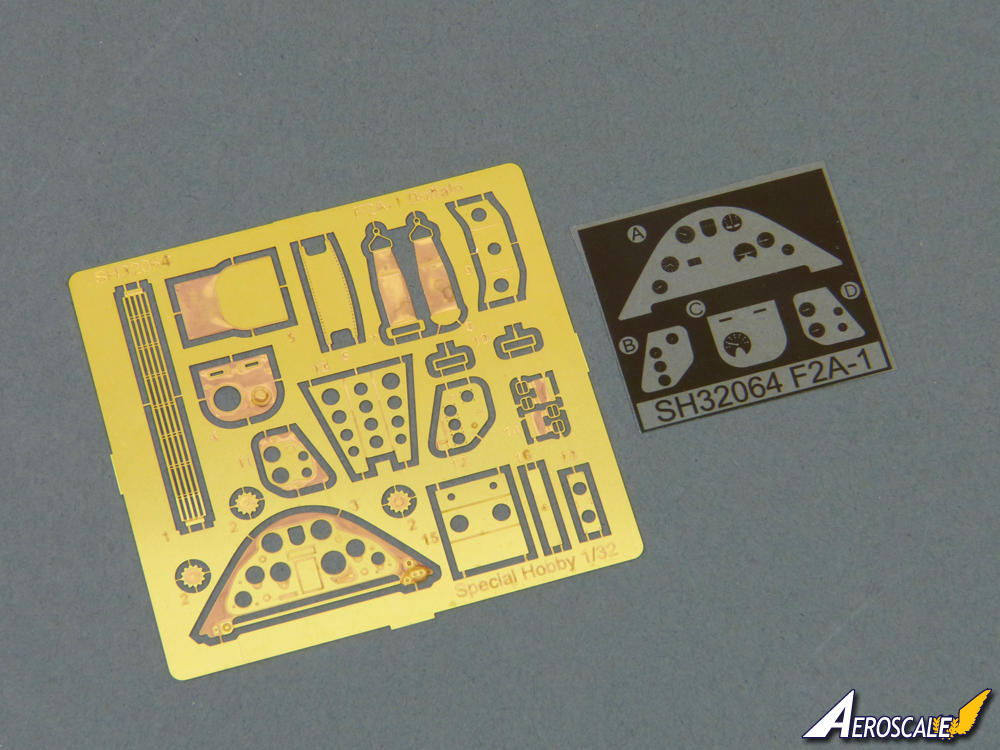
21 x etched brass parts with a printed film
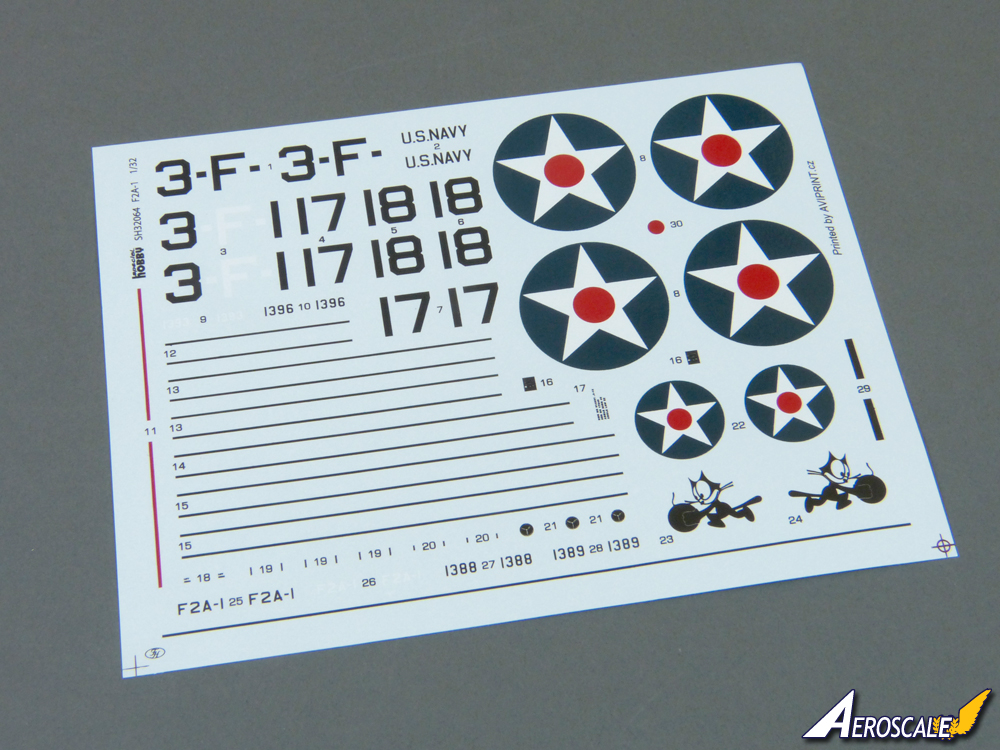
Decals for 4 x colour schemes
Special Hobbys big Buffalo is 10 years old now, which is quite an age for a semi-limited run kit thats made regular reappearances since its initial release. Nevertheless, Joel Willstein showed last year in his fine build of a
Battle of Midway F2A-3 that it still builds into a very attractive model - albeit one that isnt really suitable for beginners as youll need to bring a degree of modelling experience to the table to overcome some issues that Ill outline below.
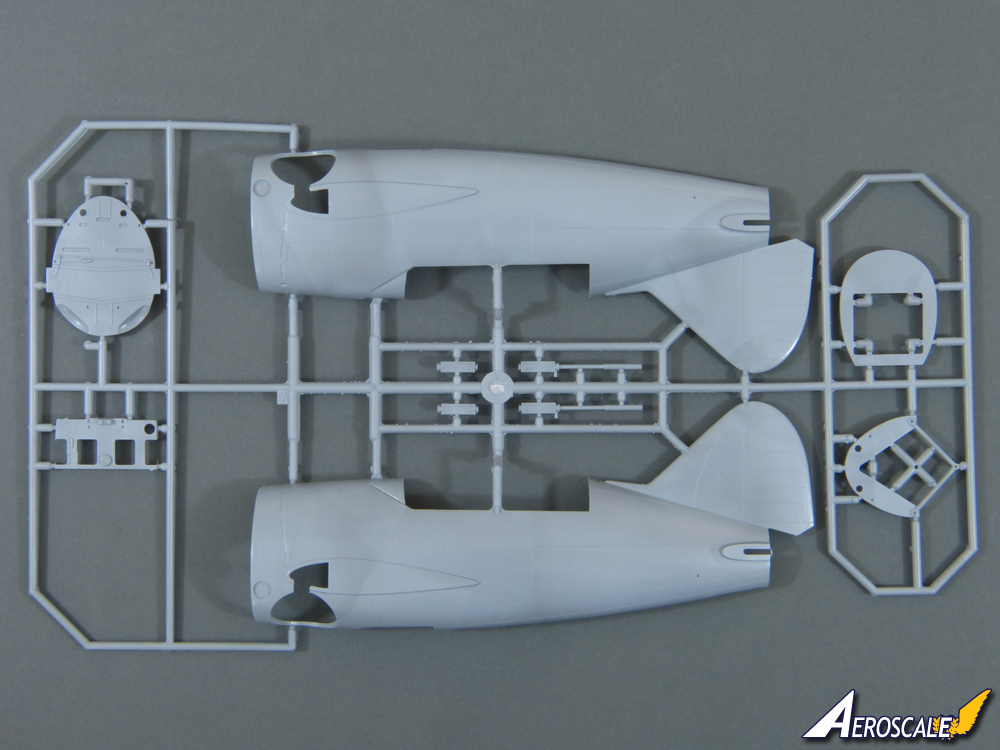
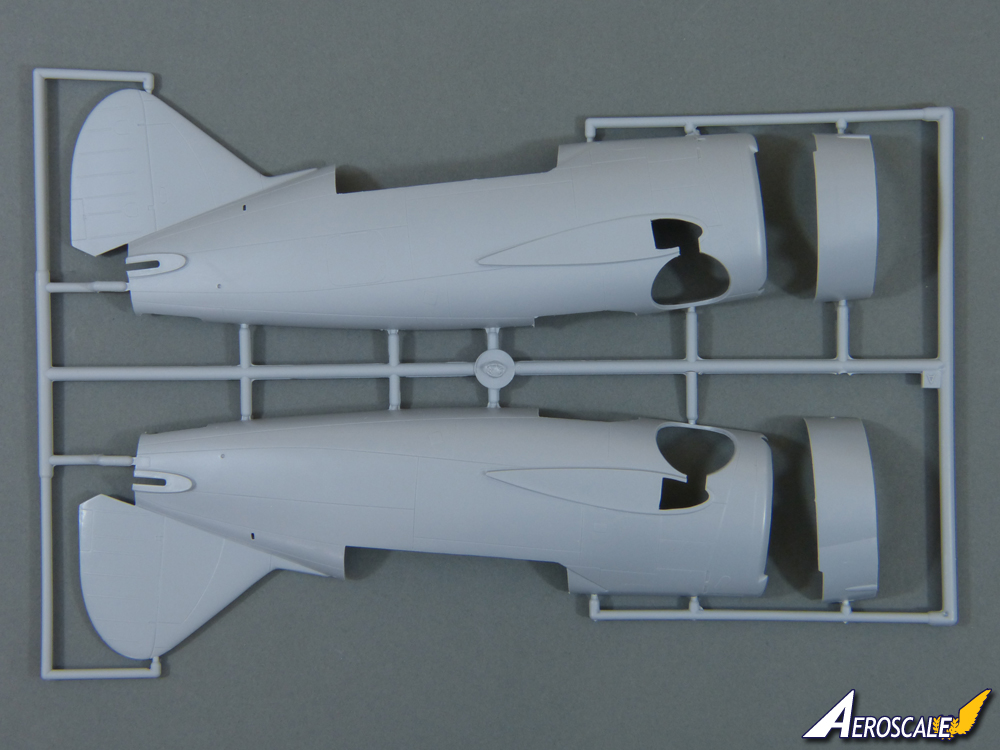
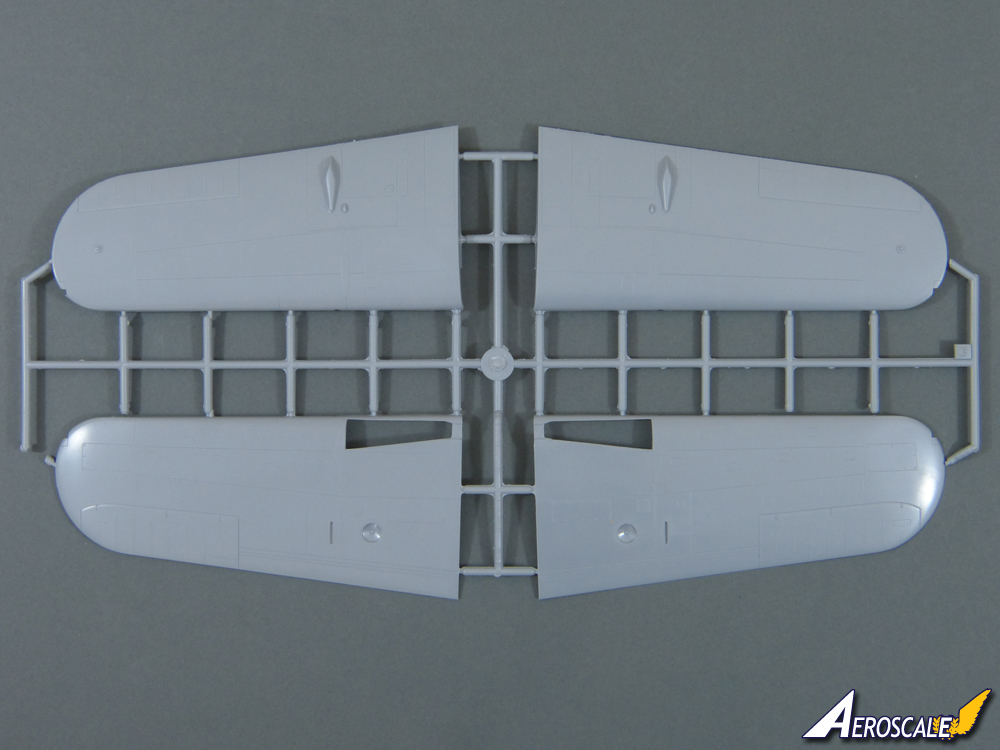
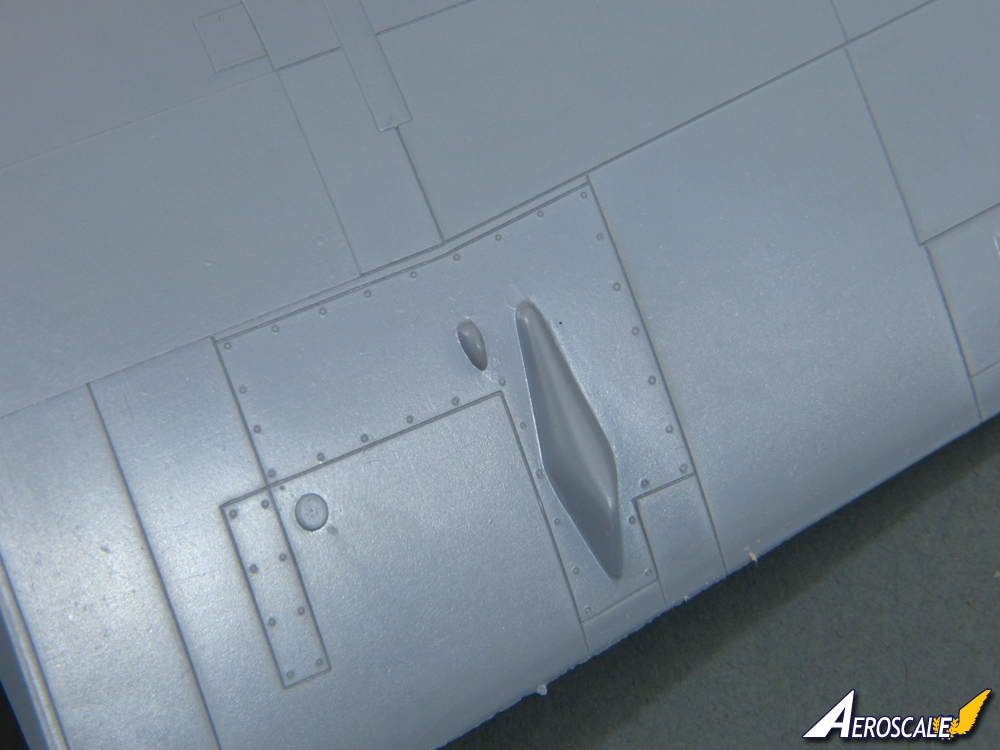
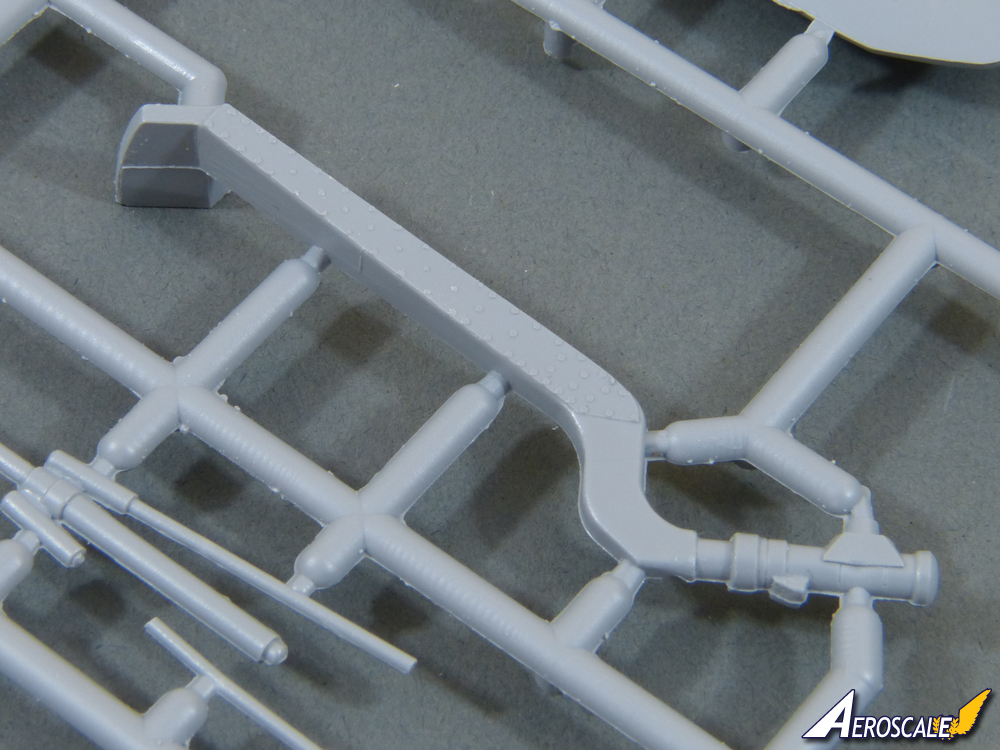
The overall finish is good, with a smooth exterior that features neatly engraved panel lines and fasteners on the metal areas, along with a few appliqué panels, and a drum-tight fabric effect on the control surfaces. The original aircraft featured mushroom-headed rivets, so some modellers may want to depict these.
I havent spotted any problems with sink marks on the sample kit, and ejector pins look to have been kept out of harms way. Theres a little bit of light flash on some of the smaller parts, but you expect to have to do a bit of extra preparation on a kit of this type.
Test Fit
Dry-assembling the main parts of the sample kit bears out what Joel found in his build; namely, some warping. Not the end of the world, and modellers used to short run kits will take it in their stride, but it could certainly trip up beginners.
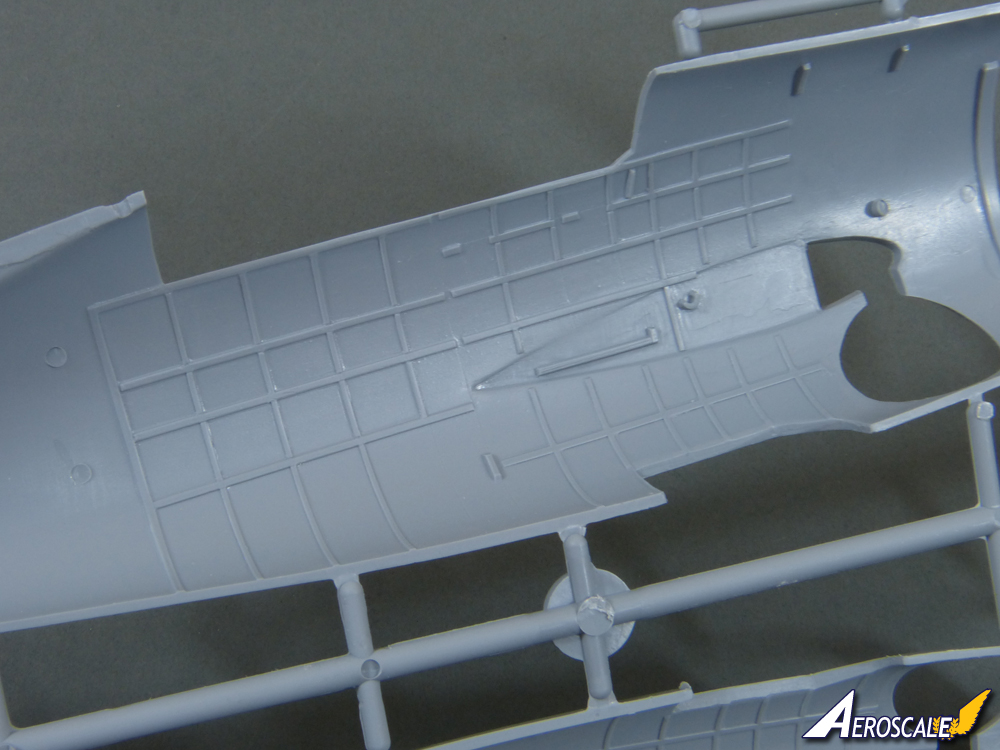
In the sample kit, one fuselage half has a minor warp towards the nose, but using the panel lines as a guide will allow you to pull everything straight. Certainly, once the interior assemblies are in place, it shouldnt be a problem.
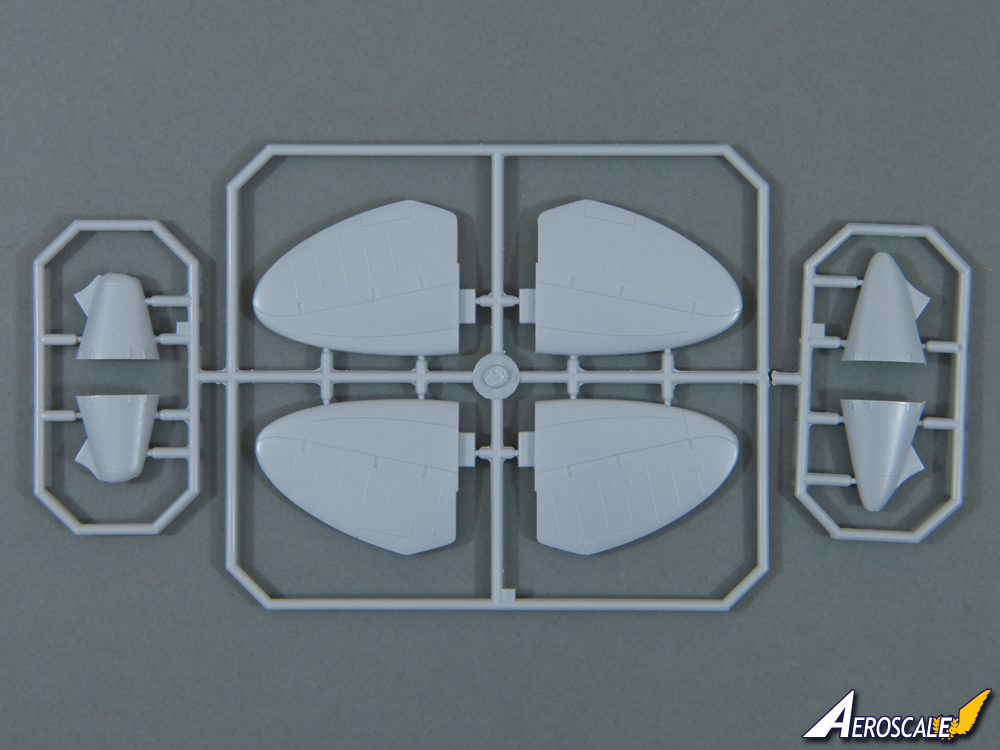
The stabilisers are slightly ballooned and will need clamping lightly while the cement dries. On the plus side, they are a good match at the roots and have solid locating tabs.
The wings are the opposite in both respects. They have no locating tabs, relying on a butt-joint at the root instead. Again, warping is an issue, but in this instance the upper and lower panels splay apart this time, banana-style. Taping them together shows it wont be too hard to overcome with some patience and TLC and, once corrected, they look to be a good match with the wing roots.
A Few Details
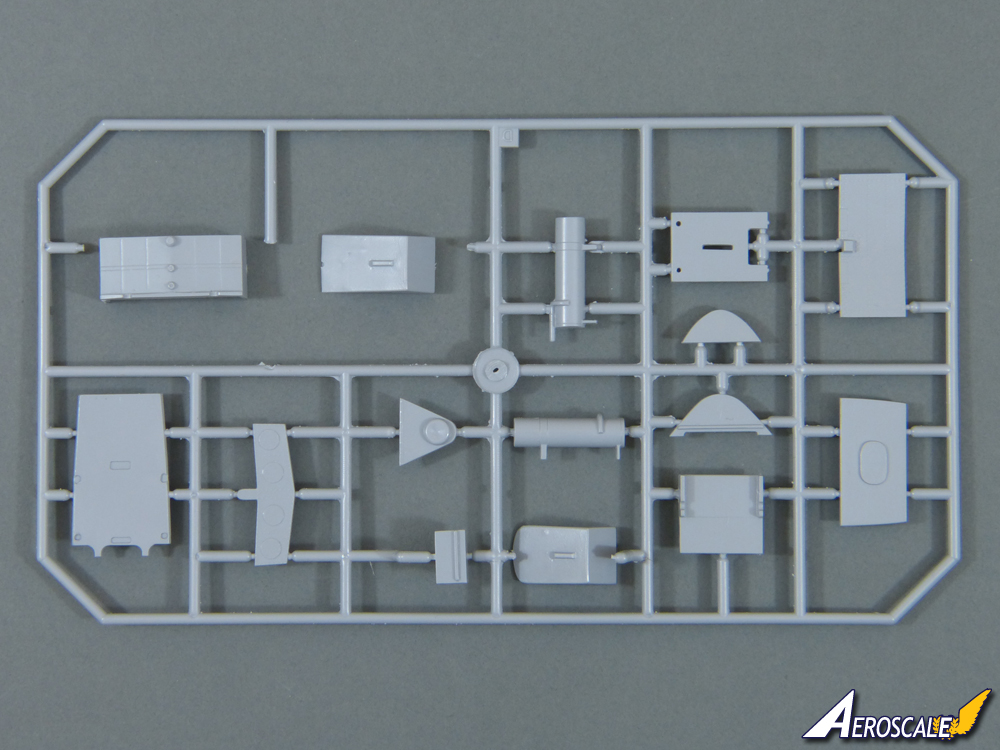
Construction kicks off with the cockpit, which is built up from over 70 parts in a mix of styrene, resin and photo-etched. In a kit of this type and vintage, you can pretty assume youll have to do a bit of adjustment to line everything up correctly, and the instructions confirm this by indicating that one part needs to be trimmed to fit. Nevertheless, the overall effect should be excellent, with classic photo-etch/film sandwiches for the instrument panels, etched lap belts (no shoulder harnesses in the US Navy at the time), and very nicely cast resin rudder pedals. I suppose some may bemoan the fact that greater use of resin wasnt made in the cockpit, but that would probably have raised costs, and the styrene parts should look decent.
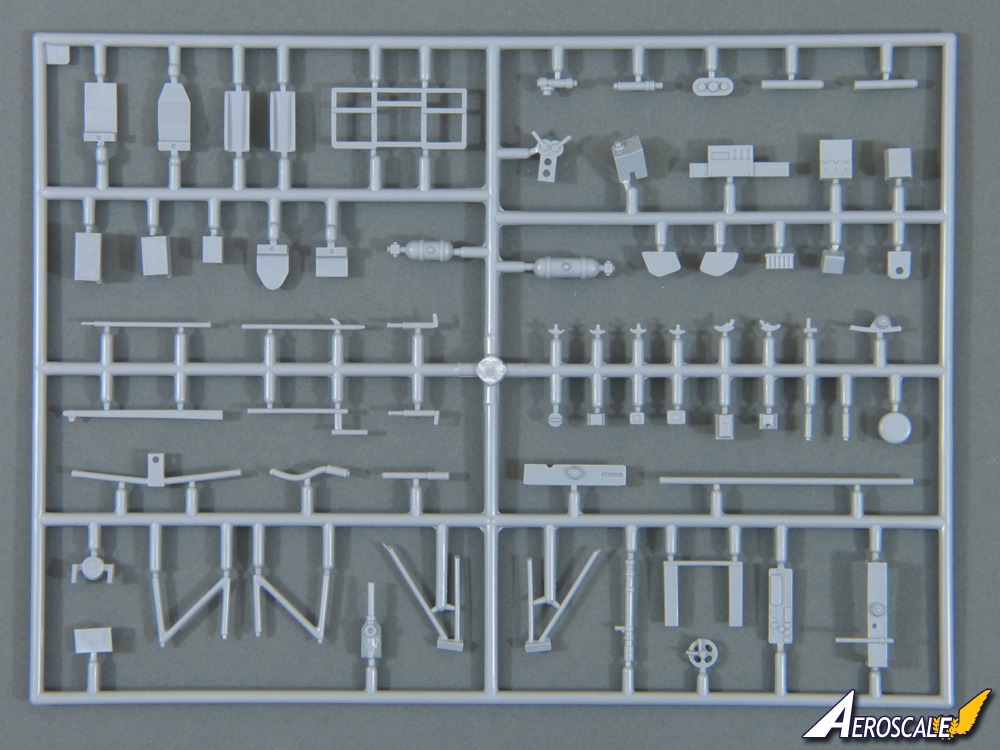
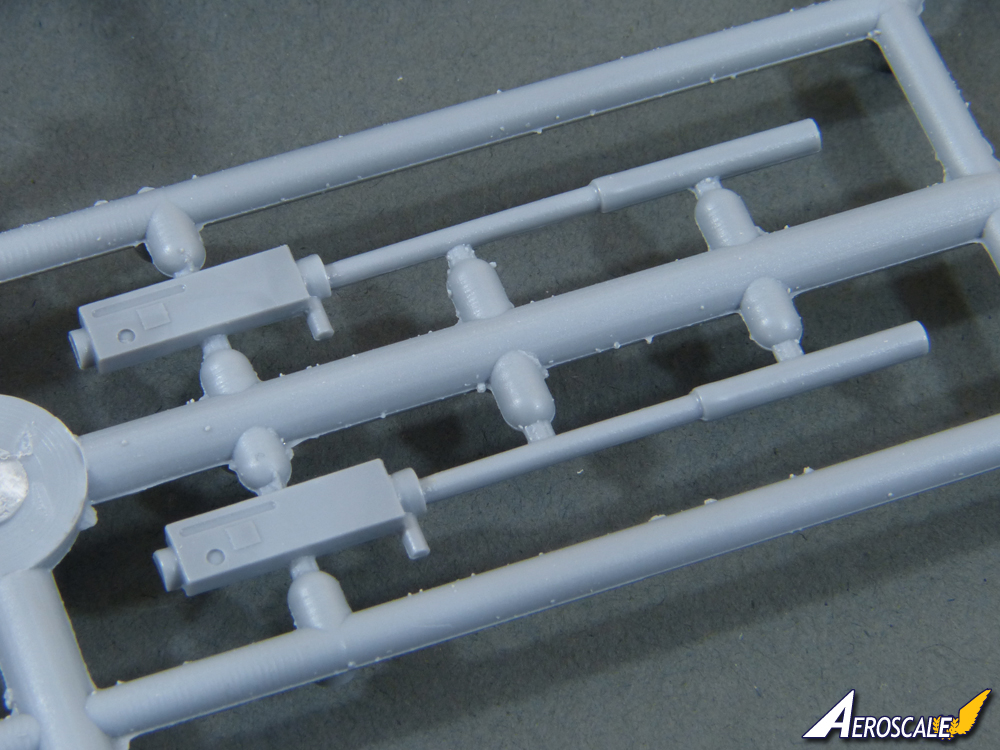
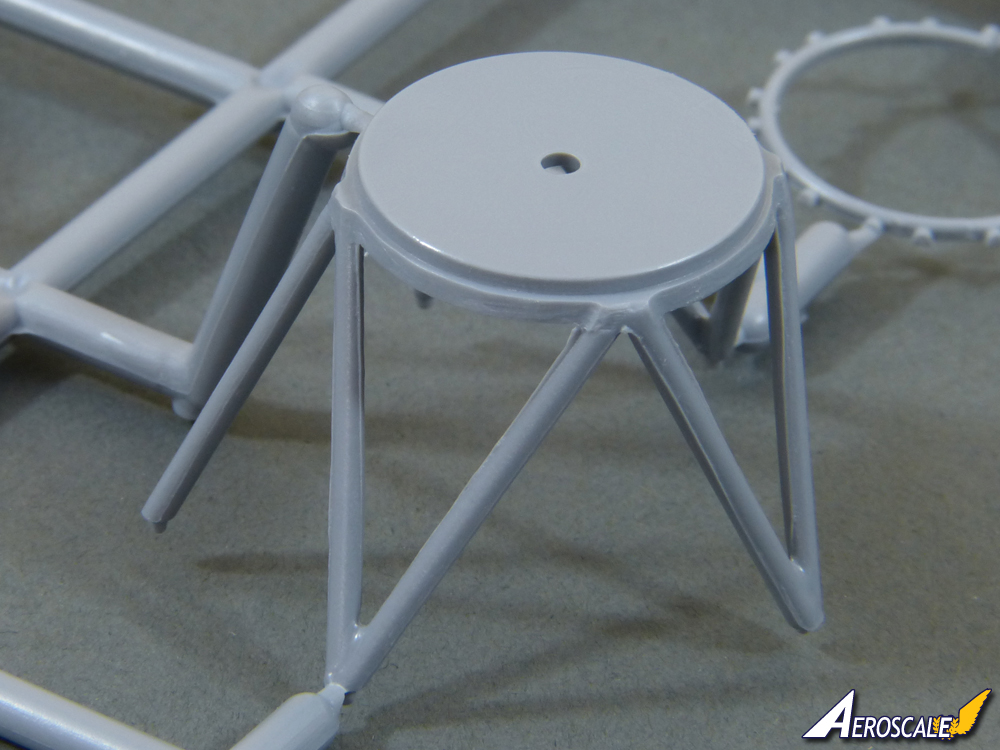
The kit includes a well detailed landing-gear/nose guns bay. Again, ensuring everything fits and lines up square will be vital, but with 19 parts before you even get to the engine mounts, it should look impressively busy.
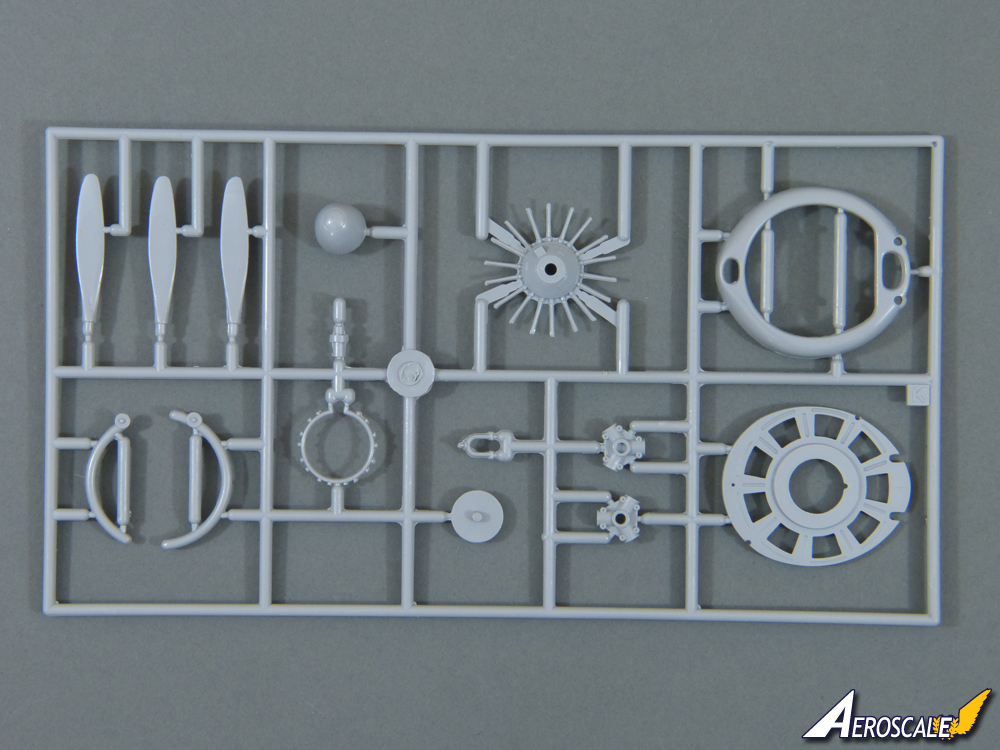
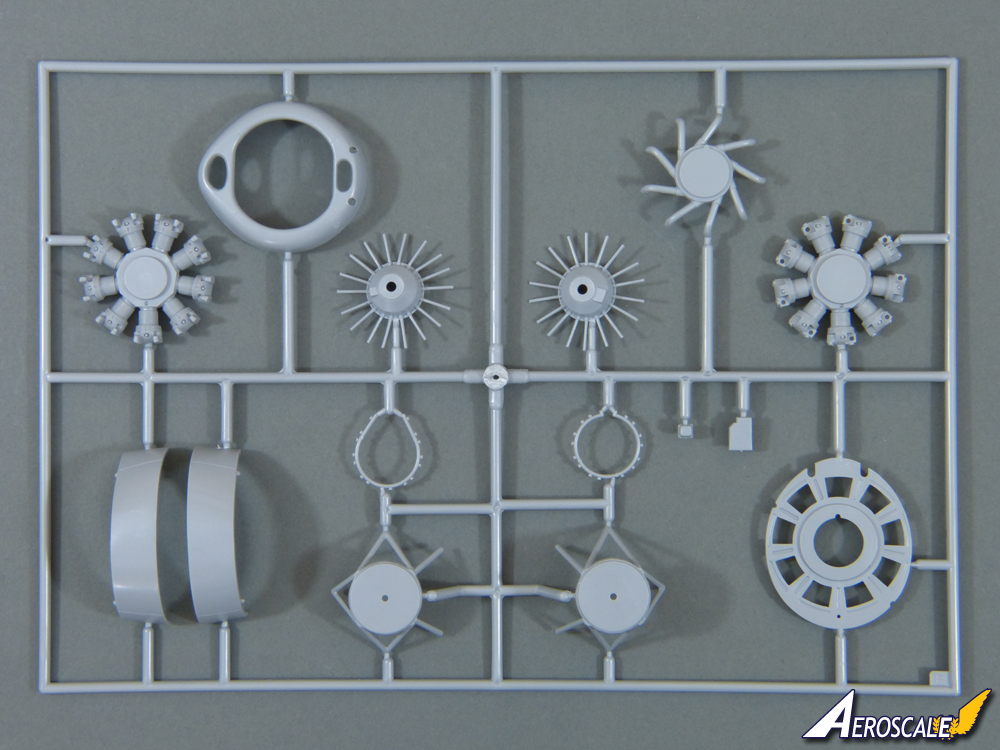
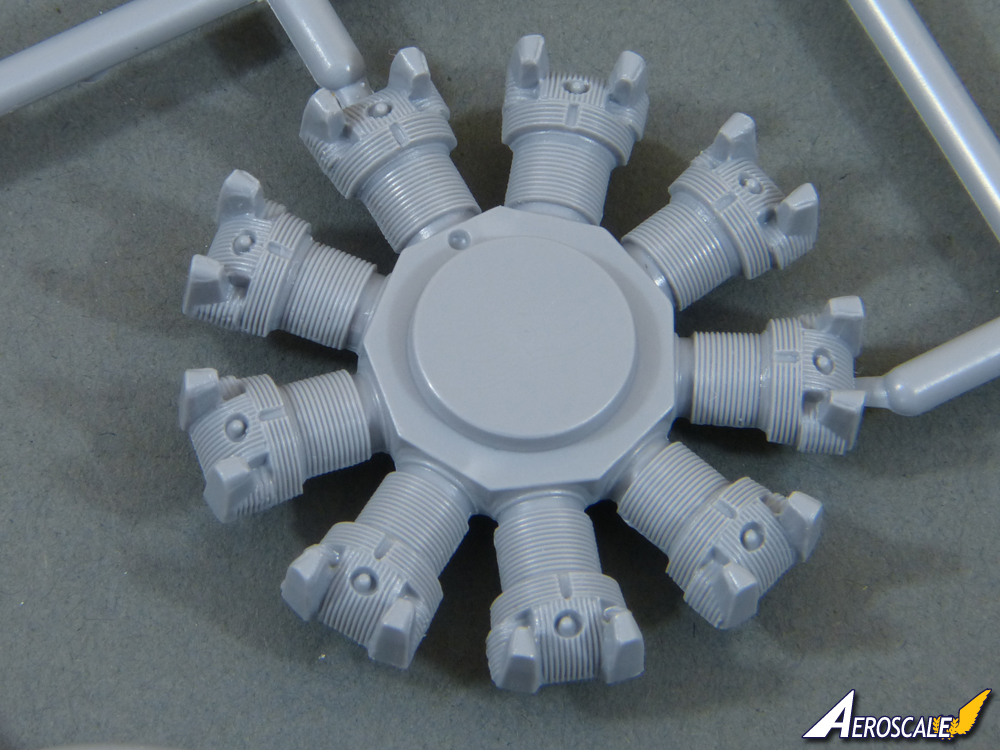
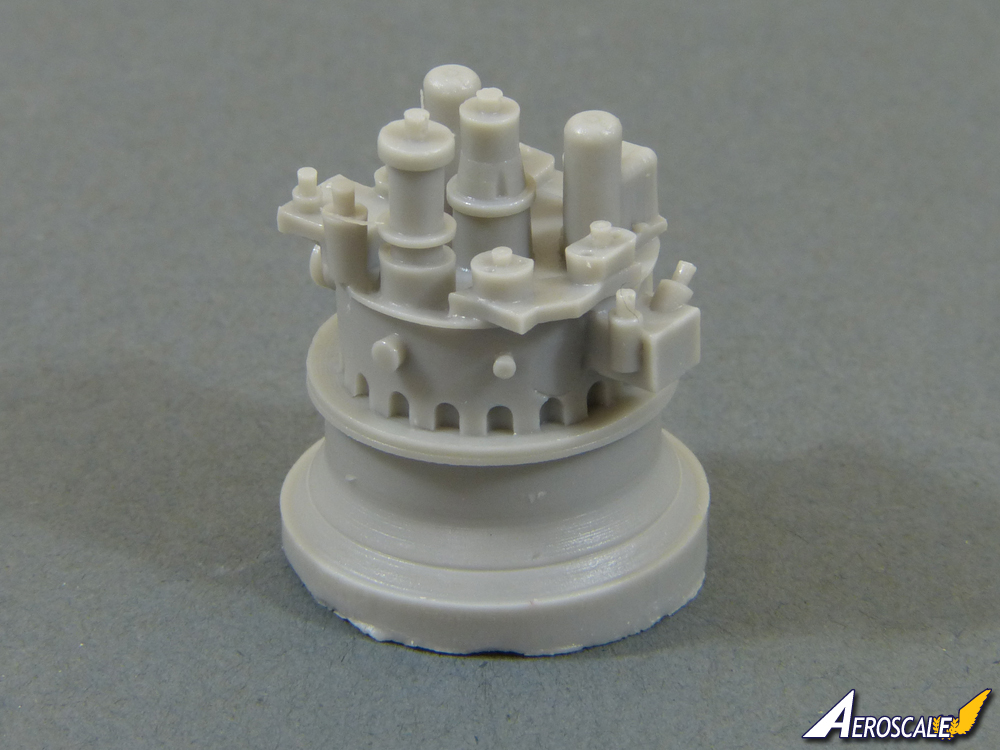
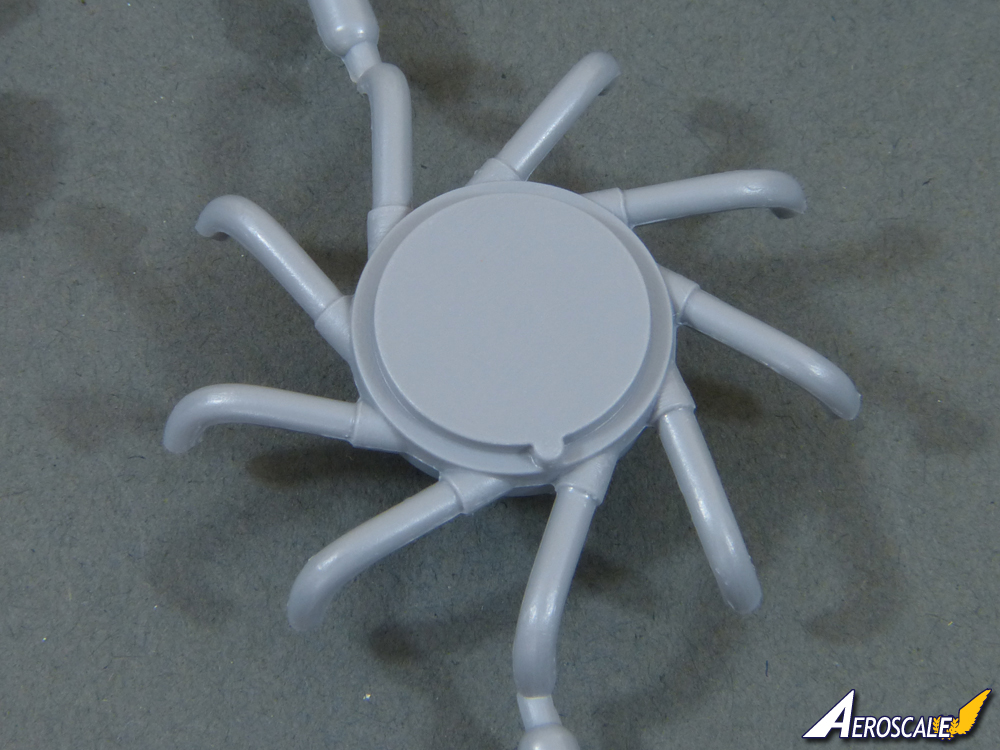
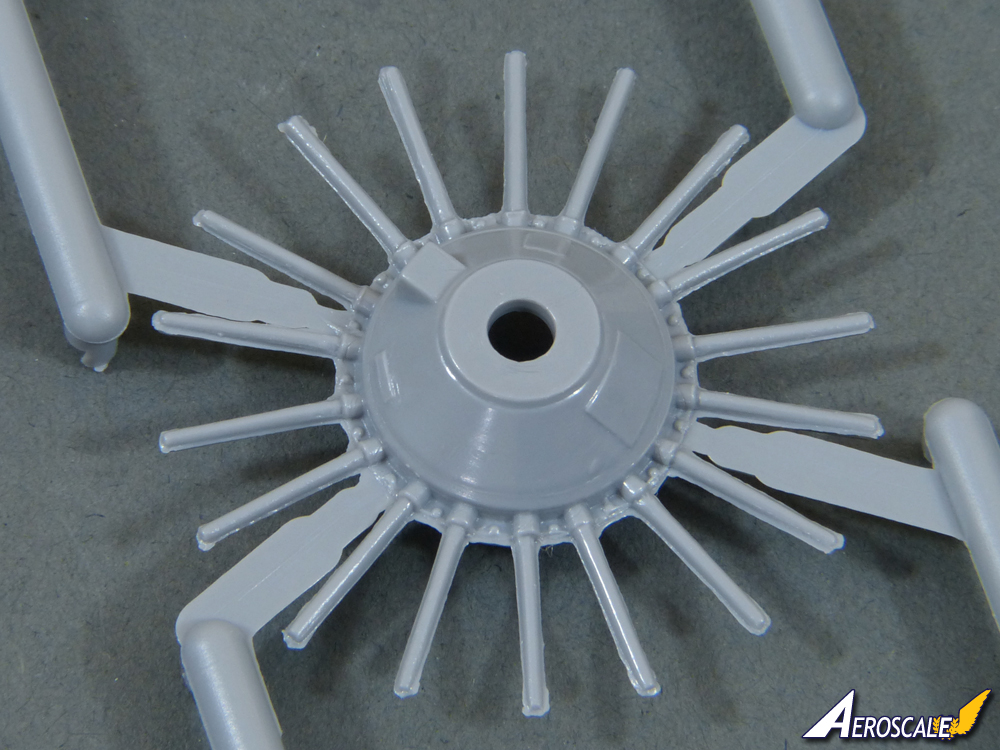
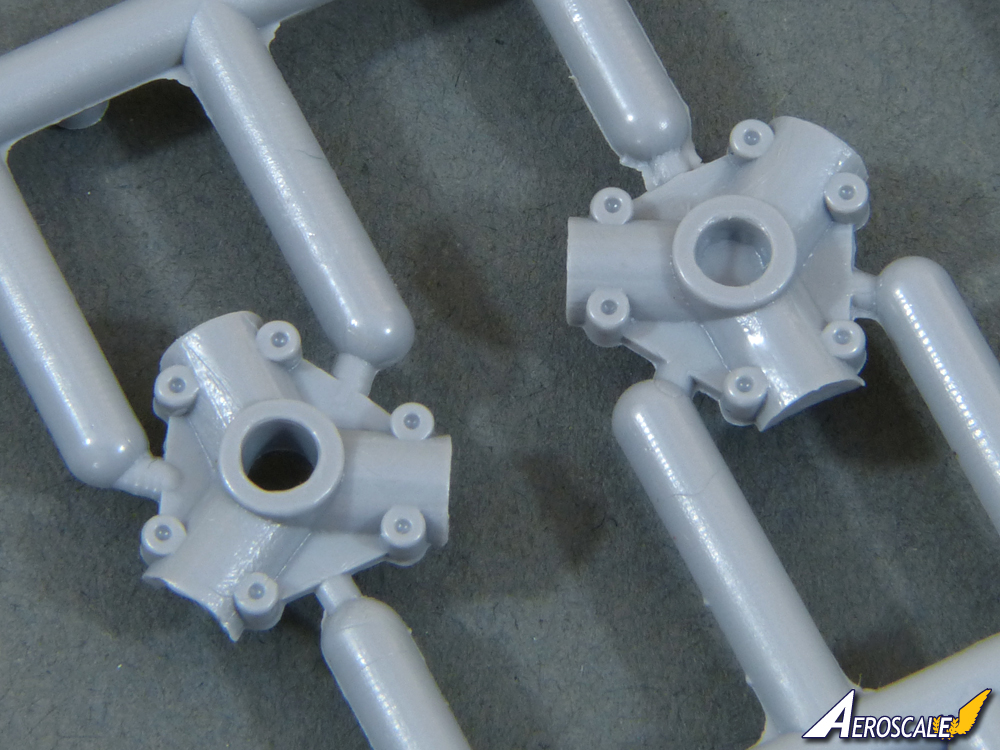
The engine itself has all the makings of real a gem, with very crisply moulded cylinders and a superb one-piece resin accessories pack at the back. 26 parts in all, once its wired up and has some additional plumbing it should look excellent.
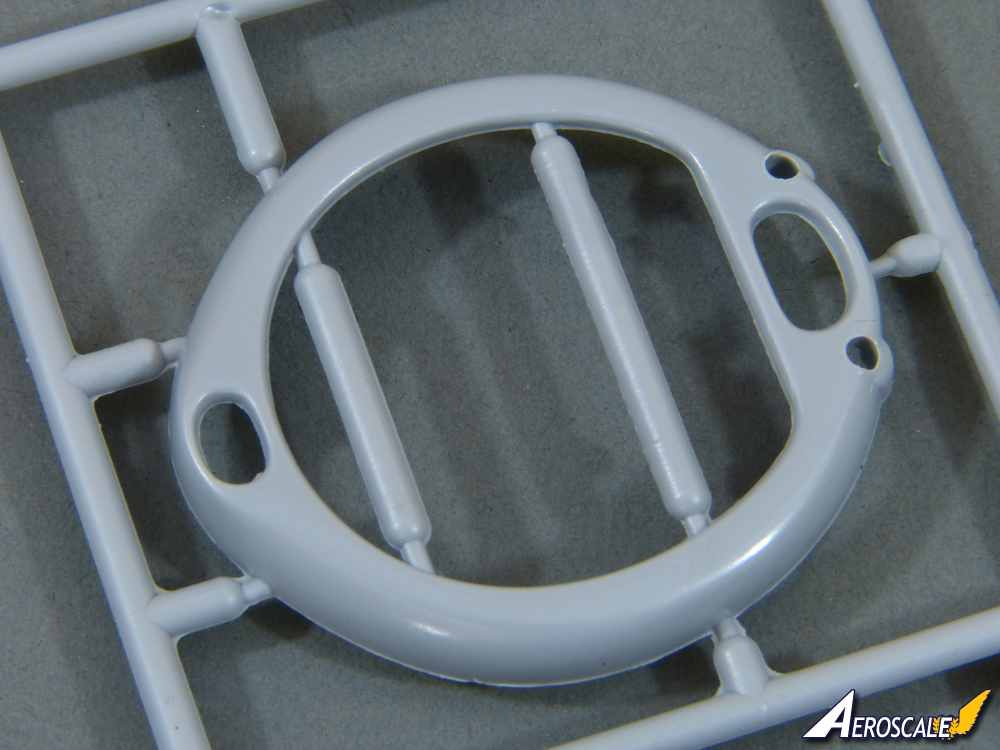
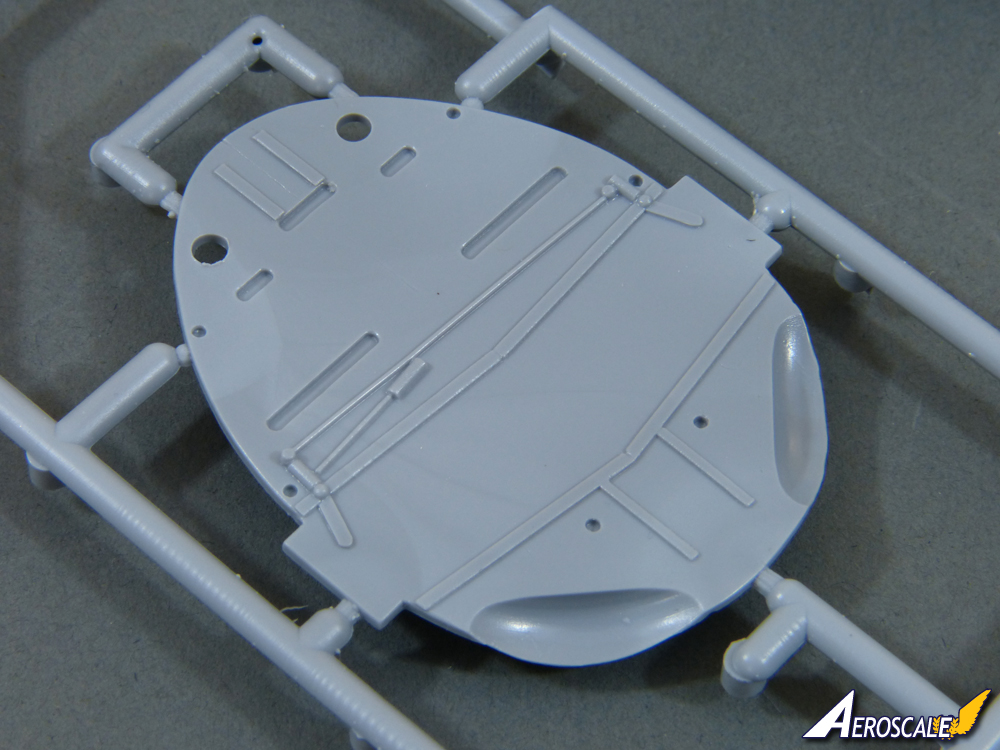
The bays in the wings for the gear legs each have individual ribs to attach to a short spar. The spars look at first as though theyll be the answer to the wing warping noted above, but in fact the problem extends further outboard. It wouldnt be a bad idea to extend the spars, although simply taping the wings straight while the cement dries thoroughly is probably sufficient.
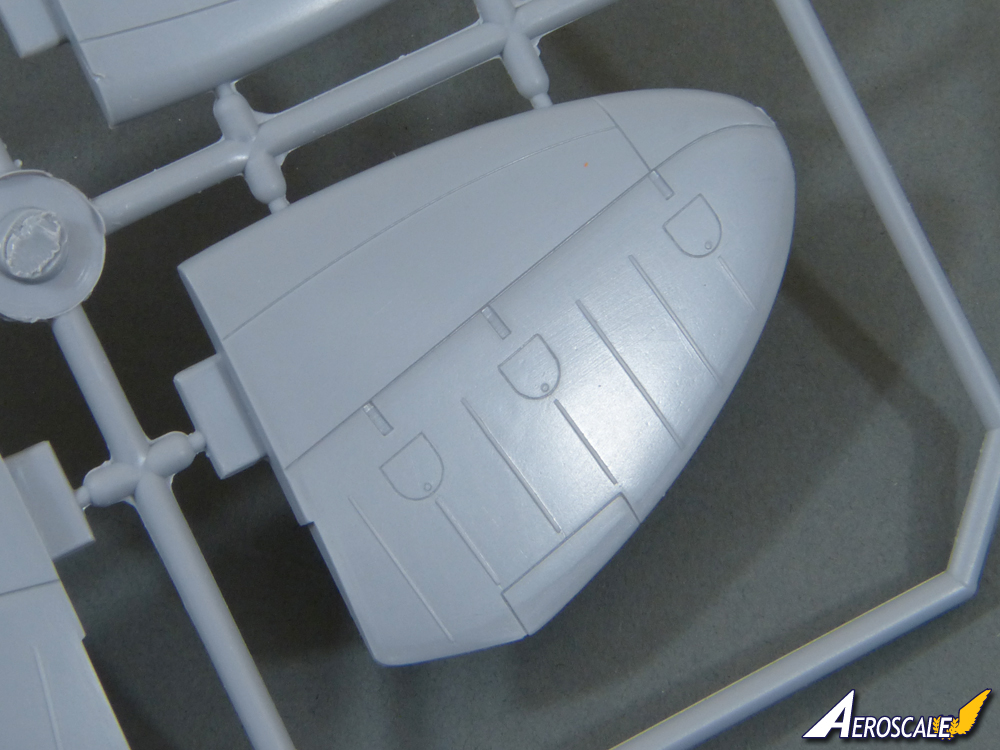
One of the featured colour schemes is for an aircraft with no wing guns, and to model this youll need to remove the bulges on the upper surface of the wings. I would be
very wary of doing this, though, because the bulges are moulded hollow, so youll end up with holes to fill in a very prominent spot. If youre at all unsure about creating an invisible repair, it will be wiser to choose a different colour scheme.
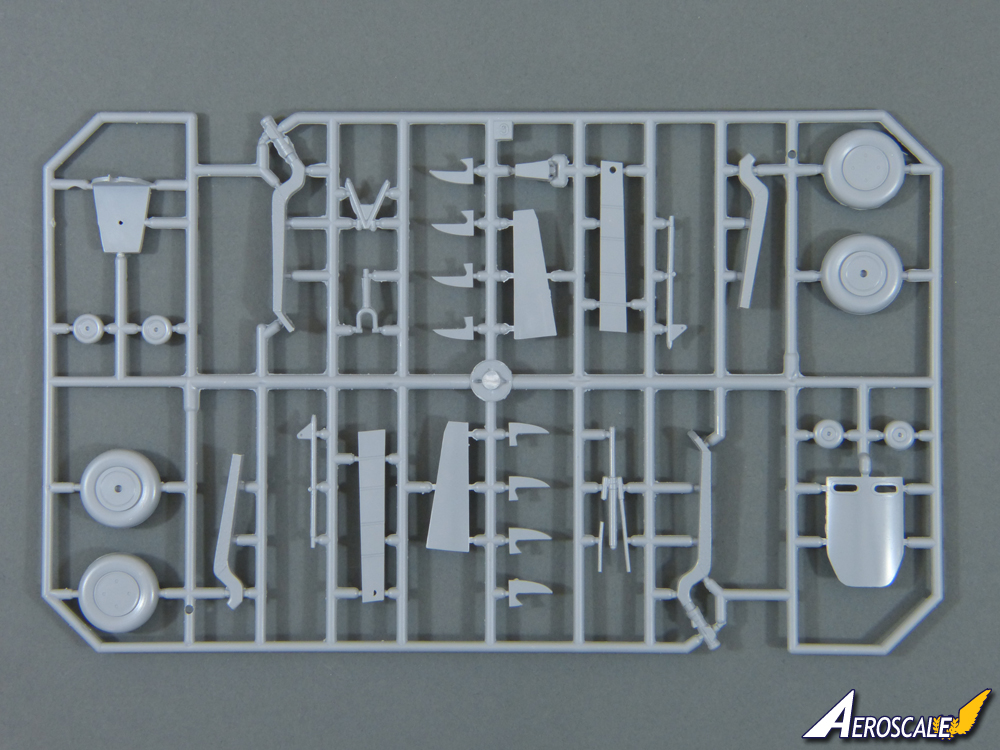
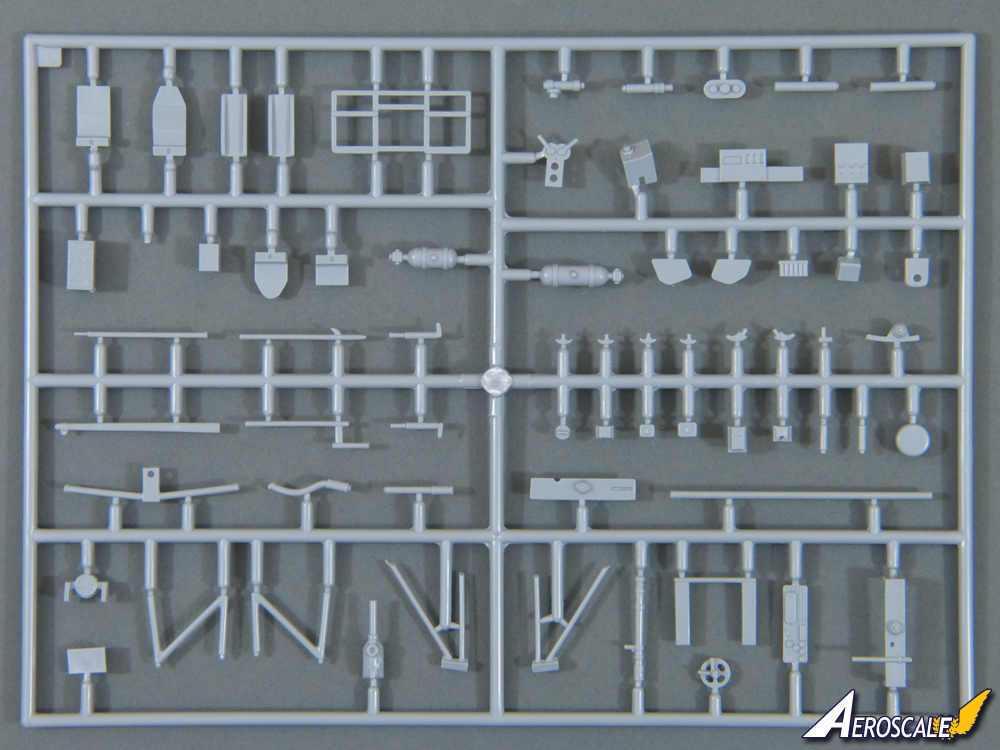
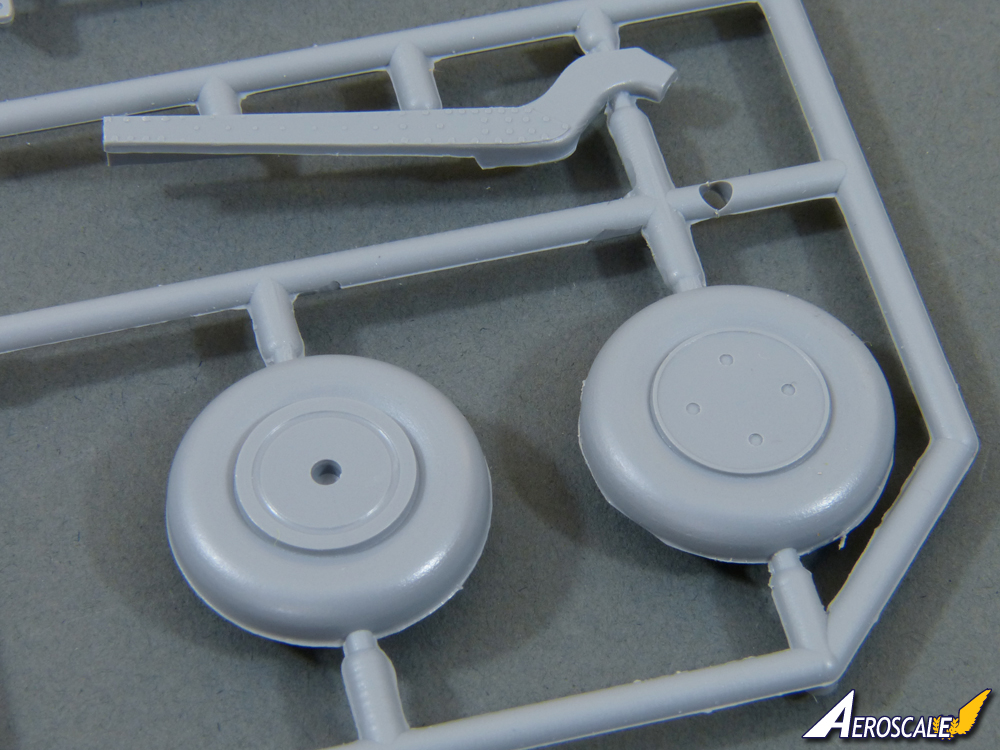
The mainwheels are moulded unweighted and attach to sturdy-looking legs. The attachments for the retraction arms look a bit vague in the instructions, so it could be worth adding brass pins as a precaution.
The tailwheel has the solid tyre for a carrier-based aircraft and has a 3-piece resin mount. I would have thought it could have been moulded all as one part, which would have made life easier, but it should look neat once the retraction ram is fitted.
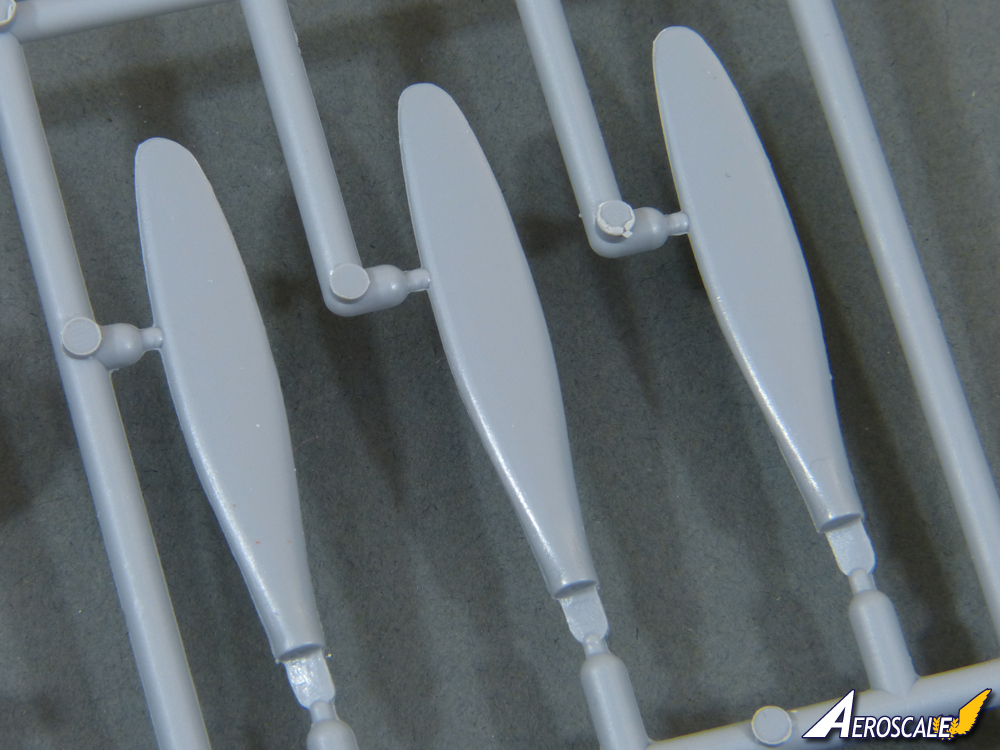
The propeller features separate blades, notched to fit into a 2-part hub. A simple jig is still advisable to ensure the angles are correct. All this is then topped off with a small spinner.
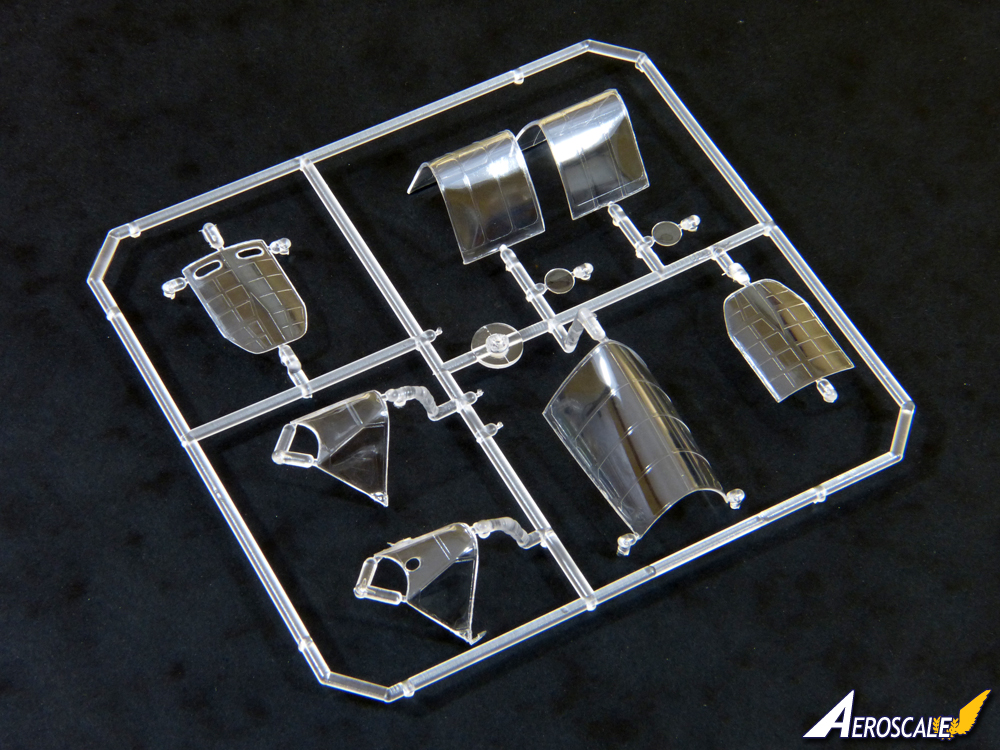
Finally, theres the life-raft canister and rollover bar and a beautifully clear 3-section canopy. Theres a choice of windscreens to allow for a telescopic sight.
Instructions & Decals
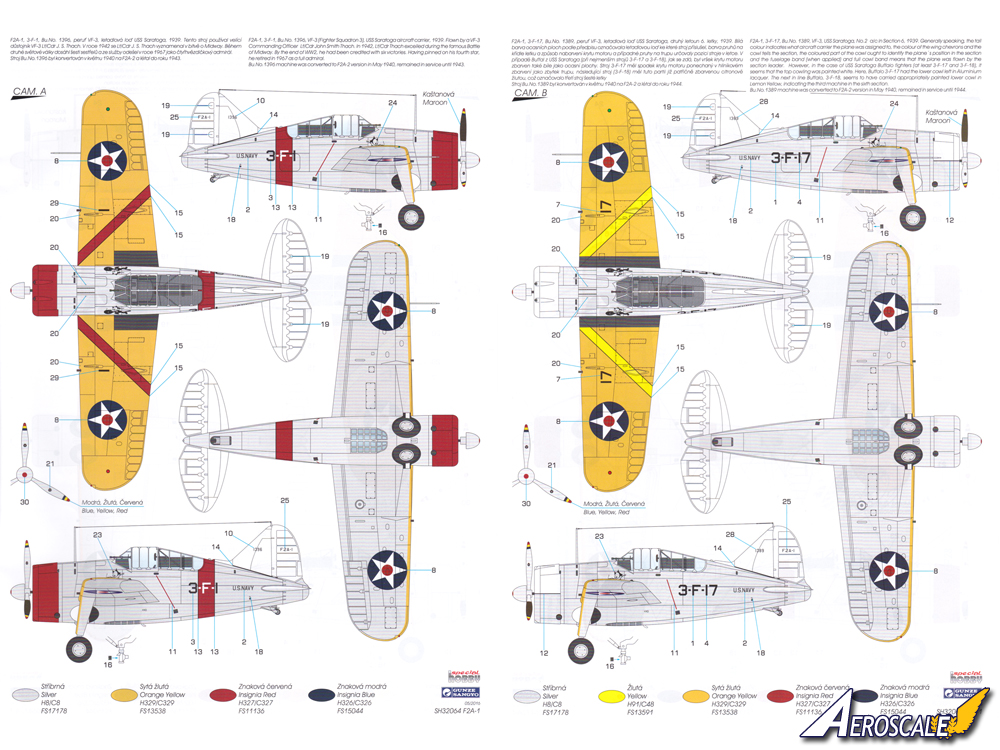
The assembly guide is produced as a glossy, colour-printed A4 booklet, with large diagrams breaking the construction down into 28 stages. The sequence is very logical. Colour matches are keyed to most details and these refer to Gunze Sangyo paints, and FS equivalents are given too in most cases.
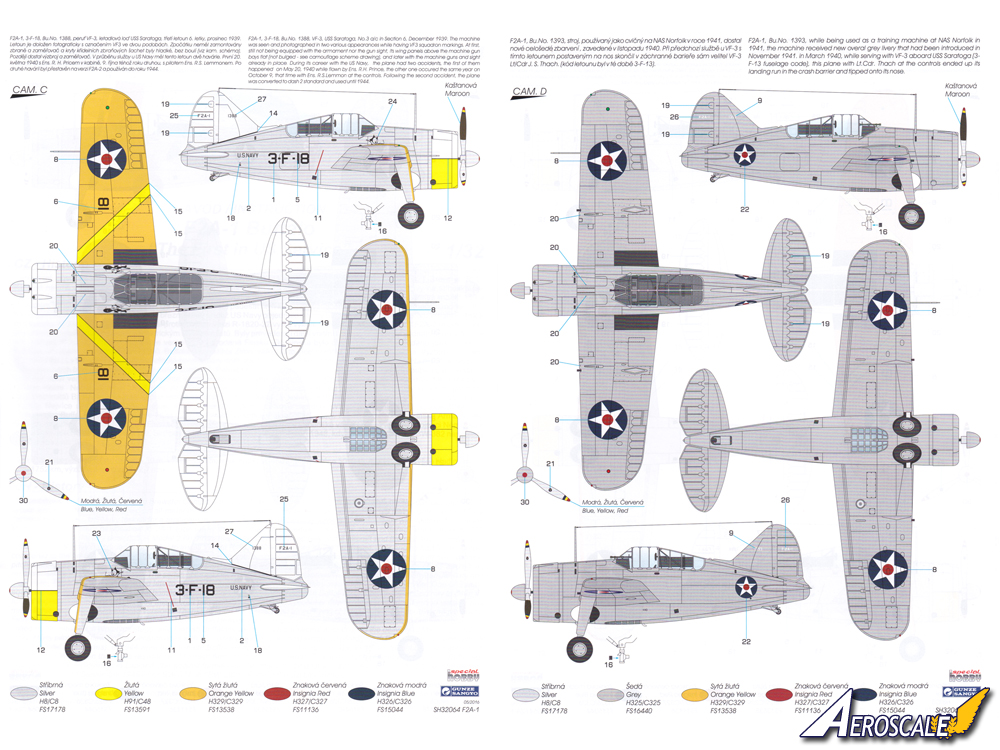
Decals are provided for four aircraft, three of them sporting classic colourful pre-war USN Navy schemes, with the fourth in the overall Light Gray introduced in 1941.
A. F2A-1, Bu.No. 1396, VF-3, USS Saratoga, 1939
B. F2A-1, Bu.No. 1389, VF-3, USS Saratoga, 1939
C. F2A-1, Bu.No. 1388, VF-3, USS Saratoga, 1939
D. F2A-1, Bu.No. 1393, NAS Norfolk, 1941
The decals look to be excellent quality, printed in perfect register with a gloss finish and minimal carrier film. The items are thin, but the colours look both dense and accurate.
Conclusion
Its definitely not a beginners kit, but Special Hobbys Buffalo should be a very enjoyable build for modellers with some experience, particularly if theyve got a couple of short-run kits under their belt. Despite its age, Special Hobbys kit will still build into a very impressive model, and the compact Buffalo makes an ideal subject for a largescale kit with its extensive greenhouse canopy showing off a detailed cockpit and eye-catching colour schemes that will always be a favourite among Navy fans.
Please remember, when contacting retailers or manufacturers, to mention that you saw their products highlighted here - on
AEROSCALE.


Comments