A largescale mainstream kit of the Airacobra has been high on modellers wish-lists for years, so there was understandable excitement when Kitty Hawk showed the first photos of their P-39Q/N back in April. Theyve picked a great subject for their first WW2 fighter, because its so enigmatic; depending on who you read or listen to, it almost seems like a different aircraft. At the risk of over-simplifying things - Soviet pilots rated it very highly, while its probably fair to say their US counterparts made do until superior replacements became available - and at the other end of the spectrum the RAF loathed it. I was lucky enough to know an ex- 601 Sq. pilot in the 70s, and even after 30 years he still couldn't find a good word to say about the poor old Airacobra hed flown operationally briefly back in 1941.
To be fair, the Airacobra that saw service was a very different beast to the highly promising XP-39 that boasted a top speed of around 400 mph at high altitude and could climb to 20,000 ft in 5 minutes. By the time air force experts had finished with it, Bell were forced to remove the turbo-supercharger and fit a lower-powered engine among a list of improvements that resulted in a very average fighter that was outclassed above 10,000 ft and weighing in over a ton heavier than the prototype, without the power to compensate.
This effectively made the Airacobra quite unsuited for combat in Europe, but the Soviets used the P-39 very successfully on the Eastern Front, where combats usually occurred at low to medium altitudes. They also strengthened the airframe to overcome structural weaknesses, and paid particular care to ensure centre of gravity restrictions were strictly adhered to in order to overcome the Airacobras reputation for instability.
Ironically, though (in view of the RAFs opinion of the Airacobra), to indicate what the Airacobra was capable of in skilled hands, Ill leave the last word to the British test-pilot, Capt. Winkle Brown, who flew an airframe condemned by a Bell pilot as clapped out: I did manage to persuade our engineers to let me have a final flight in 28th March (1946), when I had a super fifty minute session of aerobatics over Farnborough to show the old lady still had some kick in her.
In Plastic
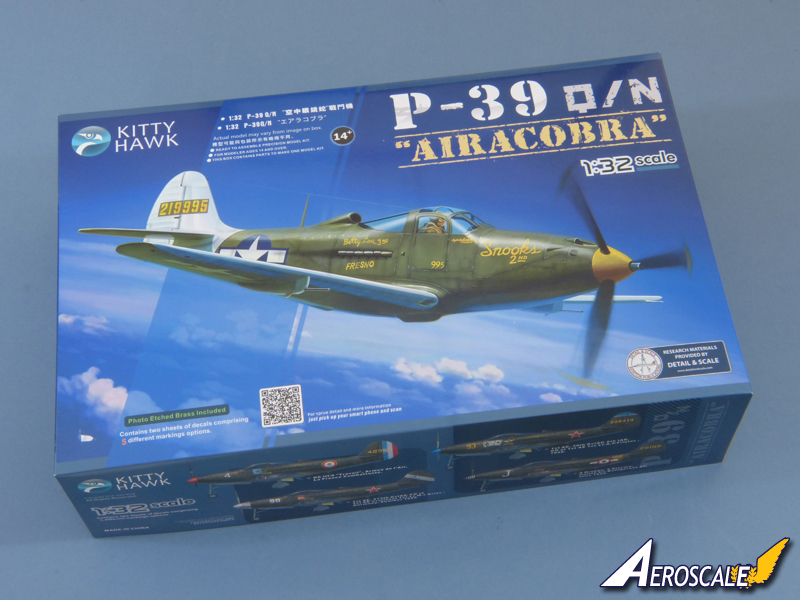
Kitty Hawks new kit arrives in quite a large and attractive, solidly constructed conventional box that protects the contents well. The main sprues and accessories are bagged individually, while the clear parts are protected in their own small cardboard carton.
The kit comprises:
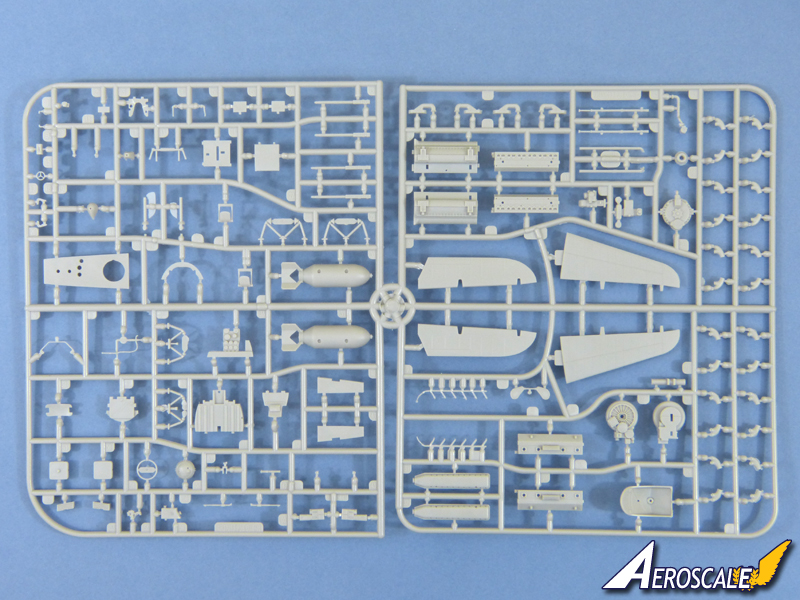
269 x grey styrene parts
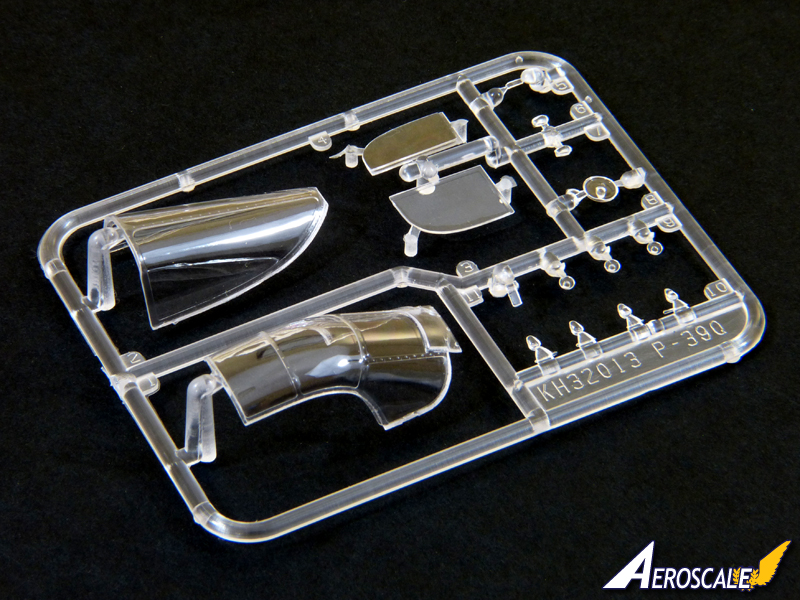
16 x clear styrene parts
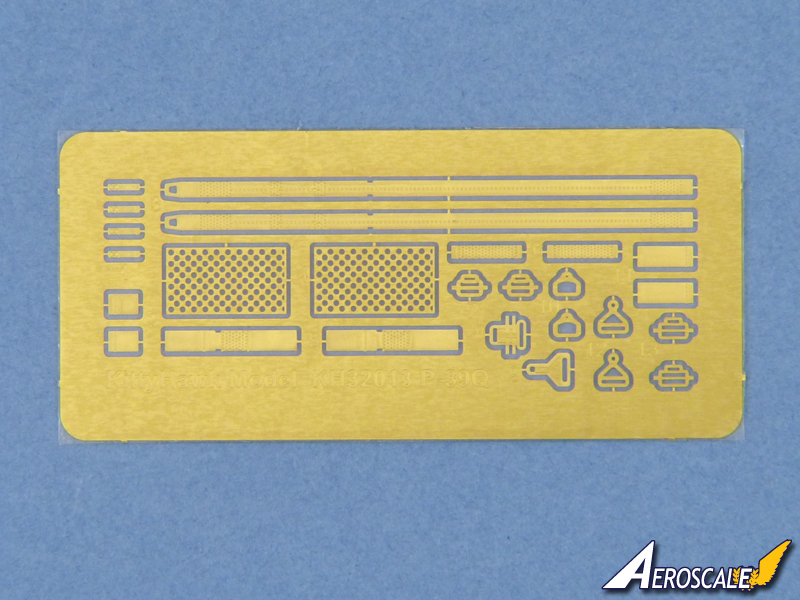
26 x etched brass parts
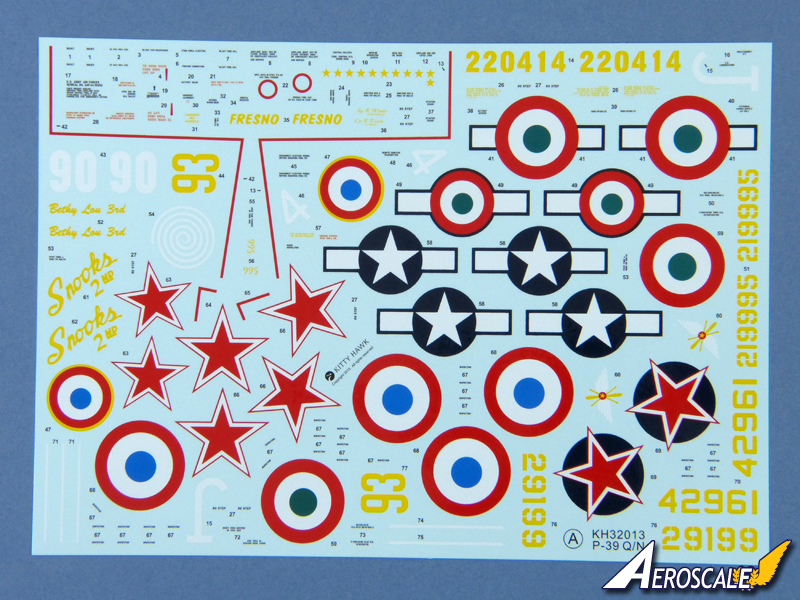
Decals for 5 x colour schemes
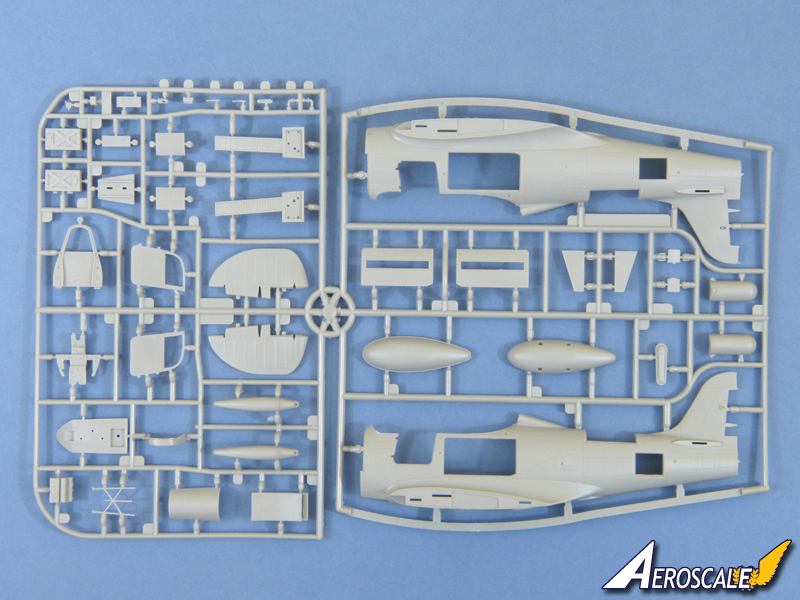
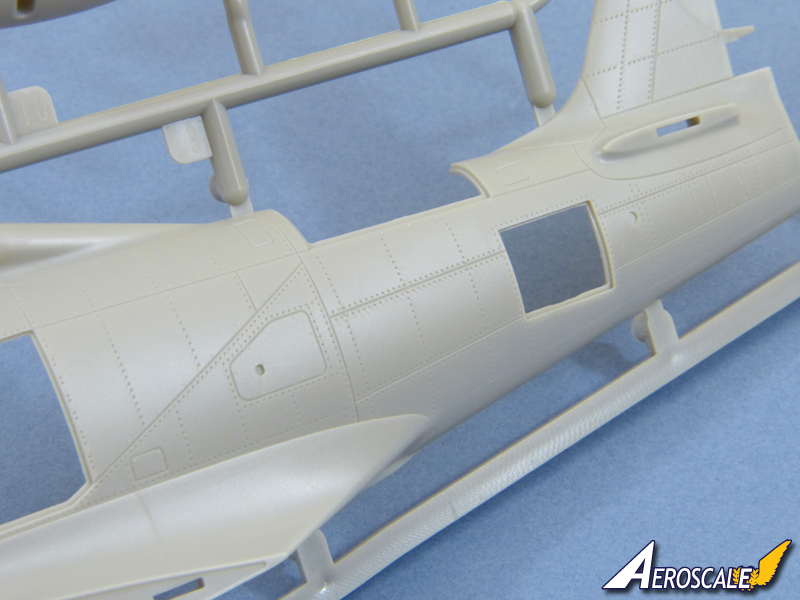
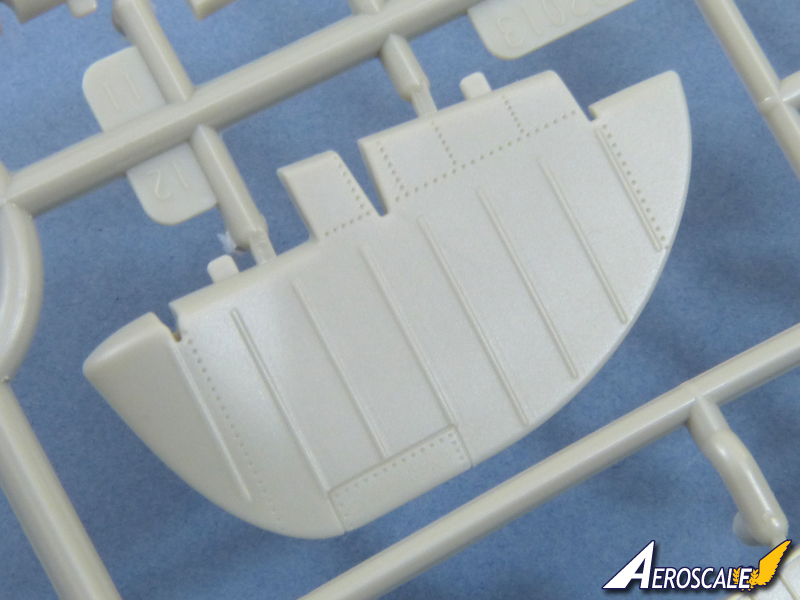
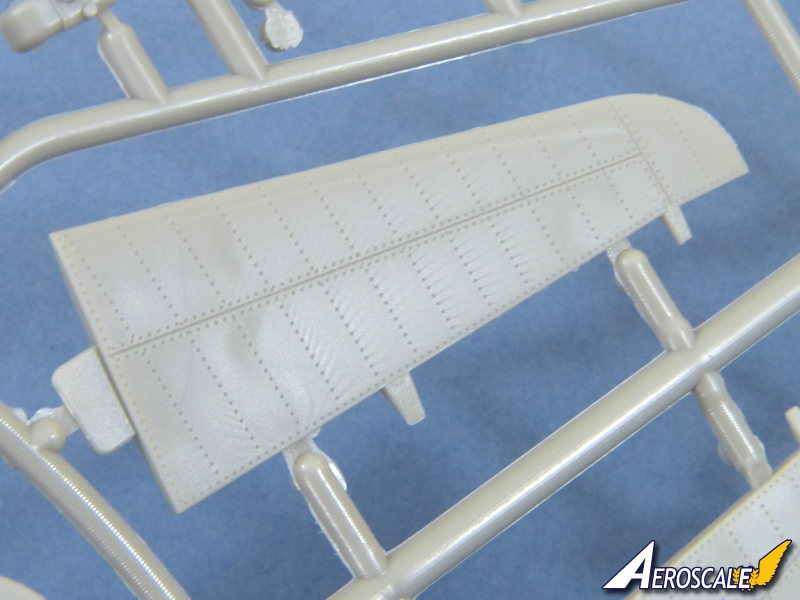
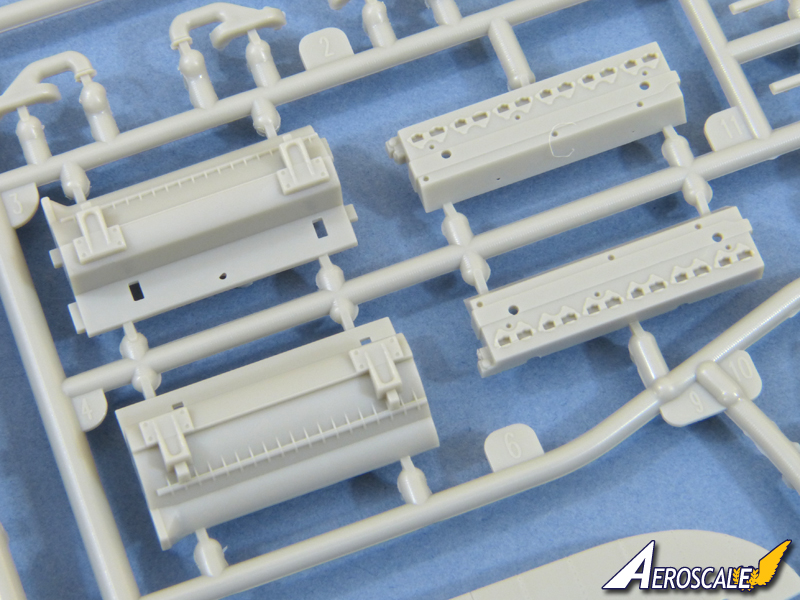
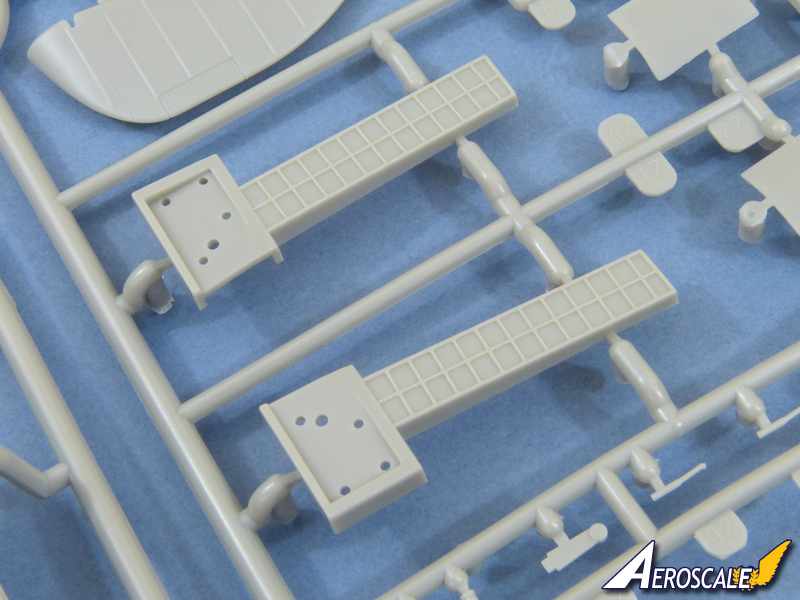
The moulding in the sample kit is something of a mixed bag. The surface detail is really excellent, with some finely engraved panel detail and delicately embossed rivets and fasteners. Fabric surfaces are nice and subtle - although the designers do seem to have got in a muddle with the elevators and depict them as half metal-covered. That wont be hard to fix.
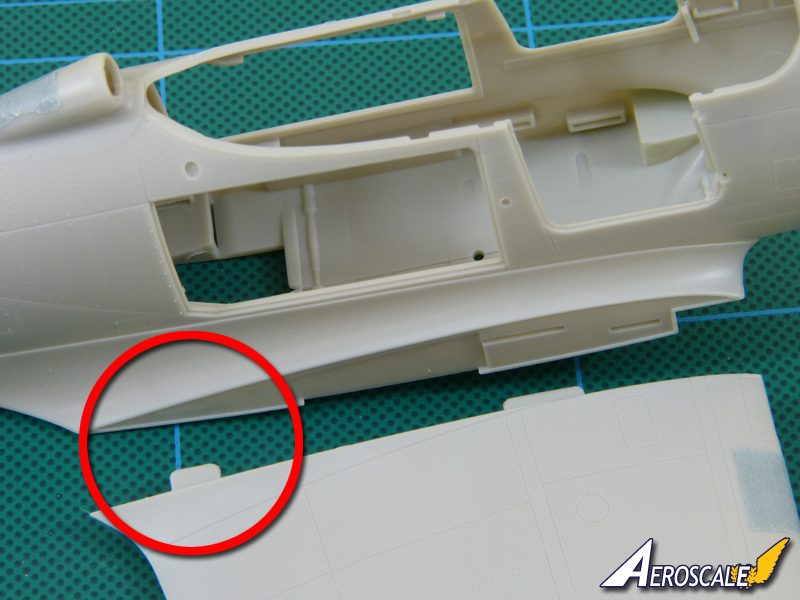
Against that are the number of ejector pin marks (some of which are really badly placed from a modellers point of view), a few sink marks and, surprisingly for a modern mainstream kit, isolated spots of quite thick flash - the most obvious of which on the sample being one of the wing locating slots.
In a nutshell, the kit is packed with potential, but expect to do extra preparation and test fitting of the parts - starting with a good wash in detergent, because I noticed mould-release agent in several places.
Test Fit
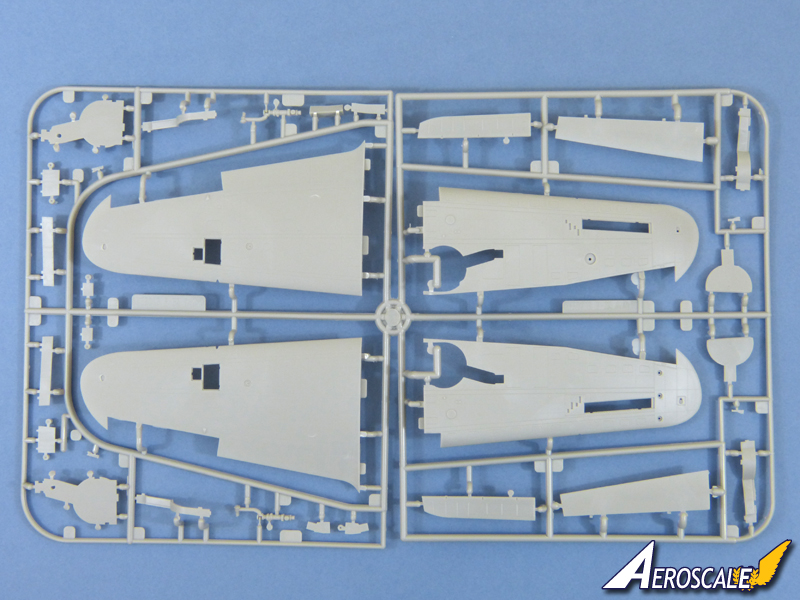
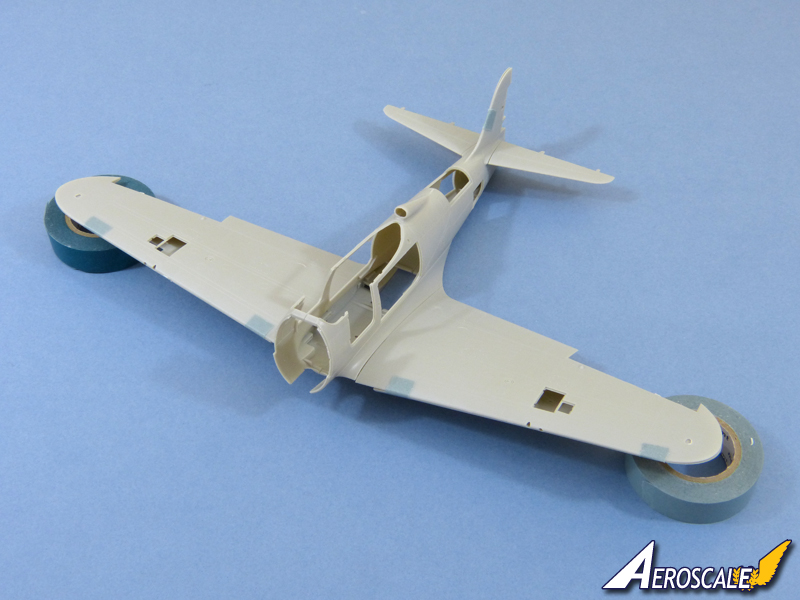
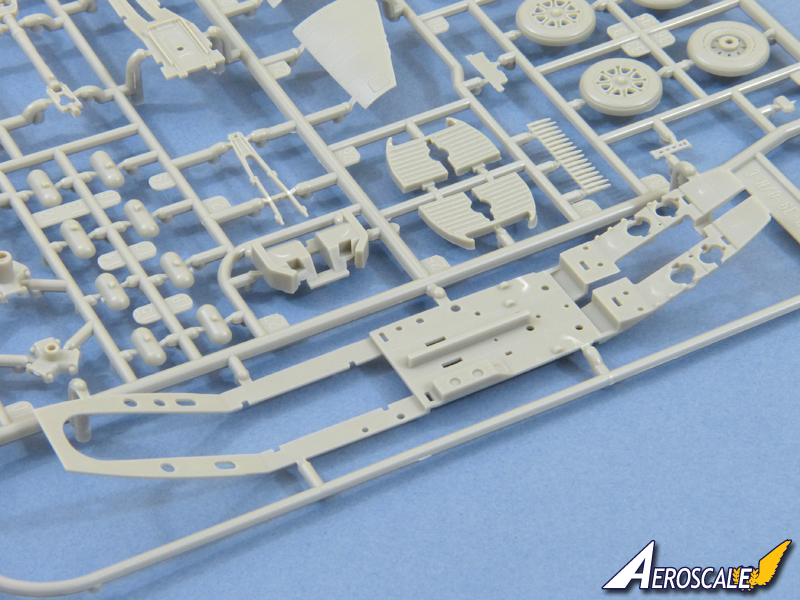
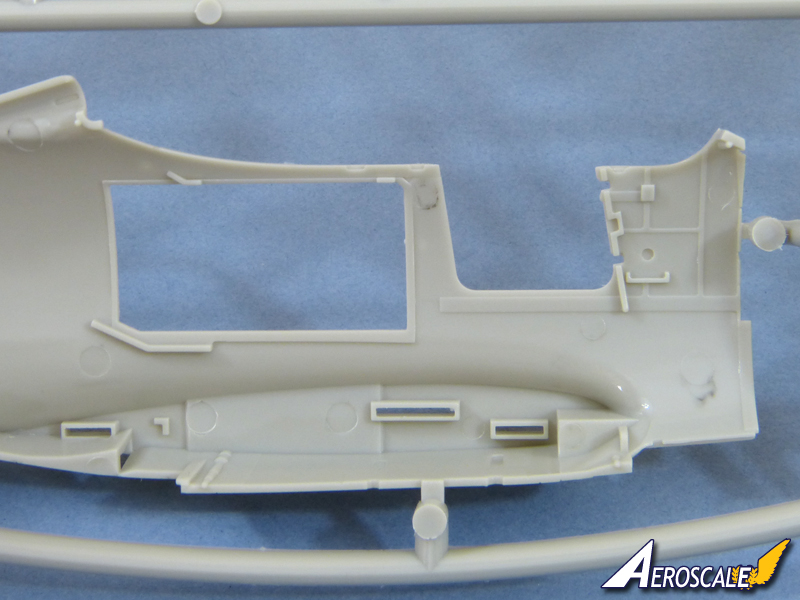
Im happy to say the fit of the main parts is very good indeed. The sprue attachments are on the glueing surfaces, which preserves the fine exterior detail and, once you've cleaned them up, the main fuselage section, wings (after you've opened up the locating slot if necessary) and tailplanes all go together beautifully. Main fuselage section? Yes, the nose is separate - presumably to allow for further versions in future. This will complicate assembly slightly, but the fit is very good as far as I can tell at this stage. The wings are separate panels, rather than having a full-span lower surface. Again, the fit is very precise and the dihedral looks good.
Ill leave any calls over accuracy to Airacobra experts, but I scaled-up the plans from Mushrooms book and the fuselage sits neatly on them.
A Few Details
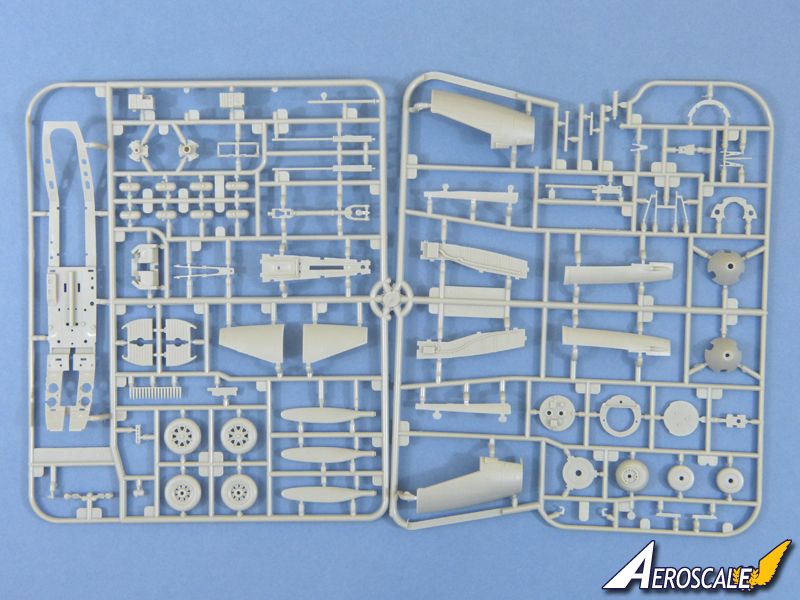
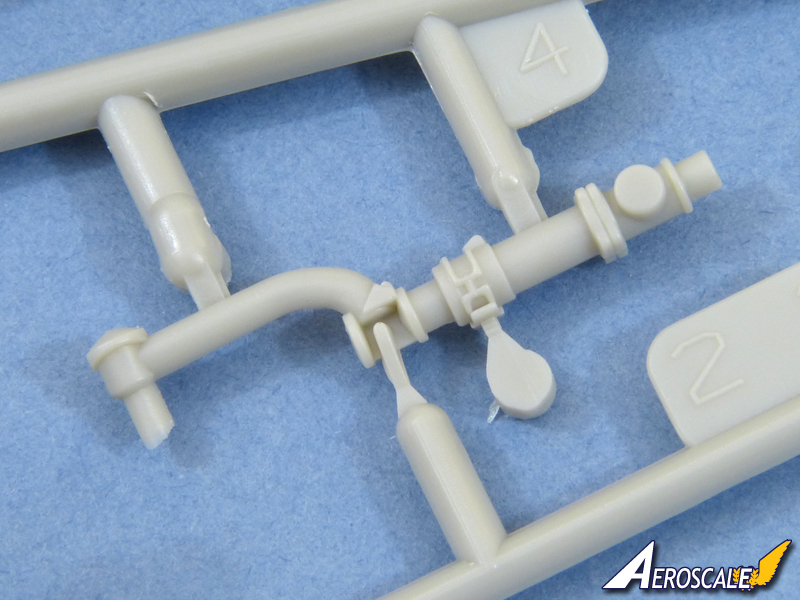
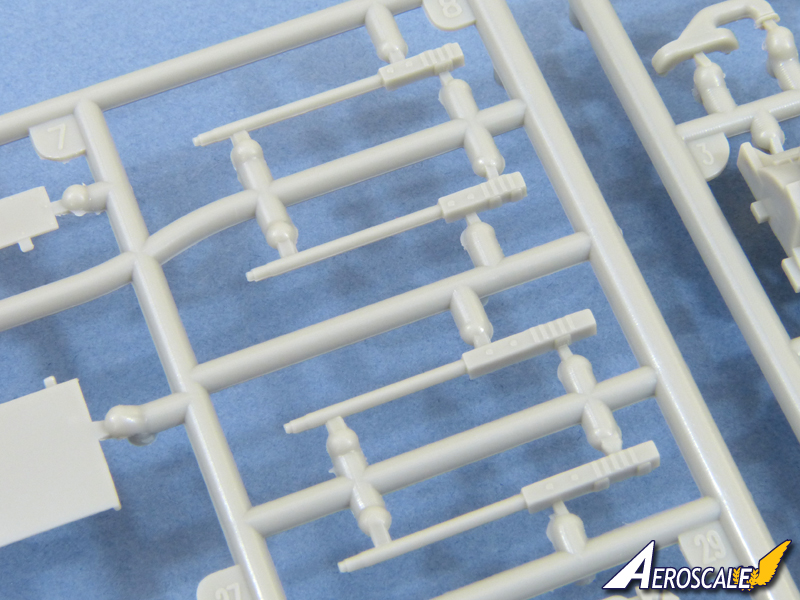
Construction begins with the Alison engine, which is built up from 26 main parts, plus individual exhausts moulded in halves to allow them to be hollow. The detail is quite decent, but I've found it easier to remove some of the locating pins to adjust the fit slightly. Youll need to watch out for the suggested colours - in this case Air Superiority Blue(!). Where that came from I've no idea, because reference photos clearly show Engine Gray.
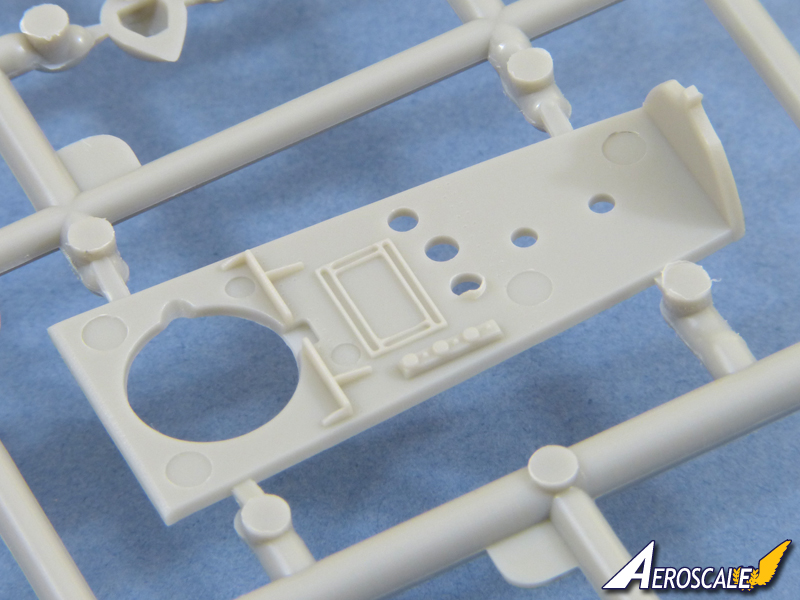
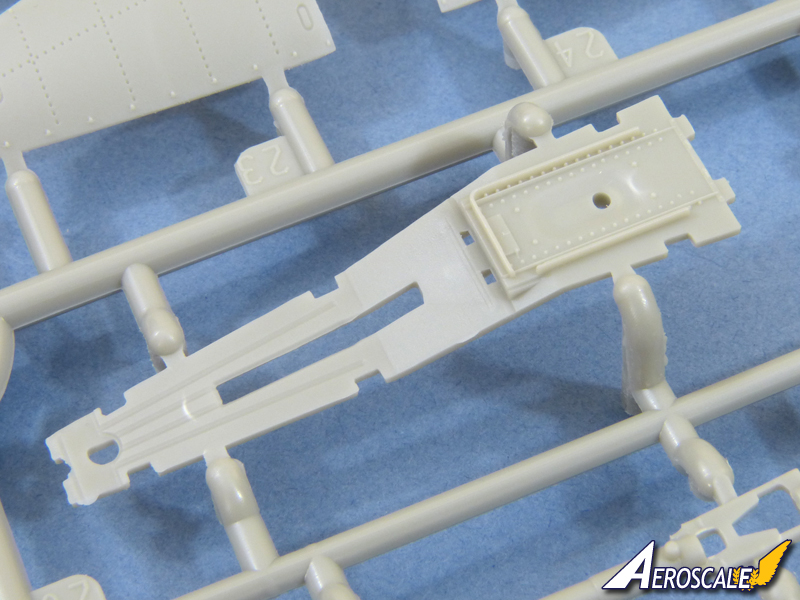
The basis for the interior is a one-piece deck that runs from the nose, then forms the cockpit floor and the engine bay.
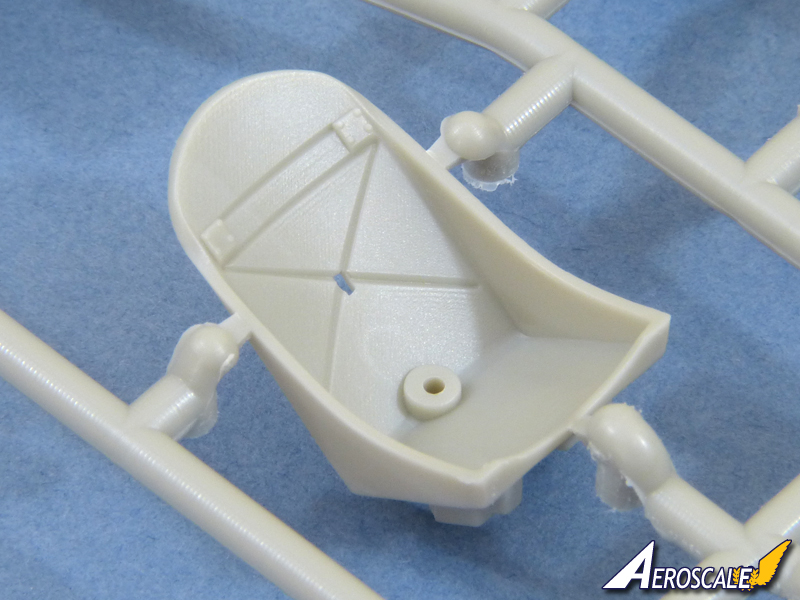
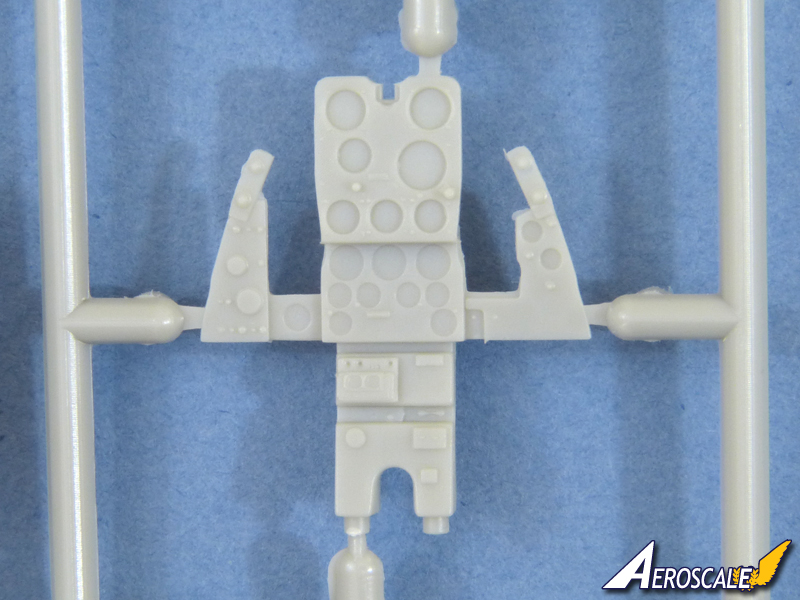
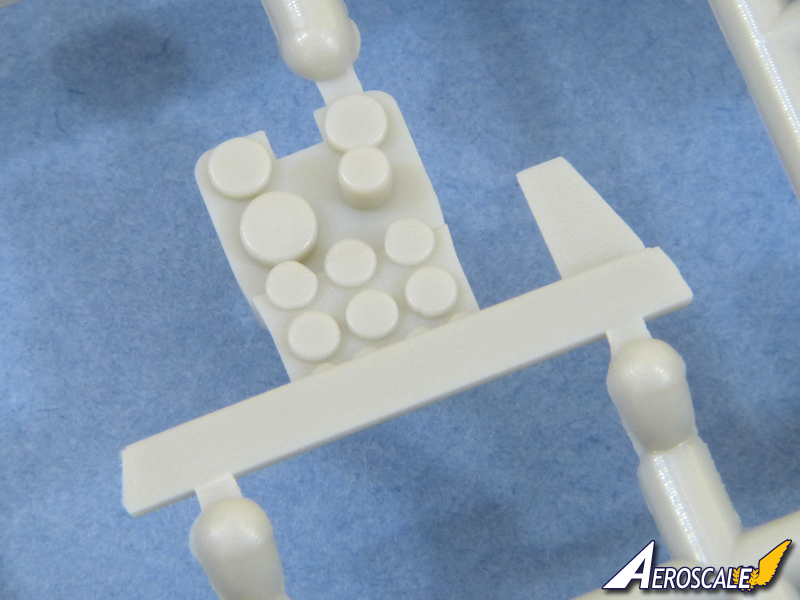
The cockpit consists of around 40 styrene parts and should look suitably busy. The instrument panels are supplied with decals which will look better if you punch out each dial and apply them individually into the well moulded bezels. Kitty Hawk provide an etched harness with separate buckles, which should look quite good - and the buckles open up the option of making your own paper belts which wont be so rigid.
The interior detail continues into the nose with a 20 parts gun bay. It should look nice and busy, but items like the guns and oxygen bottles are a bit basic, so I can imagine there will be aftermarket sets released before long. The same goes for the rear fuselage, where Kitty Hawk allow you to open panels to reveal the radio and the oil tank.
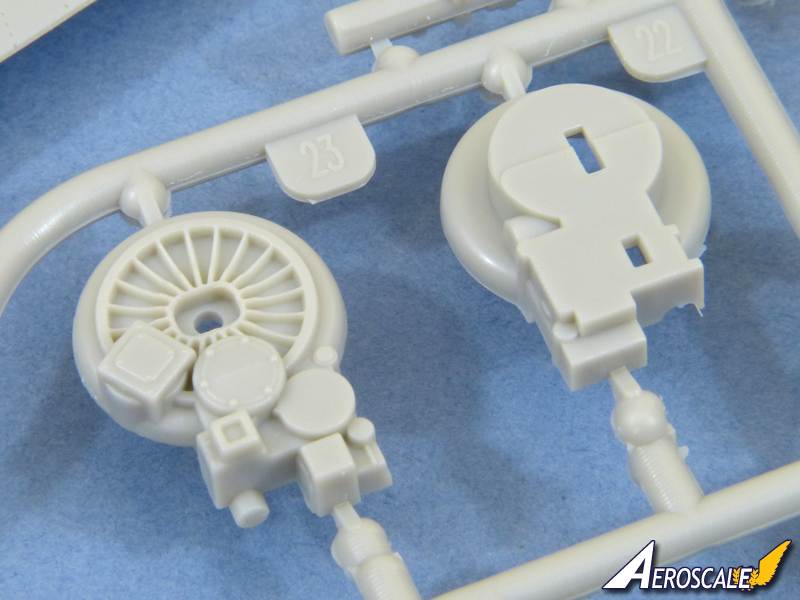
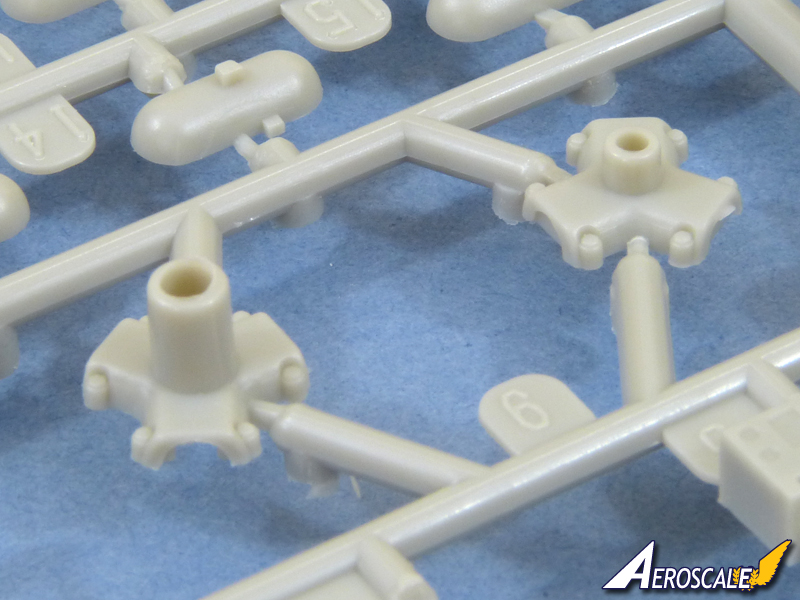
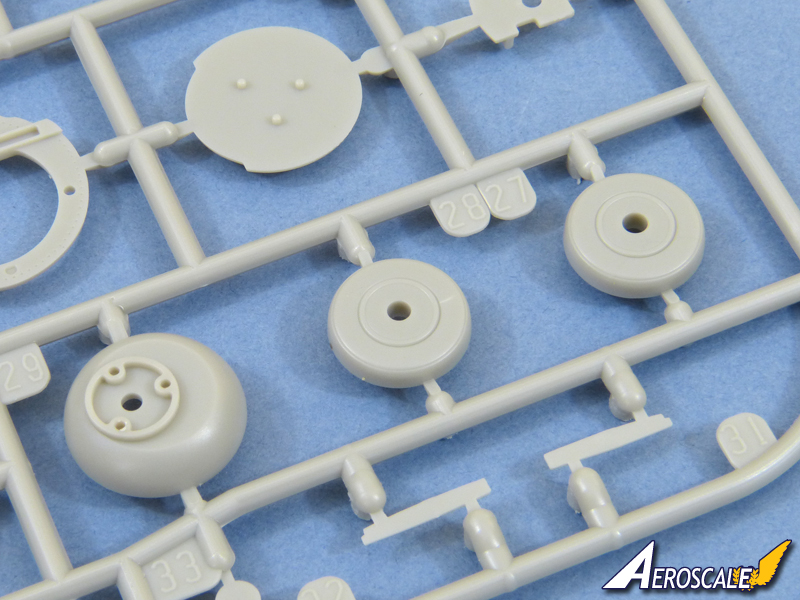
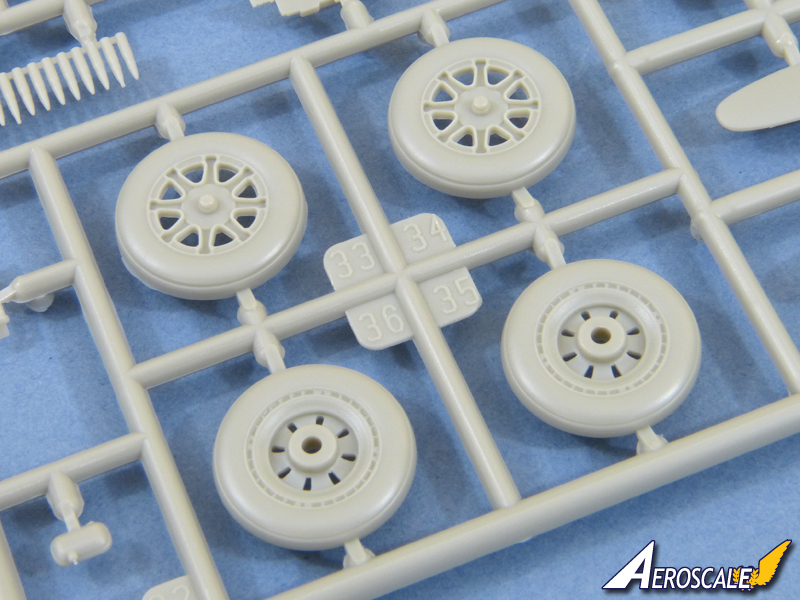
The nose gear is attached early - which is just asking for it to get damaged - but its nicely detailed with a neatly moulded multi-part wheel well. The tyre isnt weighted - and, talking of weight, the instructions give no indication of the kit needing noseweight to avoid it being a tail-sitter. If it does, really the only places to pack it are alongside the wheelwell.
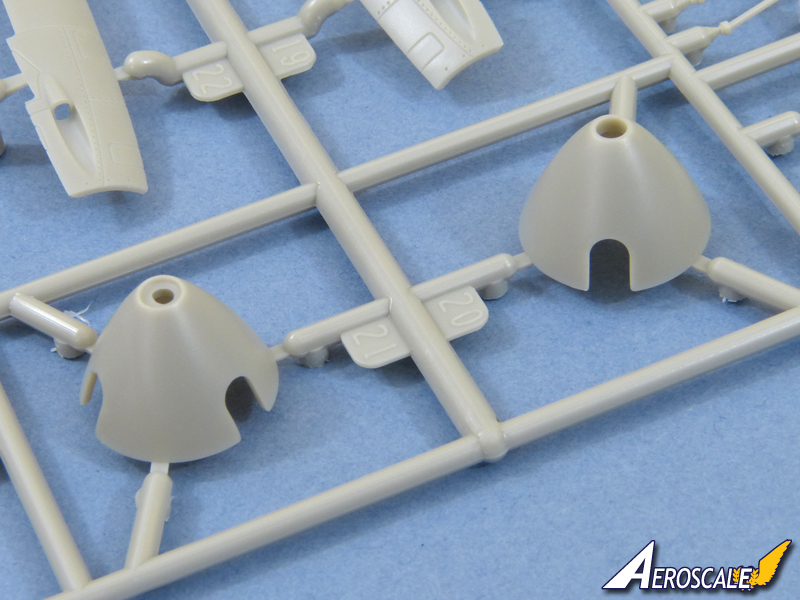
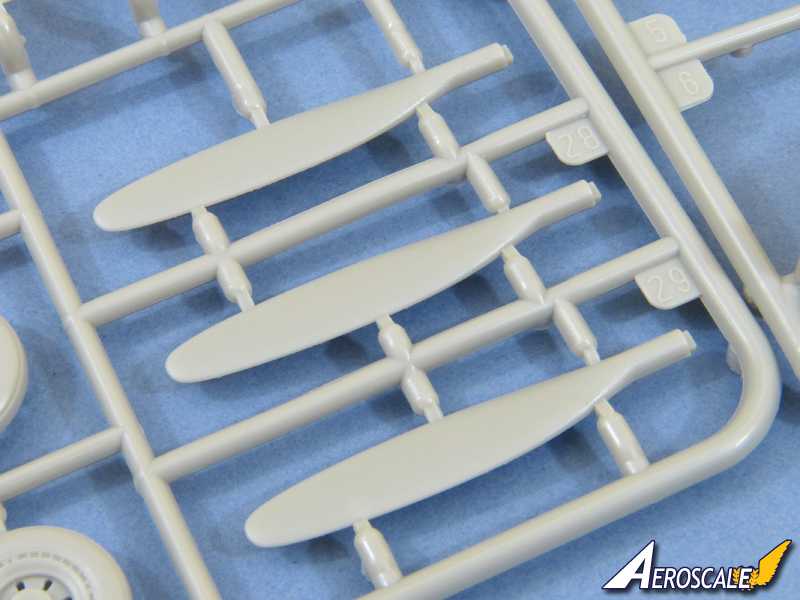
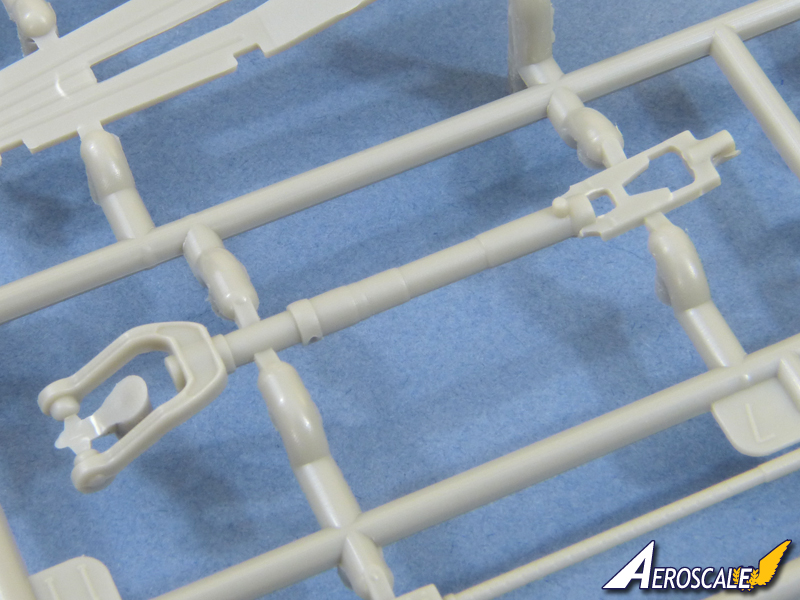
The propeller is designed with separate blades which lock into the hub with the pitch ready set. Theres a choice of spinners and cannon muzzles, but no indication as to which is needed for the colour schemes featured.
The canopy parts look good quality - thin and clear with crisply defined framing. Theres no armoured glass behind the seat (as seen on earlier Airacobras) - instead, theres an armour plated headrest.
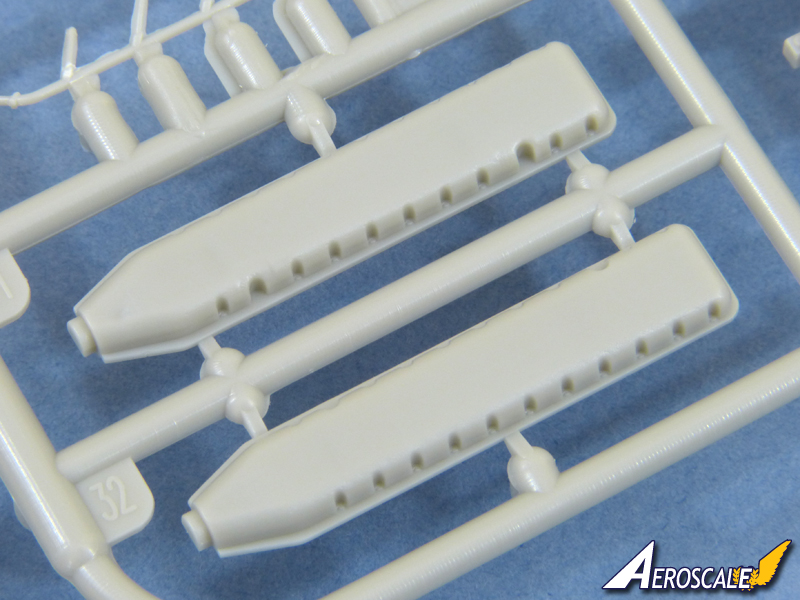
With the fuselage completed, attention turns to the wings. The mainwheels and their wells look very good, although I will check whether the wheels are too narrow when I reach this stage in the full build. .30-cal internal wing guns are included and can be displayed but, again, they are pretty basic for this scale. Here the instructions will lead the unwary astray because, although they do indicate that both the internal guns and the underwing .50 cal gun-pods are optional, they dont explain why - and confuse things further by showing both fitted together. Basically - if youre building a P-39N, you need the internal guns; if youre building a Q, you need to fill the openings in the leading edge and fit the underwing gun-pods.
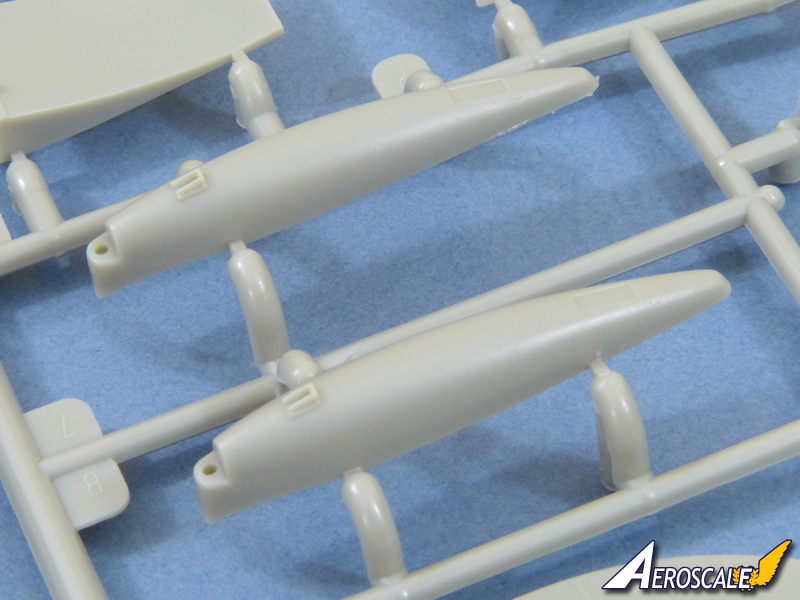
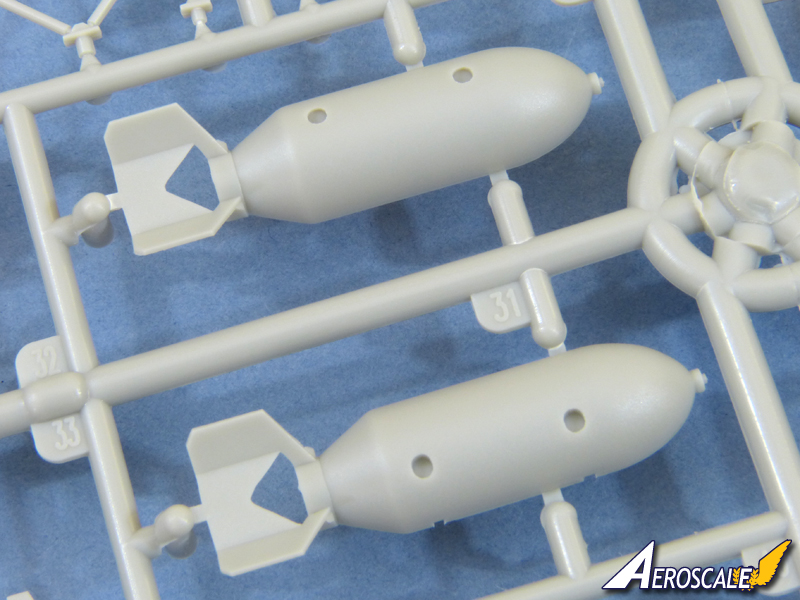
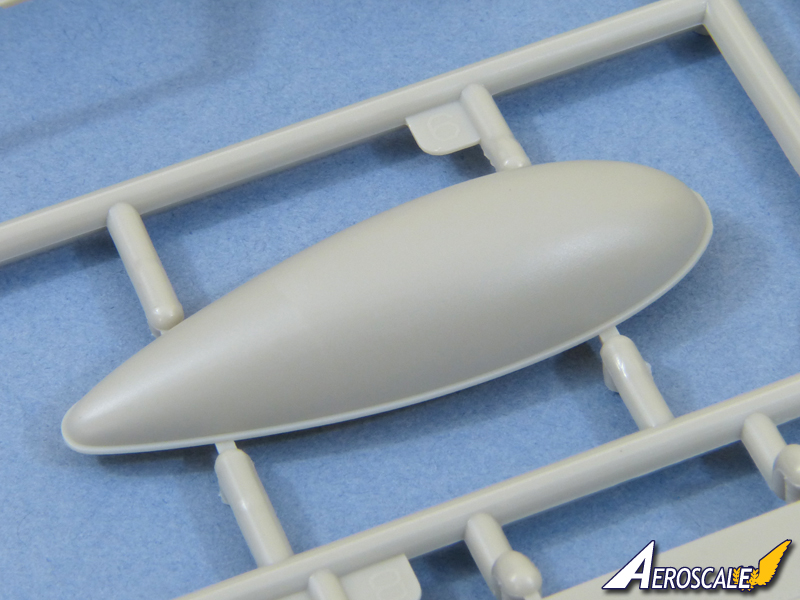
A choice of a bomb or drop-tank is provided for the centre-line rack. A nice touch is that the rack itself is separate.
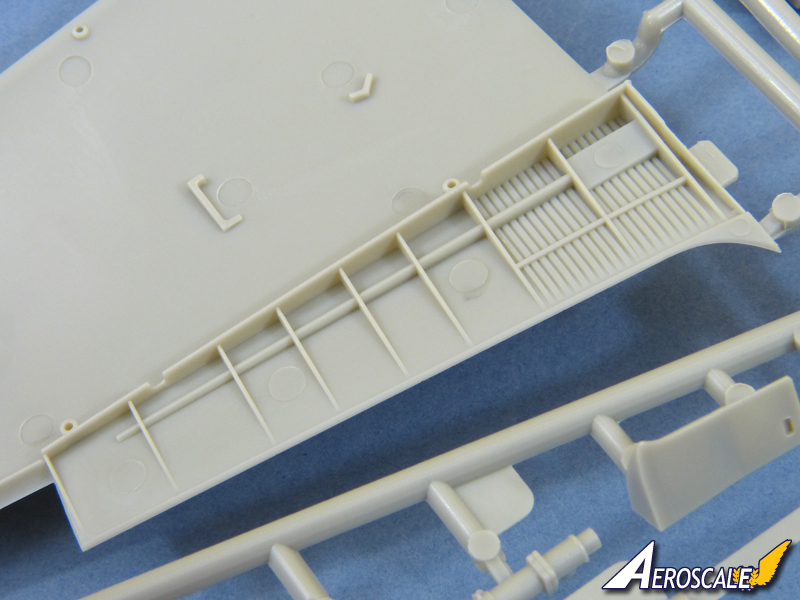
There are separate flaps with decent interior detail - but some awkward ejection pin marks- and clear navigation and identification lamps.
Instructions and Decals
The instructions are produced as a 24-page booklet with good quality assembly illustrations and full-colour profiles for the paint schemes. For me, the downside is the actual construction sequence, which seems more for the benefit of the illustrator than ease of assembly. Most experienced modellers will want to build the basic airframe and check everything is square and true before adding delicate exterior details that are just inviting damage. I certainly will stray from the suggested sequence in my Forum Blog.
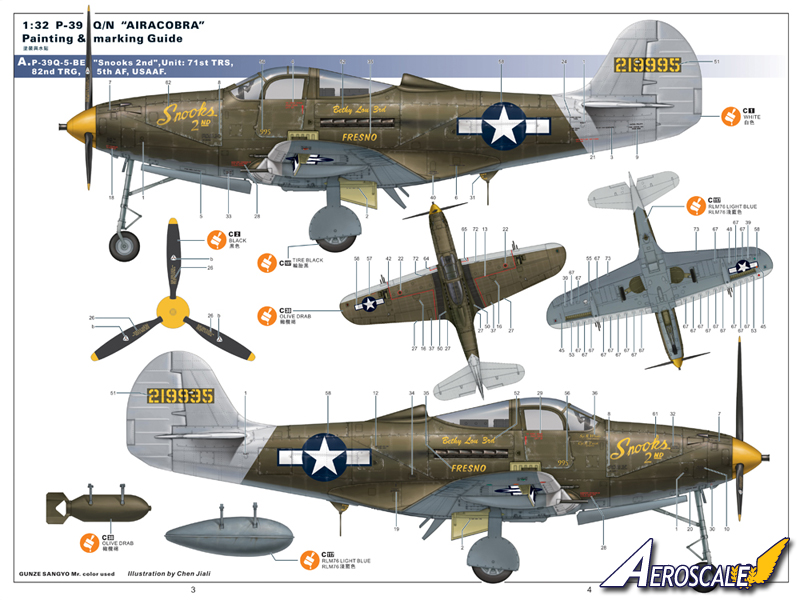
Kitty Hawk offer an impressive 5 colour schemes with plenty of variety. The schemes are nicely illustrated with full-colour profiles but, again, show both .30 and .50 cal guns together in the wings. Another problem is the colour call-outs - RLM 76 Light Blue undersides? Perhaps someone was thinking of the DuPont pastel blue used on early export machines - but the correct colour here is Neutral Gray.
The featured colour schemes are:
1. P-39Q-5-BE, s/n 219995, Snooks 2nd, 71st TRS, 82nd TRG, 5th AF, USAAF
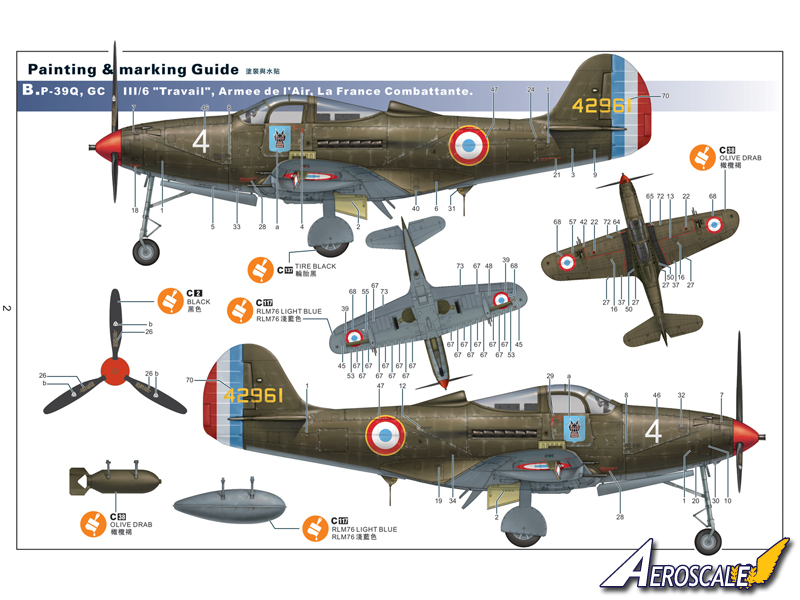
2. P-39Q, s/n 42961, GC III/6, Armee de lAir
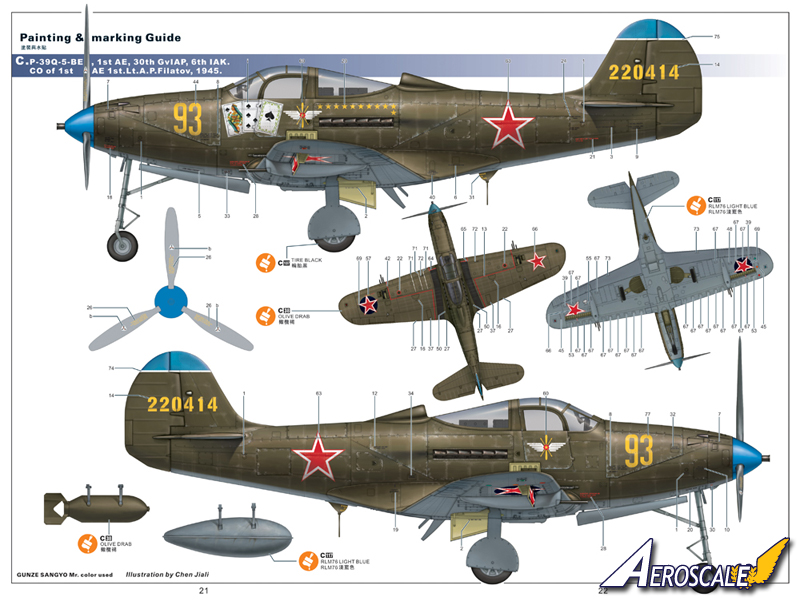
3. P-39Q-5-BE, s/n 220414, 1st AE, 30th GvIAP, 6th IAK, VVS, flown by Lt. A. P. Filatov
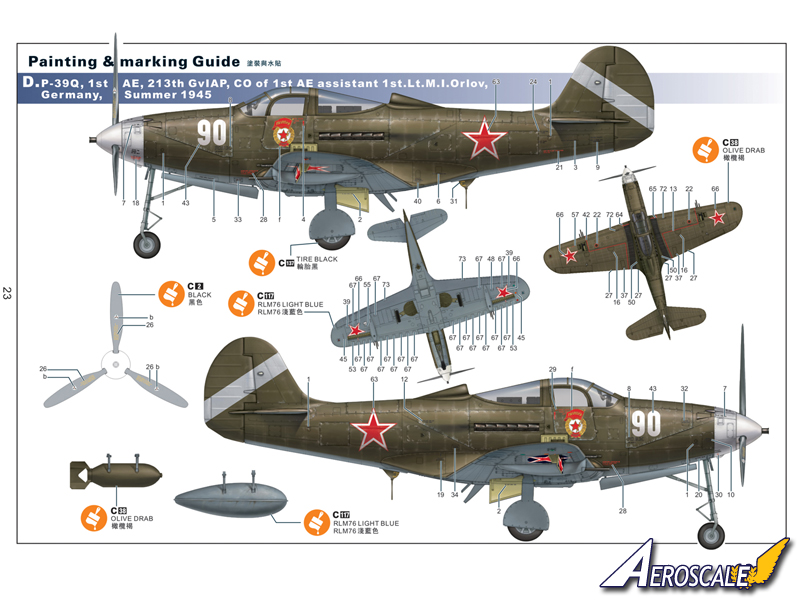
4. P-39Q, 1st AE, 213th GvIAP, VVS, flown by 1st Lt. M. I. Orlov
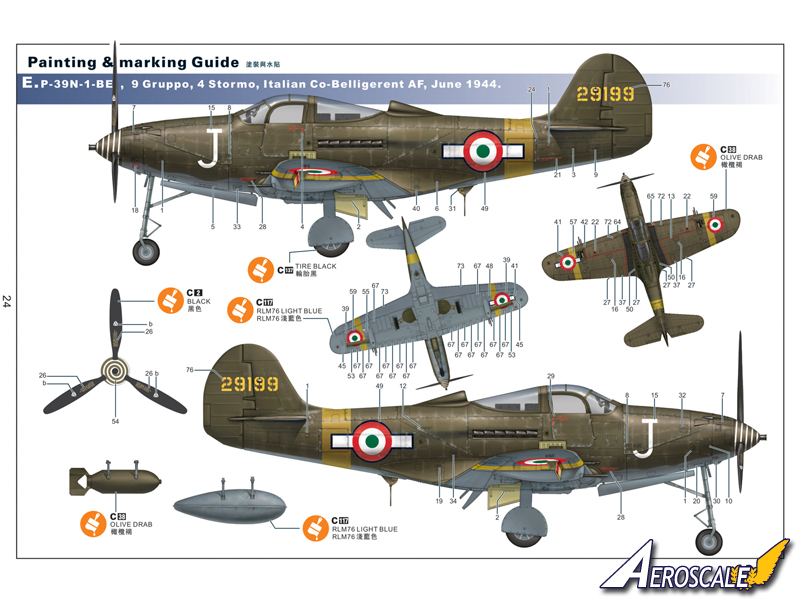
5. P-39N-1-BE, s/n 29199, 9 Gruppo, 4 Stormo, Italian Co-Belligerent Air Force
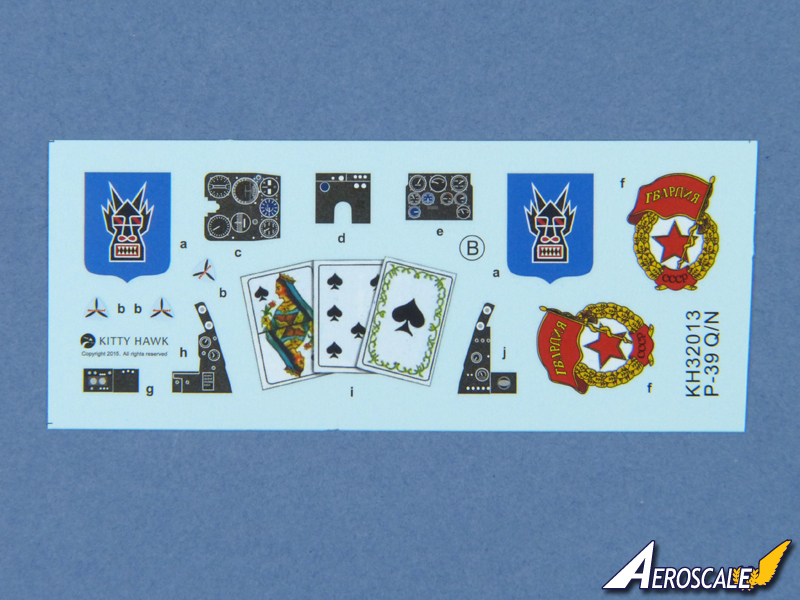
Unfortunately, in the sample kit the main decals are rather poorly printed, with bad registration on the French and Italian roundels and a slightly ragged look to the US insignia. This leaves just the Soviet markings which, luckily, look fine. What is a little strange, though, is that it appears that some of the colours have been printed on top of the carrier film, as though the order of the inks is incorrect. So Ill definitely test an unwanted item to check it doesn't disintegrate when soaked in water.
A smaller sheet contains the instrument decals and some impressive nose-art for the Soviet aircraft. This is printed as fine dots - probably unavoidable with the complexity of the shading - but the effect should still look pretty good.
Conclusion
Basically, Kitty Hawks new Airacobra is a very impressive kit, and I can see it being the basis of many contest winners in future. It wont build itself, and youll need to be a little wary of following the instructions to the letter. The one real disappointment is the decals (in the sample kit, at least), but a plethora of aftermarket sets are sure to follow the release of this long-awaited subject.
Please remember, when contacting retailers or manufacturers, to mention that you saw their products highlighted here - on AEROSCALE.
SUMMARY
Highs: Fine surface detail and good general fit. Extensive interior detail. Lows: Some flash to deal with, and sink marks and ejector pin marks to fill. Decals out of register in sample kit. Confused instructions and painting guide.Verdict: Despite a few slips, Kitty Hawk's Airacobra has masses of potential and should look really impressive when built.
Our Thanks to Kitty Hawk! This item was provided by them for the purpose of having it reviewed on this KitMaker Network site. If you would like your kit, book, or product reviewed, please contact us.
About Rowan Baylis (Merlin) FROM: NO REGIONAL SELECTED, UNITED KINGDOM
I've been modelling for about 40 years, on and off. While I'm happy to build anything, my interests lie primarily in 1/48 scale aircraft. I mostly concentrate on WW2 subjects, although I'm also interested in WW1, Golden Age aviation and the early Jet Age - and have even been known to build the occas...
There are some issues with the blue roundels and the font on the codes, but I suspect some AM decal company will bring out a proper sheet for this gem.
Hi again
Well, I'm getting underway - slowly. The first job is to fill the ejector-pin marks. These are just a few of the irritating little bleeders:
While not all will be visible on the completed model, some have been very thoughtlessly placed, i.e. just a millimetre or two one way or the other and they'd have either been out of sight or missed moulded detail.
Hopefully I'll start to throw some paint at the parts later this week.
All the best
Rowan
I just opened my sample. I have flash filling in the same slot for the wings as you. The packaging is beautiful and the instruction booklet is as well. (perhaps printed even nicer than the decals?). I love the finely molded surface detail, complete with riveting - which seems to be all the rage these days. Is the kit a window-shoppers dream, or a dream build? Stick around for the build threads.


Comments